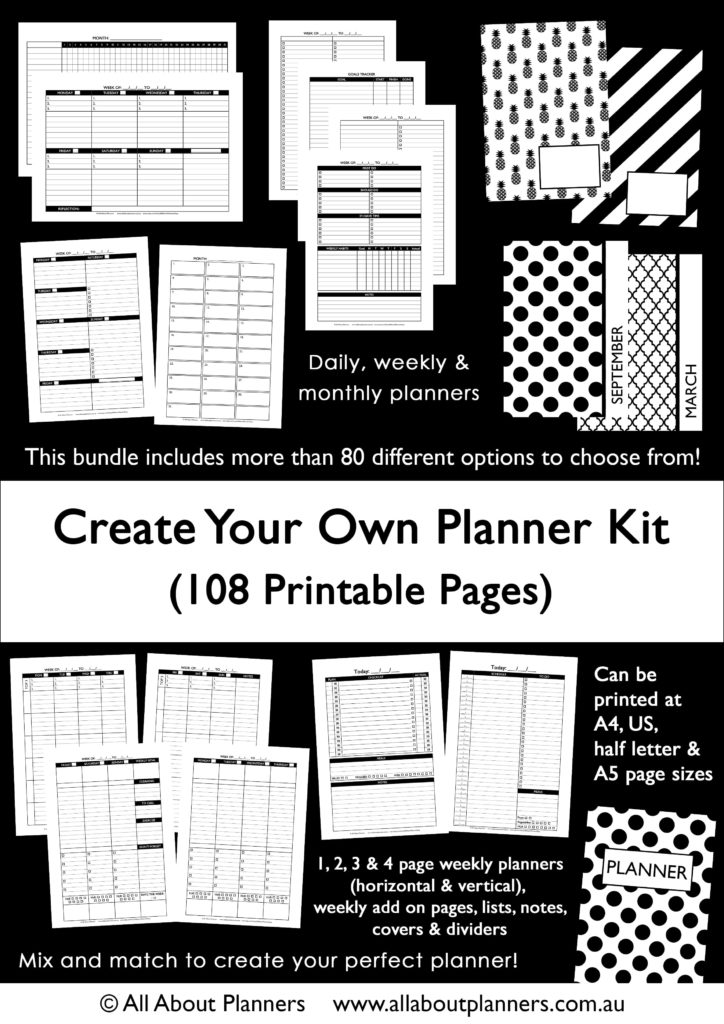
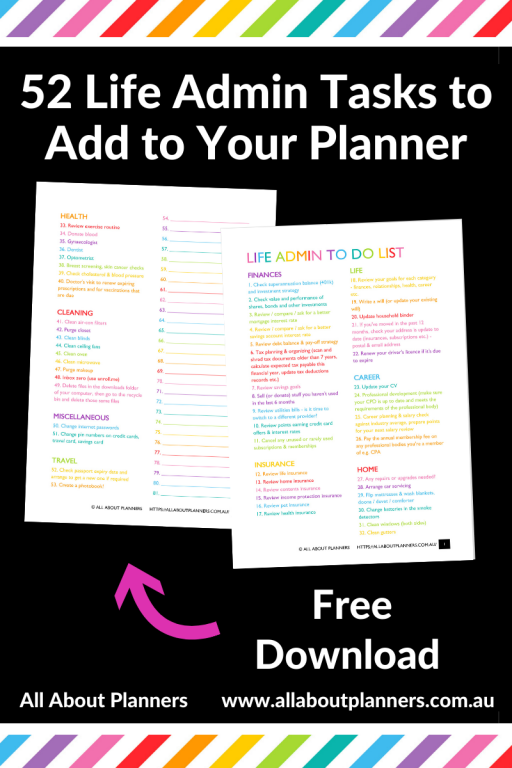
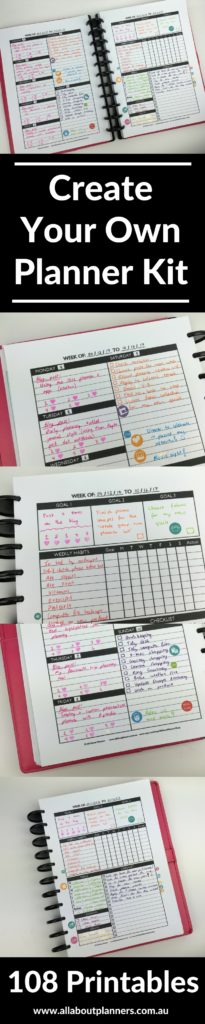
After trying almost 50 planners for the challenge so far, I’ve got a good idea of my likes and dislikes when it comes to weekly spreads. After filling many notebooks with sketches of planner layouts I converted some into printable format to create the Create Your Own Planner kit. For week 49 (the week before I released the kit in my shop) I did a ‘test run’ of some of the printables!
Create Your Own Planner
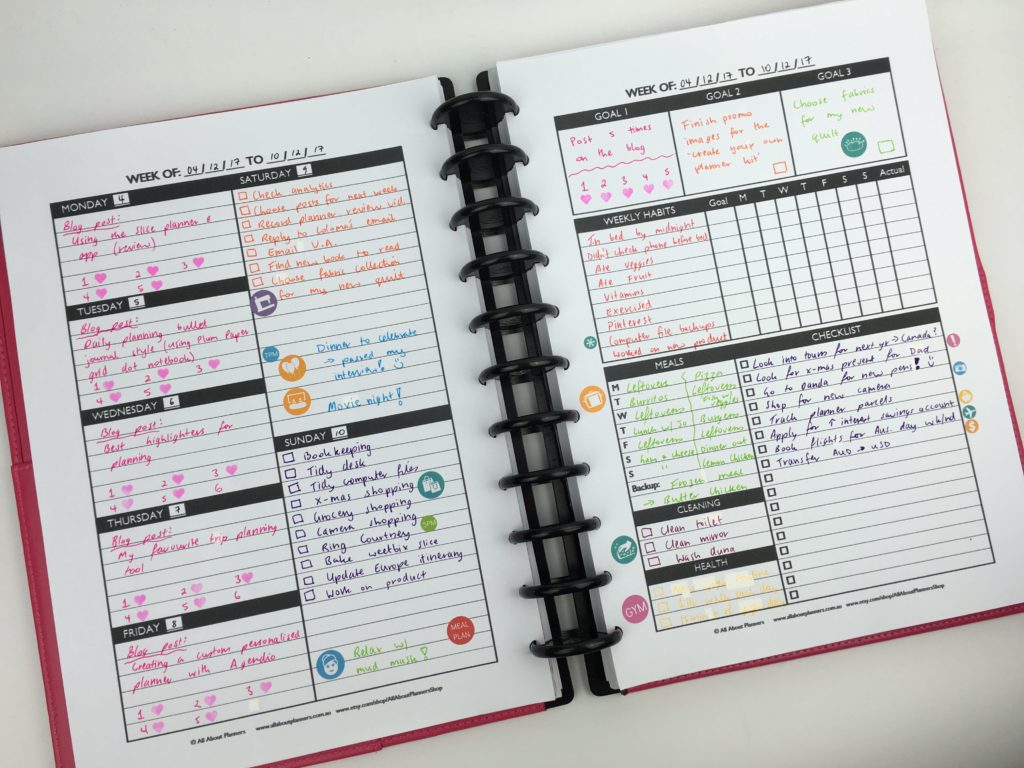
The spreads I chose were a 1 page vertical style weekly planner and one of the weekly add on pages. I’ve found I much prefer a smaller space for allocating things to certain days and prefer to just work off to do lists.
If you’ve purchased the planner, the file names are Vertical – Weekly – 1 Page #1 and Weekly Add on #3.

The planner is a similar style to the printable I made and used in week 35 of the challenge.
Color coding:
I usually code my spreads but this week I decided to just use pink for blogging (as I always do) and for the rest of the spread, just use a bunch of different colors – turned out nice and colorful! 🙂
Related: How to organize and color code your notes for school, college or university
The planner is undated so you can start planning anytime 🙂
![]()
I wanted to add a bit more color so used some functional rainbow planner stickers I made (my sister has them in her planner supplies shop)
![]()
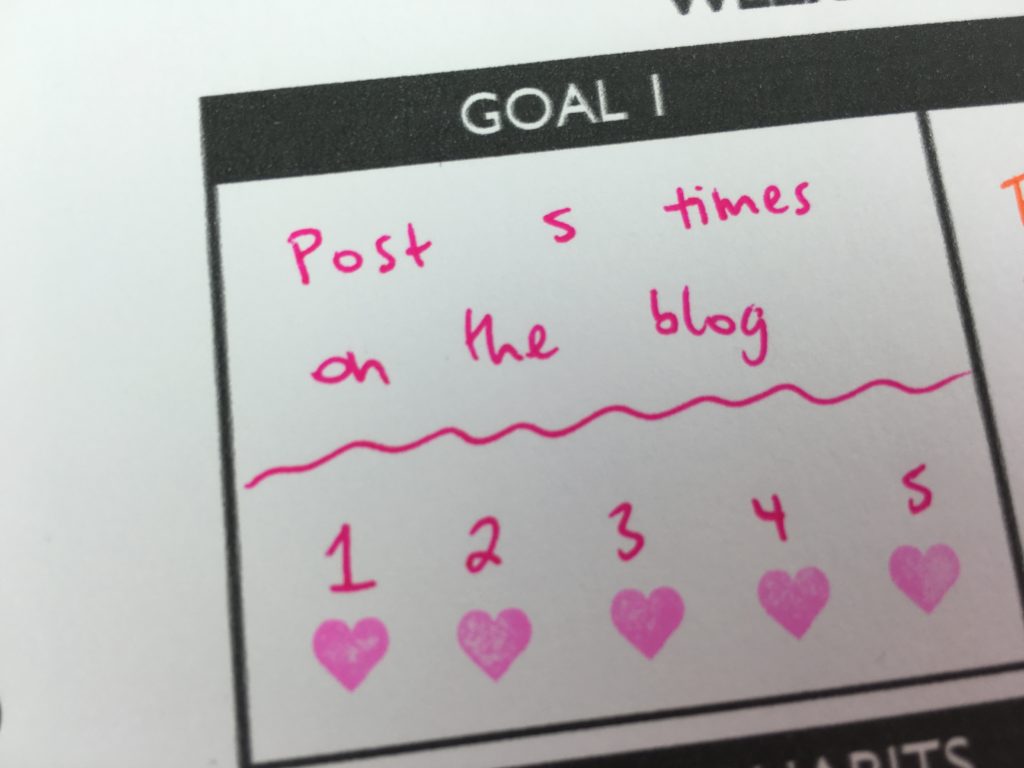
I also like using a top 3 and habit tracker so added that to the spread as well.
![]()
The width of the checklist column was just right – most of the planners I’ve tried have columns that are too narrow so you have to write really small to fit it all in or waste multiple lines for one task and everything feels really crammed.
![]()
Planner Supplies Used
The heart stamps I used for blog post workflow tracking (although you can use them for general list making) are the Frixion Erasable stamps. These are my all time favorite planner stamps as they don’t bleed through the page and are self inking (so there’s no mess!)
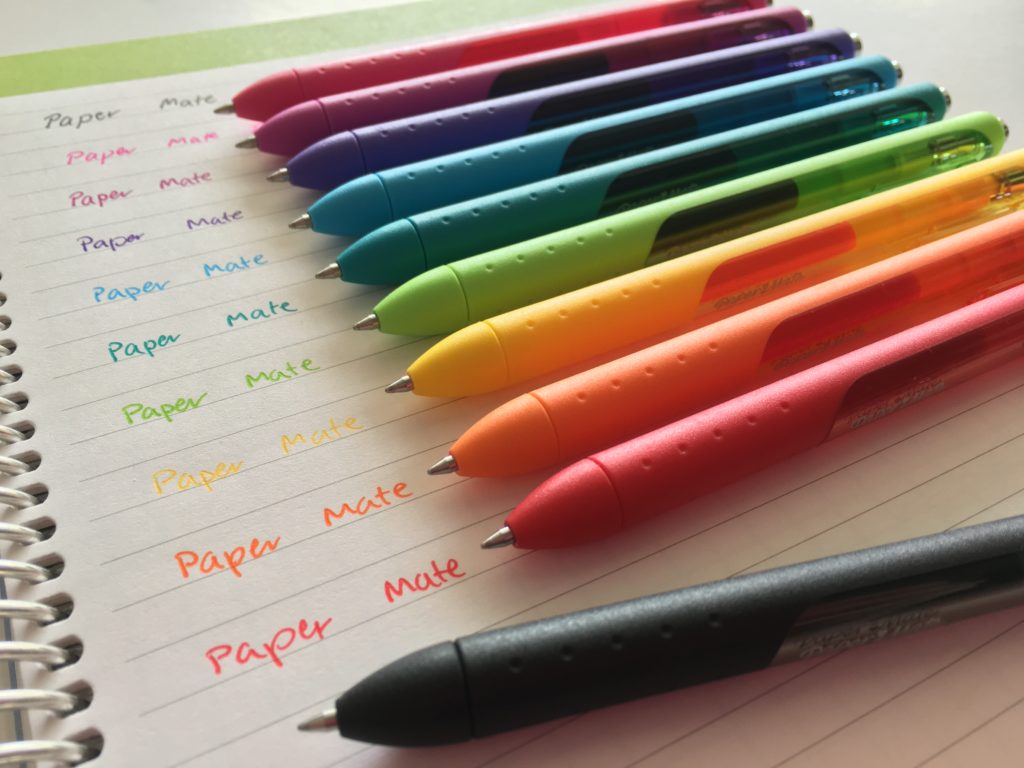
The pens were the Paper Mate Inkjoy Gel 0.7mm – my all time favorite rainbow planner pens. Plus their coordinate really well with my planner stickers <3
Stickers used:
- Meal planning icons
- Gym icons
- Mini icons
- Craft icons
- Movie night icons
- Celebrate / balloon icons
- Mud mask icon
- Shopping icons
Pros of this weekly spread
- Plenty of to do list space
- Habit tracker
- Top 3
- Lined weekly planning space
- Undated, start planing anytime
- If you work a day job like I do i.e. have more time to do things on the weekend, this printable is designed for that so you don’t waste space on the page
- Can be printed at A4, A5, letter size etc. – see this post for printing tips (the tutorial in that post will work for any printable, not just the ones from this kit)
Cons of this weekly spread
Since I designed the planner to suit my needs, it’s hard to find fault 😉
Although I do think black and white can get boring after a number of weeks – definitely need colored pens, stickers, stamps or washi to liven the pages up a bit!
Would I use this style of planner again?
Given that I made the planner, yes it worked well 🙂 I’ve enjoyed trying planners made by others but I also enjoy making printables – especially when I’m working on a project (as most planners don’t seem to include space for this separate to a weekly checklist). I’ve found many 2 page weekly planners but not a lot of them that have a 1 page weekly spread with lots of list making space which. After trying so many planners 1 side for weekly planning and 1 for to do’s seems to be the right fit for me!
The planner can be purchased here
Catch up on past week’s of the challenge:
- Week 14: Using a simple, 1 page weekly planner with only 3 sections
- Week 23: Using Limelife Planners Weekly Layout C
- Week 29: Plum Paper Me Planner
- Using the priority quadrant for weekly planning
More planning posts:
- 7 Planner supplies I don’t regret splurging on
- How to make printable graph paper in Photoshop (perfect for habit tracking and bullet journalling!)
- Minimalist Planner Decorating: Title Ideas for your Bullet Journal
- Best highlighters for planning
Found this post helpful? Pin it!
Leave a Reply