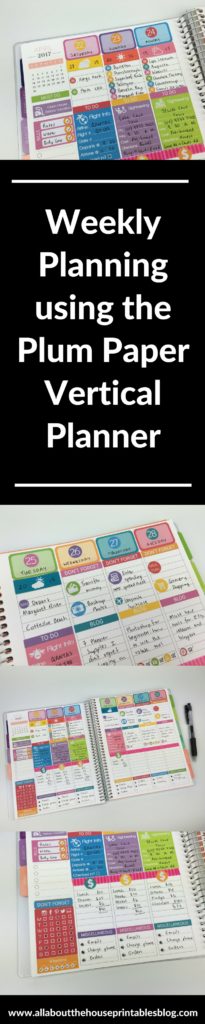
For Week 17 of the 52 Planners in 52 Weeks Challenge I did something I don’t normally do: use a vertical style weekly planner.
As someone that used the vertical Erin Condren Life Planner for far too long purely because it was ‘trendy’ – even though I always felt like there was something just not quite right – I didn’t think I’d ever go back to using a similar vertical planner. But then Plum Paper had a Black Friday sale at the end of last year and I thought what the heck (the planner was only $30) and added it to the cart.
Related: Plum Paper Planners Haul & Review (better than the Erin Condren?)
I much prefer the Plum Paper vertical planner version as the daily planning space is lined. This is the main reason I ditched the Erin Condren.
This week’s spread
I used Erin Condren size planner stickers. As these are the most popular sticker size, that’s the size I use for my planner stickers. I’ll be doing a post with comparison and photos showing how Erin Condren vertical life planner size stickers fit in other planners. Make sure you subscribe if you want to know when that post is published.
I’ve used EC size stickers in numerous planners including:
- Plum Paper
- Vertical stickers in the EC horizontal
- Happy Planner
- Happy Planner mini
- DIY spreads
- Mi goals planner
Their stickers are a really great size that are adaptable to basically any planner.
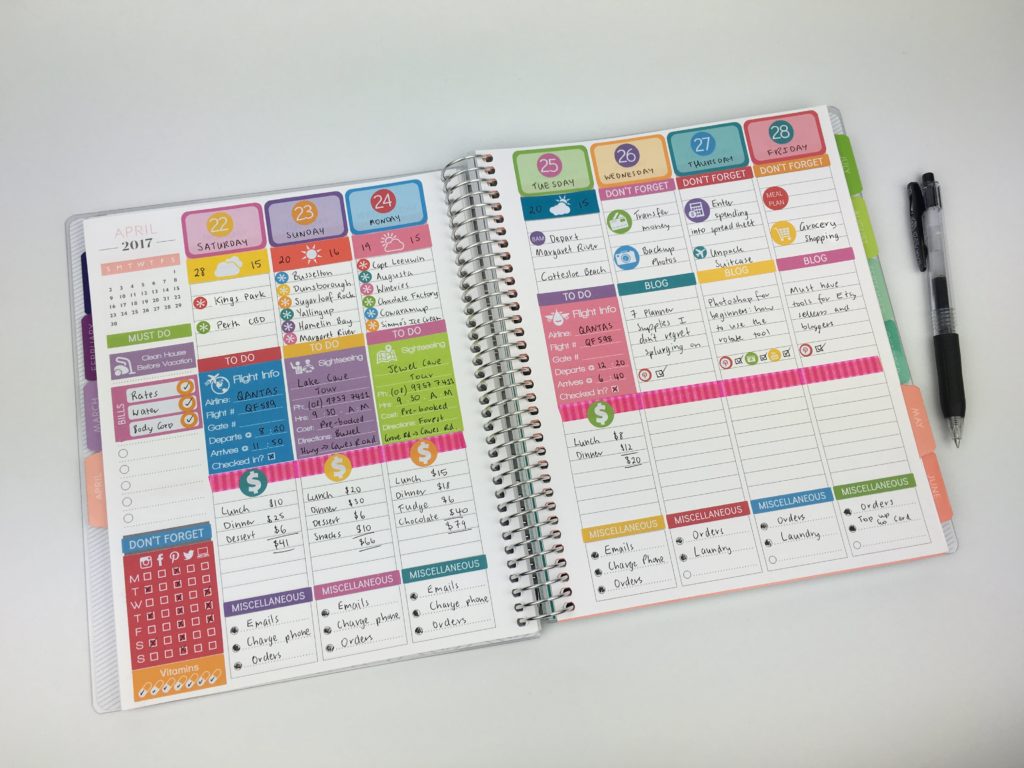
I took a leave day from my day job to create a long weekend (Anzac Day Public Holiday fell on the Tuesday) and went to Perth to visit my sister and explore the Margaret River region. So this week’s spread was quite different to my usual checklist based planning style!
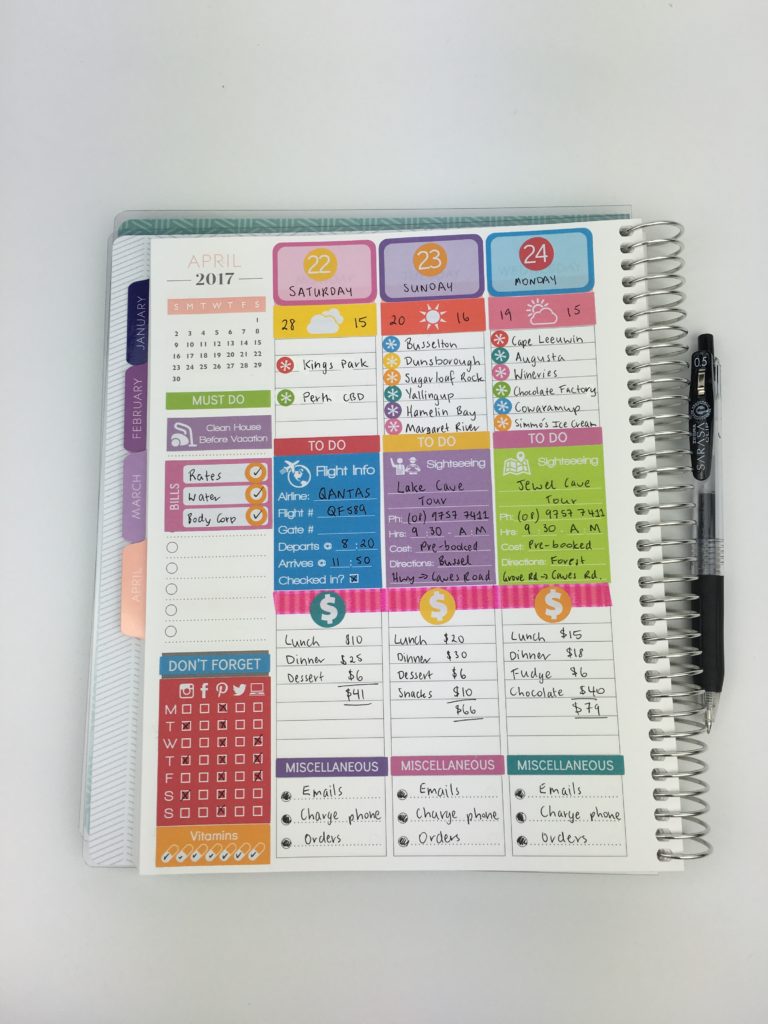
On the left side of the page was the first 3 days of the trip.
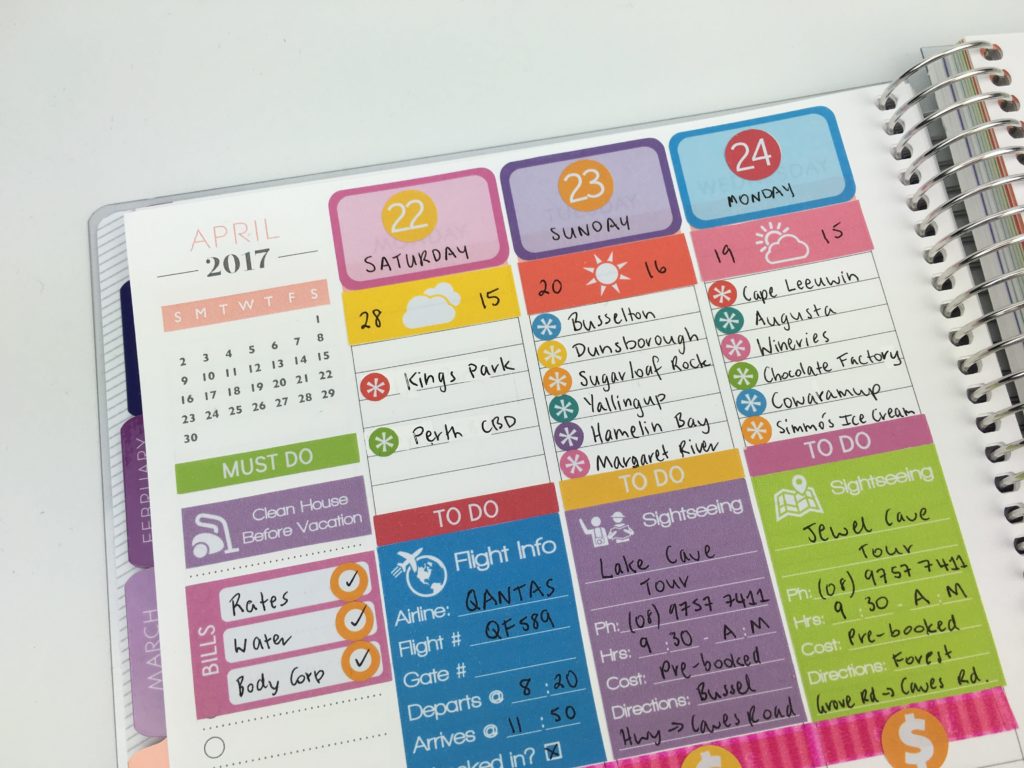
On the top row I noted the weather forecast. Given I was visiting in April it’s an ‘in between seasons’ time of year so I wasn’t sure whether to pack winter clothes or not (it gets chilly at the bottom of Australia!) – taking note of the weather forecast and temperature helps me decide what to pack.
I also used this section to jot down the itinerary – all of the places we were intending to visit (we did manage to fit them all in!)
On the right side of the page there were 3 days where I was back at work at my day job so only had the nights free to do blogging.
The planner is dated for 2017 but since I was started the week on a Saturday (read the different planning style I used for the first part of the week in this post), I covered up the dates using stickers.
I used Erin Condren vertical life planner size half box stickers then added countdown / date dot stickers and wrote in the days of the week.
![]()
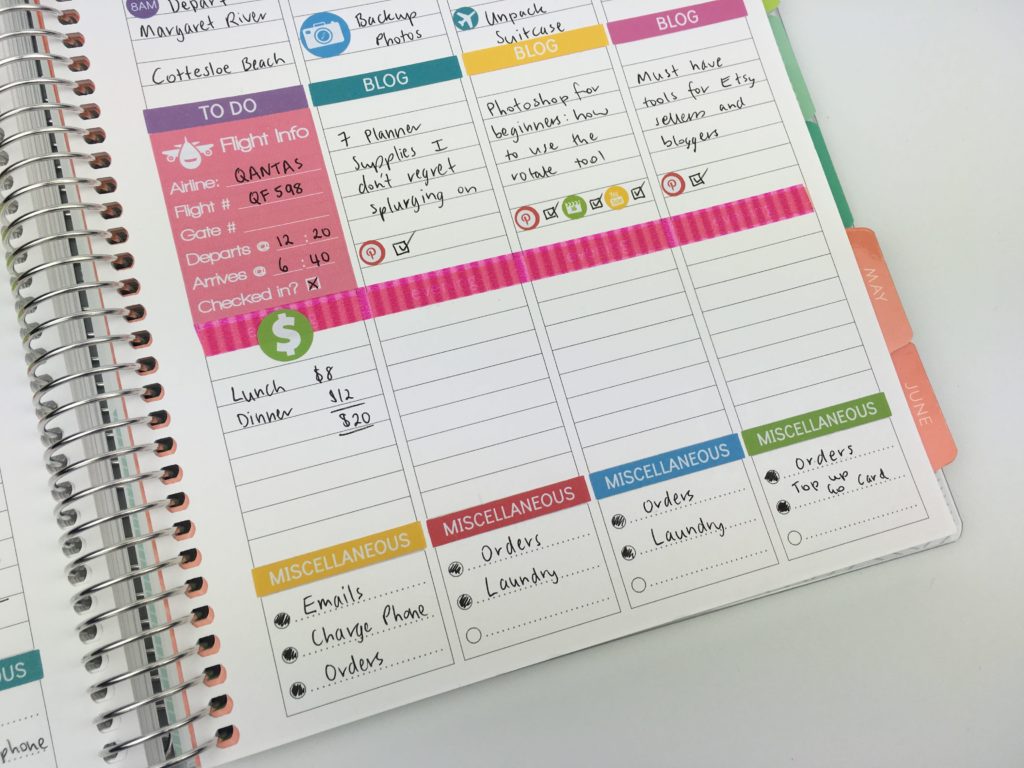
On the top line of the second page I jotted down reminders of things I needed to do that were a flow on from the trip i.e. returning to normal day to day life.
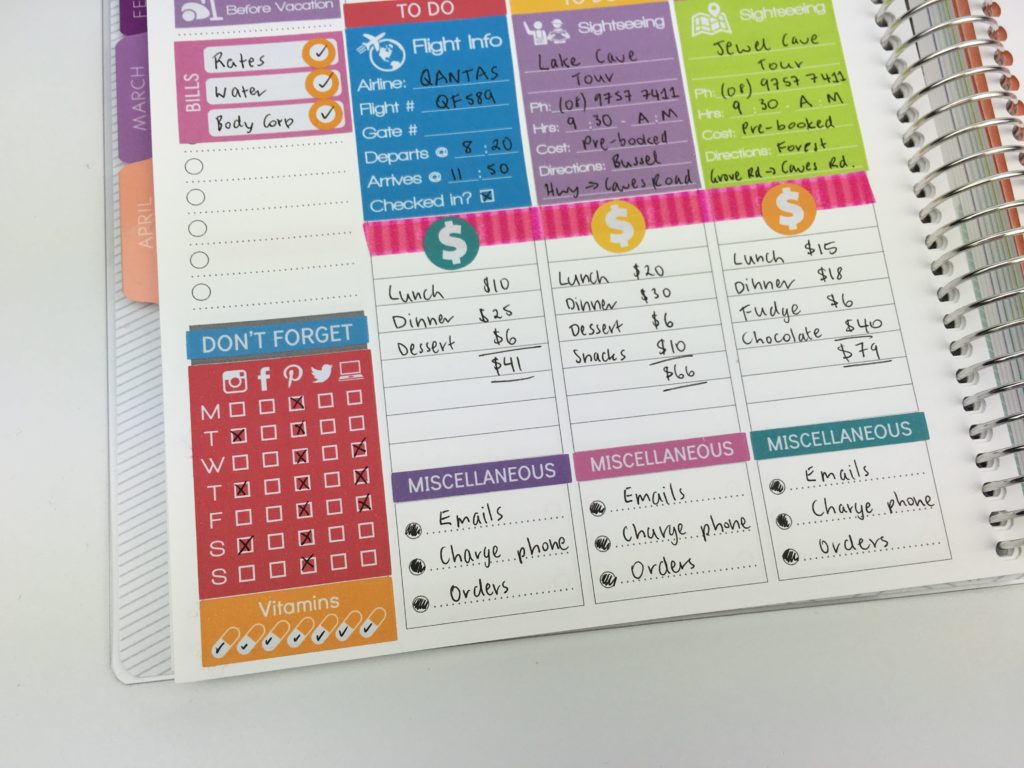
I love using icon stickers to add color to my planner, and also because I’m a visual person . My eyes are drawn to icons rather than text. They did take up a bit of space though, so if I used this planner again I’d use the tiny icon size (the plane sticker beside ‘unpack suitcase’ is 0.25″).
Related: Why I plan my day using planner stickers (and why you should too!)

So many people ask me if Erin Condren size planner stickers fit the Plum Paper vertical planner. The answer is yes! In the Plum Paper vertical there is some overlap as the boxes are a few mm wider. They’re also a few mm shorter but nothing a bit of washi tape can’t hide 🙂
I do think I under-utilised the checklist section at the bottom. If I was using this spread to plan a regular week I’d definitely use this for top 3 tasks to get done each day.
I added asterisk stickers beside the places we were going to visit to create a list – I started out just writing in the places but it ended up looking cluttered – I find list format so much easier to follow when planning – plus it added extra pops of color!
Stickers Used
- Rounded half box ombre stickers from my sister’s shop
- Flight Itinerary stickers – EC full box size 1.9″ high x 1.5″ wide (printable)
- Sightseeing stickers
- Weather stickers – daily high and low temperature (printable)
- Clean before vacation reminder sticker (part of this set – printable)
- To Do header stickers (editable printable from my shop)
- Blog header stickers
- Miscellaneous stickers
- Hourly time sticker
- Dollar sign spending sticker
- Bills sticker
- Orange circle dot checklist stickers (on top of the bills sticker in the sidebar of the spread)
- Social media sticker (printable, printed & kiss cut in my sister’s shop)
- Vitamin stickers (printable, printed & kiss cut from my sister’s shop)
- Asterisk stickers
- Date dots (you could also use these for countdown)
- Mini plane icon sticker
The printable planner stickers are from my shop. All others are printed & kiss cut stickers (designed by me) and are available in my sister’s planner supplies shop, Carefully Crafted.
I also have hotel planner stickers and car rental planner stickers.
That list of stickers looks quite long now that I type them all out but the spread didn’t feel cluttered or ‘over-done’ – I made sure I kept some white space on the page and I’m happy with how it ended up looking! 🙂
I didn’t do any color coding this week (didn’t feel the need to!)
Pens Used
I used the black 0.5mm Zebra Sarasa pen. Love these pens – they come in lots of pretty colors and pen tip sizes! The 0.5mm size is my favorite.
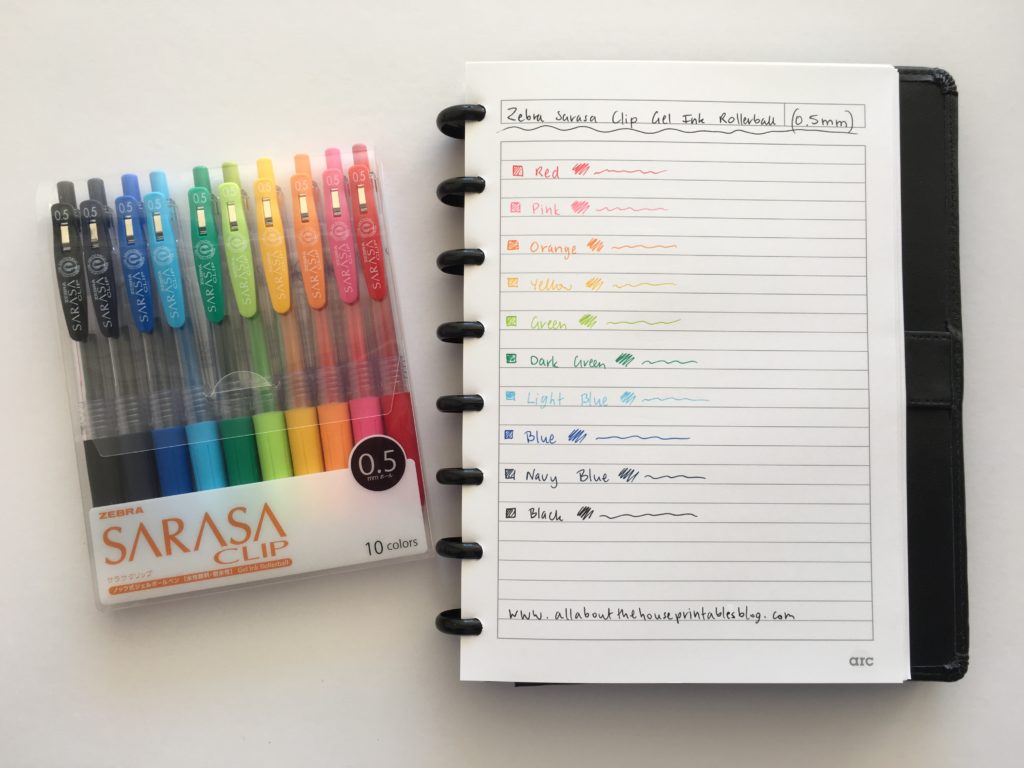
The only place I could find these pens in Australia was a shop call Bunbougu. This is not a sponsored post (I paid for the pens myself), just wanted to give other Australians a heads up as these pens are hard to find here.
Washi Tape
I used my favorite washi tape brand: Doodlebug in the stripe pattern. It also comes in chevrons and polka dots and in lots of pretty rainbow colors!
I drew my own checkboxes but if you have a lot of tasks, I recommend the self-inking checklist stamp by MAMBI.
Pros of the Plum Paper Vertical Weekly Planner
- I actually really liked using a vertical planner this week! Normally I avoid vertical planners as the columns tend to be too narrow for writing anything, but the way I used it this week meant there was enough room. If I had a really busy week I don’t think there’d be enough space as 1 task would take up multiple lines and I’d run out of space quite quickly
- Plenty of room in the sidebar – plus it has an in built checklist section
- The bottom checklist box for each day has no title so you can write in whatever title you like – or cover it up with stickers like I did. Erin Condren vertical life planner half box size stickers fit over the top of these boxes if you wanted to turn it into meal planning, daily reminders etc.
Cons of the Plum Paper Vertical Weekly Planner
- The icon stickers looked good but they did take up a bit of space though, so if I used this planner again I’d use the tiny icon size (the plane sticker beside ‘unpack suitcase’ is 0.25″).
- With vertical planners I find my eyes flick from left to right a lot as tasks extend over multiple lines which can be annoying to read
- I normally plan meals at the bottom of the daily section each day and top 3 at the top so if I was to use this for a normal week I’d flip it around and do meal planning at the top
- The dates at a glance calendar, in my opinion, is a waste of valuable planning space – I’d probably cover this up with a top 3 tasks for the week sticker
- The colors of this planner are nicer than the Erin Condren vertical and I like that they use 1 color for each month, not 2 color combinations (as the color combinations of the EC planner are awful!)
Would I use this layout again?
I was surprised how much I liked this vertical planner (I really liked having the lines to write on and keep it neat). I don’t think there’d be enough room for a busy week but for this week it worked. I’m thinking about using this for weekly blog planning later on this year.
I’m thinking that day’s post to be published in the top box, workflow tasks in the 2nd, product ideas / free content planning (if applicable to the blog post) in the 3rd and maintenance tasks in the bottom.
Liked this post? Pin it!
Leave a Reply