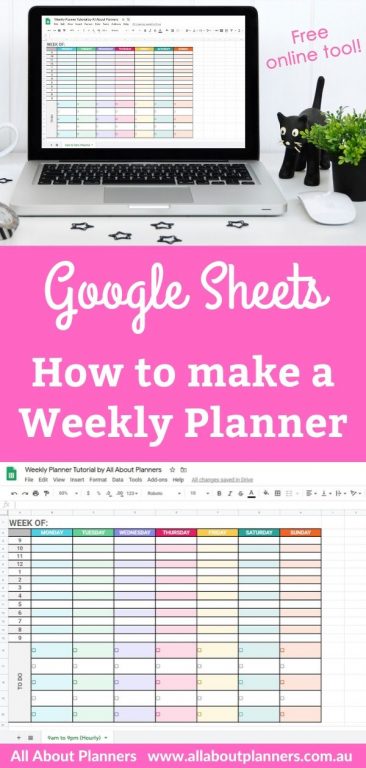
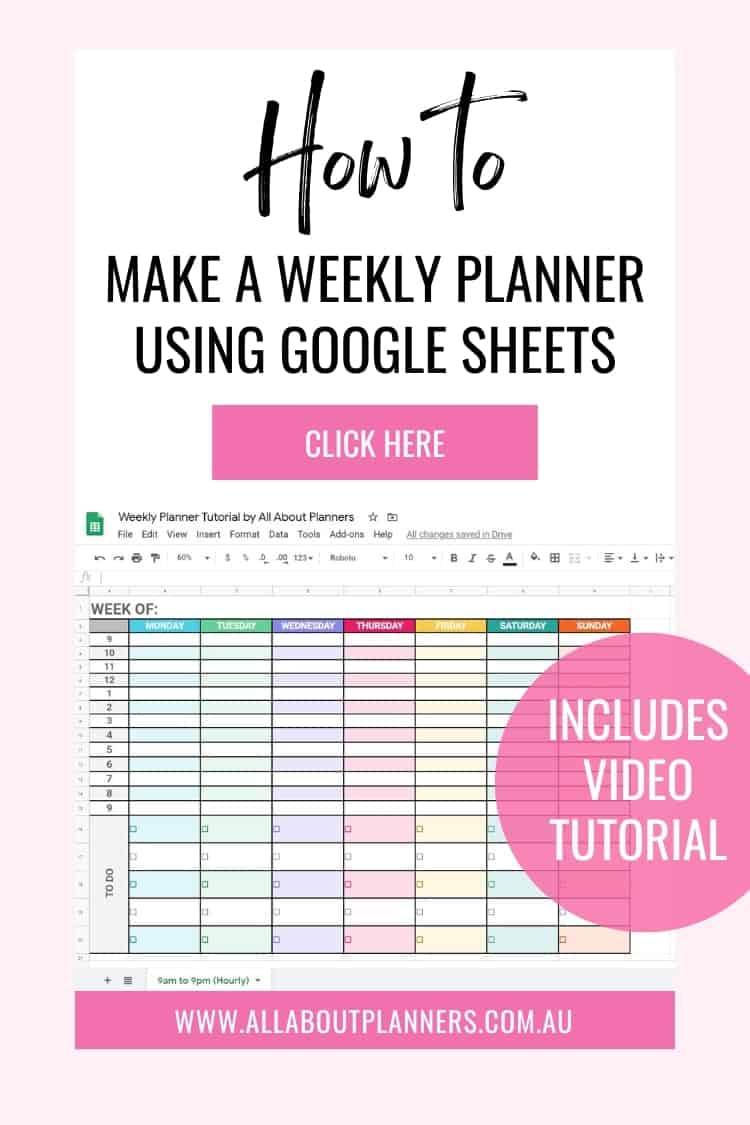
How to make a weekly planner using Google Sheets (free online tool)
About a year ago I made a bunch of tutorials on how to make printables using Microsoft Excel. Since then I’ve had quite a few people email me saying they don’t want to pay for Microsoft Excel or they use Numbers for Mac. Well some of the same things you can do in Excel, you can do in a free online tool called Google Sheets!
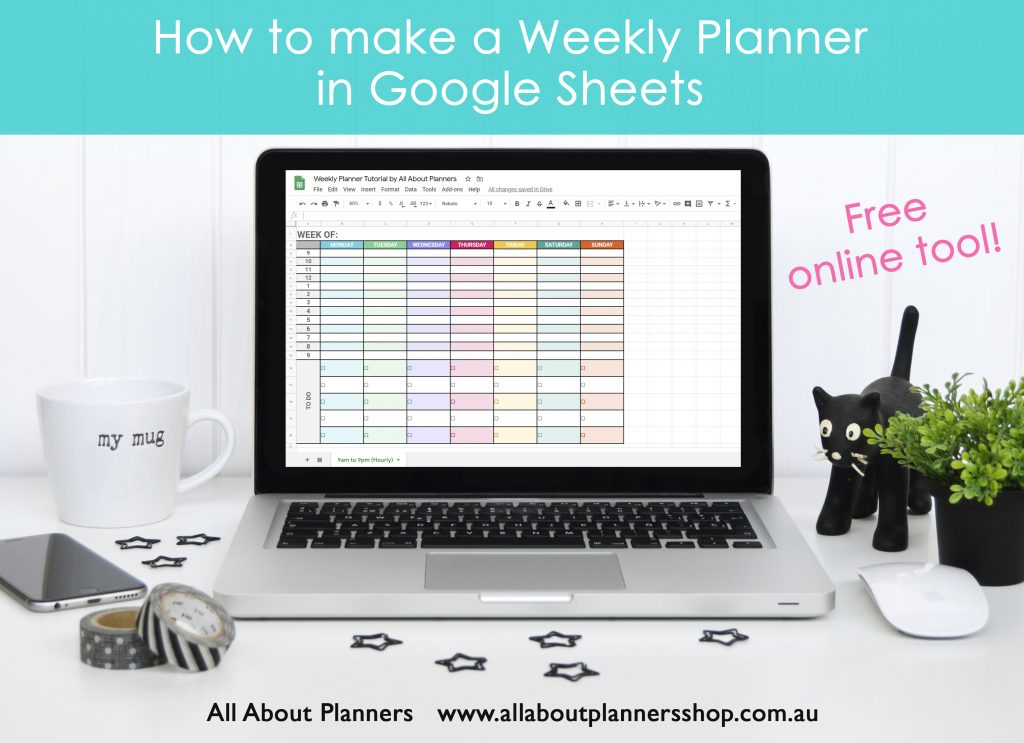
How to make a weekly planner in Google Sheets
To enlarge the screen of the video, click the square icon in the bottom right hand corner of the video (it will say ‘full screen’ when you hover your mouse over the icon).

Subscribe to my YouTube channel for more tutorials!
If you want to learn how to make a monthly calendar in Google Sheets, click here for my tutorial.
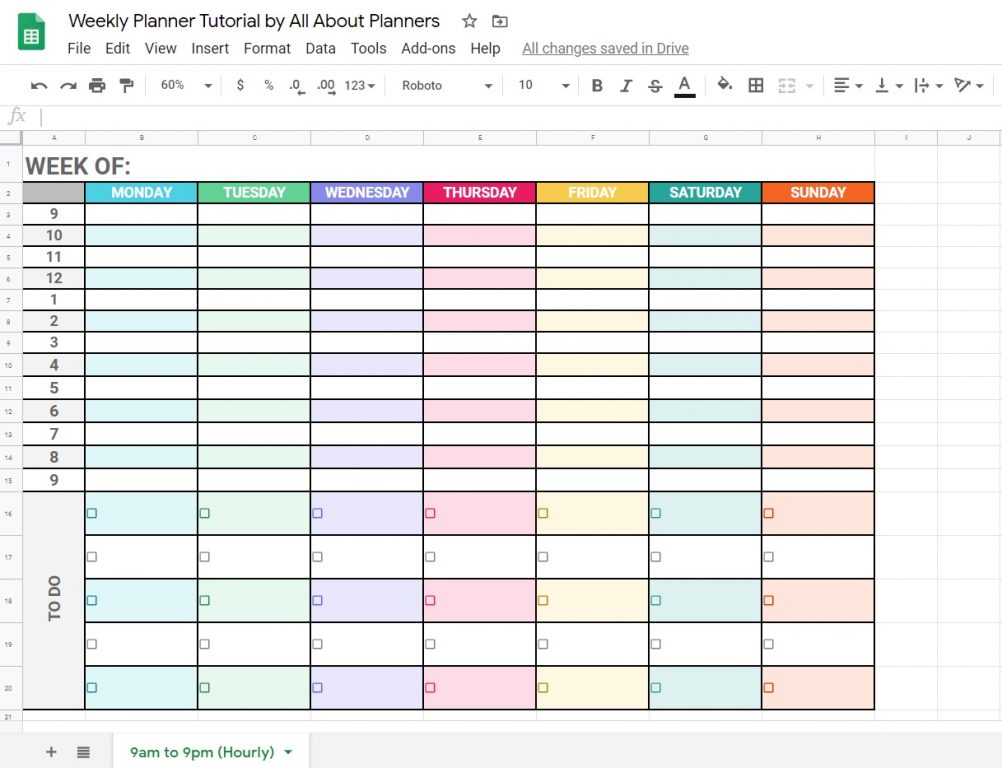
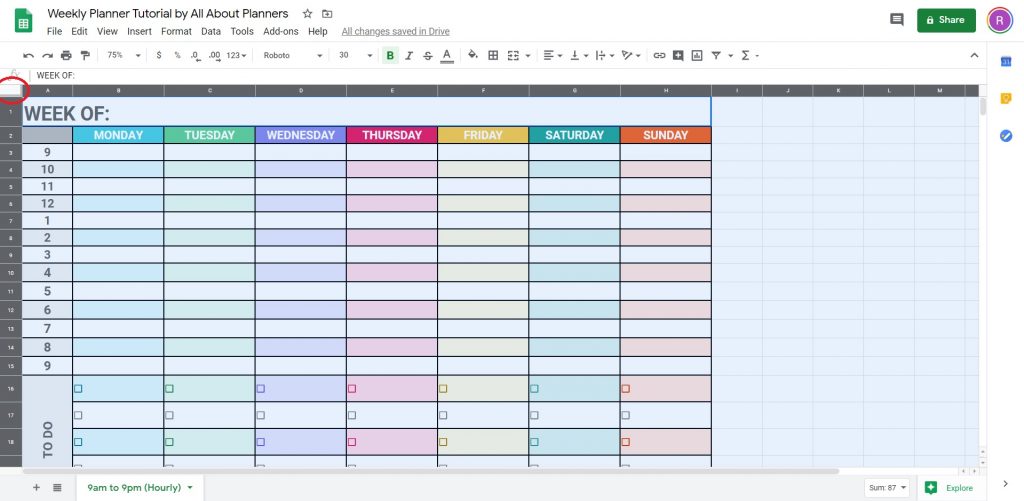
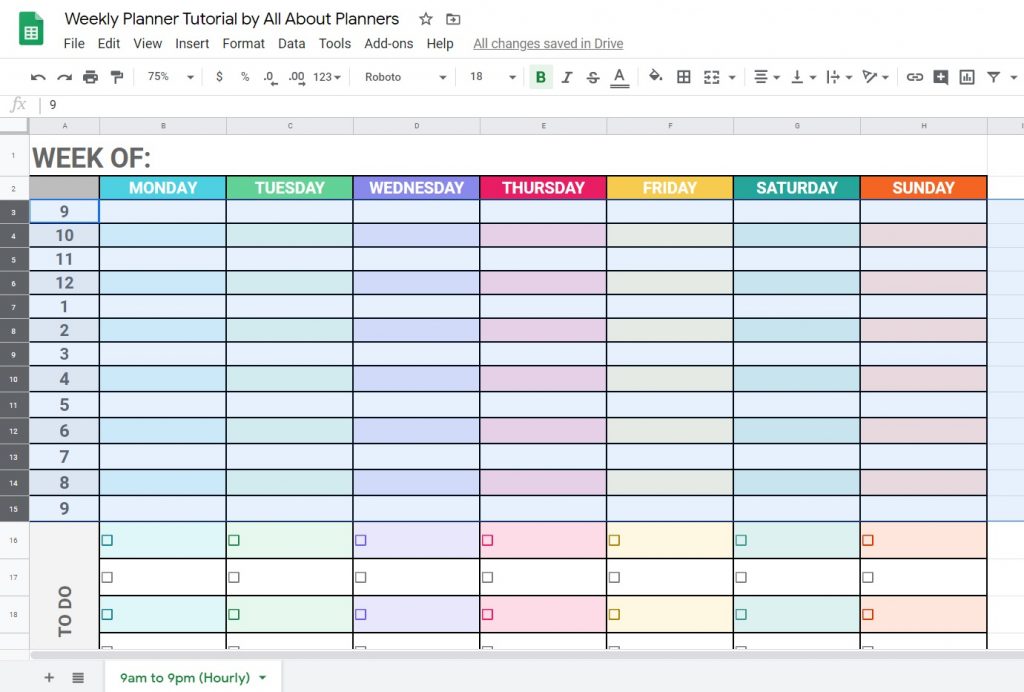
Here is my finished planner!
Choosing Colors
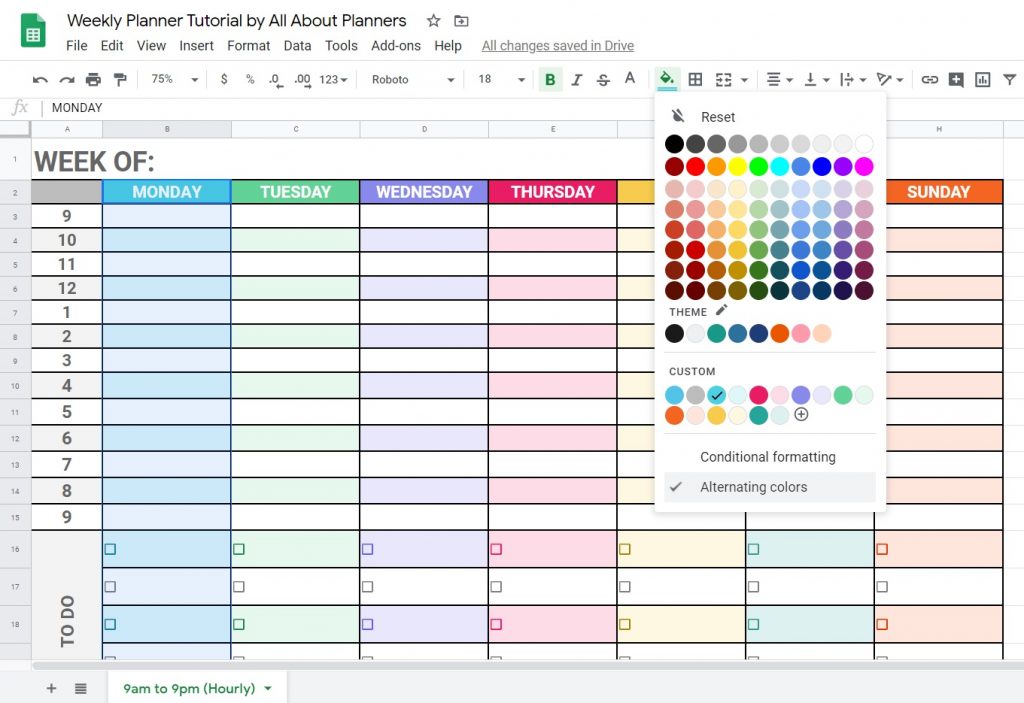
My favorite feature of Google Sheets is their color tool. In addition to already showing a color menu with various shades of the same color, you can also set custom combinations. It’s great for ombre planners which I like to use for scheduling printables. Rather than selecting each row individually, they have a nifty tool called alternating colors
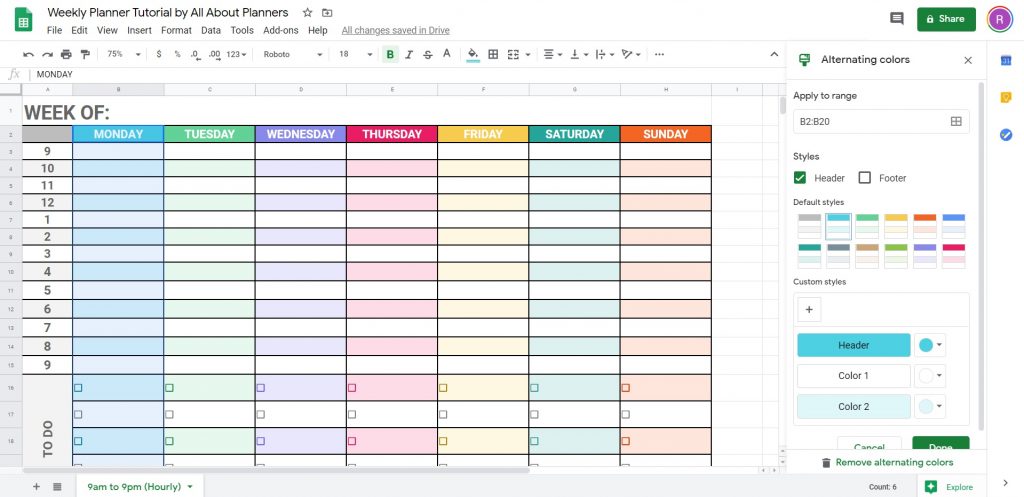
You can choose from their default styles (which I did for this planner) OR you can click the header 1, color 1 and color 2 boxes and choose colors from there.
If you want to use it in the future click the + button underneath custom styles to save it.
Changing fonts
To change the font style (and size if you want to) for all of the text, click the square on the very top left (I’ve circled in red in the image below), then click in the font menu, size menu etc. to make your changes
Click the arrow beside the font name and either choose between the fonts shown in the dropdown menu, or choose more fonts
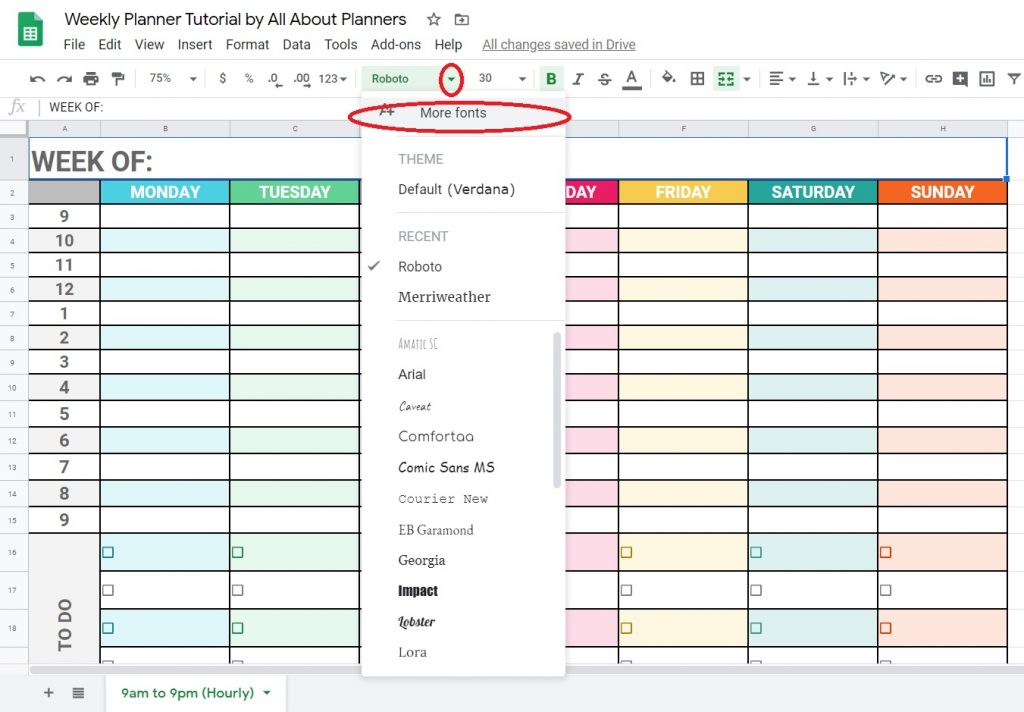
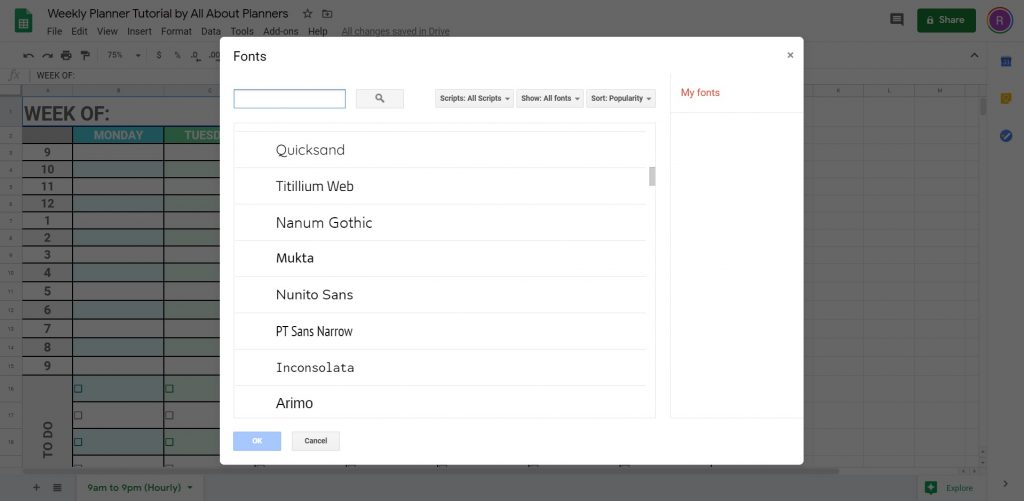
And search the name of the font you want to use
If you only want to change some of the fonts, not all, left click and drag over the boxes you want to change.
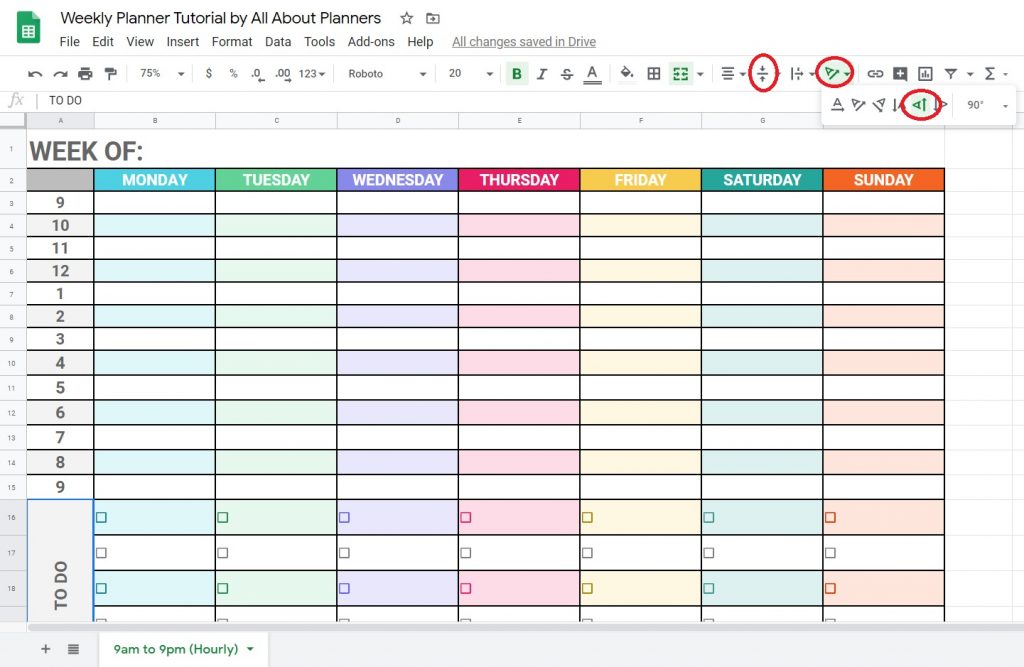
You can change the text direction like I did when I made my planner, by clicking the box with the fonts direction you want to change and click the menus circled in the screenshot below.
I like to align the text to the middle of the box – you can do so by clicking the button that has 2 arrows and a line in the middle (circled in the screenshot below).
Resizing elements of the design
- Left click and drag your mouse along the row numbers on the left highlighting as many rows as you want to resize
- Hover your mouse on the line between cells (it should change from grey to blue and an arrow pointing up and down will appear)
- Left click on that blue line and drag down to expand, or drag up to reduce the width of all of the highlight rows
You can do the same with the columns by selecting the letters at the top (A, B, C etc.)
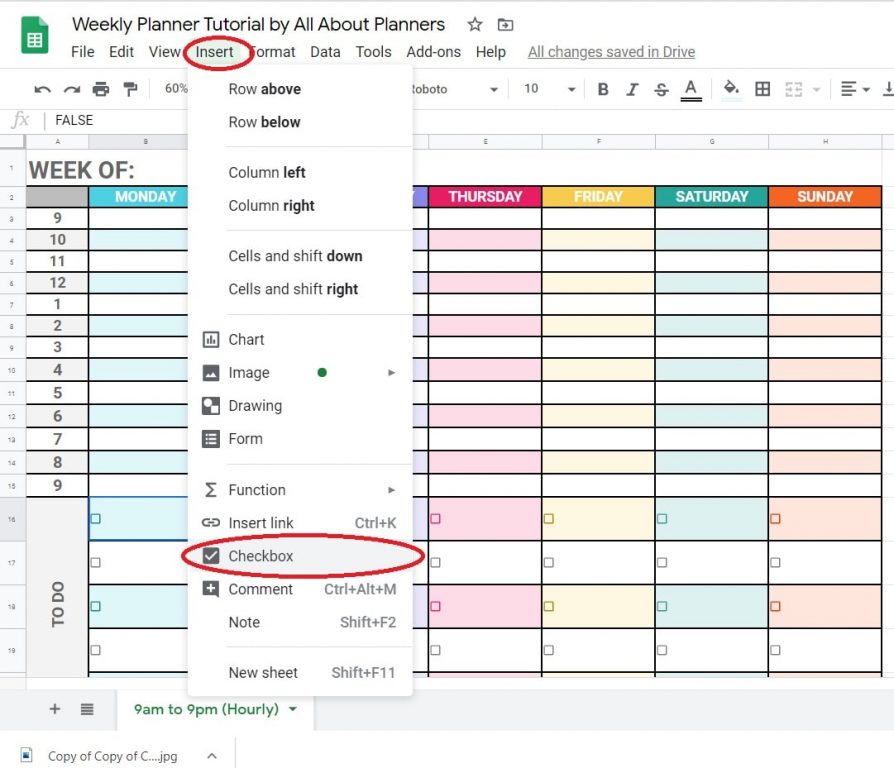
Adding checkboxes
Click insert from the top menu and then checkbox
Tips for making printables in Google Sheets
- If you’re making a 2 page weekly planner, make the first page and then copy it and change the days of the week. Much quicker to create it once and copy then to re-create it from scratch
- I recommend no smaller than font size 14
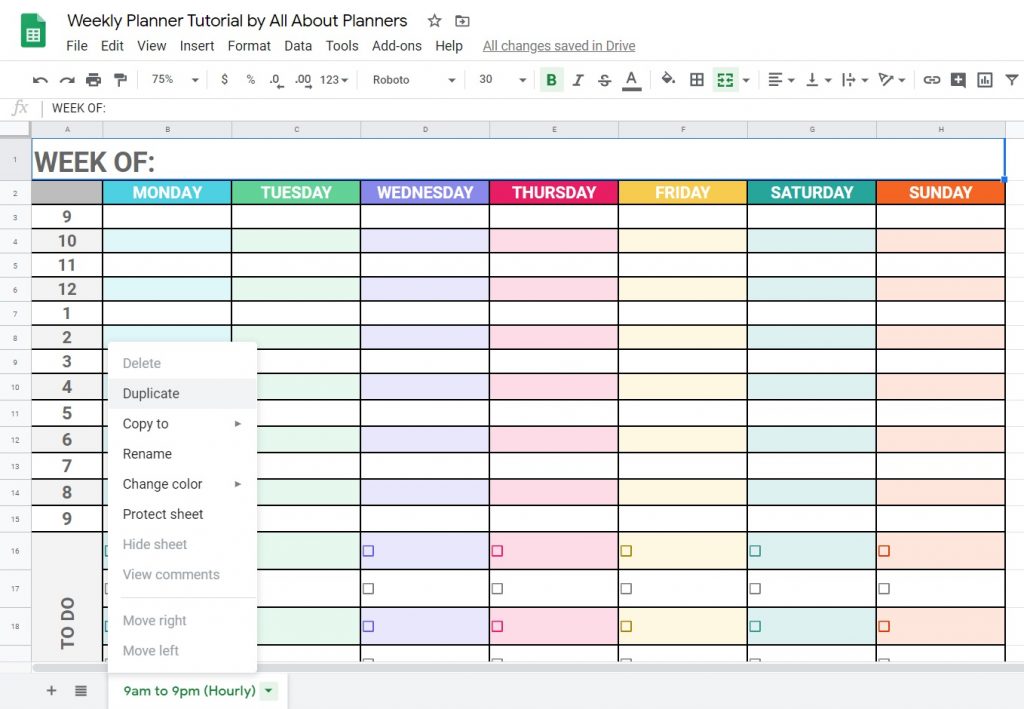
- If you want to use the same template but change it slightly, you can save a copy by right clicking on the tab and choosing duplicate. This way you’ll always have the original to come back to and won’t need to re-create the entire template from scratch
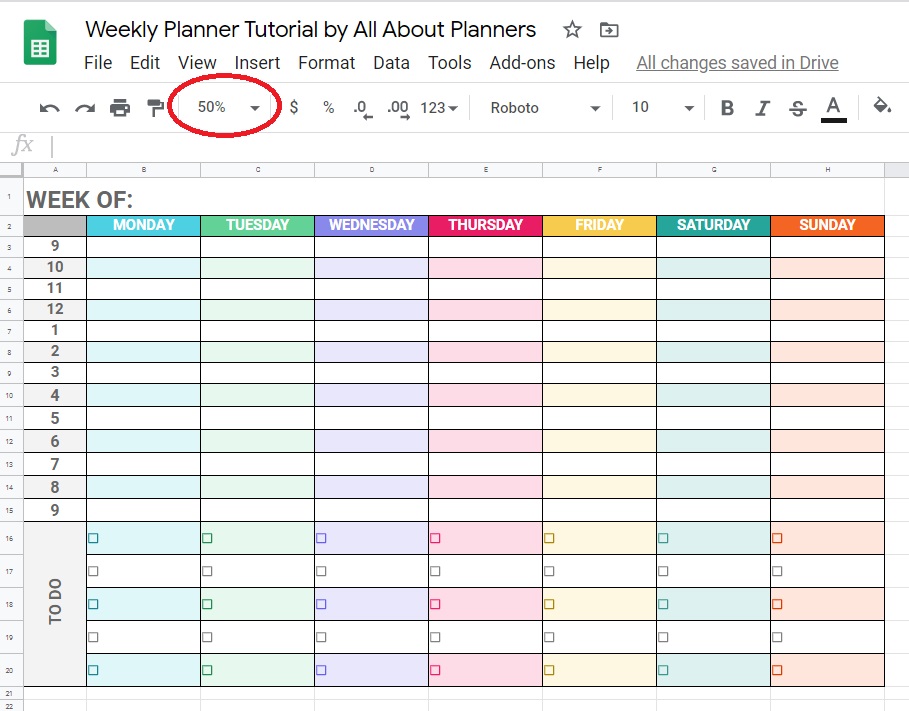
You can zoom in and out using the % button I’ve circled in the image below. It goes 50, 75, 100, 125% but you type in if you want a different number e.g. 60%
Using the planner you’ve made in Google Sheets
Since Google Sheets is a free online tool, you can access it from multiple devices – your computer, iPad, tablet, phone etc. Any changes you make will be saved when you move between devices. So if you make a change on your iPad, you’ll see that change when you open that same file on your computer
Pros of Google Sheets
- Free
- Online tool you can access from anywhere, you just need a Google account (if you use Gmail, it’s the same login)
- Has a checkbox tool (quicker to create checkboxes than in Microsoft Excel)
- Can easily duplicate a template once you’ve made it, to make a lot of printables in a short amount of time
- Quick
- Simple & easy to use
- Great color tools menu
- Can do much the same things that you can do in Microsoft Excel
Cons of Google Sheets
- Similar tools to Microsoft Excel but Google Sheets’ menu is a bit clunky to use with many sub-menu’s
- The tools menu is compressed and there are less images – I find it takes longer to find the tool I’m looking for
- Takes longer to draw / add shapes than in Excel
- Difficult to make your printables look unique
- My favorite keyboard shortcuts CTRL and + which I use to zoom in and out in MIcrosoft Excel, doesn’t work in Google Sheets
Ready to upgrade to Microsoft Excel? Enrol in my ecourse – all of the details are here.
Found this tutorial helpful? Pin it!