How to make a product catalogue/line sheet for your business (selling to wholesalers or retailers)
Is your Etsy shop or online business growing? Are you thinking about selling wholesale or approaching retailers to stock your products? You’re going to need a product catalogue and in this post, I’m going to show you how to put one together 🙂
If you sell physical products, personalised products, sell on Etsy or your own online shop and want to sell to wholesalers or make a catalogue for Christmas etc., then a catalogue is a professional way to display your products.
What is a product line sheet?
Basically it’s like a page from a product catalogue of the products in your shop. When you combine multiple line sheets together you can create a product catalogue. Some of the ways you can use catalogues to promote your business:
- Christmas catalogues
- Seasonal catalogues e.g. valentines day range
- Feature a new product range that’s coming out (or if you do a new product range every summer, fall etc.)
- All of your products so people can place an order for you, especially retailers who want to place a wholesale order from you – it’s going to be one of the first things they ask if you approach them to stock your products
- Drop in mailboxes or leave at business’ so people can order from you over the phone or via email
Why I recommend using Photoshop to create your Catalogue
Photoshop is not as hard to use as some people think, just put your blinders on and only focus on those tools you actually need to use. The main tools I use are the align tools, shape tool, fonts and clipping masks. Having a catalogue in Photoshop format (as opposed to something like Microsoft Word), gives you full control over the layout, design, size, font style color etc. And it’s super easy to color match your brand, align things so everything looks neat and centered on the page and overall makes your catalogue look super professional.
What should go in a product catalogue?
There’s no set ‘rules’ as to what must be included, but a few things I recommend including are:
- Contents page (think of it like a book, you want it to be easy to navigate – the easier it is to use, the more likely people are to want to place an order with your shop!)
- Store policies including shipping & returns
- How long it takes to ship & what shipping method (terms & conditions e.g. whether tracking is included)
- Shipping costs e.g. flat rate based on order value, or they need to send you the items they want and you’ll then second a second invoice for shipping
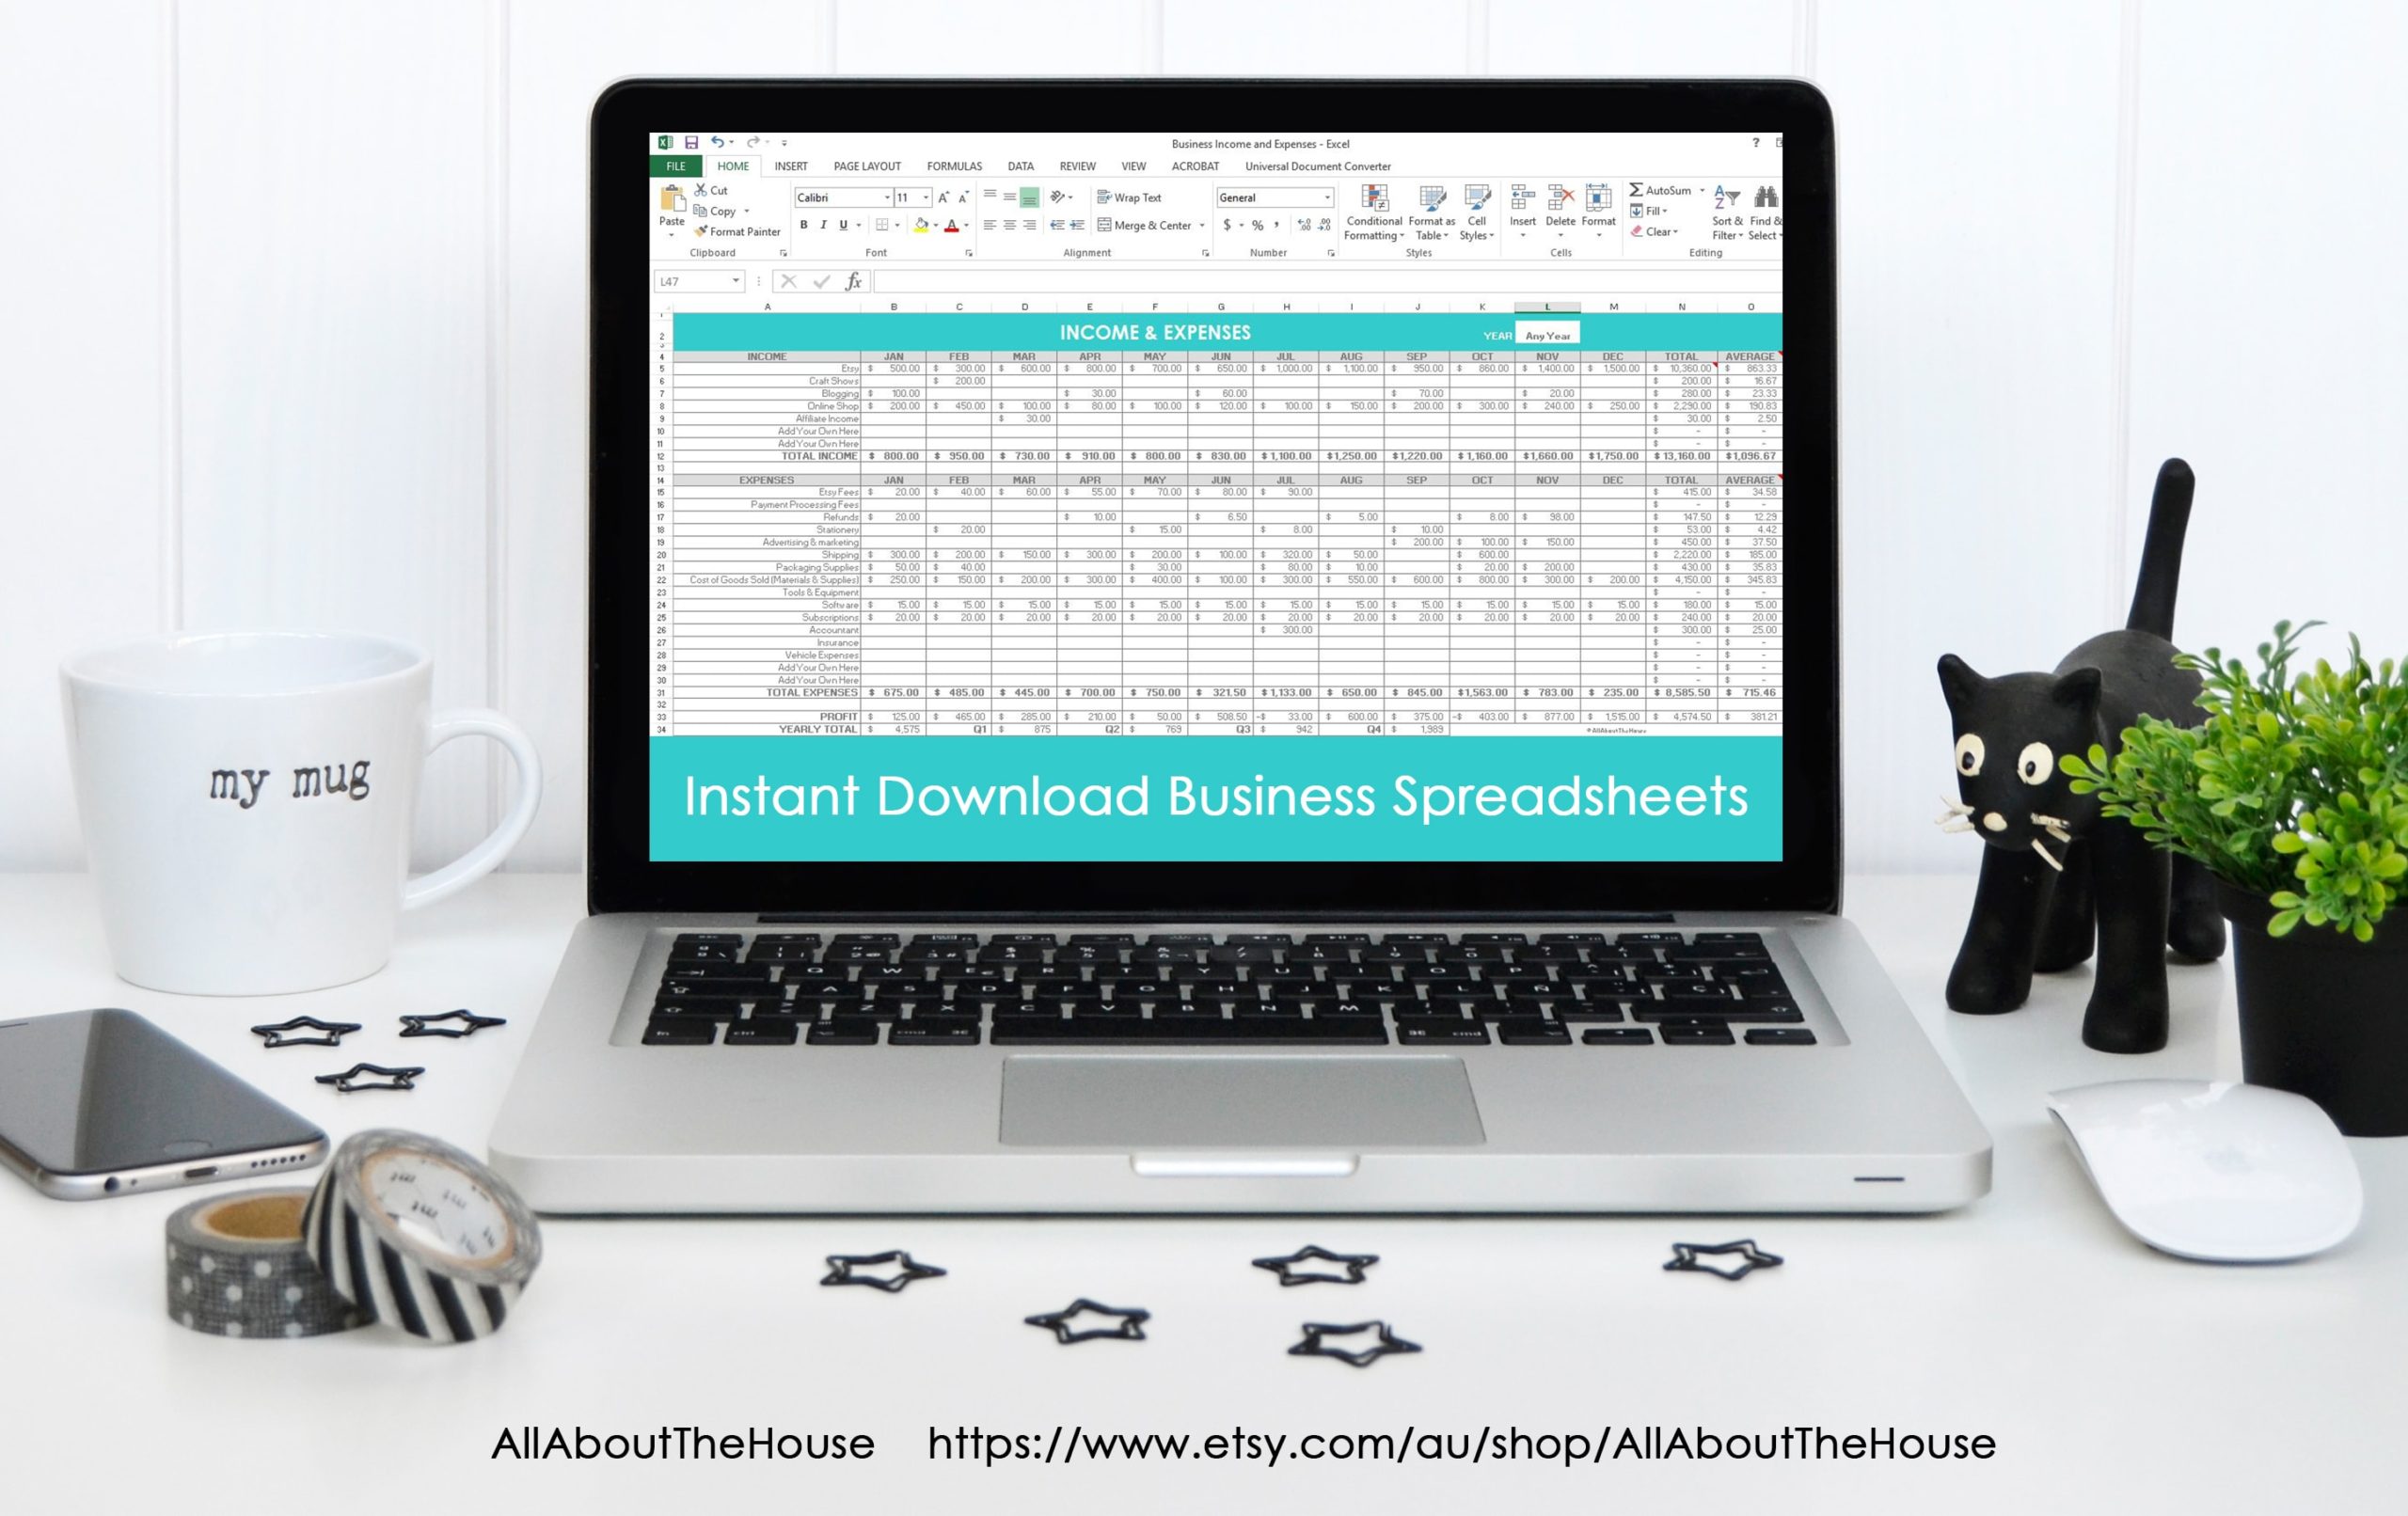
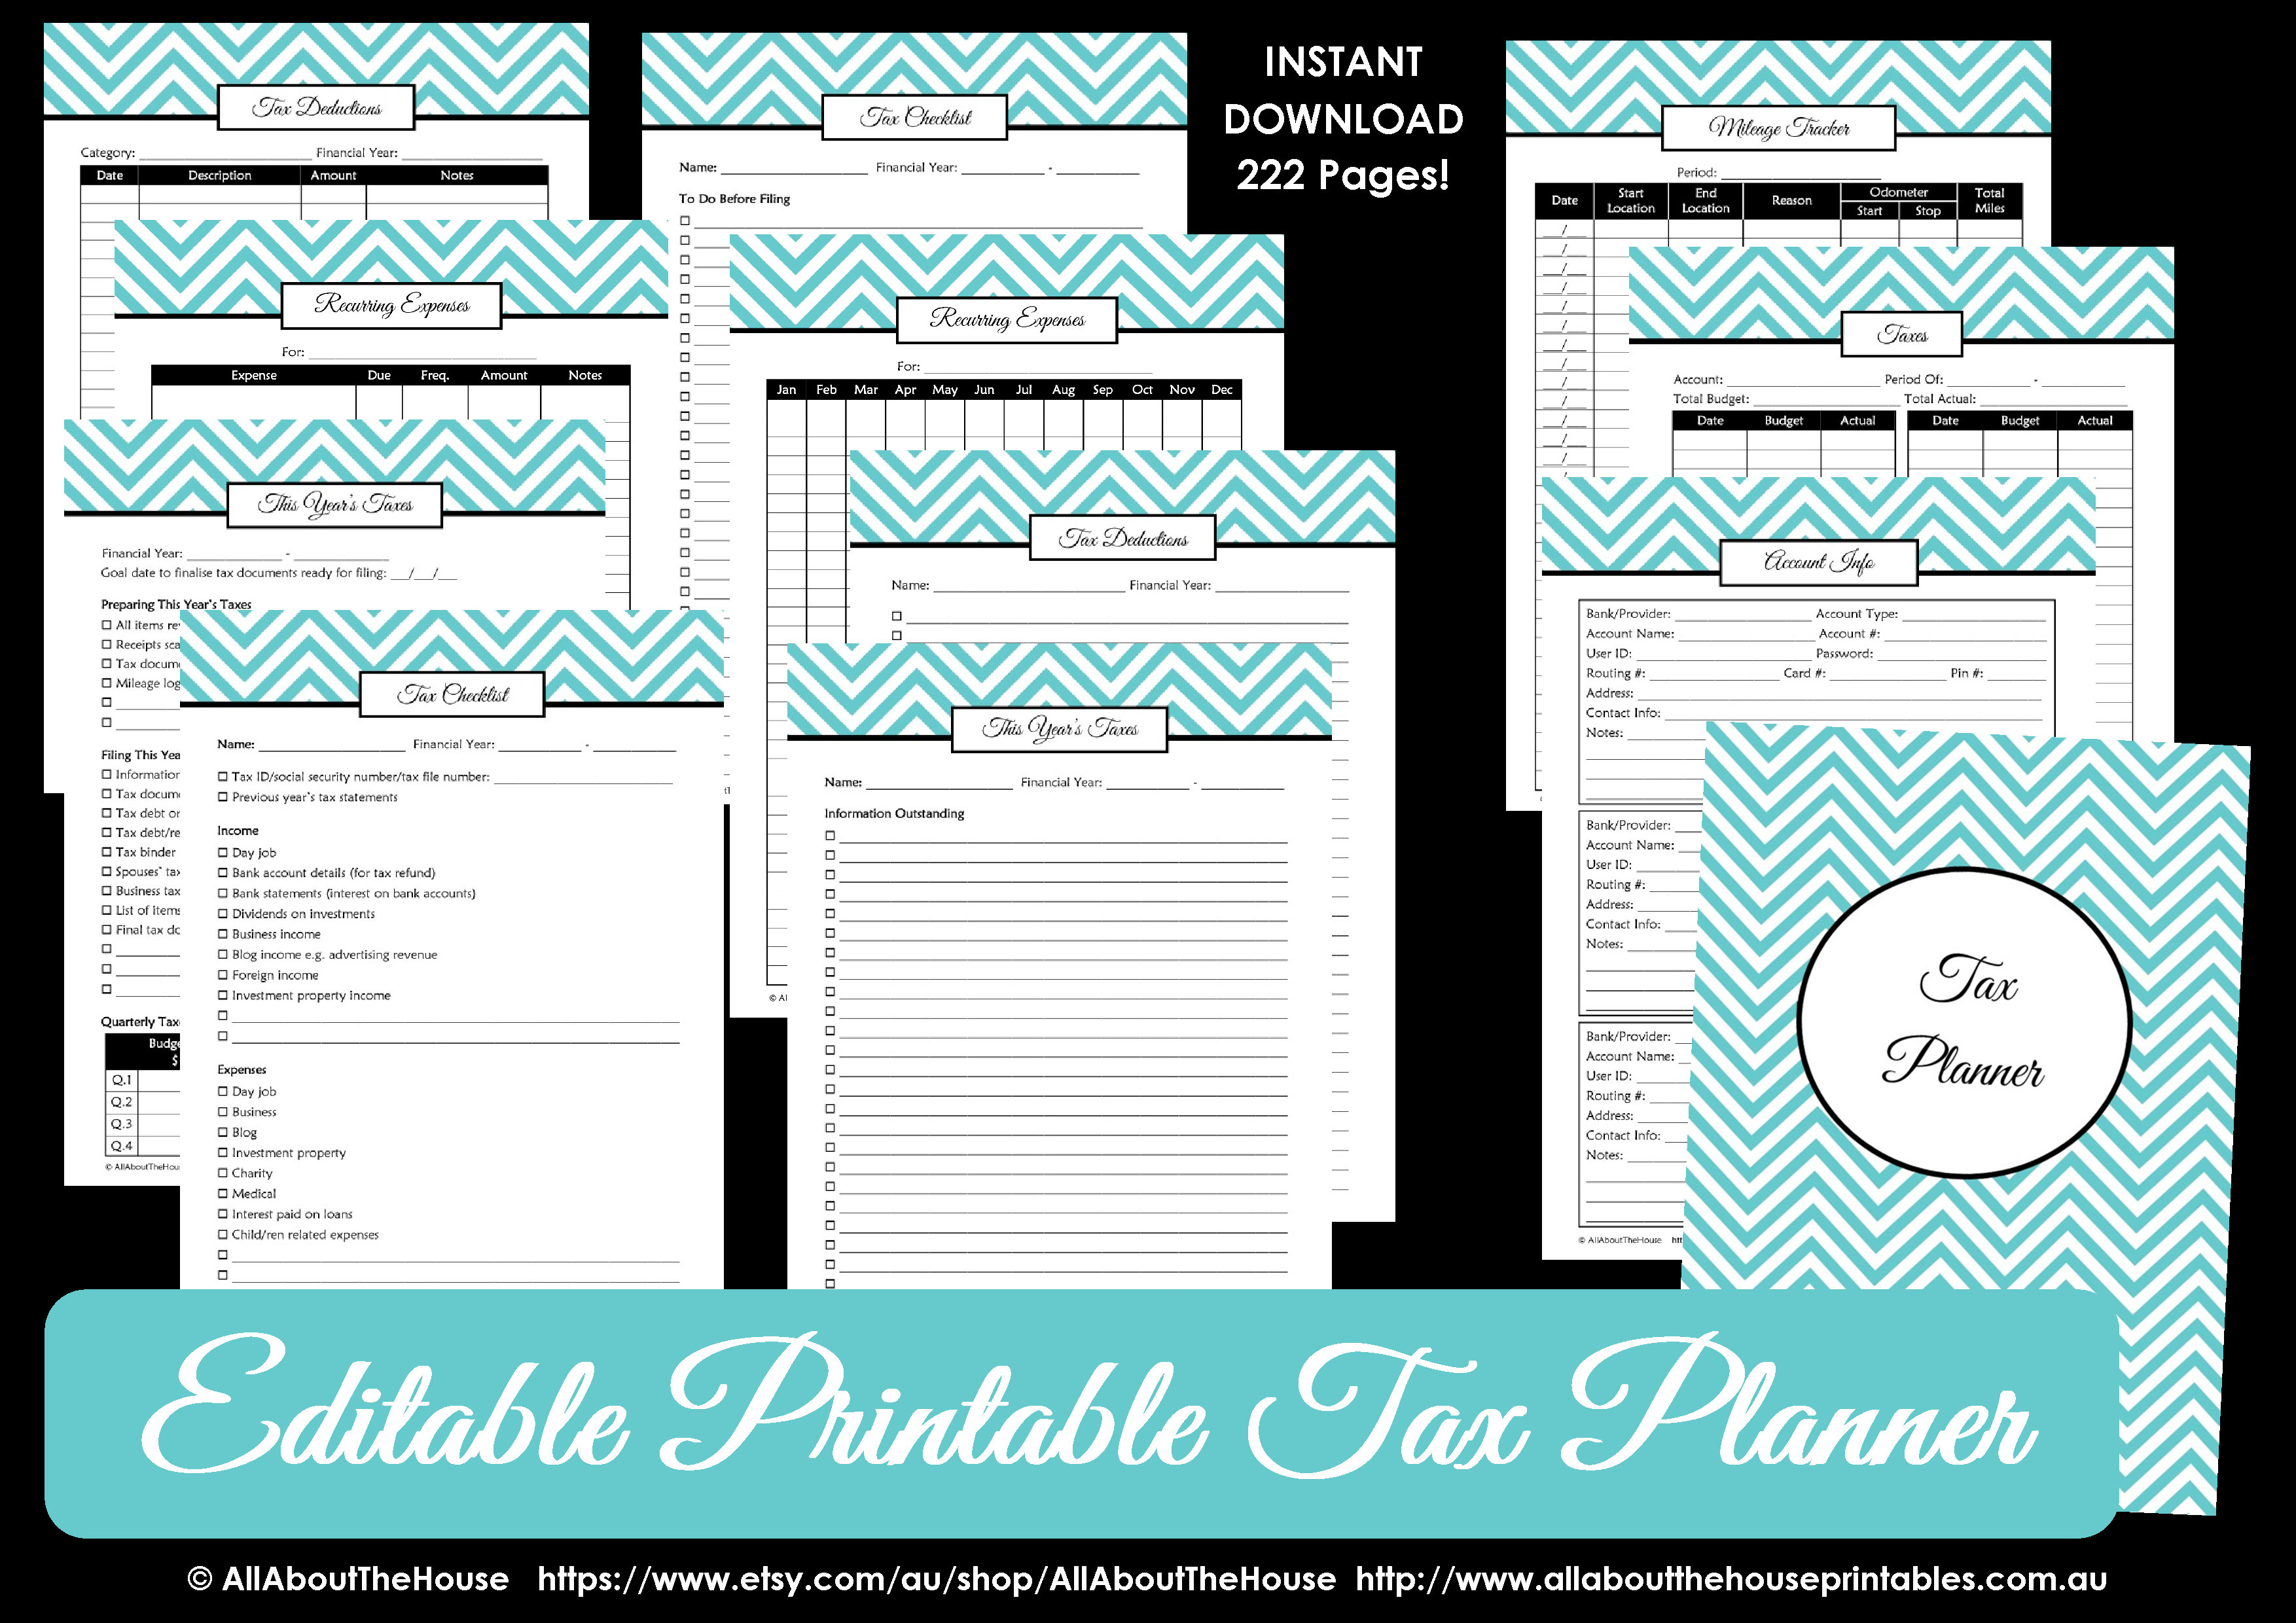
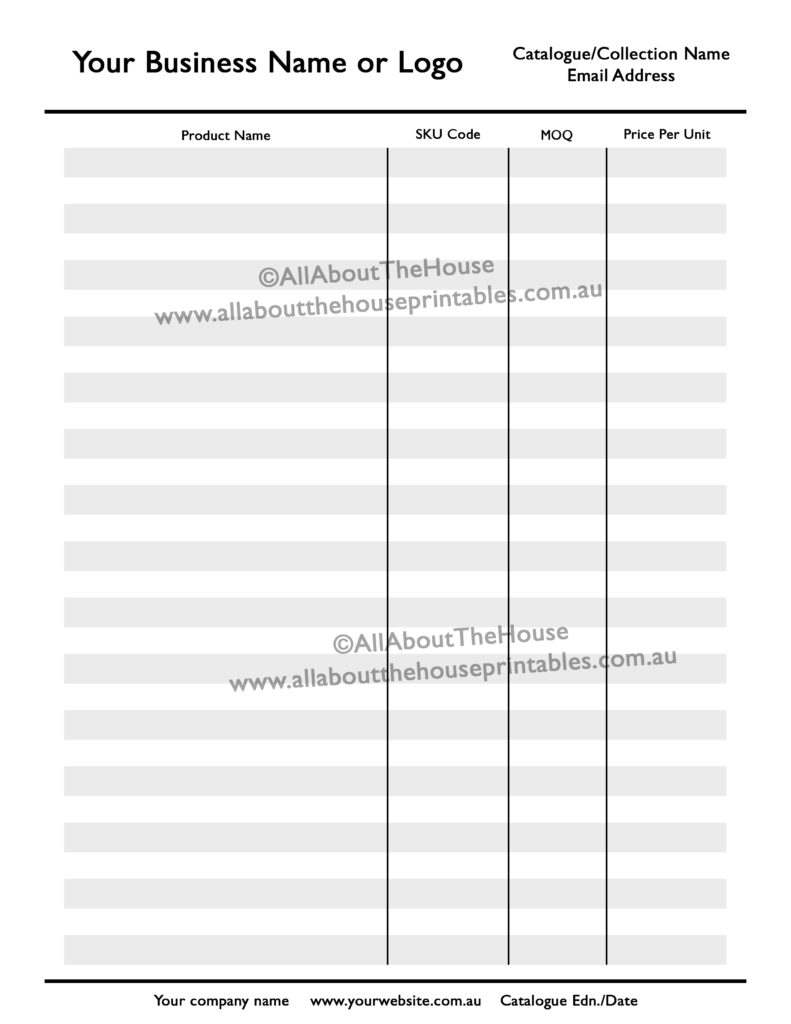
- A price list sheet (you can also include the prices below each product photo but if these are likely to change I recommend just including them on a master price list the customer can have with them as they flick through the catalogue to check the prices, such as the example below)
- Minimum order quantities and whether you’re going to offer a discount if they purchase multiples of the same item
- Minimum opening order value e.g. $100 and the minimum order value of any subsequent orders
- Payment method e.g. bank transfer, PayPal, credit card or cash on delivery (C.O.D)
- Terms of payment e.g. pay 50% deposit and the balance is cash on delivery (C.O.D)
- Whether items are currently in stock, are on back order, pre-order etc.
- Returns – do you accept and under what circumstances? How long do customers have to request a refund?
- Contact details such email, phone number, online store web address, physical address if your business has one etc. so customers can get in touch with you to place an order
- When the catalogue is valid until. If prices are likely to increase, be sure to include this clause
How to group your products
The great thing about having a customisable template in Photoshop is that you can make something that is exactly how YOU want it to be. You can choose whatever order to place your products in. If you want to use the same page layout for all pages, you can, and if you want to use different layouts, you can, it’s totally up to you!
Some product groupings could be:
Feature style pages (i.e. 1 or 2 photos per page with longer product descriptions) for:
- Your newest product
- Bestsellers
- Last chance/discontinued/low stock
Multiple products per page for:
- An entire product collection on one page
- Grouped by brand
- Products grouped by color (like how Kikki K group their products together if you go into one of their stores)
- New releases by month
- Releases by type e.g. if you sell clothing, all of your t-shirts on one page, all of your shorts on another page
- By material
- By size. If you hand-sew something e.g. cushions, you could place all the square cushions on one page, the rectangular ones on another
- By pattern
You can also mix it up and have a feature style page beside a page with multiple products.
How many pages should the product catalogue be?
Again, that’s up to you and it really depends on how many products you have. I always recommend choosing larger product photos and a longer catalogue but without going over say, 40 pages (because then people are likely to start losing interest), so ideally you would include a combination of product layouts – some with lots of products on the one page (e.g. if they’re similar or all part of a collection), with ‘feature pages’ that show only 1 or 2 products and with large photos interspersed between.
If you have a LOT of products and a few different product lines, you might want to separate them into multiple catalogues so people can filter down to look at only those products that they’re interested in.
What sort of photos should you use
A white background is a MUST. Try a site such as FotoFuze if you need help doing this. If you have a busy background with items that are only props and aren’t included then it’s not going to translate well when you have multiple products on the on page as the photos can become quite small. You can use photos that are in a ‘setting’ or have a ‘scene’ e.g. showing how to use the product on one of the feature pages. But keep the main photos very clean and simple so the focus in on your products.
What types of business needs a catalogue?
Any business that sells anything! Some examples:
- Clothing & apparel
- Jewellery
- party supplies
- Stationery
- Handmade items
How to make a catalogue in Photoshop
Whether you call it a catalogue, product line sheet, wholesaler catalogue, retailer catalogue or pricing book, it’s a professional way to share your products when approaching retailers.
To enlarge the screen of the video, click the square icon in the bottom right hand corner of the video (it will say ‘full screen’ when you hover your mouse over the icon).

Once you’ve created your catalogue, you can upload it to ISSUU or send it to print, or print it at home or your local office supply store and take it to retailers. The catalogue comes in both RGB color mode (perfect for printing at home or your local office supply store) and CMYK color mode (if you’ve having the catalogue sent to a professional printer).
Example of a finish catalog page (using products from my sister’s shop, Carefully Crafted By Jo)

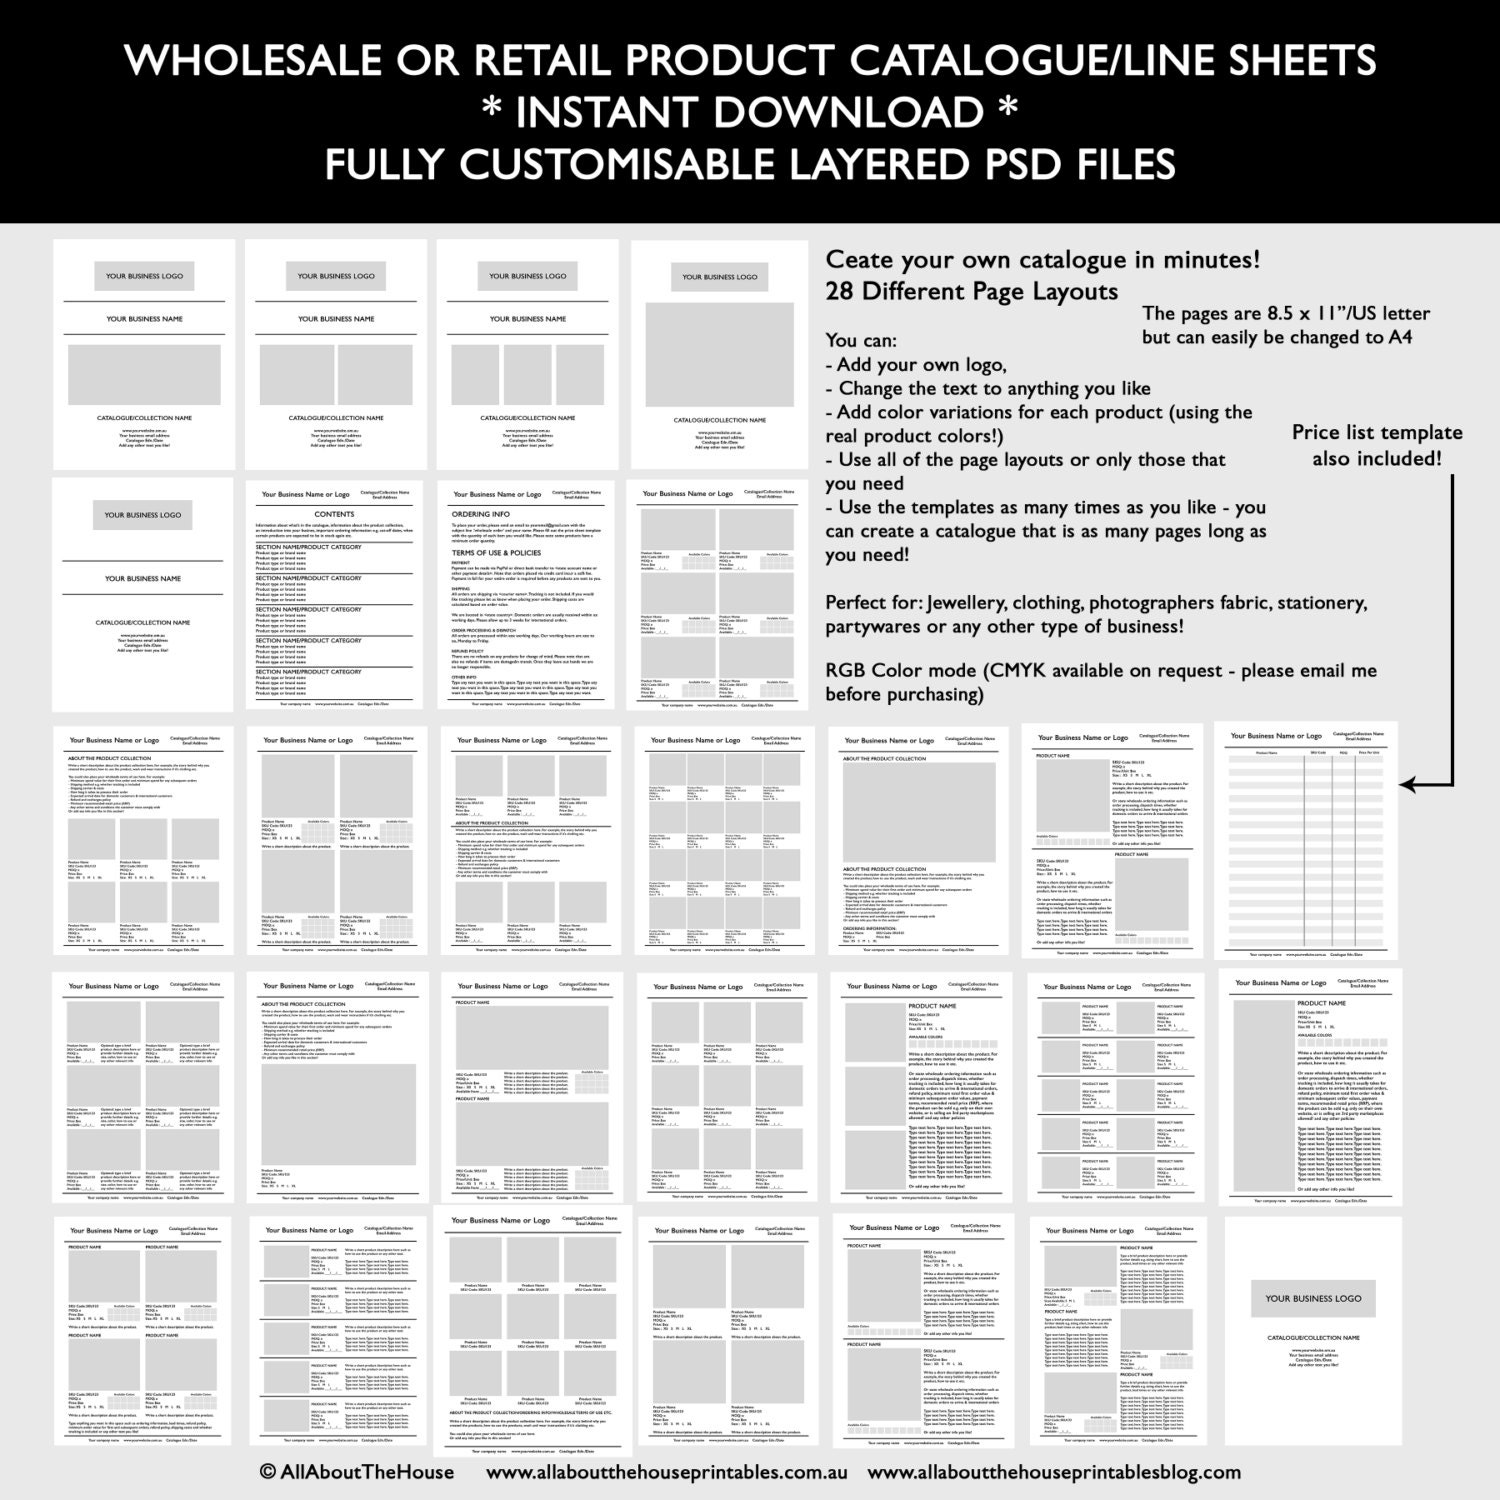
About the template
Page Size: letter size, you can change it to A4 if required by going to image (the top menu in Photoshop) then canvas size and entering the dimensions for A4 page size.
File format: Both RGB color mode (for printing at home) and CMYK (if you’re having the catalogue professionally printed) file formats are included
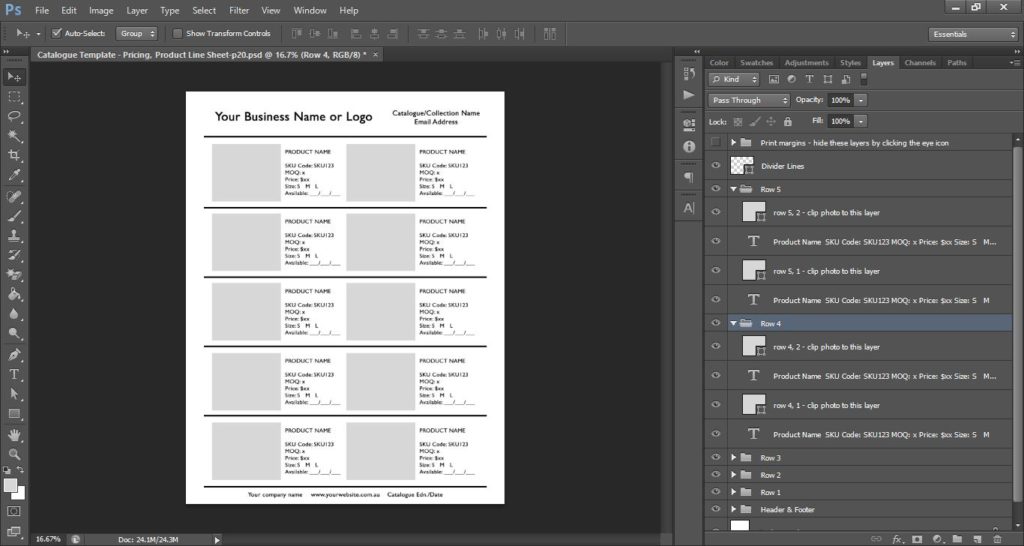
Customising the Template
You can add your logo and your own product images by locating the image files on your computer, clicking on the file, then left clicking, dragging and dropping into Photoshop. To clip the product photo to the squares (grey boxes), reposition your photo above one of the layers that say ‘clip photo to this layer’ then right click on your photo layer in the layers menu and select ‘create clipping mask’. You can use the arrow keys on your keyboard to reposition the image within the boundaries of the box.
Once you’ve added your logo and contact details to the header and the footer, rather than repeating the set-up for each page. Keep the file that you’ve customised open, then open any other templates you want to use. Go back to the original template you’ve customised, right click on the logo and your contact details layers in the layers menu (you can hold down CTRL or SHIFT to select multiple layers at once) and select ‘duplicate layer’ then choose the template you want to copy it to from the dropdown menu. Repeat for all of the templates you want to customise with your logo.
You can change the text to suit your business (e.g. use your brand’s font if you don’t like the pre-selected font in the templates). You can also add as much text as you like, but be sure to reduce the font size to suit the space. I don’t recommend using anything smaller than font size 8 if possible. You can also change the text to any color you want but be sure to choose a color that is easy to read! (if in doubt, I always recommend using black or dark grey)
You can click the eye icon in the layers menu to turn layers on and off.
Try to avoid placing images or text too close to the page margins. There is currently approximately 1.75cm margin on the left and right. I recommend no less than a 1.5cm margin as things may get cut off. I’ve left the left and right margin markers as a guide. Click the button on the left of the layer to turn these on, then click the eye icon to turn them off/hide them, before you save the file for printing.
If you want to add a border around your photos, click on one of the grey shape layers and, using the shape tool’s menu, add a stroke (stroke is a border around the shape). You could choose light grey, black or colors that match your brand.
Terms of Use
Use for your own business is allowed. Modifying, sharing, distributing in original or modified format or selling the template in its original format, or modified is prohibited. You may not share, re-sell, giveaway, claim as your own or modify to create a ‘new’ template which you then sell in your store.
When you’ve finished creating your catalogue
Save each page in PDF file format then combine using Adobe Professional or other PDF combining software. You can also upload to ISSUU.
Be sure to keep a copy of your original catalogue page templates in case you need to update pricing, minimum order quantity, quantity available etc.
If you’d like to purchase the template, it’s available in the online shop and my Etsy shop.
Included in the course is:
- A 37 minute video where I walk you through EXACTLY how I write a product description (using a product from my own shop as an example)
- A 5 page editable PDF for you to outline your product descriptions – it includes the 14 elements you should include in your product descriptions, what order to place them in and the things most people forget to include
- How I upsell in a non-icky way
- How to choose keywords that help your products get found (including my favorite keyword tools)
- Product photos – how to choose photos, elements all of your photos need and what order they should appear in
- My stock photography directory ebook with over 200 stock photography resources (most are free!) as well as mockup templates for your products