Printable Planner Stickers
WHY PRINTABLE?
I live in Australia, most of my customers live in the USA and shipping is very expensive and takes a long time! I conducted a poll and most of the feedback was that customers would not be willing to wait the amount of time it takes to deliver mail from Australia to the USA. Printable means I can offer the designs at a cheaper price than printed stickers and, once you purchase the file you can print the stickers as many time as you like for your personal use. If you run out of stickers just print another sheet… or 10 ? Printable files are like the gift that keeps on giving!
All of my sticker files are affordably priced and you can save even more if you purchase a choose your own sticker bundle.
__________________________________
WHERE CAN I PURCHASE THE STICKERS?
All sticker designs are available in the Etsy store. A sample is available in the online store.
__________________________________
WHAT LABEL/STICKER PAPER SHOULD I USE?
You can buy full sheet label paper from:
Worldlabel (Worldwide but expensive shipping to Australia)
Online Labels they even have metallic label paper (which I am dying to try!) (Worldwide but expensive shipping to Australia)
Office Depot (US only)
Amazon (Worldwide but expensive shipping to Australia)
Walmart (US only)
Officeworks (Australia only)
Staples (US and Australia)
Ebay (Worldwide)
Labelsbythesheet (US only)
Sheet Labels (US only)
And of course, Avery.
I have found that the ‘unofficial’ label paper (i.e. anything but Avery) is cheaper and works just the same! Most are compatible with both inkjet and laser printers but be sure to check before purchasing.
Matte sticker paper is easier to write on that Glossy. You can also purchase repositionable sticker paper.
I purchase my label paper off Ebay.
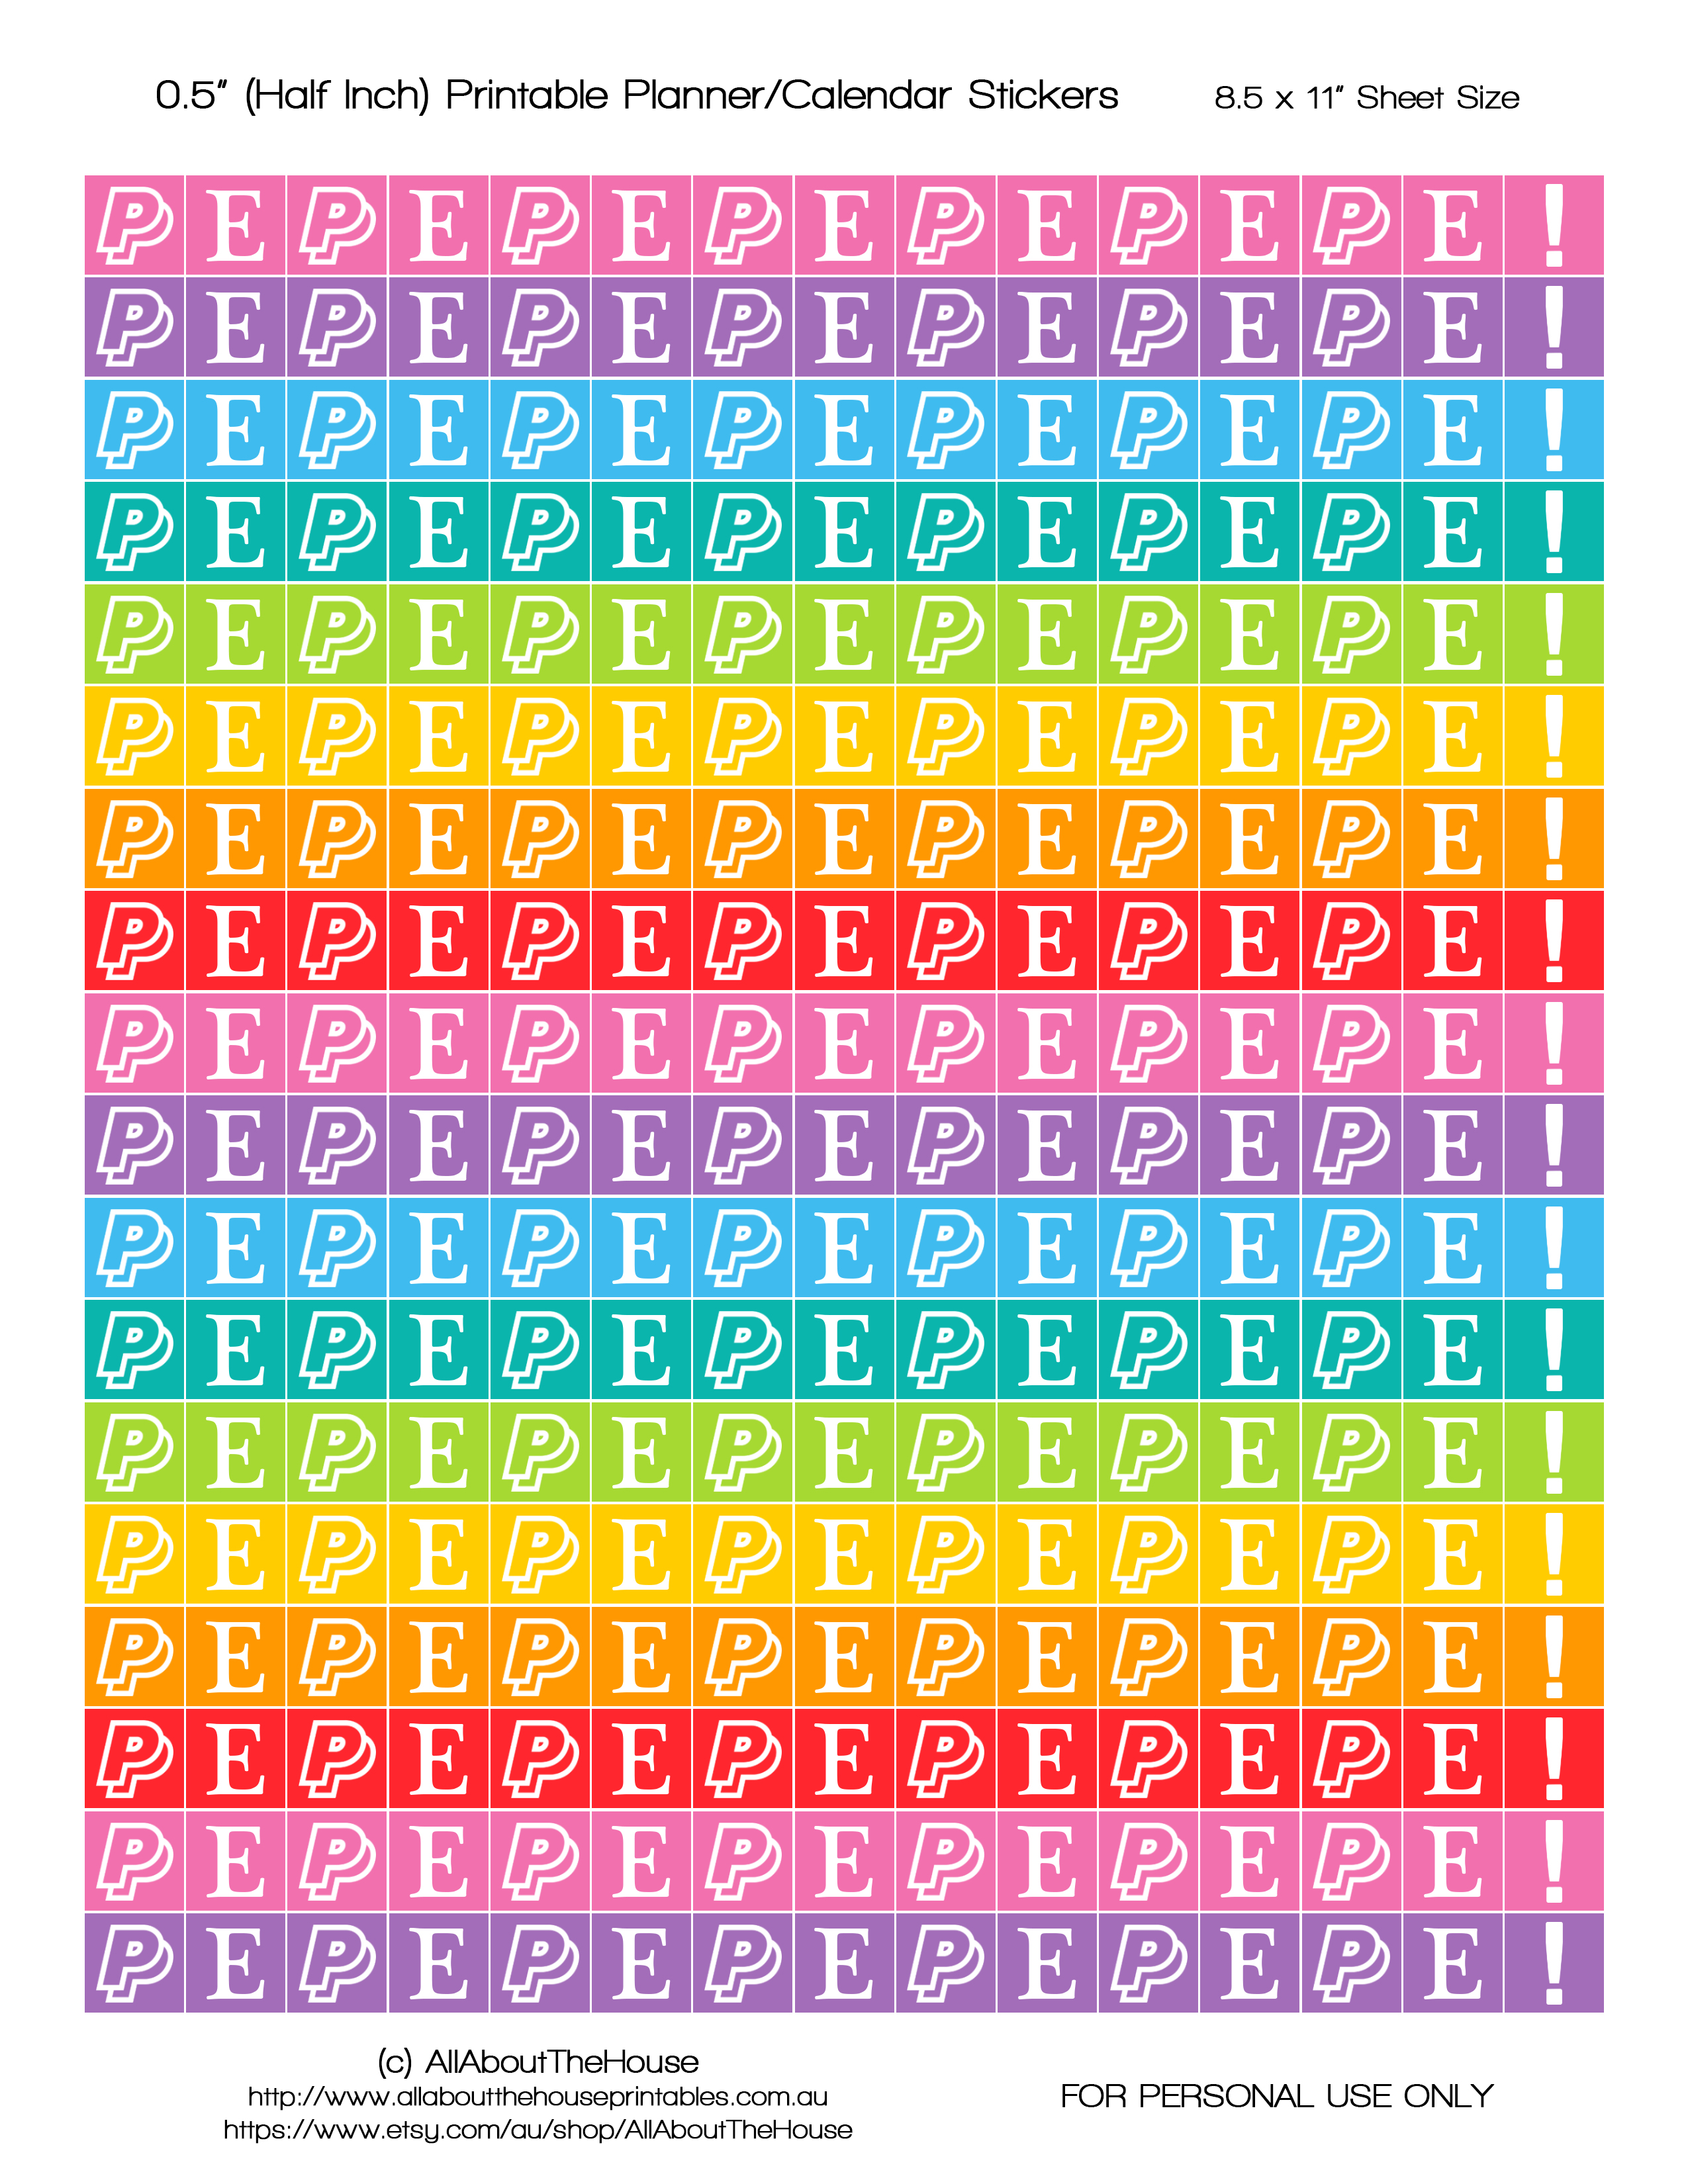
0.5 x 0.5″ square stickers fits 270 stickers per 8.5 x 11″ sheet. You can purchase full sheet re-positionale label paper for 30c a sheet or 0.001c per sticker! Shops selling printed and cut stickers charge $4 for around 30 stickers of the same size. You also need to pay shipping on top of that. And wait for them to arrive in the mail. With printable stickers you receive them within minutes of your purchase. An added bonus – the Australian Dollar is currently only buying around 70cUSD this means, because of the exchange rate, if you live in the USA these stickers are actually even cheaper! (I live in Australia)
__________________________________
WHAT ARE EDITABLE STICKERS?
Currently, the only editable stickers are the morning/day/night section titles.
EDITABLE PDF FILES:
– When you open the file there will be light blue boxes where you can type in your information (this will NOT remain light blue when printed).
– You can still print and hand-write on the sheets (the blue boxes won’t appear on your printed copy)– The fillable font is helvetica in black– For copyright protection, the layout of the documents, including existing text cannot be changed– You CAN save information typed into the PDF. I recommend saving the original version as ‘blank’ if you would like to make multiple sticker sheets.
– You will need a computer (not an ipad or iphone) to open and edit PDF files.
__________________________________
FILE FORMAT
Most of the stickers come in 2 file format:
PDF: If it’s not already installed on your computer you will need to download it here (it’s free!). Note:You will need a computer to open and print PDF files.
JPG: this file format is compatible for use with your silhouette cutting machine and printing at home (print the sticker sheet/image as a full page photo)
__________________________________
HOW DO I PRINT THE STICKERS?
I’ve put together a video tutorial for you (or you can following the written instructions below)

These instructions will work for any of the planner / calendar stickers available in my shop. I am going to demonstrate using the 1.5inch x 0.5inch stickers. These stickers are formatted for printing onto these letter size sticker sheets so you can easily print them from home. Or you can just print onto normal copy paper or cardstock and use glue to adhere, more on that below.
As always I recommend doing a test print onto a piece of scrap paper before printing multiple sheets onto sticker paper.
Note that all printers are different. I am using a Canon printer – if you are using a different brand your printer menu may display a little differently. There are so many different types of printers out there I do not know how to use every printer so unfortunately I may not be able to help if you have problems printing. Please follow the step-by-step guide below if you are having difficulties. Want to consult your printer manual but can’t remember where you put it? See this website to view free printer manuals for any type of printer.
Printing the PDF File onto Letter Size Paper
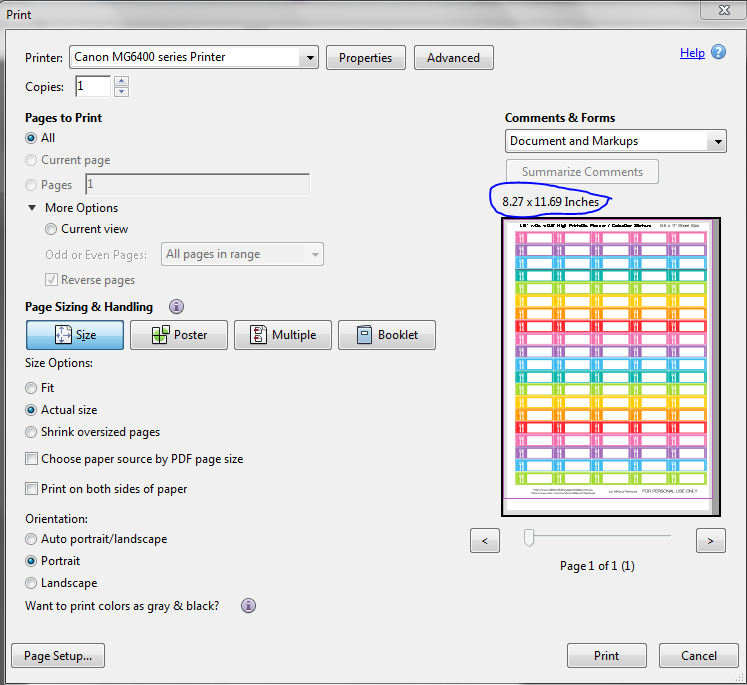
1. Open the file. Go to the top left hand corner, press file and then print.

2. The printer menu will open.
Make sure ‘actual size’ is selected then click on ‘properties’

3. A new menu will open – change the page size to letter size

I have not noticed a difference between printing on ‘standard’ and ‘high’ print quality settings
4. Press ‘OK’ to close that menu, then press ‘Print’
Printing the PDF File onto A4 Size Paper
If, like me, you live in Australia, you can still use these. The only change is the amount of white space around the design. The stickers are in no way affected and still print perfectly! ![]()
1. Open the file. Go to the top left hand corner, press file and then print.
2. The printer menu will open.
Make sure ‘actual size’ is selected then click on ‘properties’
3. Change the page size to A4

5. Click OK. The first menu will now look like this
I have not noticed a difference between printing on ‘standard’ and ‘high’ print quality settings
4. Press ‘OK’ to close that menu, then press ‘Print’
Note: if you live in Australia and keeping the stickers at 1.5″ wide is important – make sure you print using the PDF file as I have found the JPG file alters the size of the stickers to 1.6″ long… or maybe that’s just my printer. This size printing error also occurred even if I un-checked the ‘fit picture to frame’ button so if maintaining the exact size is important to you please print using the PDF!
Printing the JPG File
1. Open the JPG and click the black arrow (point down) next to ‘print’

2. A new window will appear. Click on ‘options’ then ‘printer properties’ this will take you into the same printer menu as for printing a PDF. Change the paper size if need be. Click on ‘options’ in the bottom right and make sure the correct page size and print quality if you wish to print on ‘high quality’ is selected.

3. IMPORTANT: when I print the stickers using the the jpg they did not print correctly when the ‘fit picture to frame’ box was ticked so be sure to UNTICK this box! This is what worked for my printer – yours may be different. As always I recommend doing a test print onto a piece of scrap paper and in greyscale before printing multiple sheets onto sticker paper as all printers work differently (I also recommend writing down or taking screenshots of the printer options you selected so you can refer back to them if needed).

__________________________________
WHAT IF I DON’T HAVE STICKER PAPER?
Buy it! Seriously it’s worth it. If you don’t want to buy a lot you can order a few sheets fromLabelsbythesheet. Label paper is very inexpensive if purchased in bulk e.g. fromOnlineLabels
If you do not have label paper you can print onto normal printer paper and use glue or glue tape to adhere. I would recommend cardstock though as the colours print more vibrantly and are not see-through on thicker paper. I recommend ‘quill board’ which is thicker than copy paper at 210GSM. I also use this for printable notecards. You can buy it at Officeworks. I’m sure places like Staples in the US sells something similar. Even though it’s thicker than normal copy paper it doesn’t jam my printer. Amazon also sells cardstock.
Another option is to cut contact paper to letter size, peel back the sticky edge and stick the printed stickers to the contact sticker i.e. order will be: contact paper, printed stickers and then the back of the contact paper. I recommend trimming the white edge off the printed stickers so the contact paper stickers to the back (non-sticky side that comes with the contact paper). Cut or punch out as needed then peel back for stickers. Not sure if contact paper is called the same thing in the USA but this looks similar.
__________________________________
CUTTING YOUR STICKERS
I have found that the most efficient method of cutting is to:
1) Cut off the white space on the top, bottom and sides
2) Cut the remaining into strips horizontally going across the width of the page
3) Cut the smaller strips still using your paper trimmer or using scissors.
The reason I cut horizontally is that there is less to cut (as you are cutting the width not the length of the sticker which is longer) but it is up to you to cut whichever way works best for you!
Tip: I print off sticker sheets then cut them during ad breaks while watching TV. I have found that I can cut up to 3 sticker sheets at once using my guillotine.
__________________________________
WHAT DO YOU USE TO CUT THE STICKERS?
I use a guillotine I purchased a few years back. I can’t remember where I bought it from but it is similar to this one. I prefer that style of paper trimmer to this style as I find it easier to see where I’m cutting and easier to cut multiple sheets at once.
For the flag stickers I use scissors for the flag ends. If you want round stickers I recommend using a craft punch such as this one. Medium size scissors are preferable as the blade is too large on large scissors and I’ve found small scissors make my hand cramp after about 5 sticker sheets.
_________________________________
Related post: How to organize planner stickers (plus a FREE printable binder cover and spine!)
See all available stickers HERE
Want custom stickers or have an idea for a sticker not currently listed in the shop? Email me at [email protected] or contact me via Etsy or the online store – I’m always open to suggestions ![]()