How to make planner printables using Microsoft Word: An Introduction
Many, many years ago I made my first printable using good ol’ Microsoft Word. Photoshop seemed too intimidating at the time (how wrong I was), I didn’t have any graphic design training, I was a poor university student that wanted a simple functional checklist and a planner for organizing my study. Enter: Microsoft Word.
It worked well for a while but as I became more and more addicted to making printables to organize my entire life: I made a home binder, cleaning checklists, recipe binder printables etc. I soon wanted to upgrade to a proper graphic design software – Photoshop – which is what I’ve used ever since.
However, after many reader requests from people who were in my position all those years ago and just want simple, quick tutorials for making printables using Microsoft Word, I’ve finally got around to creating an ecourse filled with step by step video tutorials. If this is something you’re interested in, then in today’s post I’m sharing the first tutorial – an introduction to using Microsoft – specifically the tools you’ll need to be familiar with.
If you don’t own Microsoft Word or have a Mac, you can use the online version of Microsoft Word instead. See this tutorial for instructions.
If you’d like to enrol in the course, here’s the link!
Making Printables in Microsoft Word
Here is an overview of the tools I specifically used to make printables in Word:
To enlarge the screen of the video, click the square icon in the bottom right hand corner of the video (it will say ‘full screen’ when you hover your mouse over the icon).

Subscribe to my YouTube channel for more planner videos!
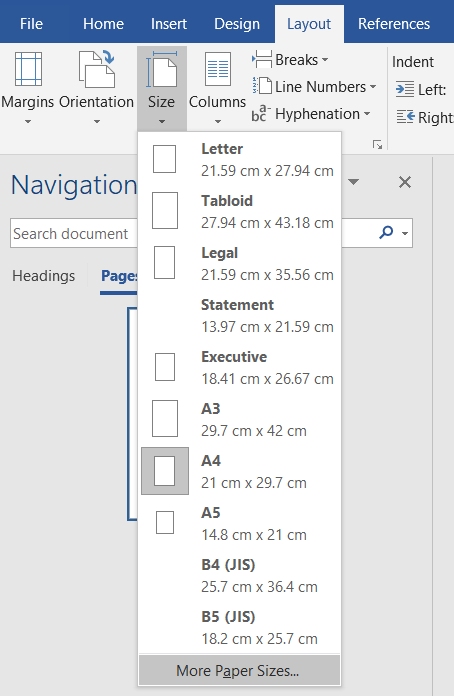
Choosing a page size
To set up your page size in Microsoft Word go to Layout > size and select your size.
If you’re a fellow Aussie, we use A4 page size. If you live in the USA, you’d select 8.5 x 11″ (US letter). If you’re in the UK, select A4.
If you want to make printables at a page size that’s not shown (e.g. Happy Planner, TN size) go to ‘more paper size’ and enter the dimensions.
Most printers have the option to resize printables. You choose what size you want and your design will come out of your printer automatically resized to the page size you chose. Super quick and easy!
I prefer not to make printables at custom page sizes where you can’t just go to the shop and buy a ream of paper in that size (e.g. Happy Planner). If I change my mind and decide I want it to be bigger or smaller it’s much easier to start with the biggest page size and shrink down, then potentially need to increase (e.g. I would never go from Happy Planner Classic size to US Letter size) as the print quality can reduce and be blurry / fuzzy.
Tutorials:
- Printing at custom page size, see this post / tutorial from my blog
- Printing at A5 or US half letter size, see this post / tutorial from my blog
- How to get rid of a white border when printing printable (borderless, no bleed, no scaling step by step video tutorial)
- How to Choose a Printer (Including the best printer for printing printables and planner stickers)
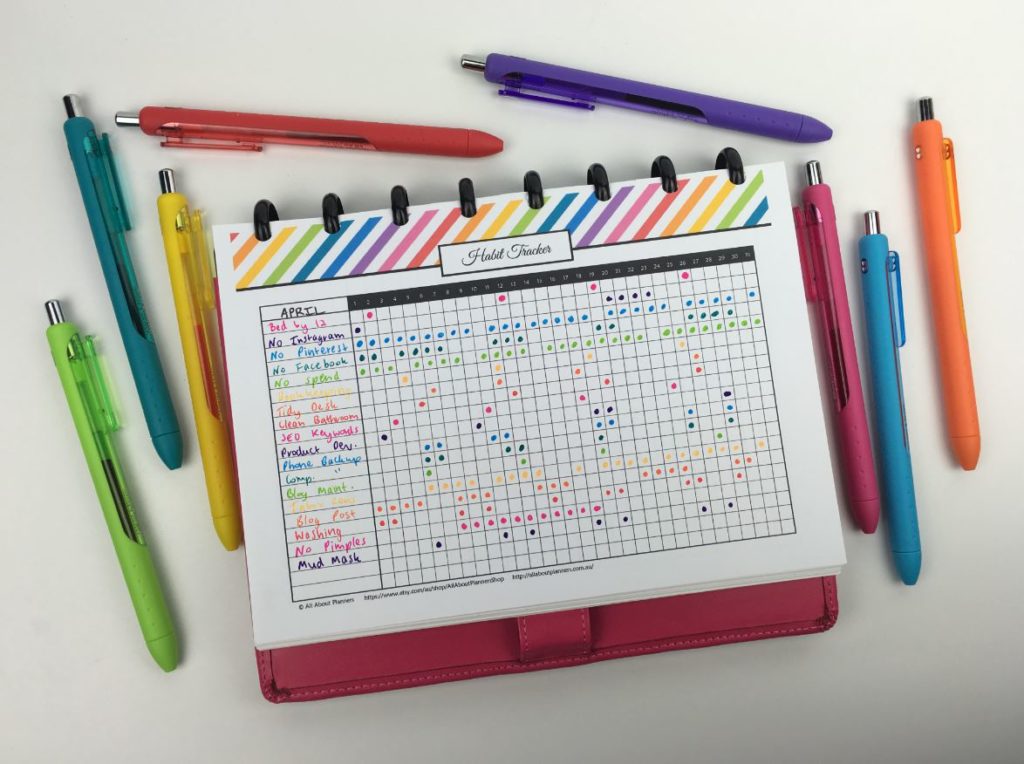
Example of a full page size printable
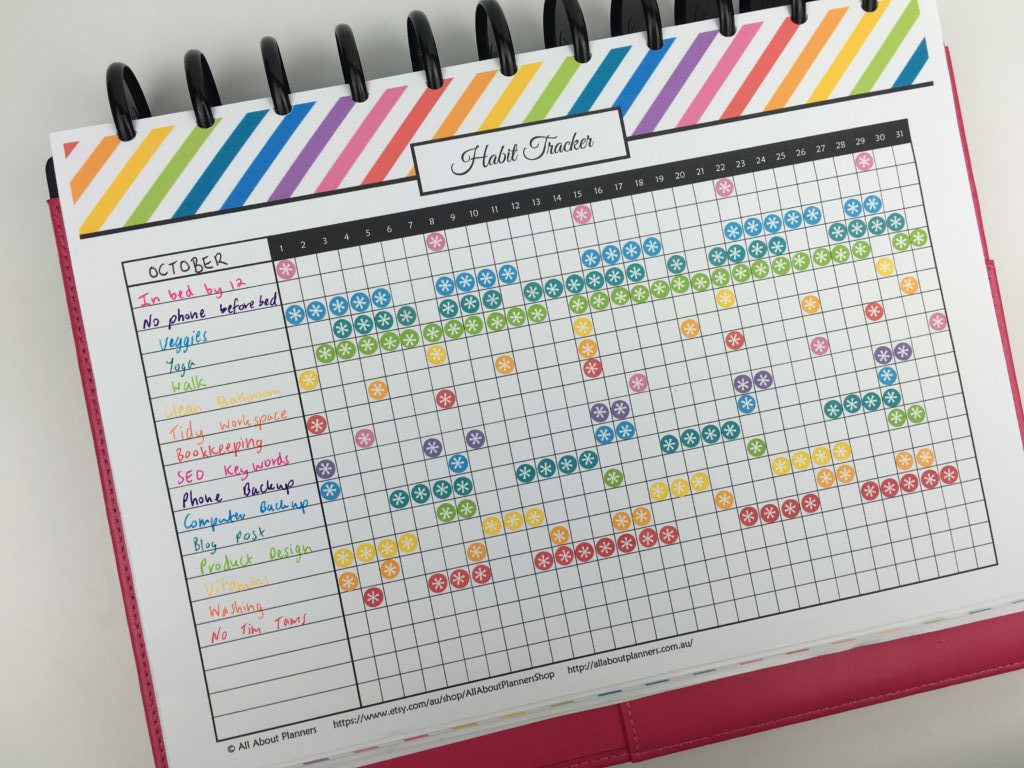
… automatically resized to A5 with a few clicks in my printer menu
Choosing a page margin
I prefer to use discbound planners. You can add, remove and rearrange pages as often as needed and the discs don’t encroach into the page very much (a lot less than ring bound planners).
For discbound planners, I use a 0.5″ margin. If you’re using a ring bound planner, I recommend 0.75″ margin.
To set up page margins, go to the layout tab > margins > custom
I use the ARC system from Staples. There are many similar discbound systems available now including: Happy Planner from MAMBI, TUL, Levenger etc.
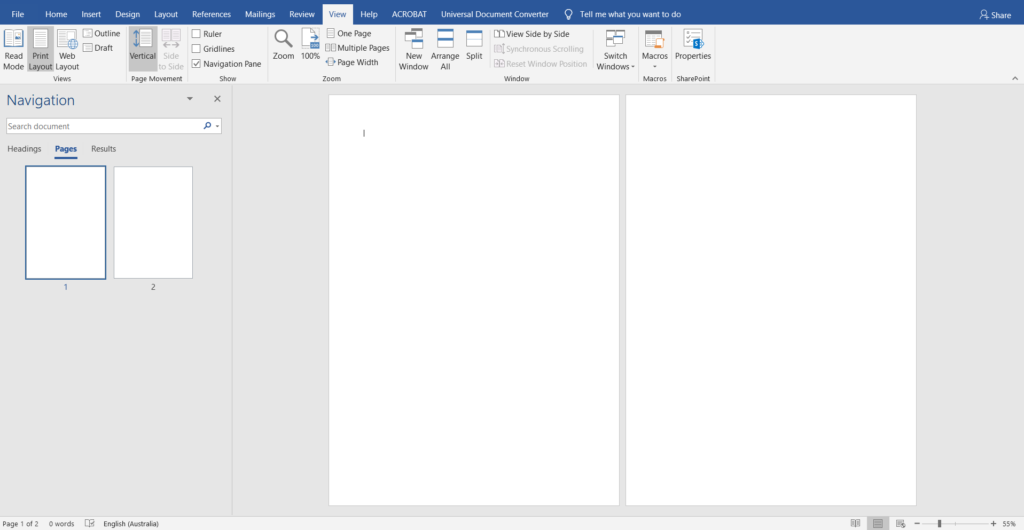
Design view in word
I prefer to have 2 pages visible at a time. To set this up go to view tab > print layout > multiple pages
If you’d like to enrol in the course and access the rest of the tutorials for making printables in Word, here’s the link!
Found this post helpful? Pin it!
![]()