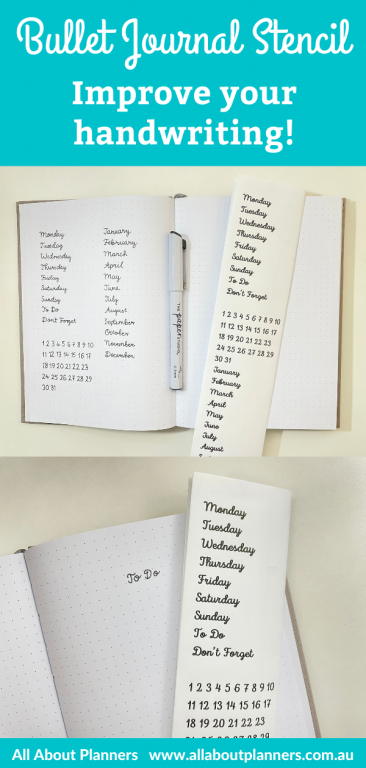
DIY bullet journal alphabet stencil (that costs practically nothing)
If your handwriting is a bit messy (like mine!) and you want your spreads to look a bit different, stencils are an easy way to do this, especially if you don’t like adding anything like washi tape, stamps or other decoration to your notebook.
I haven’t been able to find many alphabet stencils for bullet journaling, and the ones that I have (mainly the PA essentials), the letters are too big to be used for anything other than titles. It’s hard to find stencils that have common words you’d need for planning e.g. days of the week, to do etc. I’m hoping more variety comes out in the future but until then I’ve come up with a workaround – and it’s practically free!
You’ll need
- A printer. You don’t need a fancy printer, just black ink e.g. a laser printer is fine
- Piece of paper
- Fonts you want to trace (you can find many for free online and I’ve included some recommendations at the end of this post)
Related post: How to Choose a Printer (Including the best printer for printing printables and planner stickers)
How to make a DIY bullet journal stencil
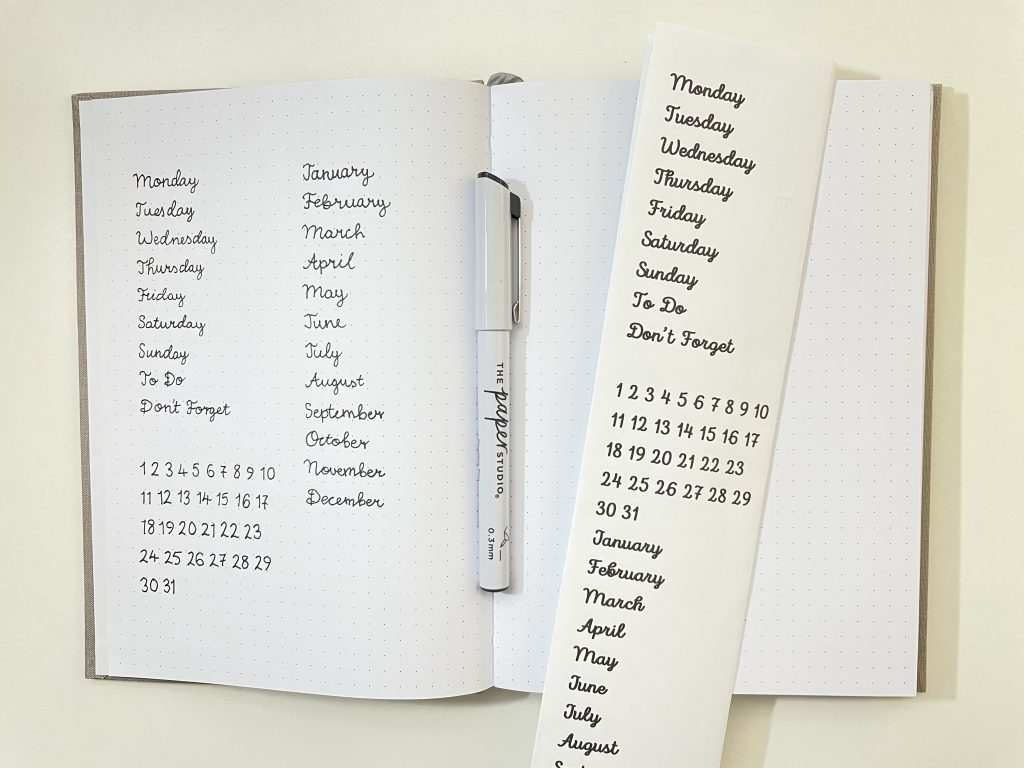
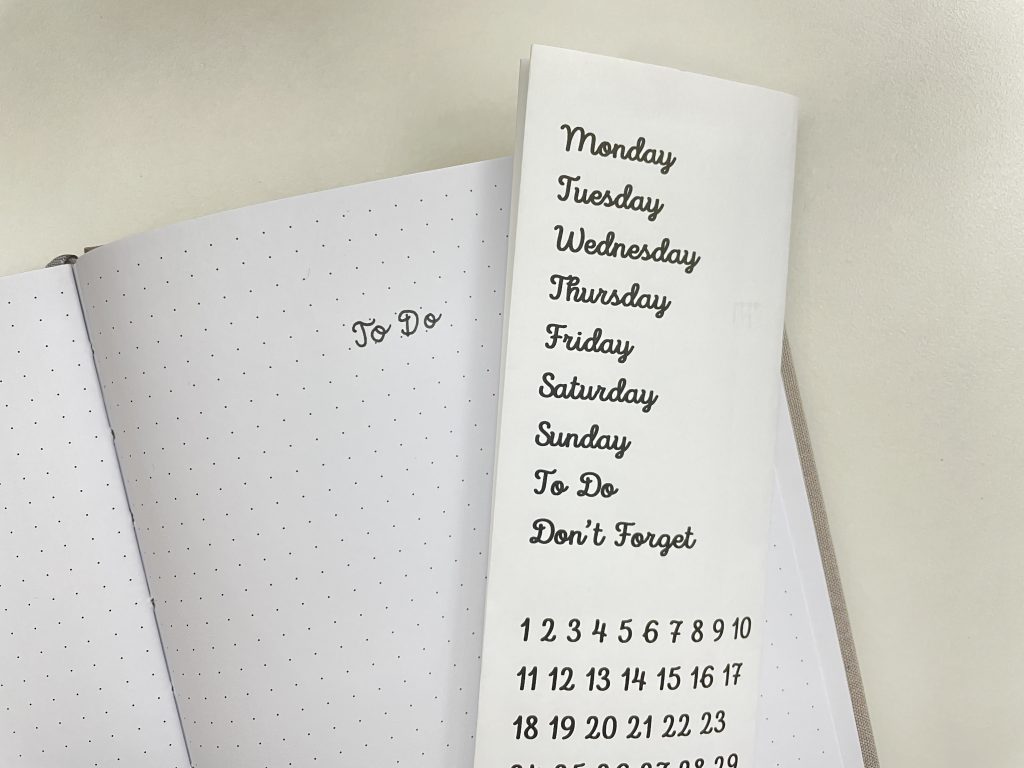
Type the words you want to use in Microsoft Word, Google Docs or Apple pages, print and trace over the letters. If you have messy handwriting like I do this is a quick and easy hack. If you don’t want to use any of these programs or don’t want to download and install fonts on your computer, you can set up a similar template in Canva – they have plenty of fonts.
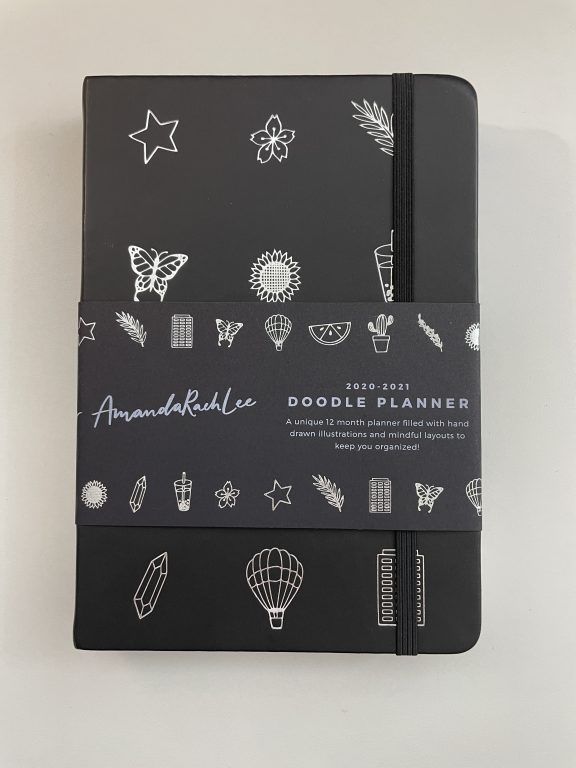
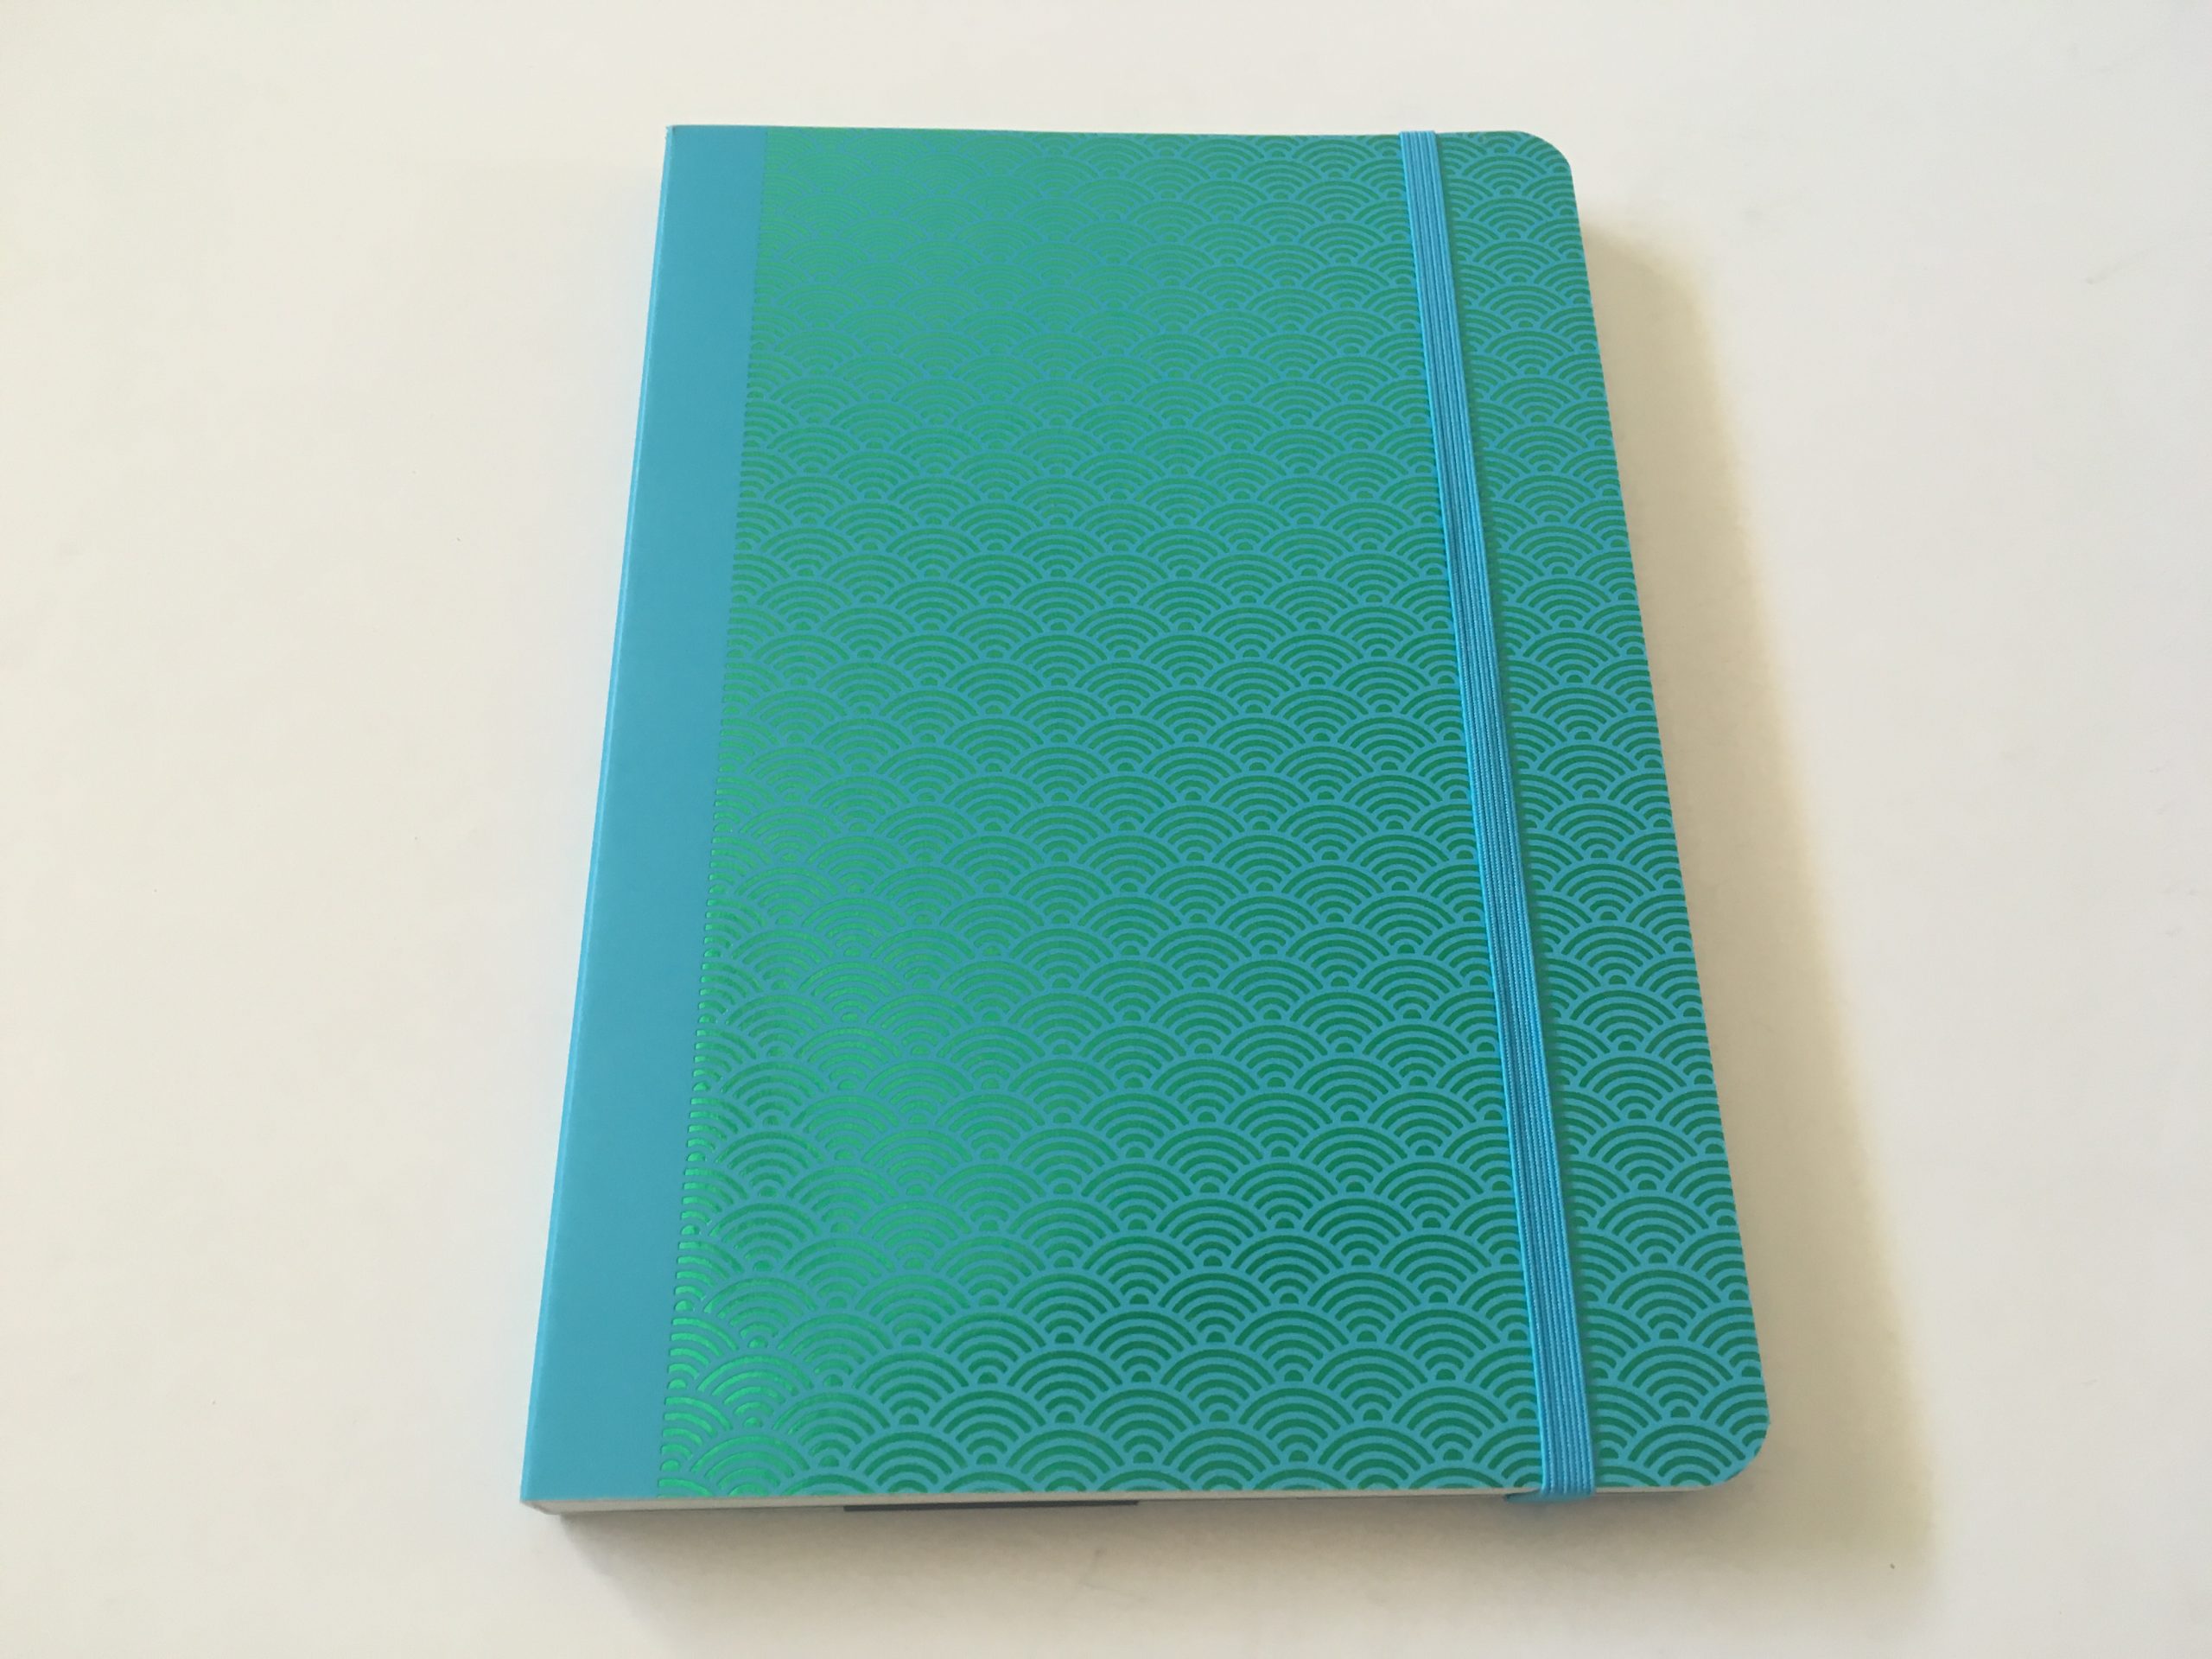
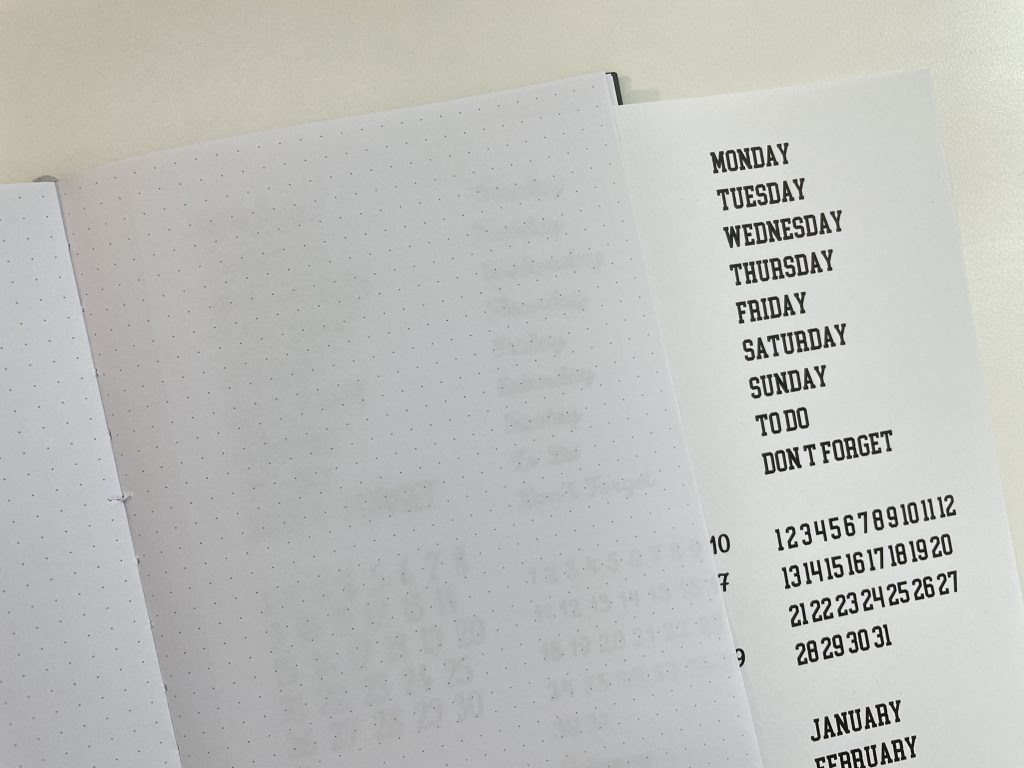
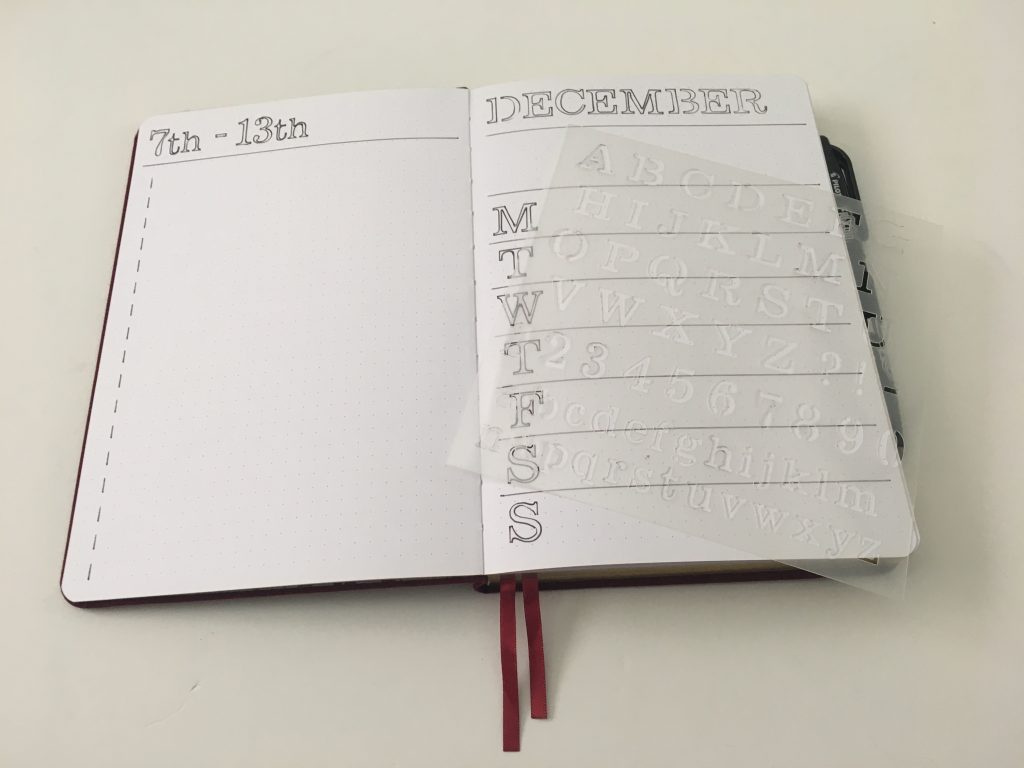
One of the rare instances where thin paper is a good thing. I couldn’t see the stencil behind the pages in notebooks with 120 GSM or thicker so this won’t work if you’re using Archer and Olive, Amanda Rach lee, Vivid Scribbles etc.
This is the Francheville notebook.
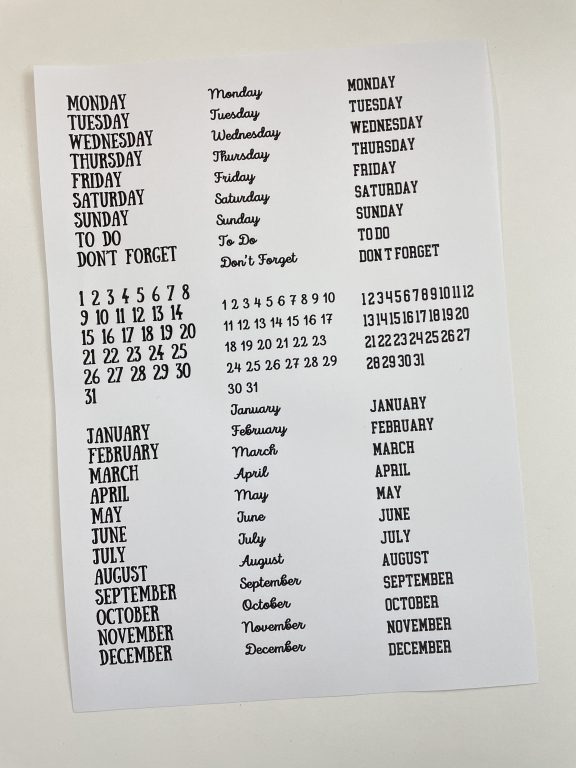
If you’re going to make your own stencils, here are some ideas of ‘staples’ to include on your stencil sheets
- Days of the week (uppercase and lowercase)
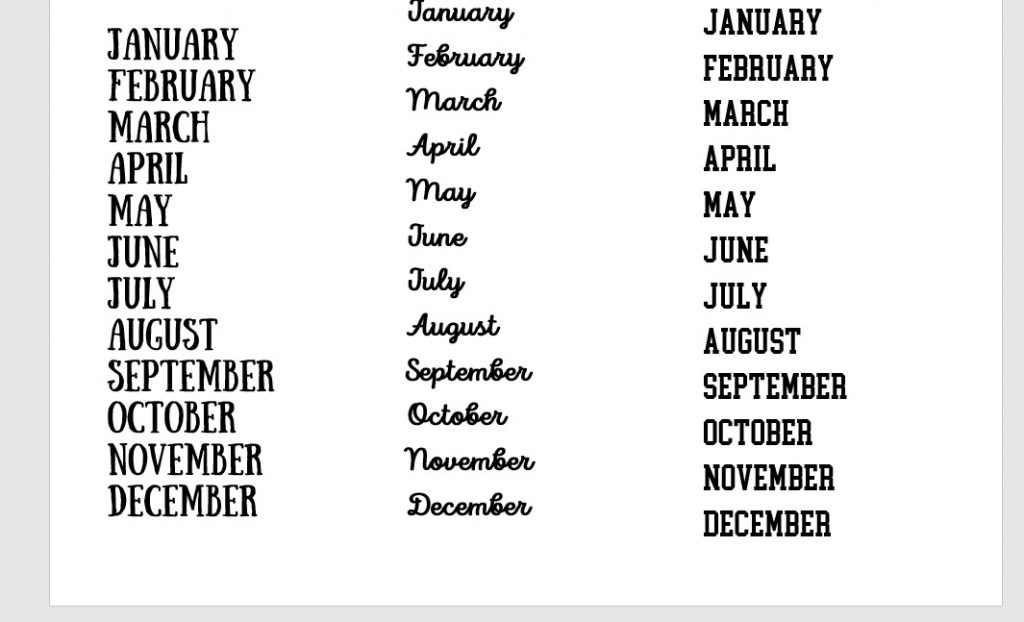
- Months of the year (uppercase and lowercase)
- Numbers (dates 1 to 31 OR numbers 1 to 10)
If I’m making my own stencil, I prefer to just write out the words I’m going to use, rather than an alphabet (quicker to tracker the letters in one go than move the stencil for each letter, plus it doesn’t look as good doing letters individually if you’re using a calligraphy style font).
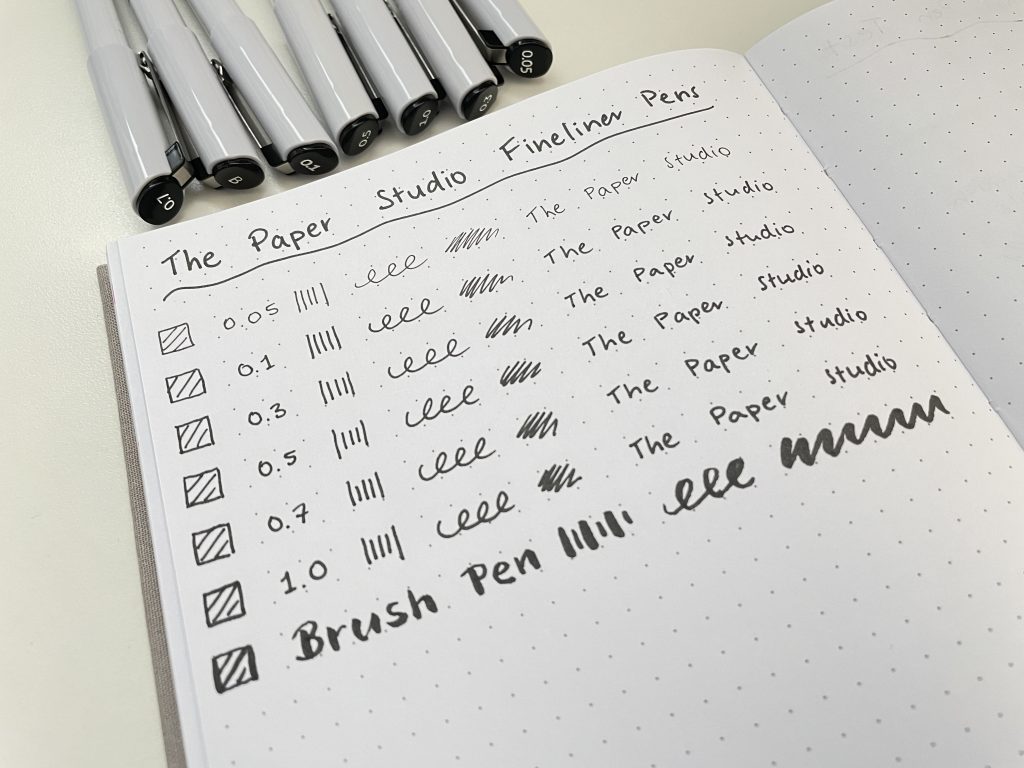
I tried tracing the letters with 1.0mm, 0.7mm, 0.5mm, 0.3mm and 0.05mm. The 0.3mm was my favorite tip size. If you want to experiment with different tip sizes I use (and really like) the Paper Studio fineliner pen pack.
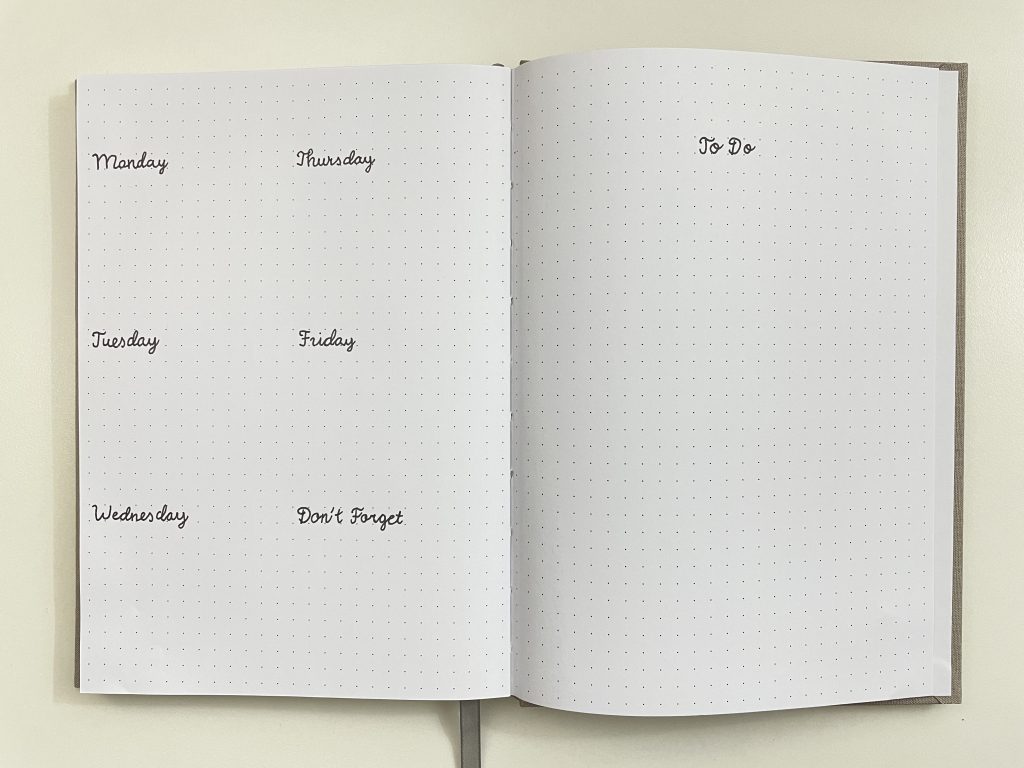
I started off closely tracing the letters and then towards the end I went a bit rogue and used muscle memory to do the rest. Are the letters perfect like a real stencil? No, but I like the handwritten effect and it’s much quicker than carefully tracing each letter. Plus if you focus on making the letters perfect and one accidentally isn’t perfect, it’s going to be far more obvious than if all the letters in the word have one part that’s wonky or not quite perfect.
I then went and colored the letters in with the fat tip of my Pure Color – F C-LAND Marker pen you’ve probably seen me use before when pen testing planners and notebooks.
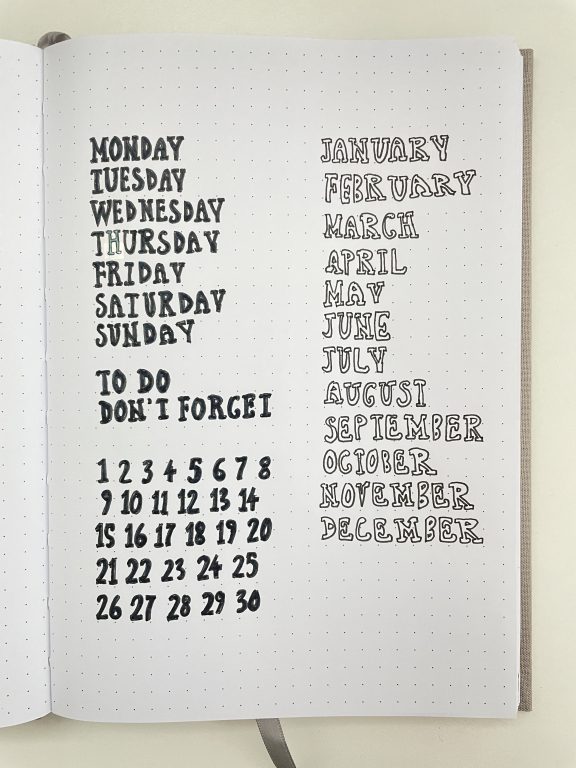
It looks but better filled in (I think) but it does take a bit of time so if you don’t have the time, use to a font like this instead (which I prefer the look of compared to the above font anyway).
Tips for using Microsoft Word for making DIY stencils
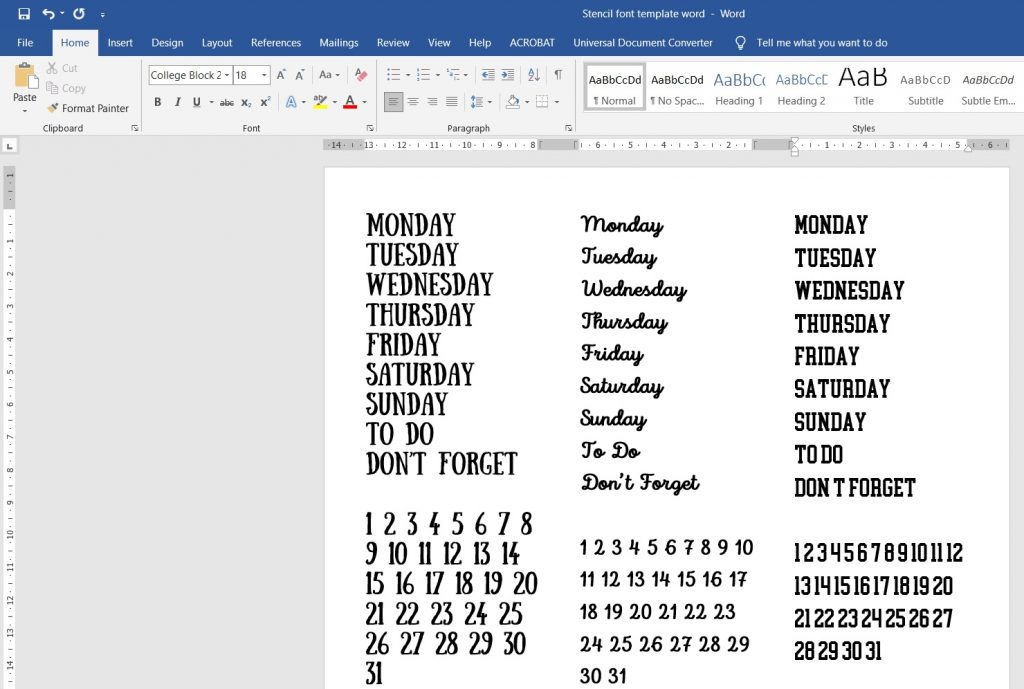
- Instead of re-writing all the words out, you can highlight them in Microsoft Word and change to ‘Sentence Case’ this will put the first letter of the word in uppercase and the rest in lowercase letters (it’s the ‘Aa’ button in the screenshot below)
- Change your page layout margins to ‘narrow’ that way you can fit more on the page (layout menu > margins > narrow)
- Some fonts can look good but be quite thin, you can change the font style to bold to make it easier to see
- Font size really depends on personal preference and the grid / line spacing of the notebook you want to use. I used font sizes ranging from size 18 to 20 which seemed to be the best fir for the Francheville notebook I used which has a 5mm dot grid.
There are plenty of free font websites, see this post for a list (as well as instructions for downloading and installing fonts). Since this tutorial is for making stencils for your personal use only, you can use any font and don’t need to worry about a commercial use licence for the font you use.
I prefer upper case letters for my stencils just because it’s easier to see and trace (but I do prefer a fatter 0.7mm tip).
Fonts that are good for DIY planner stencils
Sans Serif (simple, block fonts)
- Sunday
- Sailors Condensed (paid font)
- Porcelain Sans Serif
- College Block 2.0
- Boomer Tantrum
- Snacker Comic (note: the personal use only version does not come with numbers, you’ll need to pay for the full version to get the numbers). I used this font with my Poooliprint for a weekly spread)
- Stencil
Serif (cursive fonts)
- Pacifico
- Herbarium script font
- Lolly Script Handwritten Font
- Apricots ($8 on Creative Market)
- Lobster
I used these fonts for my stencils:
- Sunday
- Intro Script Demo Medium
- College Block 2.0
If you don’t want to make your own template, here are some other options:
- Lettering.org (the hand lettering generator) they also have a Ruling Sheet generator if you’re learning calligraphy (both of these tools are free!)
- Like a font style that’s in a planner you own? Trace over the top of the page
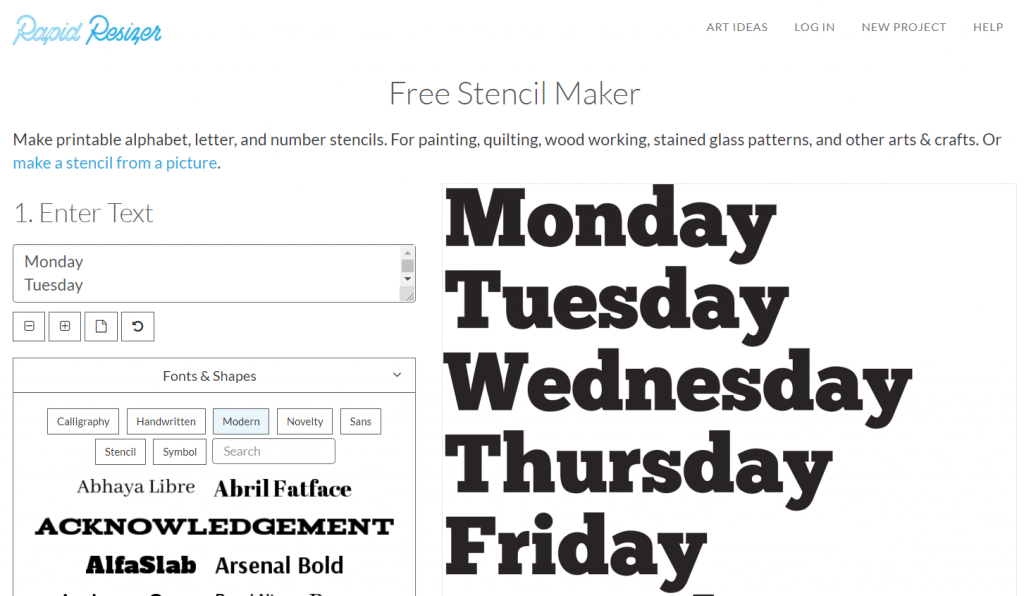
- Rapid Resizer has a stencil tool – you can type your text, choose from their many fonts, add a fill color etc. The printable it generates makes the font very large, so I’d copy and paste the image into Microsoft Word or Google Docs (which is basically a free online version of Microsoft Word) and resize as needed
Prefer some pre-made stencils? Take a look at these:
I only have a few stencils from Erin Condren and the PA Essentials brand, there are tons more to choose from:
This list contains affiliate links. If you make a purchase after clicking one of these links I’ll receive a small commission in exchange for referring you (at no extra cost to you).
- Happy Planner line it up and check it off (can be used for other vertical weekly planners, not just the Happy Planner)
- Happy Planner journaling stencils (again, could be used for other planners, not just the Happy Planner)
- Day to Day (Maggie Holmes Discbound) Icon and alphabet
- Moxie Dorie (journal guide, tidy slider (for lists), budget finance, cursive days, fitness, time scheduler, cursive months
- Sunshine Sticker Co layout stencil for 5mm notebooks
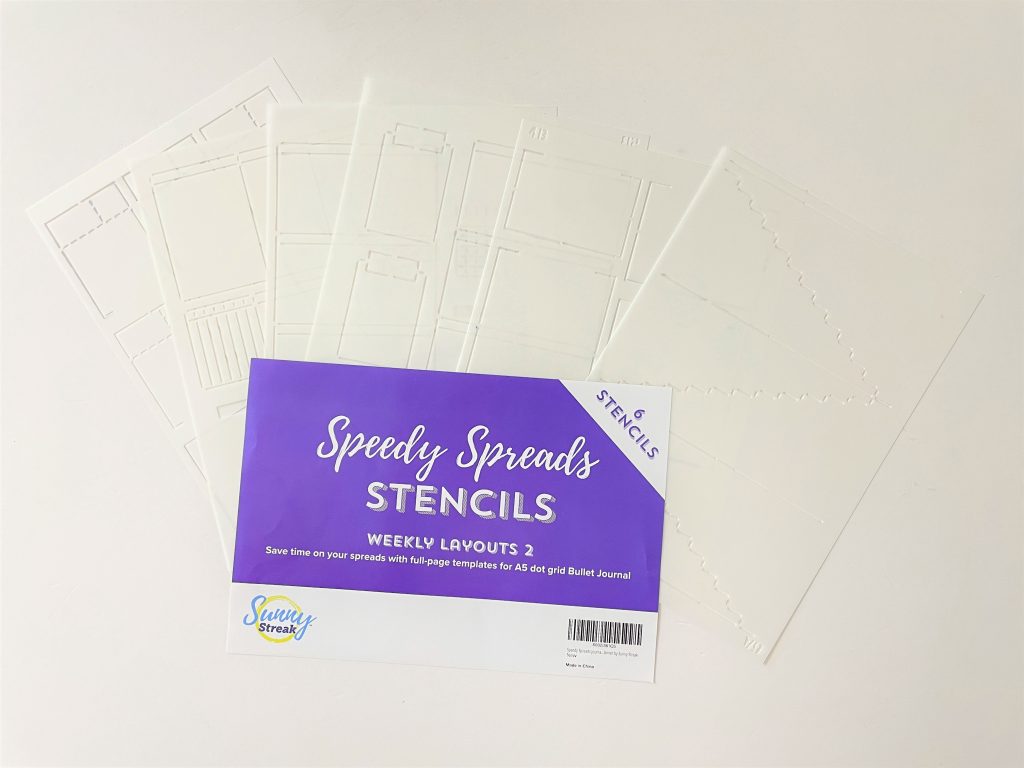
- Sunny Streak time saver stencils (instead of counting out the dots, this one has done it for you). This brand has plenty of pre-made monthly calendar and weekly spread stencils as well. I’ll be doing a review of this brands’ stencils soon.
- The Paper Studio planner stencils (habit tracker, icons, page dividers, lines)
- PA Essentials lines, numbers , basic shapes and icons)
- Make your own stencil material for the Silhouette Machine (adhesive and non-adhesive)
- Make your own stencil material for the Cricut Machine
- Heid Swapp Alphabet ruler
- Sunshine Sticker Co. monthly layout stencil
- Ink by Jeng habit tracker dot grid, Hobonichi 4mm grid, Icon stencil,
- There are also plenty of stencils on Etsy
Note: I’ve only included functional stencils in this list, there’s far more stencils out there but a lot are decorative or have the same basic shapes (squares, circles, flags etc.)
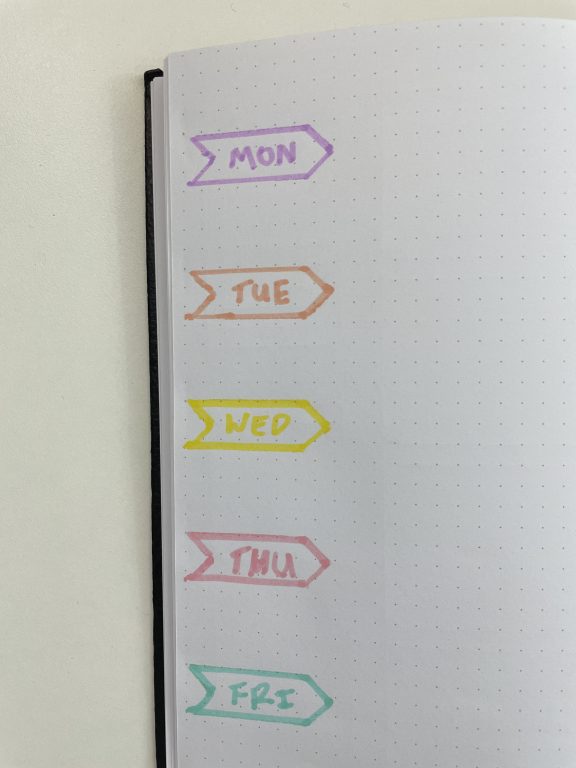
I don’t recommend using highlighters with stencils. Stencils can easily slip and the ink pools at each line / join that you draw.
More bullet journaling posts
- Favorite washi tape for planning, planner decorating & color coding
- Best pastel highlighters for planning and bullet journaling
- My 7 favorite planner supplies for making lists
Found this post helpful? Pin it!