Wondering how I keep my weekly spreads reasonably neat without too much whiteout? I pre-plan the week using… another planner! Now before you scratch your head thinking isn’t that a bit redundant?’ I originally thought so to. However, around half-way through the 52 Planners in 52 Weeks Challenge, the method I was using just wasn’t working as well as I would’ve liked.
I was transferring tasks to work on each week from my master lists book to a notepad. However, the notepad would always become too jumbled. I would color code tasks into priority and lesser importance but most notepads are quite narrow (list style) and it was just getting too messy. I’d end up with a couple of pages scattered here and there. I hate having bits of paper scattered everywhere – I always ended up just throwing them in the bin.
I also wanted a way to track what I’d done other than ticking things off. Yes that’s helpful for seeing what I accomplished but sometimes unexpected things pop up – little things that don’t warrant taking up precious and often limited space on a weekly spread. Which led me to thinking I wanted a way to record what I’d actually done and not just on a scrap piece of paper that would ultimately get thrown out. Then I had a lightbulb moment… what about one of the (many) Plum Paper planners I’d bought in the past? – Surely there’s some way I could use those planners! They’re too cute and the paper too nice to write on to just leave them sit on the shelf!
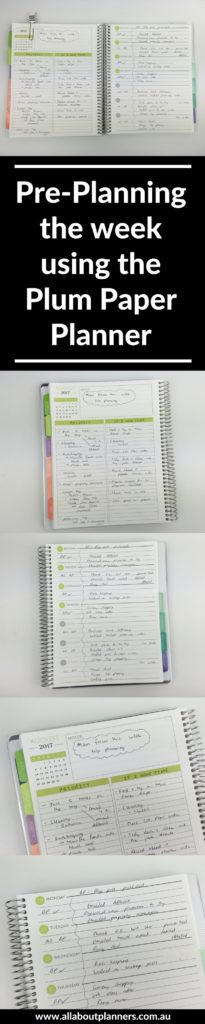
Plum Paper is one of my all time favorite planner companies! my favourite planning layout that they do is the horizontal lined with notes. For the past 6 months or so I’ve been using the planner to pre-plan the week and journal what I actually did, in conjunction with the 52 Planners in 52 weeks challenge
I tried this planner for week 12 and didn’t really plan out how I was going to set up the spread beforehand. During black Friday sales I purchased another copy of the planner (this time in the neutral) to give it another go in 2018. I definitely prefer the colorful version rather than the neutral!
Pre-Planning the week
The reason I settled on this layout for weekly pre-planning is because of the ample list making space, the box for flagging important things and the lined writing space for each day. I liked that the layout keeps them on separate pages.
The paper clip is by MAMBI
Related: Plum Paper Planners Haul
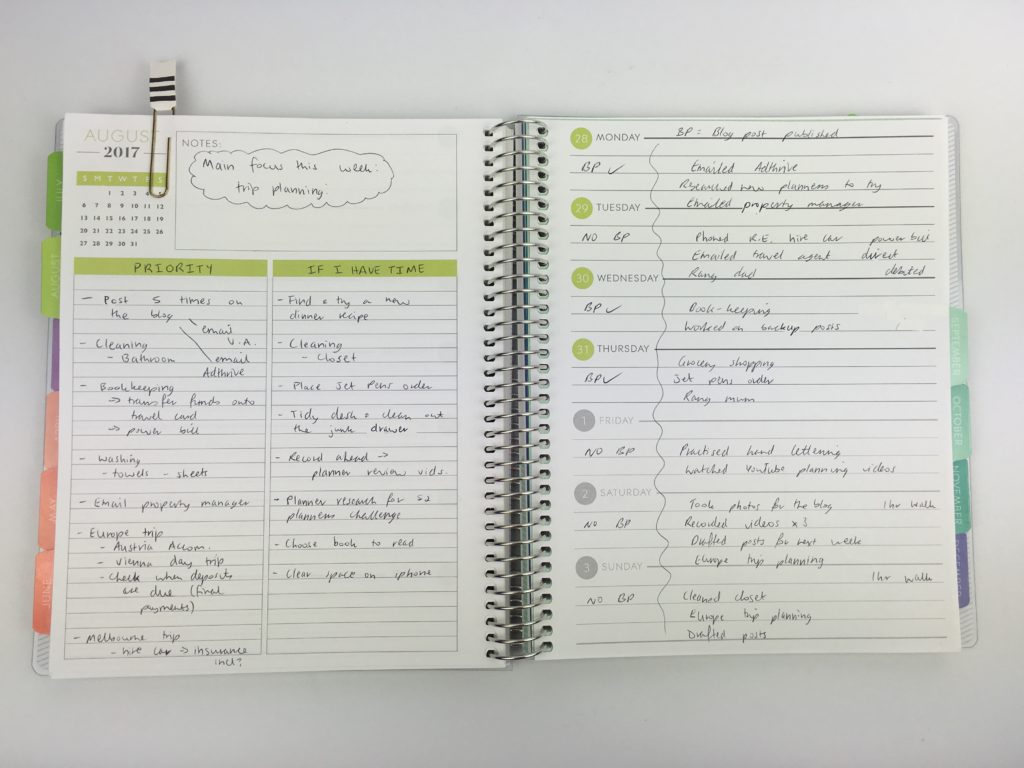
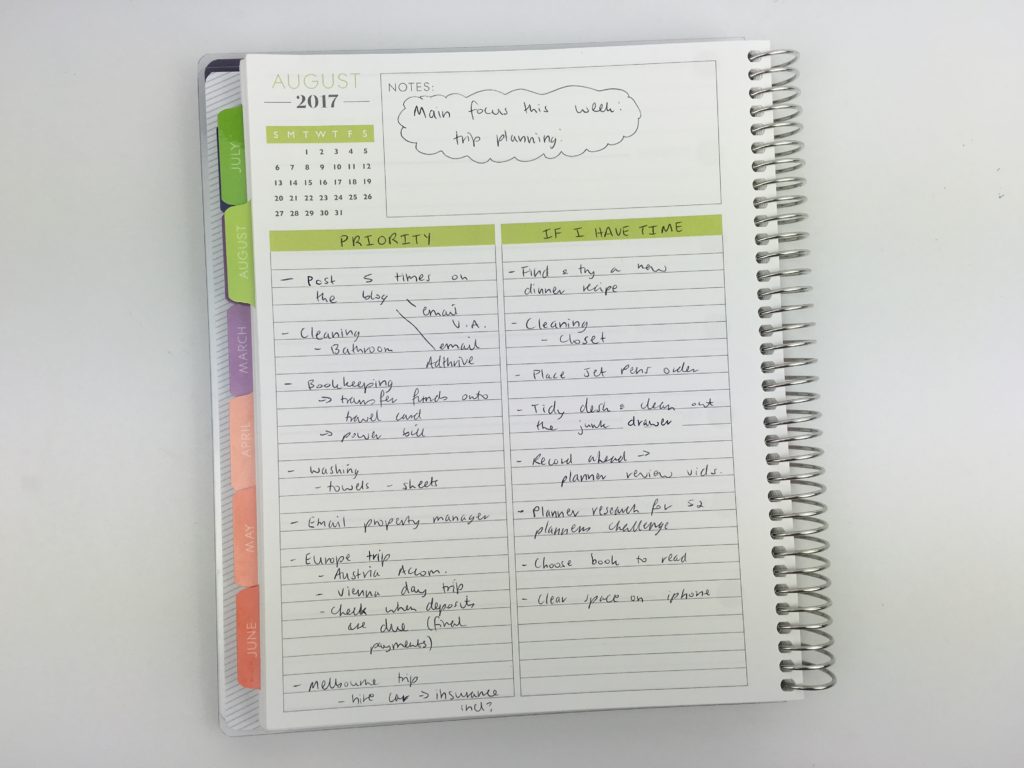
Left side of the page
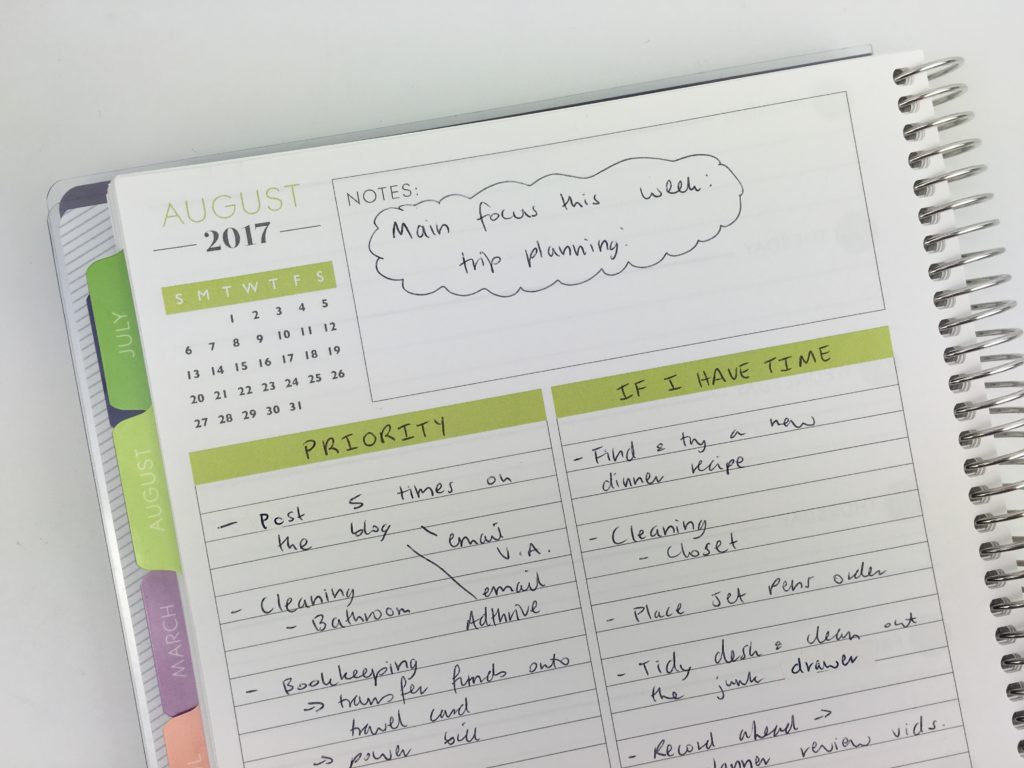
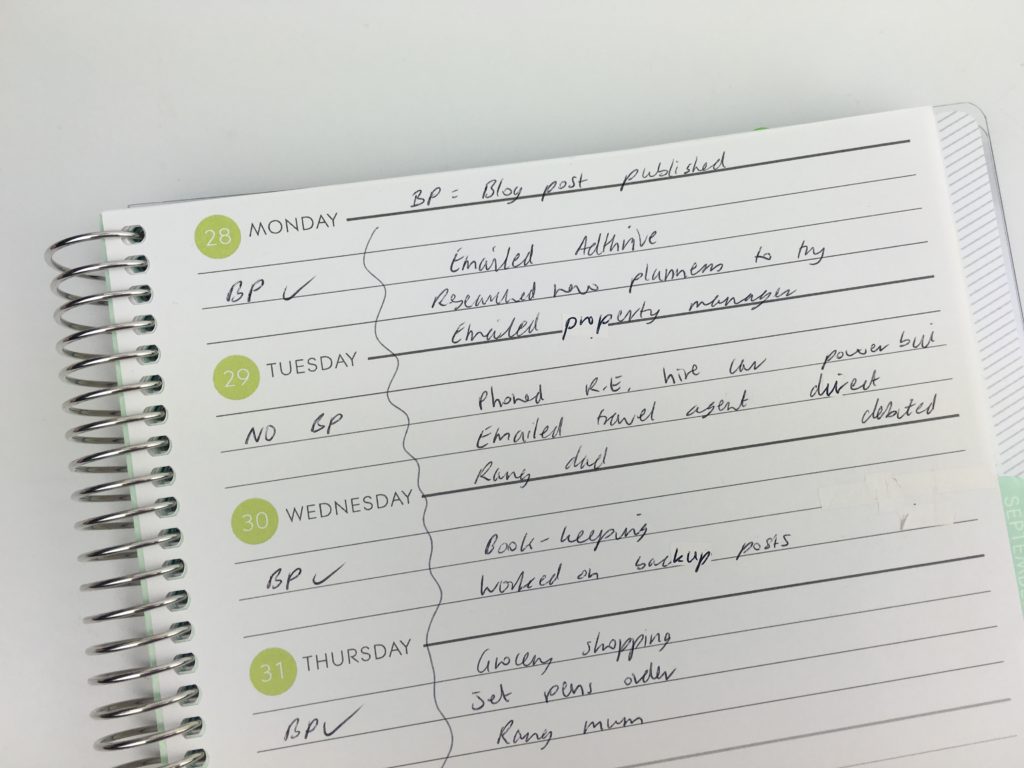
The left side of the weekly spread has a large notes space which I use for flagging the most important task for the week. This then influences what tasks I schedule.
Rather than another jumbled mess, I’ve been using the 2 columns on this page to separate ‘priority’ and ‘if I have time’ tasks. Not all tasks get scheduled and if they don’t, similar to the bullet journal system I transfer stuff that didn’t get done to the next week. There’s some truth to that bujo system where re-writing the same thing reinforces whether you need to just get on with it or drop the task completely.
Related: Week 15: Trying a freehand weekly planner inspired by bullet journalling
After this brain dump is complete then I transfer tasks to the weekly spread. I don’t do this pre-planning method every week – mainly when I use a planner with days of the week.
Pre-planning is also ideal when I’m working on a new product for the shop so I can break it down into smaller steps and be more realistic about what can be done.
By pre-planning it saves wasting time erasing things and moving things around. The pre-plan is like my wish list and my planner is my more realistic to do list.
Related: 50 Tips for writing a better to do list that will make you more productive
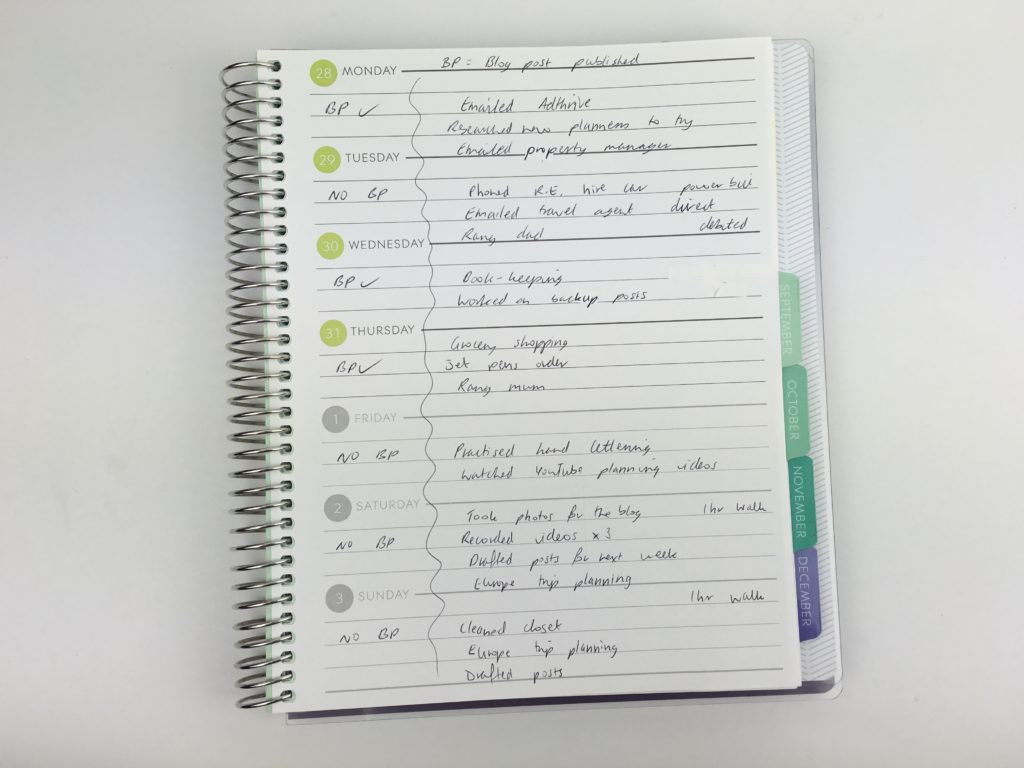
Right side of the page
I use the right side of the page as a journal to keep track of what I actually did. By writing down what I actually did as opposed to what I had planned helps identify if I’m scheduling too much in and if I spent too much time mucking around not getting stuff done. Then I have a better idea of how long tasks actually take to complete. I.e. when planning the week it becomes a to do list rather than a wish list of things to do.
I split the writing space into 2 columns – one for blog posts (which I just abbreviate to ‘BP’ to save space) and then the main things I did that day.
Related: Using a planner key and symbols to code your planner (efficient planning methods)
Most weeks I’ll just use a black ballpoint pen – I’m not too concerned about making this pre-planning and record keeping process ‘pretty’ – I save that for the weekly spreads 🙂
Related: Cheap versus expensive pens: is there actually a difference in quality?
If you’ve been thinking about pre-planning your week or are looking for an excuse to use more than one cute planner 😉 – I hope you found this post helpful!
The Plum Paper Planners come in colorful and neutral options. See my comparison of the 2 in this post.
Update: I now use a combination of pre-planning the weekly, using routine checklists and my master task list in Excel which I blogged about in this post: How to organize your life using 1 simple spreadsheet in Excel (plus free download)
More Plum Paper posts:
- How to print printables at Plum Paper planner size from your home printer (step by step tutorial)
- Planner pen testing in the Erin Condren Life Planner, Plum Paper, Happy Planner by MAMBI and Limelife Planner
- Arcing my Plum Paper Planner – everything you need to know if you’d like to try it yourself!
- Plum Paper Planners Haul & Review (better than the Erin Condren?)
- Ultimate Comparison: Erin Condren Life Planner versus Plum Paper Planners – Which planner is better?
More planning posts
- How to make printable graph paper in Photoshop (perfect for habit tracking and bullet journalling!)
- Favorite erasable highlighters for planning
- How to choose the right planner pens: what to look for when buying planner pens
- How to make planner stickers (ecourse with step by step tutorials, favorite resources, worksheets etc.!)
Found this post helpful? Pin it!
Disclaimer: If you purchase something from Plum Paper using my referral link I’ll receive a small commission (at no extra cost to you!) I only recommend products I would recommend even if I wasn’t receiving compensation for referring you.

Oh I just LOVED Plum Paper’s Paper as well! I used them for 3 years. I loved the vertical family,
Where they would lable the rows what I wanted!! but a 4th grader who’s super busy, and my complex devastating medical issues, I found I needed more, bigger space, so had to move on to a larger planner. Glad to see their name more and more!
Yeah I love all of Plum Paper’s planners! I’m curious, which planner did you switch to?
Hi Rachel,
Just wanted to say I loved your reviews of the “Plum Paper Horizontal lined with notes” so much I placed my order for one this morning using your link, hope it comes back to you 🙂
(have even purchased some pens from your sister!) ….think I’m hooked LOL.
Keep up the great work.
Best Wishes
Susan
Awesome – I hope you like the planner as much as I do! Planning is definitely an addiction – especially be careful with pens – they don’t take up much space so you may end up becoming a bit of a pen hoarder like I am haha 🙂