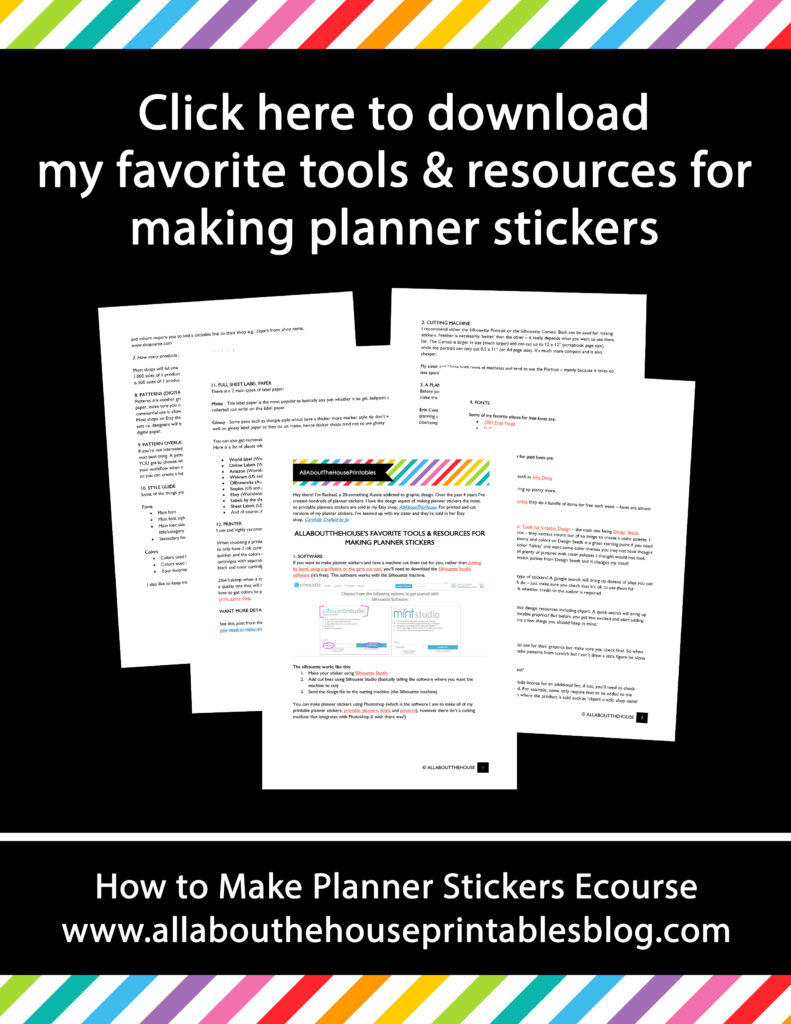
So I’ve talked about my ecourse: How to Make Planner Stickers a few times here on the blog. You may be interested in enrolling. If so, I wanted to give a prelude into the course by sharing the first video: an introduction into using Silhouette Studio for planner sticker making.
If you haven’t already, you’ll need to download the silhouette studio software (it’s free!). Click here to download.
I use Silhouette Studio Version 3.8 – all tutorials I record use version 3.8. There is a version 4 of the software but it’s relatively new and has a few kinks to sort out. I personally prefer to use version 3.8 which can be downloaded here.
To enlarge the screen of the video, click the square icon in the bottom right hand corner of the video (it will say ‘full screen’ when you hover your mouse over the icon).
Subscribe to my YouTube channel for more planner related videos & graphic design tutorials!
If you have any questions about the tutorial or the ecourse, just comment below 🙂
Related posts:
- How to Choose a Printer (Including the best printer for printing printables and planner stickers)
- 4 Tools for cutting printable planner stickers (and my favorite method)
- 7 Ways to make colors POP when printing using an Inkjet printer
- How to organize planner stickers using folders (plus free printable labels)
Want to learn how to make your own planner stickers? Click here for step by step tutorials!

Leave a Reply