Using a Kmart lists book to plan your week (52 Planners in 52 Weeks – Week 13)
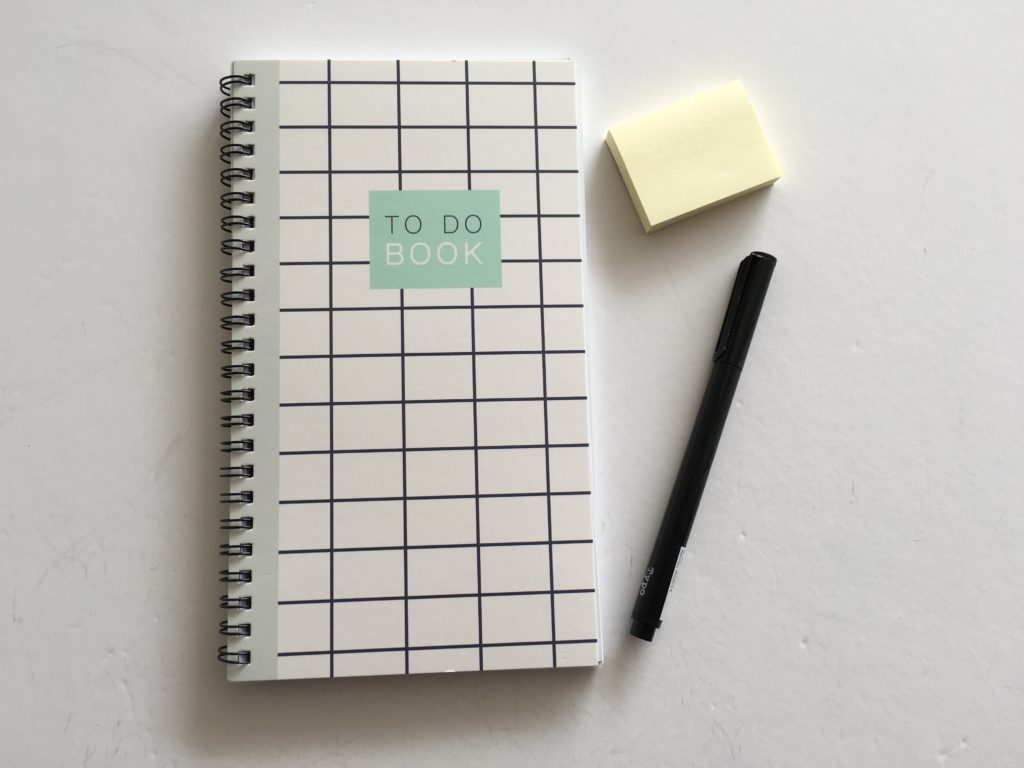
For week 13 of the 52 planners in 52 weeks challenge, I used a lists book I found a while back at Kmart. Cheap stationery instead of ‘designer brands’ seems to be a bit ‘taboo’ in the planner world – but just because this little book was cheap doesn’t mean it isn’t still pretty and functional!
This week’s layout
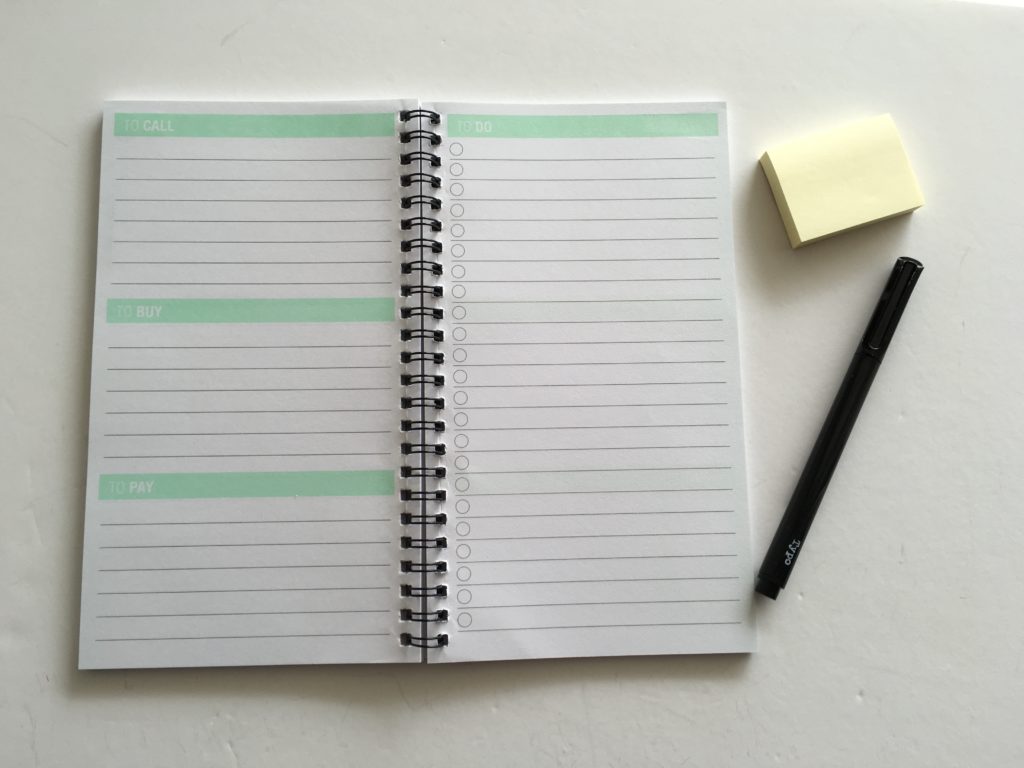
I purchased this list book from Kmart. It included sections for:
- To Call
- To Buy
- To Pay
- To Do
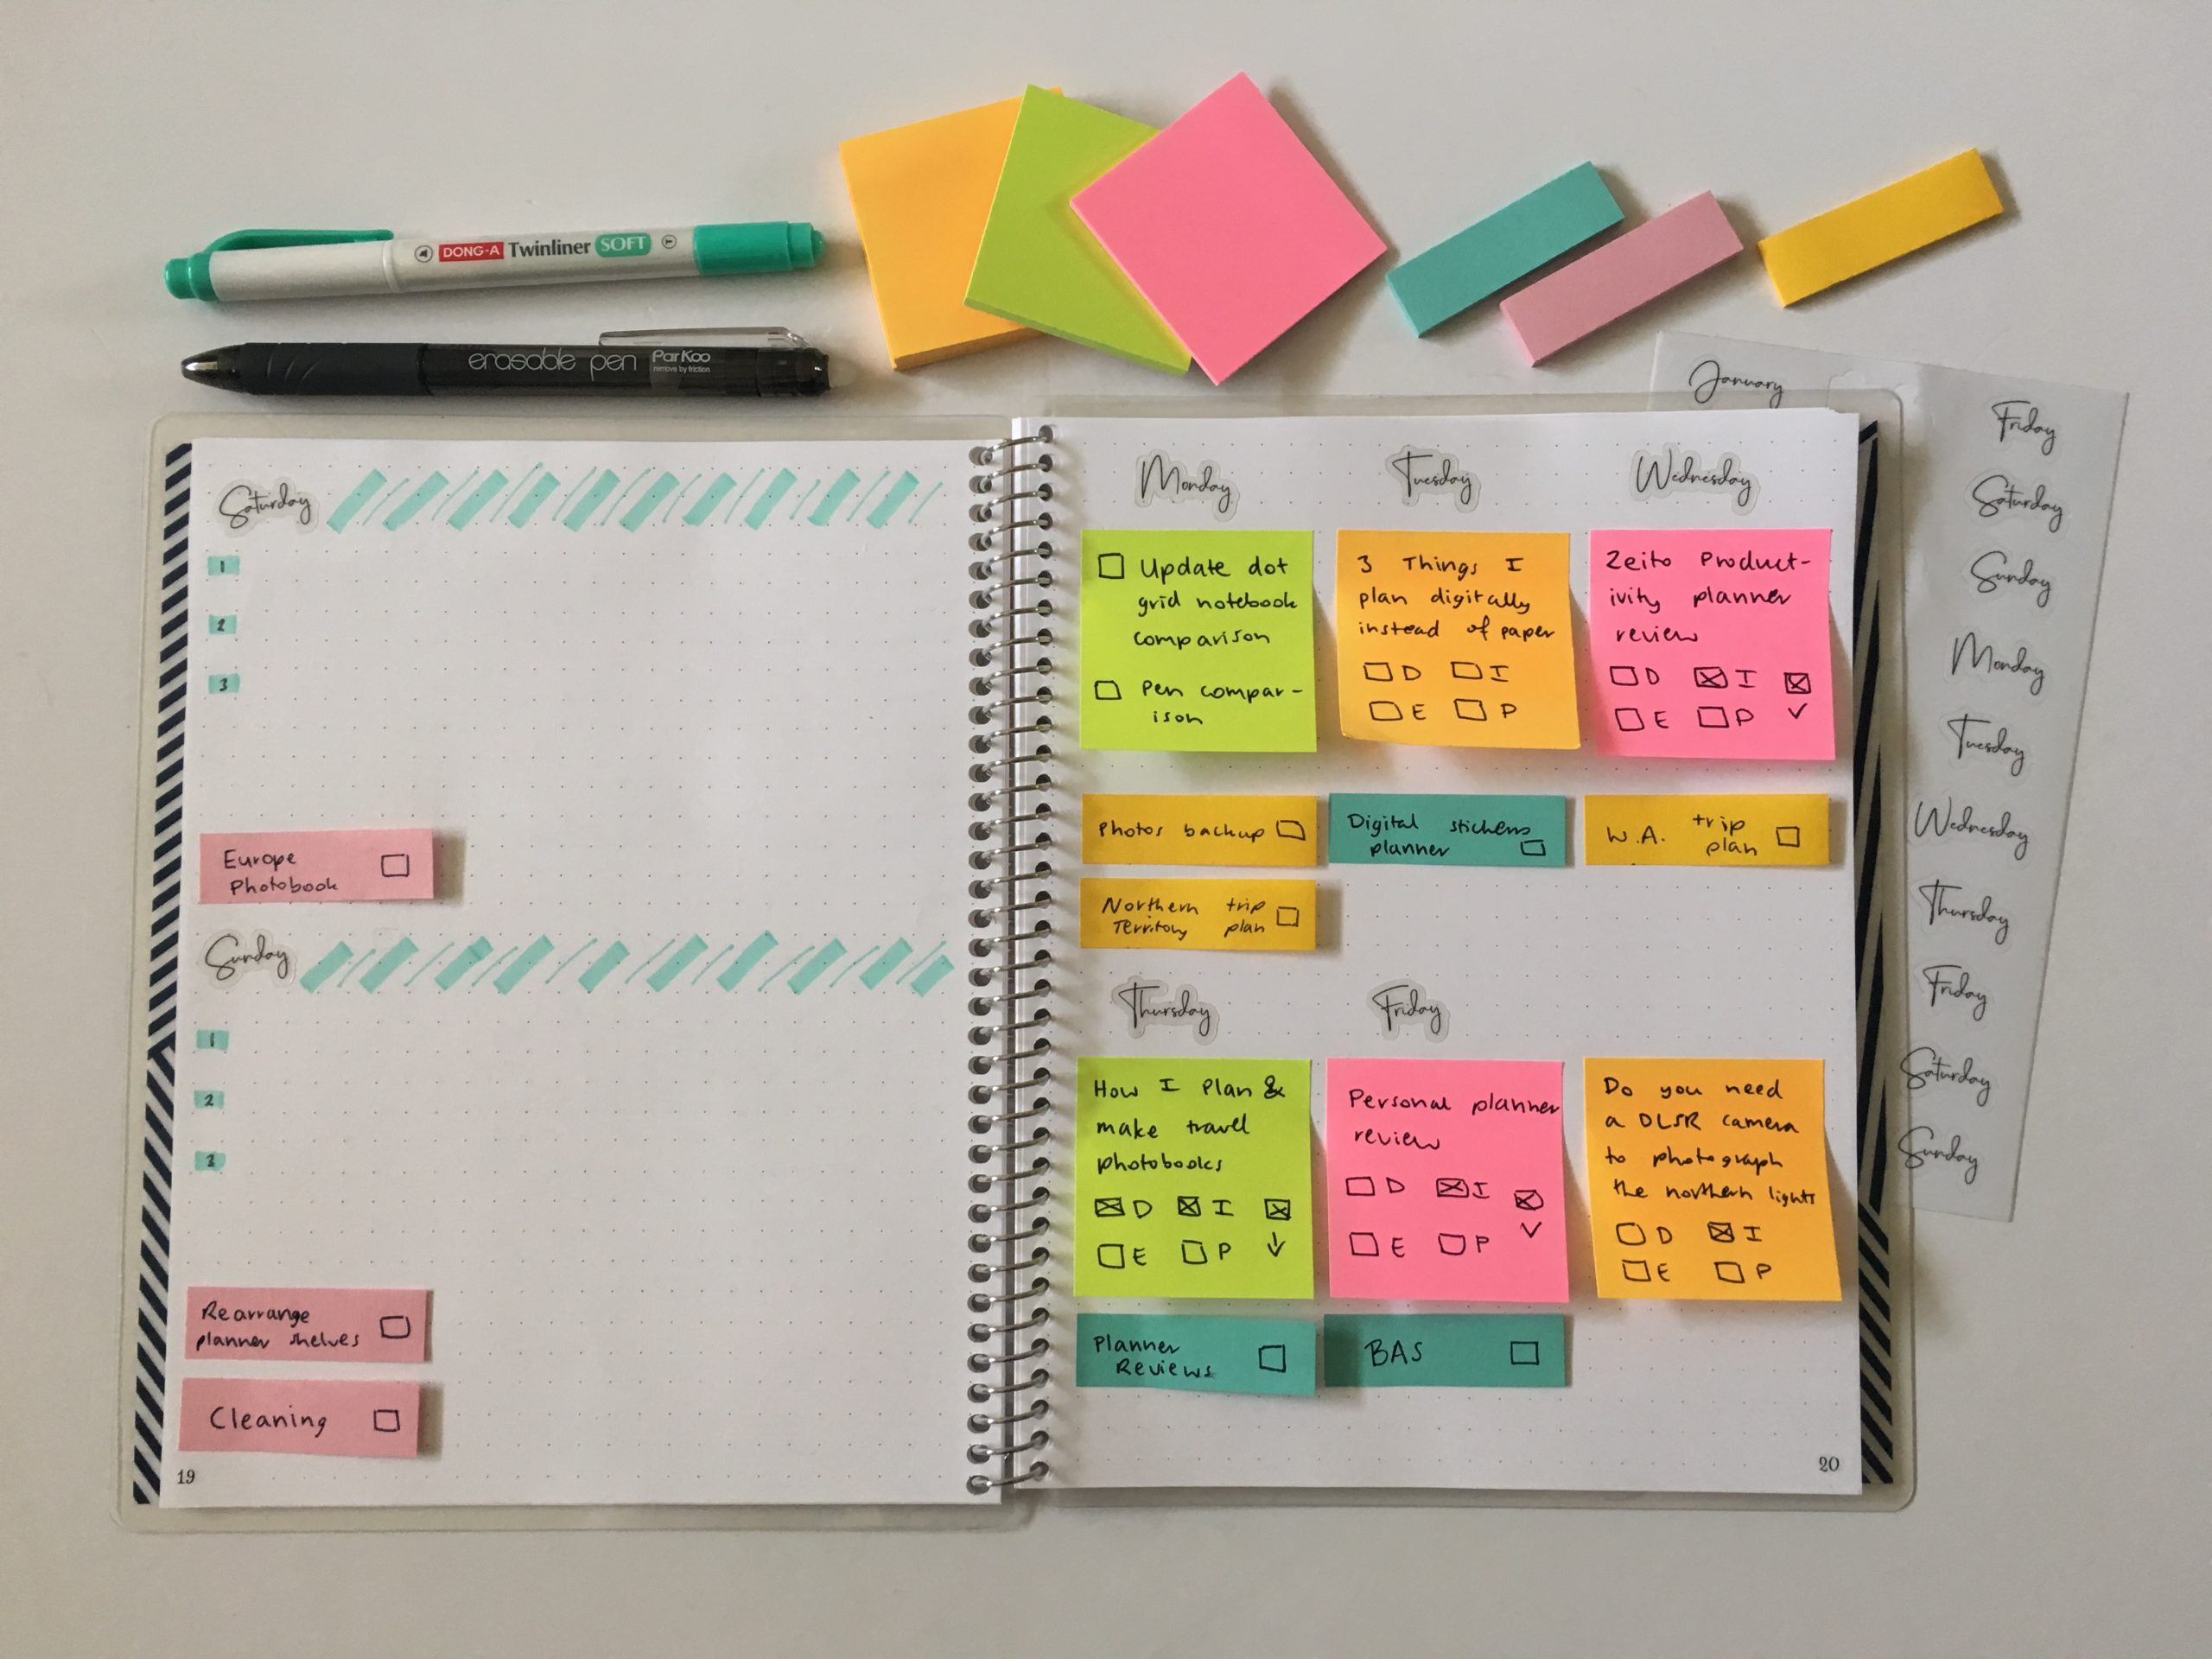
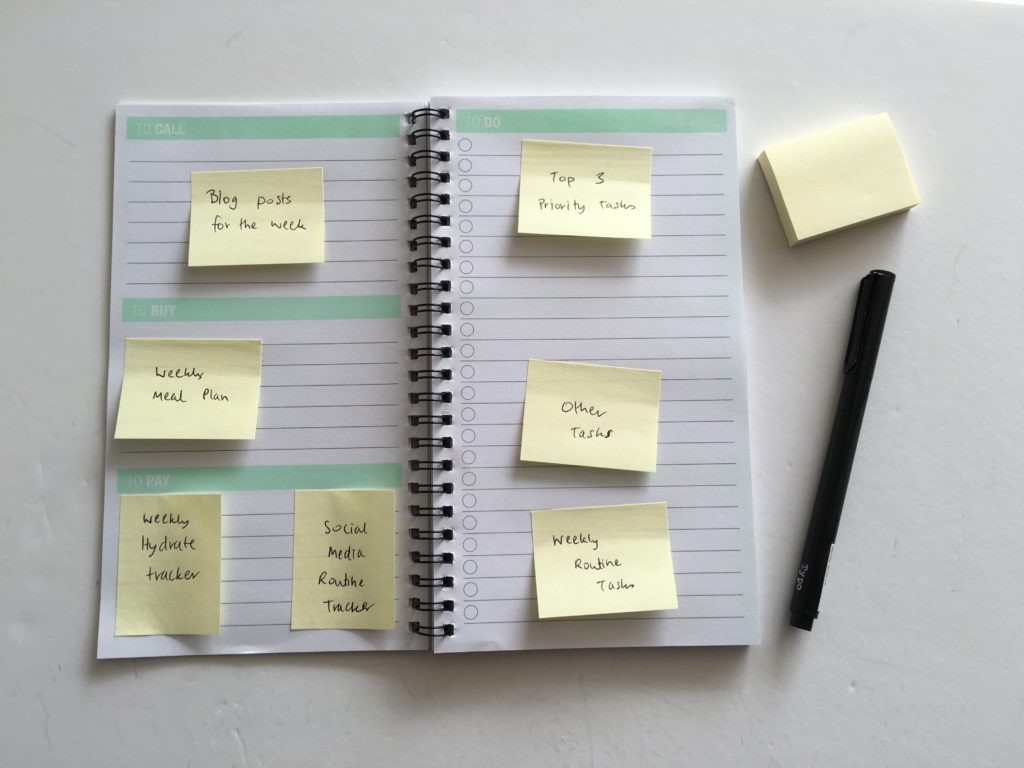
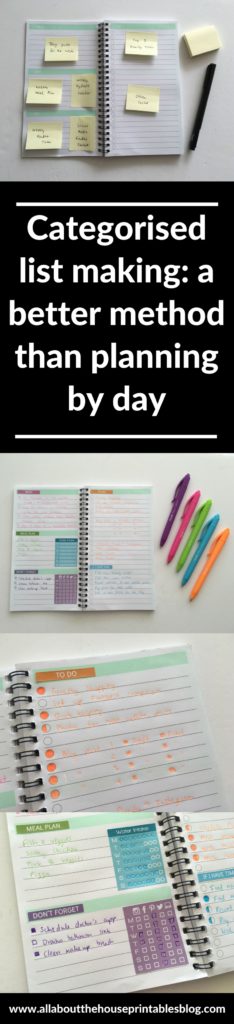
In previous weeks of the challenge I’ve ploughed straight into planning without much thought as to what I wanted to plan where. So this week I pre-planned the week using sticky notes.
This was the first layout I came up with
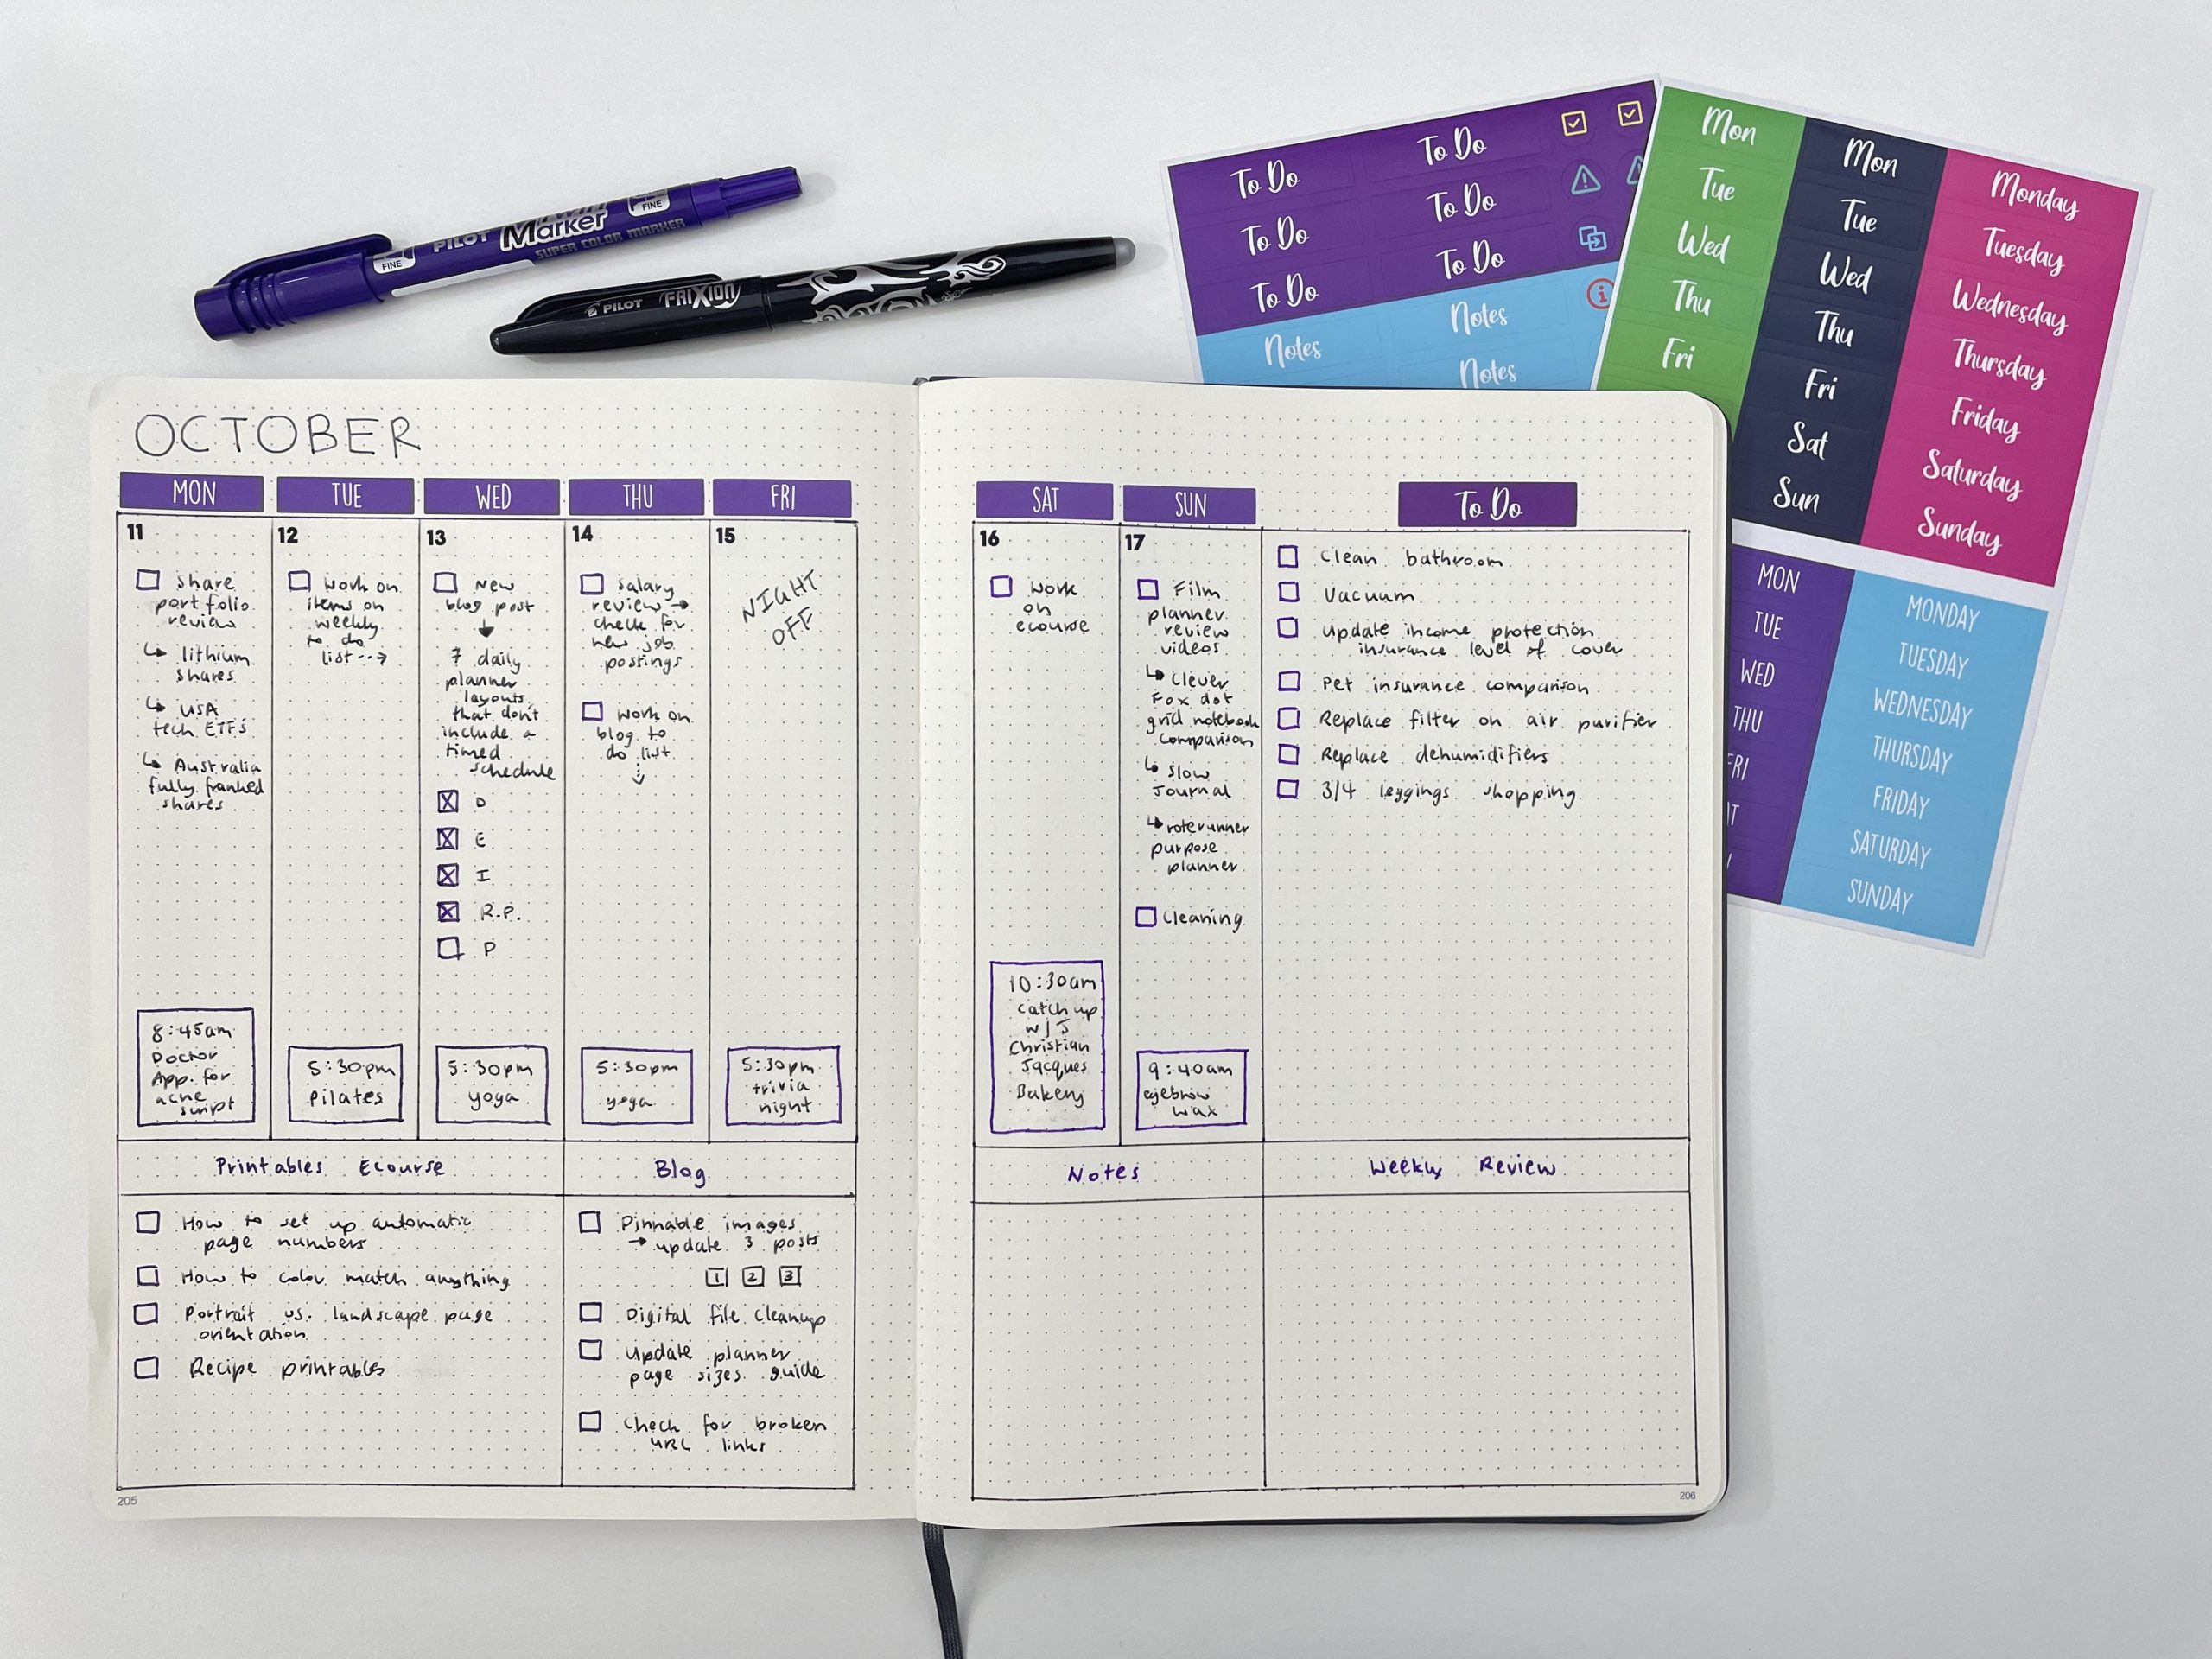
This was the seccnd layout that I ended up choosing
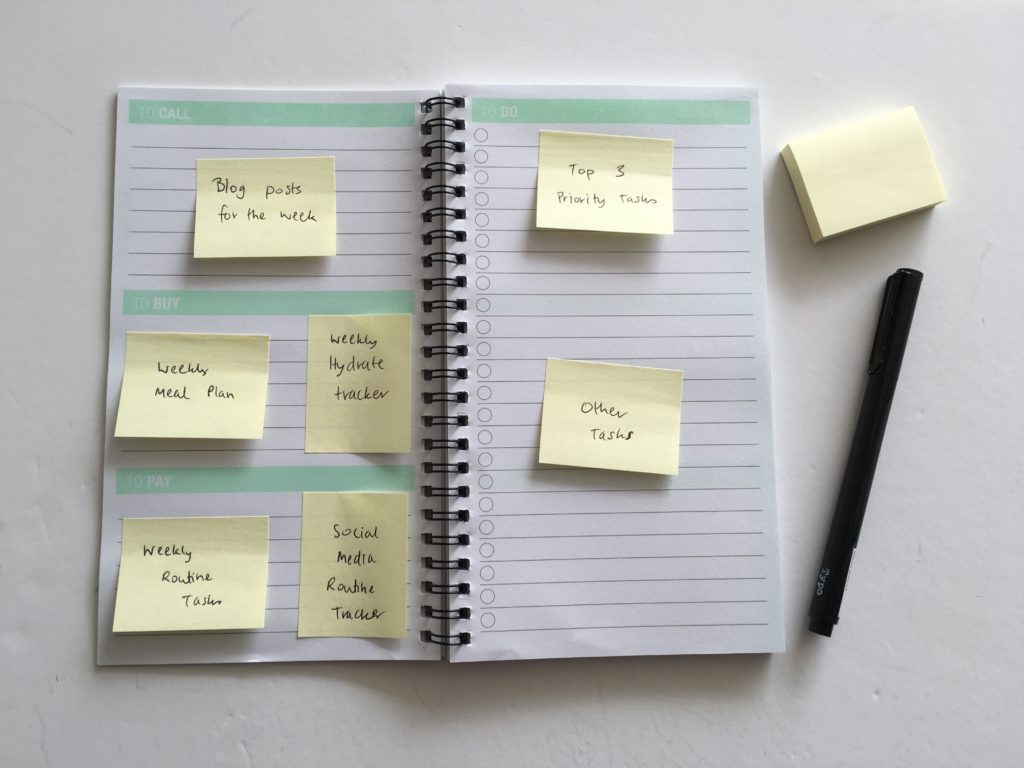
I used 1.5 x 1” sticky notes (Aspire brand) to pre-plan – they’re way cheaper than the Post It Note 3M but still super sticky.
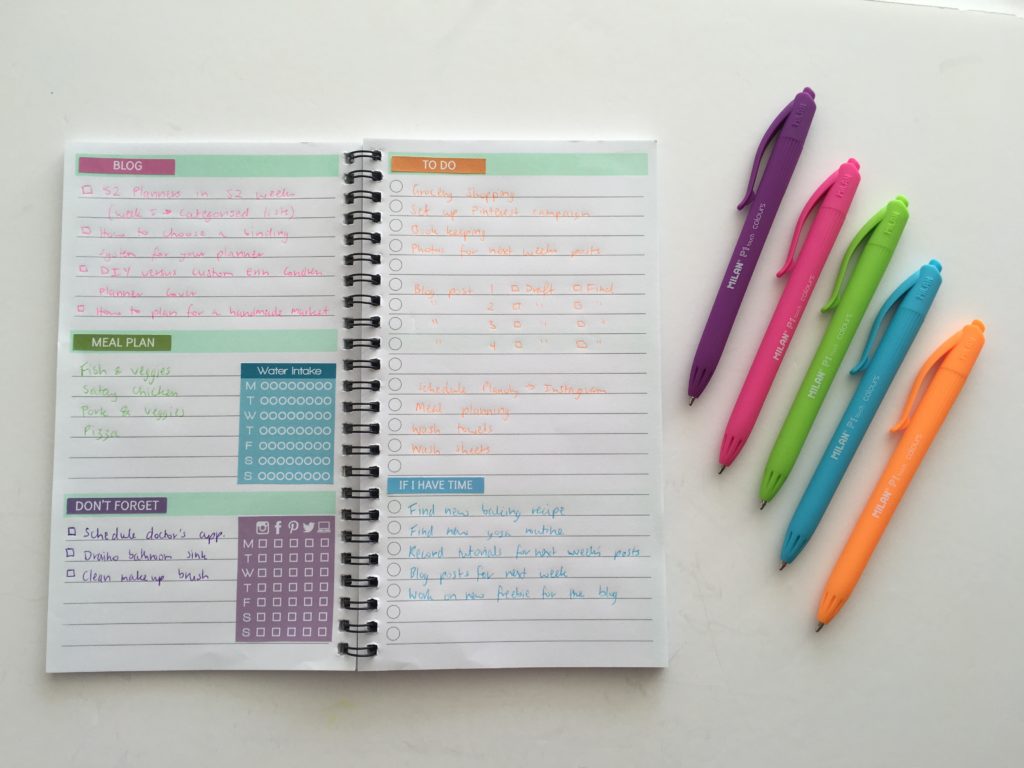
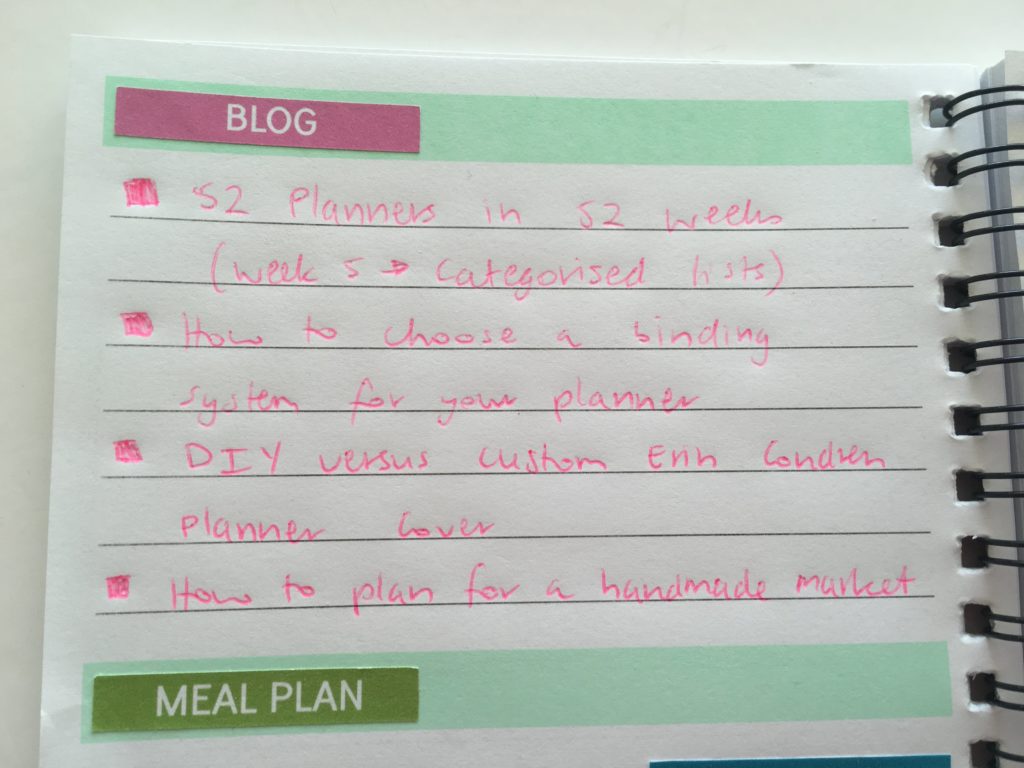
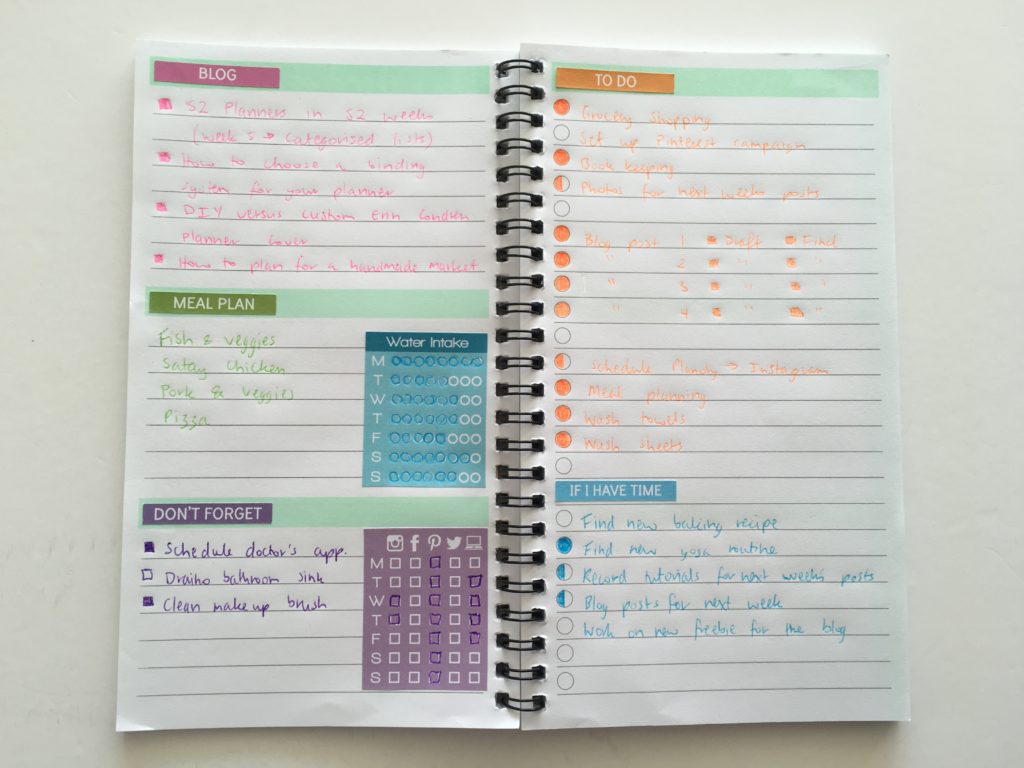
I covered up the lists pre-filled on the notebook using header stickers (from my sister’s shop) for:
The stickers are Erin Condren header size (1.5″ wide x 0.25″ high) but I find the size is perfect for any planner.
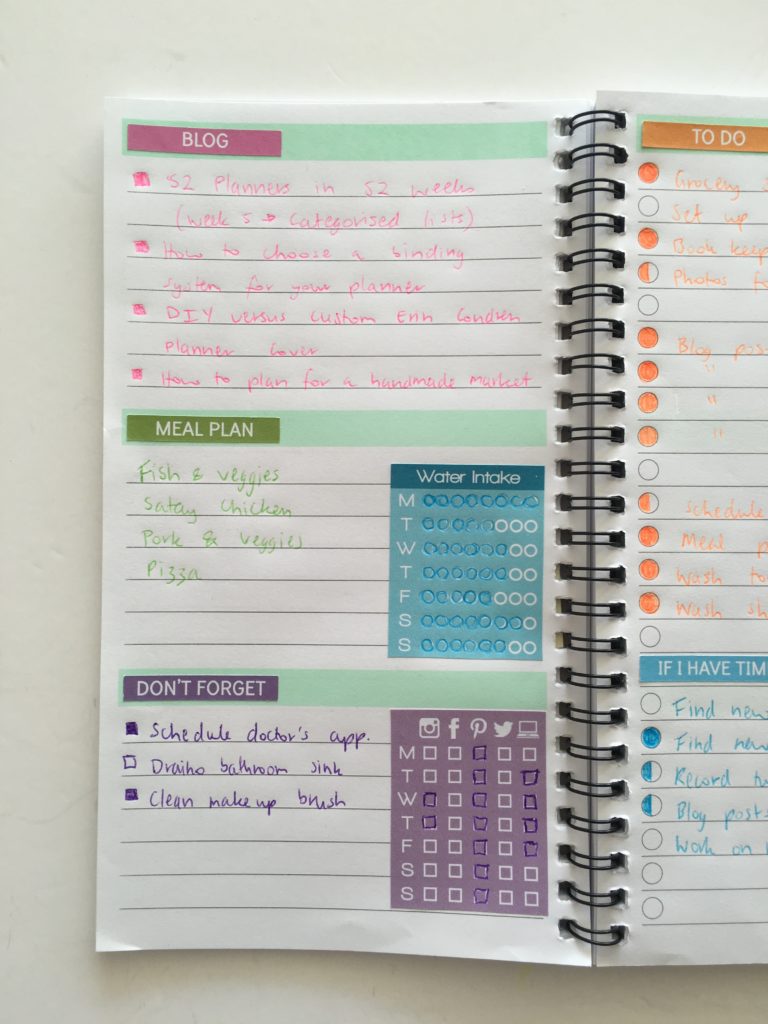
The weekly hydrate tracker is a printable from my shop, so is the social media tracking sticker.
I used a different style of hydrate sticker to the one I’ve used a lot in the past with water drops. I liked this new style I created with the outline of a circle rather than a solid as I can easily see which days I didn’t drink enough water (i.e. which days still have a white circle)
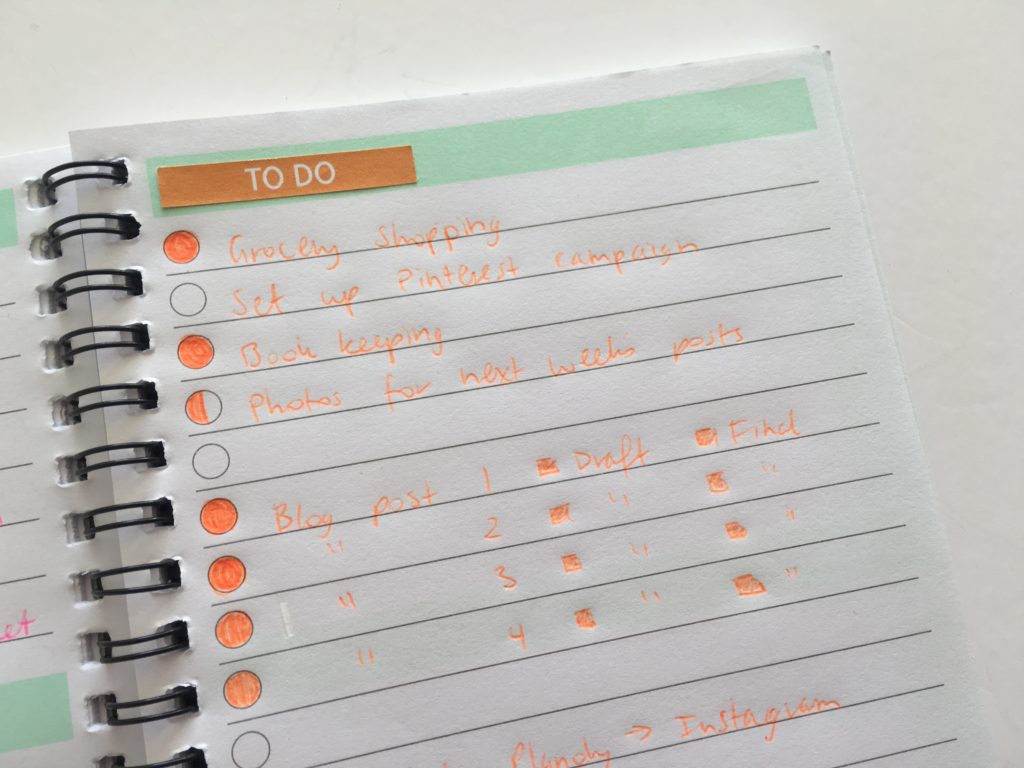
I used a half colored circle for a task in progress and the task circle fully shaded in means that task was completed.
Related: Planner Organization: How to color-code your planner (so you’ll actually use it effectively)
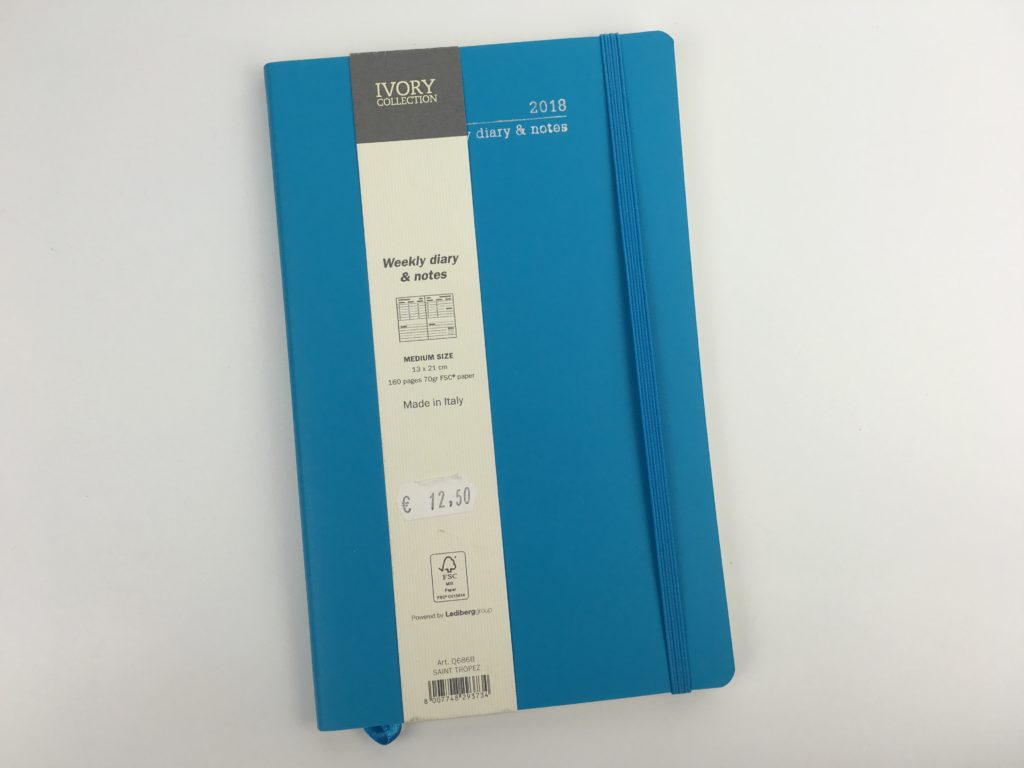
The notebook has unusual dimensions: 4.75″ wide x 8.25″ high which is much smaller than most planners.
I really liked the compact size. The notebook has enough for an entire years’ worth of planning but is less than 0.5″ thick. The notebook is light and the wire binding is small so it doesn’t get in the way when writing.
It would be a great planner to throw in your handbag without it taking up a lot of room, and because it only cost $3 you wouldn’t feel bad about getting the planner ‘messy’ or if a corner gets bent.
The width of the planner was the perfect size for list making – I didn’t need to use 2 lines for any tasks, and I also didn’t feel like I was wasting space which can sometimes happen with full page size planners when your tasks are only a couple of words e.g. ‘grocery shopping’
![]()
Pros of this layout
- The height and width of the lines was a good amount, and I liked the spacing between the 3 columns on the left and the amount of task spaces on the right. I was worried I’d run out of room to plan and was going to use sticky notes to create extra space, but it ended up being just the right amount of space 🙂
- The wire binding is thin so it didn’t get in the way when writing. I could also turn the book 360 degrees back on itself so the notebook lies completely flat when writing
- The compact notebook would be a perfect size for your handbag
- I liked the simplicity of the layout I ended up using – stickers when needed to save room (for the hydrate tracking and social media), but not stickers for every type of task as I’ve done in past weeks (admittedly sometimes just for the sake of using a sticker!) The stickers I used kept it interesting enough that it broke up the page so it didn’t look like a bunch of pen (which was the case in week 12)
- I liked color coding by category. I tend to color code each blog post by their category (blue for graph design, pink for planners and green for Etsy + online business), but since I’ve dropped back to 4 posts per week and am focusing more on blogging about planners, I didn’t bother using different colors – and it still turned out fine 🙂
Related: Week 12: Planning using the Plum Paper Horizontal lined with notes
Cons of this layout
- As I like task focused planning, I sectioned the pages off into the various categories I needed. If I used this layout again I’d use a sticker such as this one for meal planning to save space, that way there’d be enough room for a icon stickers to flag birthdays, or other important events etc.
- I wasn’t intending to but then I ended up clustering to do’s together by category (which I would normally use different colors). The to do list space was a bit tight so I didn’t add more header stickers to section the lists further e.g. blog to do, Etsy shop to do, personal to do’s etc. – if there was room I would definitely set the list making space up this way
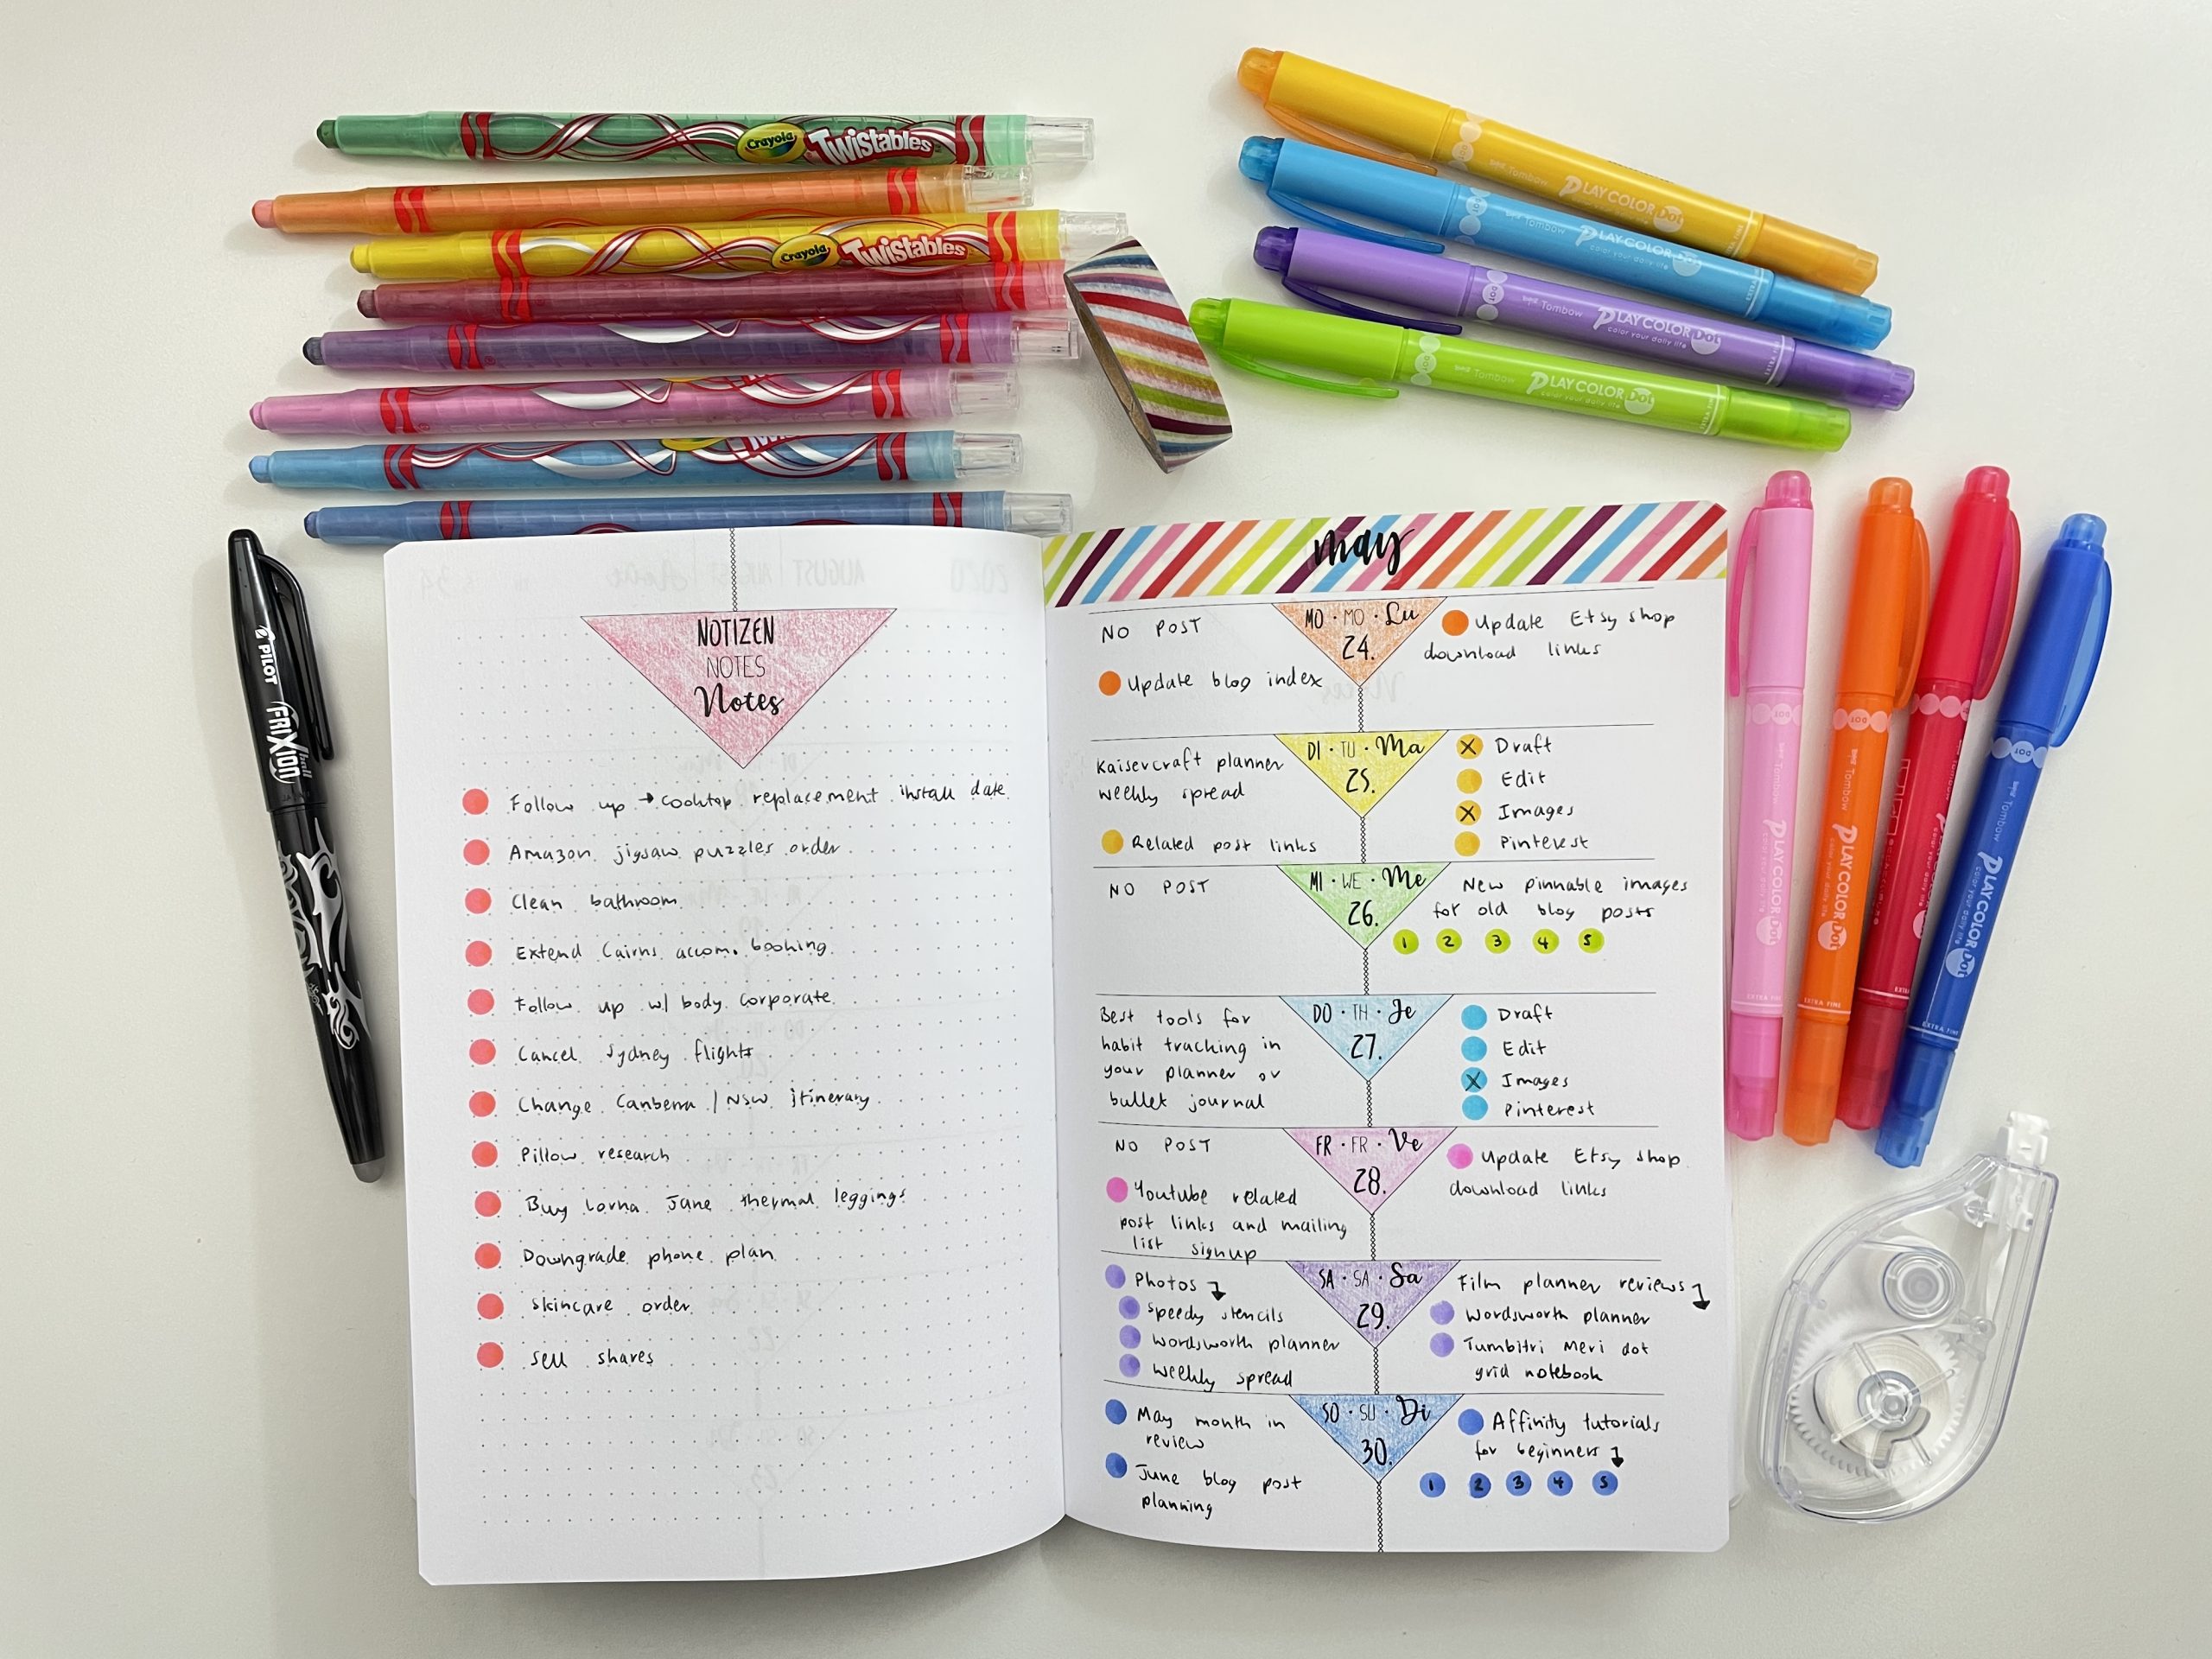
Pens used
Milan P1 touch pens. Officeworks is the only place I’ve seen these pen. They come in 5 colors:
- Purple
- Pink
- Blue
- Green
- Orange
I tend to use planner stickers to color code. Since my rainbow stickers include teal and red, I don’t use these pens very often (I usually use the PaperMate Inkjoy Gel as they’re almost an exact match for my planner stickers).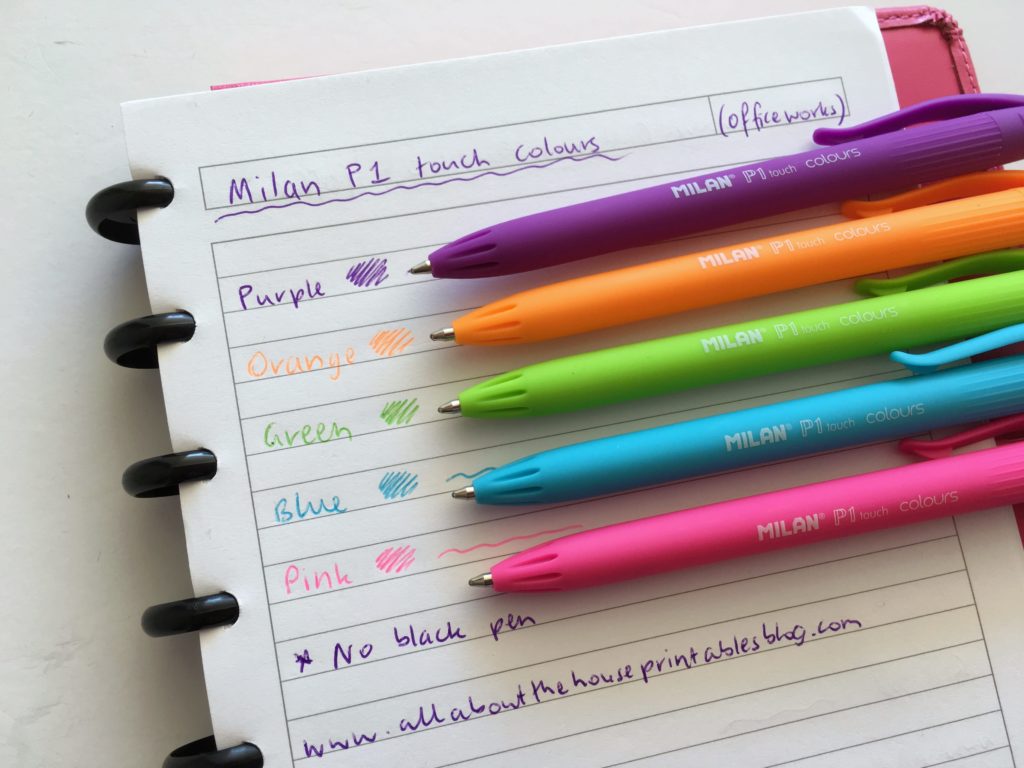
The Milan pens are very nice looking pen and I love the purple (it’s a nice vibrant color), but the other colors, especially the orange, are a bit light and tend to skip when you write with them.
Would I use this layout again?
I really liked the compact size of this notebook and the simplicity. Next time I’d section off the to do list even more and get rid of the don’t forget section. Instead I’d make that a section for weekly routine tasks and move the cleaning tasks to that side of the page.
I jotted down grocery shopping as a task but since I do this at the same time each week I think I’ll stop bothering to write this in my planner. Much like I don’t bother writing every single little thing like ‘brush my teeth’ and ‘make my bed’ as I do these things on autopilot so don’t need my planner to remind me to do them.
The size of this layout was just enough that I couldn’t over plan and put too many tasks on my list as I am prone to do.
I would use this layout again.
Kmart’s stationary stock comes and goes. So if you did like this layout or see something similar in a different design and color range, I’d grab a couple of these notebooks – this one was only $3!
Other ways to use this layout
Another way I thought about using this book is for meal planning. Some ideas:
- Breakfast lunch and dinner on the left and grocery list on the right
- 3 blog posts on the left with the workflow tasks for each e.g. take photos, outline, proof-read, pin to Pinterest
- Lists for Personal, work and cleaning on the left with the weekly shopping list on the right
Catch up on past weeks of the challenge:
- Week 4: Minimalist planning: how to plan your week using a blank notes page and stickers
- Week 5: Planning by category and task, rather than by day
- Week 8: Weekly Planning using the Plum Paper Memory Keeper Book
- Week 12: Planning using the Plum Paper Horizontal lined with notes
Related posts:
- Honest review of the Happy Planner by Me and my Big Ideas (MAMBI)
- Comparison of the 9 most popular print and ship planners
- Ultimate list of the best planner pen brands and how to choose colors for color coding
- How to make a DIY Erin Condren Planner Cover for less than $2 (plus free printable cover)
This is not a sponsored post – I just really liked this little notebook!