
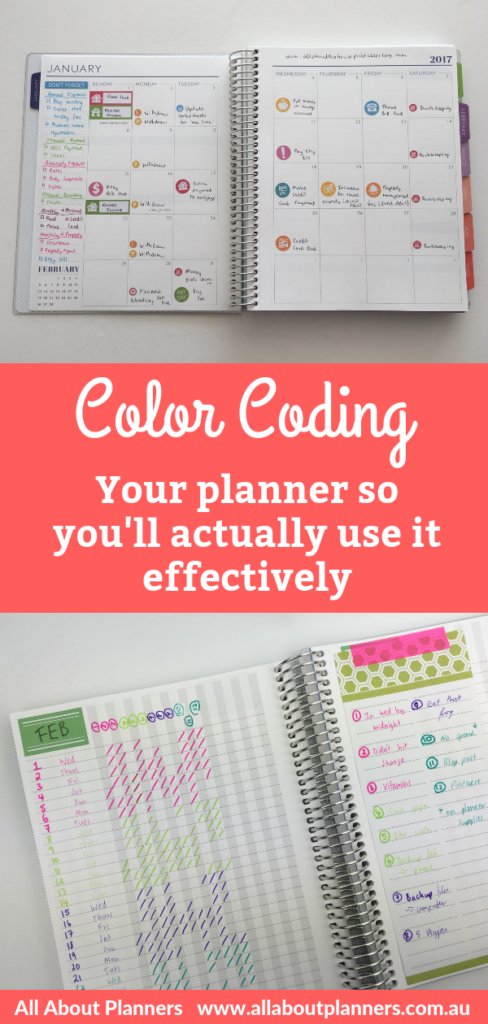
Planner Organization: How to color-code your planner so you’ll actually use it effectively
Today’s post combines two of my favorite things: organisation and planners! Lots of people purchase a pretty planner because, well, it’s pretty! But then they open it up and aren’t actually sure how to use it to get the most out of it. Planner stickers are an obvious choice for organizing your planner (see this post for advice on how to choose which planner stickers are right for you), but let’s talk about another way to organize our planner: color-coding.
How to color code your planner
To color code your planner, you first need to know what you’re actually planning in your planner.
What do you use your planner for?
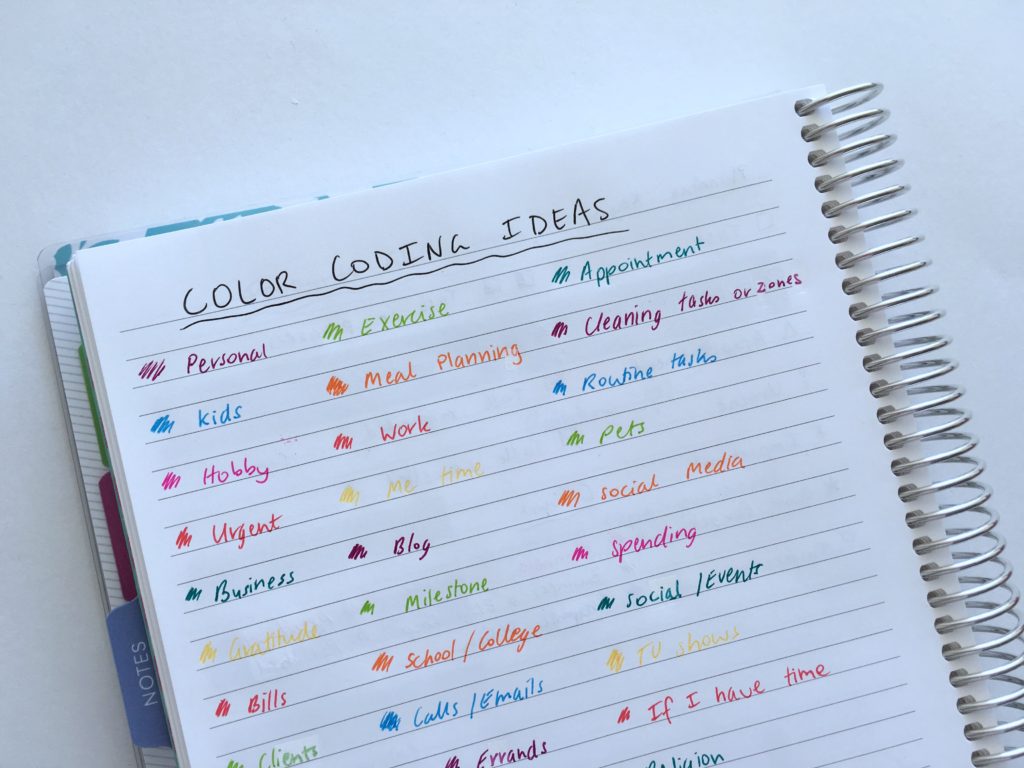
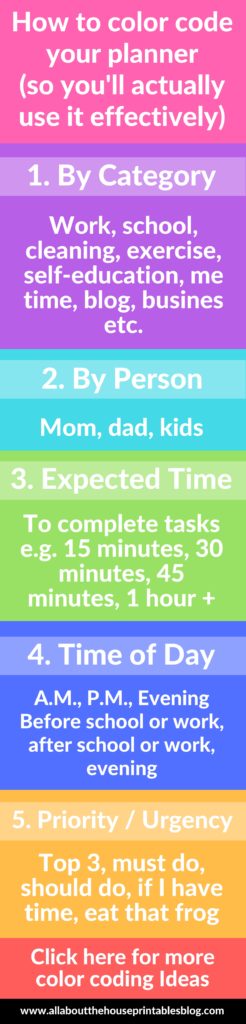
Some things you might want to color-code and use different colors for:
- Each family member
- School subjects
- After-school activities
- Committees & sporting clubs
- Meal Planning
- Chores/cleaning/home related tasks
- Projects
- Hobbies
- Blogging
- Business
- Birthday & events
- Savings goals, spending, bills and anything else related to money
- Exercise/fitness/gym/workout
- The ONE thing – your main priority for the week (or in your life right now – that BIG project you’re working towards)
Related: 50 Category ideas for color coding your planner
Want some examples? How about…
If you’re a blogger, different colors for:
- Each social media platform you use
- Guest Posts
- Drafting blog posts
- Creating blog graphics
- Freelance work
- Etc.
Notice that I split up blog posts and ‘guest posts’ into 2 separate colors? It’s super important to get specific, blogging is a very broad topic and so is social media, so make sure you use different colors so you can easily track what you’re working on when. I also recommend using a different color to track freelance or client work, so you can really see how long you’re actually spending on that project, and how much to charge for that next sponsored post.
If you’re a business owner, different colors for
- Product development (I’d even go so far as to use different color for each product/project you’re working on, especially if they’re big projects such as creating an ecourse or writing an ebook)
- Bookkeeping
- Marketing
- Website maintenance & ‘behind the scenes’ tasks
- Etc.
If you’re a student, different colors for:
- Each school subject (if you’re a super-nerd you could use a different color for each task per subject. So if you’re color for math was blue, you could use light blue for homework, medium blue for assignments, group assignments and meetings and dark blue for studying for exams & marking when your exams are in your planner
- After school activities (with separate colors for every club & committee you’re involved in and another color for each sporting events, another for volunteering etc.)
- Work shifts
- Chores & other responsibilities at home
- If you’re a super-nerd, anything related to college planning, studying for the SAT’s etc.
- Social life & events, parties etc.
If you’re a mom, different colors for:
- Each family member (if you don’t want to use too many colors, different colors for mom, dad and you could use one color for everything related to your kids)
- Family events, outings, activities or anything else that involves the entire family
- Work
- Volunteering
- Exercise/Gym/Workout/Health
- Reminders, errands and other ‘don’t forgets’ (I usually use red for these as the color stands out and red has an association with ‘warning!’
- Meal planning
- Cleaning, home projects etc.
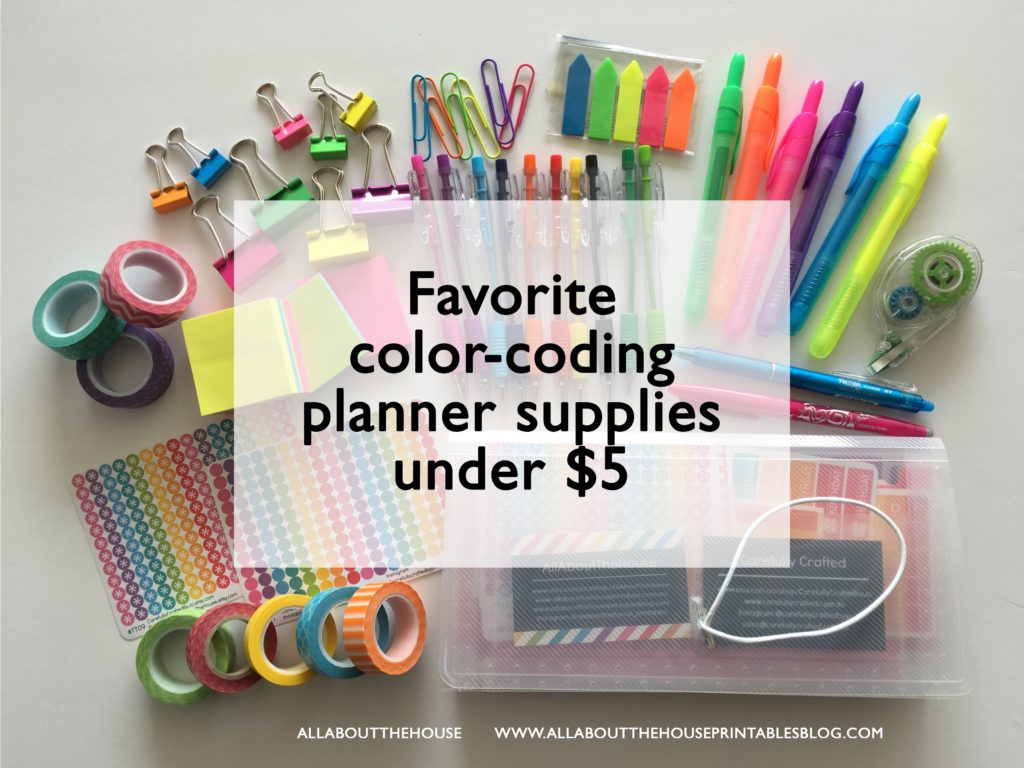
Related Post: Favorite planner color coding supplies for less than $5
If you prefer to plan using an hourly schedule, consider color coding by time
- 15 minute tasks
- 30 minute tasks
- 45 minute tasks
- 60 minute tasks
- Appointments (as these cannot be rearranged)
Now add your appointments into your planner, and slot in your other tasks in the times that fit around those.
What should you color code?
You could color code all of the above, or only the most important things. It depends how detailed you want your planner to be (and how much room you have). Keep in mind that if you’re using different colored pens etc. it can take a long time. Tell me I’m not the only one that finds it annoying when you write something in the wrong color pen and then have to use whiteout or try and write over the top of it in a different colored pen?!
Related: Ultimate list of the best planner pen brands and how to choose colors for color coding
What if you have a LOT of things to keep track of?
How many colors is too many? I recommend no more than 4 to 5 colors. If you’re planning a lot of things, I recommend using more than one planner. It keeps everything more organized and less cluttered, and also gives you more room to write. If you’re short on space in your planner, you might need to move some things OUT of your planner. For example, use a chore chart on the fridge to keep track of cleaning tasks, use a shopping list notepad rather than keeping a shopping list in your planner, transfer bills, receipts & coupons to a separate binder so you can stop worrying that your planner is going to explode. If you’re a fellow business owner, I use a 16 x 20 inch printable annual wall planner (available as a free download in this blog post) printed on poster paper and keep in my office, rather than planning in my planner – I much prefer having it where I can see it with the highlights of the year in one place, rather than tucked away in my planner, and it helps keep me on track to achieve my goals.
If you have stuff in your planner that you don’t look at, at least once a week, then it’s time to take it out. For example, you might use a travel packing list. But how many times do you go on vacation? it’s not something you’re going to be looking at every day. You should move these pages to a binder, or my personal favorite, the arc planner system. You can read more about why I prefer the arc planner to binders in this post if you’re interested.

How much do you actually need to color code?
Some people like it when their planners look like a packet of crayola crayons vomited all over it, and some people like to keep it simple. I’d say I fall somewhere in between. I love decorating my planner with planner stickers – but they need to be functional and serve a purpose. I tend not to ‘decorate’ my planner too much other than some washi tape (as there’s usually no room for decorating!)
Related Post: Free Printable Erin Condren Vertical Life Planner (or any planner) Ombre Pineapple List Stickers
How I color code my planners:
When I was studying in school and college, I used colored pens, but nowadays I just use a black pen, and write on functional rainbow list stickers, or beside icons. I already carry planner stickers with me, my handbag isn’t big enough to carry a collection of colored pens as well!
I use separate planners for different things. For example, I have:
- Blog planner
- A business planner
- A planner for my personal life (the rainbow planner which you can read more about in this post)
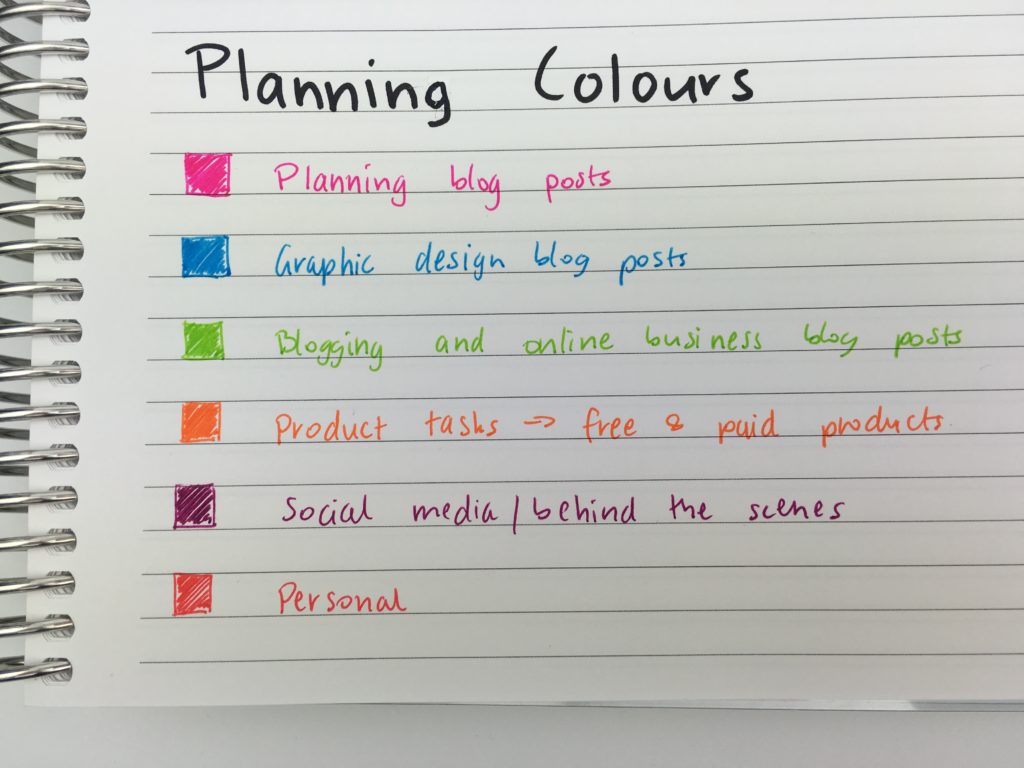
Because I plan multiple things, I use a different color for each category.
If I used the same planner for everything, I’d probably use the same color for each category, but use different shades of each color. So if my color for everything blogging related was blue, I’d use a light blue for drafting blog posts, medium shade of blue for guest posts, social media posts in a dark shade of blue etc. Then for business related planning, I’d use a different color, for example, purple. Then my colors might be: light purple for product development, medium shade of purple for book-keeping, a dark shade of purple for marketing etc.
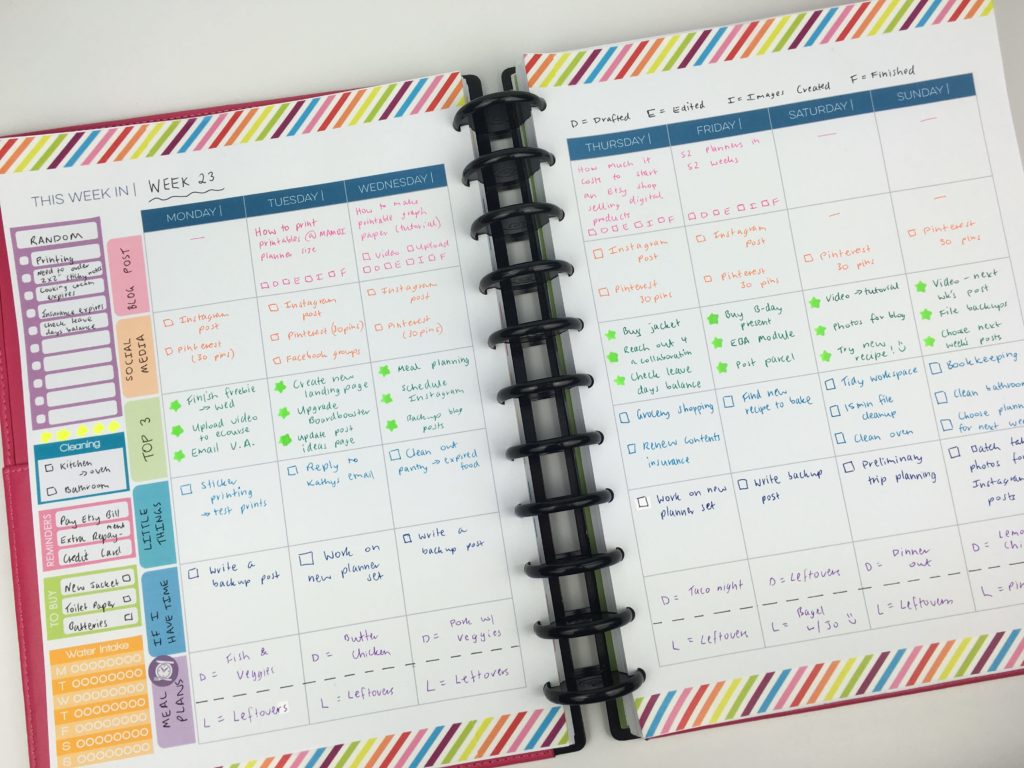
UPDATE: This year I’m trying a different planner each week. Click here to follow along. For week 23 I used the Limelife planner and color coded by category. More on that in this post.
Color coding increases productivity
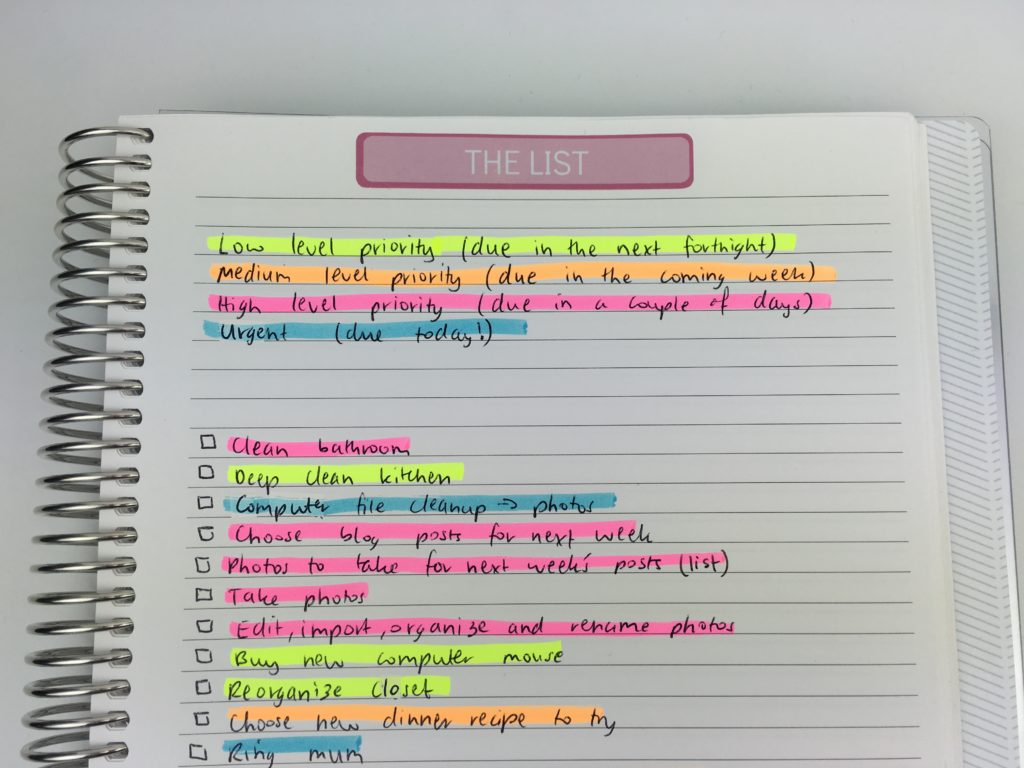
By color coding you can quickly and easily see what you have to do next. If you don’t want to use colored pens, you can quickly color code using a black pen (my favorite are the Pilot Frixion Erasable) and then highlighting your tasks by category, time etc.
Related: 6 methods for color coding to increase productivity.
If you’re interested in more tutorials about making your own printables, I have an entire ecourse filled with tutorials on How to Make Printables in Photoshop.

I also teach how to make printables using Microsoft Word and Microsoft Excel which are more beginner friendly
What should you use to color code your planner?
Planner stickers
These could be the actual stickers themselves i.e. list stickers in different colors, or as simple as using small solid color (no icon, frills or images) stickers.
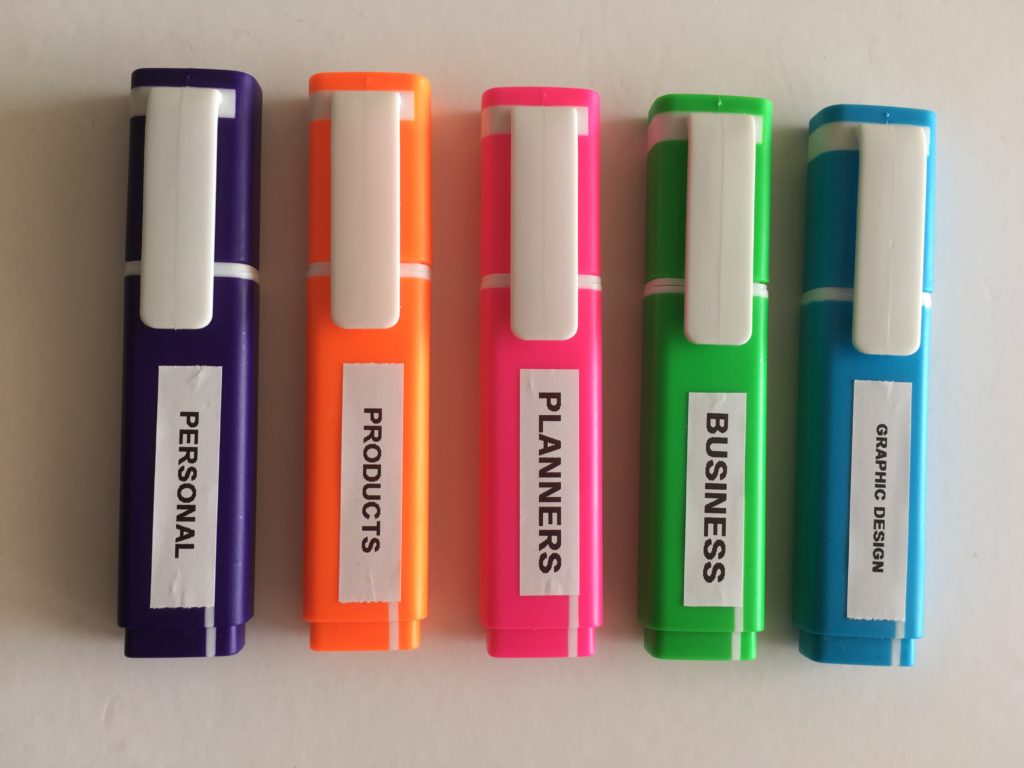
Highlighters
If you prefer to write in black pen, or don’t want people giving you funny looks because you’re an adult carrying around a pencil case full of colored pens and planner stickers (we’ve all been there right?), then highlighters are the way to go.
Color-coding EVERYTHING can be quite time consuming. If you want a quick way to color code, highlighters are the best option. Write everything in black, or blue or any ONE color, then highlighting your writing is quick way to color-code. Keep in mind that highlighters only come in a few colors, whereas pens come in a LOT of colors.

Related: 6 Useful ways to efficiently plan your week using highlighters
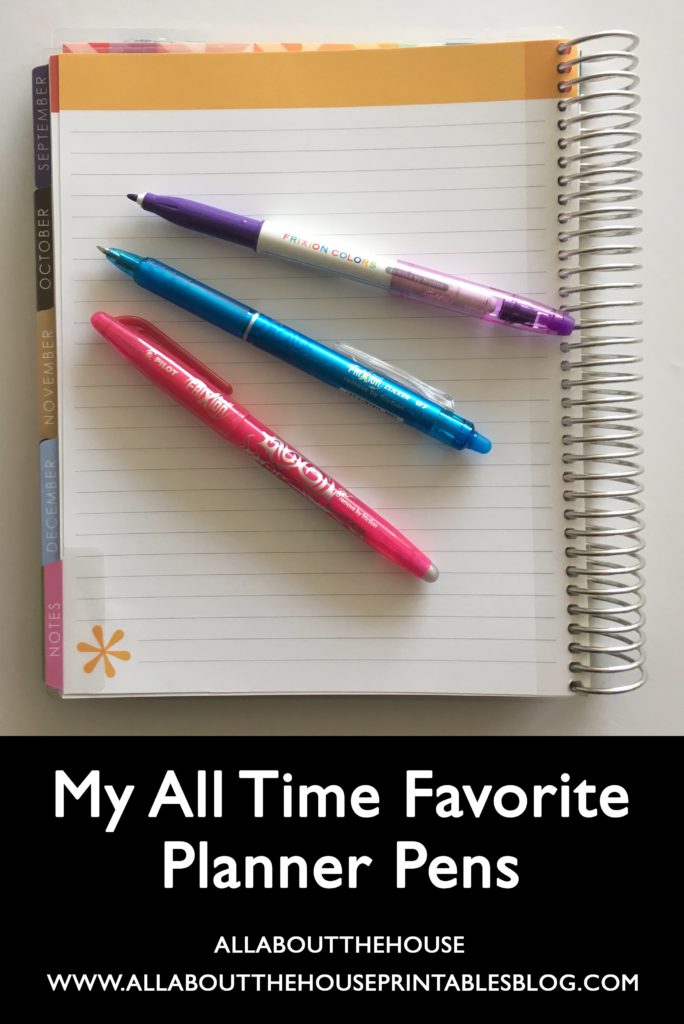
Pens
You can find pens in literally every color of the rainbow these days! Some of my favorite brands are:
- Papermate flair
- Those push pens that have 4 colors in one
- Almost any black pen – most will write on both matte and glossy label paper (although matte is generally easier to write on, glossy label paers really makes the colors POP)
- Papermate Inkjoy Gel 0.7mm
- Frixion Erasable pens by Pilot (I used to not want to color-code because I would be paranoid I’d write things in the wrong color – with these pens you can simply erase and re-write in the correct color)
Colored Paper
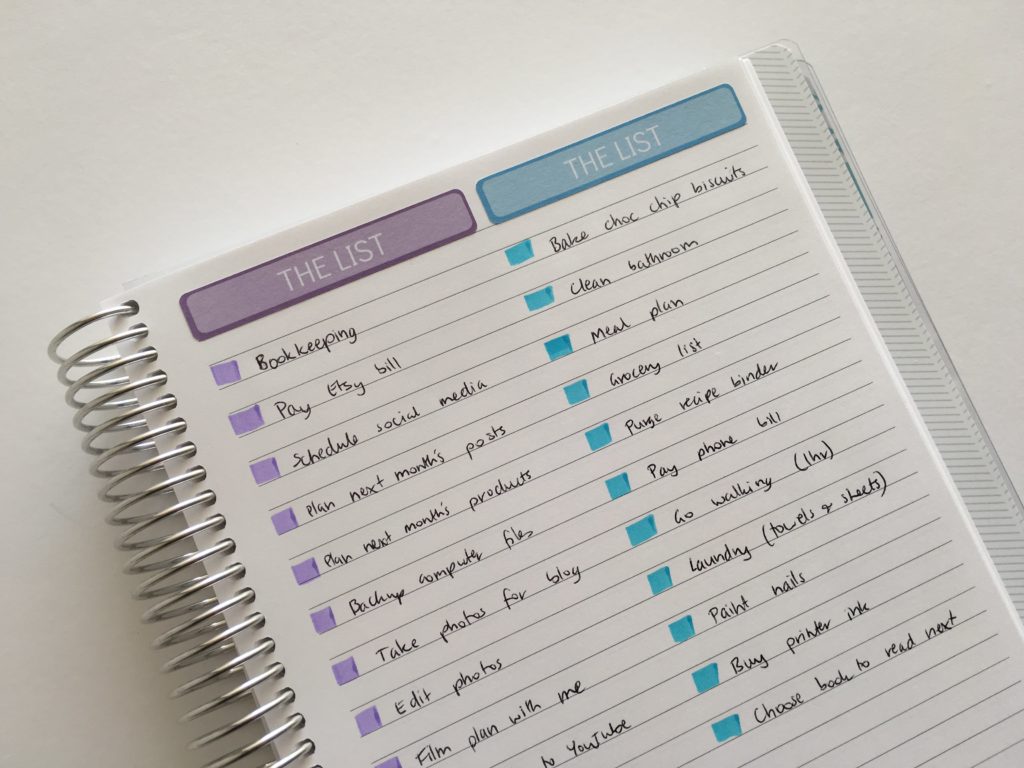
If you have lots of to do’s, I recommend using different colored paper (or different colored planner pages) to keep each type/category of tasks separate. I use a different color of my anything list printable for each of my different types of to do’s (business, blog, projects in the works etc.). The anything list is from the List makers printable planner. Much like I have different colors for each of my planner stickers, for different categories, I use those same colors for my planner pages. So for example, for my budget binder budget binder and anything money related I use light blue, my meal planner is green so I typically use green stickers for meal planning, my blog planner is light blue so anything blogging related in my planner is light blue etc. You could also print planner pages onto colored paper. My sister has some printed color inserts in her Etsy shop. I know this seems like a bit of a ‘rigid’ planning system and I know it’s not for everyone but it’s certainly been keeping me organized since I started implementing it 🙂
Related: Planner Organization: How to organize planner stickers
Tip! Make sure you use colors that contrast with one another. So while a page in your planner may look pretty if each of the things you’re color-coding are in different shades of blue, you’ll probably end up confusing yourself than if you use colors such as: blue, green, pink and purple as these all contrast with one another.
If you do use a mixture of colored pens, highlighters, sticky notes, planner stickers etc. also try and choose colors that are readily available in the colors that you choose so you can mix and match easily and keep everything coordinated 🙂
Favorite places to buy color-coding tools
- Office supply stores including Staples, Officeworks and Big W (if you live in Australia like I do) and Kikki K for colored pens
- eBay
- Etsy for planner stickers. All of the planner stickers I use are from my printables shop. You can find printed and pre-cut versions of some of my planner stickers in my sister’s Etsy shop, CarefullyCraftedbyJo (she also has planner inserts and washi tape. Kate Spade planners are available through her online shop). We are slowly adding more printed and cut designs to the shop – I’ve created over 400 printable planner stickers since 2013 so it could take a while!
More tips for color-coding & using your planner
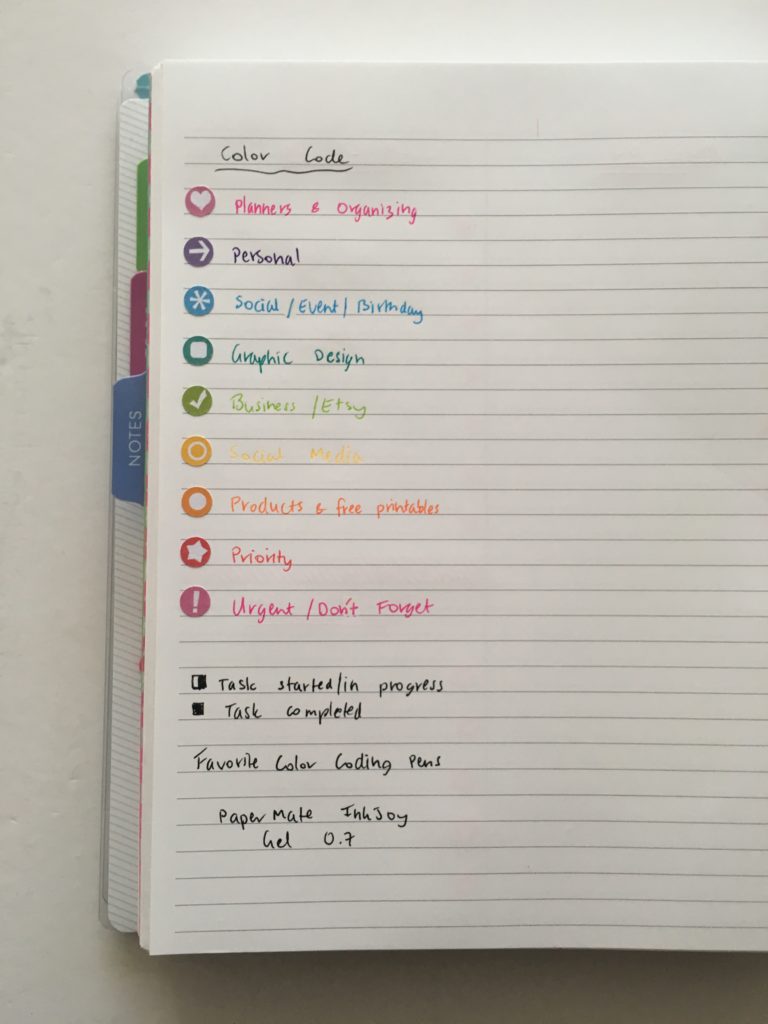
- Keep a list of the color codes you’re using for each thing in the front of your planner, until you get the hang of which colors are used for what
- Once you choose colors they’re not set in stone. You can always change and adapt your planning system later
- Don’t put stuff in your planner that doesn’t need to be there – especially if you have a small planner that doesn’t give a lot of room to write! Alternatively, you could use a planner that goes for 6 months rather than 12 or 18 months, or rip out pages once used so you’re not carrying around extra bulk. This is one of the main reasons I prefer the Arc planner system – you can read more about how I use it in this blog post
- When color-coding, I try to ‘cluster’ everything related to that topic. I don’t plan hourly unless I’m super busy which is usually on the weekend as I work a full-time day job in addition to my Etsy shop. For detailed daily planning I use these printable daily planner pages from my Etsy shop, in conjunction with my weekly planner which I blogged about in this post. So when I plan, I try and keep everything business related to one section of the planner, personal stuff in another section etc. that way my eyes aren’t searching all over the place trying to find stuff
- I also cluster by sticker type. So I typically place icon stickers at the top of the daily spread, with list stickers, hydrate stickers, reminder/don’t forget below that, and then meal planning stickers at the bottom, as I will always need to meal plan what I’m going to have for lunch and dinner each day
- If you’re a student, record due dates for assessment in a different color (such as red!)
- Don’t duplicate. For example, I prefer to write when bills are due on the monthly calendar section of my planner, rather than in each day’s section in the weekly view. So I tend to use the calendar for reminders, and the daily section for to do’s and actually planning/scheduling
- Planners should be functional first, pretty second! make sure the planner you choose has enough room to write
- Don’t put too much in your planner – if you ‘dump’ too much in there you’re going to get overwhelmed and feel like you haven’t accomplished anything. The important things get lost amongst all the ‘could do”s’ – I try to only add the ‘must do’s’ to my planner
- How often do you refer back to the weeks foregone in your planner? Not only does this create extra weight for you to carry, but it also adds extra bulk. I typically remove the weeks forgone from my planner
- Don’t be cheap but don’t spend so much on a planner you’ll never use – I did a comparison of the 9 most popular printed and shipped planners in this post if you need help deciding 🙂
- Be consistent – if you find you’re not really using your planner, try a different approach. Think about your goals and then work backwards to what you need to be doing each day to achieve them. Include reminders such as bin day, dental checkups, doctor’s checkups, vitamins, chores and routine tasks you often forget. Get all of that out of your head and onto paper so you don’t need to be thinking about it in the back of your mind, instead your planner does the work for you 🙂
Other posts you may be interested in:
- Planner Organization: Why I use the Arc Planner instead of binders
- How to make a personalised Erin Condren Planner Cover
- Which is Cheaper: DIY Printable Planners or Pre-Printed & Assembled Planners?
- How to make use of blank pages in your planner
- The Process Behind Making a Printable Planner
Found this post helpful? Pin it!


Beautiful tips.Thanks for sharing
http://makychurchill.blogspot.ca
I love the information you shared on color coding. I locate things so much faster by using colors. Thank-you !!!
Wow, some great ideas – Thanks.
I started printing my own planner last year after finding most didn’t have all of the things I needed. Last year’s was good but not great so this year I have improved it some more. I have to use it for work and home and some contract work I do so the idea of using different colours is super helpful.
FYI I use erasable pens (frixion) as I print on 100gsm paper and many other pens bleed through. Would love to know if there are any other pens on the market that can be used successfully with this weight of paper though.
Thanks again for your ideas and the beautiful free printables. Have an amazing 2024 🙂