
6 Ways to color code your planner to increase productivity
Color coding is a great way to plan a balanced week so you don’t spend too much time on 1 area of your life and neglect others. By using different colors you’re able to quickly see at a glance what you need to do next.
I’ve tried a few different approaches to color coding my planner over the years. If you’re trying to find the right color coding method for you – here are some ideas!
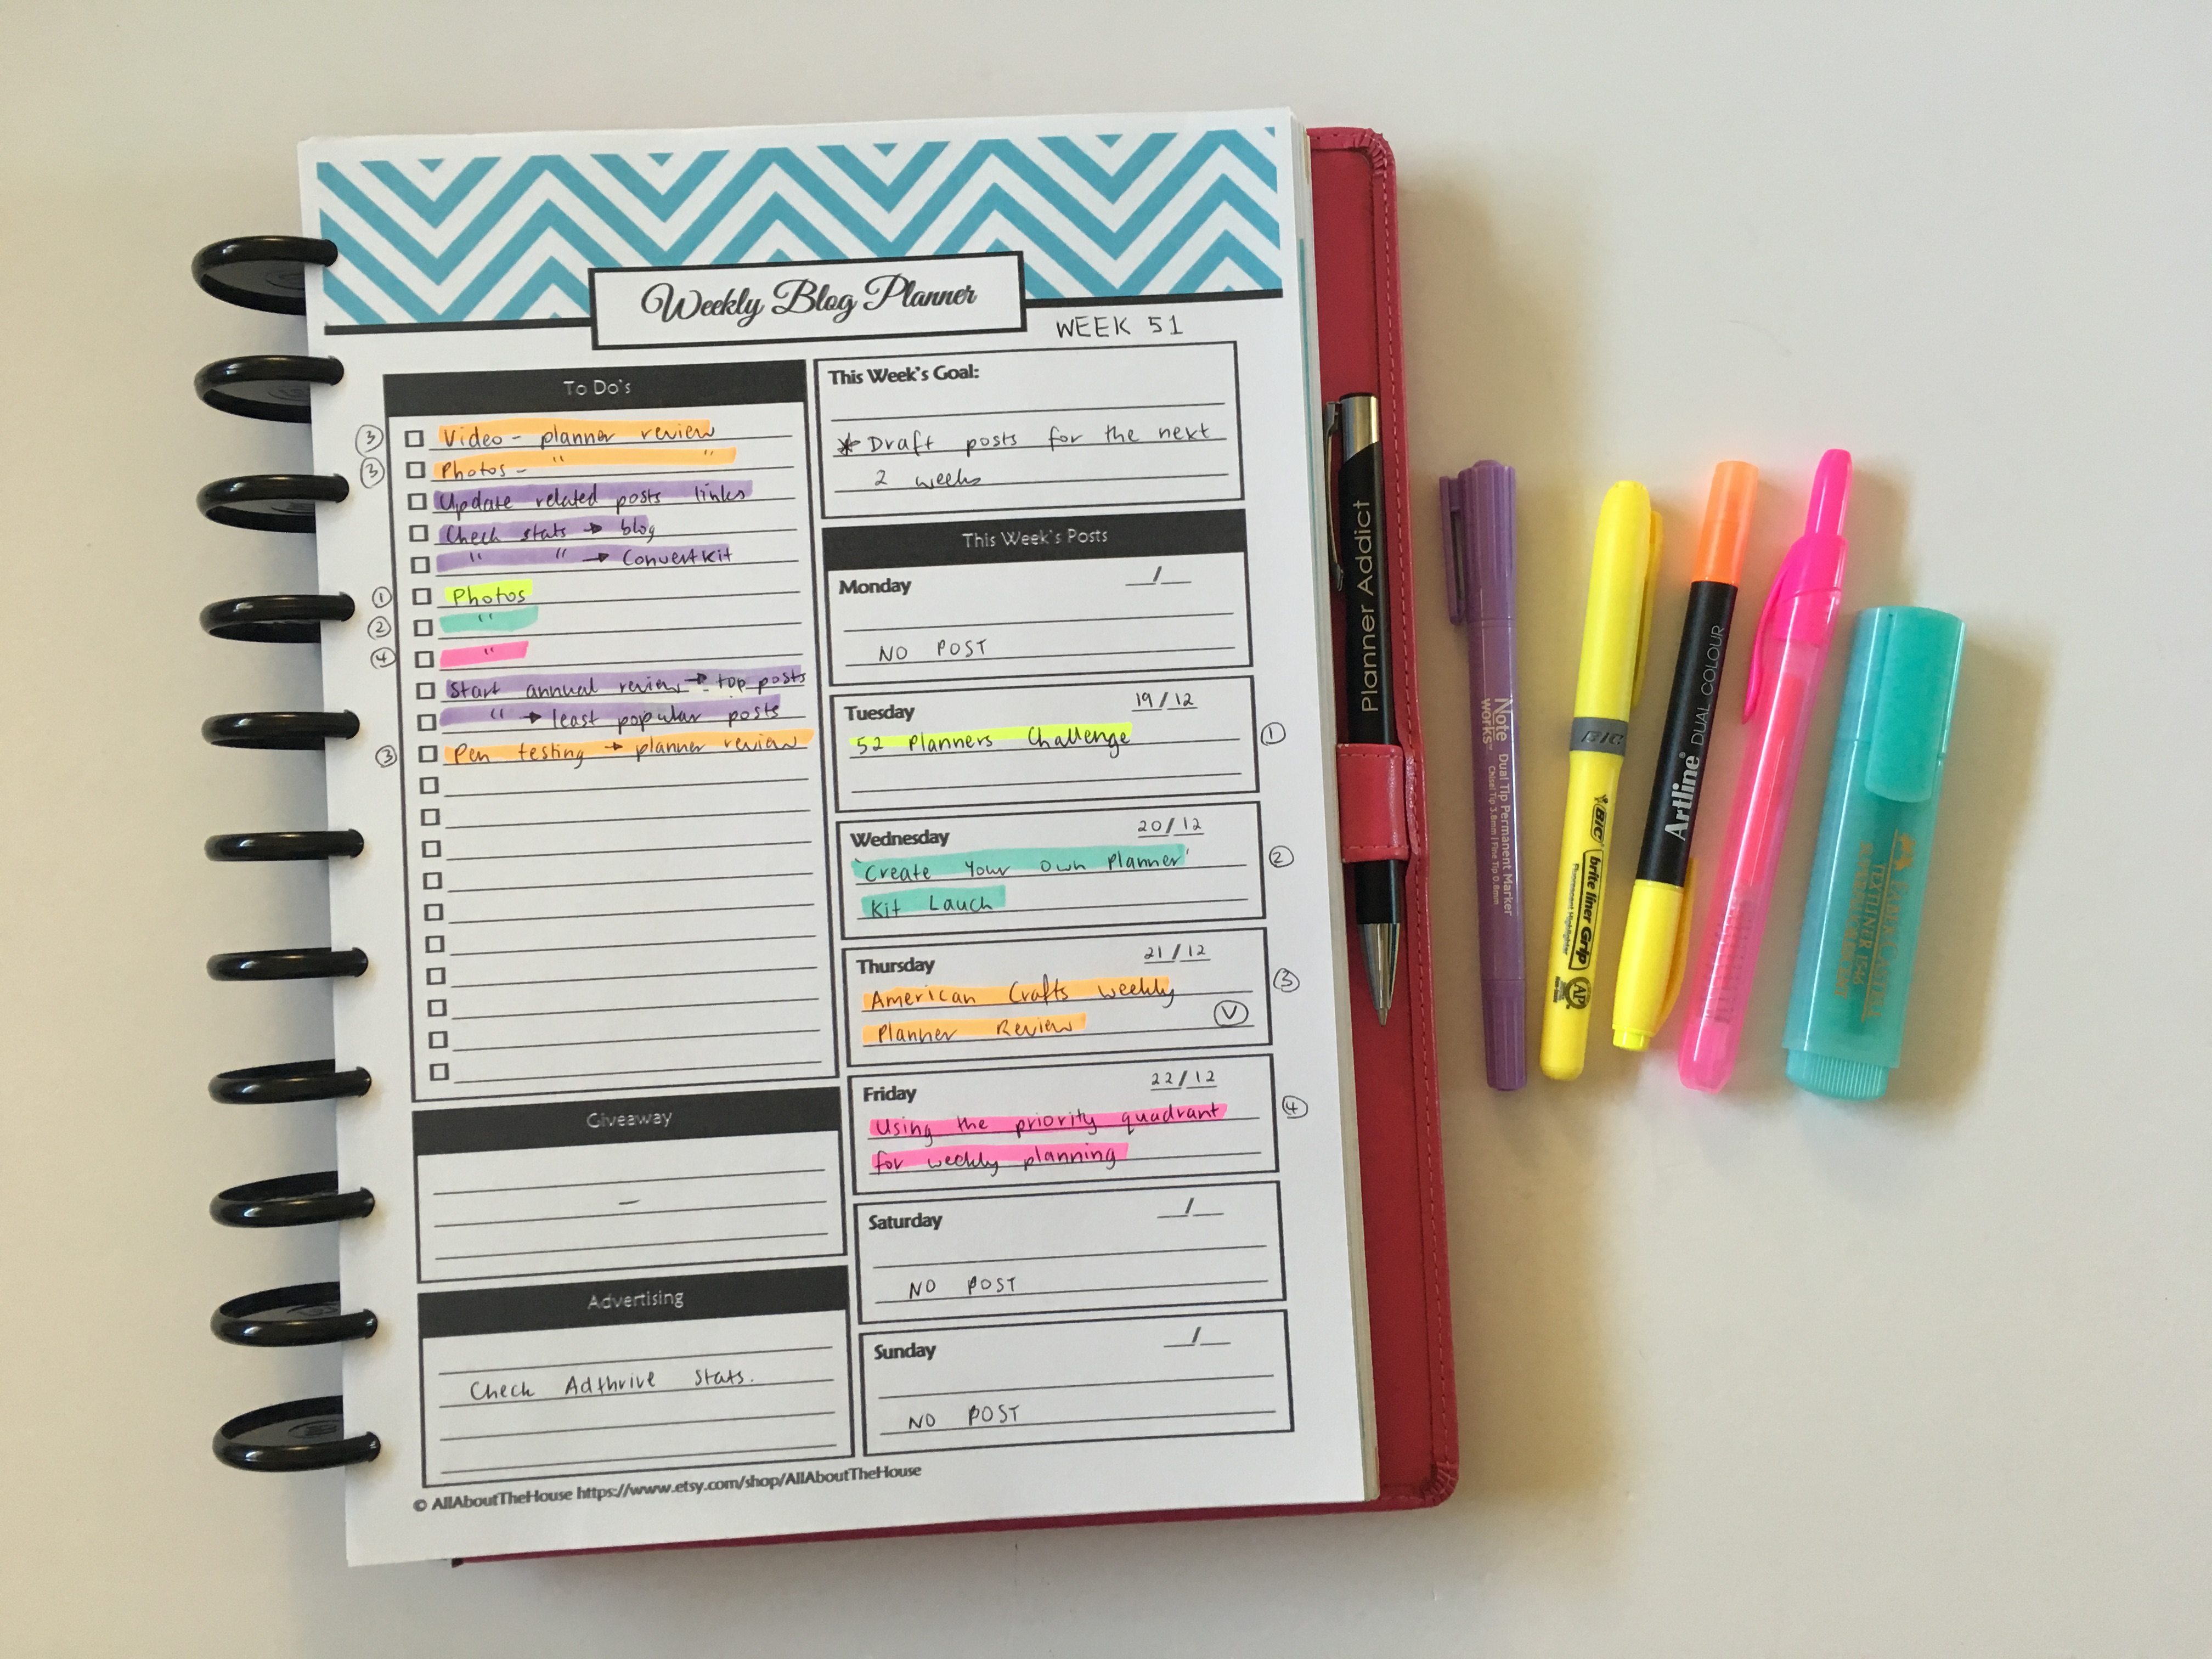
1. Category / Task based planning
This is probably the most popular method for color coding. I assign a different color to each of the main things I plan:
- Pink = planners
- Blue = graphic design & videos
- Green = online business / blogging posts
- Purple = social media / behind the scenes of my shop and blog
- Orange = products (paid & free downloads for the blog) – click here to access the free printables library!
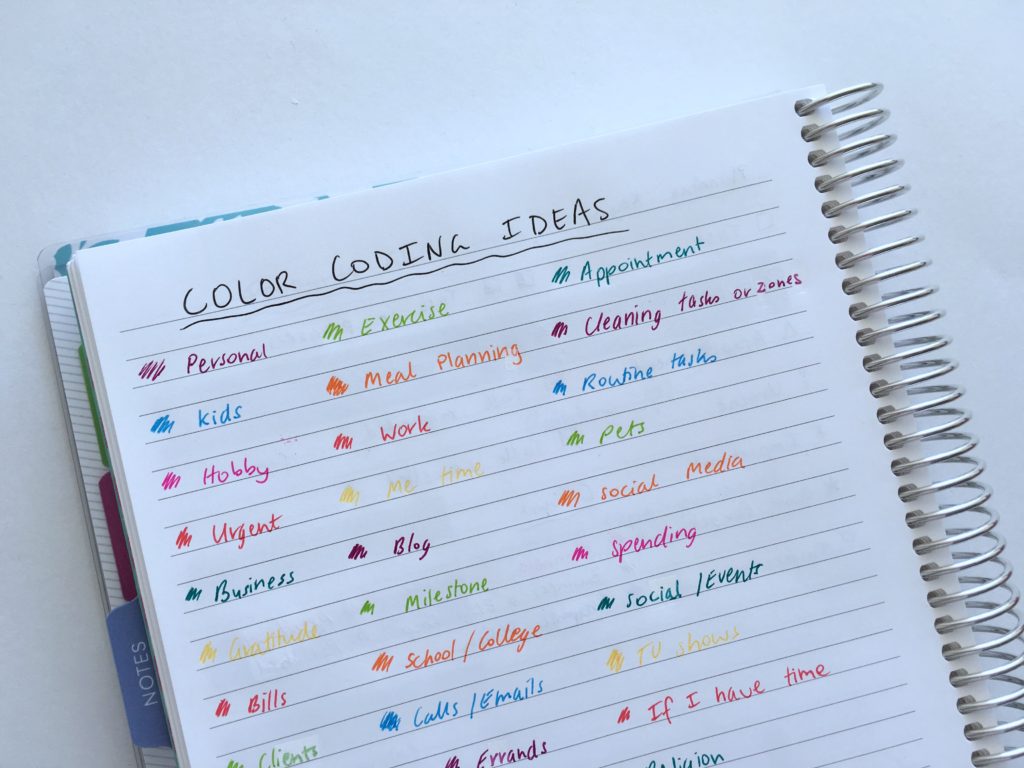
If you need help choosing categories, see this post: 50 Category Ideas for Color Coding Your Planner
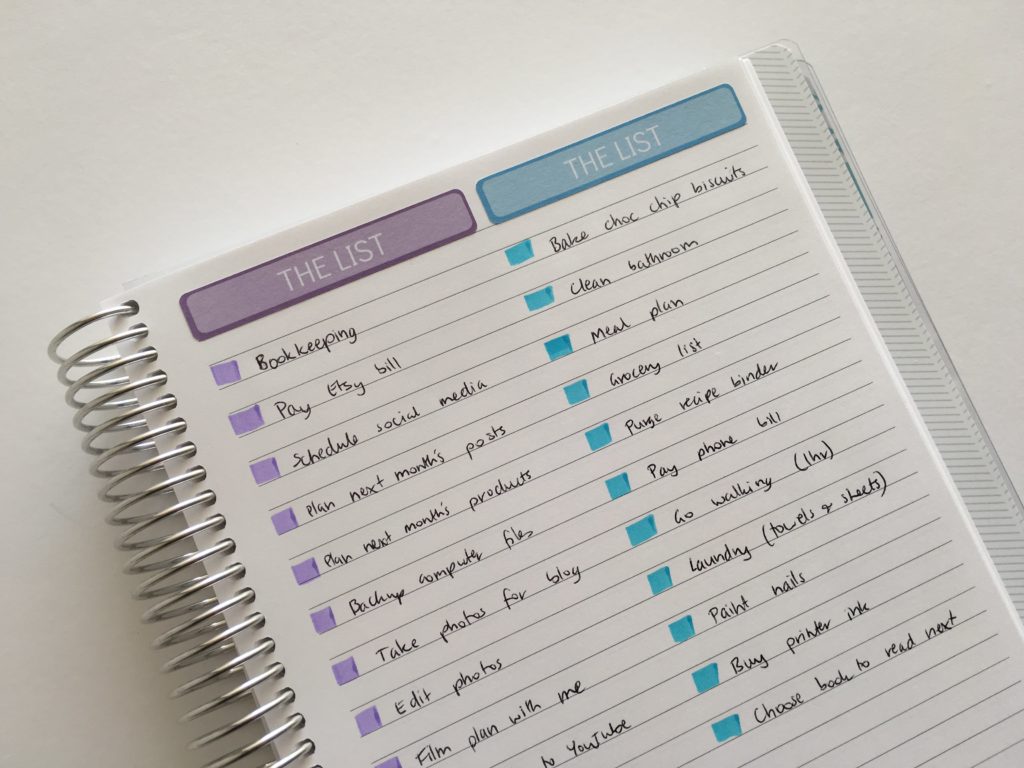
If you don’t have too much to plan, splitting a page in 2 and color coding is a simple but effective way to keep your thoughts organized.
If you don’t want to color code everything, a simple bit of highlighter instead of a checkbox and black pen still looks good!
‘The List’ stickers are from my sisters’ planner supplies shop.
If you use this method for color coding your to do lists and you have a lot to keep track of, I recommend keeping a separate page for each list so it doesn’t become a jumbled mess.
To quickly find which list you’re after, here are some ideas:
- Use sticky notes to create tabs
- Place a colored dot sticker in the top corner of the page
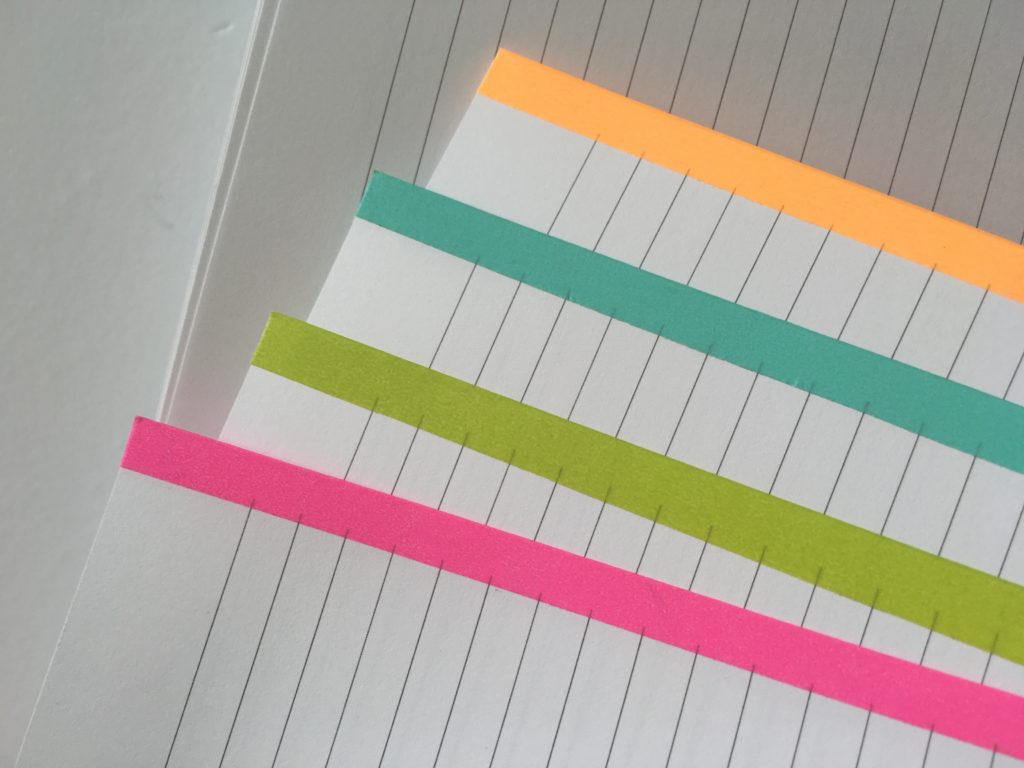
- Add a strip of washi tape to the side of the page (or if you want to conserve washi tape and create tabs, cut strips of washi approx. 1.5″ long instead of the entire length of the page)
- Do a quick scribble or draw an asterisk, circle etc. in the corner of the page in colored pen or highlighter
- If you want to save ink or don’t like writing in color, write the title of the list in that category’s color, then the tasks in black
Related: Favorite washi tape for planning, planner decorating & color coding
2. Time Based Planning
This is where you jot down each task based on how long it’s going to take, regardless of what category the task belongs to.
Some ideas:
- Yellow= 15 minute tasks
- Pink = 30 min tasks
- Green = 1 hr tasks
- Orange = fixed tasks – things you can’t change
If you have a task that is going to take more than 1 hour, split it into 2 separate tasks. I find it helps to break big tasks down into more manageable size chunks – it helps avoid overwhelm.
If you used this method, start with the fixed tasks / things you can’t change. These are things like:
- Due dates (especially for bills, school assignments etc.)
- Celebrations (birthdays, anniversaries, weddings etc.)
- Appointments (dentist, hair etc.)
Then after those have been added to your planner, add the tasks that are going to take the longest (1hr), followed by the 30 minute tasks and then 15 minute tasks. You can choose to use different time increments if you prefer but I find these work best.
You could also use another color for due dates / urgent things although I tend to use the same color as fixed tasks for these.
Another option is to use different colors for different hours of the day. I don’t personally plan my days that way, but if you did, these hourly stickers from my sister’s shop may suit you 🙂
Hourly stickers used for week 9 of the 52 Planners in 52 Weeks Challenge
You could also do different colors for different times of the day such as:
- Morning = pink
- Day = blue
- Night = green
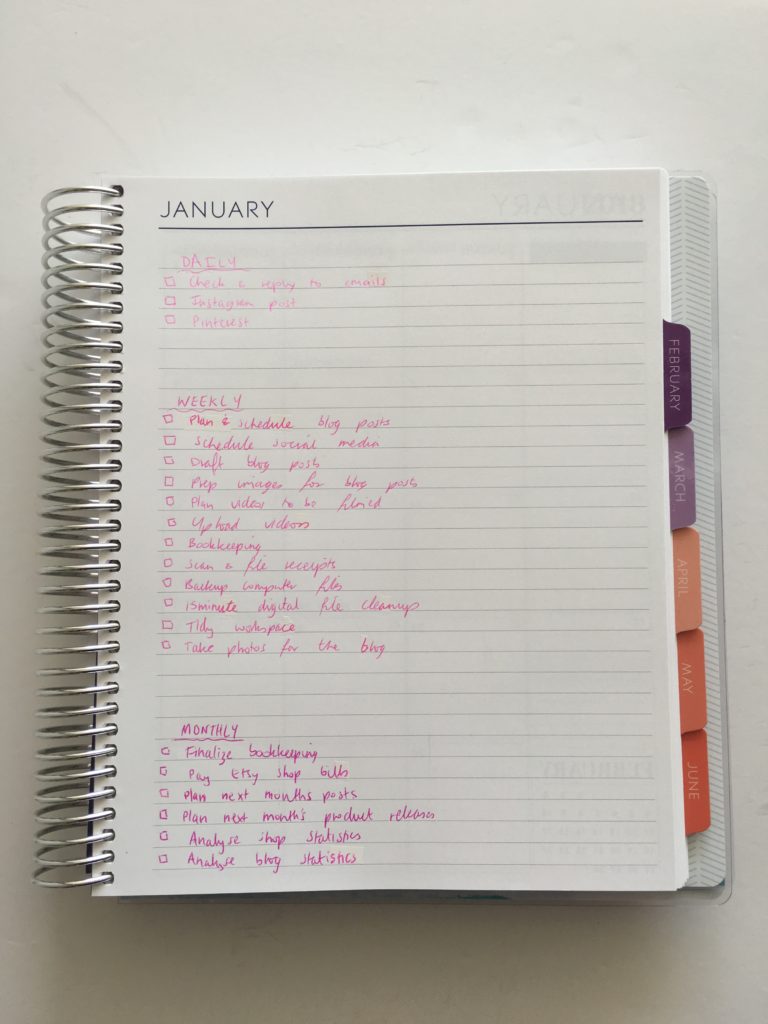
Using 3 shades of pink for daily, weekly and monthly tasks. The planner is from Plum Paper.
3. Level of Importance
For this method, use a different color based on how important the task is.
I associate the color red with urgency, so I use red for deadlines, due dates (such as for bills) and anything that should be priority 1 for the day.
This form of color coding tells you at-a-glance, where to start with the day.
Some ideas:
- Low level priority (due in a week or so)
- Medium level priority (due in a couple of days)
- High level (due tomorrow)
- Due today
Make sure you place a reminder about the deadline a couple of days before it’s due. For example, for bills I tend to flag these a couple of days before they’re due, so that the money will be in that company’s account in the day it falls due and so I don’t get hit with a late fee.
If you want to create an ombre effect in your planner, this color coding method is ideal.
Identify your priority tasks and arrange them from highest to lowest. Use a dark color shade for the highest priority tasks, medium color shade for medium priority tasks, and light color shade for lowest priority tasks! For example, red for your most urgent tasks, orange for the next urgent tasks and yellow for least urgent tasks. This will also make easier for you to identify which task/s need your attention first!
If you don’t have a strict routine and can only work in small patches here and there (e.g. you’re a mom), then this form of color coding would be ideal for you, so you know what to tackle next before the next interruption.

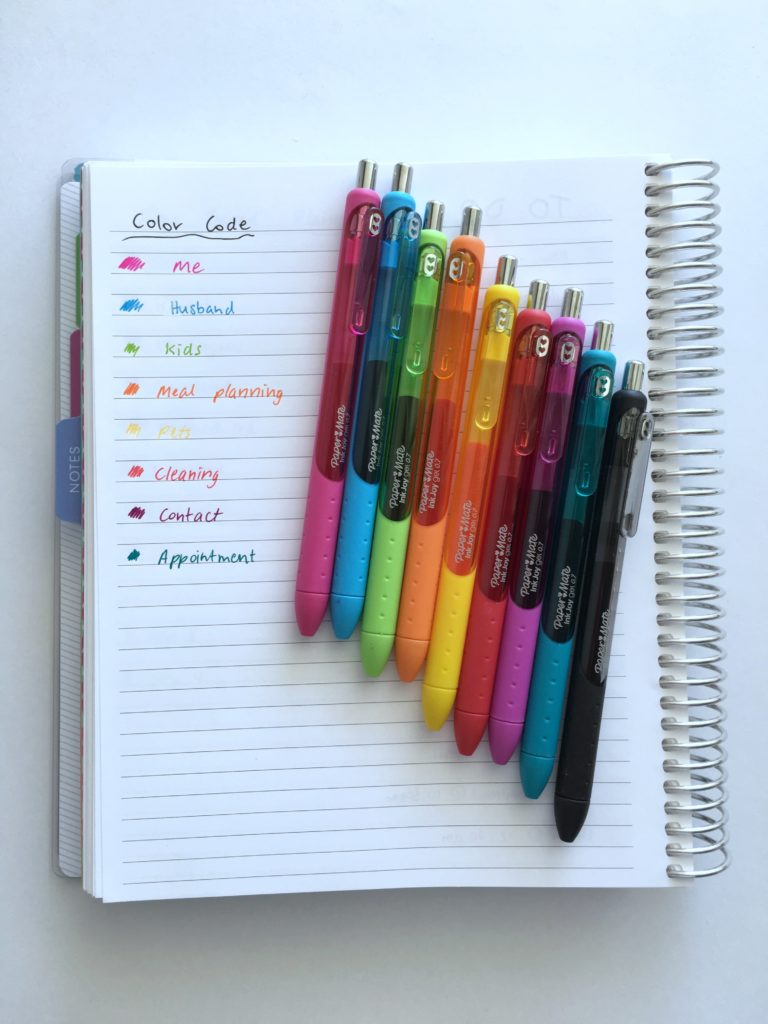
4. By Person
Self-explanatory: you use different colors for each person.
Using their favorite color helps remember which color belongs to who.
Or another option is to follow the order of the colors of the rainbow. So red would be the oldest person in the family, yellow for the 2nd oldest etc. – it’s an easy way to remember who is what color.
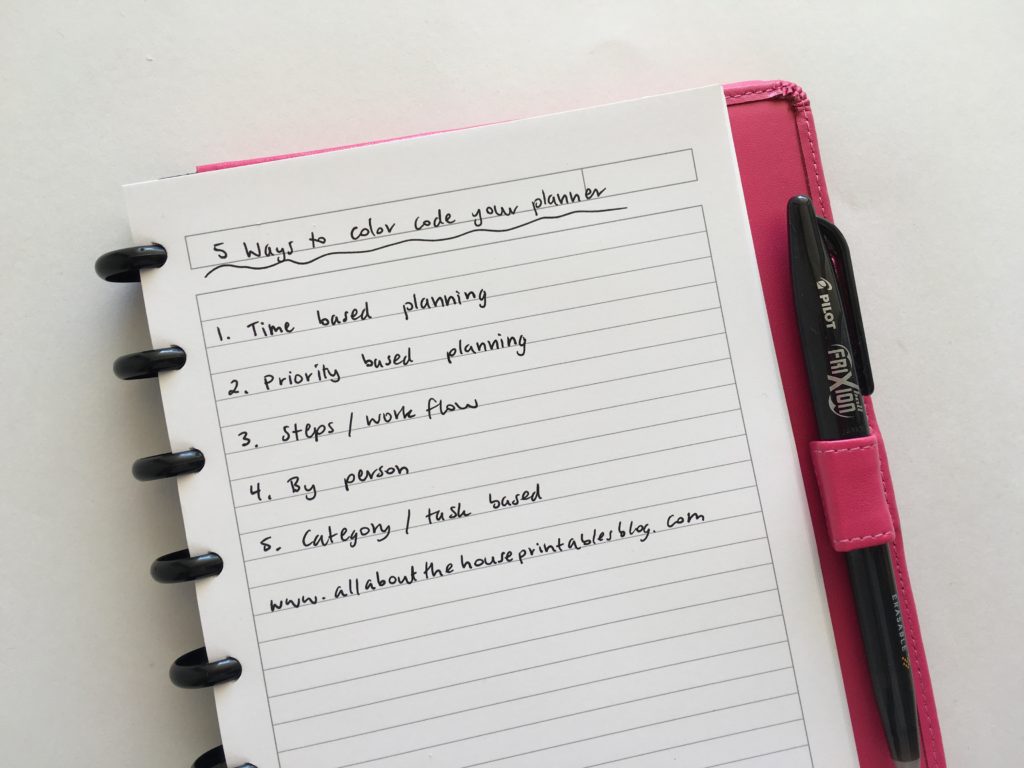
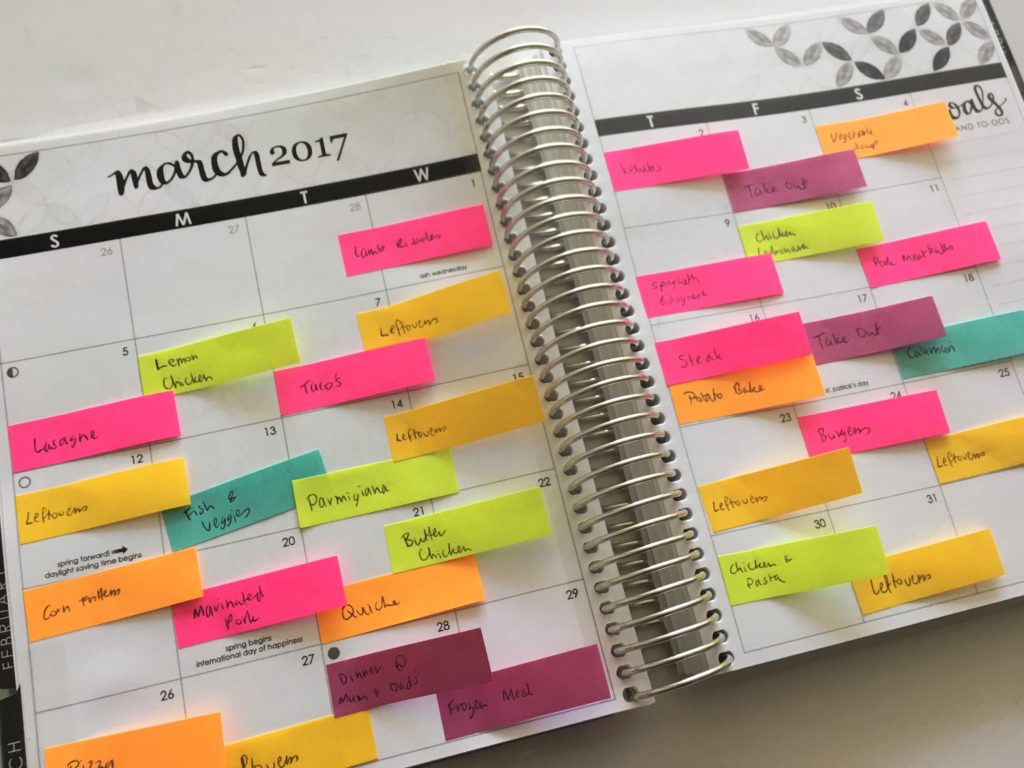
5. By Day
Use a different color for each day of the week. This method works best when you use pens to color code as you’ll likely have difficulty trying to find sticky notes in enough colors (unless you use these mini ones which come in 10 colors).
This is my preferred color coding method when I want to color code meal planning.
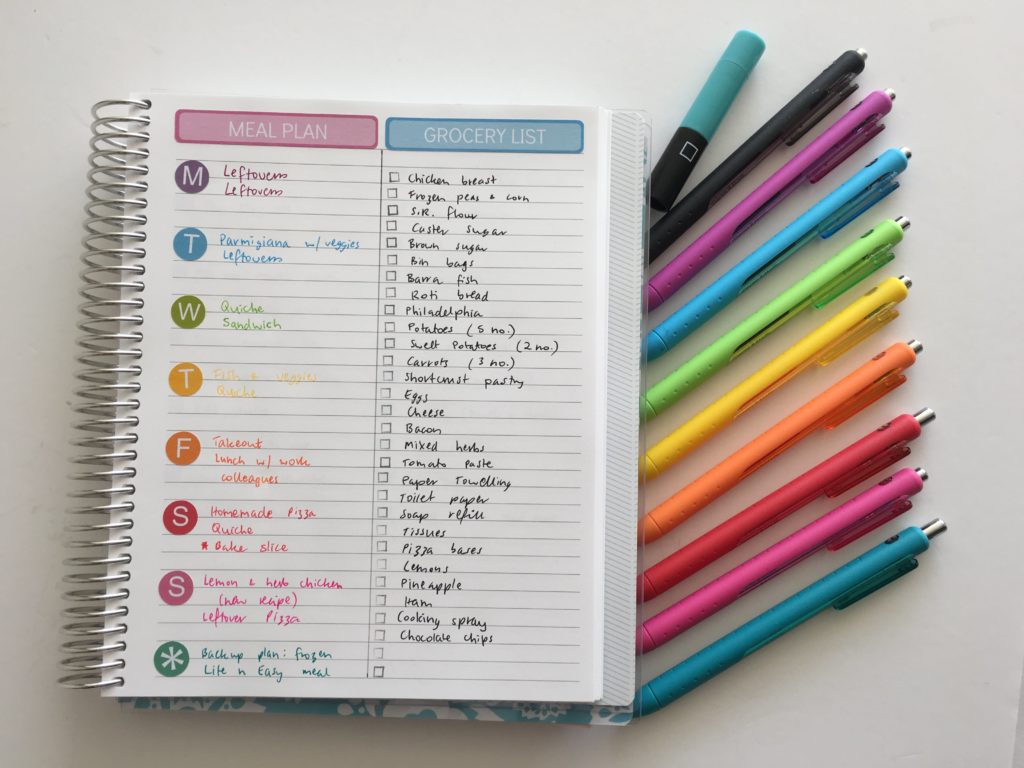
The planner stickers, Papermate Inkjoy Gel 0.7mm pens and the MAMBI checklist stamp are all from my sister’s shop.
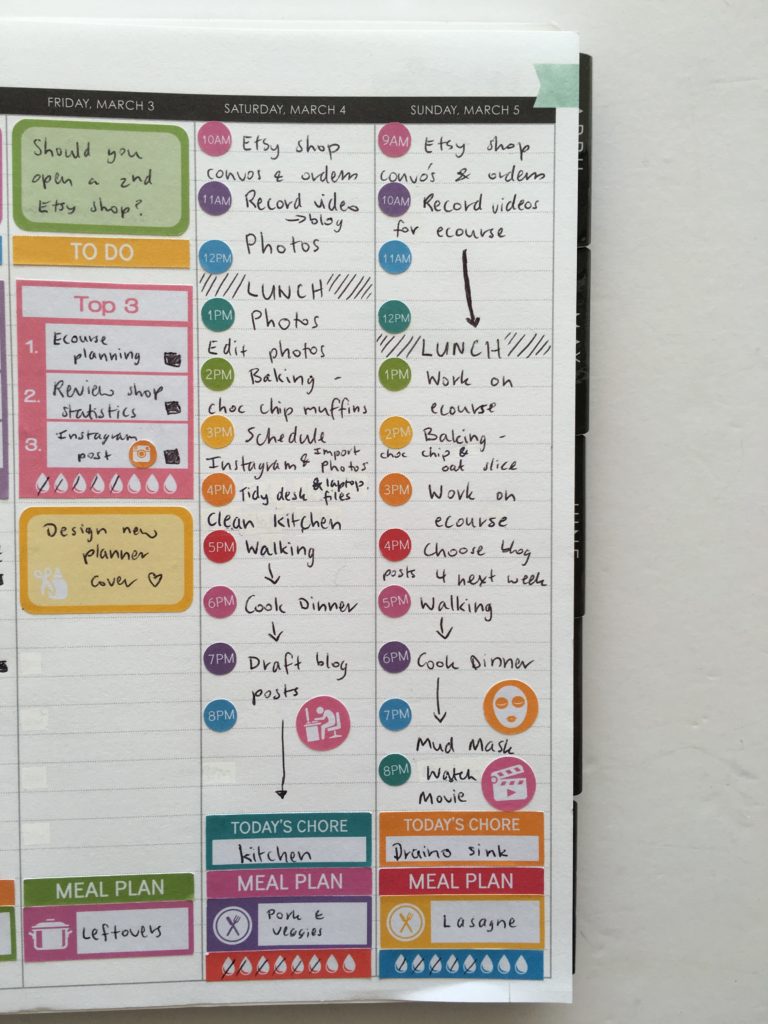
6. Steps / Workflow
This method is ideal for big projects. For example, when I create an ecourse I color code each of the steps for the various modules.
I’ve tried 2 different variations of this method:
Method 1: Color code by task
- Videos to record
- Images to create
- Anything relating to the sales page
- Downloads / worksheets
- Marketing – e.g. writing launch emails, blog posts to promote the ecourses etc.
Method 2: Color code by module
Different colors for each module – every task associated with creating that module (recording videos, creating worksheets etc.) is assigned the same color.
After trying out both methods I found that the 1st method worked better for me. I tend to have more modules in ecourses than I have colors to color code them.
I could do the first 5 modules in 5 different colors then start those colors again. So module 6 would have the same color as module 1, module 7 would have the same color as module 2 etc. but I think that would have just ended up confusing me.
Related: How to make planner stickers (ecourse with step by step tutorials, favorite resources, worksheets etc.!) and How to Make Planner Printables
Which method is ideal for what type of person?
- If you’re a fellow blogger, I recommend color coding by category.
- If you’re a mom, I’d go with color coding by person or time.
- If you’re a student, I’d go with different colors for each school subject.
- If you’re a busy person, I’d go with color coding by time.
Combining multiple color coding methods
You can always combine 2 methods. Here are some examples of good combinations:
- Color coding by category and color coding by level of importance (e.g. the colors you use for your categories and 1 more color for urgent tasks)
- Color coding by time and level of importance
Which is my favorite method?
I tend to use category/task based planning. Because I don’t have kids’ schedules to keep track of, I don’t need to plan by person and keep track of other people’s schedules.
What colors are best for color coding?
When choosing what color coding method, make sure you consider what tools you’ll use to color code. You want to make sure there are enough colors in the tools you need. Pens tend to have the widest range of colors and sticky notes the least.
My favorite color coding tools are:
Colored Pens
Especially the Papemate Inkjoy Gel 0.7mm – they’re pricey but come in lots of colors and write really nice – they’re worth the splurge!
Related: Ultimate list of the best planner pen brands and how to choose colors for color coding
Highlighters
The great thing about highlighters is that you can write all the tasks with a single color pen and later you can organize them using highlighters.
Zooms are a cheaper alternative (plus they don’t dry out and tend to come in more colors).
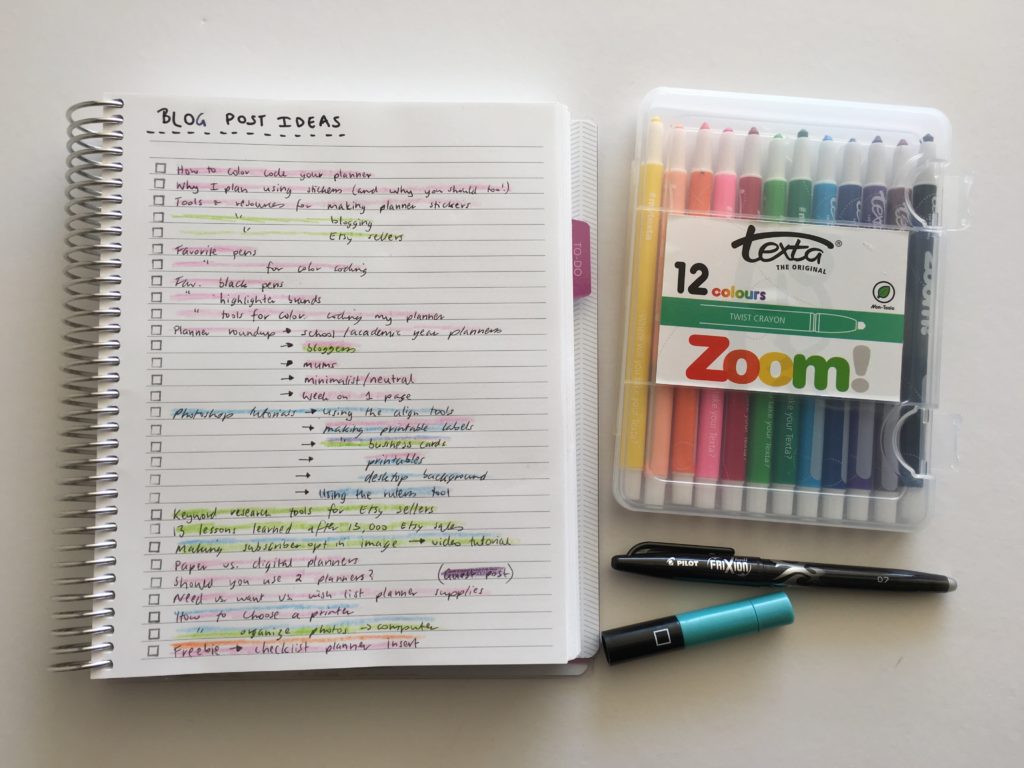
Related: Simple method for organized brain dumping of blog post ideas using a notebook and zooms
Sticky Notes
Sticky notes are ideal for recurring tasks.
For blogging I prefer the 2 x 2 Inch size as it has just the write amount of space to track workflow:
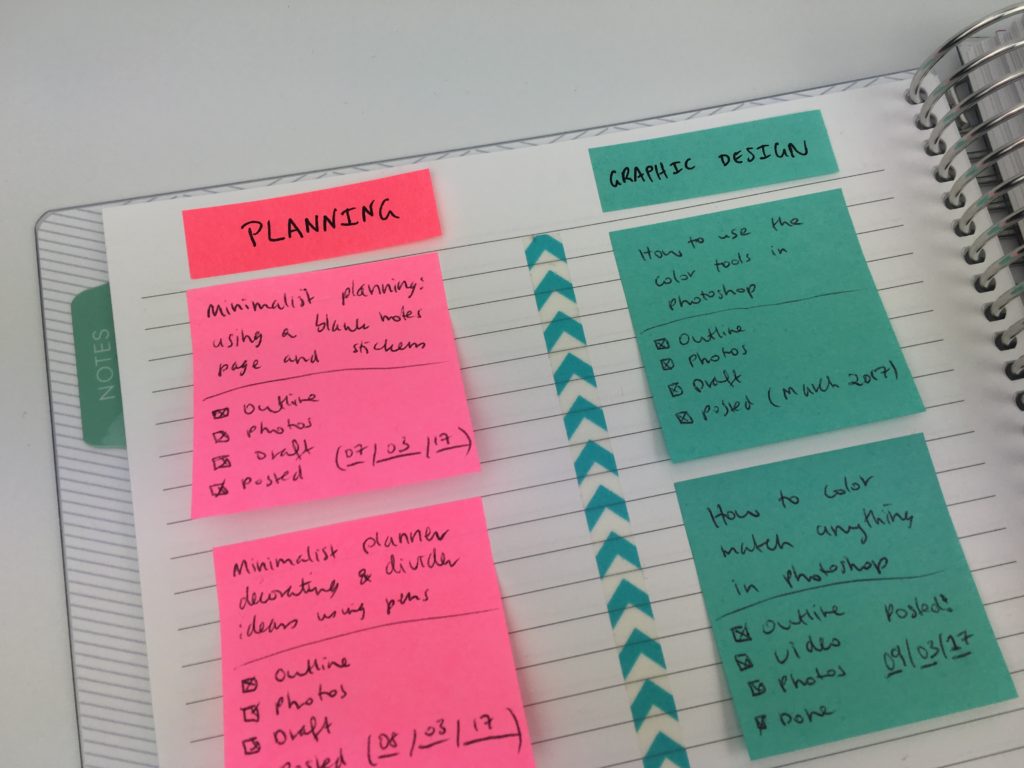
Related: How to keep track of blog post ideas using sticky notes and a notebook
I like using the mini ones for meal planning, individual tasks I want to flag as important and tasks subject to change.
Sticky notes are also great for pre-planning your week – especially if you’re using stickers kits with non-removable stickers. They can be used to plan where you’re going to put things and are ideal if you’re new to planning and aren’t sure how you want to set up your weekly spread.
Related: Color coded monthly meal planning using sticky notes
Planner Stickers
Planner stickers not only add a pop of color to your planner and look cute, but they can also save a lot of time when planning – it’s easier to stick a sticker than write out tasks – especially recurring tasks. Icon stickers and checklist stickers are my favorite for quick, functional planning.
Sticker can be a bit tricky to color code with as you’ll need to find someone that can either make you an entire sheet of the 1 icon in the colors you use for each category – or you can learn how to make your own planner stickers by clicking here.
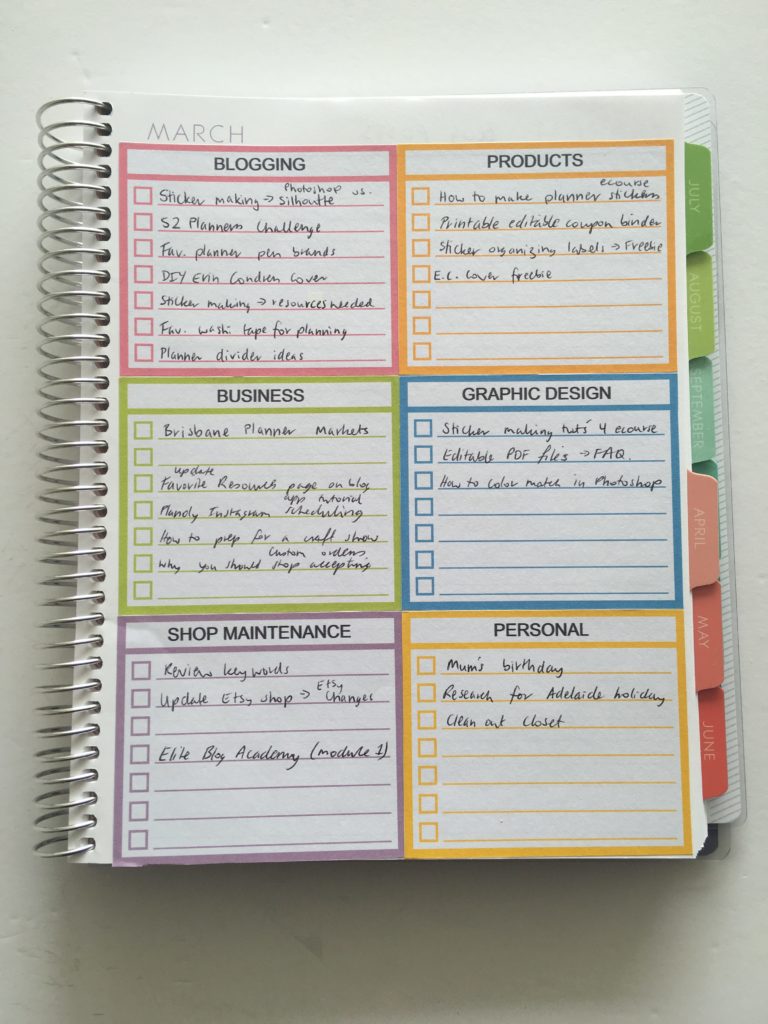
Using the anything checklist notes page stickers for monthly planning. The stickers are editable so you can choose your titles before printing (category, time, urgency etc. depending on whcih color coding method you choose to use)
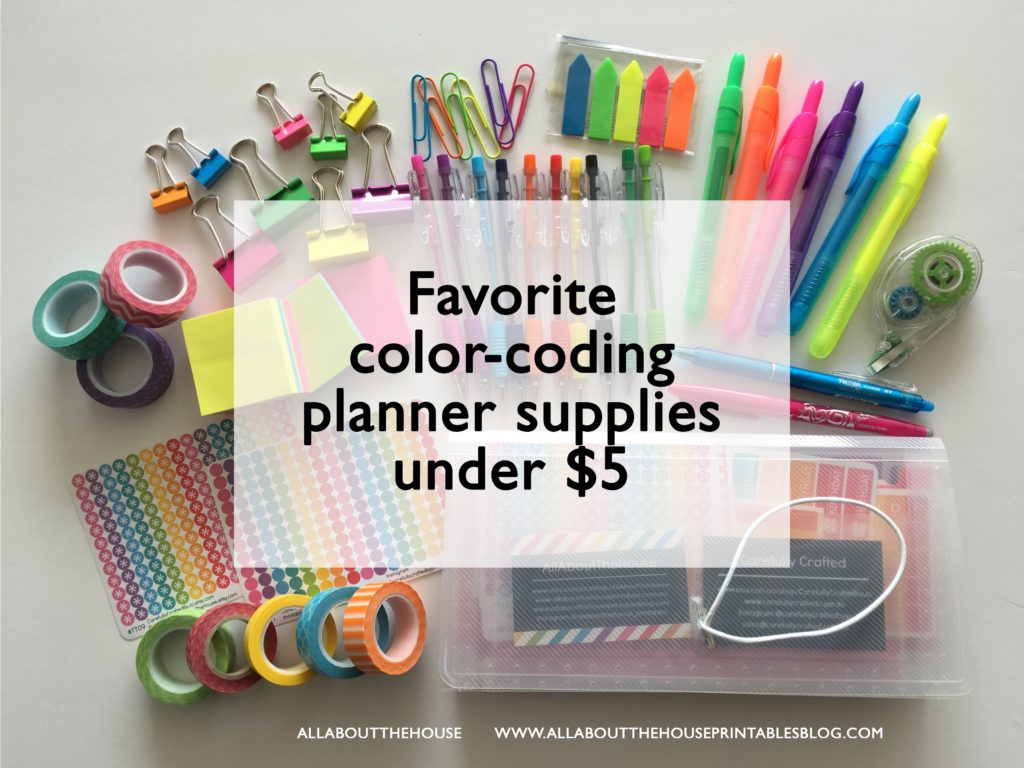
Related: Favorite color coding planner supplies for less than $5
More color coding ideas:
- Planner Organization: How to color-code your planner (so you’ll actually use it effectively)
- Favorite color coding planner supplies for less than $5
- Ultimate list of the best planner pen brands and how to choose colors for color coding
- 50 Category Ideas for Color Coding Your Planner
- How to organize and color code your notes for school, college or university
- Color coded monthly meal planning using sticky notes
Found this post helpful? Pin it!


One Comment