
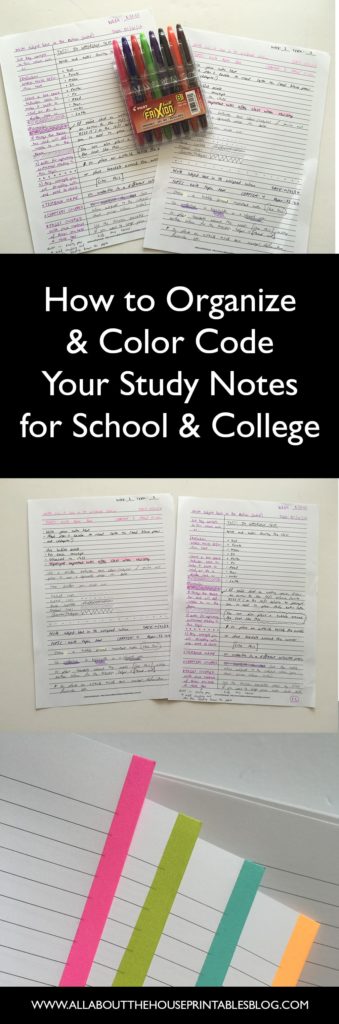
How to organize and color code your notes for school, college or university
My fellow Aussies are heading back to university soon. While I’m not in school or university anymore, I thought I’d share a post on how I color coded and organized my notes for school – I hope you find it helpful!
Why you should write out your own study notes
Much like I prefer to keep a paper planner rather than using 100% digital systems, I’m the kind of person where if I don’t write things down I won’t remember it. Writing your own study notes has a couple of benefits:
- The physical act of writing helps you retain the content better
- By writing your study notes you’re putting the content into your own words as you obviously can’t transcribe an entire textbook!
- Lecture slides typically don’t give you much room to write your own notes
- Sometimes the lecturer would include slides with ‘general info’ that wasn’t going to be on the exam so it makes no sense for these to be wasting space in your binder and notebook – plus you don’t want to accidentally study content you don’t need to!
- If there’s diagrams, tables and other visual content, drawing/replicating them means you’re more likely to remember it than just looking at it – you can also draw it as big or as small as you like (I found diagrams to be too small when printing lecture slides)
- You can color code 🙂
To enlarge the screen of the video, click the square icon in the bottom right hand corner of the video (it will say ‘full screen’ when you hover your mouse over the icon).

Subscribe to my YouTube channel for more planner related videos & graphic design tutorials!
Recommended pens for studying:
This list contains affiliate links. If you click one of these links and make a purchase I’ll receive a small commission (at no extra cost to you) in exchange for referring you.
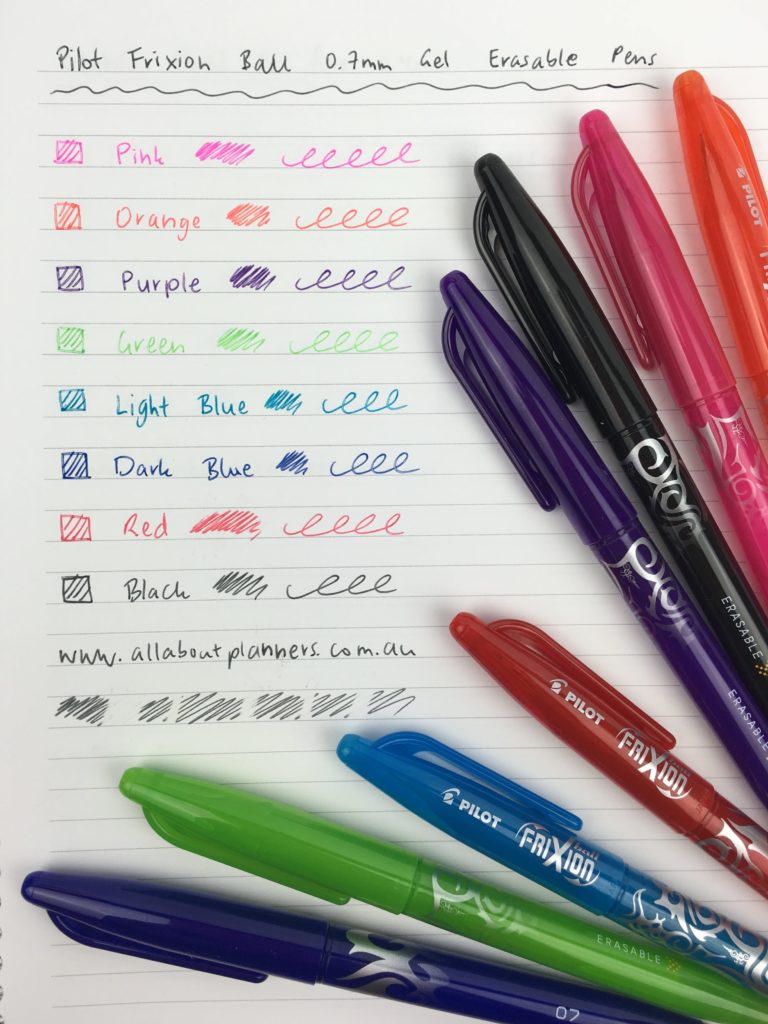
Frixion Erasable 0.7mm
The Frixion erasable pens come in a couple of styles: retractable (you can get refillable ink cartridges), with a lid and 4 colors in one. I personally prefer the retractable style as the pens with the cap cover the eraser if you put the cap at the end of the pen when in use. The style with the cap/lid does come in more colours than the retractable though, and I’ve found it easier to find here in Australia.
Triplus color 1.0mm
If you want to make your subjects/content/page headings bold and stand out more, use the Triplus color 1.0mm (not to be confused with it’s ‘sister’ pen the 0.3mm – those come in more colors but are really thin, you want the thick ones that are kind of like a sharpie but better 🙂
PaperMate Kilometrico
These were my favorite exam pens. They would last for ages so I wouldn’t need to worry about my pen running out mid-exam… although I still took 2 backup pens with me for every exam just in case!
PaperMate Inkjoy Gel
These aren’t erasable but they do come in lots of colors if you want to color code. I would only use these for writing your summary notes not general notes in class as they can sometimes smudge. I used the purple in the example study notes in the video but it was too dark and almost looked black so if you end up using these pens, go for the lighter colors.
Related Post: Favorite black pens for planner addicts
Use lined note paper
Lined note paper keeps your notes clean. Click here if you want to download the lined note paper I used in the video (you’ll also gain access to the rest of the free printables library – existing subscribers can login here). The paper can be re-sized to suit any planner – see this post for a tutorial).
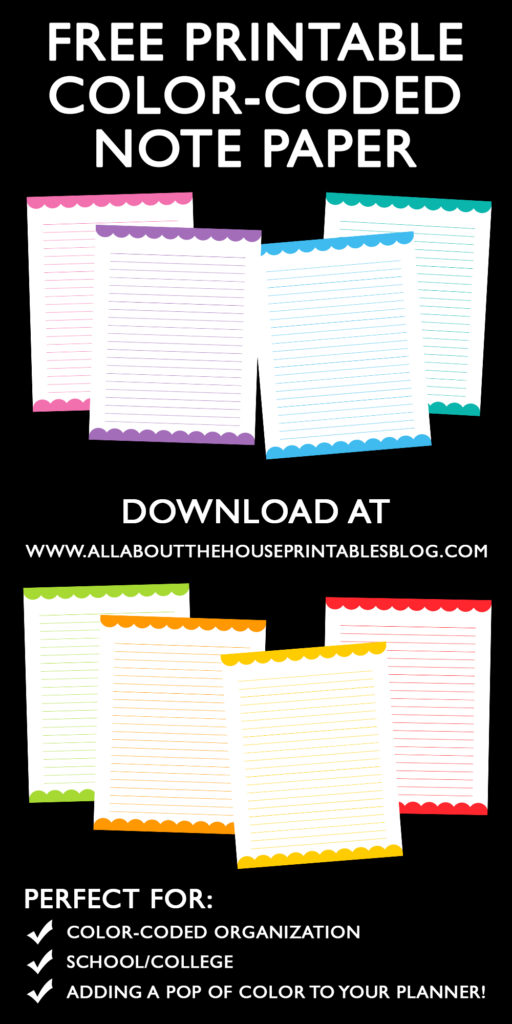
Click here to download lined note paper with different colors – perfect for color coding your study notes
General tips for organizing your study notes:
- Keep a blank lined/space between each definition, paragraph, topic – this makes it easier to find the notes you’re looking for and less ‘bunched’ and one big mess of writing on the page
- Use uppercase for headings and definitions or a different color to make them stand out more. That way when you’re flicking through pages and pages of notes your eyes will be drawn to the headings so you can quickly find the relevant content
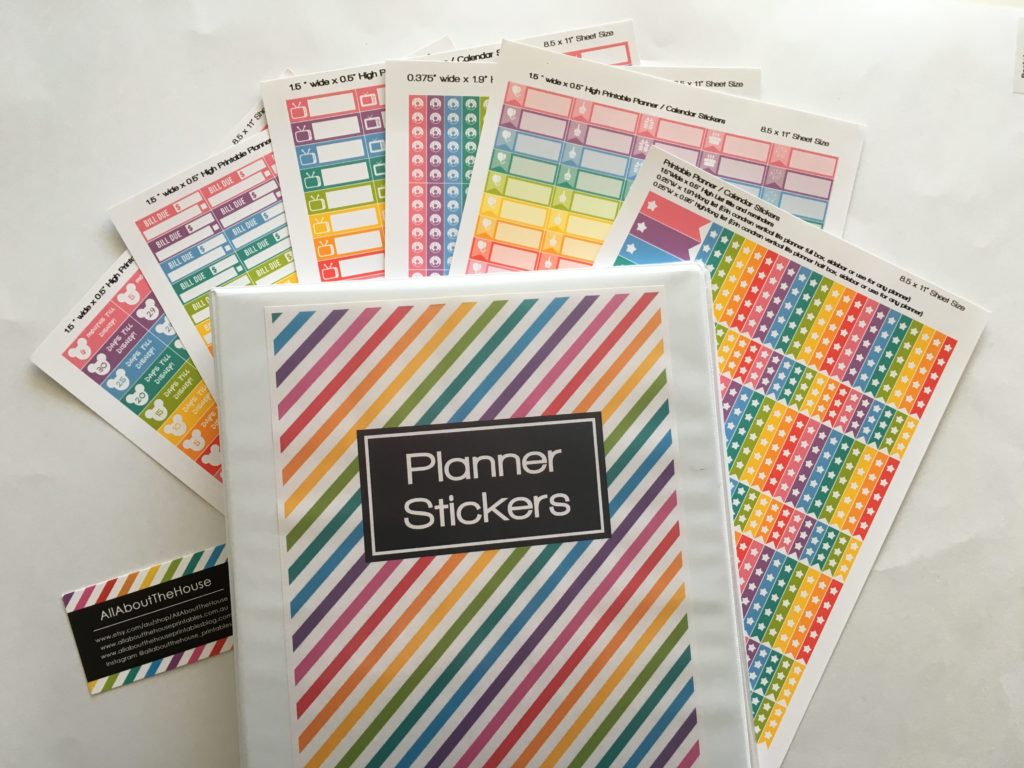
- Another way to color code your notes is to put a small colored dot stickers or asterisk stickers such as these ones from my sister’s shop 🙂 or even just draw a dot or a scribble in the top right hand corner
- Use dot points as much as possible
- Use abbreviations. Instead of writing ‘up’ and ‘down’ I would just draw arrows pointing up or down and for ‘with’ I would write ‘w/’ etc.
Related Post: Printable student planner
2 main methods for taking organized study notes
Both of these methods are based on color coding by assigning a different color to each of your school subjects. I recommend choosing colors that are readily available in most stationery supplies such as pens, highlighters and paperclips.

- Choose your pens – see above for recommended pens. I know I rave about the Frixion Erasable Pens a lot on the blog but they really are my favorite pen 🙂
- Print the lined note paper (download here)
- Number the pages for each week. So week 1 you might have pages 1 to 10. Then week 2 you would start numbering again so page 1, page 2 etc. I would just write ‘P.1’ rather than ‘page’ to make it quicker. If you have a LOT of study notes you make want to use a coding system like ‘W1P1’ for your week 1, page 1 notes. Then for week 2 your code would be ‘W2P1’ for ‘week 2, page 1’ etc. I would usually number my pages during a boring lecture :p Make sure you use the color you’ve assigned to each subject’s notes. If you forget you can always go over the top with a highlighter and color code that way
- Decide if you want to use note taking method 1 or 2 (below)
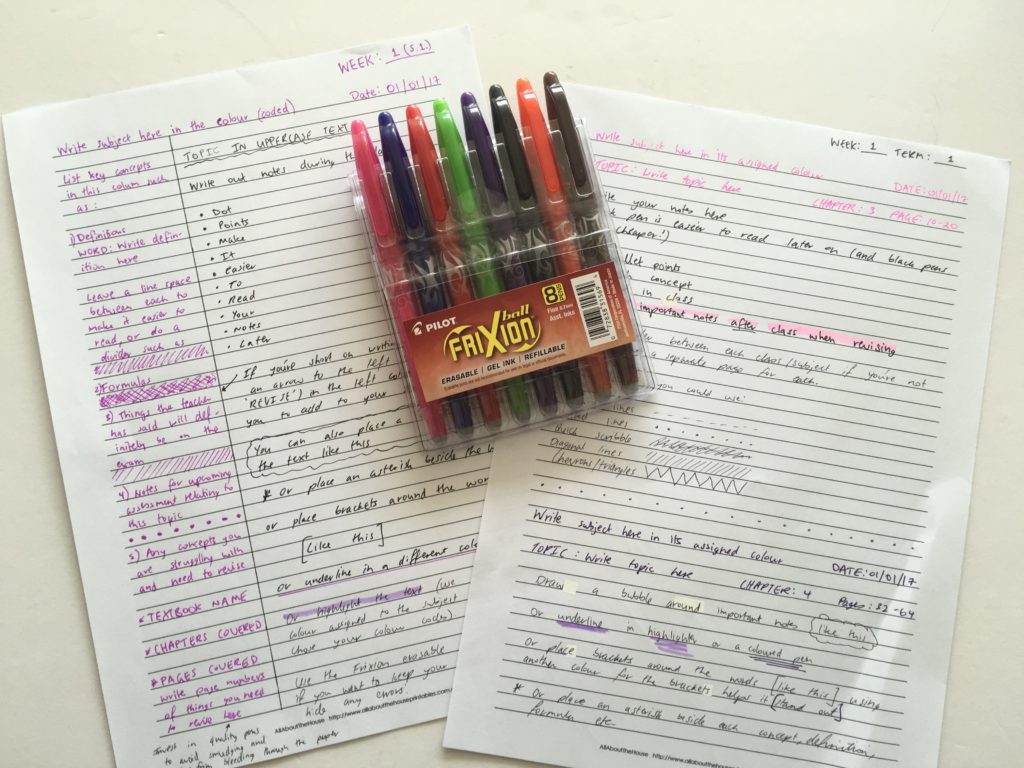
Setting up your note taking pages
- Use the subject color to write the following:
- The week number e.g. week 2
- Term/semester (I’d usually just write ‘S1’ for semester 1 and ‘S2’ for semester 2)
- Date
- Subject (or just the subject code if you like)
- Use the subject color to write headings for each concept/topic covered
- Write the rest of your notes in black pen (unless you’re pro and quickly switching between pen colors)
- Use a highlighter to color code while reading over your notes after class
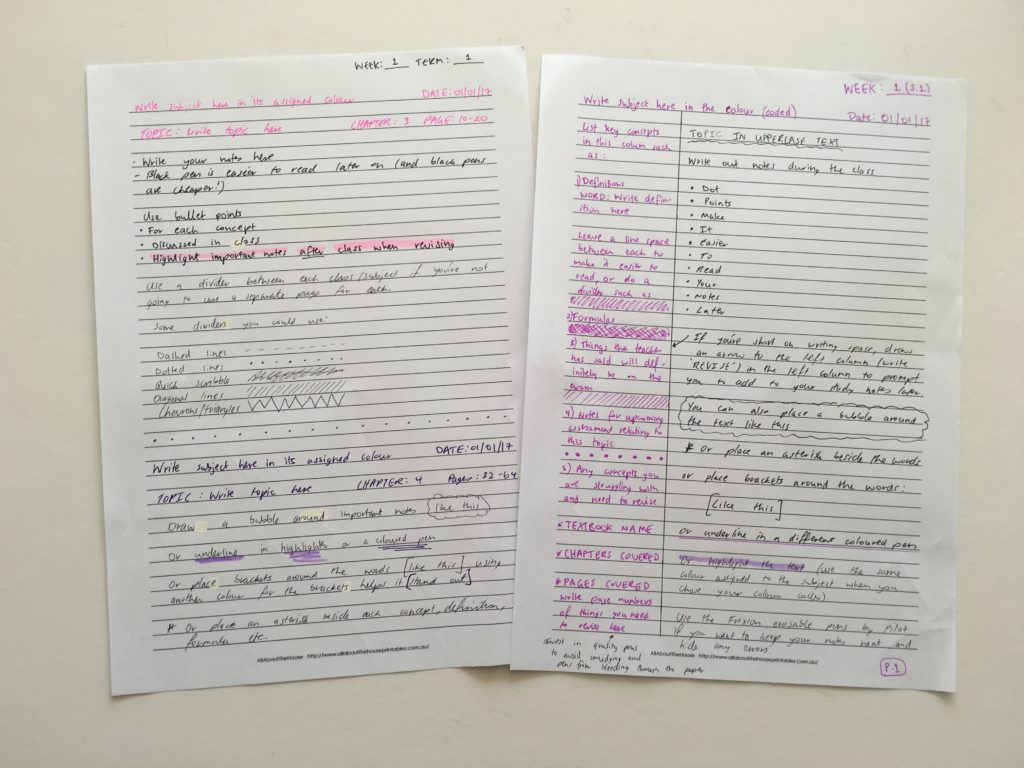
Method 1: 1 page per subject
For classes that had a lot of definitions, or when I was doing summary notes while preparing for an exam (so not just general notes taken in class), I would draw a line to create a column on the side.
The sidebar can be used for:
- Practicing/learning formulas in math class
- Definitions
- Key concepts
- Chapters/topics/pages covered (I found this helpful as sometimes some of the chapter’s in the textbook weren’t required)
- Exam hints/things to study
- Notes for upcoming assessment e.g, things to check that you’ve included in your assignments
- Topics you’re having trouble with so you know where to start studying and where to focus your time
Related post: Favorite color coding planner supplies for less than $5
Headings
To signify a heading so that your eyes can easily find where one topic starts and another headings, use the following for headings
- Underline (single or multiple times)
- Highlight (you could also do underline highlighting)
- Write in uppercase text
Important things to remember
If a teacher has given a hint that a topic will be covered on an exam or should be included in an assignment:
- Put a bubble around the text
- Or place an asterisk beside it
- Or place it in the sidebar
- Or you could mark that part of the page with a sticky note
Method 2: Multiple subjects per page
- Jot down your notes using the same way as method 1
- Add a divider between where each subject ends and the next one starts
To separate each subject, some of the dividers you can do are:
- A row of dots
- A pattern such as chevrons, stripes
- Dashed line
- A quick scribble
- A blank, empty line
If you want to download the lined note paper used in the video it’s available in the free printables library. If you’re an existing subscriber, you can download the free printable here (the password to login was sent in the initial confirmation email when you subscribed)
Related post: Planner Organization: How to color-code your planner (so you’ll actually use it effectively)
Keeping your study notes organized
As for storing the study notes there’s 2 main methods I recommend:
1. A binder
In a binder I would store:
- Class handouts
- Weekly summaries (I would type up my summary notes then hand-write them using the method I described in the video)
- Assignment task sheets
- Review question lists
When using a binder, tabs or a butterfly clip in the color you’ve assigned to each subject is a great way to group all of your notes. If you don’t want to hole punch your notes, Officeworks have sheet protectors with a color on the side, or you can of course just use normal plastic sheet protectors.
I recommend the clear view binders (you can get them in white or a bunch of different colors on Amazon). That way you can slip a binder cover in the front to keep your notes organized. I also like using clear view binders for my household binder, organizing finances, taxes, recipes and printable planner stickers.
Related posts:
- Ways to organize using binder covers (plus a free printable monogram binder cover)
- Planner Organization: How to organize planner stickers (plus a free printable binder cover and spine)
- How to organize recipes plus a free printable recipe binder
- Update of my household binder
- How to organize your taxes with a printable tax planner
- Printable (and editable) budget binder/finance binder
2. Notebook
In my notebook I would store:
- Class/lecture notes
- Practice review questions
- Questions to ask the teacher
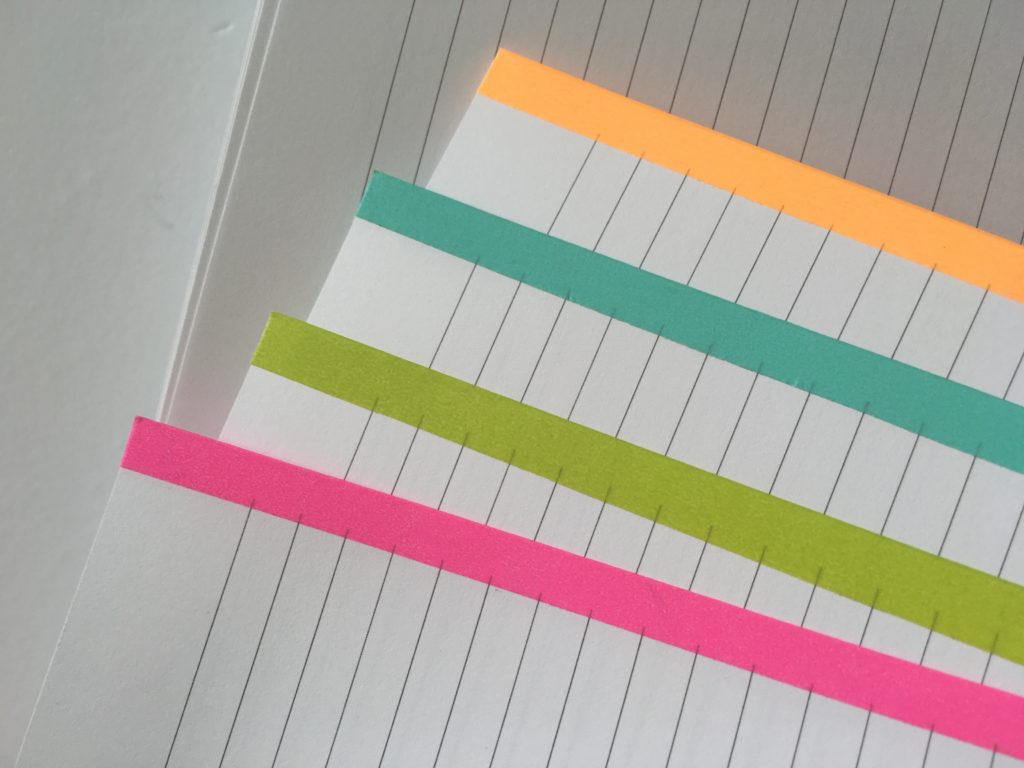
Assign a color to each subject and add a strip of different colored washi tape to the edges of your pages (you could also do a scribble in pen down the side of the page, or put a colored dot sticker in the top right hand corner so you can easily find which study notes you need to refer to when flicking through your notebook)
I’m a huge fan of the Arc notebook and wish they had it back when I was studying! I highly recommend discbound planner systems as you can pull the pages out and re-position them. That way if you don’t have all of your classes every day you can pull out the pages you don’t need so you don’t have to lug them around with you. The discs and holes also have a very small margin so you’re not awkwardly trying to write with your hand bumping up against binder rings or the spiral coil of a notebook.
A cheaper alternative to the Arc notebook is the Levenger discbound system or The MAMBI Happy Planner. Note that you can print the free lined paper I shared above at MAMBI Happy Planner size. I shared how to do that in this post.
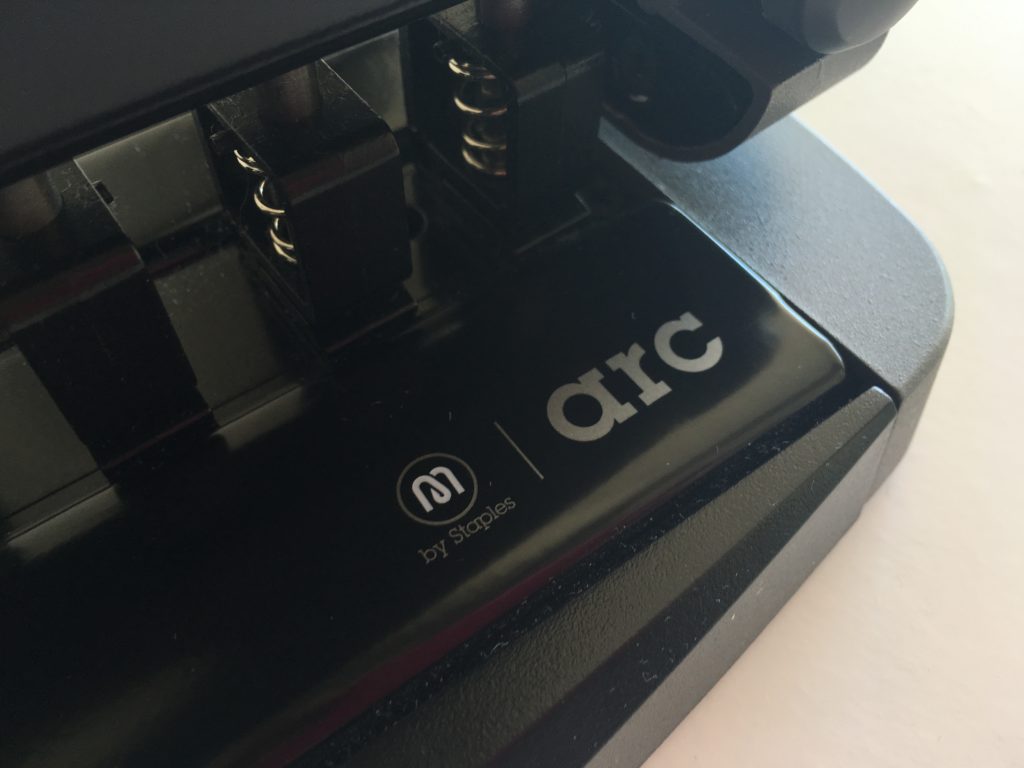
Related post: Why I use the Arc Planner instead of binders
Liked this post? Pin It!
Related Posts
- Planner Organization: How to color-code your planner (so you’ll actually use it effectively)
- Favorite color coding planner supplies for less than $5
- My all time favorite planner pens: Pilot Frixion Erasable Pens Review
- My favorite places to buy planner supplies & stationery
- How to make planner printables (advice from a planner addict that’s made over 4000 printables)
- Color coded monthly meal planning using sticky notes


This is so so helpful! Especially because I have my midterm exams this week and next. Thanks for sharing. Perfect timing.
Glad you found it helpful! 🙂