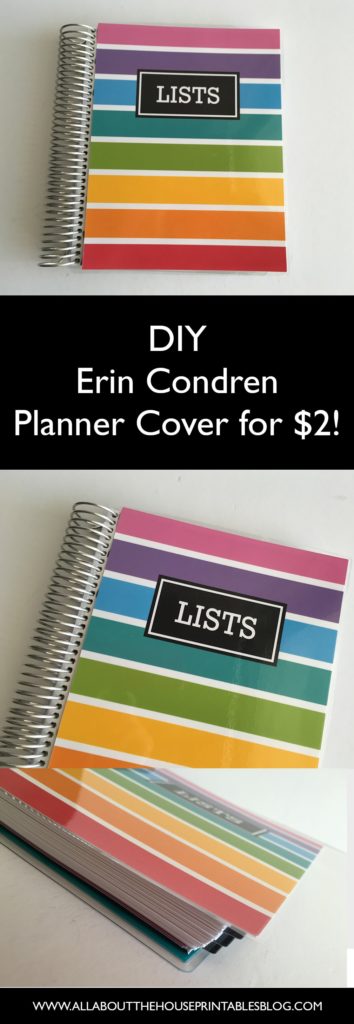
How to make a DIY Erin Condren Planner Cover for less than $2 (plus free printable cover)
I placed a large order with Erin Condren (I’ll be sharing a haul video on my YouTube channel soon – make sure you subscribe if you haven’t already!) and while the covers I bought are nice, I’d been wanting to mix it up. While you can upload a custom cover on the Erin Condren website (I shared a tutorial in this post), they’re quite pricey at $13USD each. Plus shipping. And shipping to Australia ain’t cheap! So I decided to make my own. The best part? It cost less than $2 🙂
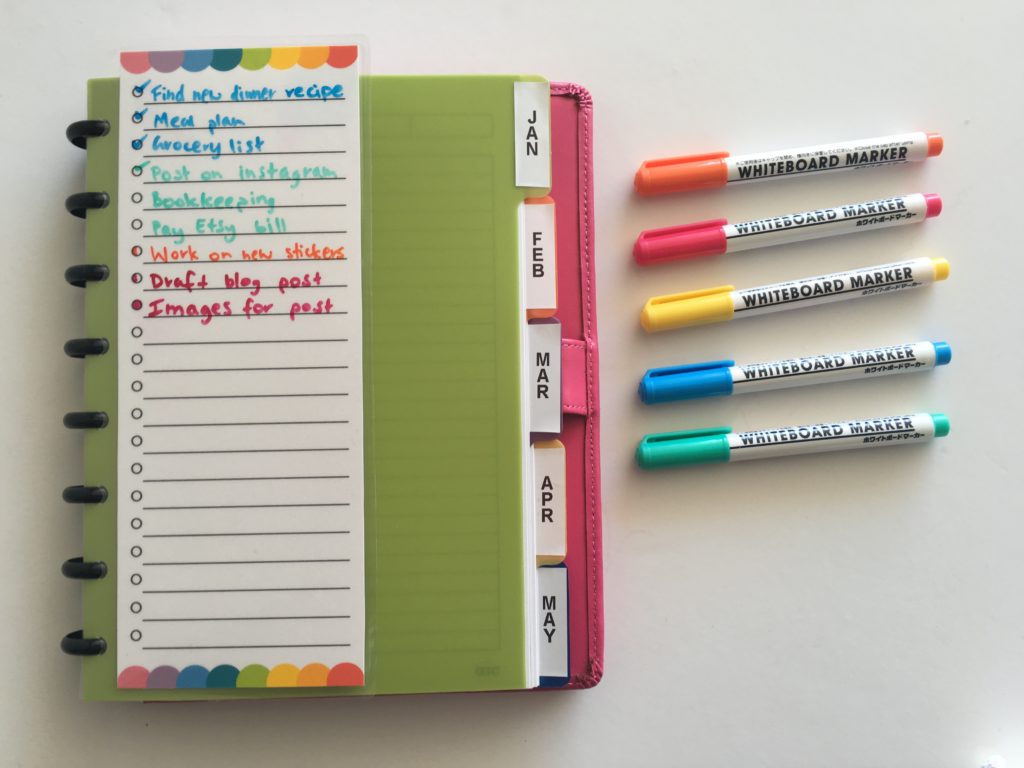
So you’ve purchased a spiral bound planner such as the Erin Condren, Plum paper, Limelife or any of the other numerous planners that are available these days. But there’s just something missing. You want to add a personalised cover, or add a couple of pages to make the planner your own. You may want to add a grocery list, a to do list, a social media calendar, an online shopping log/mail tracker or one of the hundreds of printables from my shop.
Well I have good news for you! It’s super easy to add your own pages to your spiral bound planner.
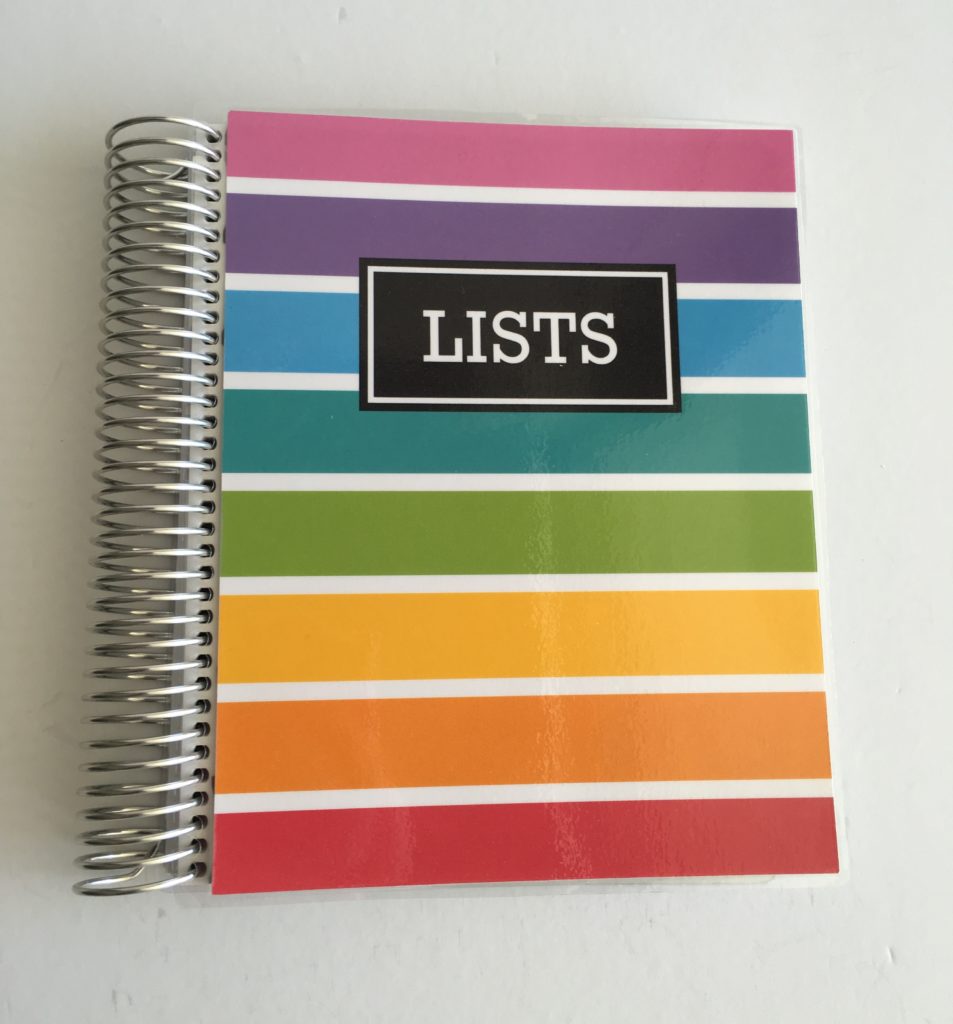
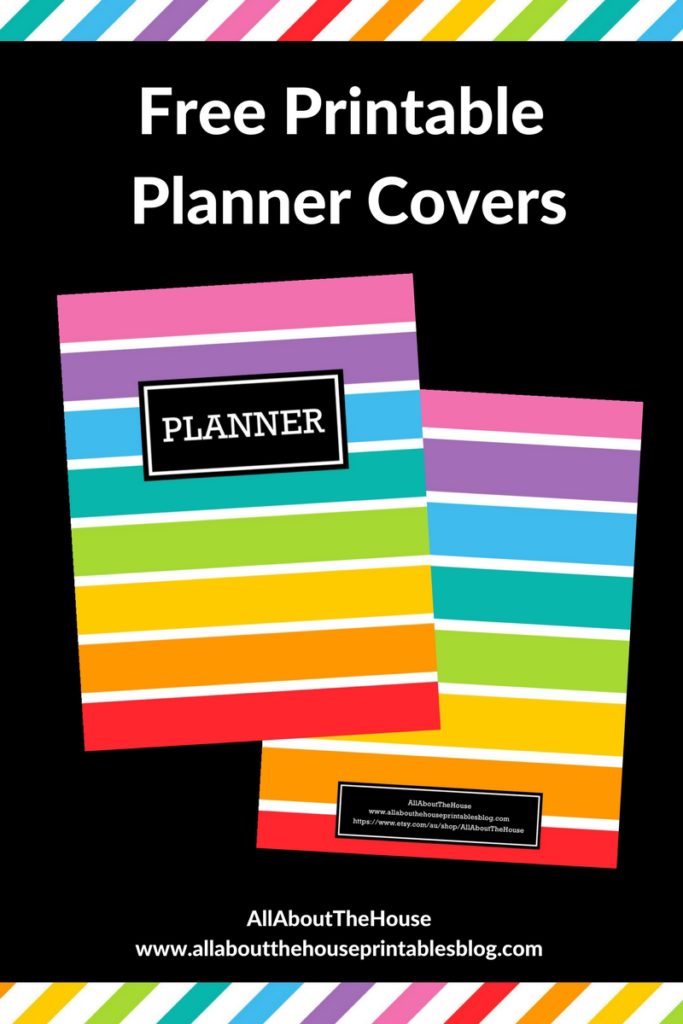
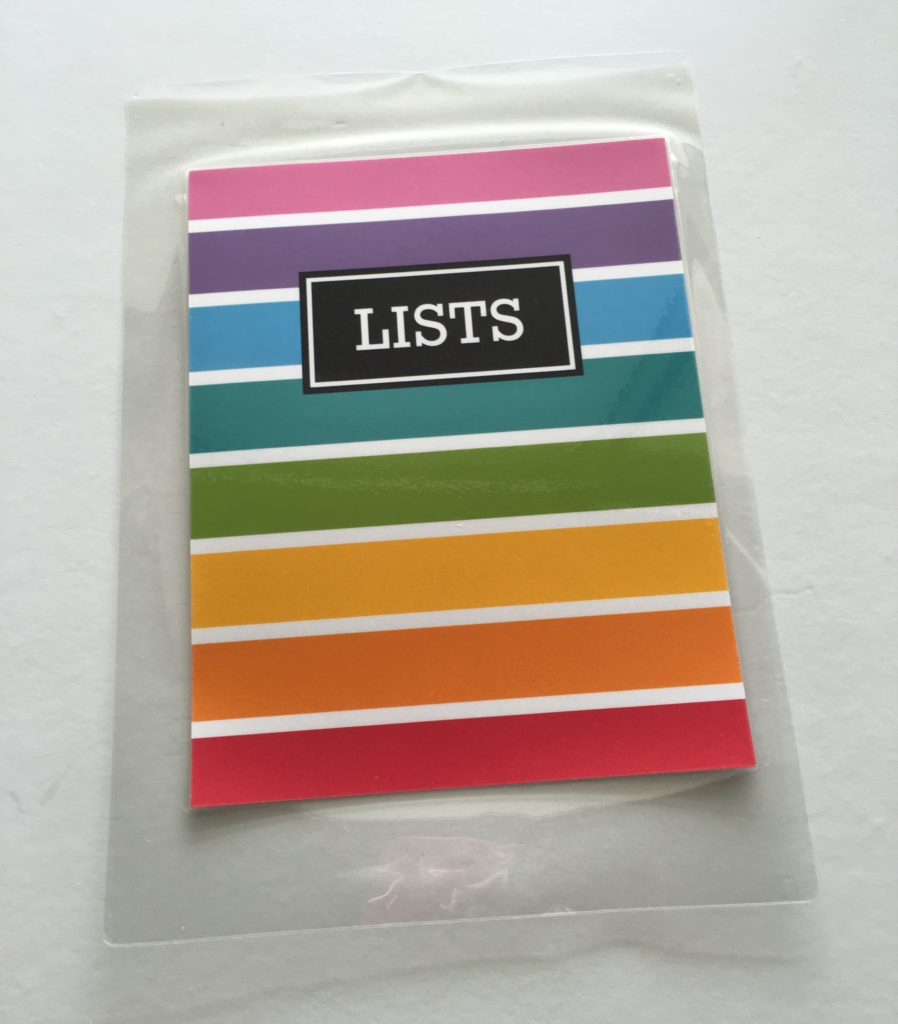
I created a rainbow stripe cover (I couldn’t help myself I ended up creating a couple of them), which I’ve added to the free printables library 🙂 You could also use this tutorial for the scallop list making insert I shared the other week which can be downloaded from the free printables library. If you’re an existing subscriber, you can download the free printable here (the password to login was sent in the initial confirmation email when you subscribed)
To enlarge the screen of the video, click the square icon in the bottom right hand corner of the video (it will say ‘full screen’ when you hover your mouse over the icon).

Subscribe to my YouTube channel for more planner related videos & graphic design tutorials!
How to add extra pages to a spiral bound planner
What you’ll need:
- Ruler
- Paper or cardstock
- Scissors, guillotine or paper trimmer
- Hole punch
Optional
- Laminating machine
- Laminating sheets
- Whiteboard marker
To add your own cover or inserts to your planner
Step 1: Measure your planner
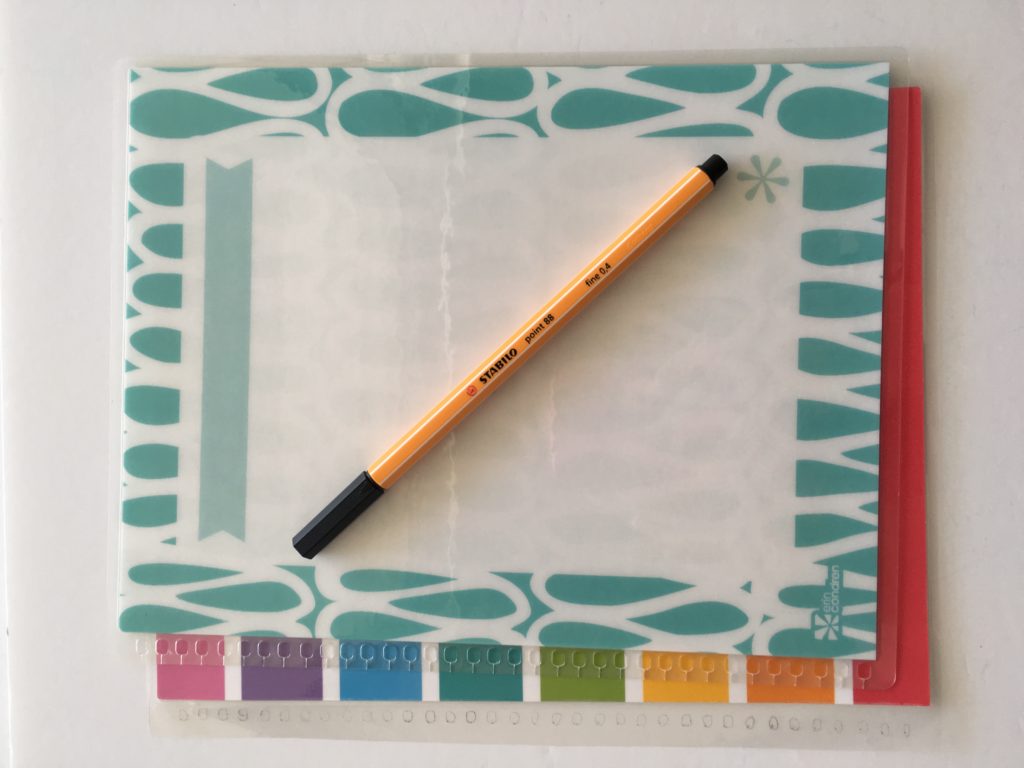
If you want to add a cover, make sure you measure the cover, and if you want to add insert pages, make sure you measure one of the inside pages so that the sizing matches the pages already in the planner. I made my cover for the Erin Condren Planner and sized it at 7″ wide x 9″ high to give it a bit of an overlap and protect the tabs. This size will also protect a pen holder if you’ve stuck one onto the back cover of your planner.

I wanted the cover to sit out from the edge of the paper to cover the tabs and allow wiggle room as my planner grows when I add stickers etc.
Step 2: Print your pages
Make sure you select ‘high’ print quality. I like to use cardstock or label paper (I shared a list of recommended places in this post) for printing covers as it makes them more durable. if you want to make the colors POP use glossy label paper. I was out of glossy label paper so for this cover I used cardstock – the cover still turned out super pretty! 🙂
Related printing tips posts:
- How to get rid of a white border when printing printable (borderless, no bleed, no scaling step by step video tutorial)
- How to Choose a Printer (Including the best printer for printing printables and planner stickers)
- Printing 12″ x 12″ digital paper onto A4 or letter sized paper from a home printer
- How to print printables at MAMBI Happy Planner Size (step by step tutorial)
Step 3: Cut your page to size
I prefer to use a guillotine for an accurate, straight cut. You could also use a paper trimmer or scissors.

Related post: 4 tools for cutting printable planner stickers (and my favorite method)
Step 4: (Optional) laminate the pages
If you’re creating DIY inserts such as a grocery list, meal planner, to do list, fitness routine etc. to your planner, that you’ll be using multiple times, you may want to laminate it so you can use it over and over again.
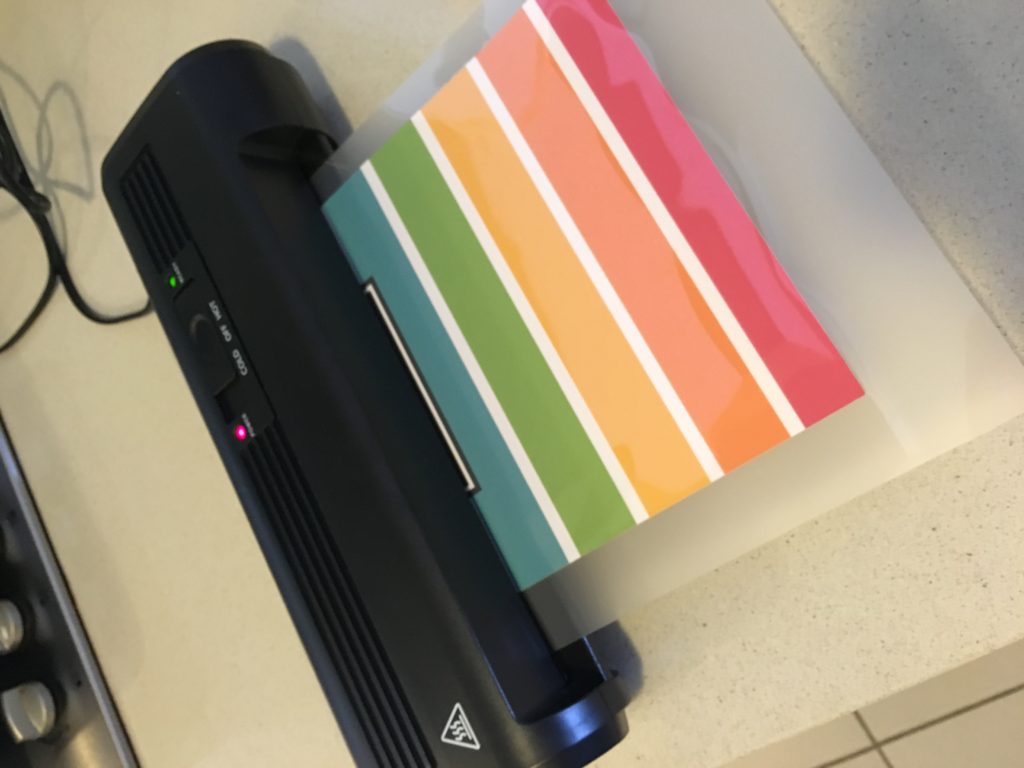
Feeding it through the laminator… oh the anticipation!
Then trim to size leaving a small border of laminate and a wider margin on the left side for hole punching. I recommend a minimum margin 0.5” wide – remember you can trim it down again if needed.
Step 5: Mark where the holes need to go
Place the cover adjacent to the spiral binding, then mark a line where the spiral binding meets the piece of paper – you’ll want to be as accurate as possible.
If you’re using the Erin Condren planner, Plum Paper or Limelife Planner, all of which have interchangeable covers, I recommend pulling the cover off and using it as a template.
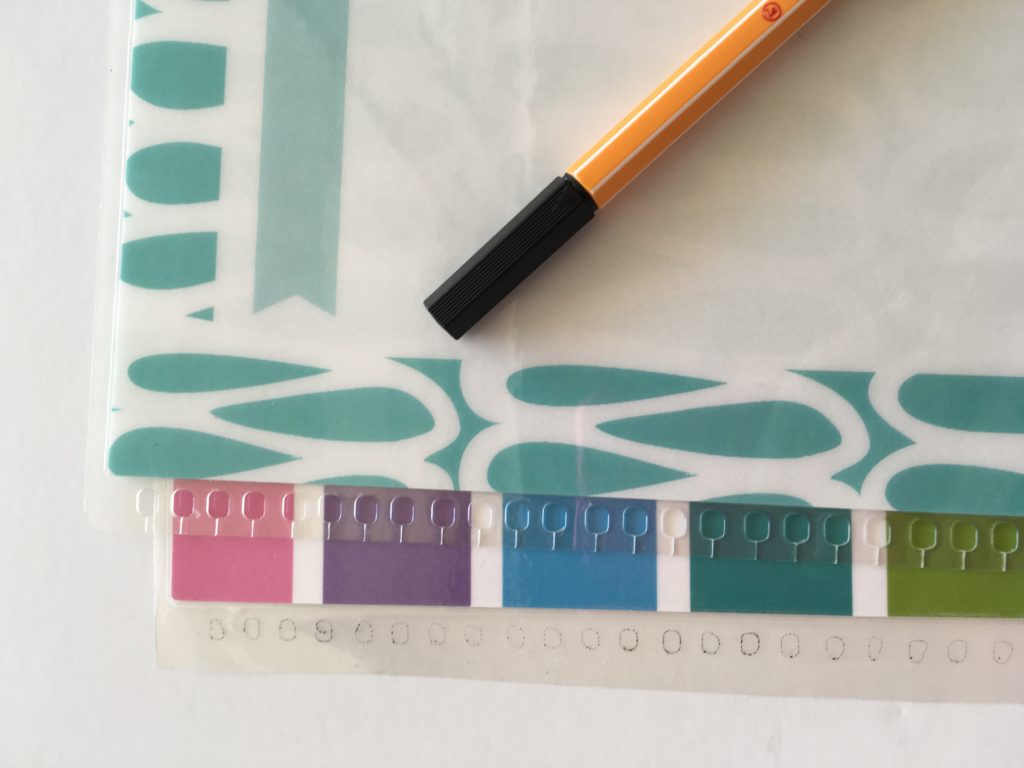
Lay the interchangeable cover over the insert you want to add to your planner and draw a dot or color in the circles where the hole punch will need to go.
If you laminated your insert in step 4, you’ll need a whiteboard marker instead of a lead pencil (I don’t recommend a permanent marker like a sharpie).
Step 6: Punch the holes
Using a hole punch, take a stack of the pages you want to add and place them behind the piece of paper you marked the lines on in the last step.
Make sure you don’t have too many pages for the hole punch you’re using.
Then punch through the pages.
If you laminated your insert, I recommend punching through only 1 laminated insert at a time otherwise you might damage your hole punch or your holes won’t be super accurate.
Once you’ve punched the holes, wipe the pen away using tissue or cloth, or use an eraser if you used lead pencil and didn’t laminate your insert.
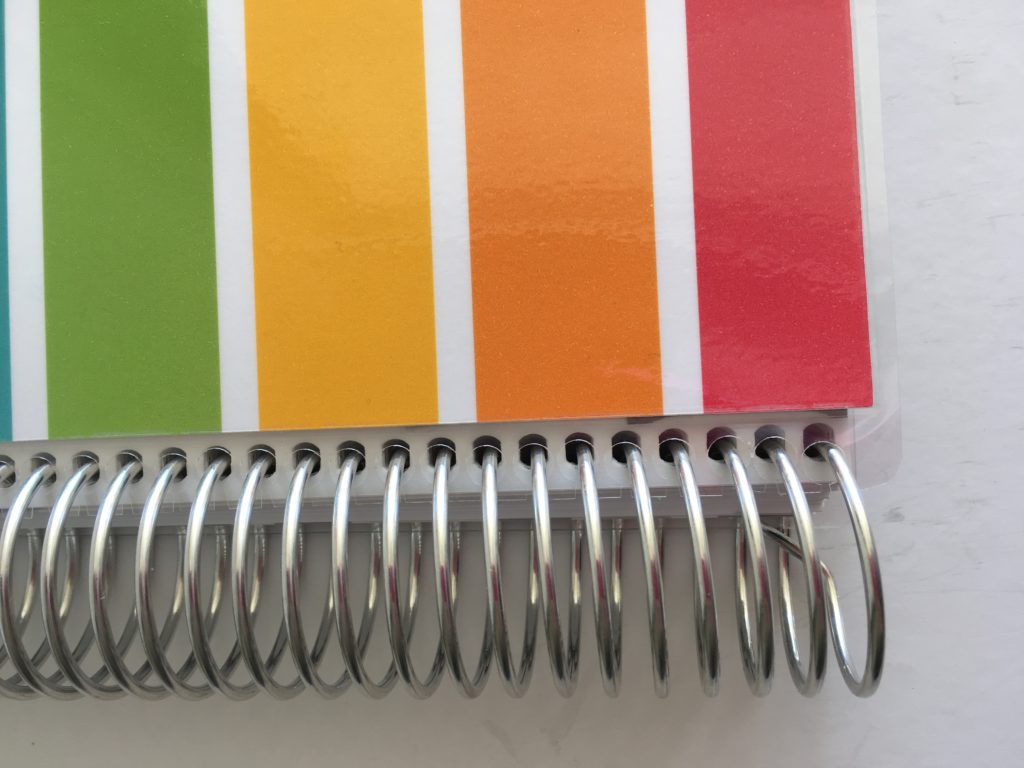
Step 7: Cut the slits
You’ll need a pair of scissors for this part (the smaller the better), now you’ll want to cut along the lines you marked in step 4, through the holes you created in the last step, but not through the other side of the hole. I cut mine at a slight angle. I think I cut a bit too much as the cover is not as tight fitting around the coils as I would like so make sure you just do 1 straight cut for a snug fit!
Close of up the top
And the bottom where the holes got a bit wonky.. oops
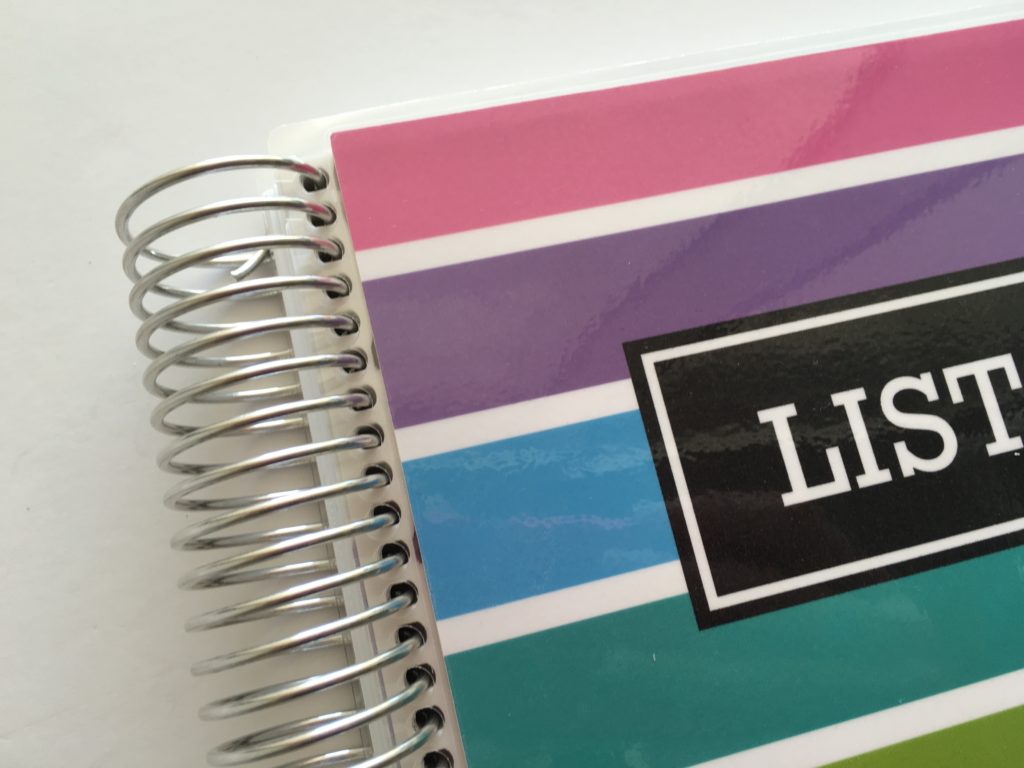
Step 8: Add the page to your planner
Now you’ll want to line up the pages you’ve created against the coil of your planner, then press the space in between the coils to add to your planner. Using the tip of a pencil helps to push the cover onto the coils.
The finished product!
Alternatives & tips
- Purchase the clips for the EC planner (these are ok if you want to add a few things to your planner but can get pricey if you have a lot of things to add)
- Have the cover printed along with simple lined note paper (I shared some in this post) or color coded note paper at your local office supply store to create a custom notebook
- You can use this same method to add envelopes, list inserts etc. to your planner
- If you want to make your pages more sturdy but don’t want to laminate, add some washi tape (my sister has tons in her shop!) to the side of the page before hole punching
Total cost for the cover?
- Let’s say $0.50 for color printing (most office supply stores will do 1 page of full color printing for less than $1, it’ll most likely be cheaper if you’re printing using your own printer at home)
- $0.10 for cardstock
- $0.50 for laminating sheet (if you don’t have a laminating machine, Officeworks – or Staples, Office Depot etc. in the USA – can laminate a page for you for around $1/page)
Total cost = $1.10!
Tips/mistakes I made:
- Start with the back cover – if you want the front and back cover to be matching, do the back cover first as ‘practice’ (I’ve included a matching back cover in the free download)
- Draw a pen mark at the centre point of the holes then make the cut marks. I got a little to excited and thought I would just ‘wing it’ but you’ll want to measure up as some of my cuts weren’t centre
- Cut a straight line with your scissors rather than an angle then add the cover. If the fit it still tight, go back and add a slight diagonal to either side of that straight cut but don’t make the total cut (where it will fit within the coil) more than 1mm wide, otherwise it becomes a bit loose
- Find a small hole punch. The one I used punched holes that were 0.25″ which were a little big. When I was punching them one of the holes accidentally overlapped with other so make sure you hold your hand steady when punching!
Because I loved this DIY cover so much, I’m sharing the lists cover I made, plus a matching back cover and covers that say ‘2017’ and ‘meal planning’ and ‘planner’ if you want to pretty up your own planner! Click here to download them (and access the rest of the free printables library)

Liked this post? Pin It!
Related posts:
- 7 Ways to make colors POP when printing using an Inkjet printer
- Which is Cheaper: DIY Printable Planners or Pre-Printed & Assembled Planners?
- How to print printables at MAMBI Happy Planner Size (step by step tutorial)
- Free Printable Erin Condren Vertical Life Planner (or any planner) Ombre Pineapple List Stickers
- Planner Organization: How to organize planner stickers
- How to make planner printables (advice from a planner addict that’s made over 4000 printables)
- Color coded monthly meal planning using sticky notes
- Plum Paper Planners Haul & Review (better than the Erin Condren?)
- Honest review of the Happy Planner by Me and my Big Ideas (MAMBI)
- Comparison of the 9 most popular print and ship planners