How to quickly make a recipe book in Canva
While moving my grandma into a nursing home I came across old cookbooks (from 50+ years ago!) that were falling apart. I wanted to digitize them before pages were lost, and also because they didn’t have color printers back then so there were zero photos of the recipes in the cookbooks.
Why I chose Canva to make a cookbook
I wasn’t the only relative that wanted a copy of grandma’s cookbooks, so I decided to digitize and turn the favorite recipes into a cookbook. I would normally do this in Affinity Publisher, but not all of my relatives are tech savvy and I needed something they could access for free (enter: Canva).
I was able to take the cookbooks, digitize the recipes, then send the link to the Canva template to my other relatives, where they could make their own copy of the cookbook, add their own recipes, and customise the template however they liked (colors, font style etc.)
Canva is:
- Simple and easy to use
- Quick to make edits once you’ve set up a template
- Easily duplicate pages
- Can download in multiple file formats (but for a cookbook you’ll need a PDF. Then you can print the PDF, or use it digitally on your iPad or tablet)
- There’s a free version
- You can send a copy of the design to other people so they can edit however they please (while you still retain the copy in the format you prefer)
- You can send a copy of the design to other people if multiple people are contributing to the design
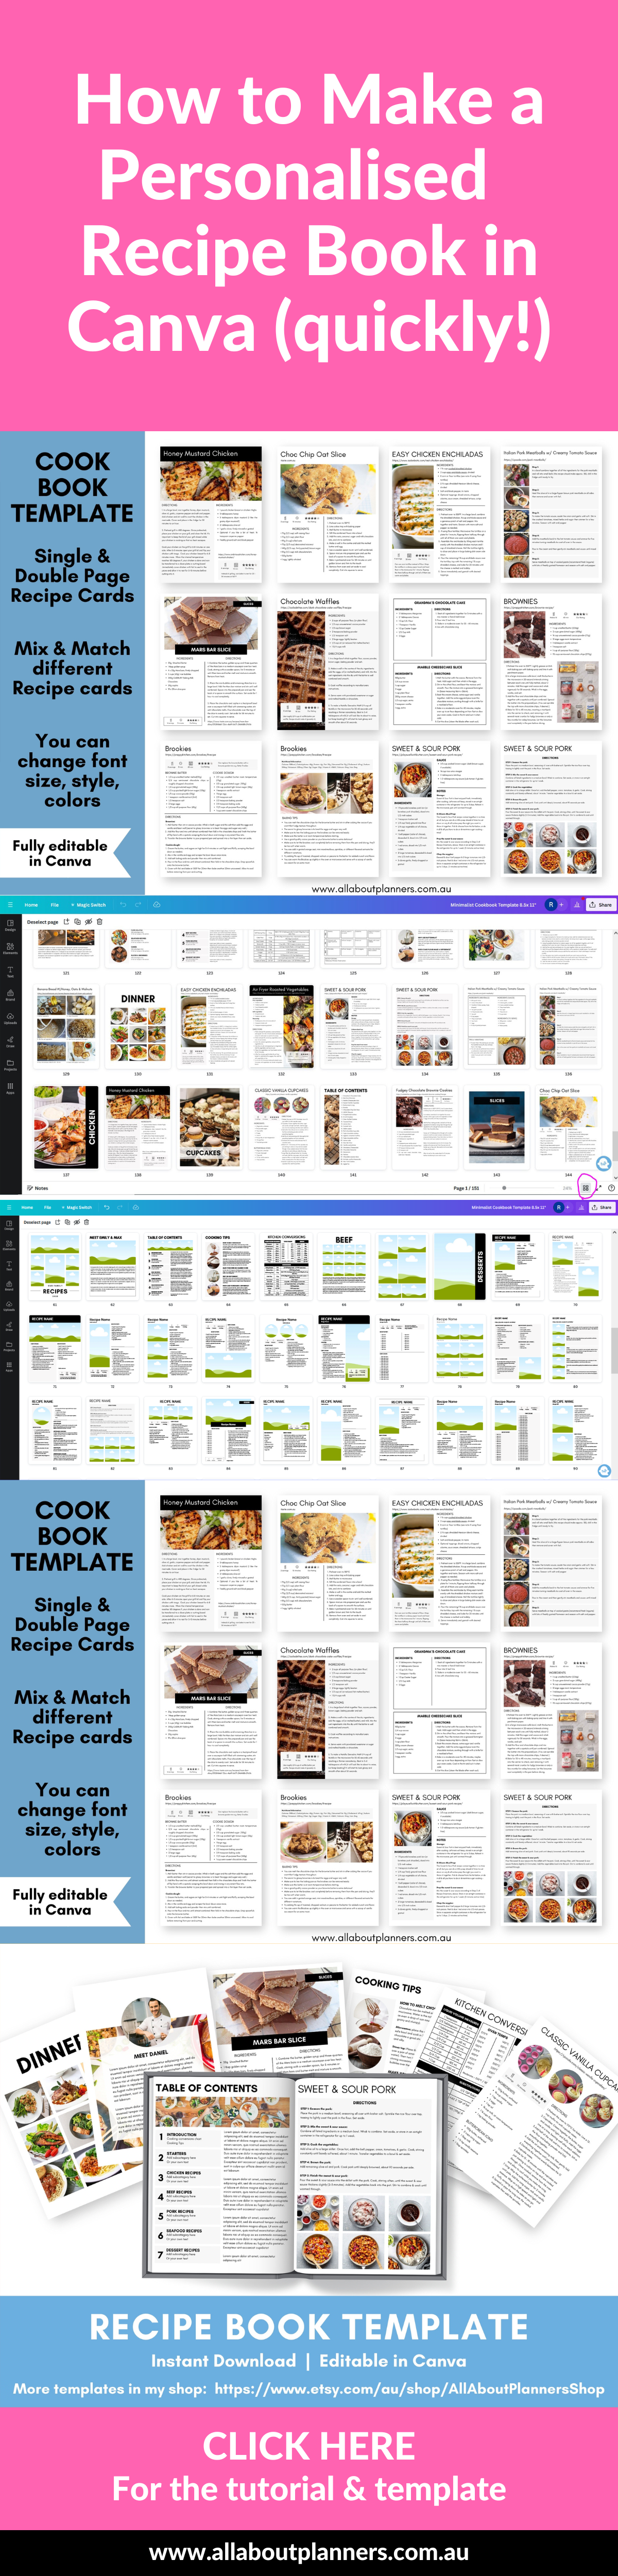
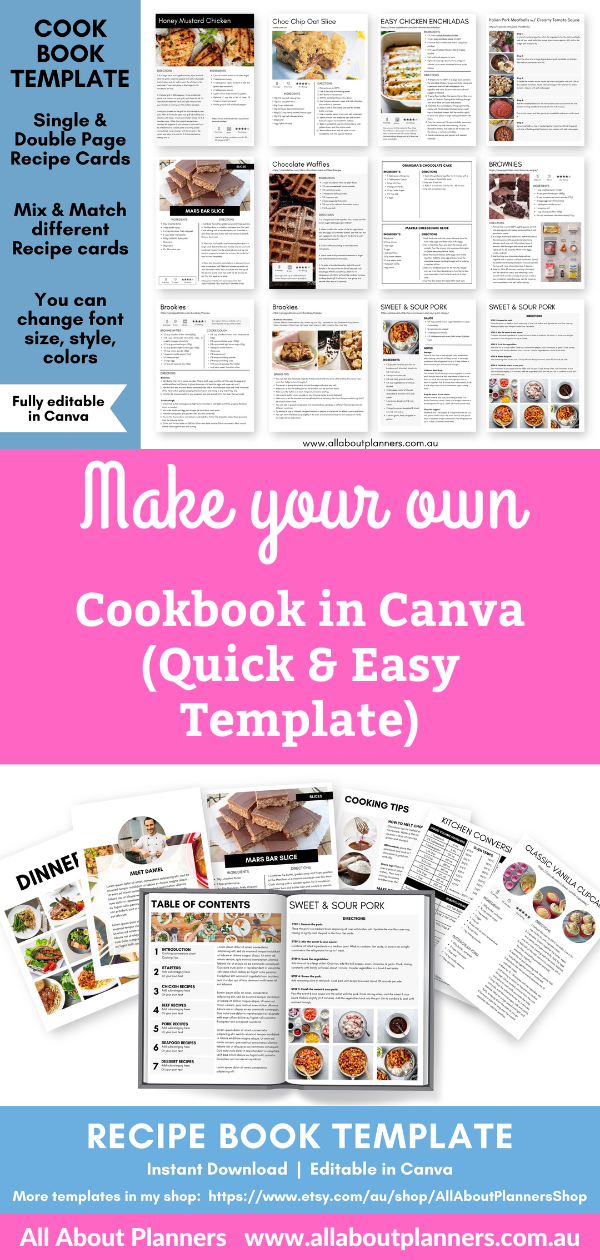
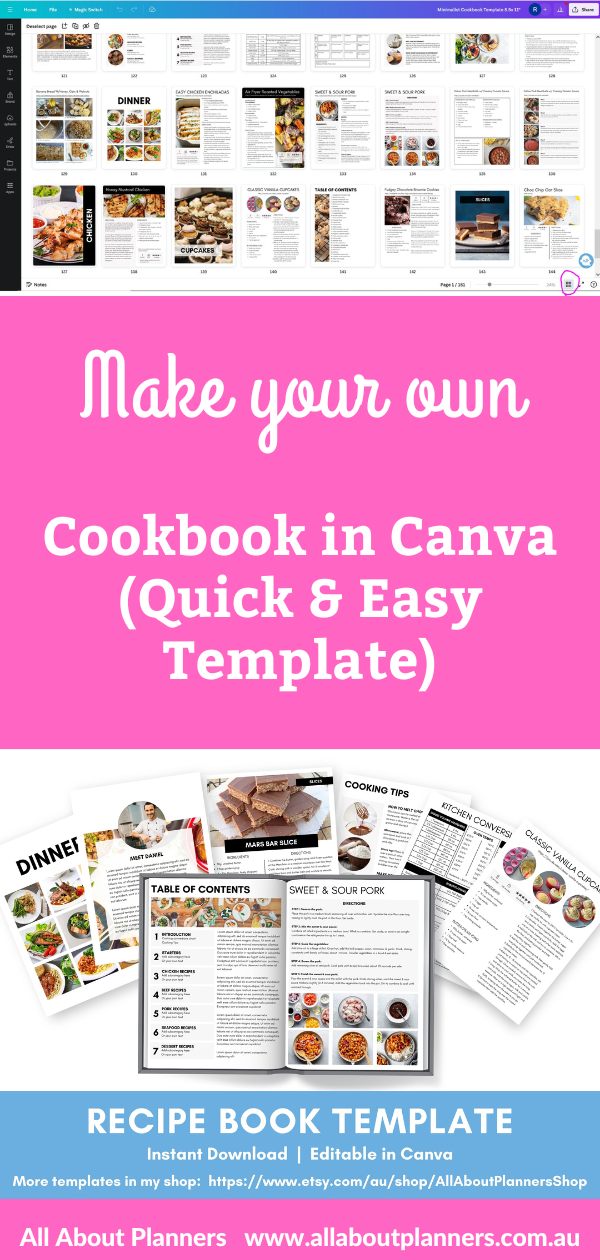
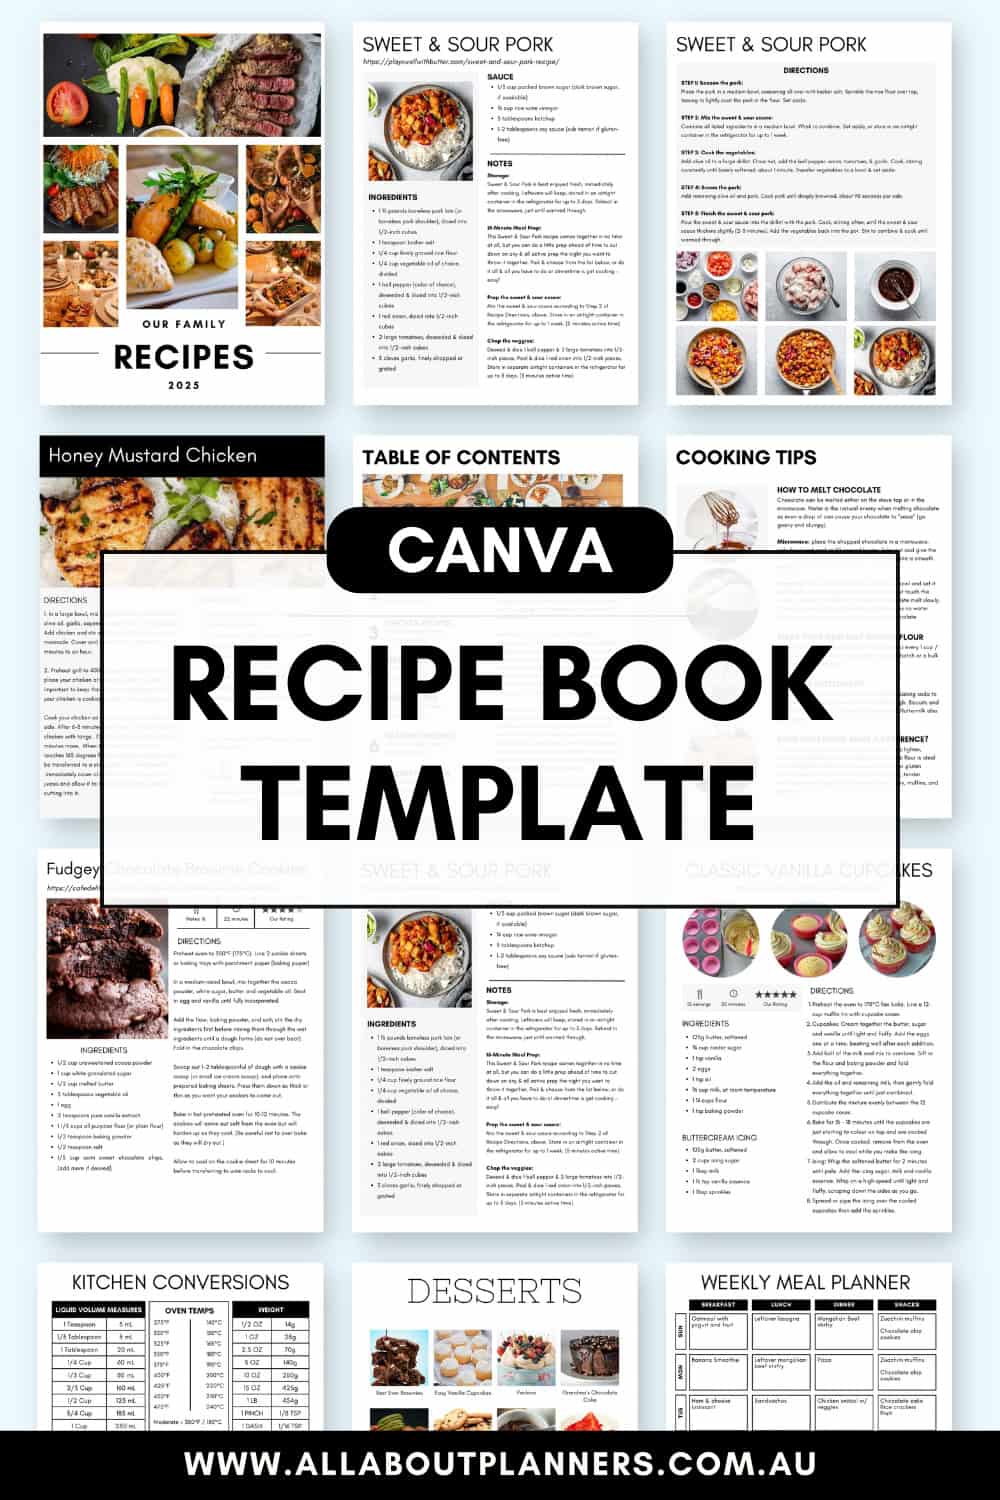
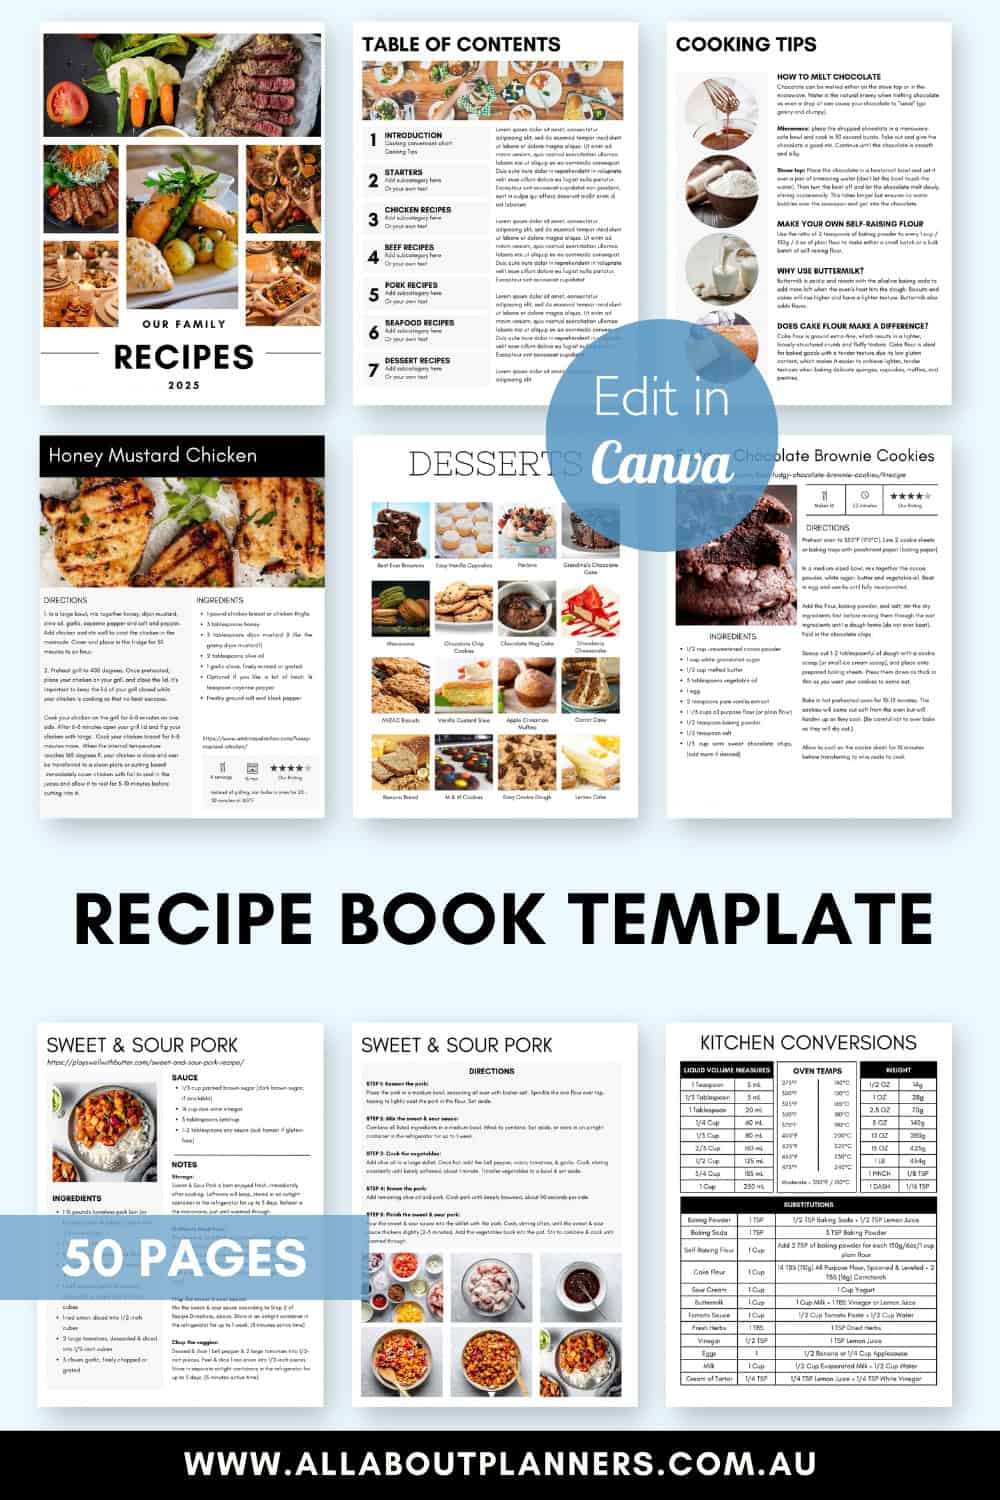
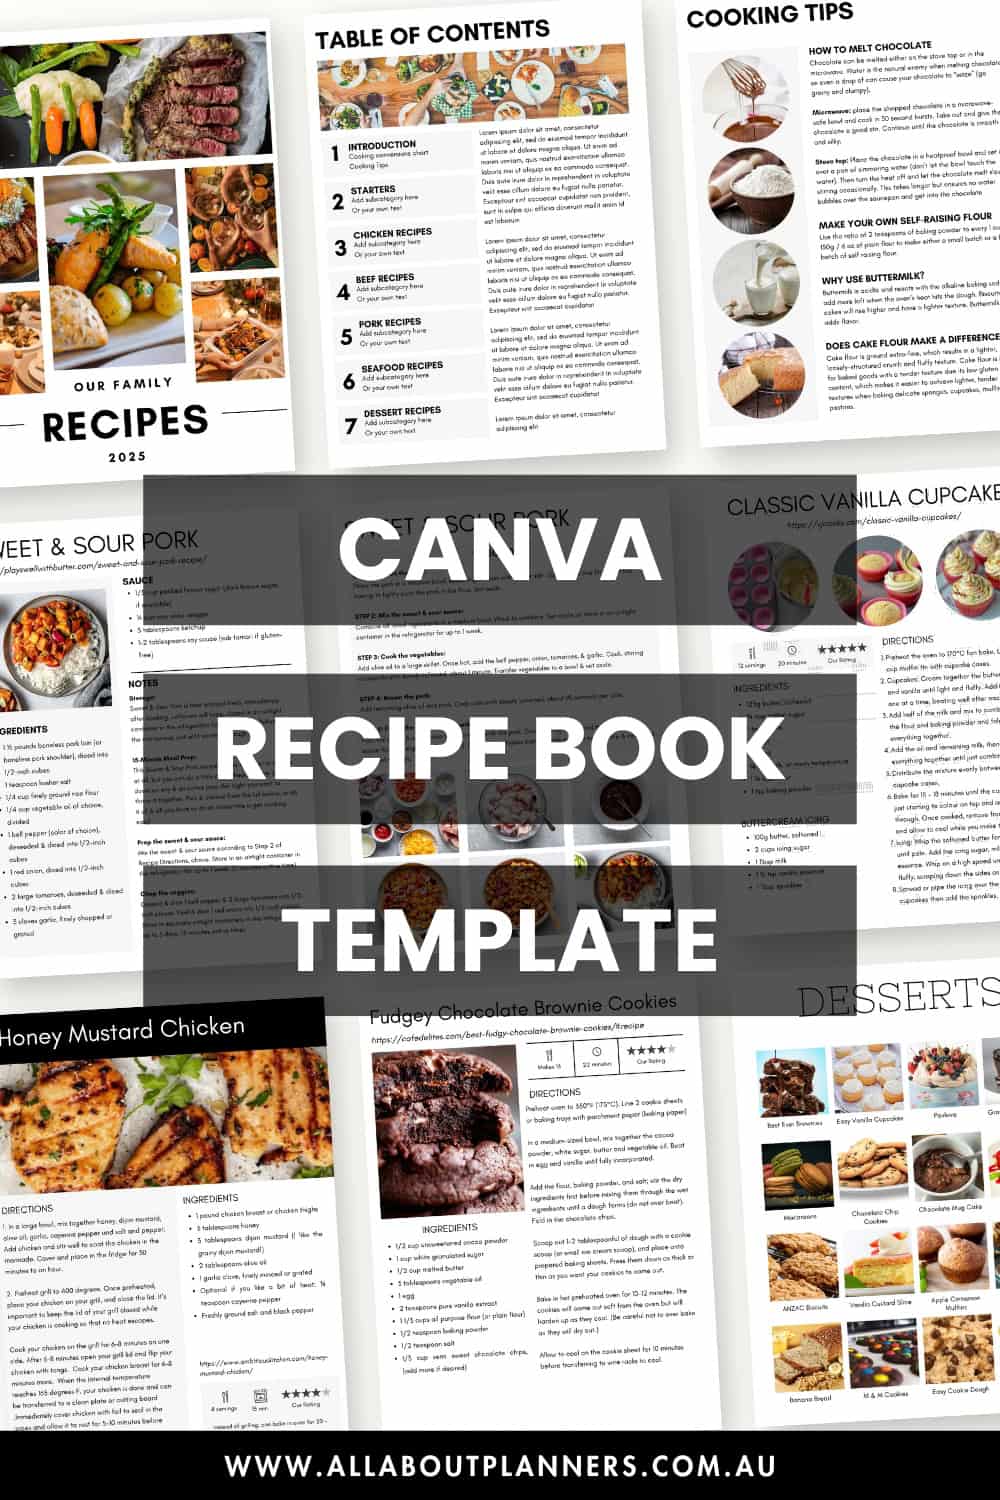
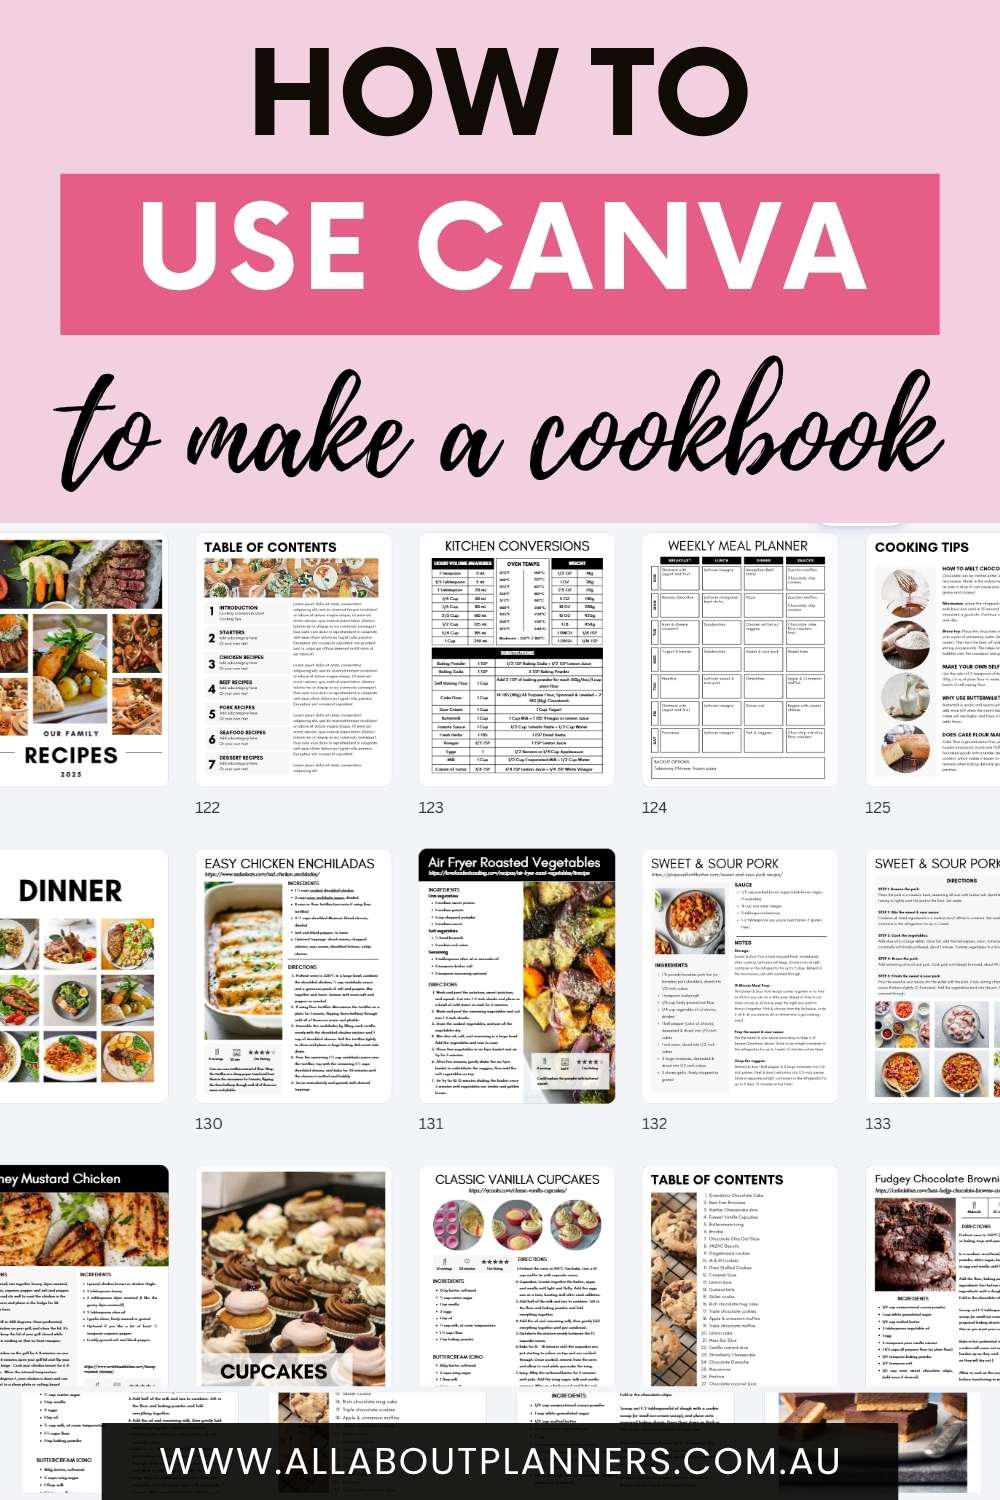
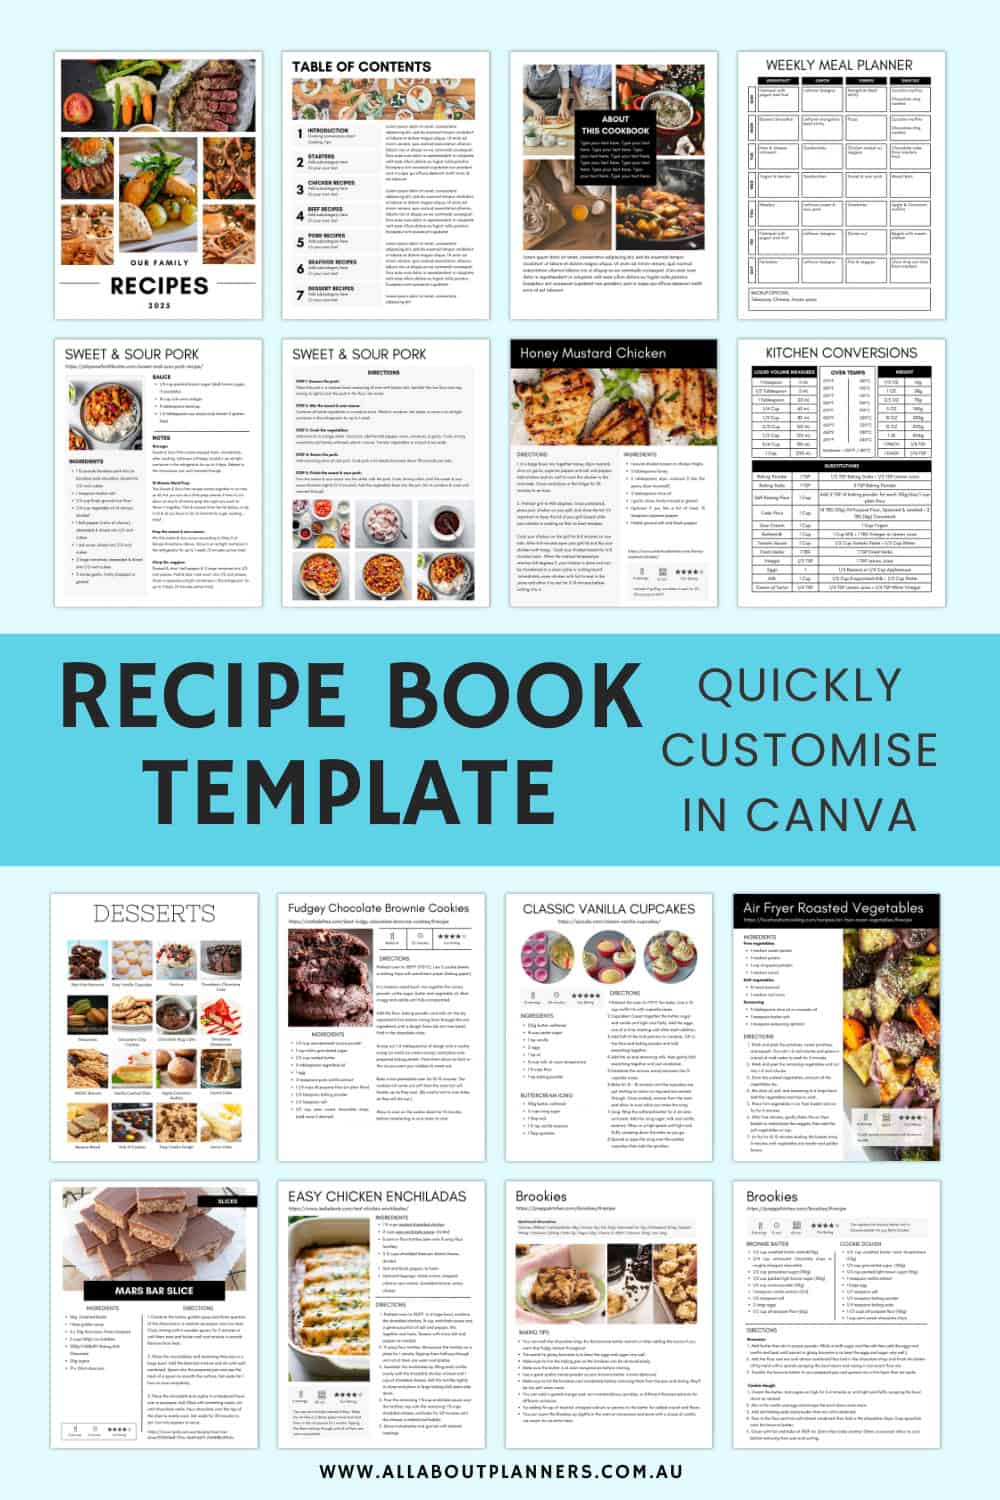
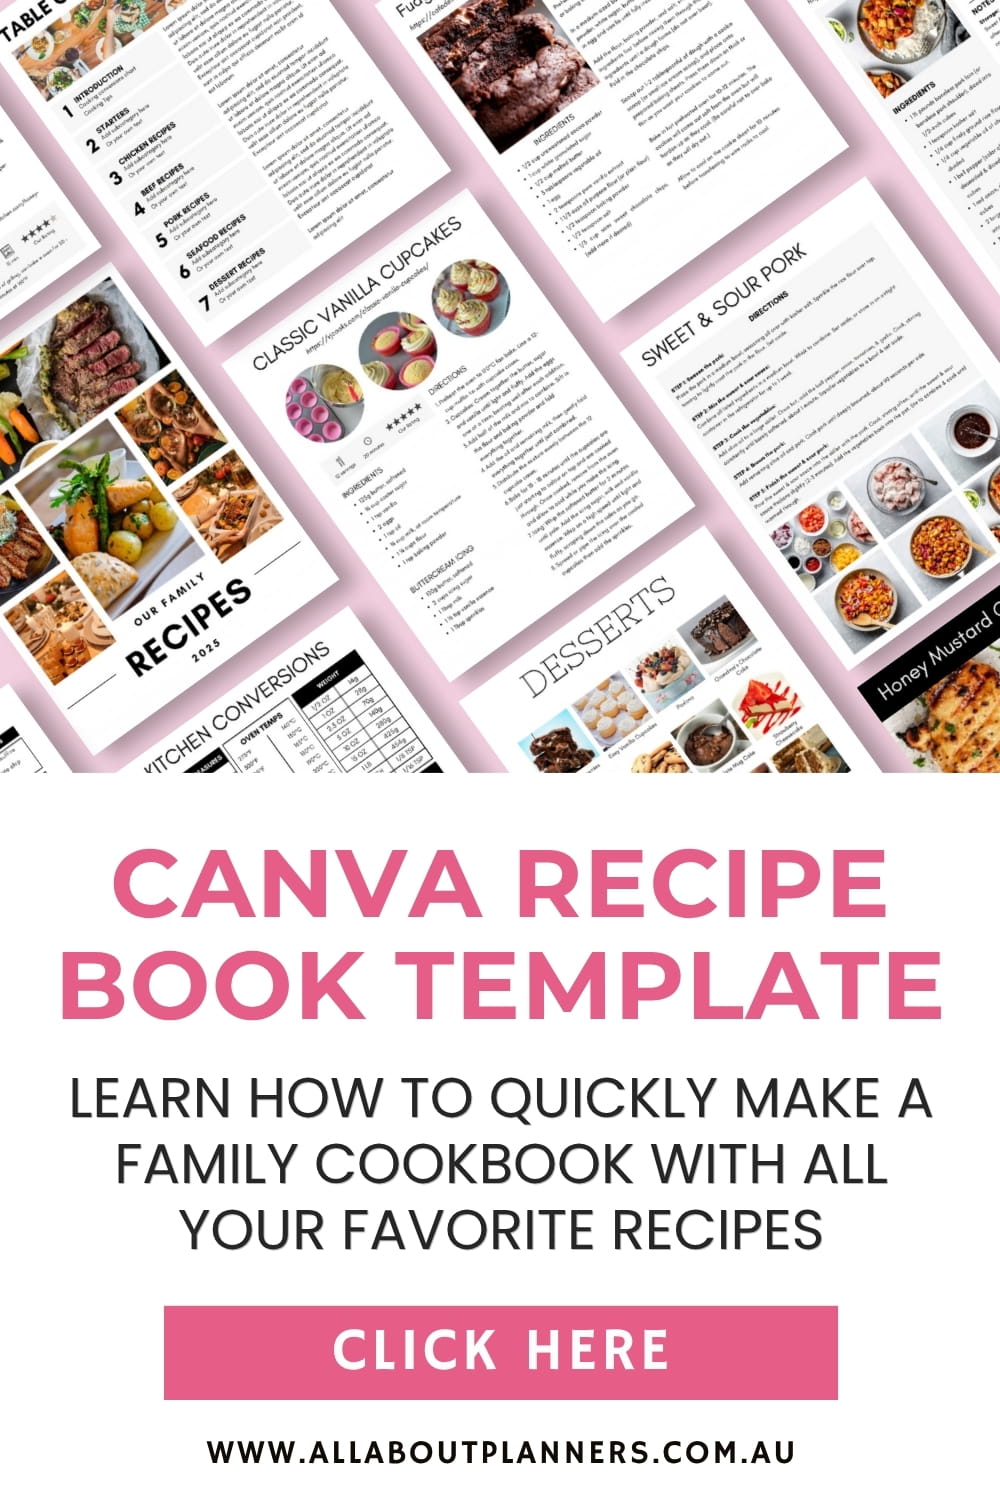
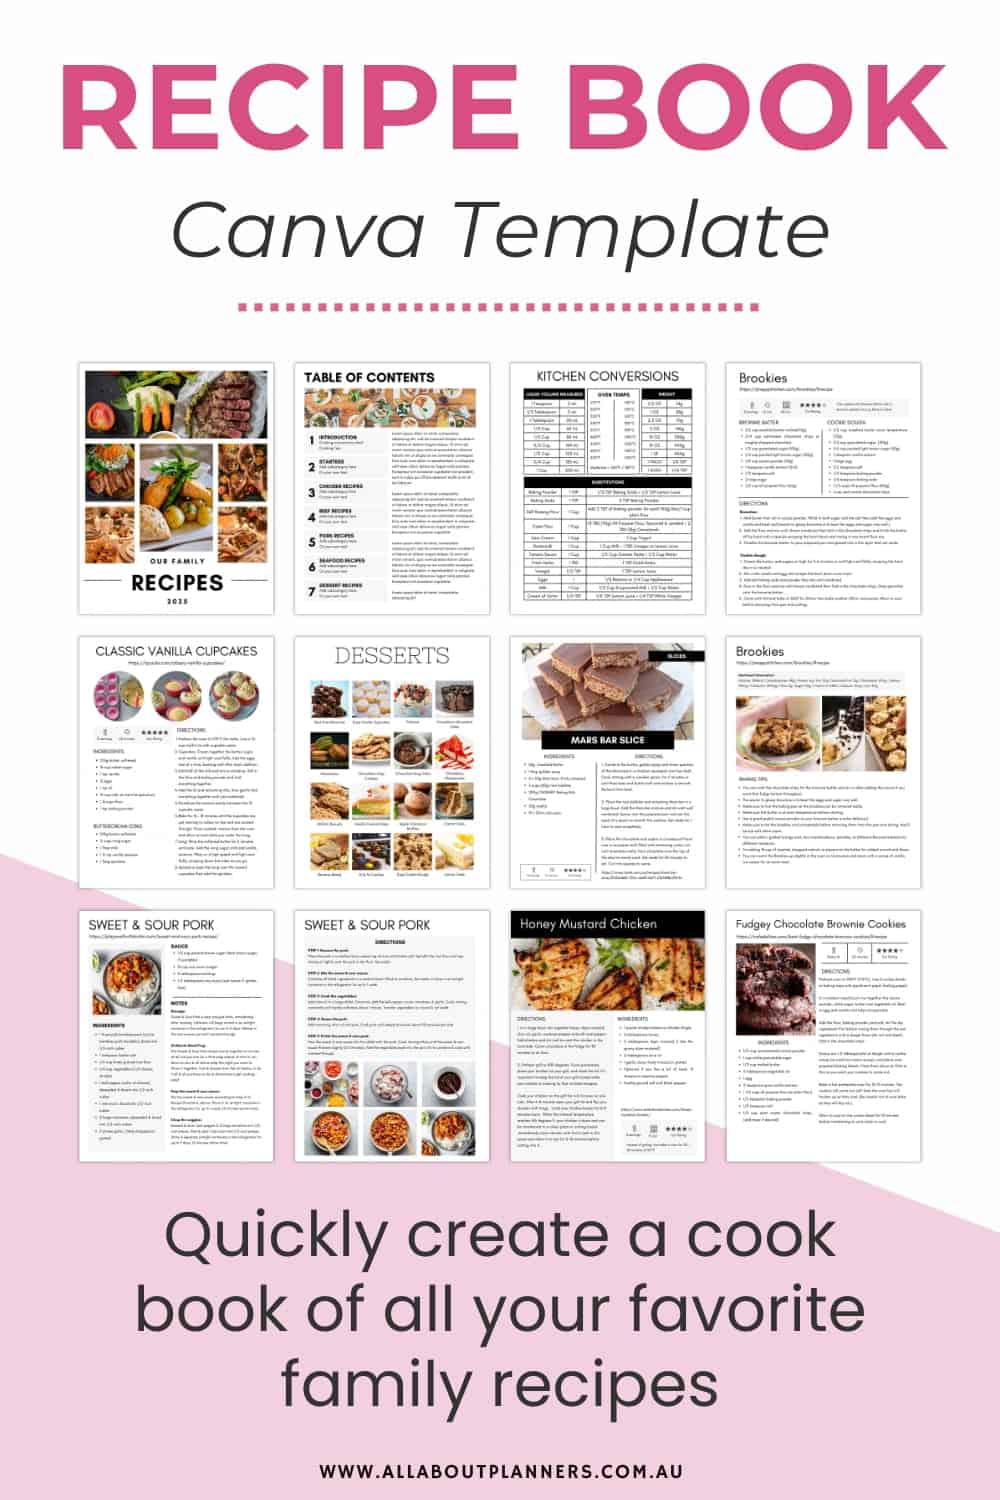
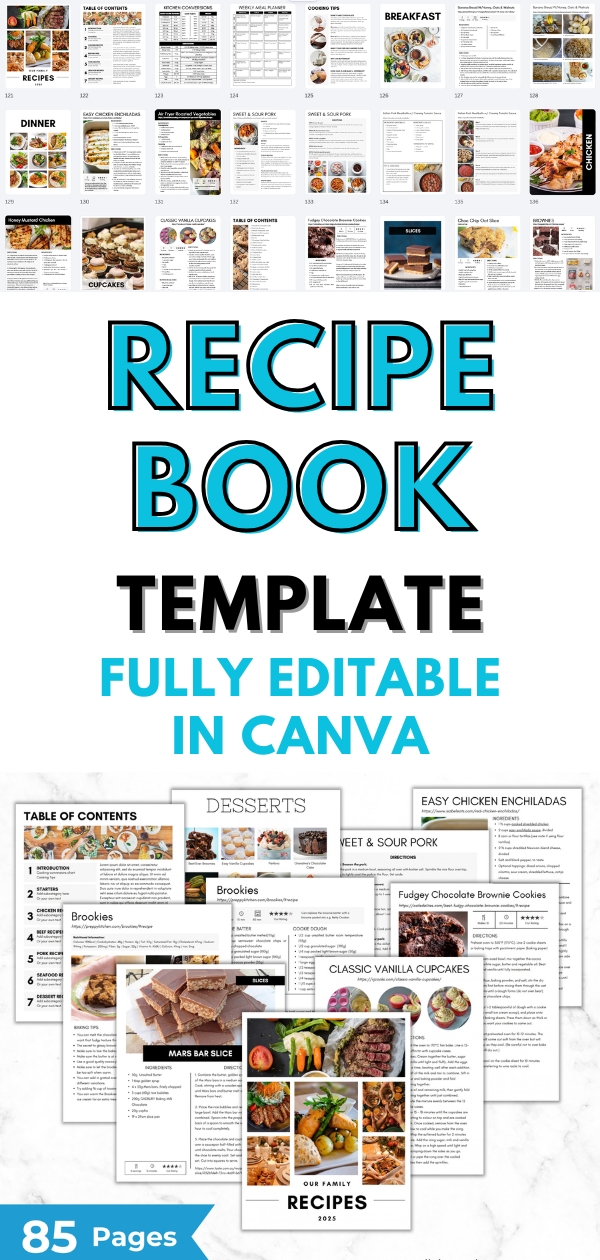
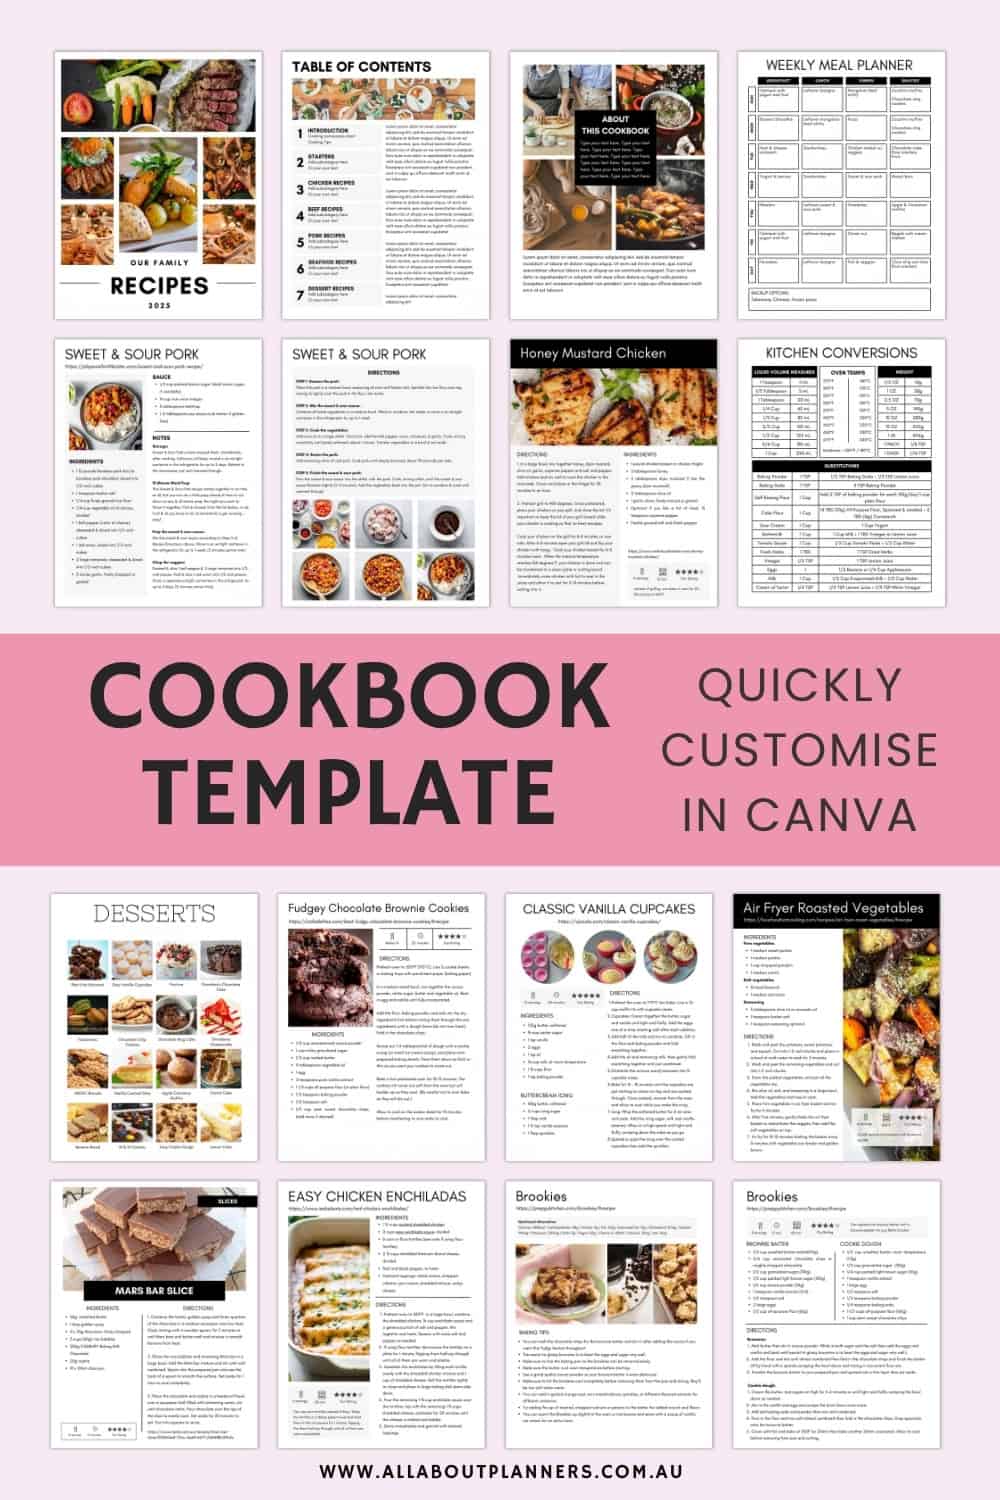
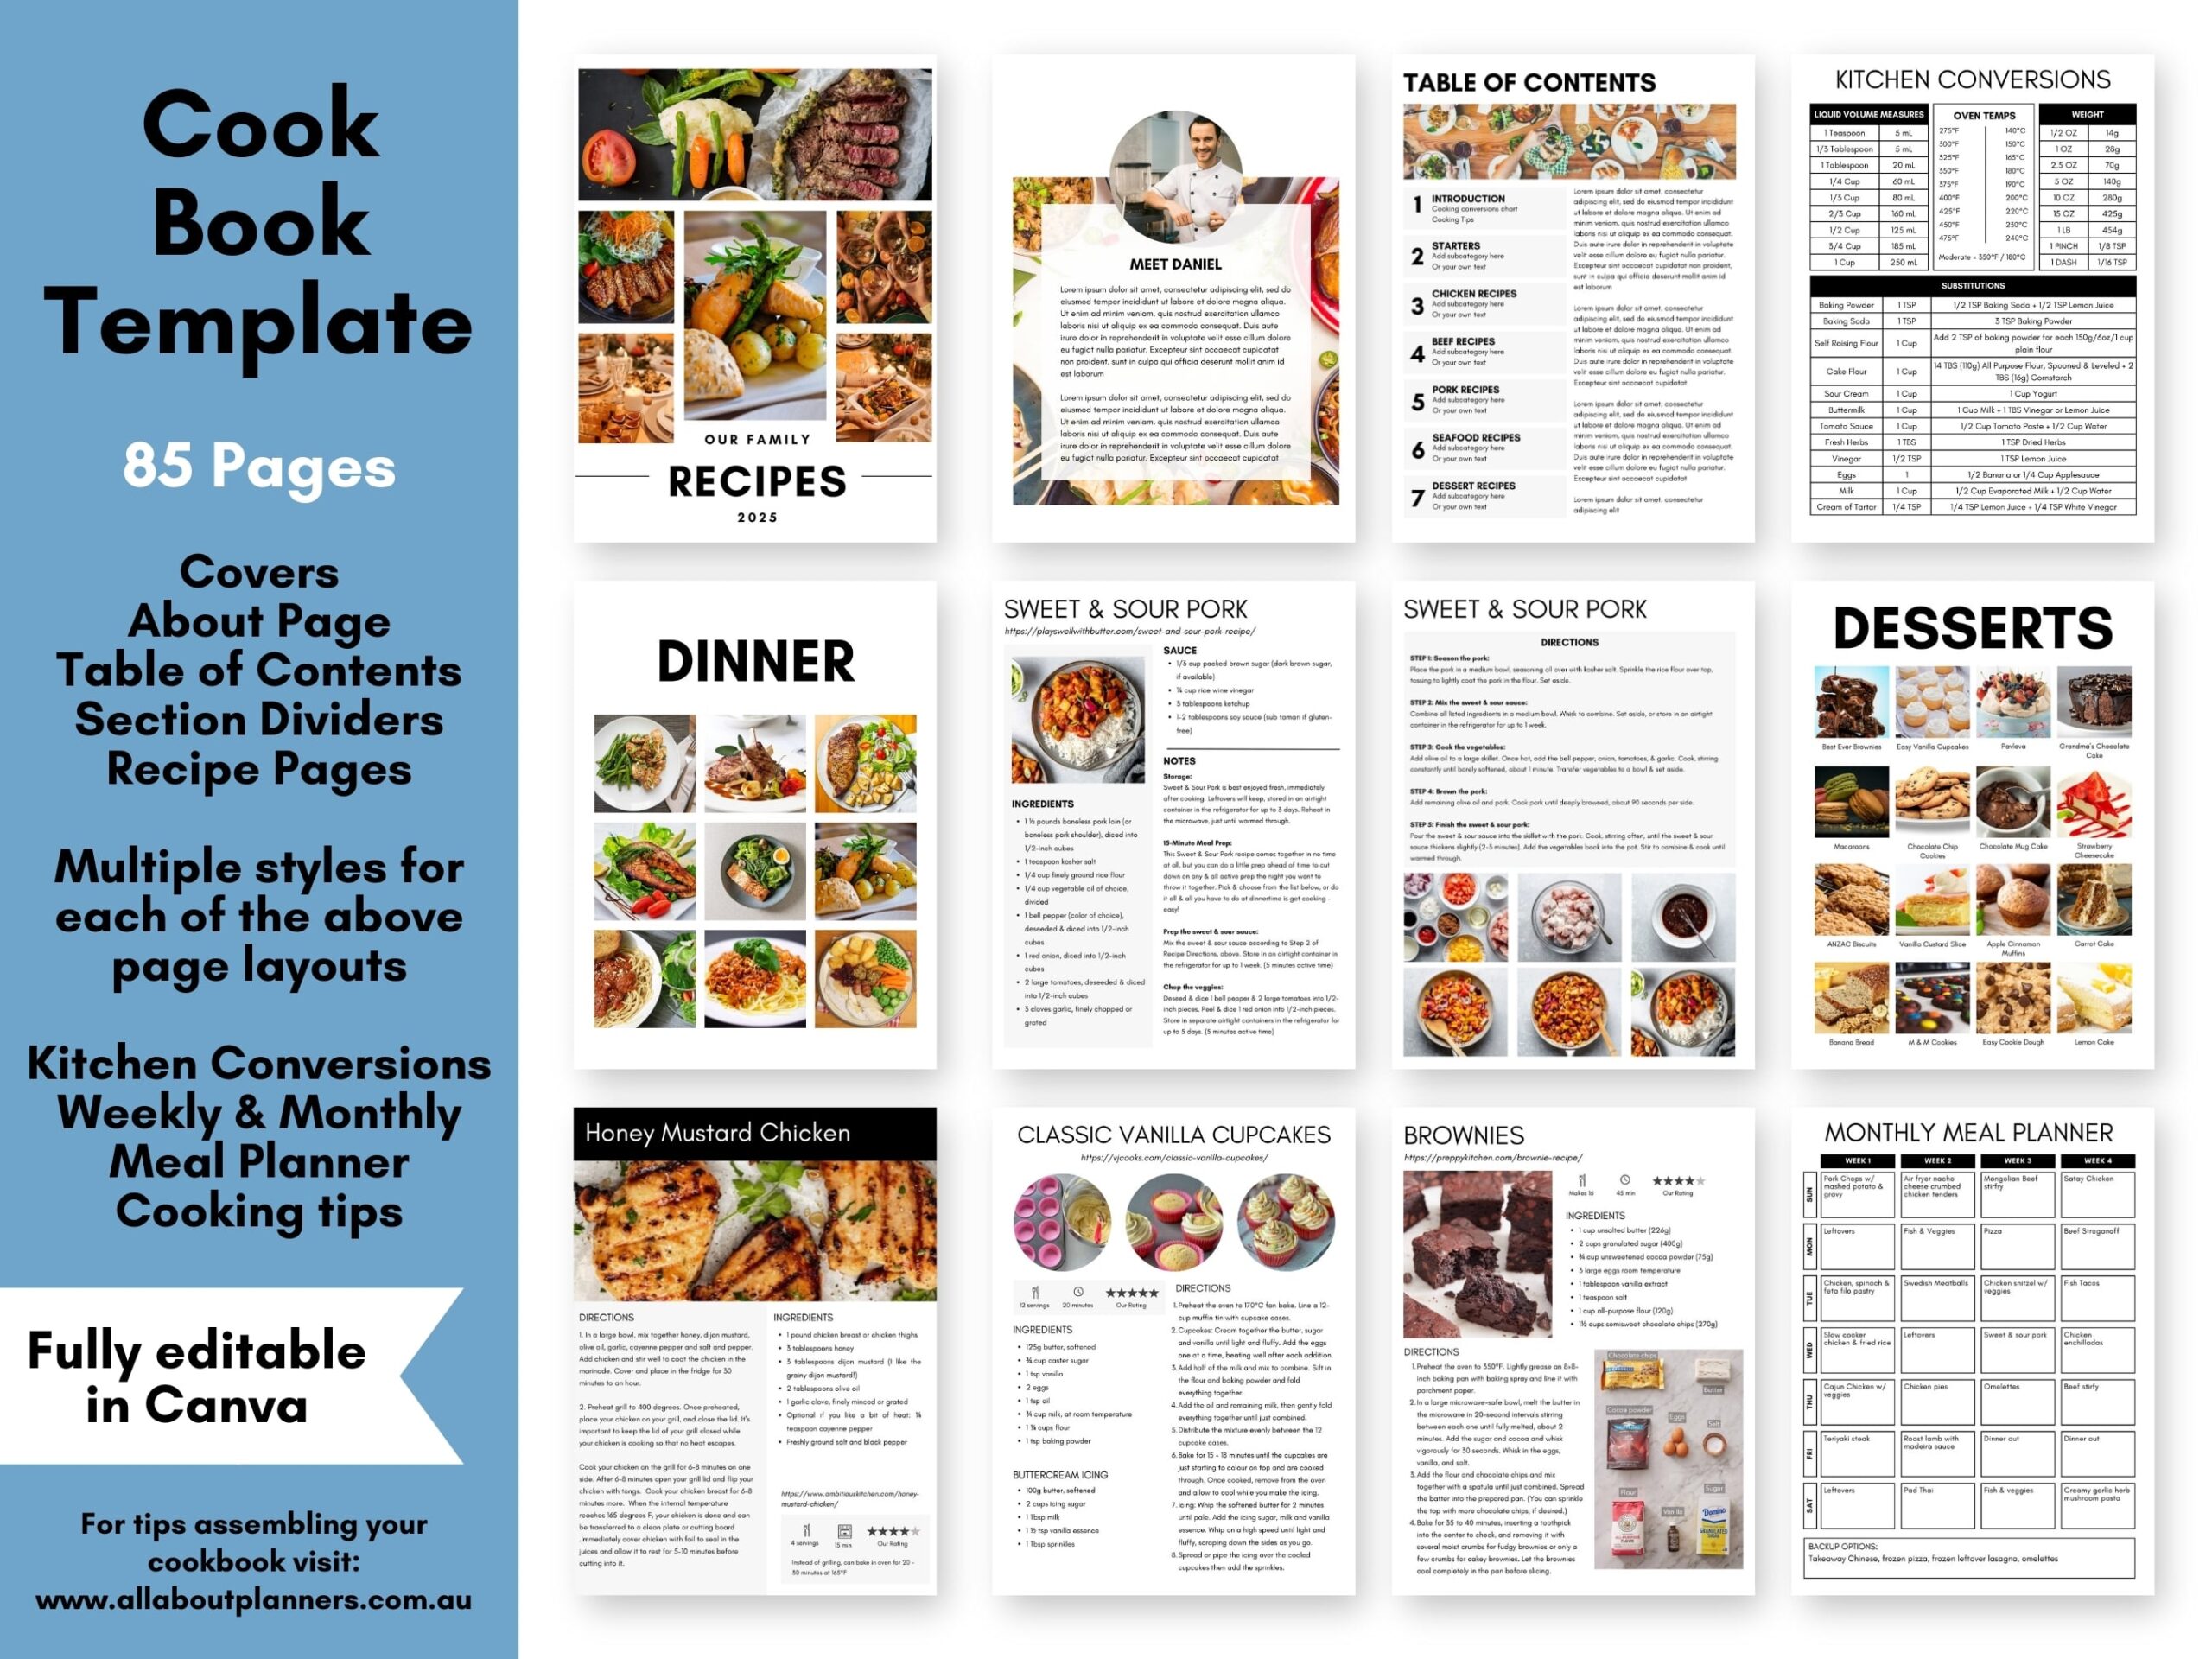
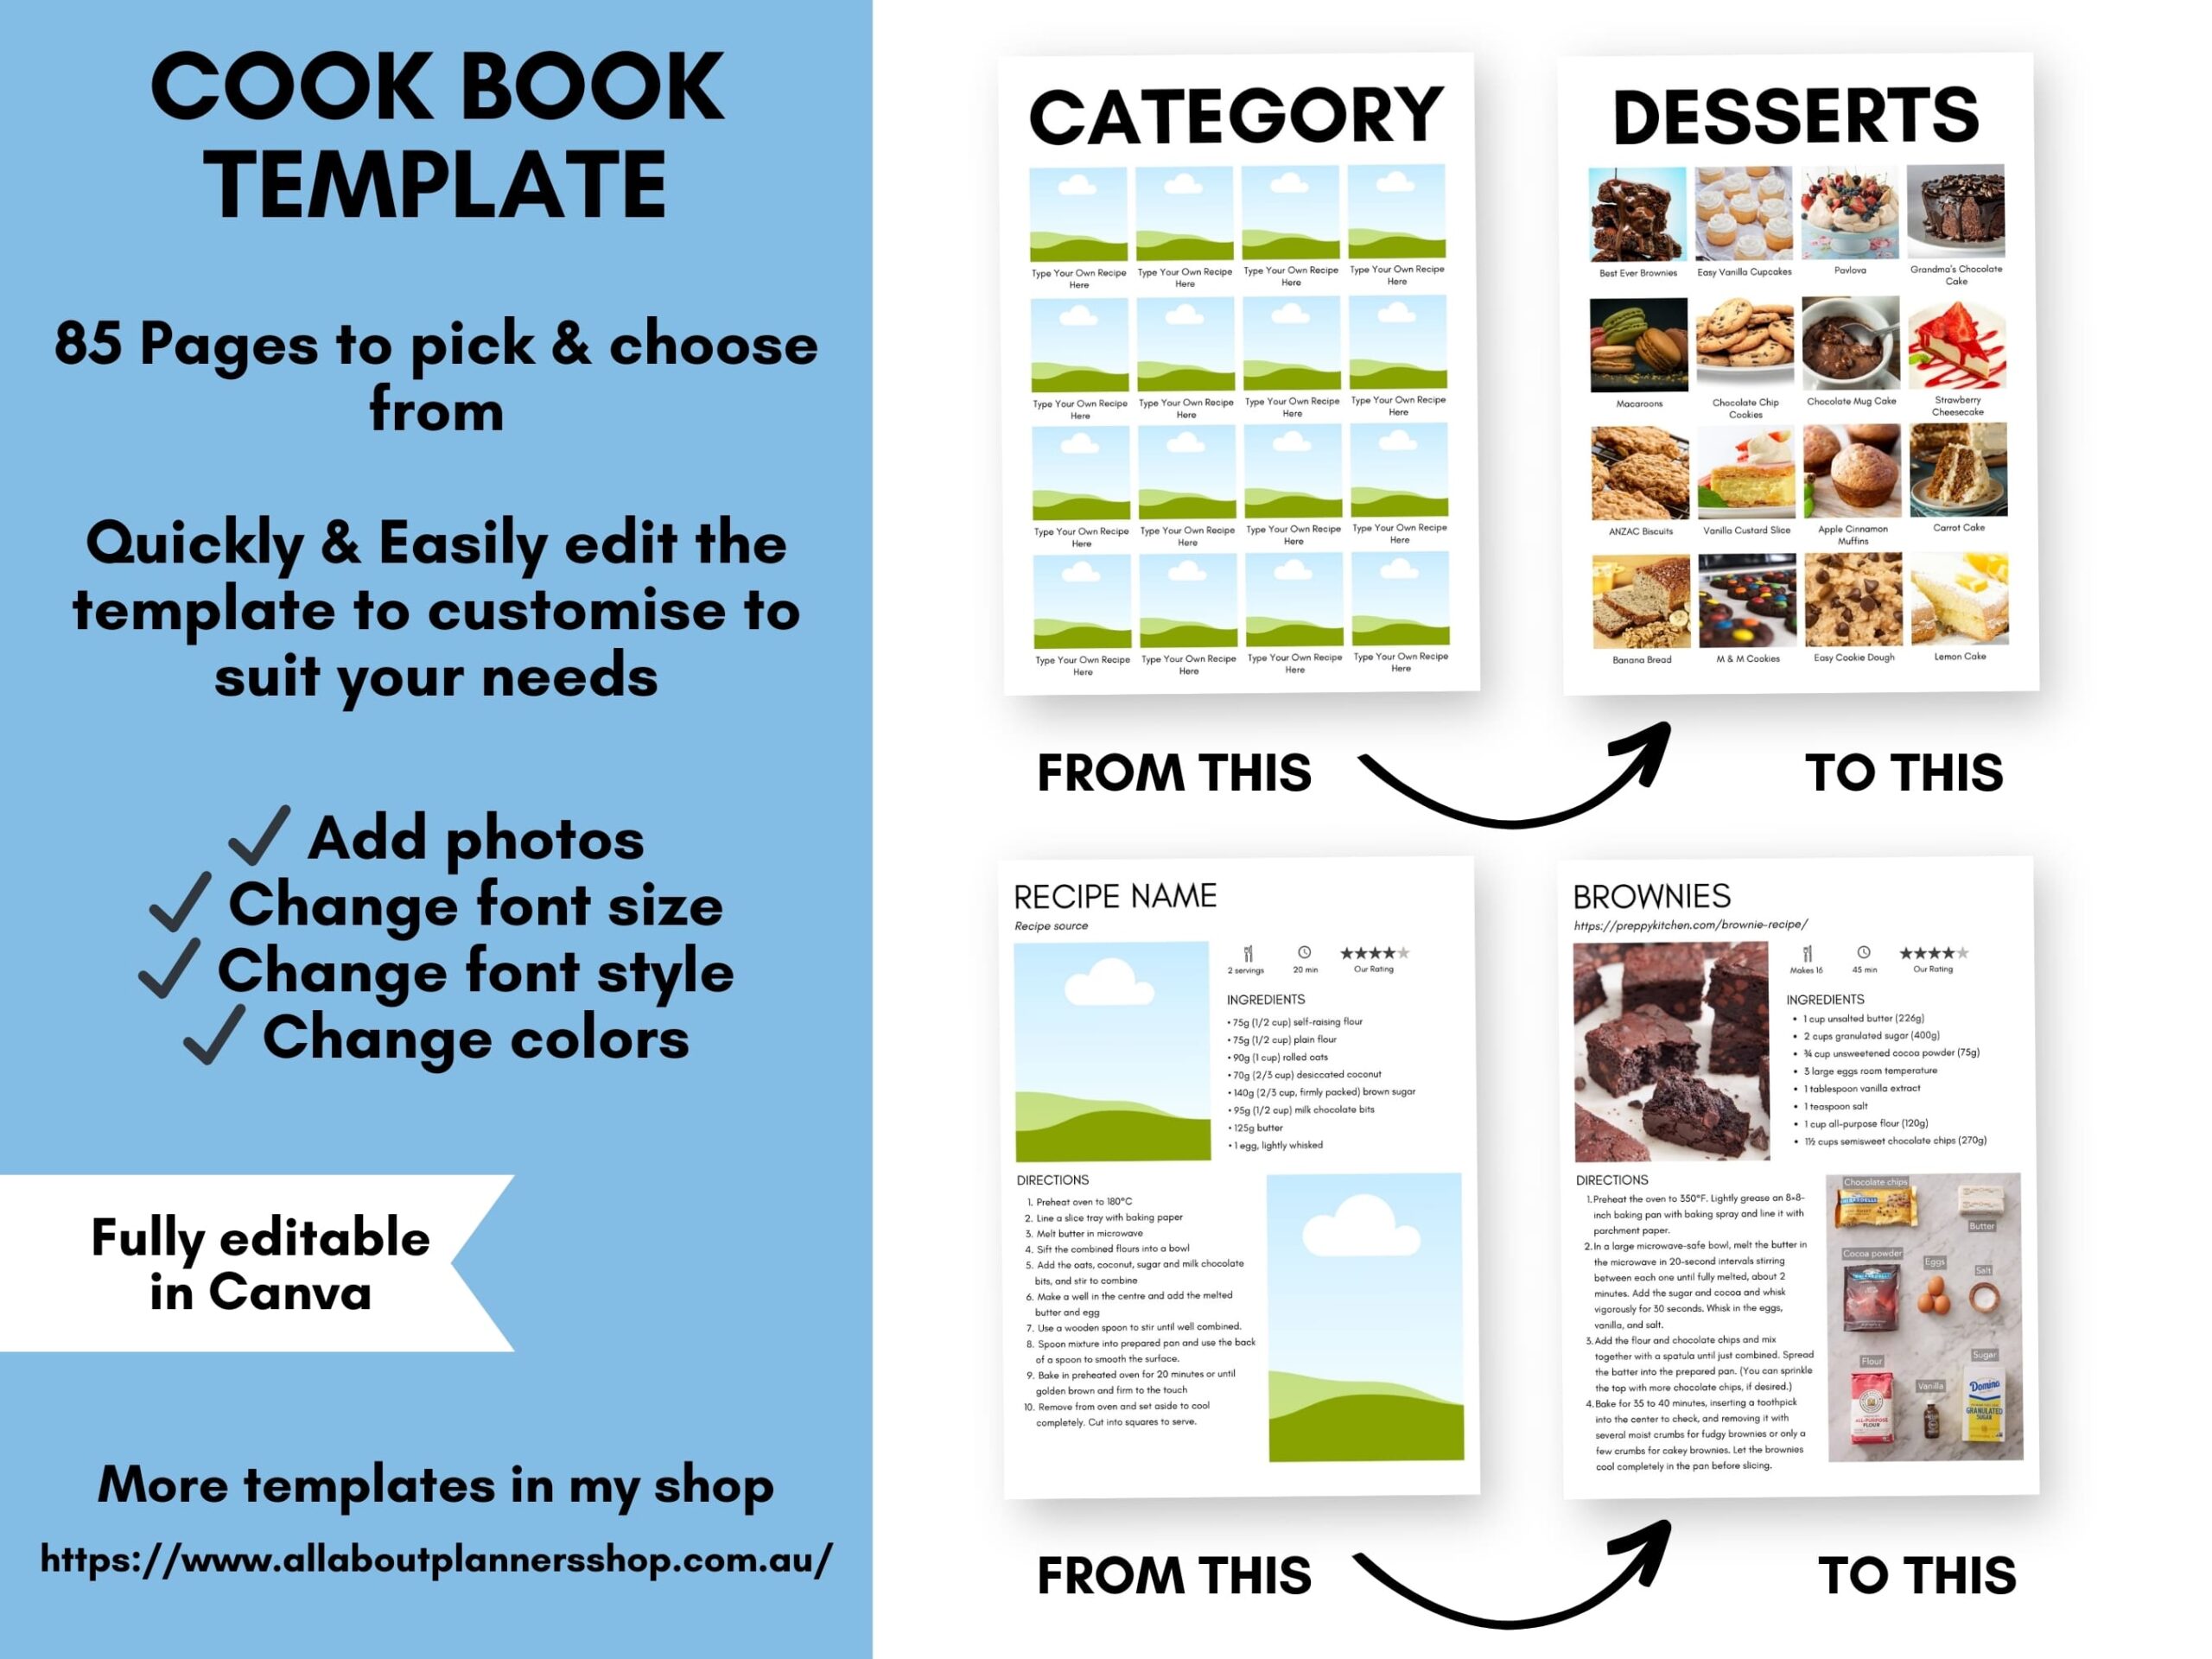
This is the template I came up with:
Why make your own cookbook?
Another reason you might want to make your own recipe book is because I find a lot of websites write out the recipe instructions in long, drawn out sentences (which I absolutely cannot stand). I like recipes to have each step broken out in a clear and easy to read way, like this:
- Sift flour
- Stir in sugar, chocolate chips
- Melt butter and add to dry mixture
- Etc.
When recipes are written in long sentences it’s easy to lose your place so you have to re-read all the instructions to find out what that next ingredient was, then you’re also likely to forget to put in ingredients (as I have done before and it’s ruined the recipe).
The font is also small and the font styles sometimes hard to read when printing directly from a website. The photos (if there are any) are also typically quite small.
Here is a video where I go through how to use the cookbook template in Canva
To enlarge the screen of the video, click the square icon in the bottom right hand corner of the video (it will say ‘full screen’ when you hover your mouse over the icon).

Subscribe to my YouTube channel for more graphic design tutorials & planner reviews
Things to consider when making your cookbook
So if you’re ready to get started making your cookbook, here are some things to consider:
- What pages will you include?
- How will you order the pages?
- How are you going to group the recipes?
- What format are you going to use the cookbook? (printed, digital?)
Page order of your cookbook
I chose to order the pages of my cookbook like this:
- Cover page
- About the author (added a photo of my grandma, photo of the old cookbooks and some commentary about where the majority of the recipes came from)
- Table of contents
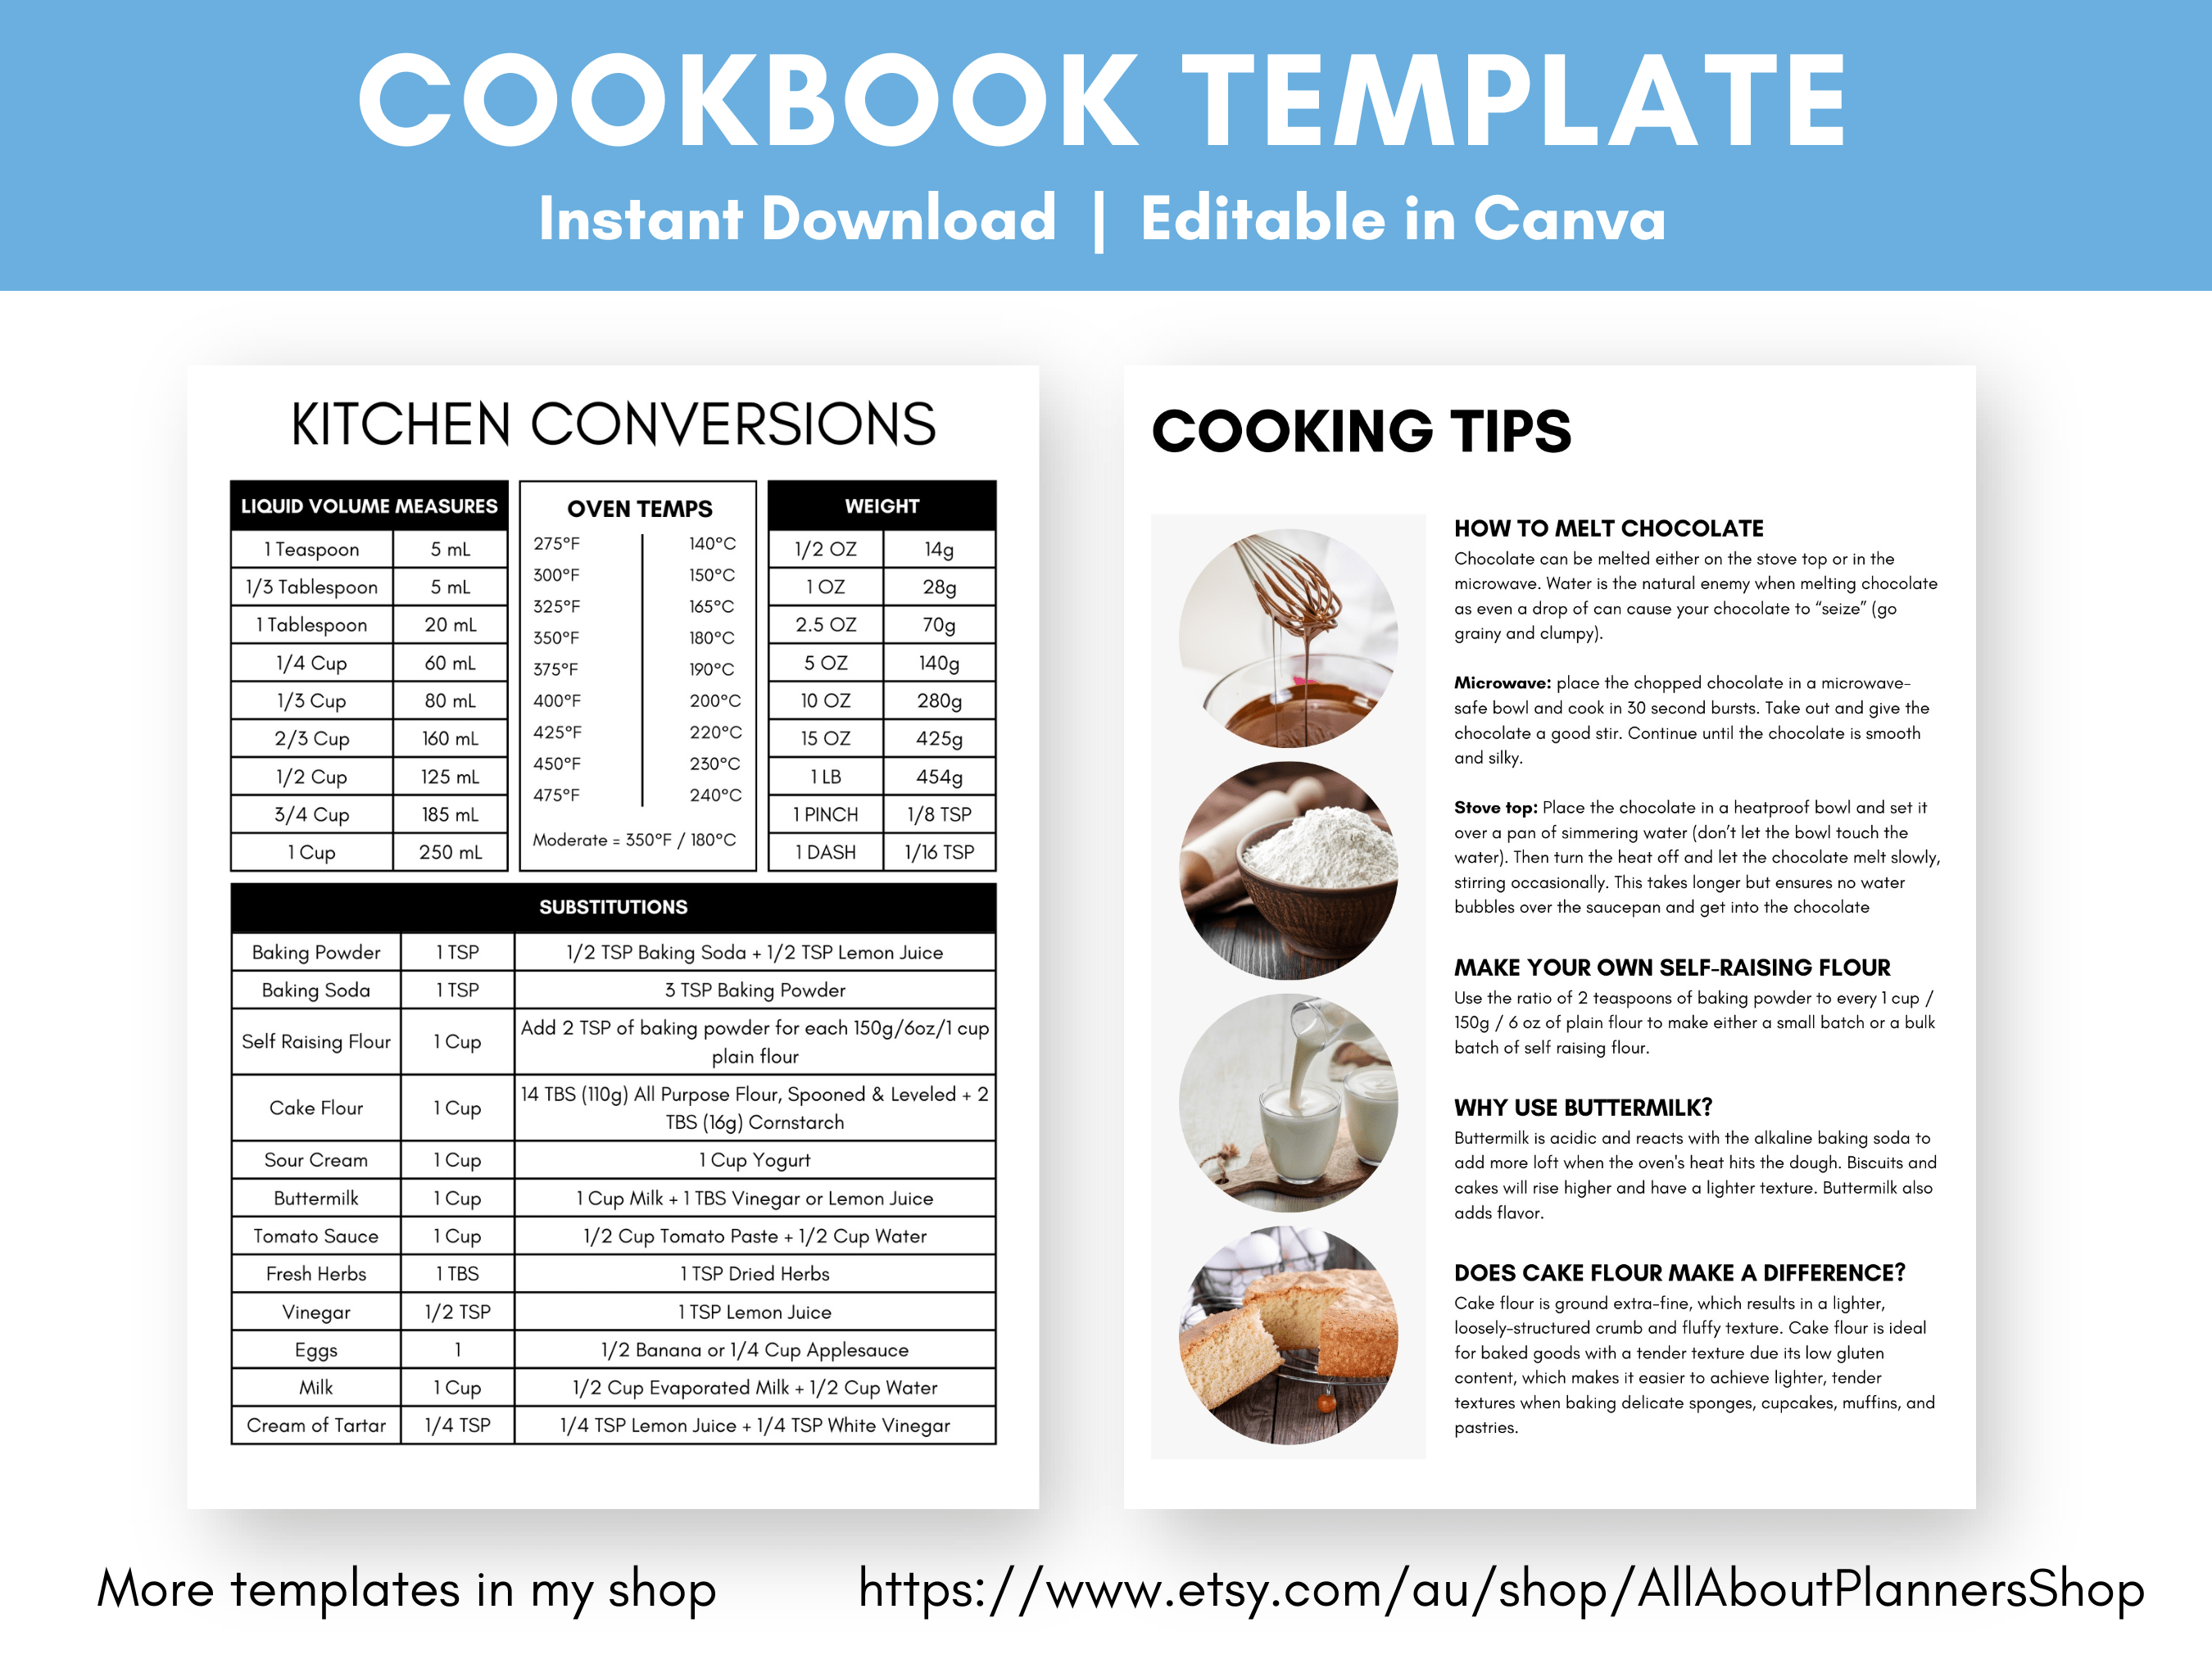
- Kitchen conversions
- Cooking tips
- Recipe category section divider
- Recipe Cards
- Another recipe category section divider
- More recipe cards
- Etc.
- Back cover
Arranging the recipes in cookbook
Some ideas for organizing all of your recipes:
- Time it takes to cook (e.g. 20 minute, recipes, 30 minute recipes, 45 minutes recipes, 1hr + recipes)
- Key ingredient e.g. chicken, beef, pork
- Meal e.g. entree, main course, sides, dessert, cakes, biscuits, slices
- Order the recipes you cook most often at the front of the book (or in their own ‘favorites’ section)
- Keep recipes for people with allergies separate e.g. if you have someone in your family that is gluten intolerant
- Number of calories
- If you have many similar recipes then by type e.g. curry, stir-fry
- Occasion e.g. Christmas
- Alphabetically
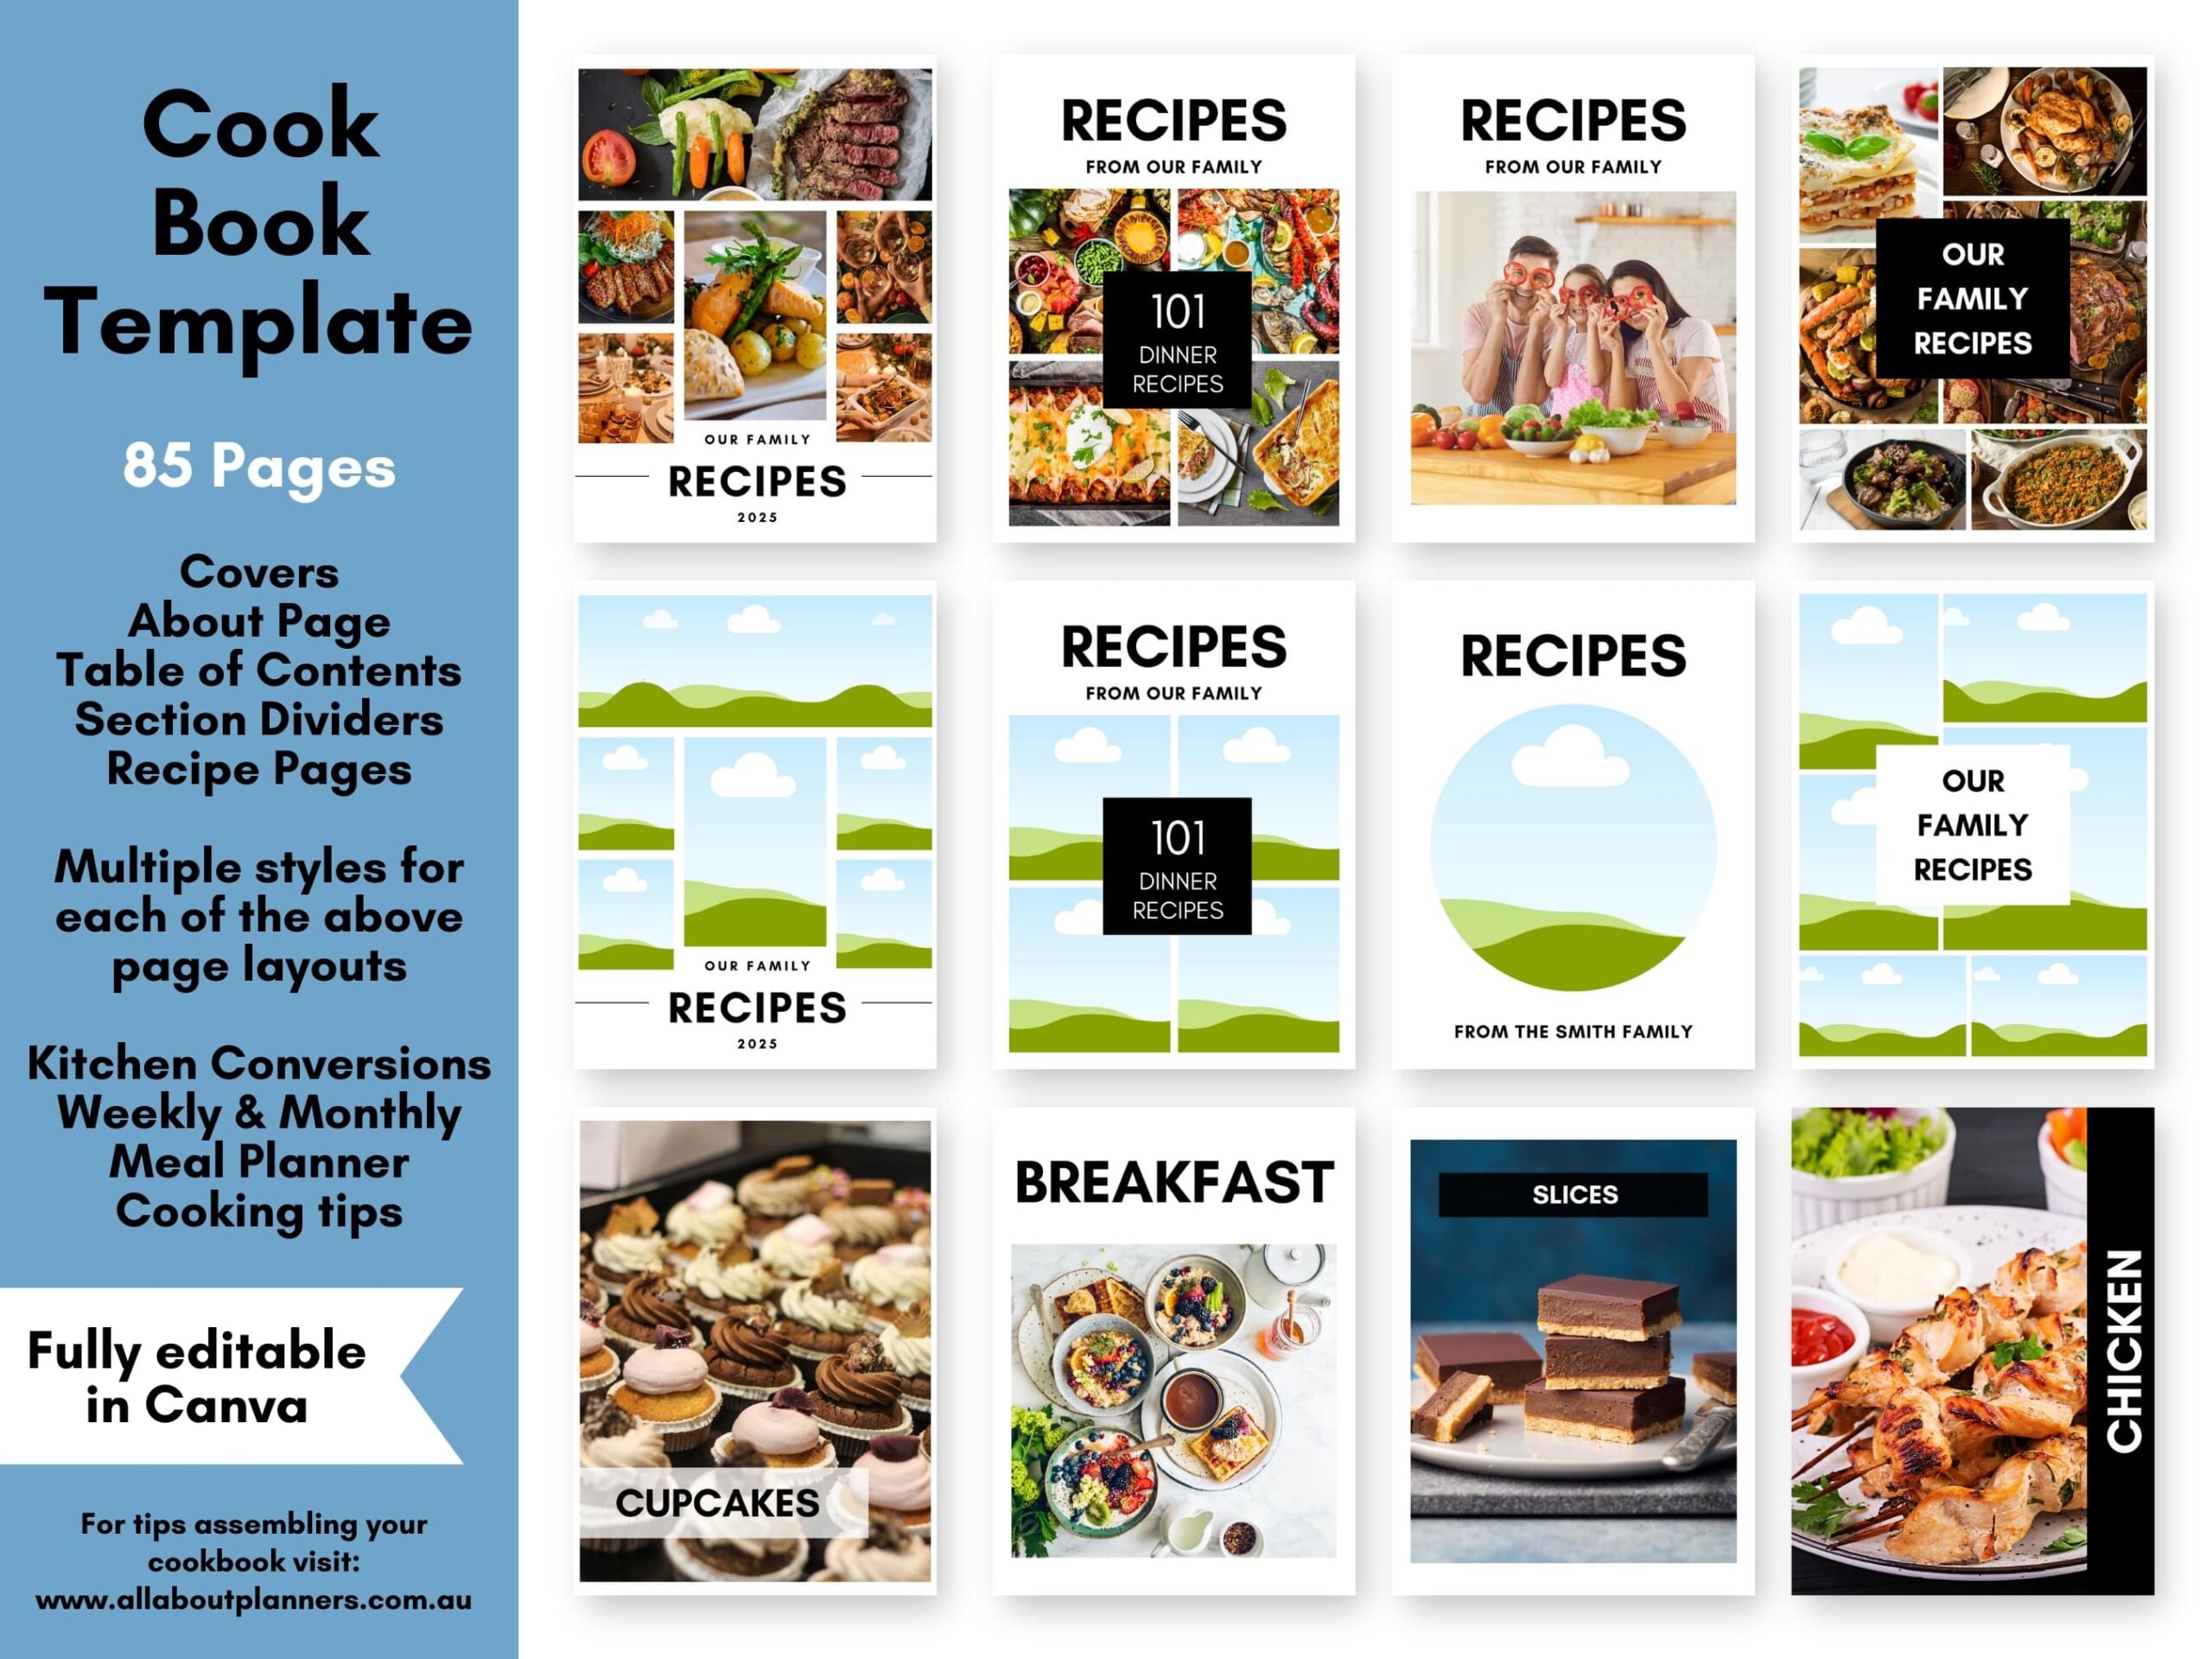
Recipe Categories
If organizing by type of food, some categories you may want to include:
- 15 Minute Meals
- 30 Minute Meals
- 45 Minute Meals
- 60 Minute Meals
- Appetizers
- Main Meals
- Breads
- Breakfast
- Meat
- Poultry
- Seafood
- Beverages
- Soups
- Casseroles
- Pasta
- Pizza
- Biscuits
- Cookies
- Muffins
- Sandwiches
- Desserts
- Cakes
- Snacks
- Christmas
- Birthday
- Slices
- Slow Cooker
- Side Dishes
- Salads
- Special Occasions
- Pies & Tarts
- Spreads
- Vegetables
- Miscellaneous
- Halloween
- Easter
- Chocolate
- Gluten Free
- Healthy Recipes
- Favorite Dinner Recipes
- Low Carb
- Takeout Menus
You may want to color code your recipe categories by using a different font color, adding a rectangle colored strip to the side of the page you’ll see when flicking through the notebook, or you could add a colored circle in one corner of the page.
Recipe Cards
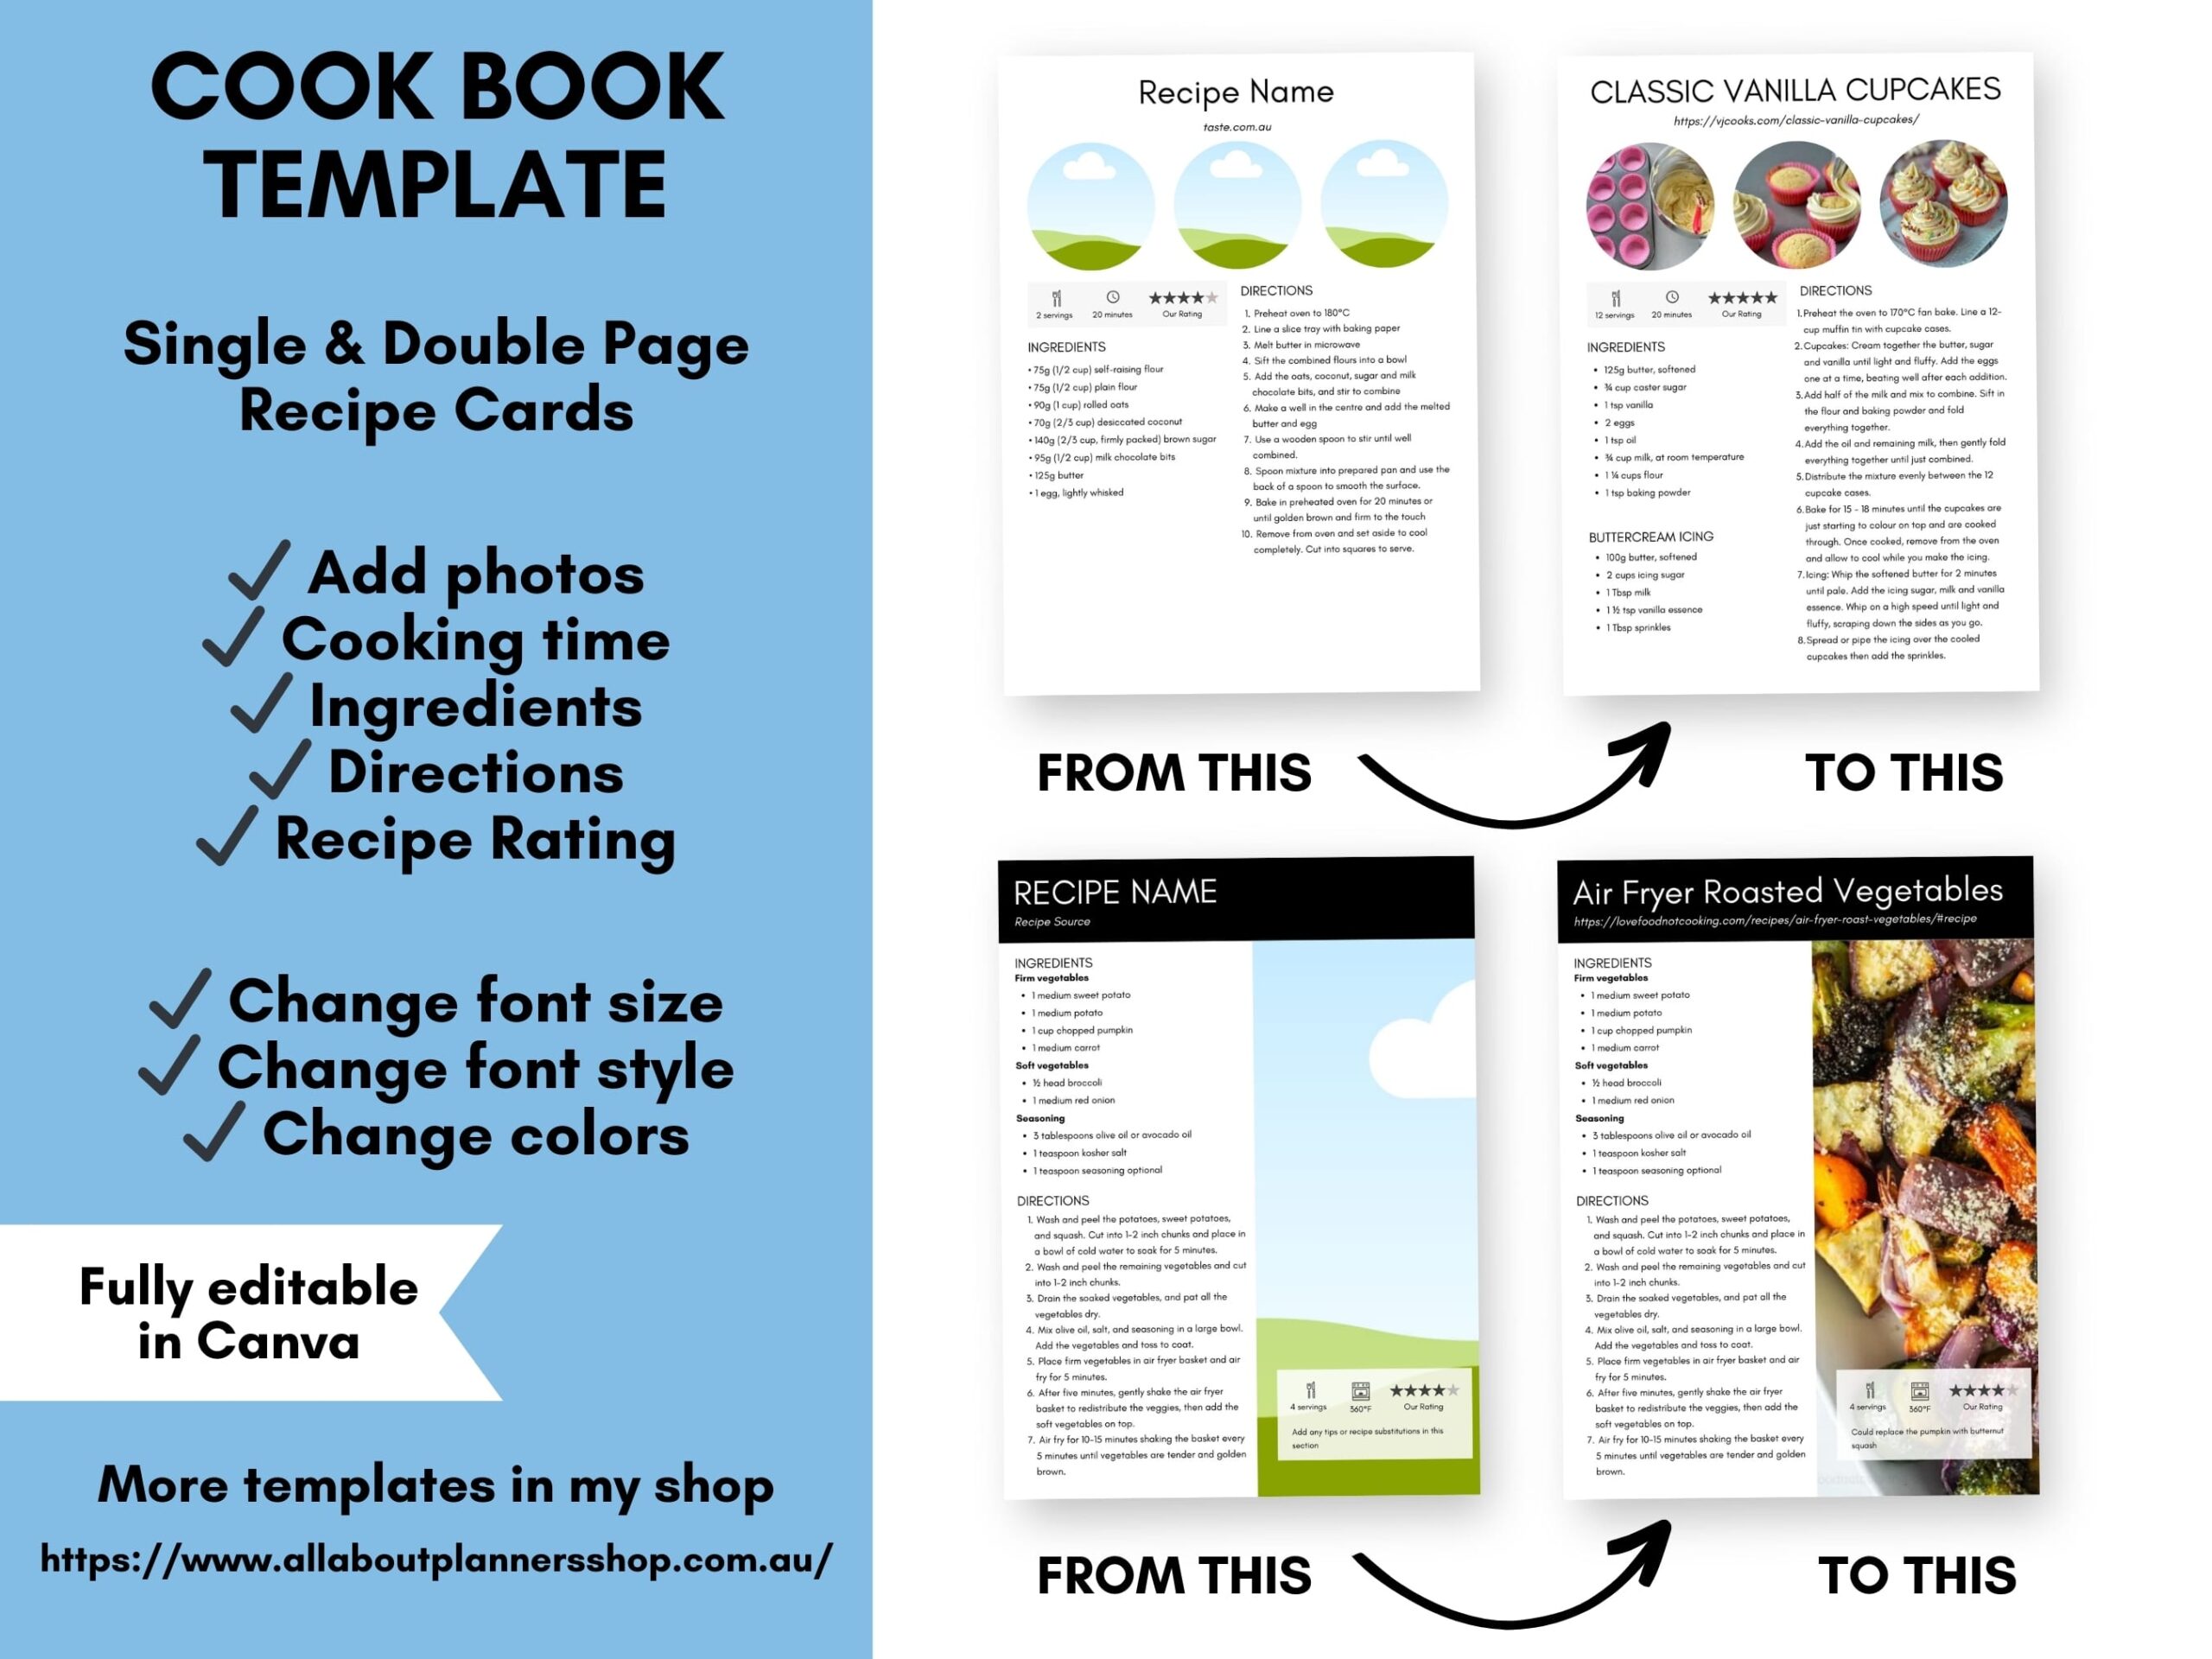
It takes less than 5 minutes to copy a recipe into one of the recipe card templates (refer to the video ^above^ for a tutorial on how to do this). You essentially just copy and paste the info you want from the recipe creator’s website, and replace the sky/cloud/grass image in the Canva template with either your own photo, or a photo from the recipe creator’s website.
I created a variety of recipe cards in my template because from past experience using some of the recipe card printables I’ve made, I get bored using only one recipe card design. Some recipes are short, some are long, some I want to include multiple photos etc. So I made a variety and then pick which template is the most appropriate for the recipe I’m inputting.
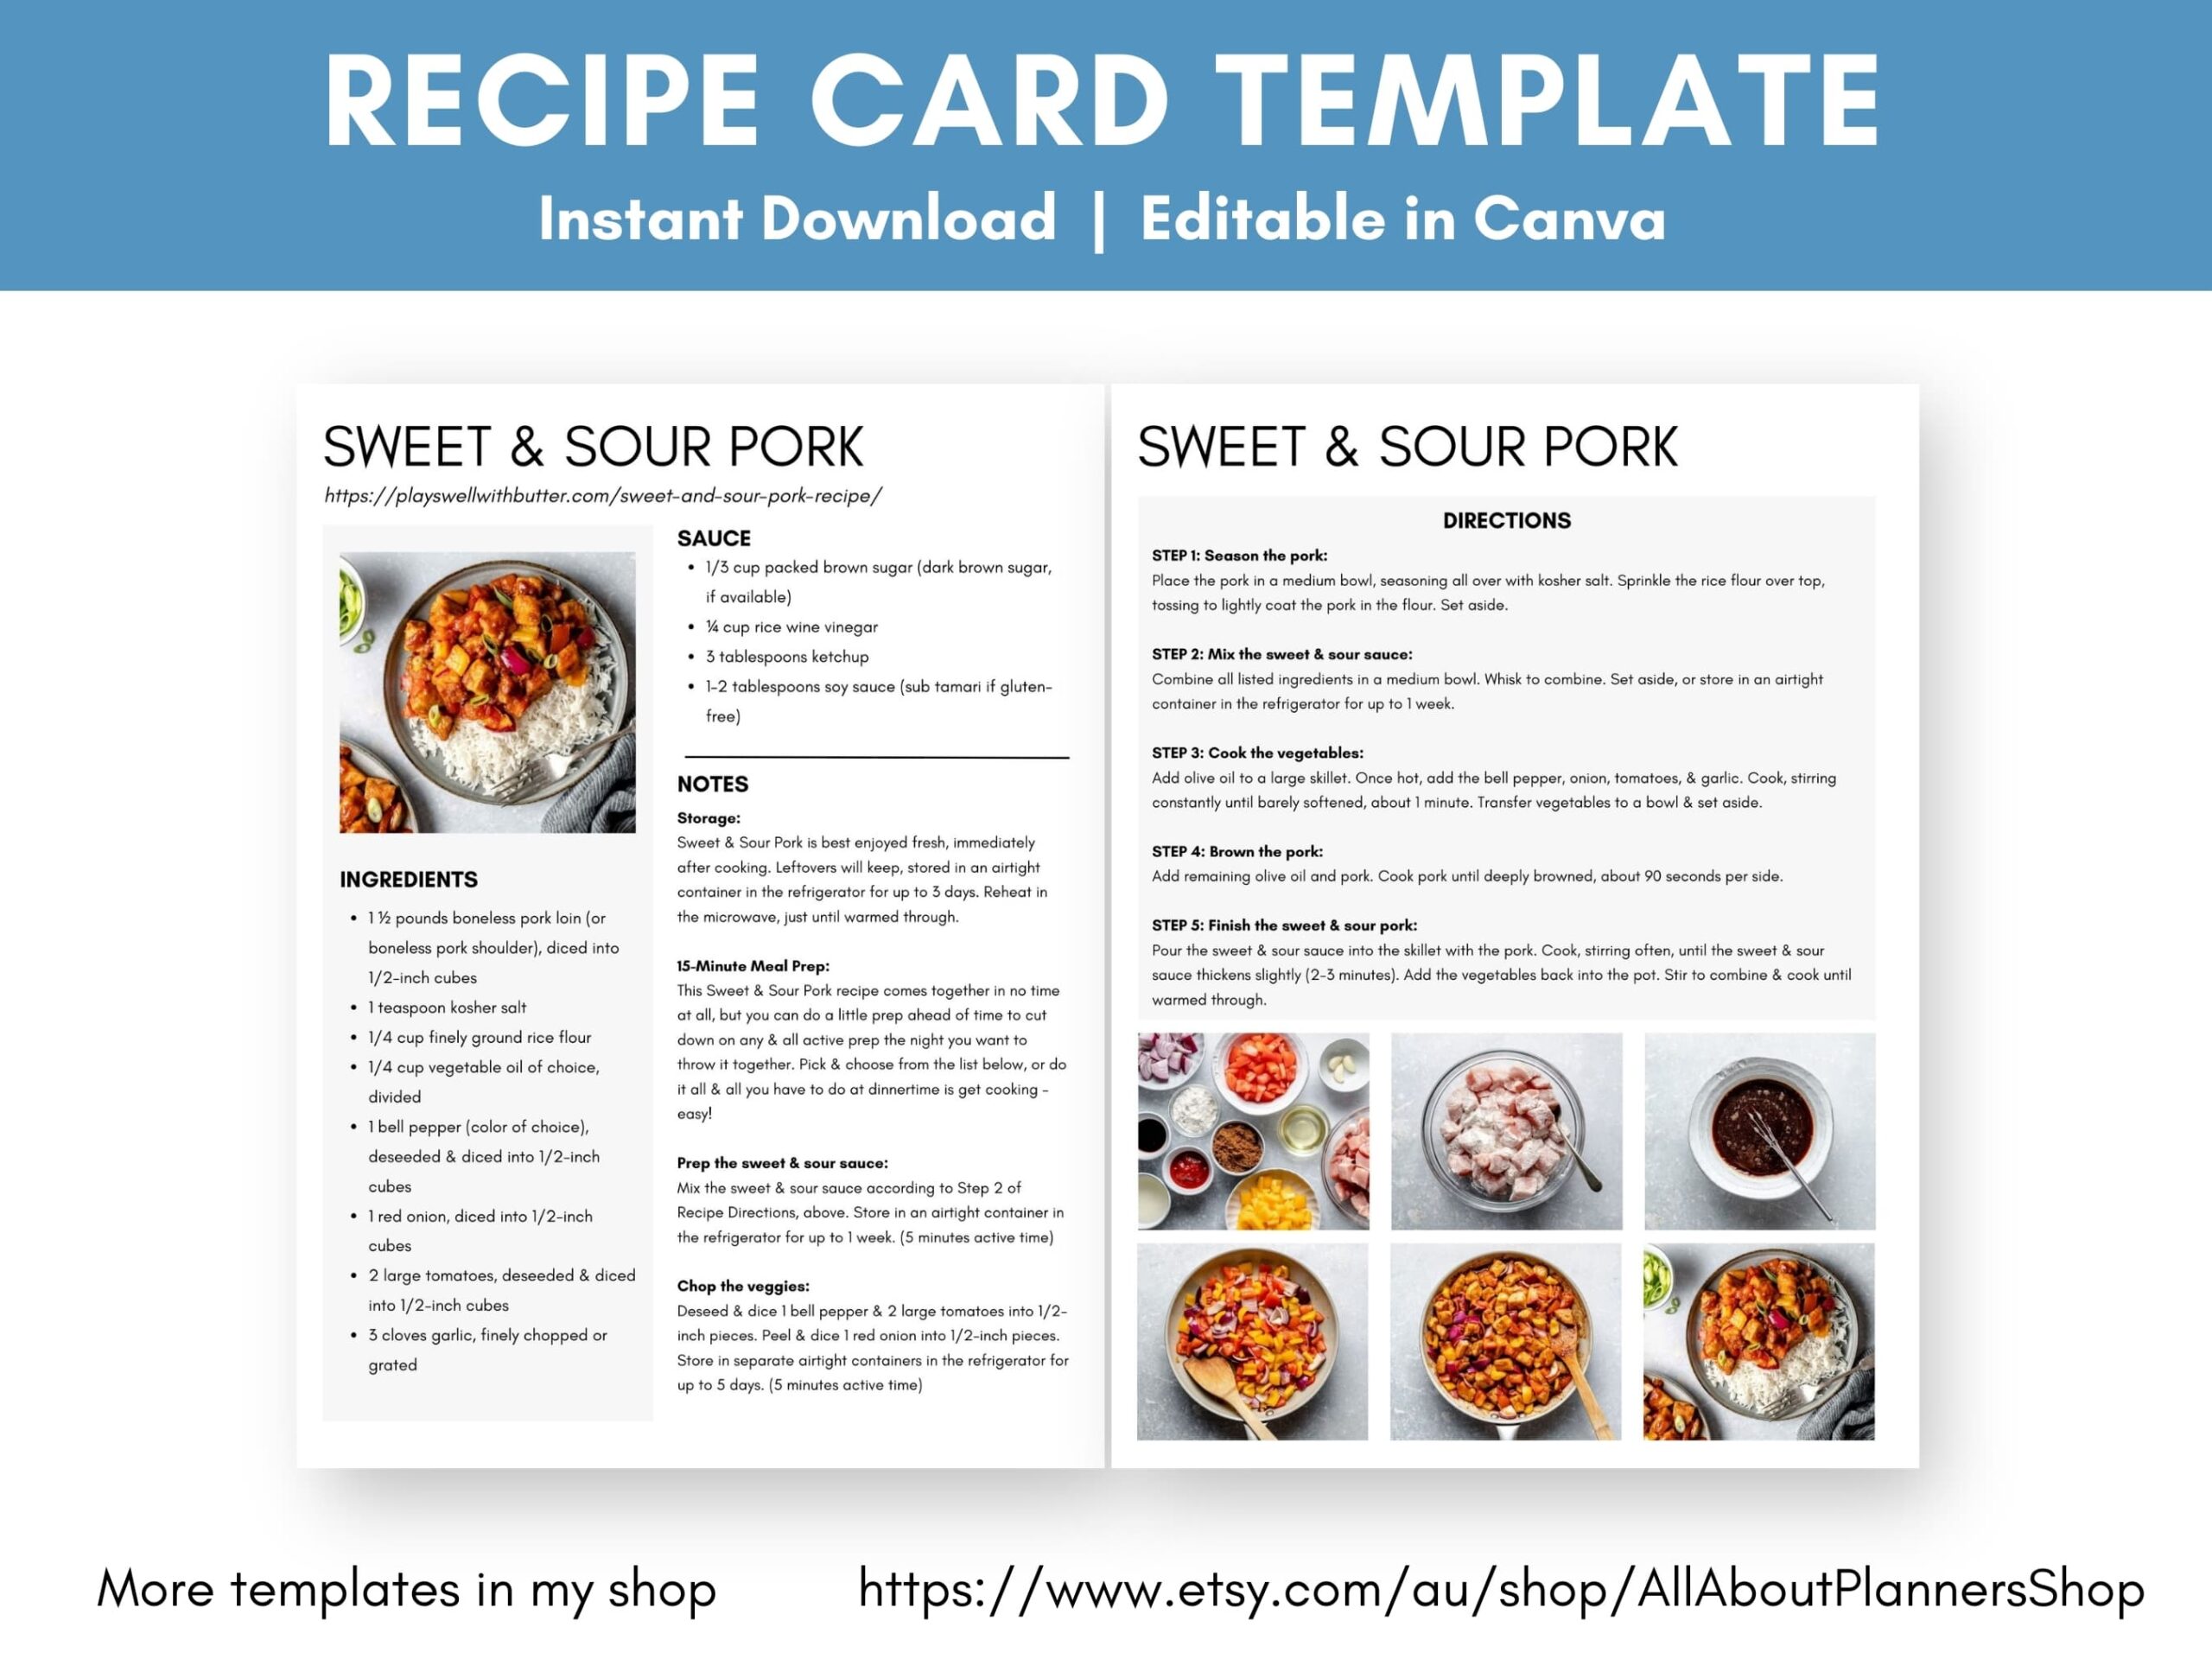
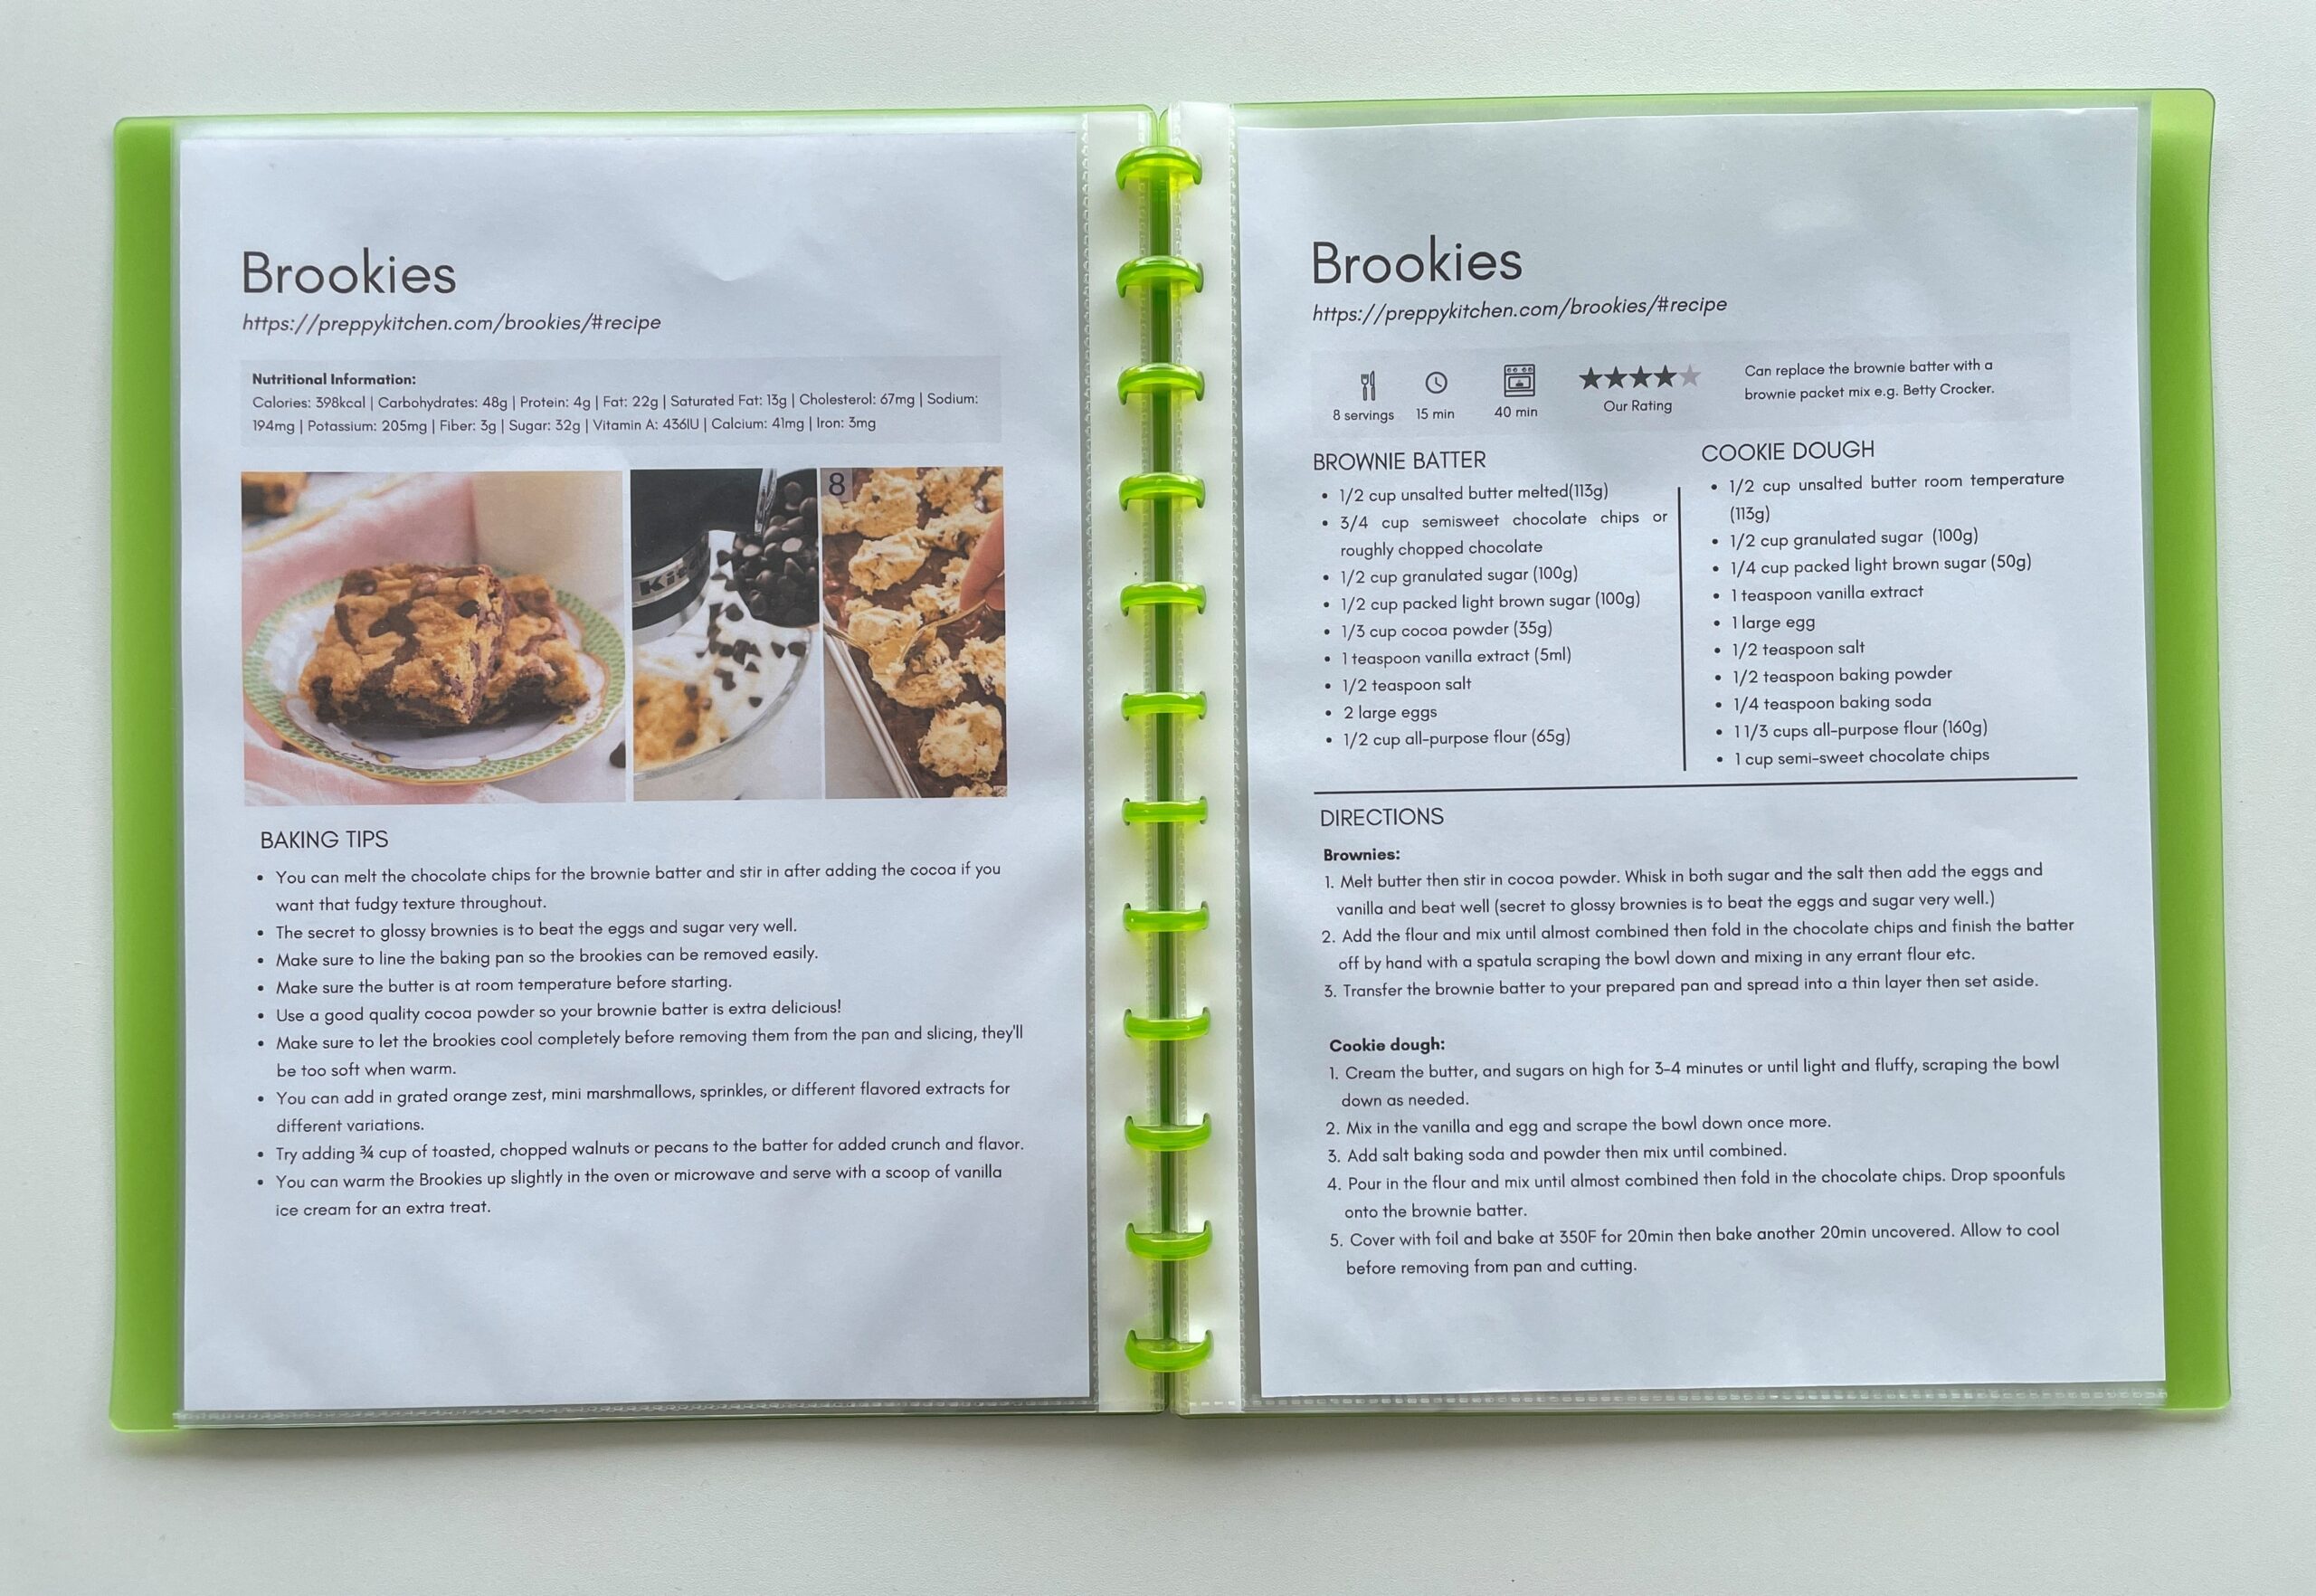
I also made a few templates for a longer recipes such as:
- Dinner recipes where you’re also making the sauce e.g. lasagna, meatballs
- Baking recipes that have multiple elements such as a cake + icing, or brookies
- Complicated recipes that require more room for the steps / directions
- If you want to include photos of each step / directions (good idea for a children’s cookbook)
Other pages you may want to include in your cookbook
- Table of contents
- About the author / about the cookbook page
- Pre-made weekly or monthly meal plans
- Kitchen conversions
- Cooking tips
I bake a lot of American recipes and some of them use buttermilk which isn’t a common ingredient in Australian recipes. So I included a quick recipe for making buttermilk on my cooking tips page. I’ve also had to create my own self-raising flour during the pandemic when there was none on the shelves, and when I’ve miscalculated and run out of it.
Design Considerations
What page size is best?
My cookbook template is 8.5 x 11′ (US letter page size), however you have a few options for resizing:
- Resize in your printer’s menu
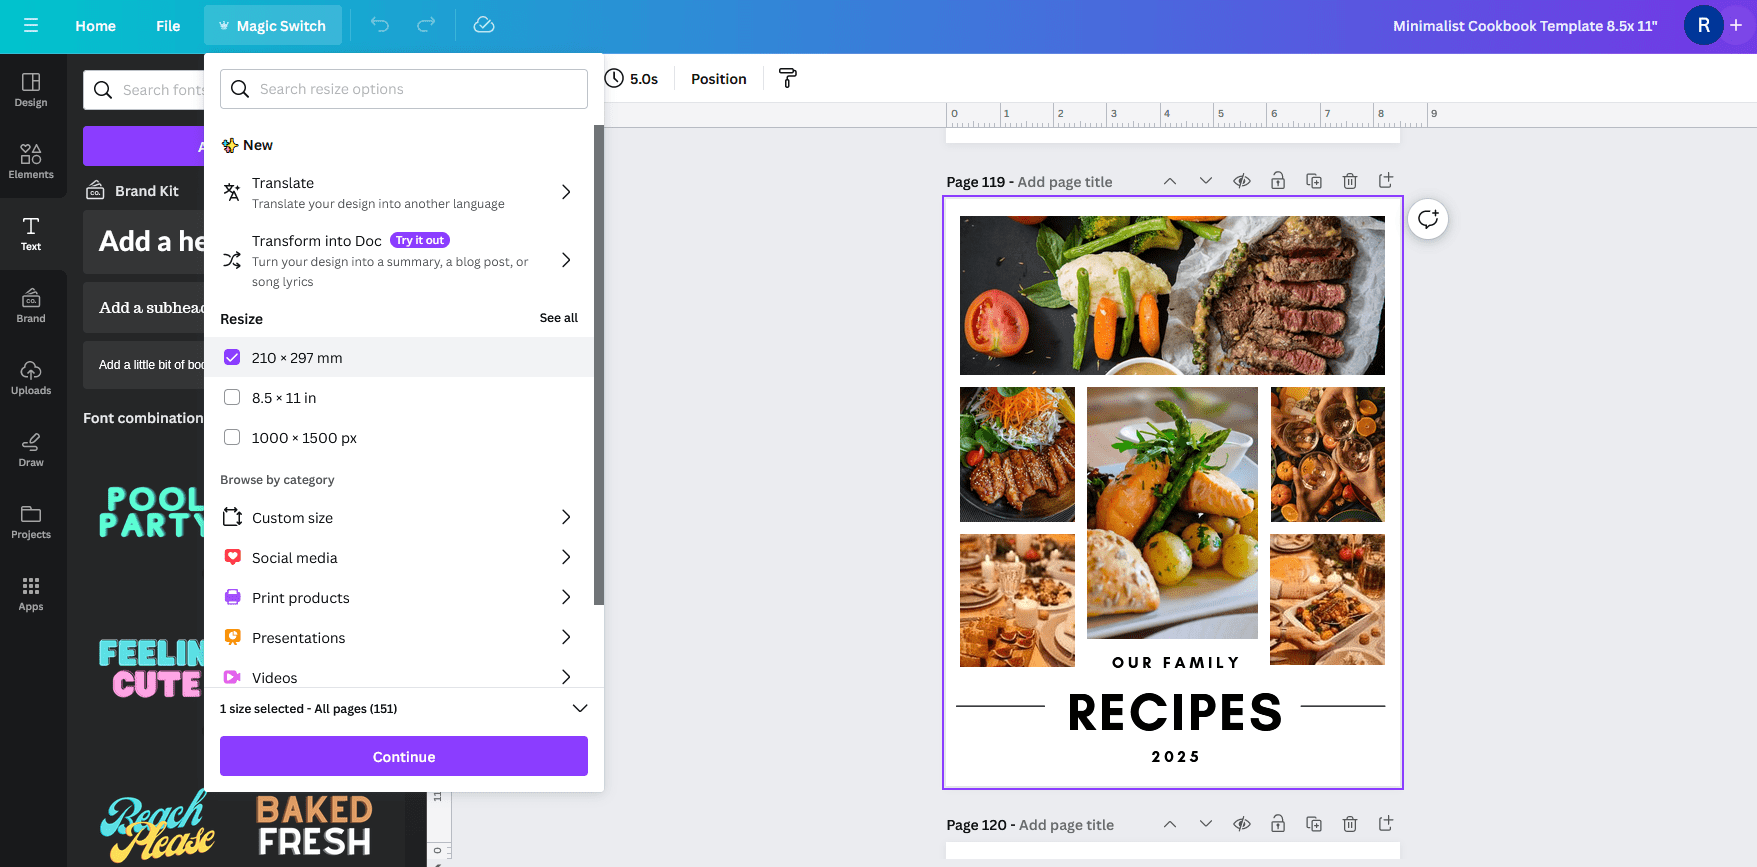
- ‘Magic switch’ tool in Canva
1. Resize in your printer’s menu
This is my preferred method. Your printer can do it automatically so it requires zero effort on your end, other than choosing what page dimensions you want and ticking the ‘fit to page’ button.
Read more: How to print any printable at any page size
Here are the US letter size pages printed at A4 page size. Your printer will add a little bit of extra white space at the top and bottom of the page. There is still space for hole punching in the margins if you would like to store your recipes in a binder or discbound notebook.
2. Resize using the ‘magic switch’ tool in Canva
This is a good start but keep in mind the ‘magic’ is not quite perfect and you’ll still need to do some manual tweaks / resizing / moving elements on the page.
Note: You will need a Canva Pro subscription (paid version of Canva) to use the magic switch tool
What page margins should I allow?
I recommend using minimum 0.4″ (approx. 1cm) page margins to allow space for hole punching. But it depends on what you’re going to do with the pages. If you’re printing at home and slipping into clear plastic sheet protectors then it doesn’t matter.
Your printer (mine does it by default) will add a thin white border on all sides of the page. However you can remove this by choosing the ‘borderless’ (sometimes also called ‘no bleed’) setting in your printer’s menu.
What file format should the cookbook be?
After you have made the cookbook in Canva, download in PDF file format. You can print the PDF and add the pages to a loose leaf folder, ring binder or ARC notebook.
You can also have the file turned into a book using companies like Blurb (which I use for making my travel photobooks). Check the individual companies file requirements. Here are Blurb’s requirements for uploading a PDF.
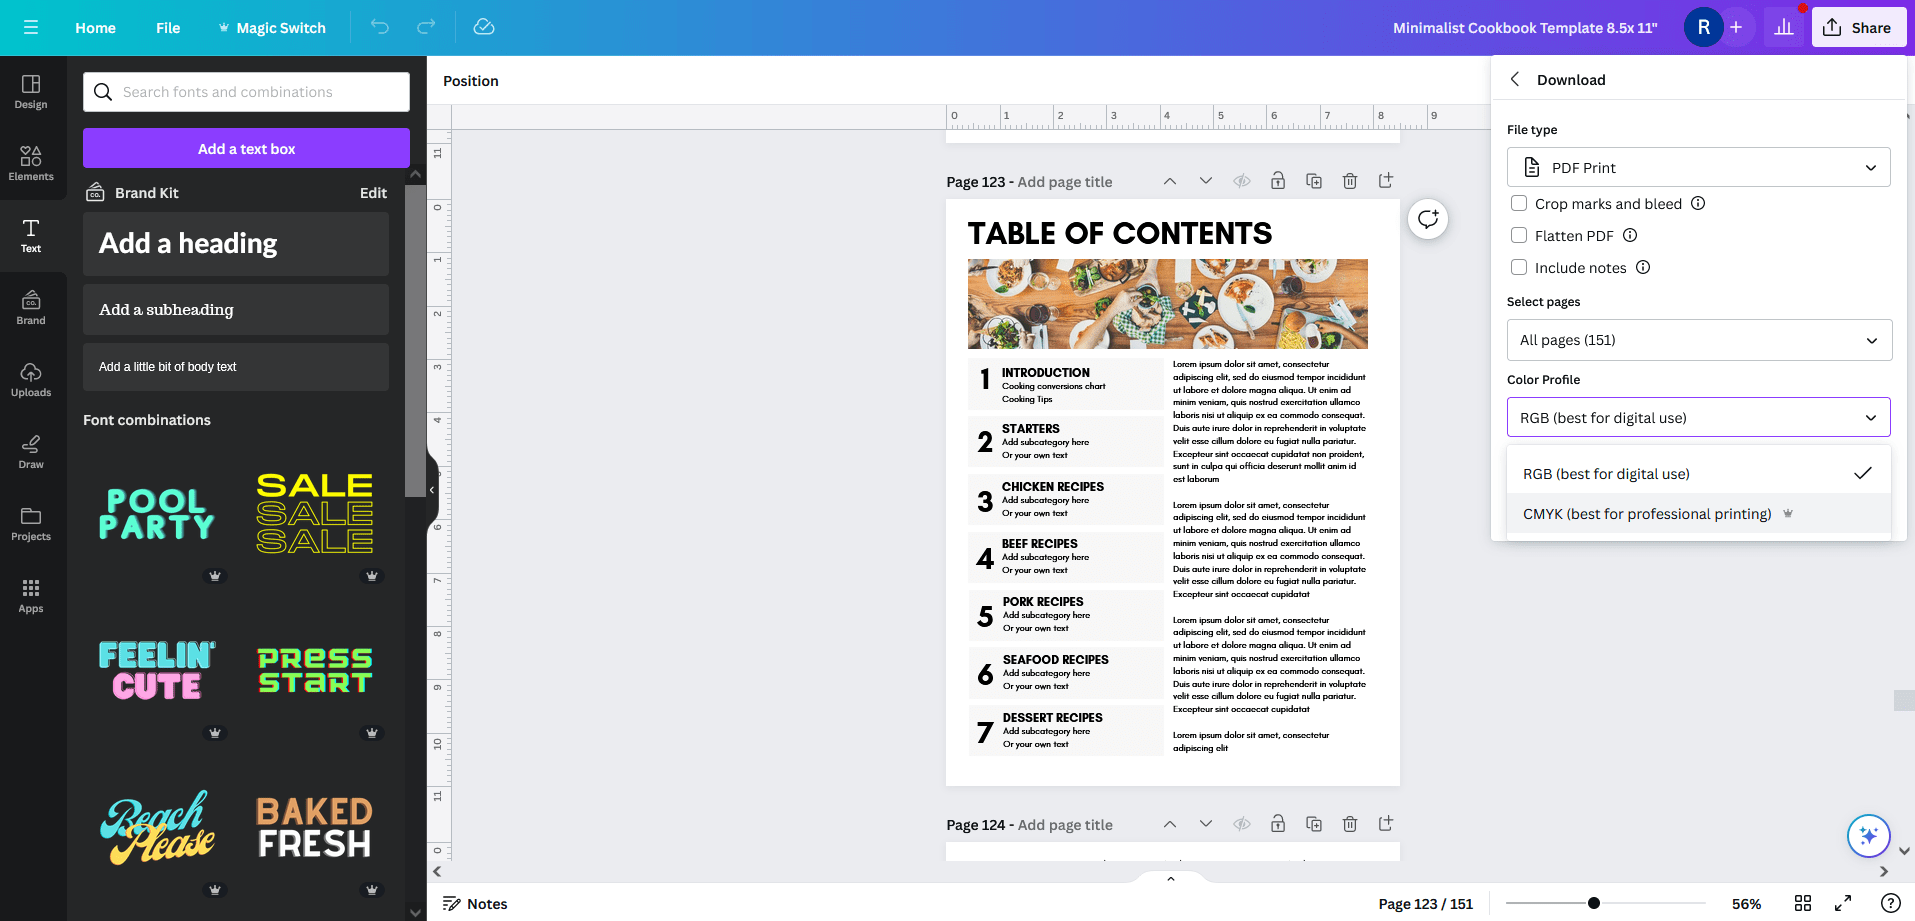
In Canva, click on share > download > PDF Print > RGB
I find RGB format works fine for digital and printing paper copies, you don’t need the CMYK version (which is only available via a Canva pro subscription)
Printing your cookbook
You can do a DIY option (print at home), or have the cookbook professionally printed.
I recommend the DIY at home option because:
- You can add recipes as often as you like
- Rearrange as often as you please
- Print at home, no hassle of downloading the file and taking to a print shop
- No waiting – just print and add to your recipe book straight away
- Remove recipes from your binder/discbound notebook/other if you no longer make them
- Cheap
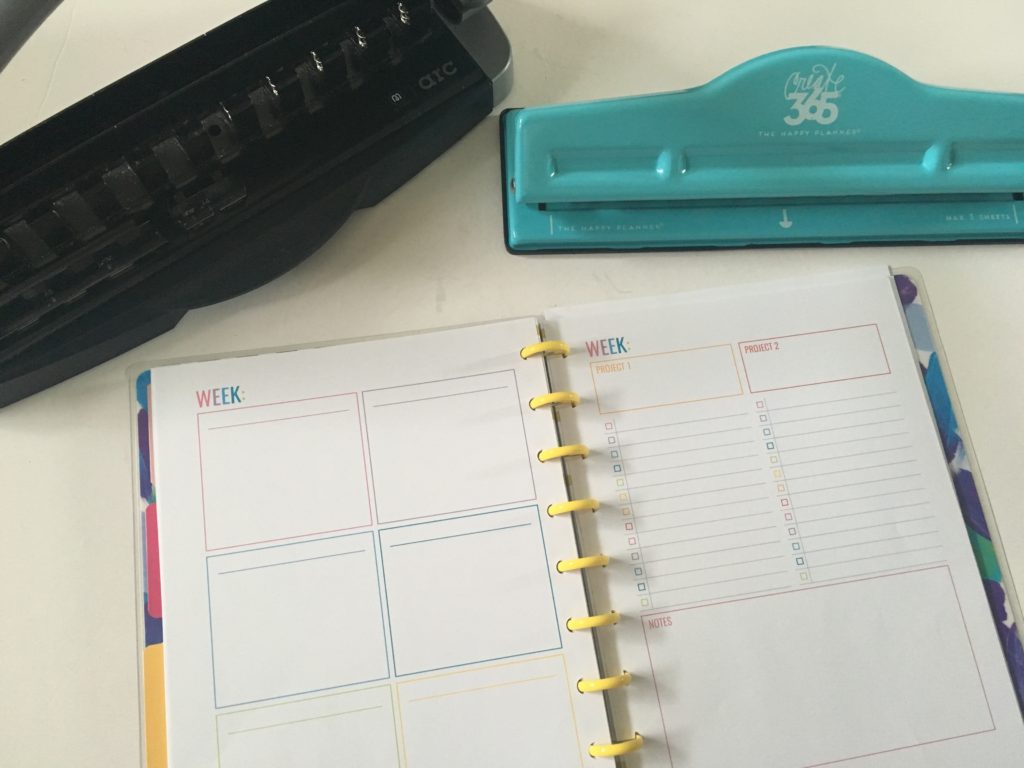
- Minimal assembly required – just print and punch the pages or slip them into a folder. Most punches will let you punch multiple pages at a time too
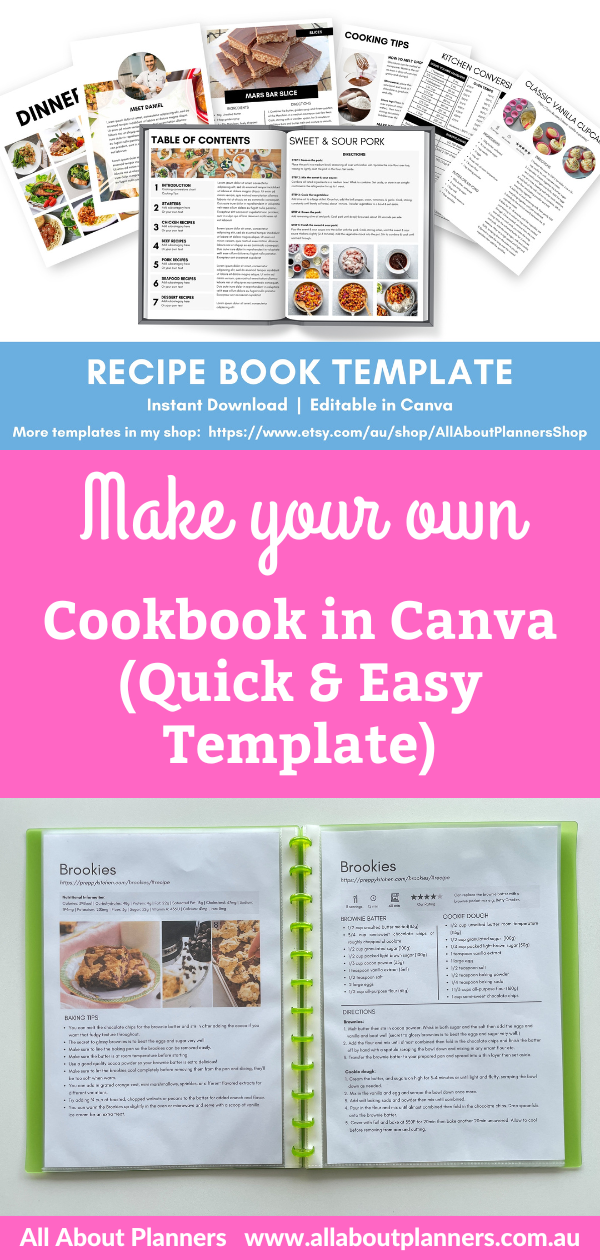
If you’re printing at home you can organize the recipes in:
- A binder (I recommend letter size binders rather than half size (8.5 x 5.5″) so you can print recipes at a size big enough to read)
- A discbound notebook such as the ARC, Happy Planner, Levenger etc.
Are you messy in the kitchen? I am! I use plastic page protectors to protect my recipe pages. You could also laminate your recipe pages. If you decide to use the ARC planner system, they also have page protectors (you will need to purchase the ones especially made to suit the binder rings).
Where to find binders:
This list contains affiliate links. If you click one of these links and make a purchase I’ll make a small commission in exchange for referring you (at no extra cost to you).
- Amazon
- Officeworks (Australia only)
- Staples
- Office Depot/Office Max
- For something custom, you could try a company like Company Folders
You want to find the ‘clearview’ binders that will allow you to insert your own printed cover and spine like this one (from Amazon):
How much should I spend getting a cookbook printed?
If you choose to go the professional route, then just know it might cost more than the DIY option.
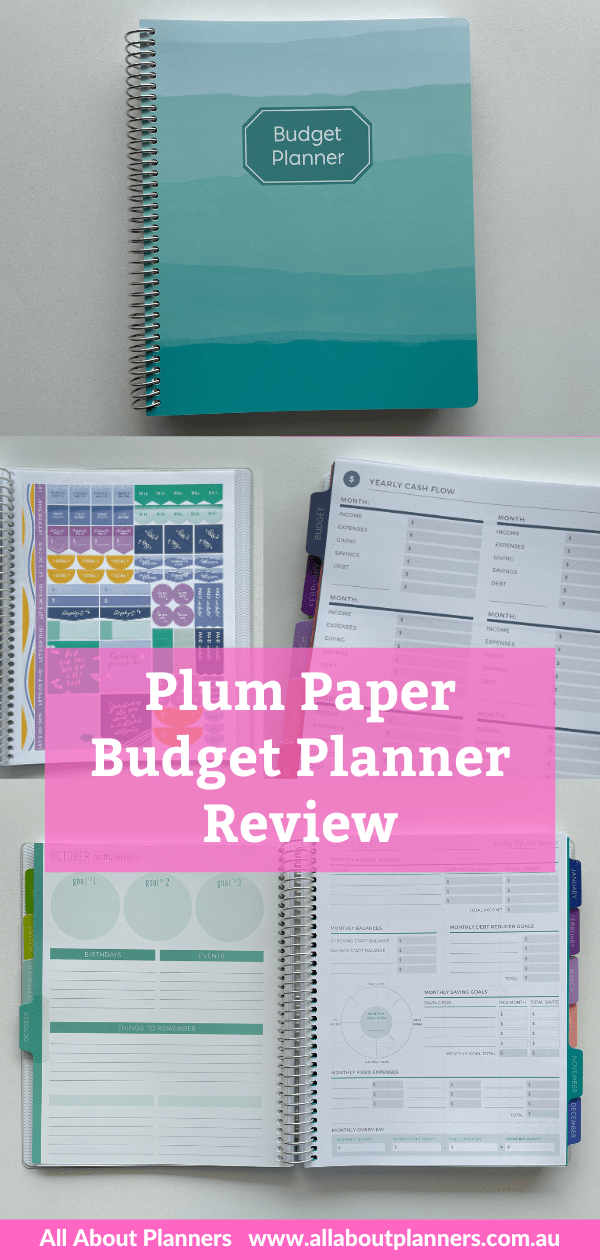
I did a comparison of a printed versus DIY planner in this post. The same considerations would apply for making a cookbook.
A printed cookbook via Blurb or a similar company would likely start around the $80 – $100 mark (plus shipping). Make sure you look for a lay flat binding option or choose a large page size. Sometimes sewn bound books don’t want to lay flat which is very annoying when cooking!
Tip: If using a company like Blurb your cookbook will need to have an even number of pages.
What about a digital cookbook?
You can open a PDF file on iPad or tablet. It doesn’t matter if you use RGB or CMYK mode, both will work fine.
Download the PDF from Canva, then save to your device.
How to use my Canva cookbook template
If you’d like to get started making a cookbook with my Canva template, it’s available in my online store and Etsy shop.
How to customise the cookbook template
With my Canva cookbook template you can:
- Add photos
- Crop & reposition photos
- Change font size, style, colors
- Create multiple copies of any page in the template
- Change the star rating on recipe cards
Add photos
To add your own images you can either upload your own photos after you’ve made the recipe, or save images from the website where you found the recipe.
Once saved to your computer, you can upload them into Canva.
Drag and drop from the ‘uploads’ menu onto the existing photos. The existing photos will be replaced with your image.
Crop & reposition photos
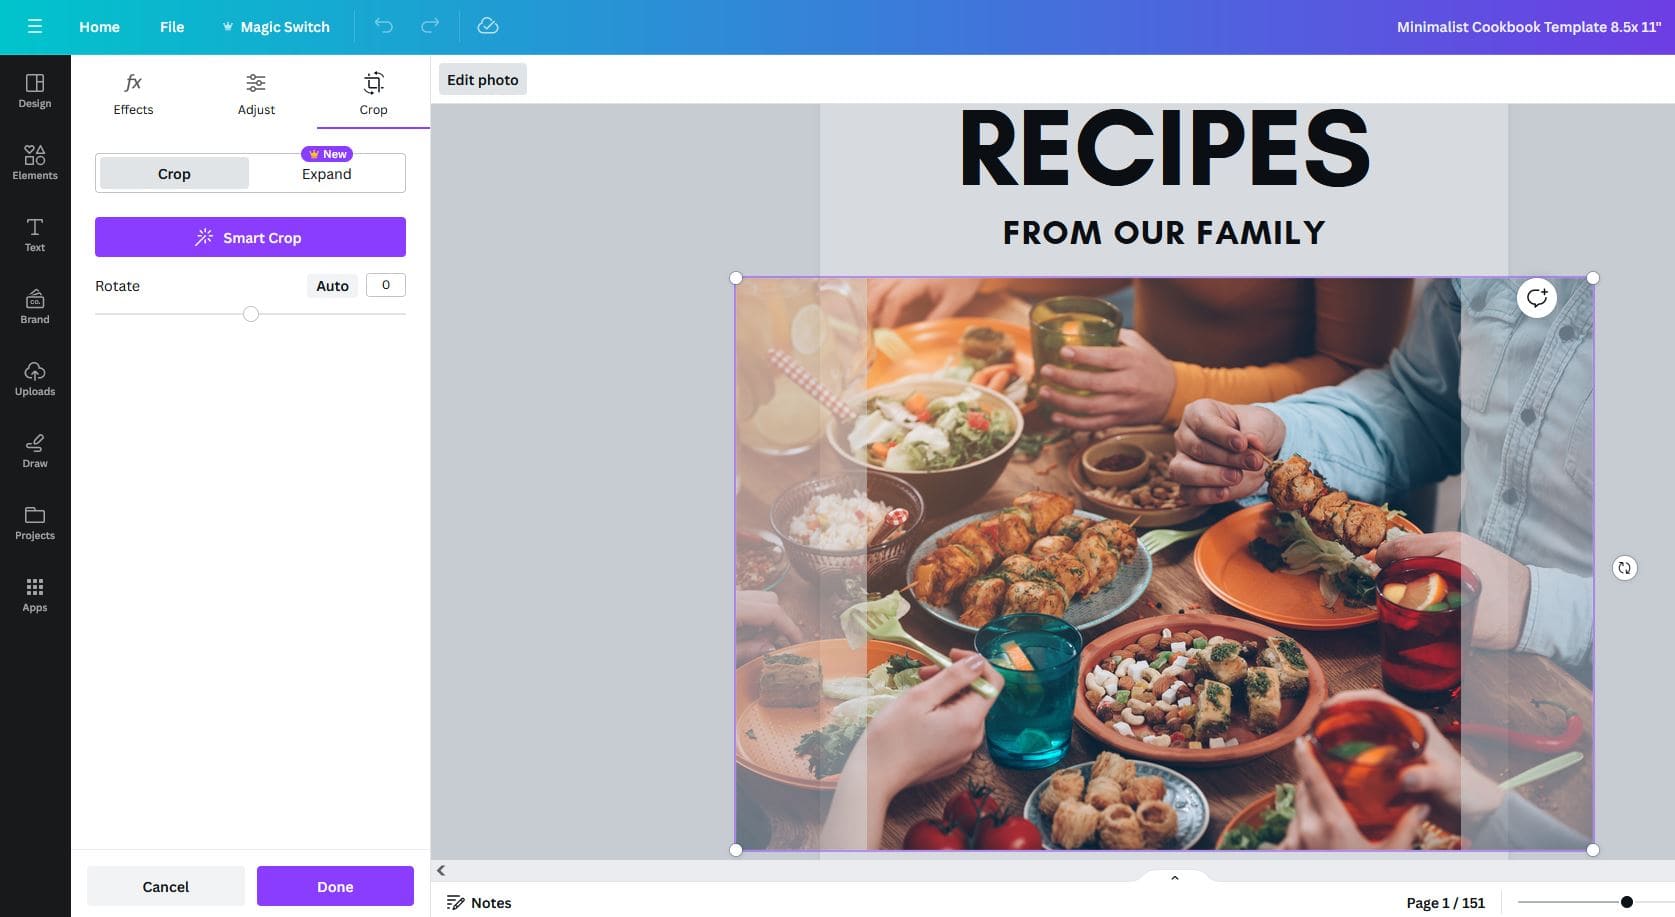
Once you replace the cloud/sky/glass with your choice of image, you can reposition how the image sits within the box by double left clicking in the box.
This will bring up the menu on the left where you can crop the image.
If you want to reposition the image, left click on the image and drag your mouse to reposition how it sits within the box.
Change fonts and colors
I’ve kept the template simple with black text only but if you wanted colored text (e.g. if you’re color coding recipes by category, you could click on text and change the color.
Design Tip: I don’t recommend using more than 2 fonts / 2 different colored fonts at a time otherwise a design can get a bit ‘busy’.
If you wanted to change the font style you can do this for individual text e.g. if you want to change the ‘from our family’ text on the cover page to a cursive font.
OR if you want to change the font throughout the entire cookbook template click on text, choose what font you’d like from the dropdown menu and you’ll see a popup appear at the bottom left asking you if you want to ‘change all’. Click this and like magic, all font will be updated to the font you chose instead.
Note: depending what font you choose, you may need to do some minor tweaks e.g. make the font size larger or smaller, re-centre on the page etc.
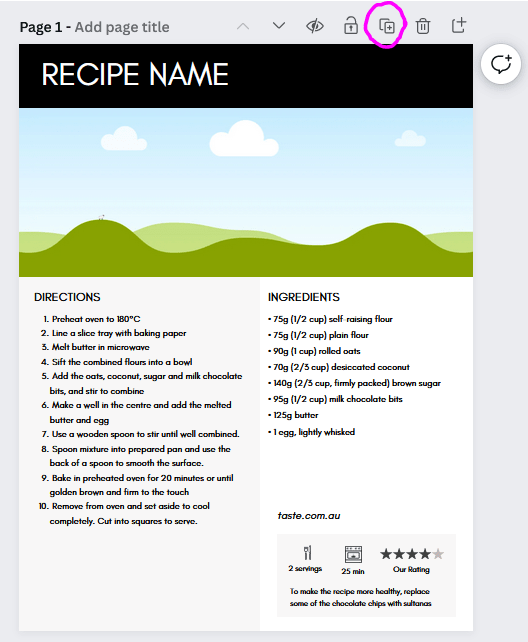
Add additional pages
If you need more copies of any page in the template, navigate to the page you want more copies of and click the + button (circled in the screenshot below).
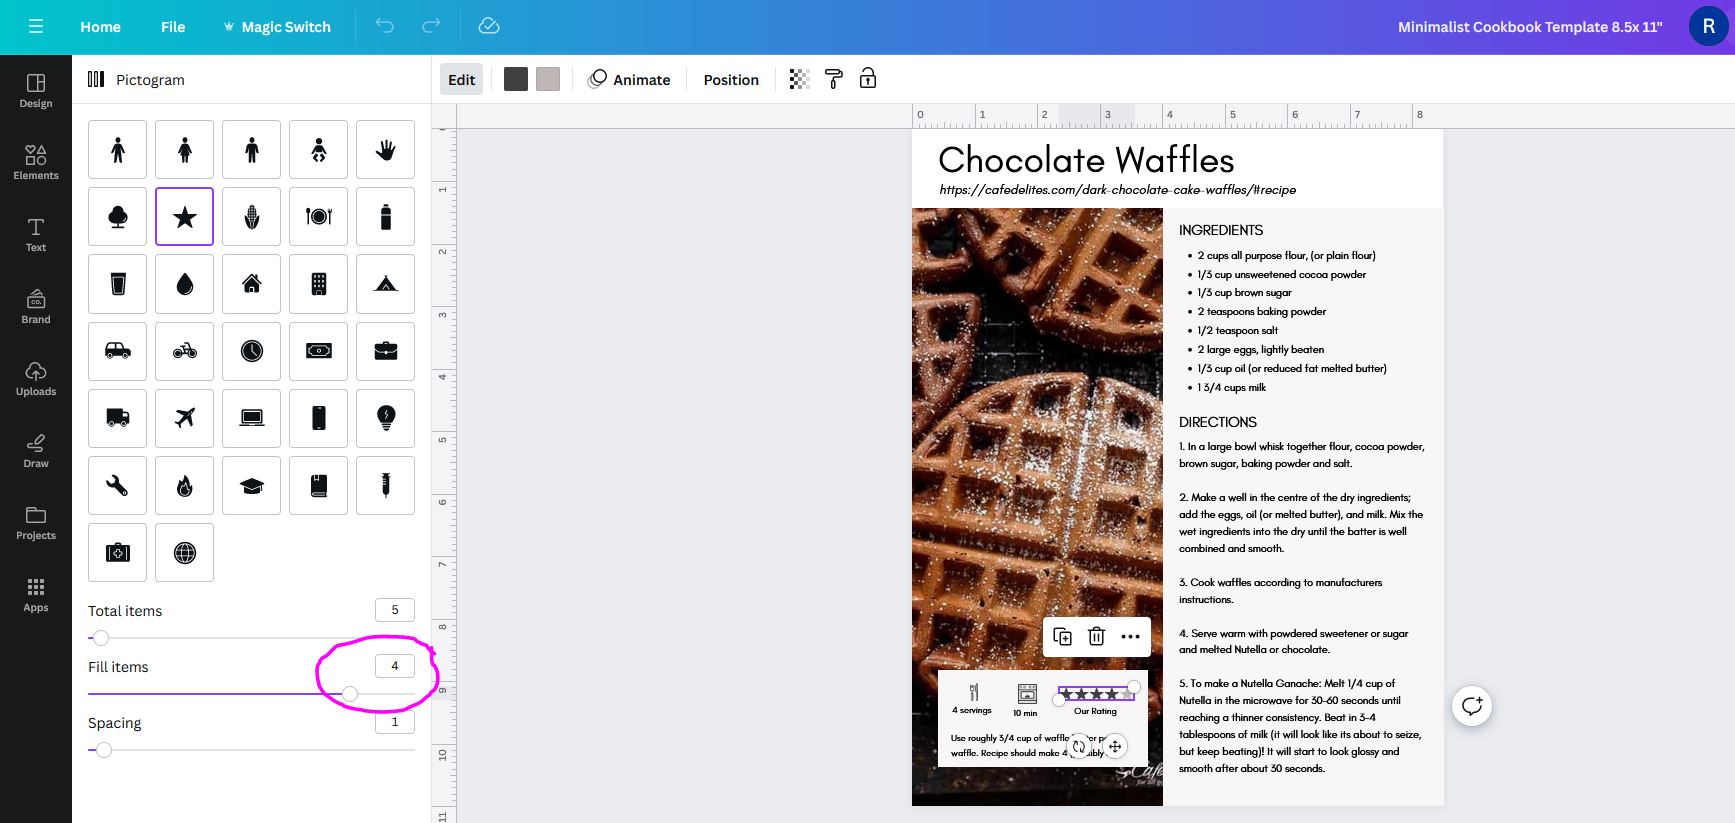
Change the recipe rating
For more of the recipe cards I’ve included a star rating out of 5. Click on the stars and a slider will appear on the left side of the screen, you can drag the slider to the left to decrease the start rating, or drag to the right to increase the star rating.
Pin for later: