Raster, vector, png, .TIFF, CMYK – what does it all mean?! (Graphic design terminology explained)
Here are some graphic design terminology you’ve probably come across (or will come across) when creating images for your blog, if you want to design patterns or are doing anything graphic design related!
COLOR MODES
CMYK (Cyan, Magenta, Yellow and Key i.e. Black) – the color system typically used by printers. You may have noticed that most printers come with 4 ink cartridges: cyan, magenta, yellow and black:

RGB (Red, Green and Blue) – is the color model used to digitally represent colors e.g. on your computer monitor
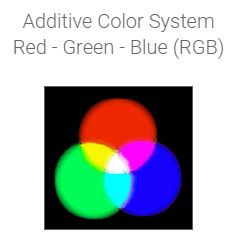
The RGB color code for white is R = 255, G = 255 and B = 255.
The RGB code for black is R = 0, G = 0 and B = 0.
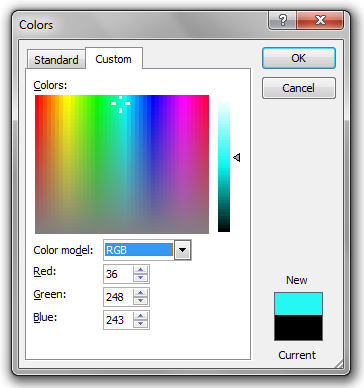
You may have noticed that Microsoft word has RGB codes if you want to change the color of text or a shape and click ‘more colors…’
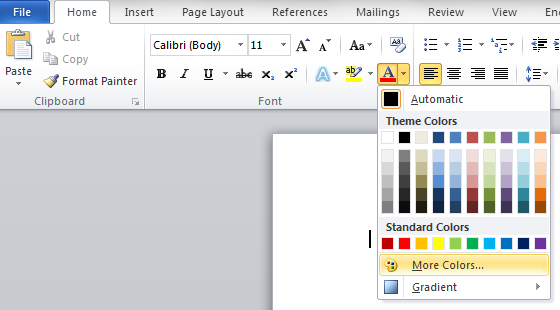
then choose the ‘custom’ tab
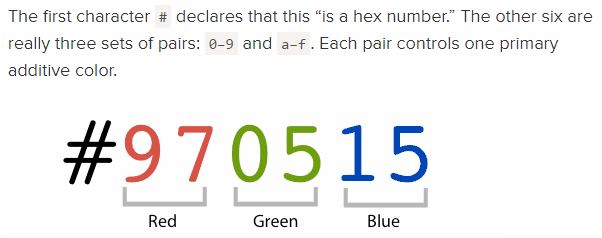
Hexadecimal Code (‘Hex code’) – 6 digit code consisting of numbers and sometimes letters, usually used in web design and HTML.
The hex code for white is ffffff (6 of the letter f)
The hex code for black is 000000 (6 zero’s)
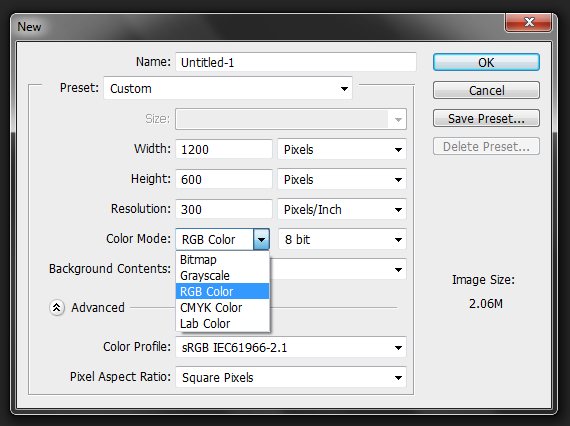
When designing anything such as printables, digital paper and patterns, I always use RGB color mode. If you were creating a product such as a notepad that you wanted a print company to manufacture for you, or if you were making patterns to print onto fabric, some manufacturers prefer CMYK color mode. You can choose the color mode when you create a new file/template in Photoshop.
DIFFERENT FILE TYPES
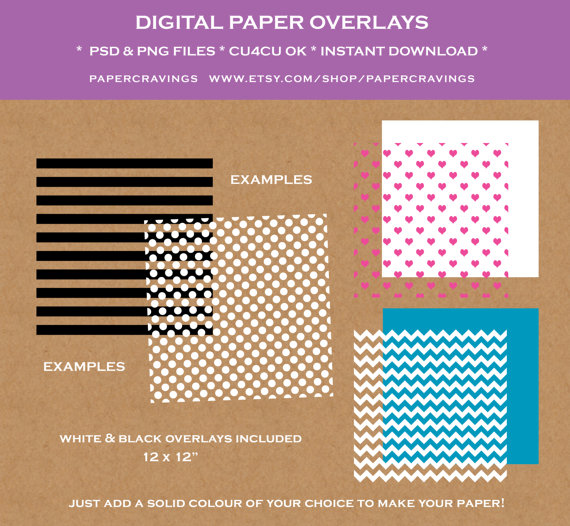
Overlay
This is what a pattern template is called. It contains the pattern in a solid color (usually black) with the background transparent (you must save it in png file format to keep this transparent background). The main difference between an overlay and a digital paper is this transparent background (rather than white, for example), as this means you can add your own colors to both the overlay layer and the background to create digital paper.
Overlays can come in either PNG file format or PSD (Photoshop file format). If an overlay you want to purchase is only offered in PNG file format – don’t stress, it just means you need to create a new file in Photoshop, then drag and drop the overlay onto the template, and add a solid color to use. If you choose to sell pattern overlays, make sure you save them as PNG file format, as this type of file can be used in other image editing programs such as Gimp (which is like a free version of Photoshop, but not as powerful) and even Microsoft Word!
Digital paper
Usually in JPG file format. This is the end result of what you make using a pattern overlay. Essentially it is a pattern overlay with a solid color added to the transparent areas of the overlay to create a digital paper. Etsy is one of the best places to find digital paper – I have tons in my digital paper shop, PaperCravings (#shamelessselfpromotion)
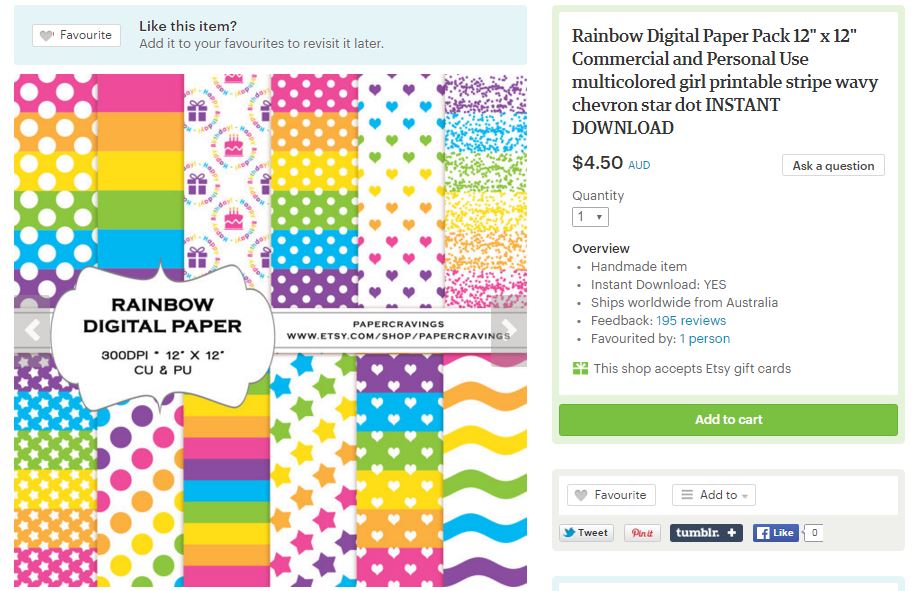
So why would you buy a digital paper and when would you buy a pattern overlay?
If you have Photoshop and want to design your own products such as patterns, printables, business cards, logos, invitations and party printables etc. then I recommend purchasing pattern overlays. Overlays allow you to choose the exact colors that you want to use in your designs.
If you don’t have advanced design skills and don’t know how to make complex patterns you wish to use in your designs, then you would purchase digital paper made by someone else to use in your designs – it’s less expensive than you think! Digital paper is also a great design resource if you’re pressed for time, or if you simply like the color combination someone else has already used. Just be sure to read the terms of use before purchasing digital paper, to ensure that your intended use for their designs is allowed under their terms of use. (hint: look for the words commercial use/CU and commercial use for commercial use/CU4CU). Some designers will require you to give credit when you use their designs and/or purchase a mass production (typically 500-1000+ copies of a product) licence.
FILE SIZES
Kilobyte (KB) – Very small file size. Approximately 1000KB is equivalent to 1MB
Megabyte (MB) – Digital images such as those taken on your camera, or images with designs which you save from Photoshop are typically 2 – 5MB.
Gigabyte (GB) – Most USB sticks use GB (typically 8 – 32GB)
Terabyte (TB) – Most external hard-drives and computers measure storage space for files in TB. If you have a lot of images you will need a lot of TB space. The higher the TB the more files you can store. If your computer only has a 1TB hard-drive you can purchase external hard-drives to increase the storage space.
The higher the number of KB, MB, GB and TB, the higher the image quality and the larger the file size.
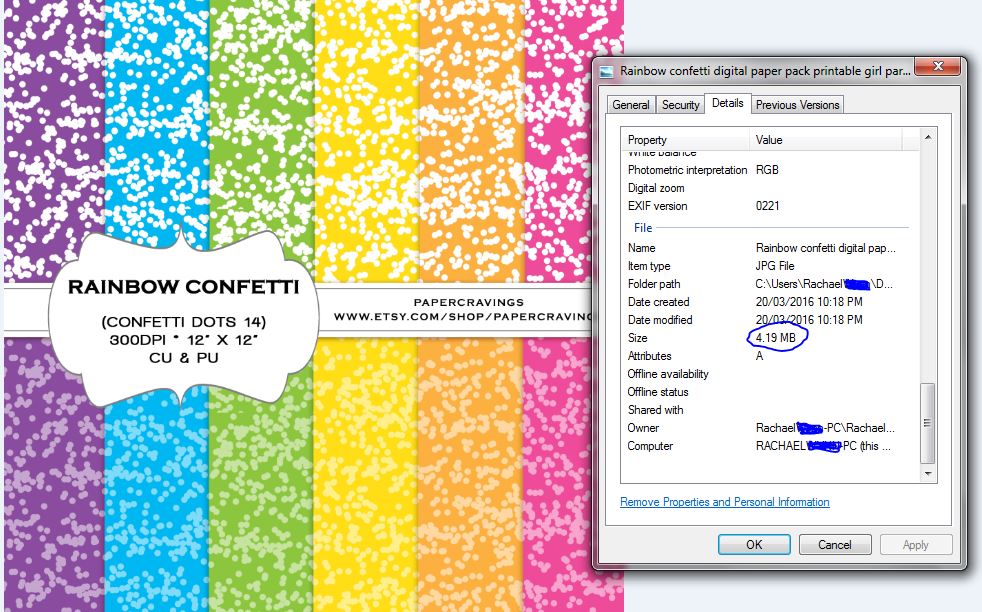
You can find out the file size of an image (or any file) by right clicking on the file and selecting ‘properties’
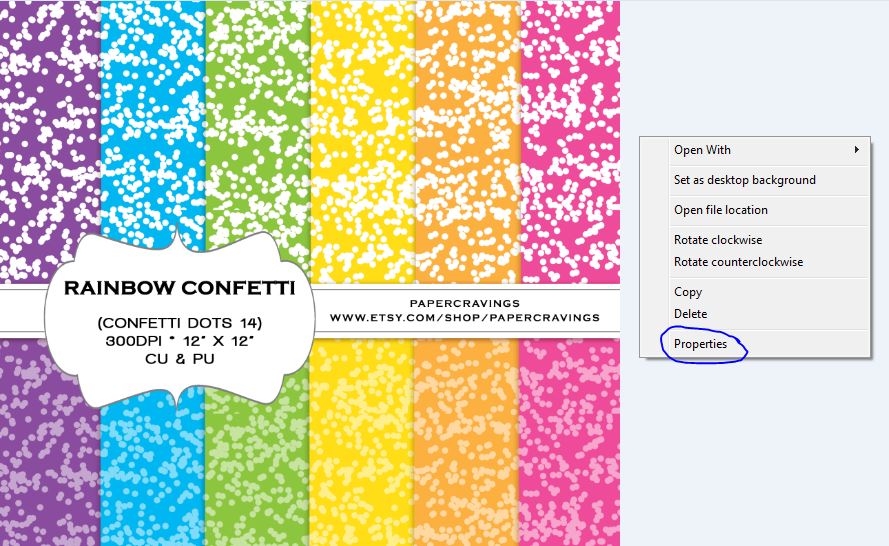
The choose the ‘details tab. The file size for this image is 4.19MB.
FILE FORMATS
PNG file format versus JPG file format
PNG – if you have areas on a pattern template with a transparent background (i.e. the area you will add a color to, to create a background on your pattern), then save it as a png file format, as this ensures that the transparent background remains.
If you save the pattern as a JPG file format, you will lose the transparent background (this area of the pattern will save with a white background instead).
Some other file types you may come across:
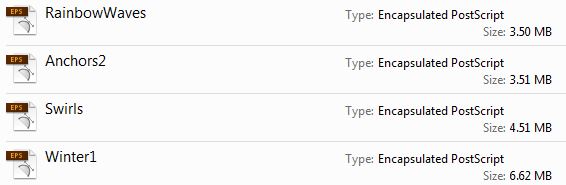
EPS (means encapsulated post script) are Adobe Illustrator files – they can only be opened in Adobe Illustrator, not Adobe Photoshop. You can tell if a file is in EPS format by looking for the EPS icon beside the file name:
PSD means a Photoshop document. It can only be opened in Photoshop. It allows all of the layers in the layers menu to be maintained. It does not ‘flatten’ the image meaning you can no longer make changes to the pattern such as increasing the width of stripes, changing colors or adding effects, as is the case if you save in JPEG or PNG file format.
Once you save an image as a JPG, PNG (flattened image type) it cannot be undone so it is very important to always save a copy of your designs in PSD file format!
Photoshop files have this dark blue icon next to them:
![]()
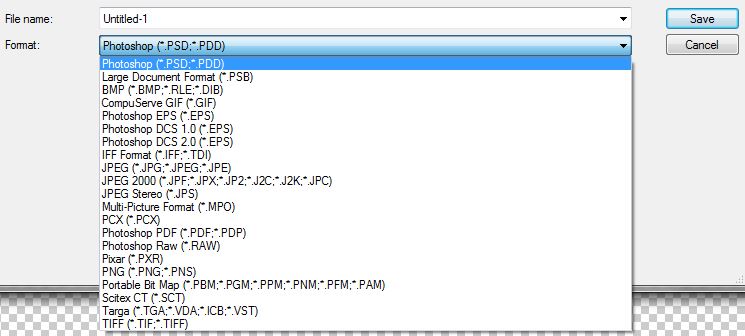
If you decide to make printables, business cards, invites, patterns etc. and sell them as templates, customers that don’t have Photoshop won’t be able to open the files. One way to get around this is to save them in TIFF file format…
TIFF (Tag Image File Format) keeps the layers of your PSD file and allows them to be opened in other graphic design software such as Gimp (which is free). You can only save raster images (Photoshop file format) as TIFF.
PAT means Photoshop pattern file format. The icon for a PAT file looks like this:
If you double click on a saved PAT file, the pattern swatches saved in that file will automatically be imported into Photoshop in the pattern menu which can be accessed by clicking on the paint bucket tool and choosing ‘pattern’ from the dropdown menu at the top left of your screen (see image below).
These swatches are ‘tileable’ meaning the swatch will be repeated until it fills the entire canvas. So if you have a 1” x 1” pattern, it will repeat 12 times vertically and 12 times horizontally on a 12 x 12” canvas.
Here is an example of a tileable pattern swatch used to create a pattern:

CSH means shape file format. The icon for a CSH file looks like this:
![]()
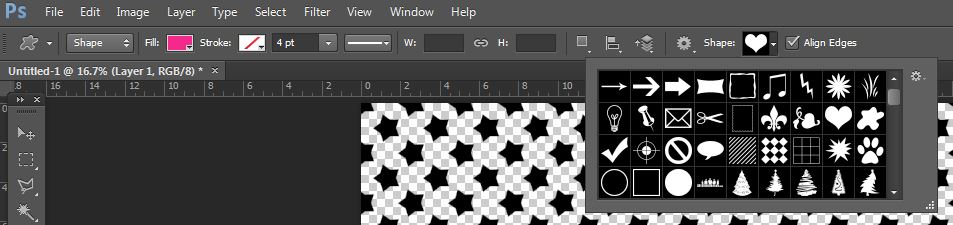
Shape files work the same at PAT (tileable pattern swatch) files explained above. They have a separate menu which can be accessed by right clicking on the shape tool and choosing custom shape…
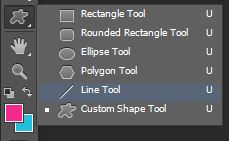
…then selecting a shape from the custom shape dropdown menu.
You can download free CSH files from numerous places online – a quick Google search will bring up plenty. I provide a list of my favorite designer resources eBook in my ecourse: How to make patterns in Photoshop and monetize your designs
IMAGE QUALITY
Dots per inch (DPI) – this is the image quality of the file. It is the number of ink dots your printer will put on each pixel of your image. You should always use 300DPI (this means it is a high quality file). The higher the DPI, the higher the image quality.
Pixels per inch (PPI) – raster images are measured in PPI or the number of pixels per inch. For my printables such as planners and planner stickers, patterns etc.,I usually use 300 Pixels/Inch.
You can select the Pixels/Inch when creating a new file in Photoshop:
![]()
Example: let’s say we have a 300PPI image, this means it has 300 pixels per inch. The higher the PPI, the higher the image quality. Note that the file size will also increase the larger the number of Pixels/inch a file has.
If you decide to make patterns then use them to create products such as fabric, stickers, stationery etc., then the file needs to be created at the dimension AND resolution required. So if you have a pattern tile swatch that is 2 inches wide and the fabric printer you want to use requires 300 PPI, you need to create the image at 600 pixels or more (2 inches x 300 PPI).
RASTER VERSUS VECTOR
Vector
Vector images are created using Adobe Illustrator. They can be resized up or down without loss of image quality. They use objects or lines (shapes) to display images. The reason I don’t use illustrator/vector files, is because it can be difficult to add colors and effects (such as gradients/ombre effects which you can do quickly and easily in Photoshop). I have a video tutorial on how to create ombre patterns in my ecourse: How to make patterns in Photoshop and monetize your designs
Raster (Bitmap)
Raster images are used in Photoshop. They are made of pixels. The image quality of raster files can reduce when the size of an image (such as a pattern overlay) is increased by more than only a small amount.
If you choose to make patterns and have them printed onto fabric, then be mindful that different printers may require different PPI – they will usually state this on their website, or you can send them an email to check – make sure you do this before you start making your pattern!
Example: if a printer requires a minimum 300PPI and you want to print an image that is 2” wide (a pattern tile swatch), then multiply 300 pixels x 2 inches = 600. Therefore, your image must be at least 600 pixels wide.
Tip: try and keep your pattern tile swatches square (e.g.. 600 x 600px) as it makes it easier to create a repeating pattern.
When making patterns you may come across this warning message asking you if you want to rasterize the layer. If this menu appears then select ok:
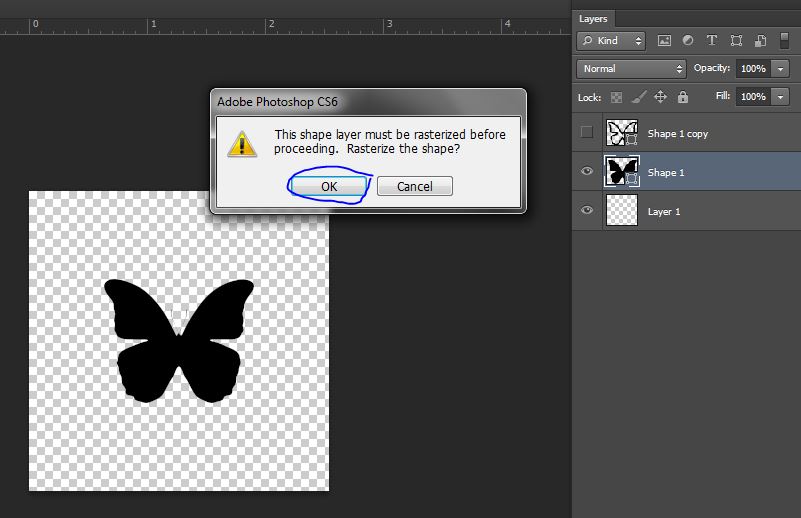
Essentially it means you will no longer be able to edit that layer (i.e. if it is a text layer, you won’t be able to change the words). If you increase the size of the shape or text that you have rasterised, the image quality may also reduce. The reason you need to rasterize the file is so you can turn the shape into a repeating pattern. You’ll see this in some of the repeating pattern video tutorials that are included in my ecourse: How to make patterns in Photoshop and monetize your designs
PHOTOSHOP TOOLS
Rulers
These are handy when you want to, for example, add a print/bleed margin to a design (i.e. so you don’t accidentally include text, a graphic etc. outside the light blue lines which would mean it would get cut off when the file gets printed).
To turn on rulers, press CTRL and R, or go to the ‘view’ menu and click ‘rulers’
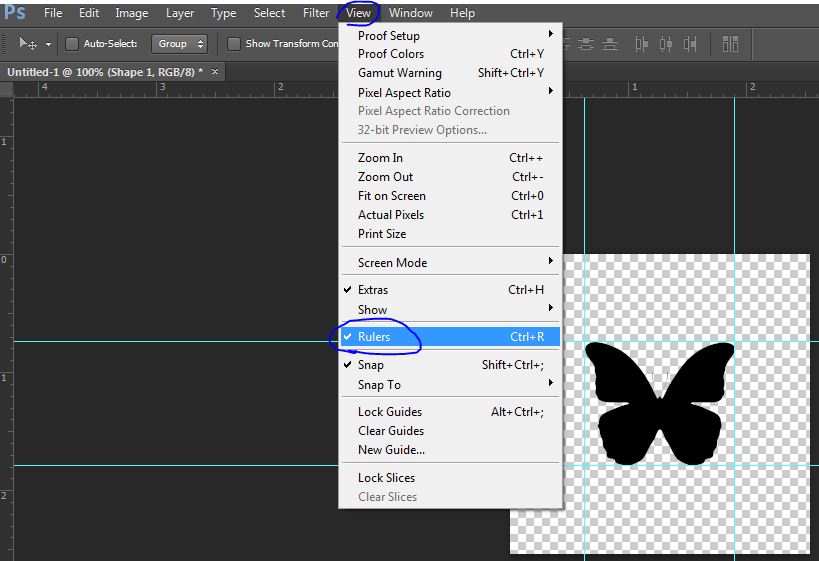
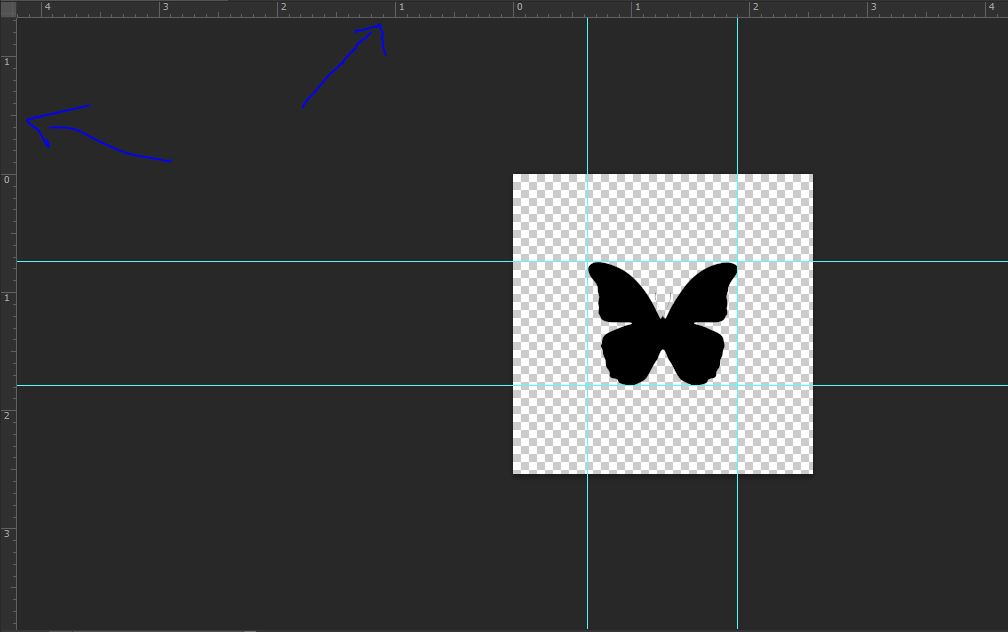
If you left click and drag on the ruler, you can add a light blue line (or multiple light blue lines if you left click and drag multiple times), to your canvas like is shown in the image below. These light blue lines then become a guide. The ruler tool is also good for aligning things that require an even amount of spacing on your canvas.
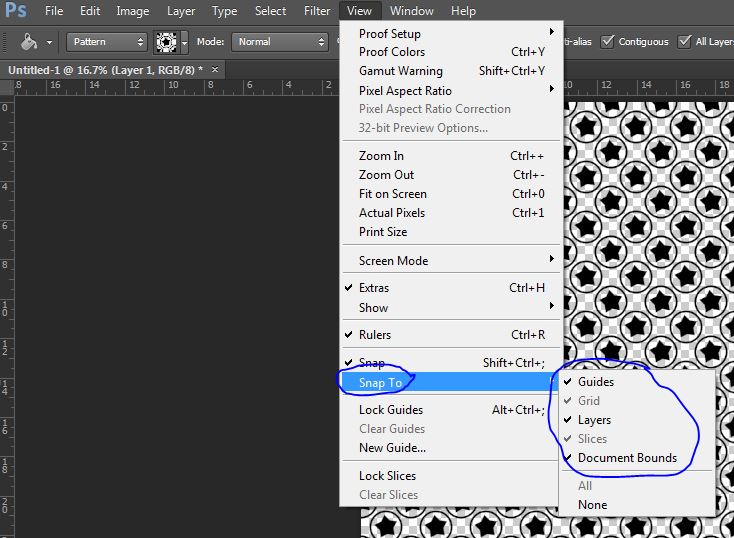
Snap to… is another one of my favorite tools in Photoshop. Let’s say you draw a line and decide you want to move it on the canvas. If you have the ‘snap’ tool on, it will automatically detect when that line reaches the middle of the canvas or the edges of the canvas, which helps speed up your design process.
Holding down the shift key on your keyboard when drawing a line will ensure a line that is exactly straight. Similarly, when drawing a shape it will ensure it is evenly proportioned (same height and width), and prevent distortion.
Note that Photoshop has a secondary menu. To bring upthe secondary menu you, right click on the icons:
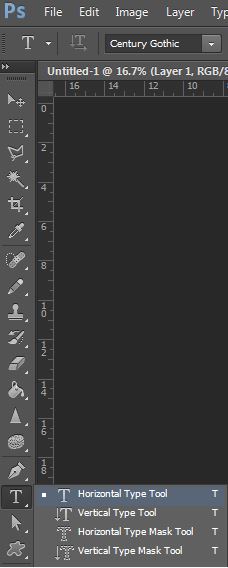
For example, if you right click on the paint bucket tool, you will be able to select either the paint bucket tool or the gradient tool.
DIFFERENT METRICS
Pixels (px): 3600 x 3600px is equivalent to 12 x 12”. 300 x 300px is equivalent to 1”
Inches (In or “) – the main metric system in the USA. 1” is equivalent to 2.54cm
Centimetres (or ‘cm’): Myself and my fellow Aussies tend to use cm more commonly than inches.
If you ever get stuck or want to convert units, there are plenty of free online tools such as this one.
When making anything in Photoshop, you can use any of the above metrics. Photoshop will automatically convert the dimensions to other metrics.
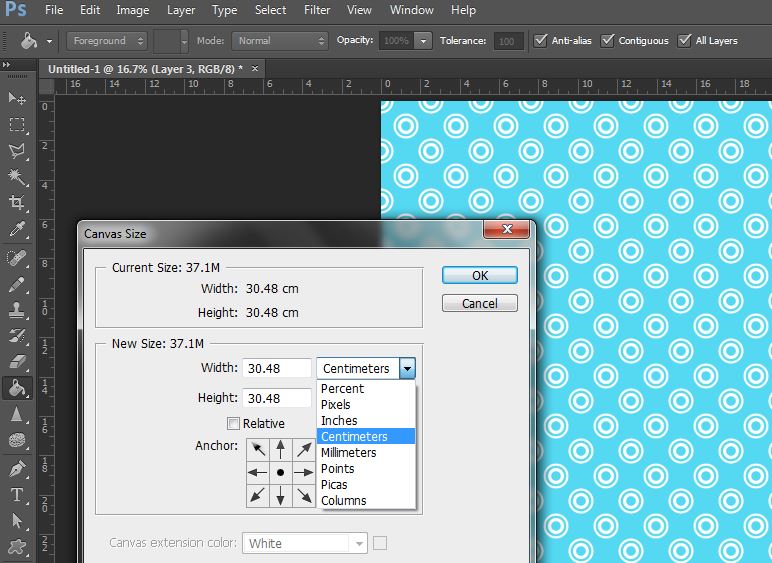
You can always change the size of your canvas/template by going to the image menu in Photoshop and choosing ‘canvas size’ which will bring up this menu:
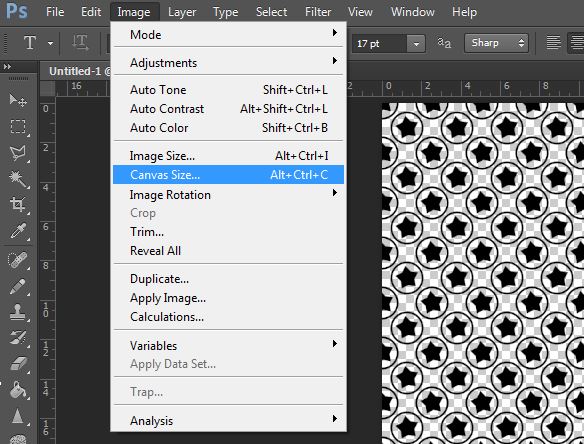
You can then change the unit of measurement to percent, pixels, inches, cm etc.
PAGE SIZE
If you want to make patterns in Photoshop then use them to make digital paper such as these from my Etsy shop, PaperCravings:
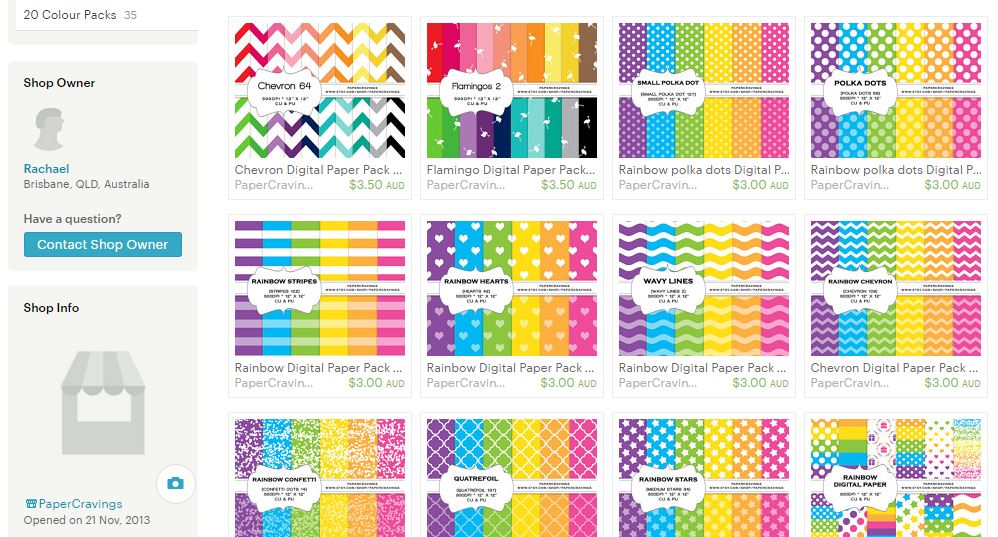
Then I recommend you use 12 x 12″ page size/canvas size. This is the standard page size for digital paper (as people used to use them for digital scrapbooking and still do, but it is more common to use them to create things like printables). 8.5 x 11” (or US letter size) is also a common size.
Here is a handy infographic showing a visual of different page sizes
Note that 8.5 x 11” is equivalent to US letter size paper. This is different to A4 size page. A4 size paper is 21cm x 29.7cm or 8.27 x 11.69” (i.e. it is longer and thinner than US letter size or 8.5 x 11” size paper). If you want to print something that it letter size onto A4 size paper or vise versa, I have a detailed step-by-step tutorial (with screenshots!) in this blog post. The same process I show you in that blog post can also be used to print at a custom page size e.g. half page size, Erin Condren planner size etc.
If you’re creating something like business cards, note that you should check the website of the print company you wish to use e.g. VistaPrint – they usually have pre-sized Photoshop templates with printer margins already formatted into their template in accordance with how their printers are set up.
PATTERN NAMES
Artlandia has a helpful glossary of pattern names. The most common patterns you are likely to come across are:
- Chevrons
- Polka Dots
- Stripes
- Quatrefoil (sometimes referred to as Moroccan tile)
- Gingham
I’ll teach you how to make a stripes pattern in an upcoming blog post. I have step-by-step tutorials for over 20 patterns in my ecourse: How to make patterns in Photoshop and monetize your designs. If you’re interested, you can enroll here
I know this was a super long post and some of the terminology may not make sense right now but I encourage you to bookmark this post for later so that when you come across some of these terms, you’ll know what they mean 🙂
Look out for an upcoming blog post where I’ll be sharing my favorite color tools and tips for choosing colors for your designs!