How to make any digital paper into pastel colours using Photoshop (quick and easy step by step tutorial)
I love brightly coloured digital paper, but if you prefer pastel colours, there’s a quick and easy way to make any digital paper you have into lighter, pastel colours.
This post contains affiliate links. If you make a purchase after clicking one of these links I’ll receive a small commission (at no extra cost to you) in exchange for referring you.
How to make a digital paper into pastel colours
If you don’t have Photoshop, you can purchase and download it here (my affiliate link).

Subscribe to my YouTube channel for more planner related videos & graphic design tutorials!
The pattern used in the tutorial is from this digital paper set from my second Etsy shop, PaperCravings
-
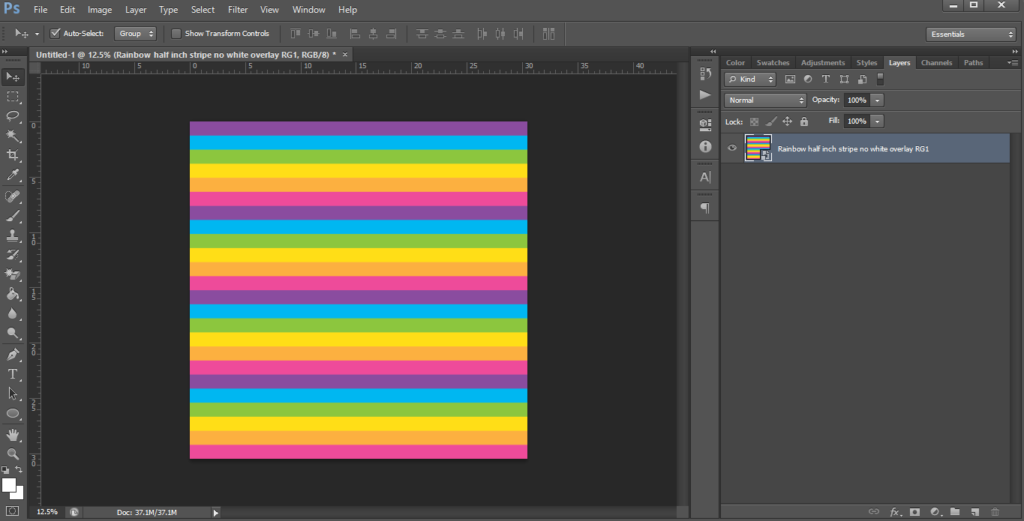
Import the digital paper into Photoshop
Locate where you’ve saved the digital paper on your computer, left click, drag and drop to place in Photoshop.
I shared some free stripe digital paper in this post if you want to try out this tutorial.
2. Add a rectangle
Go to the shape menu, right click and select ‘rectangle’ Now draw a rectangle that is larger than the template (i.e. left click with your mouse in the greyed out area off the edge of the pattern, and drag your mouse so that the shape covers the pattern completely.
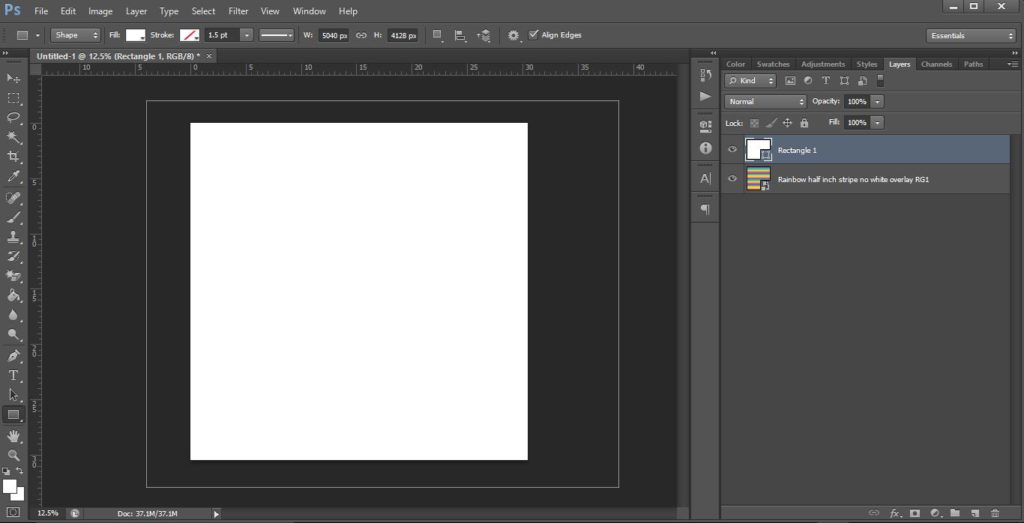
3. Change the fill color of the shape to white
You want to make the shape white as, much like when painting, adding white to anything will make the colors lighter.
Related: How to color match anything in Photoshop (step by step tutorial)
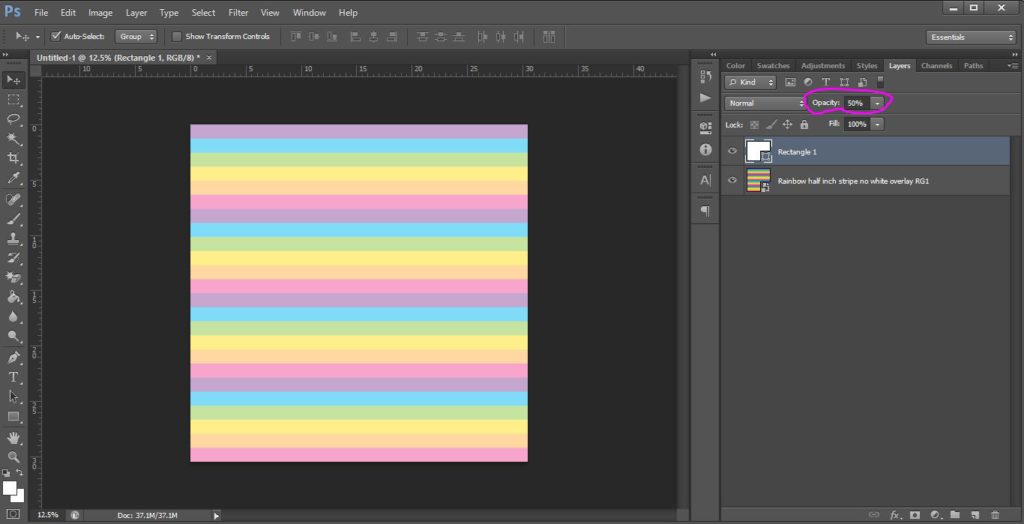
4. Change the opacity
Change the opacity to whatever % you like. The higher the %, the more pastel the digital paper will be.
You can find the opacity option above the layers menu.
I tend to use no higher than 50% as the paper starts to looks a bit washed out and the pattern isn’t as easy to see.
5. Press enter
When you’re happy with how pastel the digital paper is, press the ‘enter’ key on your keyboard.
Now you have a pastel digital paper!
6. Saving the file
To save the file go to File > Save As
Change the file format from PSD (Photoshop file format) to JPG.
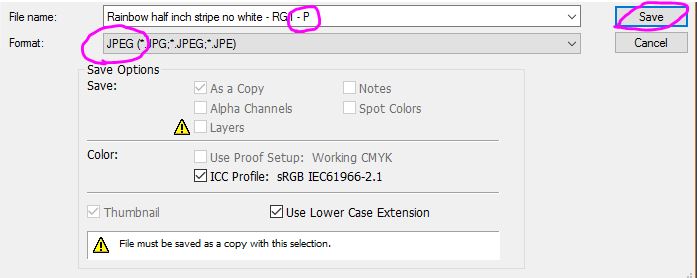
Important: Make sure you add an additional letter (I use P for Pastel) to the file name as otherwise you will over-ride the original digital paper.
If you need to make a lot of digital papers into pastel colors, bring them all into Photoshop at once (press CTRL to select multiple images in a folder, then left drag and drop into Photoshop). Then use the eye icon on the left of each in the layers menu to turn the layers off and on, saving each as you go with a new file name.
Related: How to use the color tools in Photoshop
Want more Photoshop tutorials?
All Photoshop tutorials can be found in the free graphic design video tutorials library.

Want to learn how to make patterns such as the one I used in the tutorial?
Click here to learn how to make seamless repeating patterns.
Click here to learn how to make all different kinds of patterns (chevrons, wavy lines, stars etc.).

Found this post helpful? Pin it!