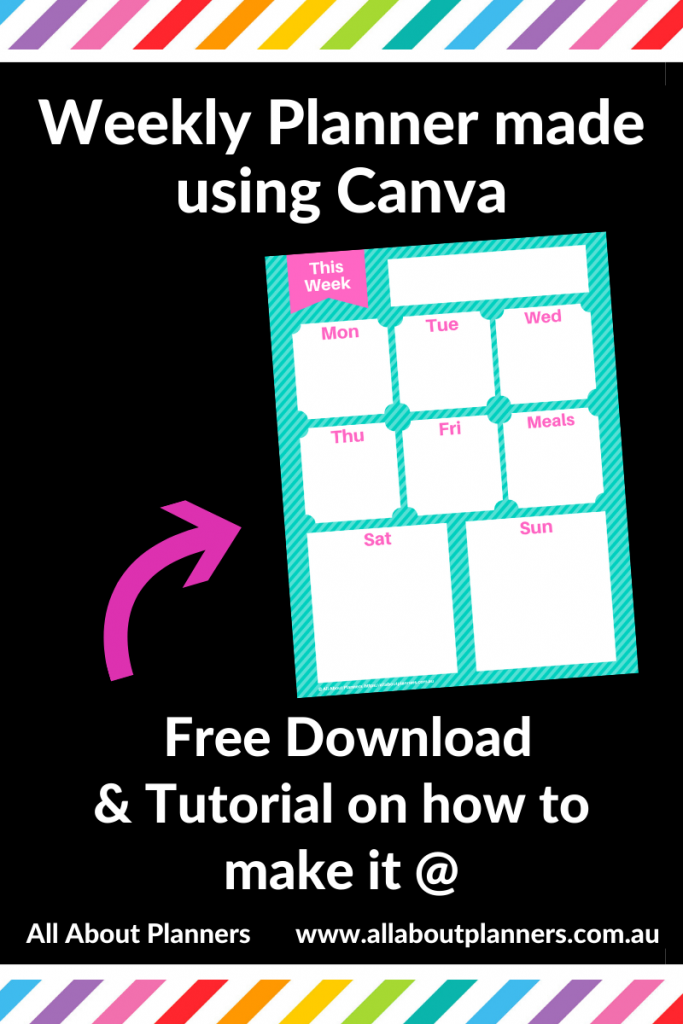
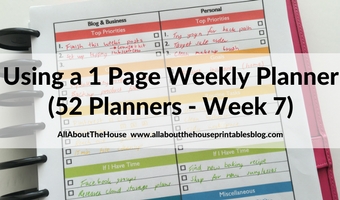
How to make a weekly planner using Canva (free online design program)
I’ve had many emails from readers over the years asking for planner design tutorials for just about every design software! I’ve ticked off Microsoft Word, Microsoft Excel and Photoshop but more and more people have been asking for free software if they’re just getting started making printables.
Enter Canva.
I’ve used Canva for years, mainly for making my pinnable blog post images. So I thought I may as well record a tutorial on how to make a weekly planner in Canva.
If there are other design programs (free or paid) you’d like design tutorials for, please comment below this post. Whichever is most popular I will film the tutorial for that next.
if you don’t want to learn how to make your own printables but do want to download the weekly planner I made, it’s been added to the free printables library. Existing subscribers can login here.
How to make a weekly planner in Canva
To enlarge the screen of the video, click the square icon in the bottom right hand corner of the video (it will say ‘full screen’ when you hover your mouse over the icon).

Subscribe to my YouTube channel for more planner videos!
You can download the printable I made here. Existing subscribers can login to the library to download here.
Canva has progressed a LOT over the years. Some of the handy tools:
- Align tool – I used to find this frustrating to use in Canva but now it’s much easier, you can align things to the left and right, centre etc. There’s also a purple marker thing that appears so you can easily align text, objects etc. to the centre of your design
- Group multiple shapes, text and other elements together so you can move as one piece
- Duplicate things to save time having to re-create from scratch. You can also duplicate the design as many times as you like
- I have at least 50 templates in Canva (I use it for the pinnable images for my blog posts) and am yet to get any messages telling me I’ve reached some sort of storage limit (i.e. I’m assuming it’s unlimited)
- You can arrange your designs into folders
- If you pay for the pro version there’s a nifty resize tool that’ll take everything and automatically resize it to whatever size you need. It’s not perfect and I find I do need to make some manual adjustments but it does save time
- Can upload your own images i.e. you could upload your own digital paper if you want a pattern background on your planner (there are some free digital papers in the library, I also have plenty in my digital paper shop, PaperCravings)
- Can make multi-page planners (ideal if you want to make dated planners)
Tips for making printables in Canva
- Select multiple layers (text, shapes, images etc.) by clicking one, press SHIFT and click another etc. You can then group these to move as one object. Or use the align tool, change the color of text and / or font size all at once etc.
- You can use custom fonts with Canva. I’ve downloaded plenty of custom fonts (see my favorite websites here) – the fonts automatically show in Canva after I download them
- Canva is mainly focused on social media templates however you can use any of their pre-made templates for anything – just change the text, colors etc.
- Use any size you like – enter the dimensions of the page size you want to use by choosing ‘custom dimensions’ from the first menu. You can also resize after you’ve finished designing
More design tutorials
- How to make an A5 size, 2 page weekly planner printable in Photoshop (video tutorial)
- How to make printable graph paper in Photoshop (perfect for habit tracking and bullet journalling!)
- How to make lined note paper DIY planner insert refills in Photoshop (quick and easy step by step tutorial)
Want to upgrade to better graphic design software? Try these ecourses:
- How to make printables in Microsoft Word
- How to make printables in Microsoft Excel
- How to make printables in Photoshop
Decided you don’t want to make your own printables? There are plenty in my shop!
Found this tutorial helpful? Pin it!