
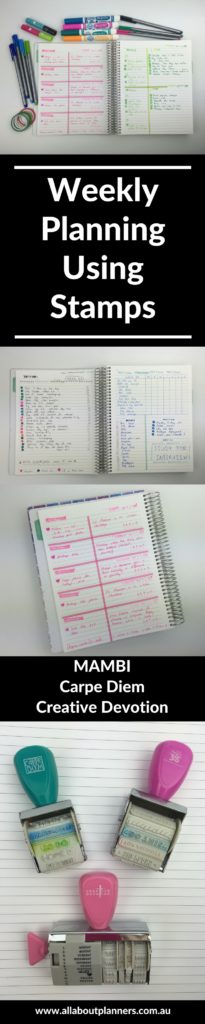
Planning the week using stamps (MAMBI, Carpe Diem & Creative Devotion) (Week 44 of the 52 Planners in 52 Weeks Challenge)
I’d wanted to try planner stamping for a while combined with wanting to try a 4 page weekly spread (which seems to be impossible to find in planners). So this week I combined the two to do a bullet journal style / planner stamp spread!
Setting up the week
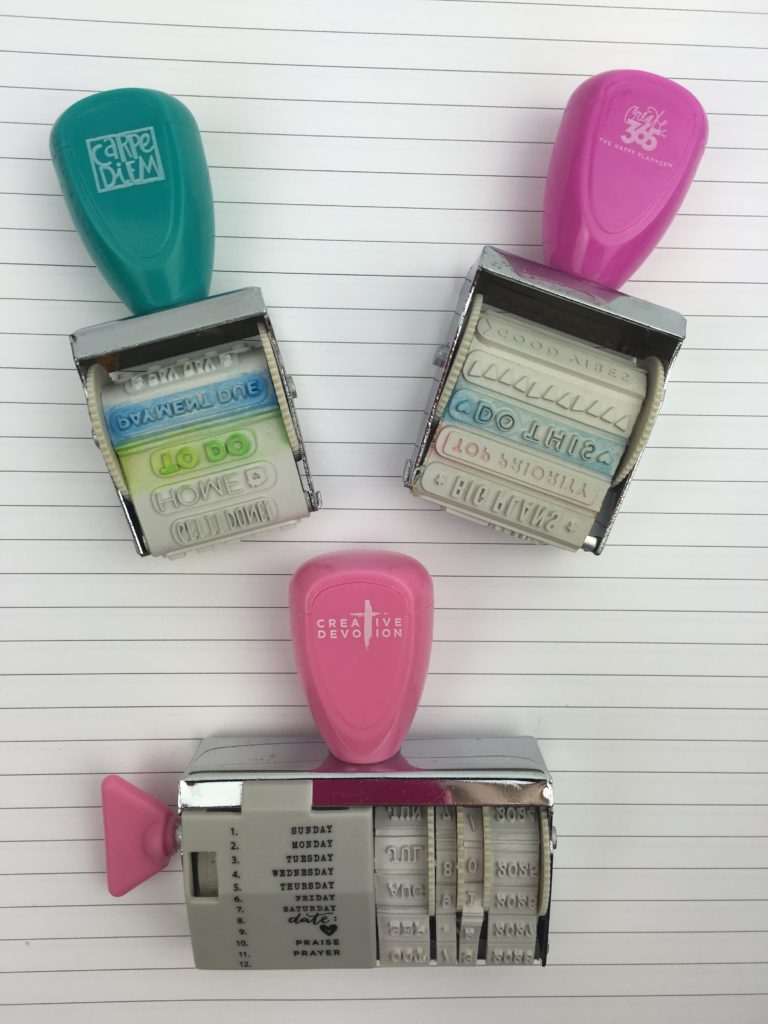
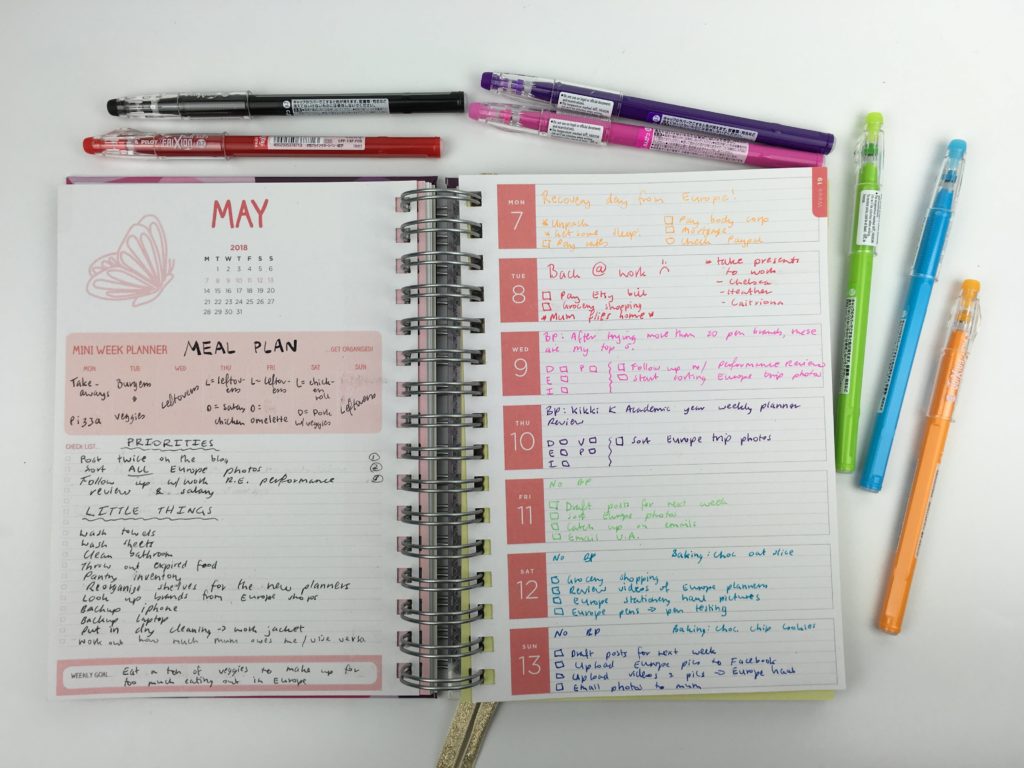
I planned the week around the phrases that were on the stamps I had. The photo below shows some of the many planner supplies I used this week (full list of supplies used is later in this post).

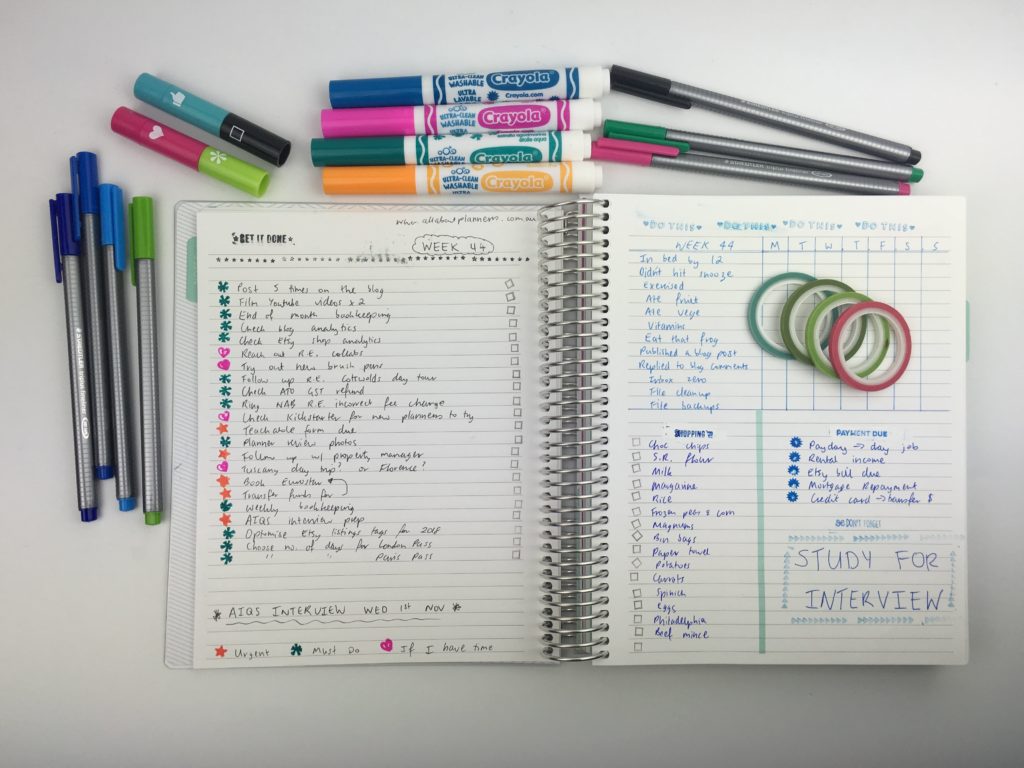
I opted to use a 4 page spread this week:
- Page 1: brain dump / to do list
- Page 2: Habit tracker, shopping list, payments due and reminders
- Page 3: Blog post planning
- Page 4: Saturday and Sunday (AM & PM)
I don’t normally show my pre-plan i.e. brain dump for the week as I write it out super messy – it starts out as a dis-organized, then I sort the tasks, usually by highlighting, or as I did this week, using stamps, or drawing symbols (usually shapes) beside the tasks. By pre-planning it keeps the actual weekly spread looking neat.
Related: Using a planner key and symbols to code your planner (efficient planning methods)
I prefer to code the brain dump by:
- Urgent / due
- Must do – other things I need to do
- If I have time
Then in the weekly spread, I tend to color code by category. Sometimes I’ll color code the brain dump by category too.
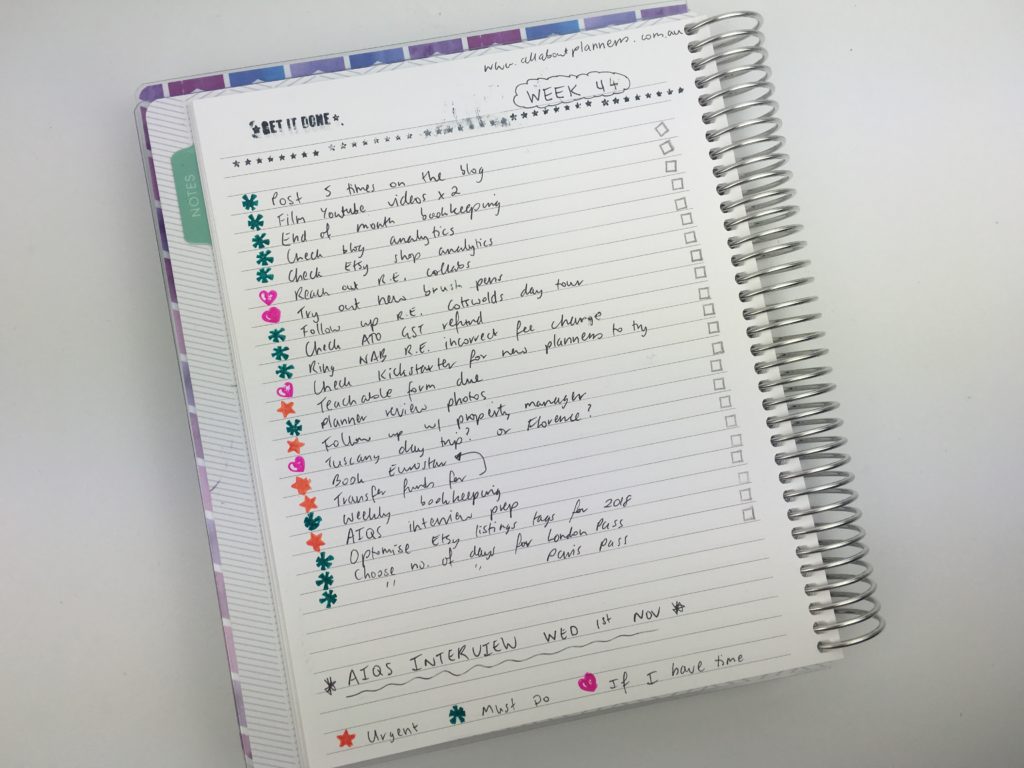
Rather than transferring the brain dumped to do list into a weekly spread, I decided I’d just add checkboxes to the list and tick them off as I went, as I don’t tend to complete tasks on the days I typically schedule them for anyway.
As for using stamps, I found them hit and miss – sometimes they would stamp nicely, some would include the background behind the text – even after I did a few practice stamps on a piece of scrap paper. I used whiteout and then re-stamped, but then the stamp ink smudged. I had to wait 10 minutes for the ink to dry before turning the page and continuing to plan the rest of the week. I debated whiting it out and stamping it again and not even showing this part of the spread in this post. But, in providing an honest opinion I felt like I should mention the downsides of stamping since a lot of people seem to gloss over this.
It’s not very obvious but I angled the stamp so that 2 shades of the blue inkpad I was using would stamp at once. Pens or highlighters would definitely provide a better contrast if you wanted to decorate your planner this way.
![]()
When setting up the planner layout – one thing I keep forgetting to mention each week when I write these posts – if you’re wondering what happens when some weeks I do meal planning in the weekly spread and sometimes not, It’s usually because I’ve meal planned on a printable, or used a sticky note, or sometimes I’ll just use whatever’s in the fridge and freezer.
I wrote my grocery list directly on the page this week then took a photo of it so I didn’t have to take my planner to the shop. Worked out but it wouldn’t be so good if your phone was running low on battery! I think I’ll stick to writing the grocery list on a sticky note – just in case.
Related: Week 28: Planning the entire week using only sticky notes
![]()
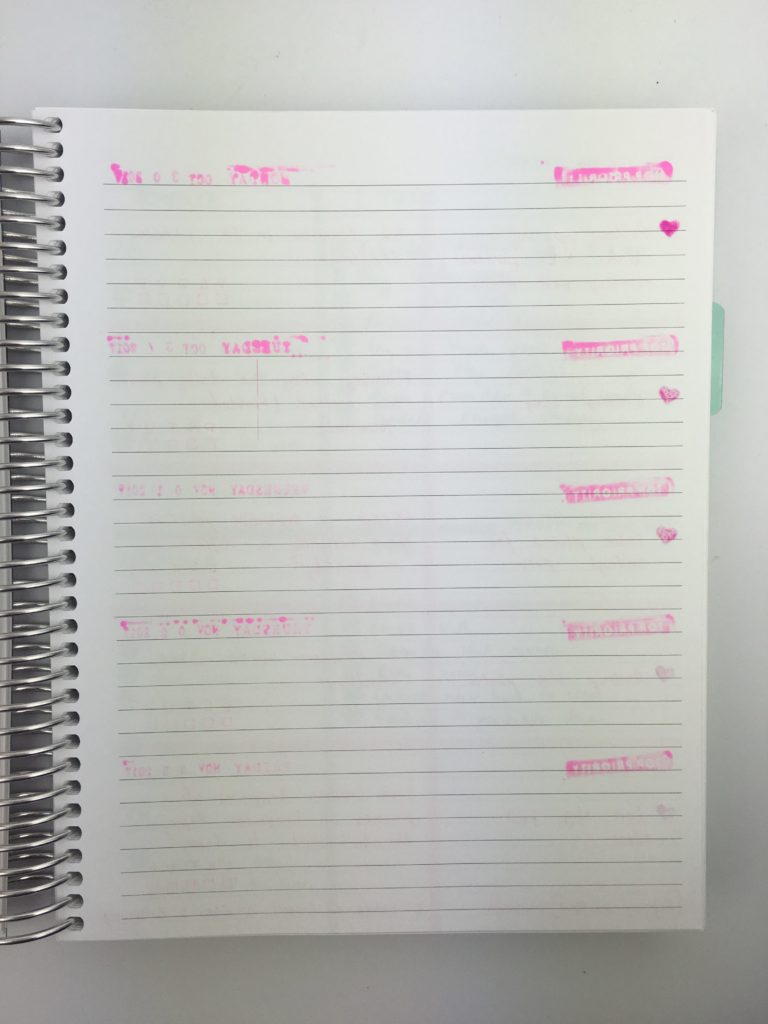
I left a blank set of 2 pages in between as the ink bled through the back side of the page:
![]()
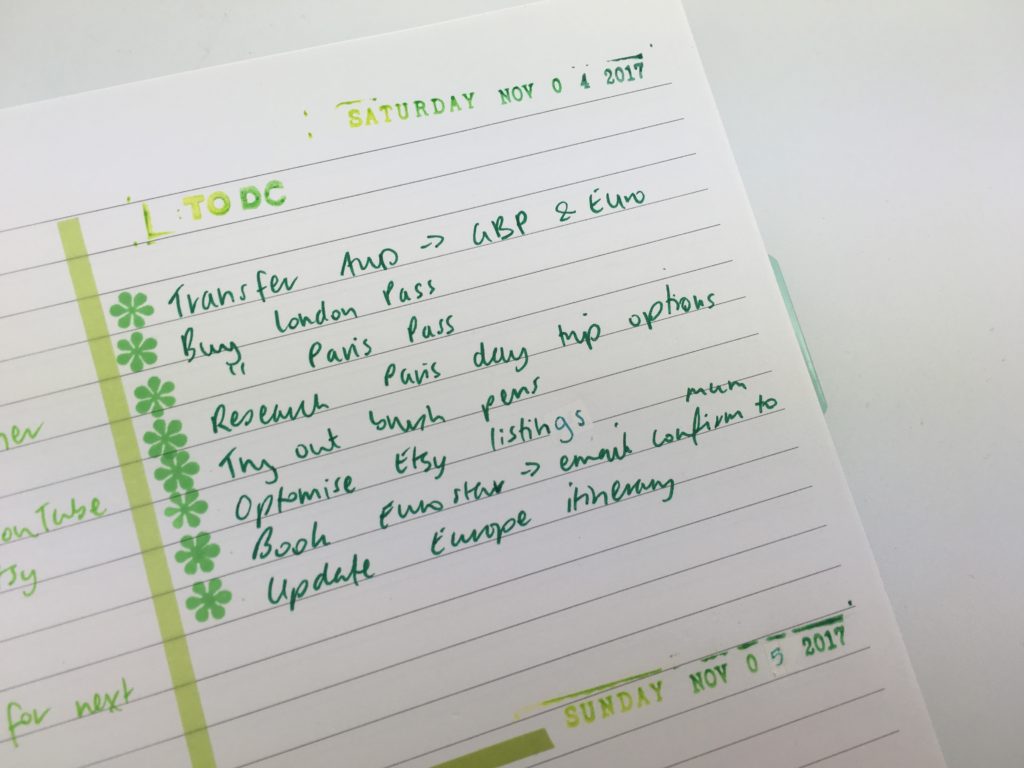
Stamps look good when the ink doesn’t smudge!
![]()
After trying so many planners I’ve found I need more space on weekends and would rather work off a to do list during the week as I’m at my day job for most of the day. By doing a freehand / bullet journal style spread I was able to choose the amount of space I needed rather than trying to tweak a planner – it does take a lot longer to set up the spread if you’re stamping/ doing it by hand though.
I much prefer to just put AM or PM rather than set times
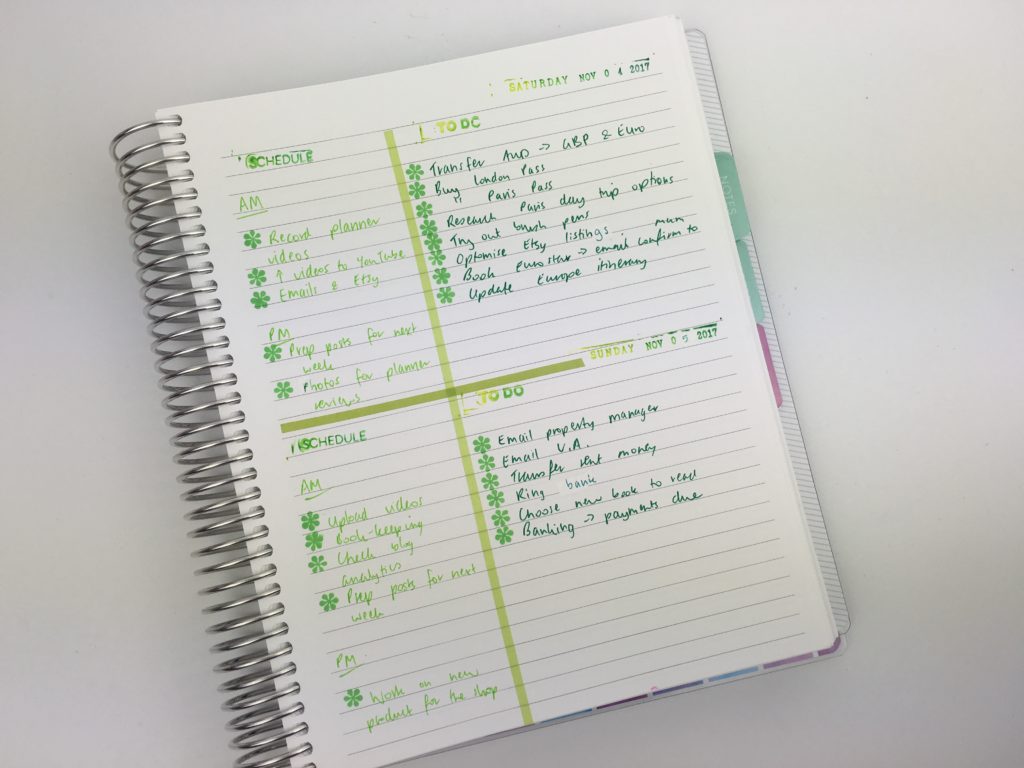
I forgot to change the date on the roller stamp so accidentally stamped Nov 4th twice. I used a bit of white out and a pen in a similar color to fix the mistake:
I didn’t mind flicking between pages with the spread being 4 days of the week. I’d rather do that than cram everything onto 2 pages and it end up being really messy with tons of sticky notes stuck to the page for the over-flow of tasks that won’t fit.
Related: 10 ways to plan using sticky notes
I liked using washi tape to divide up the page as you can keep peeling it off and re-sticking it until you get it straight – when I rule a line sometimes the ruler can slip and the line ends up crooked #firstworldproblem
Supplies Used:
- Thin washi (comes in a pack of rainbow colors – my all time 2nd favorite washi tape after Doodlebug!)
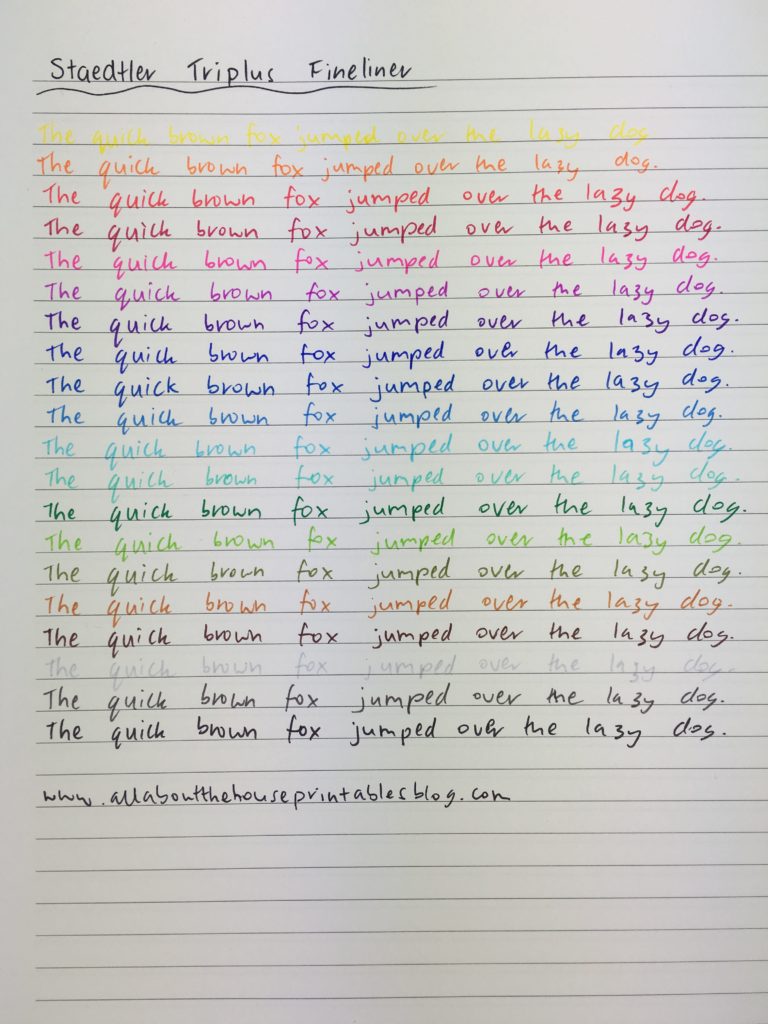
- Staedtler Triplus Fineliner 0.3mm (pricey but worth it – huge range of colors in the pack!)
- The Craft Stall Fine Line Markers 0.8mm (cheap pens from the Reject Shop that are similar to the Staedtler Triplus)
- Creative Devotion date stamp
- MAMBI title stamp
- Carp Diem ‘domestic bliss’ titles roller stamp
- ‘Crayola Ultra-Clean washable lavables stampers’ (from the kid’s section in target) – warning – these bled through the page real bad
- ‘Let’s Color’ ink pads – these come in 1 color and 4 mini ink pads in 1 (i.e. you can do monochrome stamping <3
- Reject Shop ink pads <— do not recommend, they were terrible!
- Mambi list making stamps (the asterisk and the black checkboxes)
All supplies (except the items from the Reject Shop) are from my sister’s planner supplies store, Carefully Crafted.
Triplus Color Fineliner 0.3mm – highly recommend – comes in lots of colors! There’s also a fatter 1.0mm marker style version as well.
Most of the big planner companies have similar stamps e.g. Project Life and American Crafts both have similar roller date stamps.
When I saw a gold ink pad at the Reject Shop a while I back I was like ‘have to have it’ – I had a feeling that since they were cheap, the ink might not be very good. Unfortunately I was right 🙁 The gold was a very feint gold. The black worked out alright though. Maybe because it gets quite hot here in Australia, but the ink pads seemed a bit dried out.
When it comes to ink pads I don’t recommend skimping on quality!
Related: 5 Planner supplies you should never skimp on
The stamps bled through the page so I left a blank page in between. I don’t like writing on the back side of pages that have pen / highlighter / stamp ink bleed through. Definitely prefer to use the Frixion stamps – erasable and they don’t bleed through the page.
Stamping is very time consuming (I really don’t want to admit how long it took to set up this spread!). For all that time and effort, I didn’t even really like how the spread looked. The structure of the pages / layout worked well, but the page looked messy with ink smears, If using a decorative border it’s hard to line it up so they’re all in a straight line. In the end, I gave up on trying to make it look ‘perfect’ and figured I’d just show the spread so you could see for yourselves!
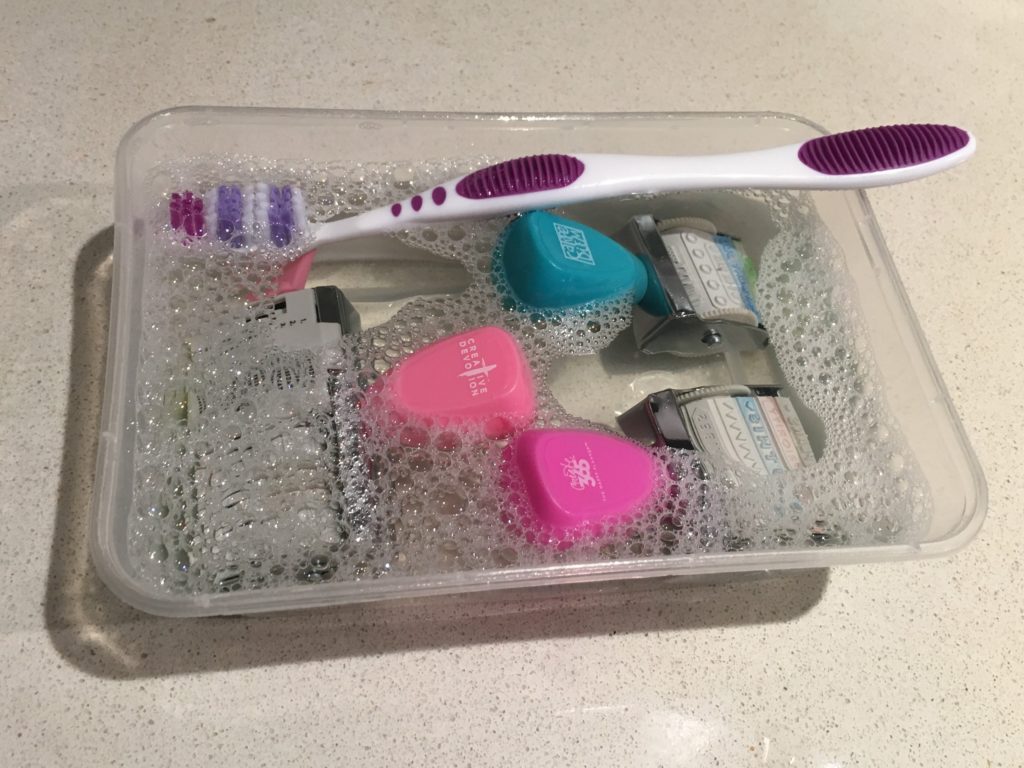
Cleaning planner stamps
To clean the stamps I used warm water with a bit of dishwashing liquid. Some of the ink was stubborn so I used I cheap toothbrush (they’re great for cleaning the grout of tiles) which helped get some of the ink off. The ink did stain – I couldn’t get it off completely but as long as the color doesn’t touch the page the next time I use them (which it won’t, I tested them), then I don’t care about the staining.
Pros of planner stamping
- Something different if you’re bored with the same planning style
- Faster than writing if you’re stamping multiple of the same thing
- Ink pads come in a fair few different colors but you tend to have to buy them individually i.e. can get expensive
Cons of planner stamping
- Very time consuming (I really don’t want to admit how long it took to set up this spread!)
- Messy – have to clean up the stamps after you use them
- Ink pads dry out – make sure you invest in decent ones!
- Stamps bleed through the page
In terms of the weekly spread…
Pros of this weekly spread
- I didn’t mind having the 4 pages for this weekly spread, nothing felt crammed on the page
- Loved the larger space for weekend planning
- This thin washi is the perfect size – enough to add a pop of color without taking up a lot of room – a quick and easy way to divide up the page and if you’re a perfectionist like me you can easily re-position – much easier than whiting out pen if the ruler slips and the line ends up crooked
- I liked the monochrome of the blue, pink and green pages
Cons of this weekly spread
- Took a long time to set up – stamping is very time consuming
Would I try planner stamping again?
To be honest, I was a bit hesitant about this week. I wanted to try planner stamping, but I knew it would be messy and time consuming – and messy and time consuming it was. It felt like a chore to get ink pads out, get stamps out, choose the stamp I wanted, then do the actual stamping. And for a perfectionist like me, if it smudged or some of the ink didn’t hit the paper, I used whiteout and did it again. I don’t want to admit how long it took to set up the week – way too time consuming. I’ll be sticking to self inking stamps in the future – no mess while stamping, more accurate i.e. ink covers the entire stamp and nothing to clean up.
I did really like the stamp with 5 boxes – just the right amount for tracking blog post workflow instead of drawing heaps of boxes – this is probably the only stamp I’d use again. Although I do like the bold ‘top priority’ header stamp too!
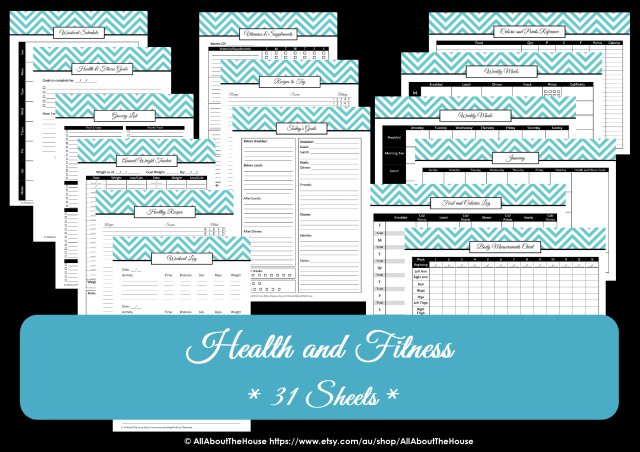
If you’re tired of drawing up weekly spreads, this printable bundle of 52 different 1 page weekly planners (you can mix and match to create 2 page spreads if you prefer), is available in my Etsy shop and online store.

Found this post helpful? Pin it!
Catch up on past week’s of the challenge:
- Week 14: Using a simple, 1 page weekly planner with only 3 sections
- Week 23: Using Limelife Planners Weekly Layout C
- Week 33: Colorful Bullet Journal Inspired Weekly Spread
- Week 34: Review of the Planner Pad Weekly Planner


thank you for the stamp cleaning tips! i love reading your posts!
Glad you’ve found my blog helpful 🙂
I agree. I’m not a fan of stamps. I’ll leave my stash to craft projects and my kids.