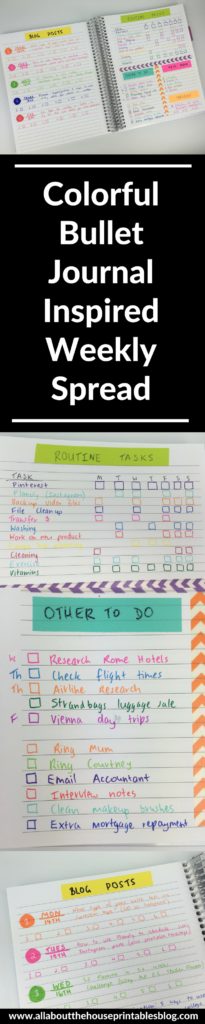
Colorful Bullet Journal Inspired Weekly Spread (Week 33 of the 52 Planners in 52 Weeks Challenge)
This week’s goal: use as many colors as possible to plan the week! After having bought the Staedtler triplus fineliner pens in the jumbo pack with all the pretty colors and then not really using many of the colors (except the colors I tend to stick to for color coding), I decided to change that!
![]()
Setting up the week
I opted to use 2 pages with the left side entirely for blog post planning and the other side for everything else. If you aren’t a blogger you could always use this page for more checklist planning space or if you have tasks due on a certain day, then a traditional weekly planner layout.
This challenge of trying a different planner each week has made me realise that I rarely stick to completing tasks on days I allocate them to. Rather than cross things out all the time or use the Frixion erasable pens and rub tasks out and keep moving them around between the days, I’m not too fussed if a weekly spread has days of the week pre-printed.
Sometimes I add the days of the week as a guide but as long as stuff gets done I’m not too particular about sticking to a specific schedule – I’d rather work on things when I’m motivated or have an idea for that blog post or project – I find things turn out higher quality this way!
For the left page of the weekly spread I used the Triplus Color 1.0mm to draw a circle and color it in, then I used the Sakura Gelly Roll 08 in white to number the posts in the order I intended to publish them in. As mentioned above, I’m not too fussed if things do get done on specific days just as long as it’s done by the end of the week.
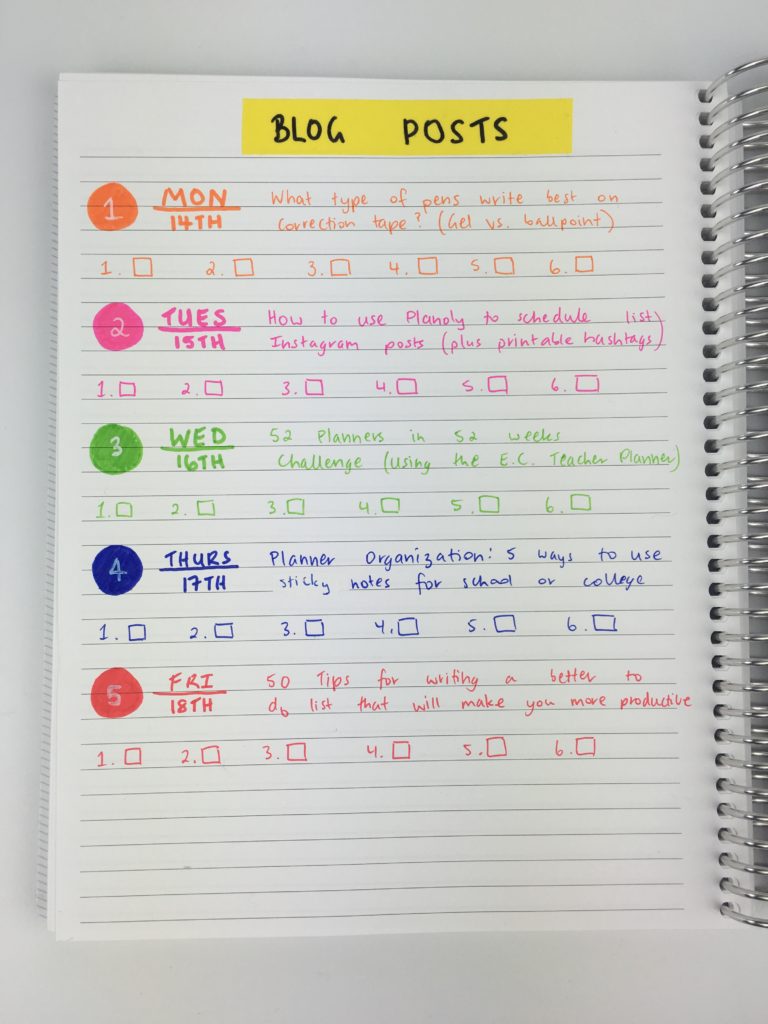
I kept the key for the blog post tasks on a sticky note that I’ve been re-using and moving from each week’s spread. Writing blog posts is very methodical – it’s the same 6 steps every time so I don’t really need the steps written out on a sticky note anymore. I may do way with the sticky note from now on.
I didn’t color code this week but I found I didn’t miss it too much as I had the blog posts on a separate page in the spread. While I like blogging about graphic design and running an Etsy shop, these are moreso sub-categories of my blog – the posts I most enjoy writing are about planning so I’m finding less of a need to color code blog post planning.
![]()
Related: Color coding your planner: how to choose which colors to use
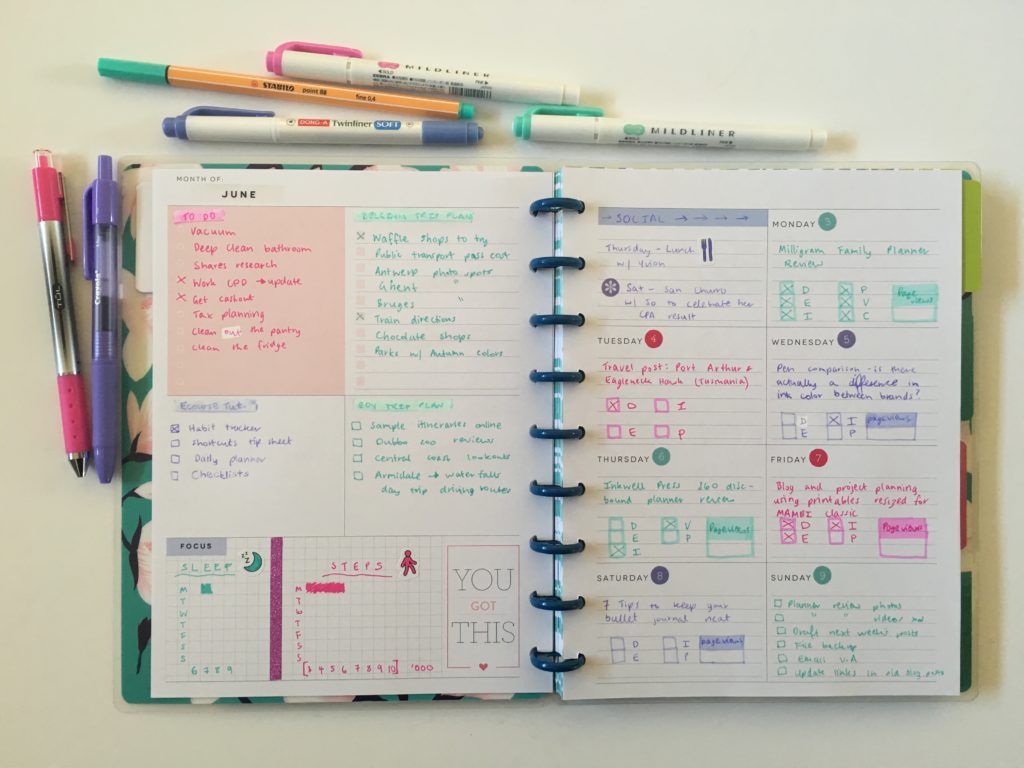
Because I wasn’t color coding I clustered together personal tasks and then business tasks.
I wanted to do something different to the traditional habit / routine tracker. In week 1 I used a highlighter to shade a border around the box on the days I had those tasks scheduled to get done. I adopted a similar approach this week and drew a box on the days I expected those habits / routine tasks to happen, which I crossed off when it did happen. By drawing the boxes I found it easier to see where I was over-scheduling i.e. forecasting where I was spending my time rather than crossing off the boxes after it had happened. I have more personal time on a Saturday and Sunday, so I scheduled more tasks on these days.
Related: Week 1: Using a daily habit/routine tracker to plan your week
![]()
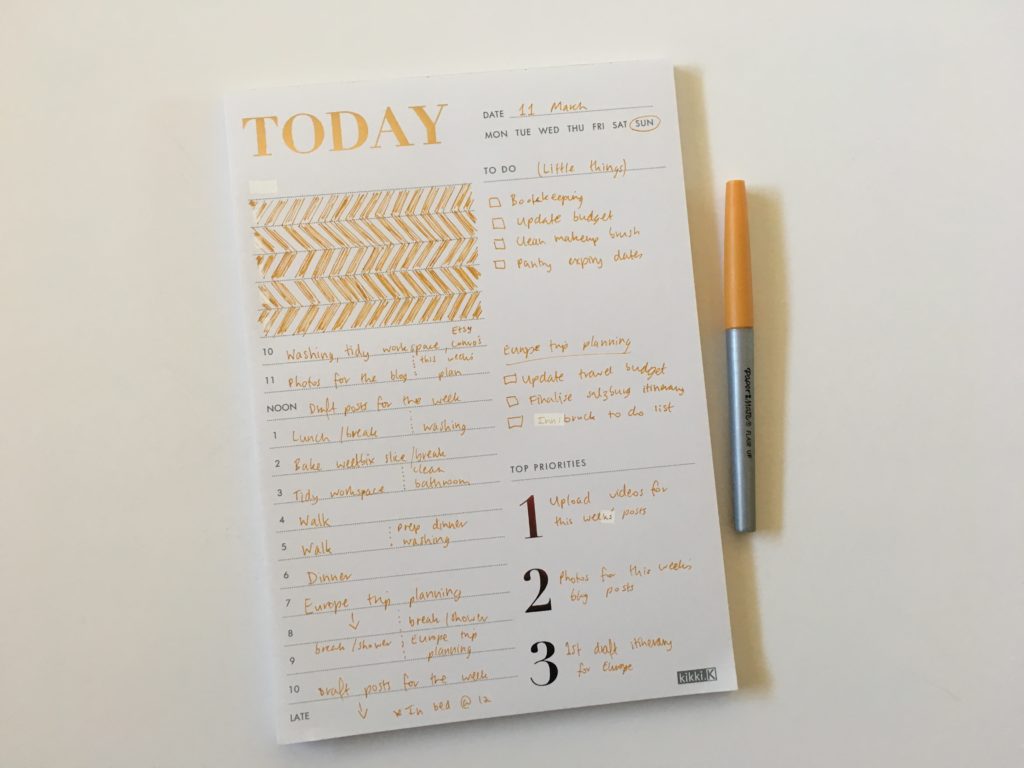
I split the bottom half of the page into 2 sections: ‘Other to do’ and ‘meal planning’. This planner layout could easily be turned into a printable with the recurring habits pre-printed and then just fill in the blanks for the week specific tasks as the bottom, similar to the printable I used in week 14 of the challenge.
I allocated days I intended to do tasks.
I kept personal tasks separate from Europe trip planning tasks by keeping a blank white line in between. It’ll be my first time in Europe so there’s a lot to plan and research – it’s taking me a couple of months to organize and plan everything. Good thing I enjoy travel planning! 🙂
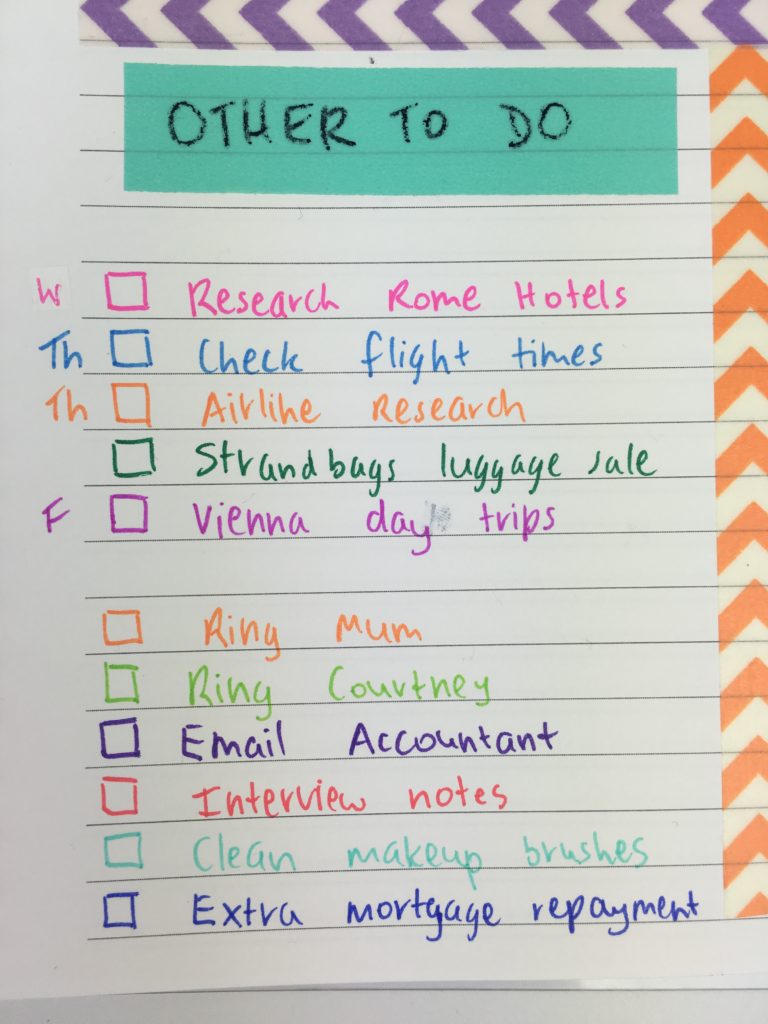
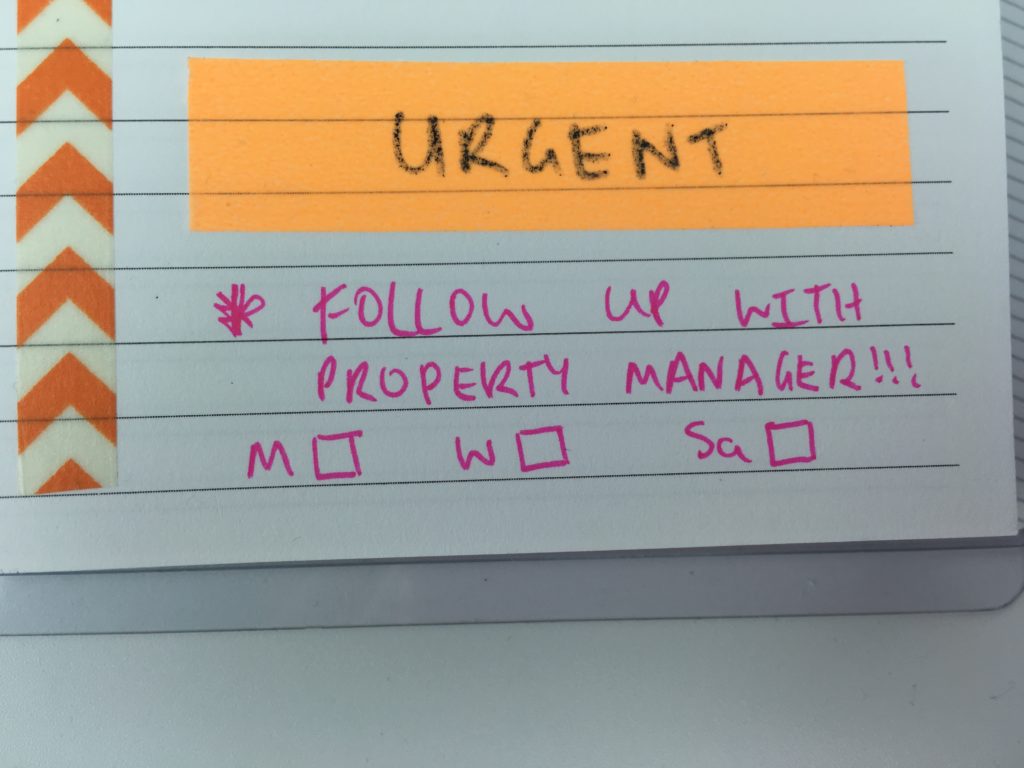
I had a bit of leftover space underneath the meal planning section so added the most important task for the week – following up with the property manager. It’s been difficult to find a tenant and with a mortgage to pay making sure my property manager is actively following up with prospective tenants is a priority! I could’ve added this to the habit tracker / routine task but I wanted it to stand out in my planner since it’s more urgent than the rest of the tasks for the week.
![]()
If you have extra space on your weekly spread, adding urgent / reminders (such as bills and school assignment due dates) even if you’ve written them already in the weekly spread or your general to do list, re-writing / flagging them is a good way to use leftover space and be certain you won’t forget to do the task.
I abbreviated the days of the week and drew a checkbox. I prefer to use checkboxes to crossing tasks out as it keeps the spread neat.
Related: Using a planner key and symbols to code your planner (efficient planning methods)
Stationery used to plan the week:
This week I raided my planner supplies and used:
- Staedtler Triplus Color 0.3mm fineliner
- Staedtler Triplus Color 1.0mm for the headings
- I used the Tombow Dual Tip Twin Tone Markers (black) – I was disappointed they didn’t write that well on the washi tape 🙁
- Doodlebug Chevron washi tape
- The solid color washi tape (my favorite for headings / titles) is from my sister’s planner supplies shop
Not many marker pens write well on washi tape. The best ones I’ve found are the Staedtler Triplus Color 1.0mm. Make sure you let the ink dry. I didn’t wait long enough and it smudged so I had to pull the washi tape off and do it again ( #perfectionist) – good thing washi tape is cheap!
Related: Best pens for writing on washi tape
I didn’t give much thought to the colors I used – I just grabbed a couple of rolls of washi and went with it. Normally a lot more thought goes into color choices etc. to make the spread look aesthetically pleasing – to me it’s worth spending that extra time planning out what colors to use together. If the spread is functional + pretty I’m more likely to use it!
I used one of my Plum Paper notebooks (7 x 9″ – a really good size for planners!)
Related: Plum Paper Planners Haul & Review (better than the Erin Condren?)
Pros of Freehand Planner Spreads
- Liked the explosion of color but rather than just picking up any color I’d put more thought into it next time
- I liked the different setup of the habit tracker – it made it clear what tasks needed to be done each day
- I ended up using the bottom of the blog post planning page for extra stuff that popped up during the week and notes etc. Since I don’t tend to post more than 5 times per week there was just the right amount of planning space
- Can choose the amount of space you need for each section of the planner
Cons of Freehand Planner Spreads
- Takes longer to set up than using a printable or a pre-printed & bound planner
- Can run out of space – unless you count out the lines and measure up with a ruler, lines can get crooked
- Prone to smudging – I’m so bad at smudging ink and forgetting to clean my ruler between ruling up lines. Using washi tape does away with this – but I still like to mark on the page where I’m going to stick the washi as I like it be straight – I’m OCD like that 😉
![]()
Would I use this layout again?
I liked the layout and it would be very quick and easy to create a printable version. I like with freehand layouts that you can tweak them to suit your needs for the current week. Because I wasn’t working on any huge projects for my shop like an ecourse, a simple spread like this week’s worked well.
I love planning using lots of color but to create a pretty rainbow spread doesn’t just ‘happen’ – if I’d thought more about the order of the colors rather than just picking up any colored pen from the pack the spread would’ve turned out nicer. I’ll admit that maybe I don’t need to use all the colors next time.
I liked the style of the habit tracker and am thinking about continuing with this layout for future spreads!
Catch up on past week’s of the challenge:
- Week 30: Using the Goal Digger Planner by Susana Cresce
- Week 31: Using the Ashley Shelly Planner for weekly planning
- Week 21: Using Microsoft Word to plan your week
- Week 22: Using Erin Condren size planner stickers in the Mini Happy Planner
Related Posts:
- Review of the Plum Paper Memory Keepers Book
- How to make a planner bookmark (DIY Page Markers Tutorial)
- 5 expensive pen brands that are worth the money (I have no regrets for splurging on them!)
If you’re tired of drawing up weekly spreads, this printable bundle of 52 different 1 page weekly planners (you can mix and match to create 2 page spreads if you prefer), is available in my Etsy shop and online store.

Liked this post? Pin it!