Using the Goal Digger Planner by Susana Cresce (52 Planners in 52 Weeks – Week 30)
For week 30 of the 52 Planners in 52 Weeks challenge I used the Susana Cresce Goal Digger Planner. I’d seen the planner on Amazon but it was too expensive when adding the cost of shipping it here to Australia so I was pleased that there was a free sample for July on her website to trial the planner!
Related: Planner companies that will let you download, print and try their planner layout for free
Setting up the Week
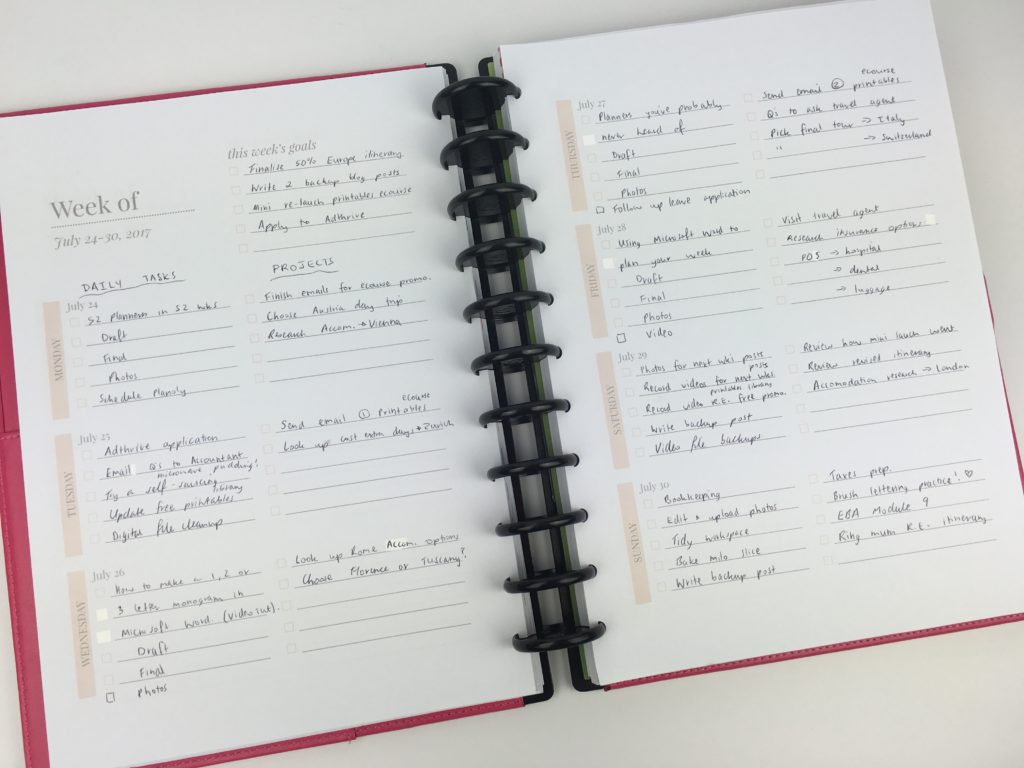
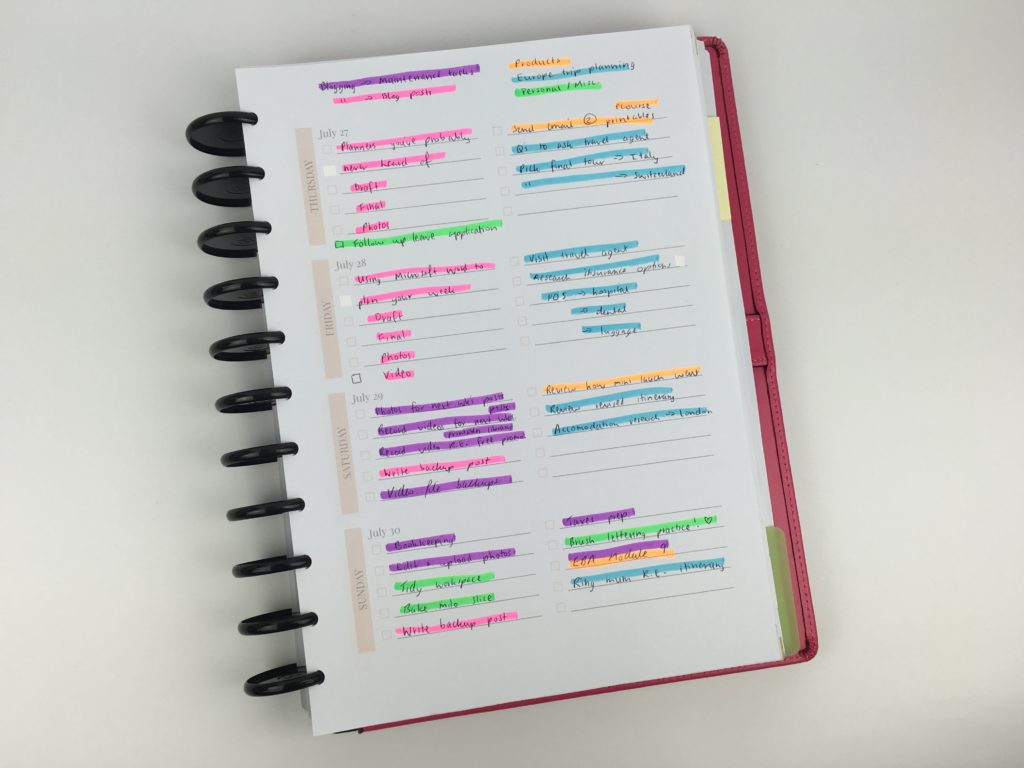
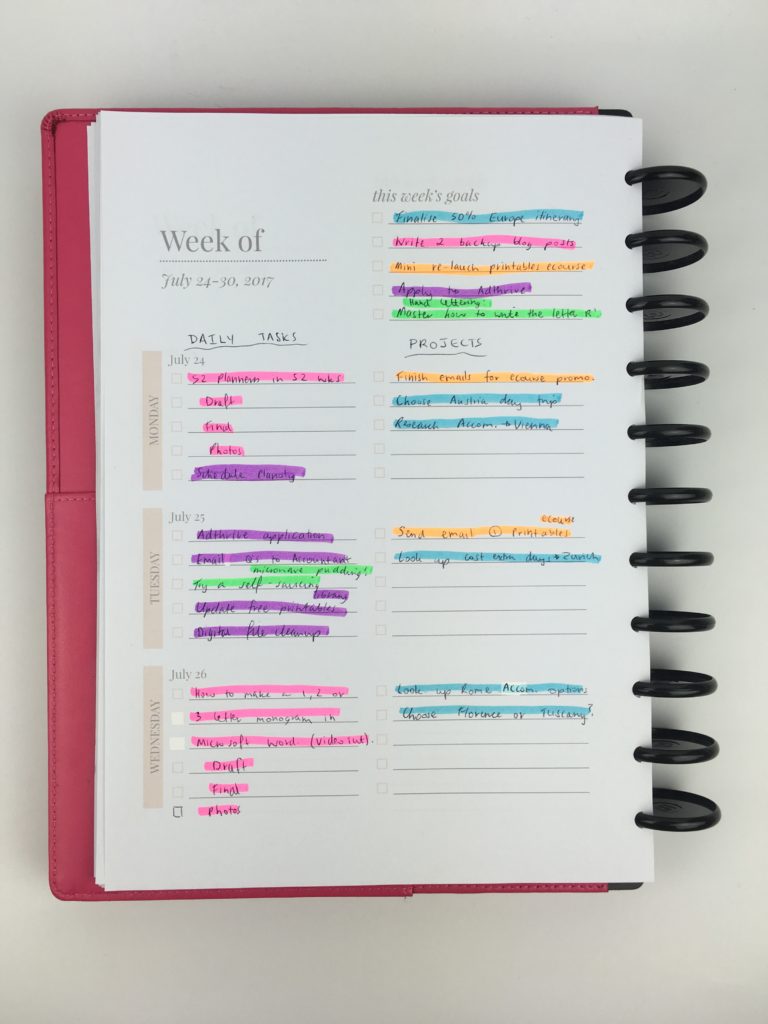
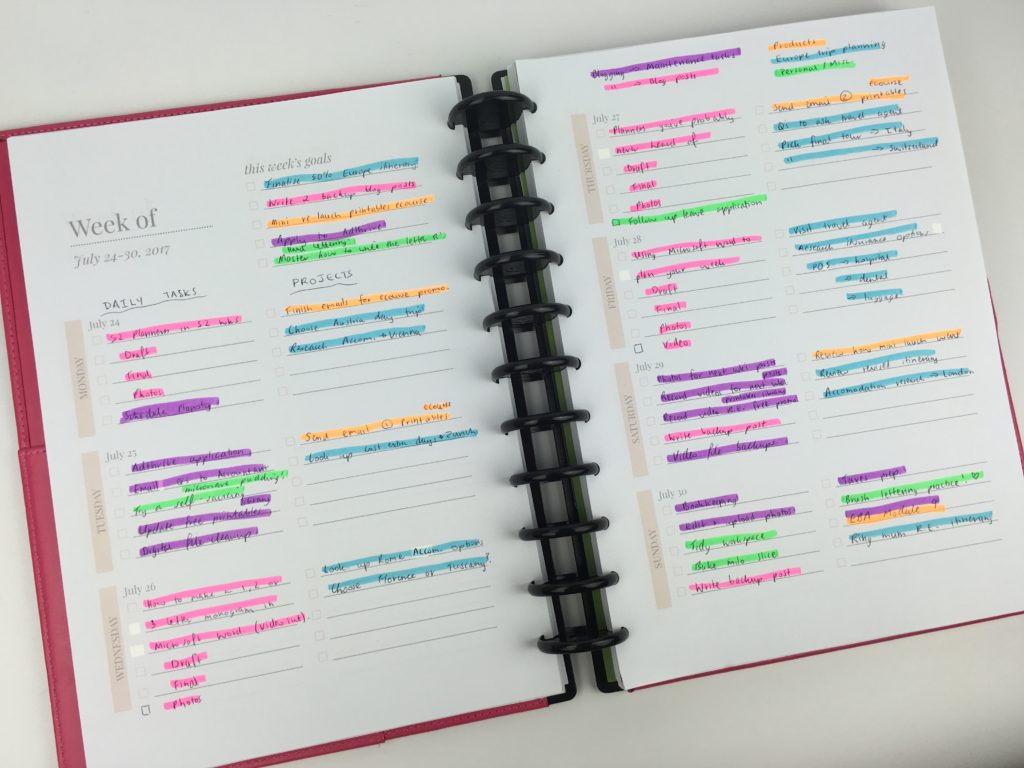
The weekly spread features a lot of checkboxes – it won’t come as a surprise that that was the reason I was keen to try this layout 🙂
I thought about color coding using pens but after seeing the difference doing a full week of highlighted color coding made in week 26, I opted to write in black pen and use highlighters to color code.
Before color coding…
….and after color coding
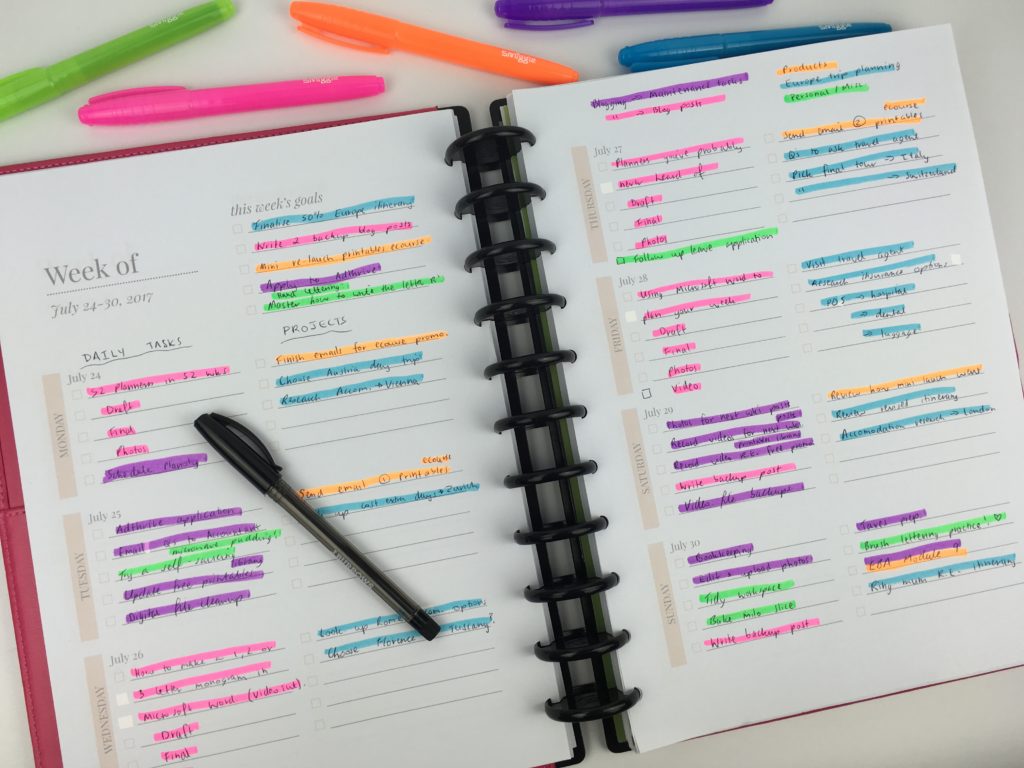
This is why I’m always harping on about color coding – such a big difference!
I switched up my color code this week so I could see where the time is being spent on projects (growth) versus maintenance tasks. I used:
- Pink = blogging
- Purple = Behind the scenes / maintenance tasks
- Blue = Europe trip planning (going next year!!)
- Green = Personal
- Orange = Products
Related: 50 Category Ideas for Color Coding Your Planner
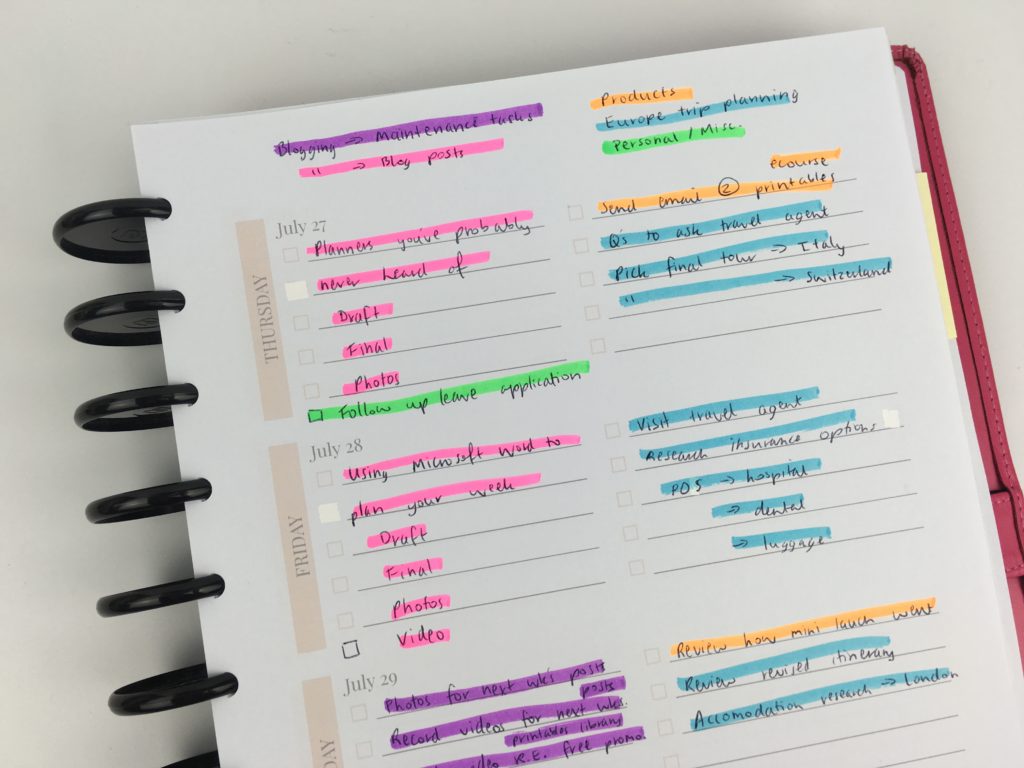
I used the ‘this week’s goals’ section of the spread to guide the tasks I scheduled for the week.
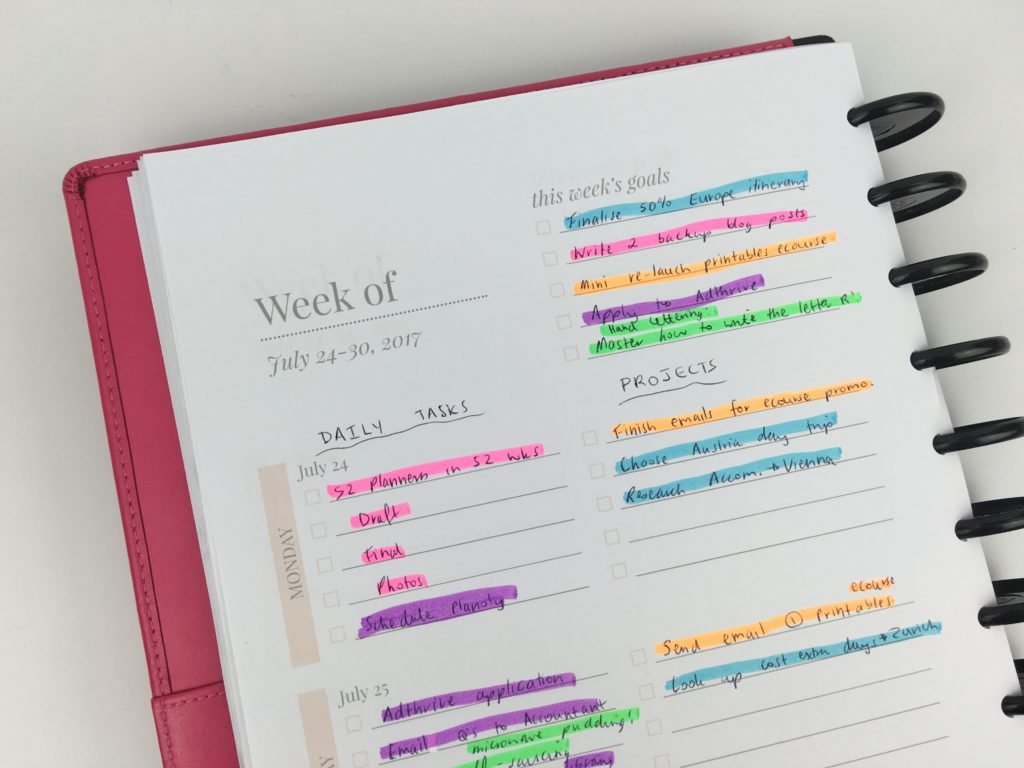
I used the 2 checklist columns for each day for daily tasks (routine habits / those little things that pop up) and the right side for ‘projects’. So for my blog this was products and planning a limited time offer on my How to Make Printables ecourse.
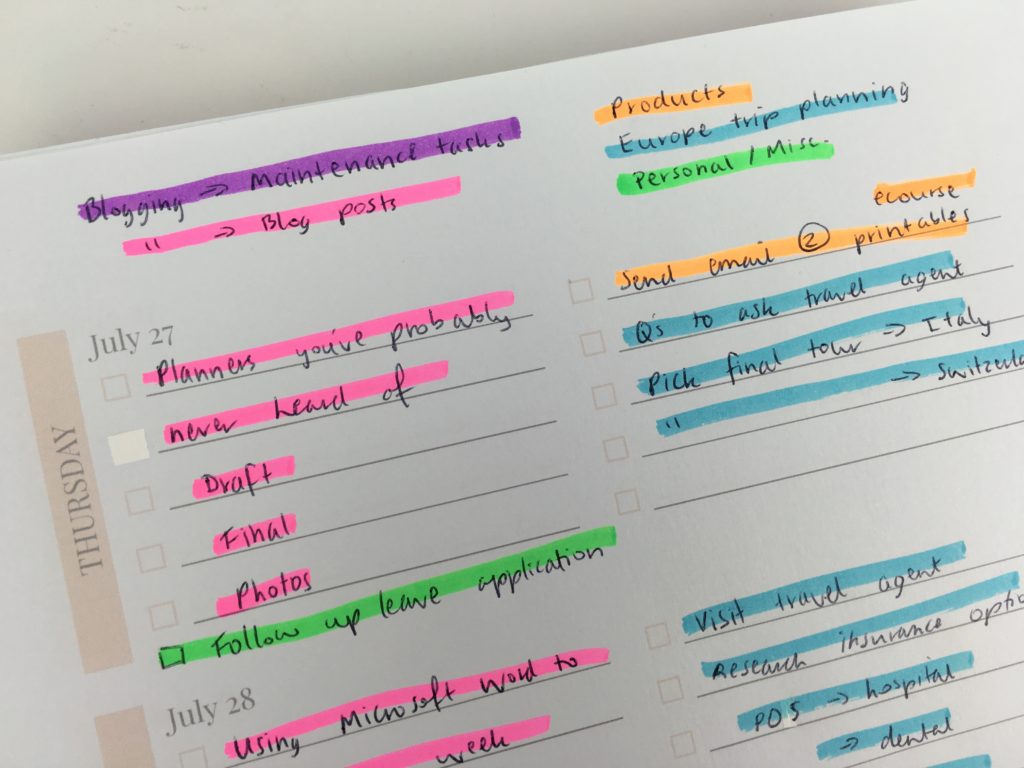
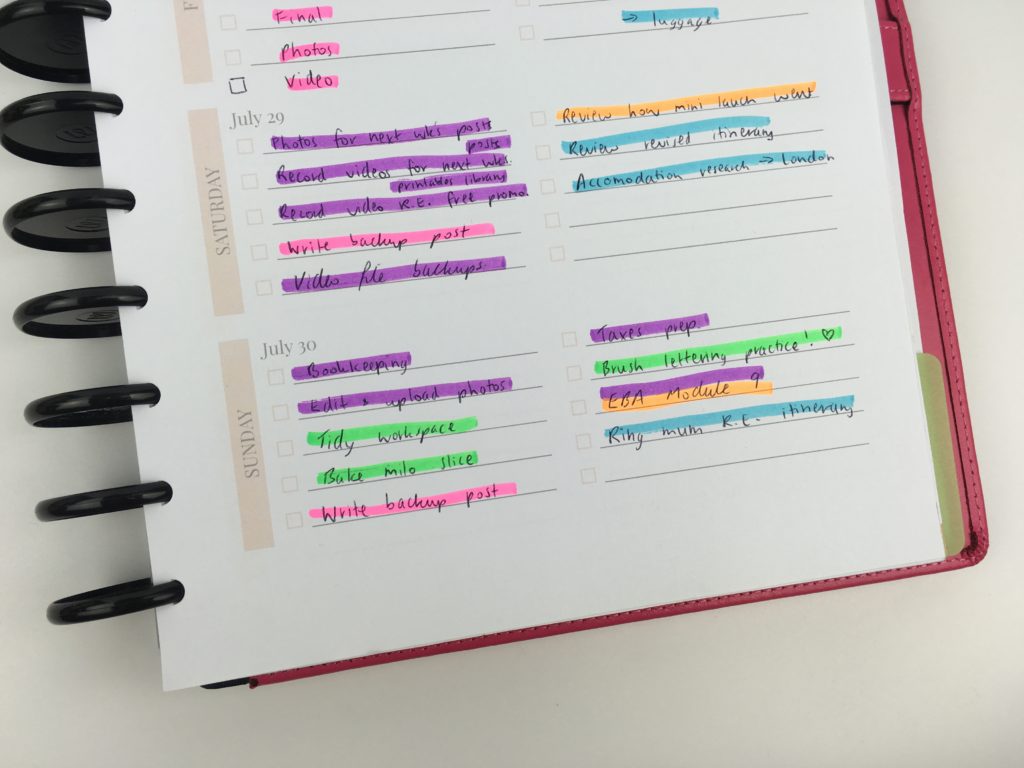
Color coding helps me see how much time I’m spending on maintenance (publishing posts, backing up files, social media etc.) versus tasks focused on growth i.e. products. I decided to do this since I haven’t launched a new product for a while.
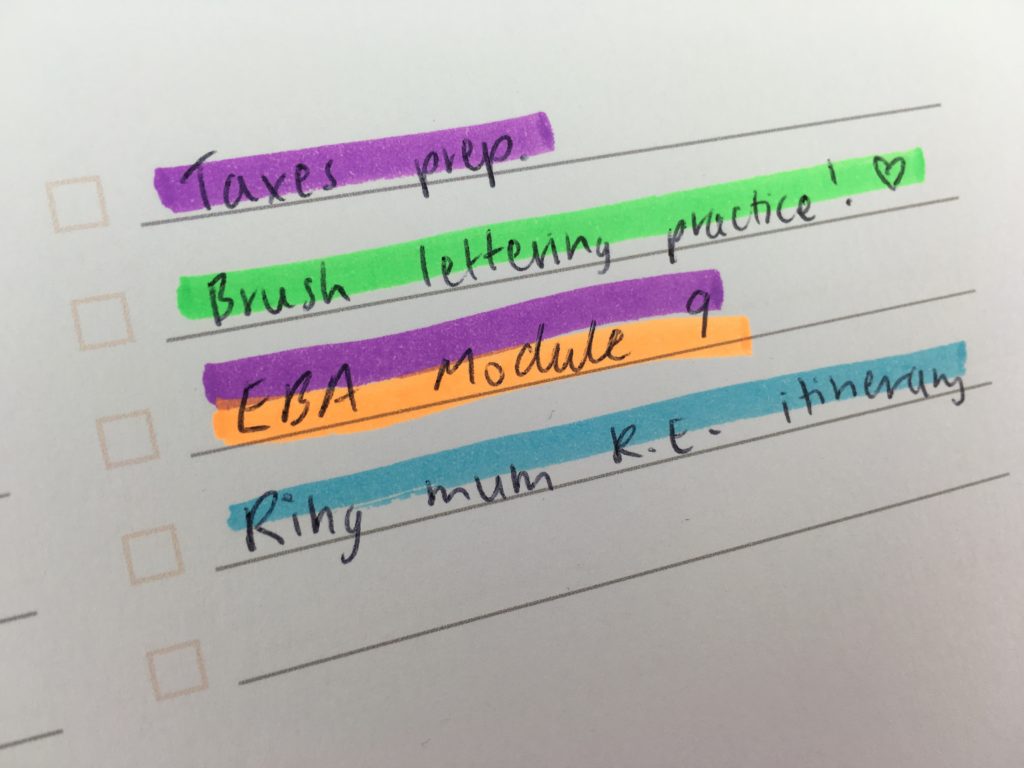
Double color coding can be used when you have a task that fits into more than 1 category.
Stationery Used
I used a J Burrows ballpoint pen. It’s a generic pen from Officeworks that comes in a pack of 10 for like $3 (i.e. super cheap!) it writes ok – it can sometimes skip but it does the job. I do prefer gel pens as they write smoother e.g. Papermate Inkjoy gel.
I used the Smiggle scented highlighters – they’re the brightest highlighters I’ve found and one of my all time favorites!
Related: Smiggle Stationery Haul (worth the cost?)
Pros
- The weekly goals at the start is good for noting what you need / want to get done and use that to direct what things you schedule for the week in order to achieve those goals
- Full page size (although you could print at smaller size – see this post for printing instructions)
- Pre-printed checklists for each day (so you don’t you have to hand-draw or stamp them yourself!)
- Horizontal weekly spread (I prefer horizontal to vertical as the writing space is longer so you can fit more in and your eyes aren’t flicking back and forth across the page all the time)
Cons of using
- No habit tracking space
- No note taking space
- There was checkboxes for each day but nothing else – no space for reminders
- More checkboxes for each day would have been ideal (although I could have shortened the blog post workflow tasks to just letters to save space e.g. D instead of writing ‘draft’)
- No sidebar
- The colors of the planner are a bit dull – using a different color for each day or brighter color would add a nice POP of color!
Would I use this planner again?
I liked the main goals section and lots of checkists but I really need a sidebar or a little bit of extra space that isn’t allocated to a day of the week for things like habit tracking.
I don’t think there were enough checkboxes for each day. Because of this I didn’t track the entire workflow of writing & marketing a blog post. While it has become a habit that I pin to Pinterest after publishing a blog post so I probably don’t need to record it but I like to do it so it’s one less thing to think about and so I can tick it off if I can’t remember if I’ve done it or not.
I should’ve used a sticky note to track habits like I did in week 28.
I didn’t think I would miss having a sidebar and a bit of extra space un-allocated to a day for those random things that pop up during the week, habit tracking, reminders etc. as much as I did. I definitely need some space for those little extra things.
Catch up on past weeks:
- Week 16: Minimalist 1 page categorised planning using black pen & highlighters
- Week 18: Making a DIY printable planner with a flexible layout
- Week 23: Using Limelife Planners Weekly Layout C
- Week 26: Using a weekly planner notepad to plan the week
Related Posts
- 5 Planner supplies you should never skimp on
- Arcing my Plum Paper Planner – everything you need to know if you’d like to try it yourself!
- How to choose the right planner pens: what to look for when buying planner pens
- Ultimate list of the best planner pen brands and how to choose colors for color coding
If you’re tired of drawing up weekly spreads, this printable bundle of 52 different 1 page weekly planners (you can mix and match to create 2 page spreads if you prefer), is available in my Etsy shop and online store.