
Bullet journal weekly spread using Notebook Therapy Stencils
My inspiration for this week’s spread was the Notebook Therapy Stencils.
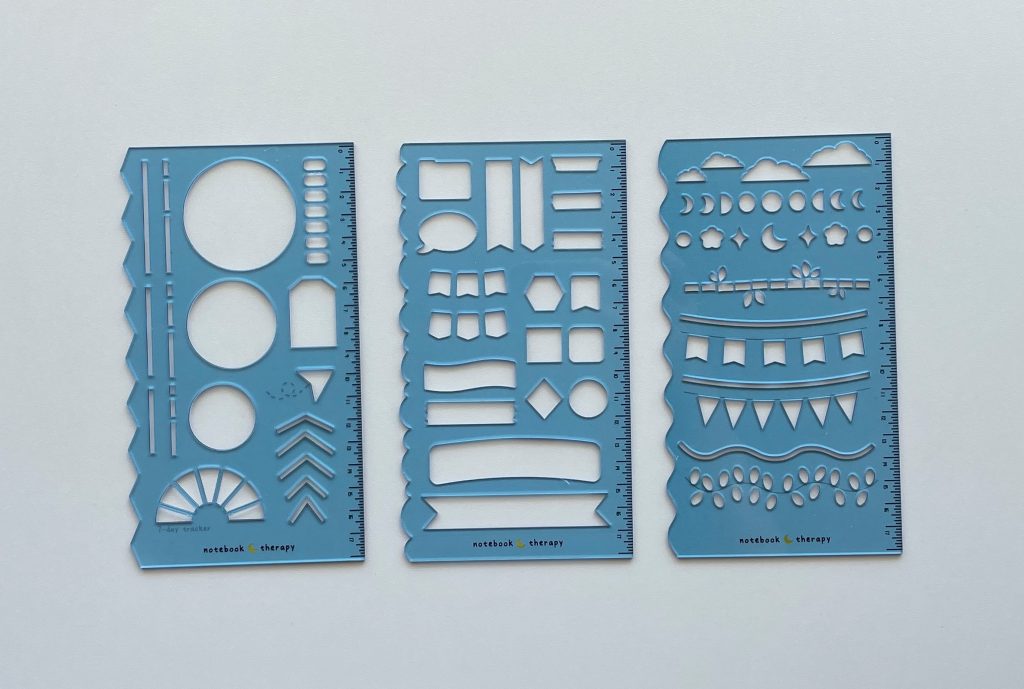
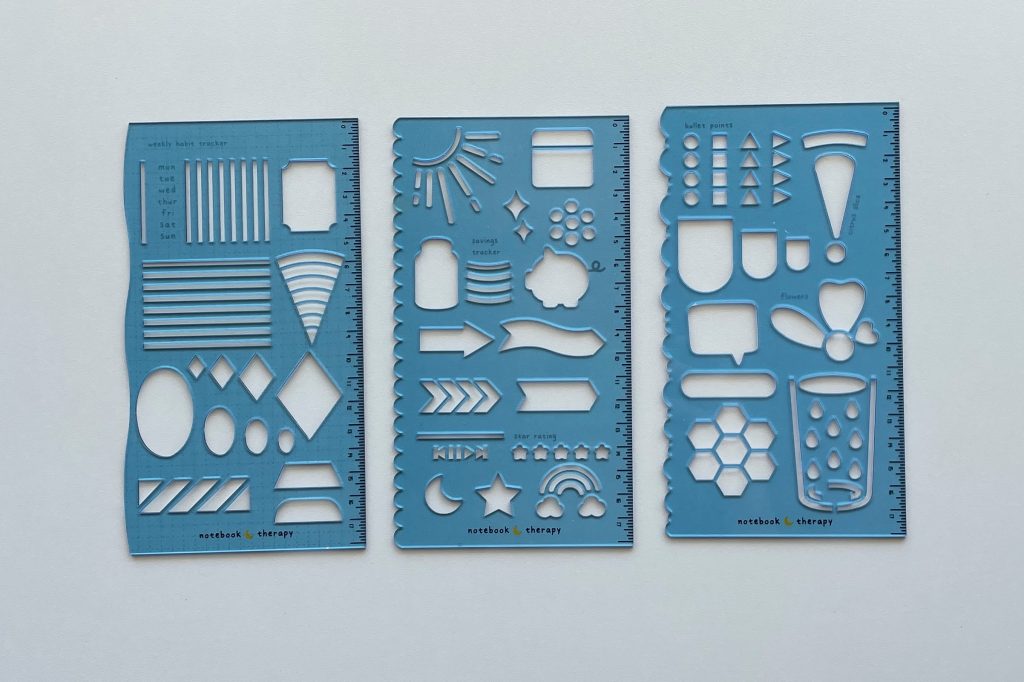
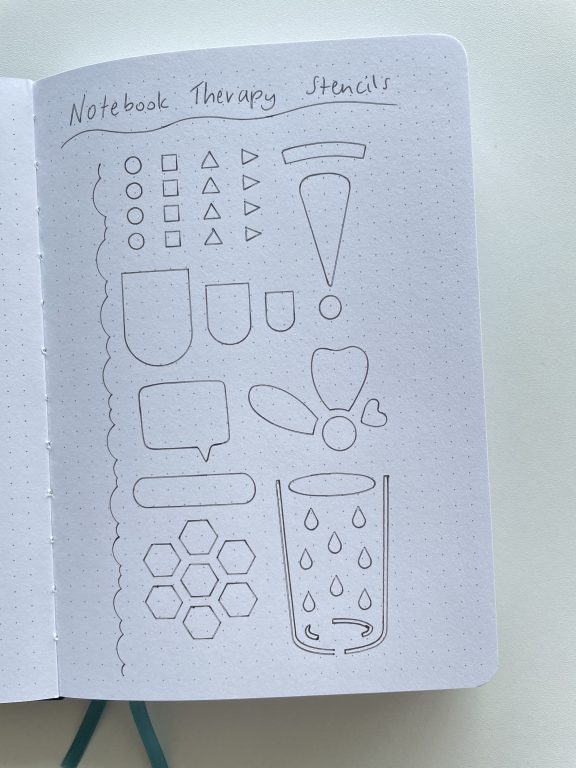
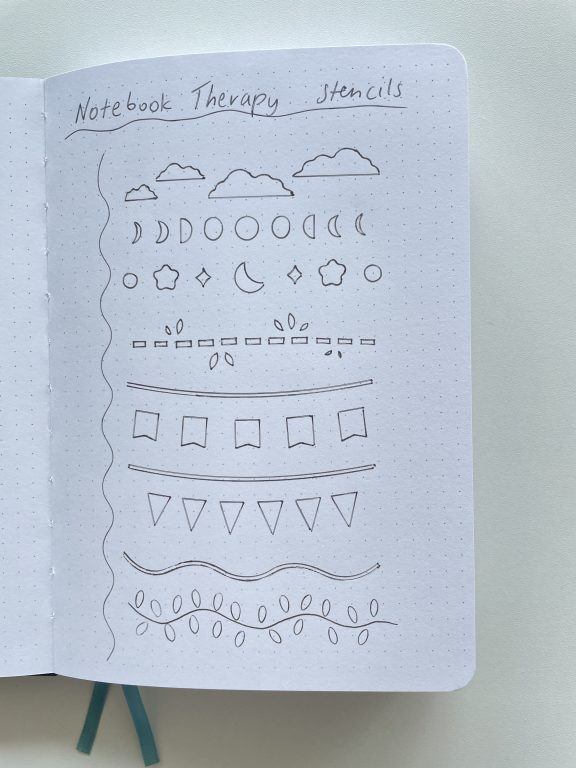
Notebook Therapy Stencils
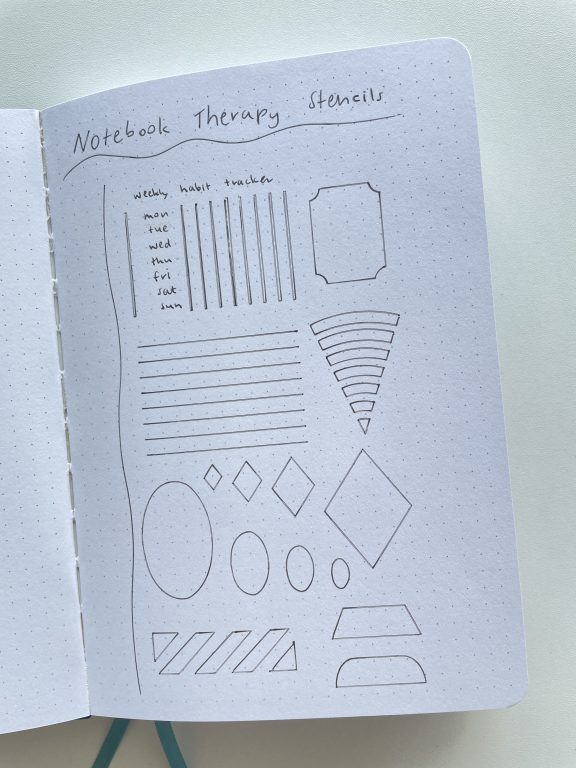
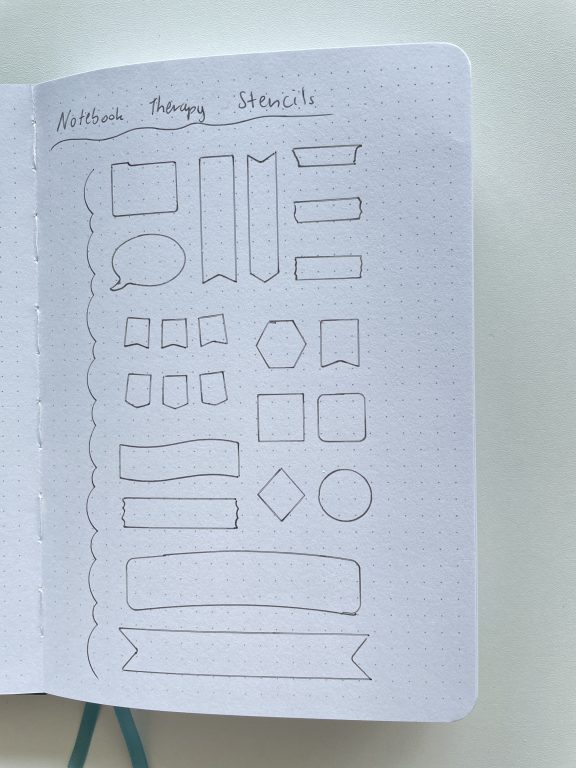
Here are all of the shapes from the stencils:
I used a Frixion pen with the stencils but they’d probably work better with a needle tip pen. If you slip you can’t erase though, which is why I always use erasable pens with stencils.
![]()
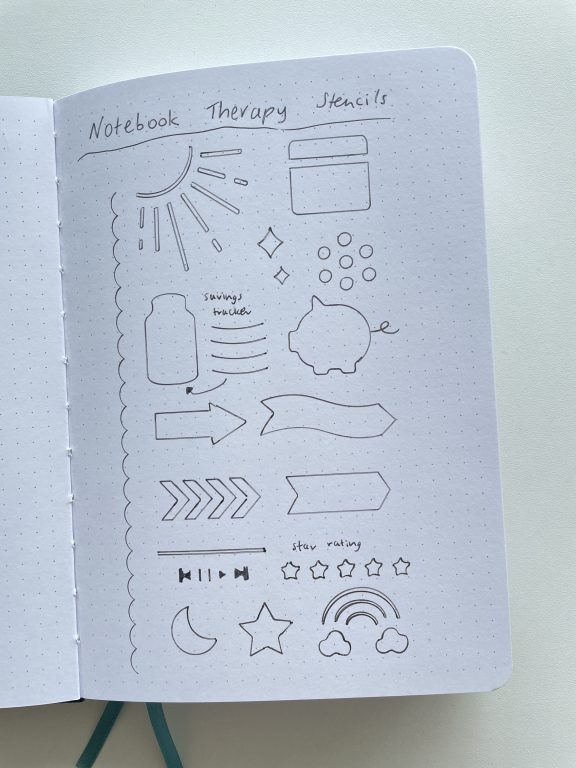
There’s a good mix of shapes, borders, banners, weather icons, hydrate trackers, checklists, lines and a habit tracker.
When I’m deciding what planner or layout I’m going to use for the week, I make a list of the sections I need. So for this week (which was back in November I’ve just been slacking with posting), it was:
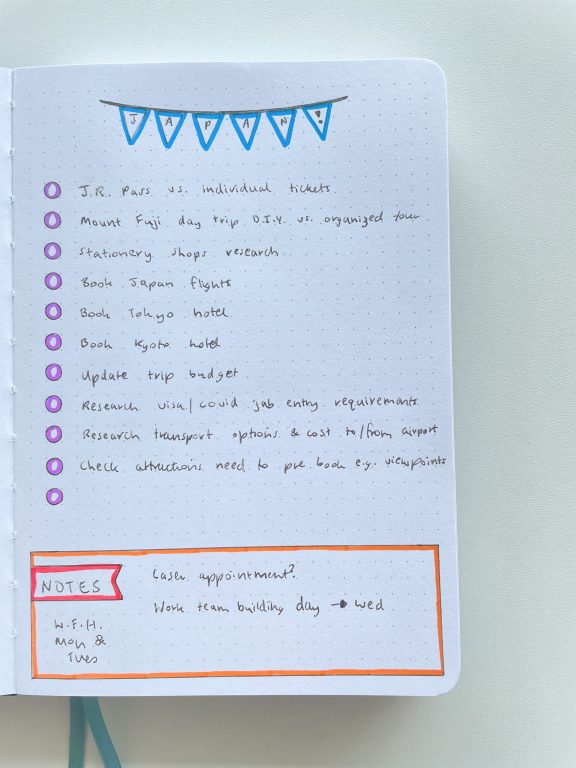
- Japan travel planning (I’m off to Japan for the cherry blossoms in 2023! I was supposed to take this trip in 2020 so have finally been able to reschedule it)
- Appointments
- To do (including priority tasks)
- Reminders
Before the Pen
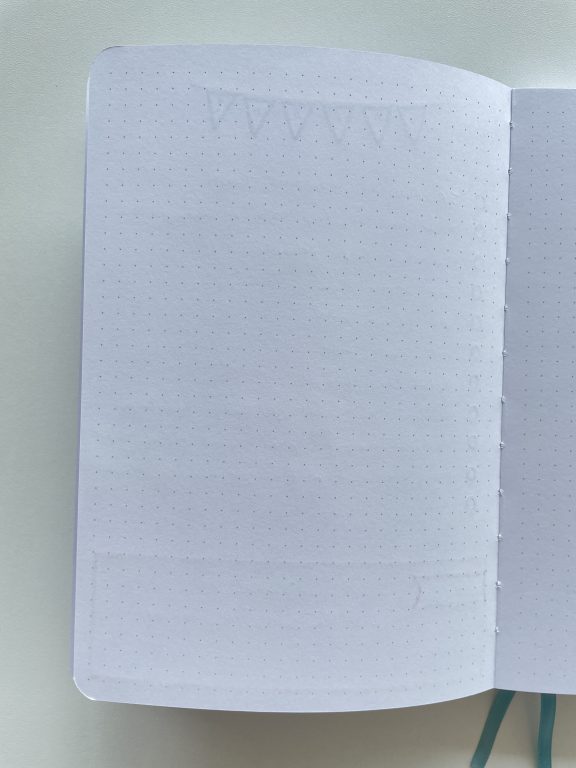
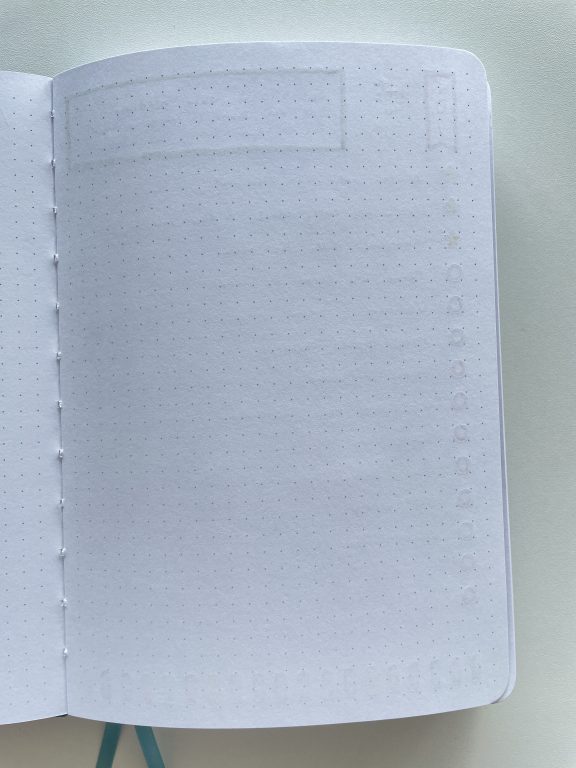
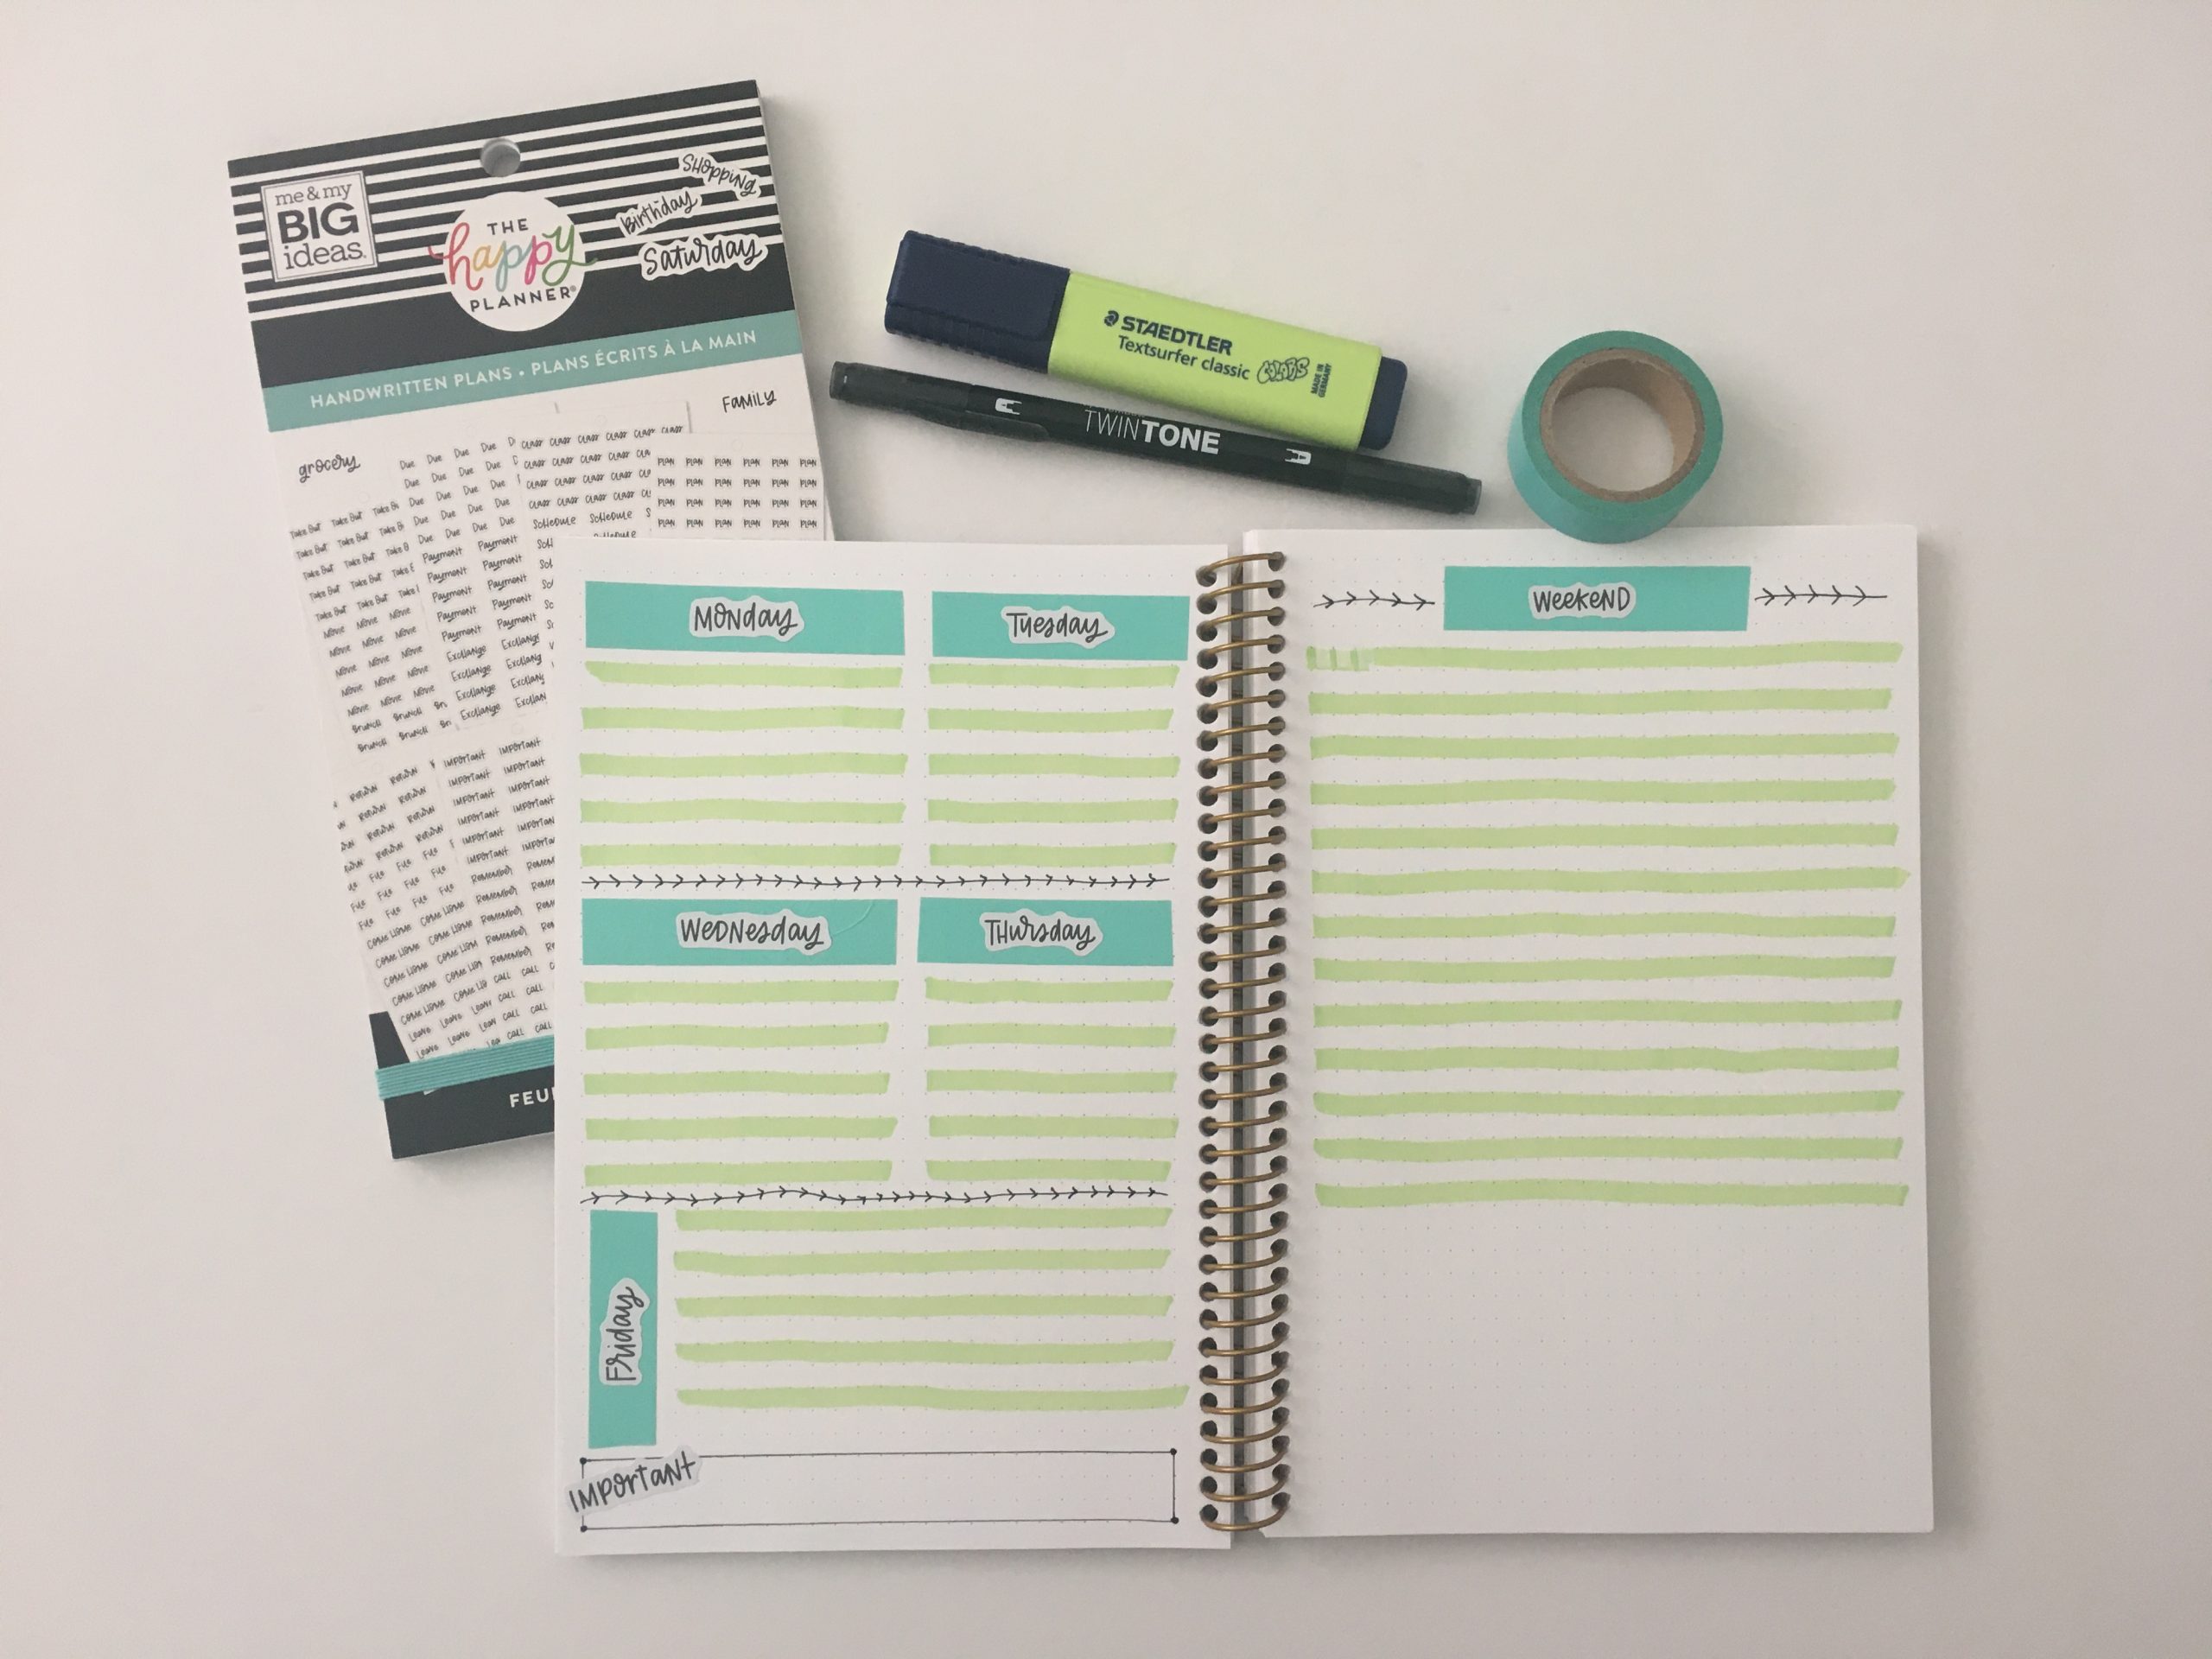
I ended up using shapes from each of the stencils in the set. This is what I came up with:
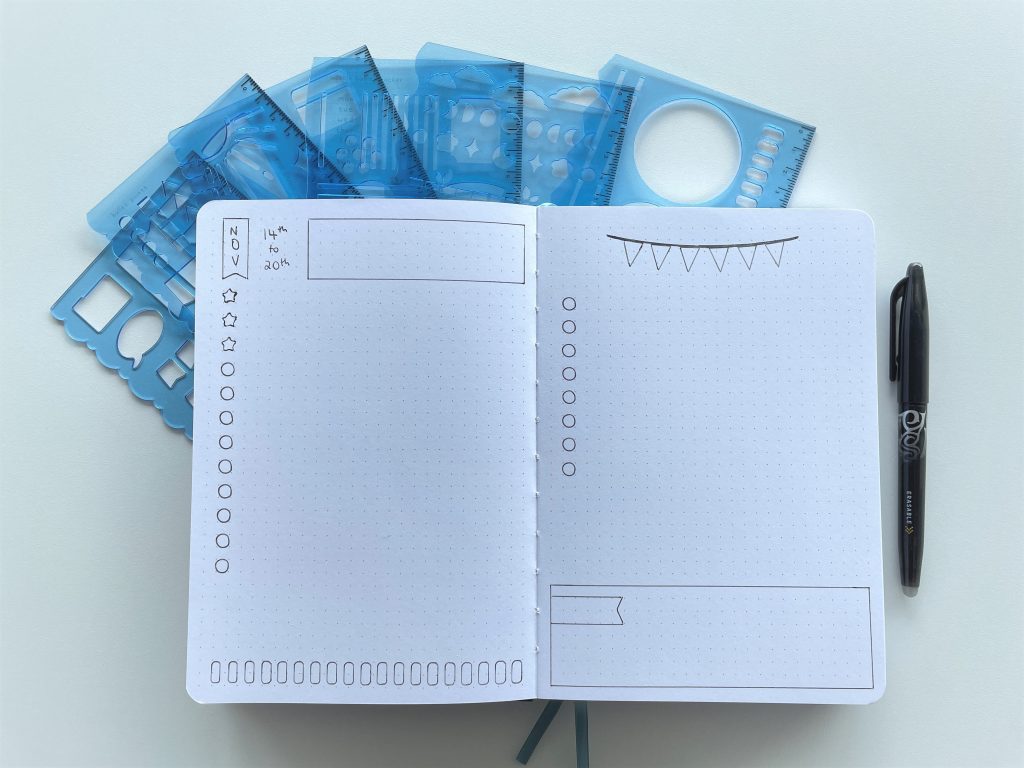
I didn’t have enough space to use the curved edge borders, those would be good for a larger page size (e.g. B5, 7″ wide x 9″ high).
The star shapes of the stencil are a bit fiddly but since I used my Frixion pen I could erase and redo to make it neater.
I had some leftover space so created a border at the bottom of the page using some ovals on the stencils. There’s also arrows, stripes, lines and vines you could use to do a border.
I kept it simple with the left page for appointments, priority tasks (the star symbol) and other to do’s. On the right page I kept Japan trip planning separate and had a notes box down the bottom.
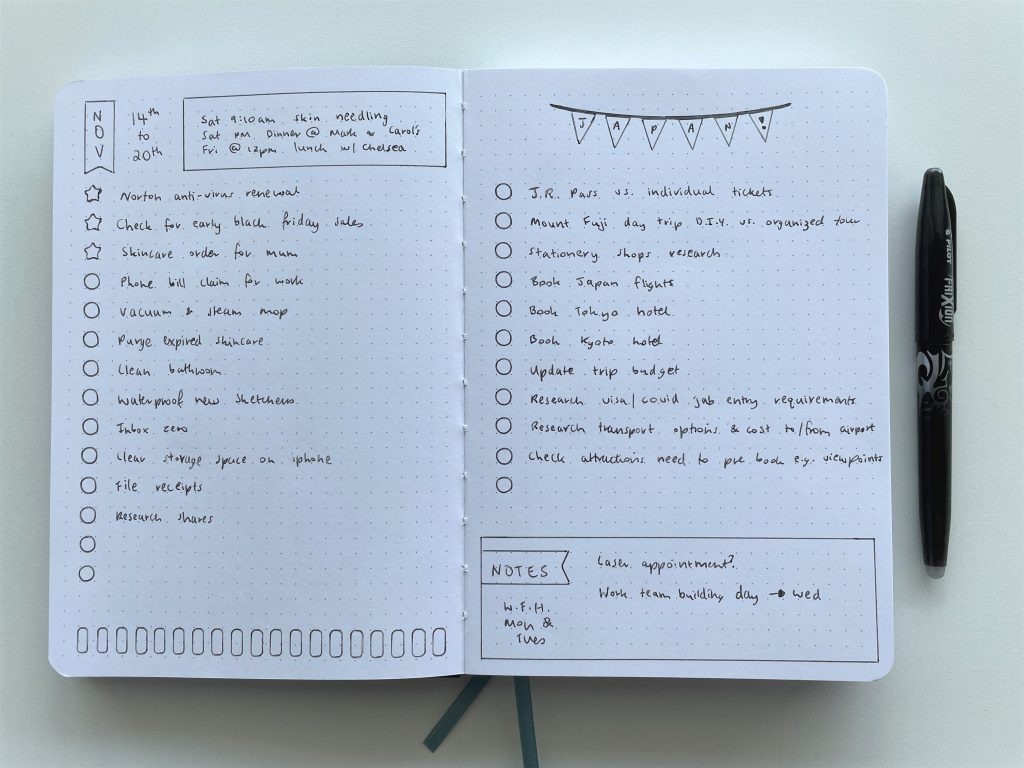
After the Pen
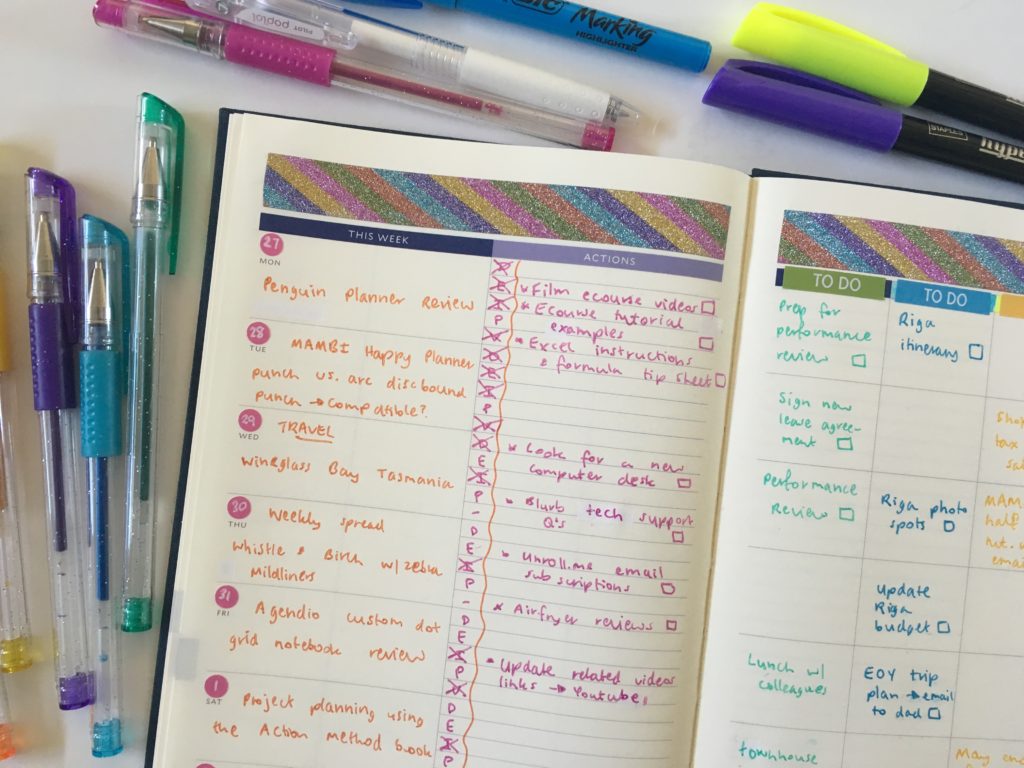
Much better after adding some colour!
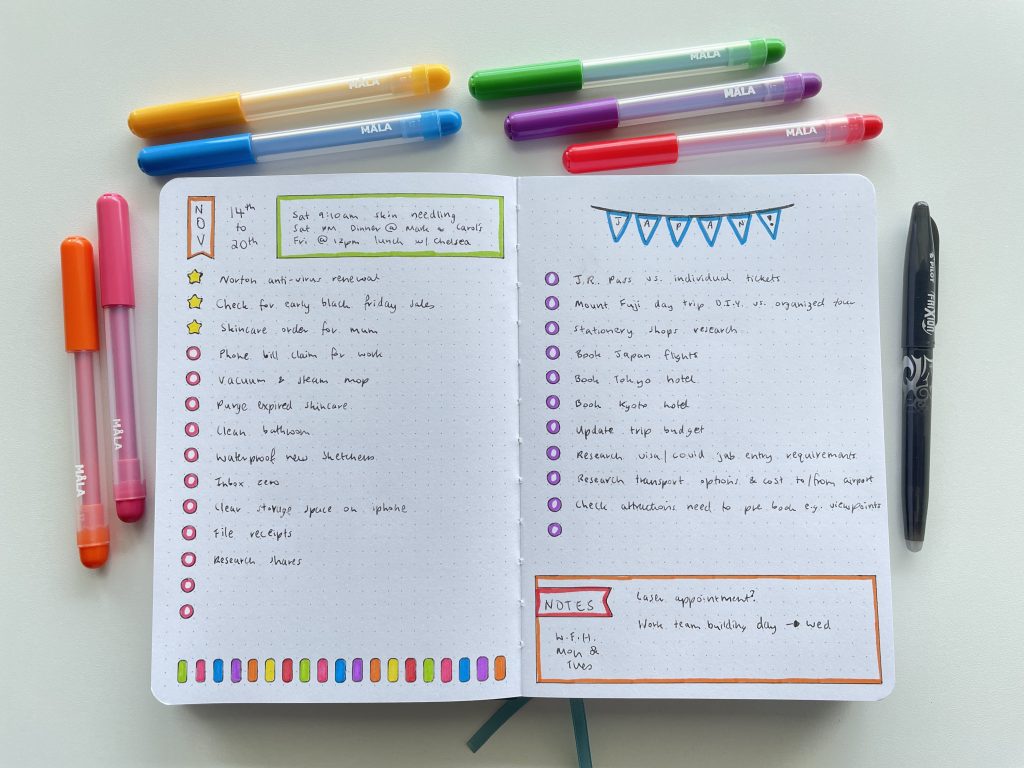
I had a hard time choosing what markers to use and did test swatches for the Staedtler Norris club, Milkliners, coloured pencils, zooms, Sharpie S Note and the Zebra Mildliners. I was so close to using Zebra Mildliners but I use them far too often and wanted to try something else. Which was when I stumbled upon the MALA markers I found at IKEA a few years ago which were just the right thickness.
Related post: Favorite Twin Tip Markers for Planning (Roundup)
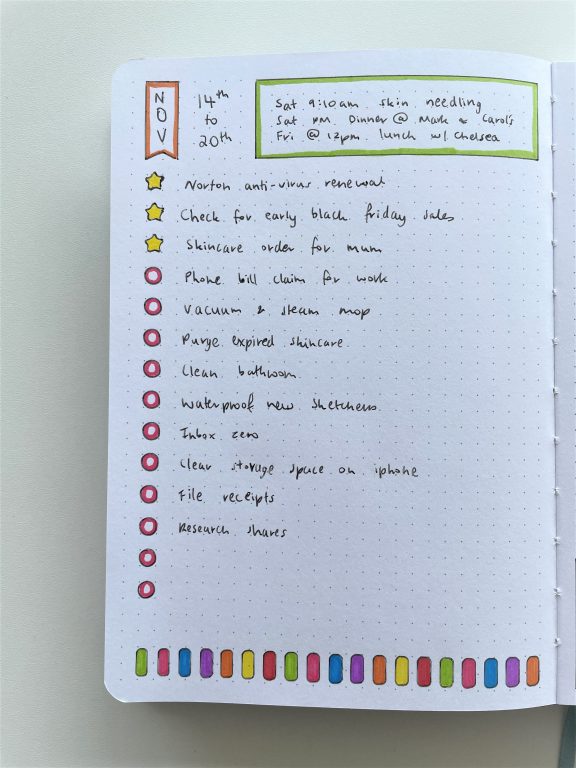
I outlined the circles then coloured them in properly when the task was complete.
Related post: 10 strategies for tackling your to do list
There was some light ghosting of the MALA markers on the back side of the pages, not enough that I wouldn’t use the back pages though. The Notebook Therapy journal is 160 GSM. As I mentioned in my review of the notebook, most notebooks with 160 GSM paper don’t have show through for marker pens like these.
Supplies Used
- Notebook therapy dot journal
- Notebook therapy stencils
- Frixion erasable pen in black
- MALA markers (from IKEA)
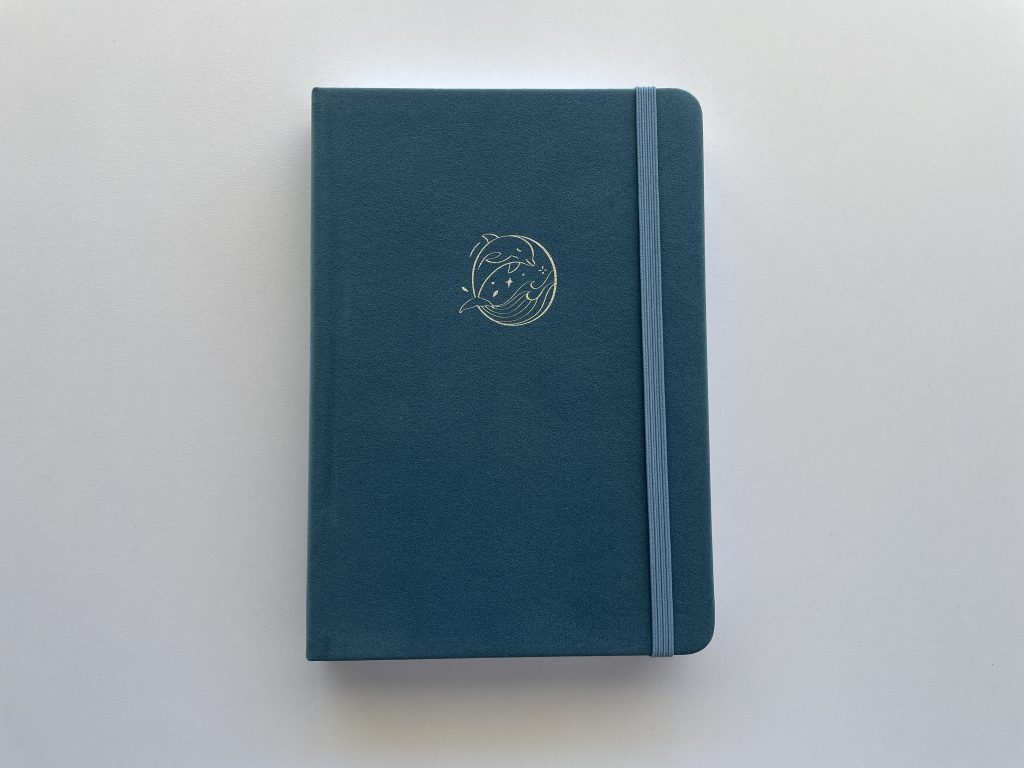
Notebook Therapy dotted notebook review
Would I use these stencils again?
I like them, but I actually prefer cheap plastic stencils like the ones I reviewed in this post instead. Because the plastic stencils are flatter than the Notebook Therapy Stencils, it’s easier to get a pen around the stencil outline. Except for the checklist shapes. I like the checklists on the Notebook Therapy stencils as the stencil is more sturdy and doesn’t slip as much as the plastic stencils (which I usually hold in place using some washi tape).
Past weekly spreads
- Minimalist versus Rainbow Bullet Journal Spread in the Kikki K Grid Journal
- Modifying the Agendio Planner
- Landscape page orientation weekly spread in the Happy Notes
Planning tips
- 10 Bullet Journal Weekly Spreads with Habit Trackers
- Project Planning Using the Action Method Book
- My all time favorite planner supplies
Tired of drawing up weekly spreads? This printable bundle of 52 different 1 page weekly planners (you can mix and match to create 2 page spreads if you prefer), is available in my Etsy shop and online store. It comes in US letter size and Happy Planner classic page size.

Liked this post? Pin it!


That looks so great!