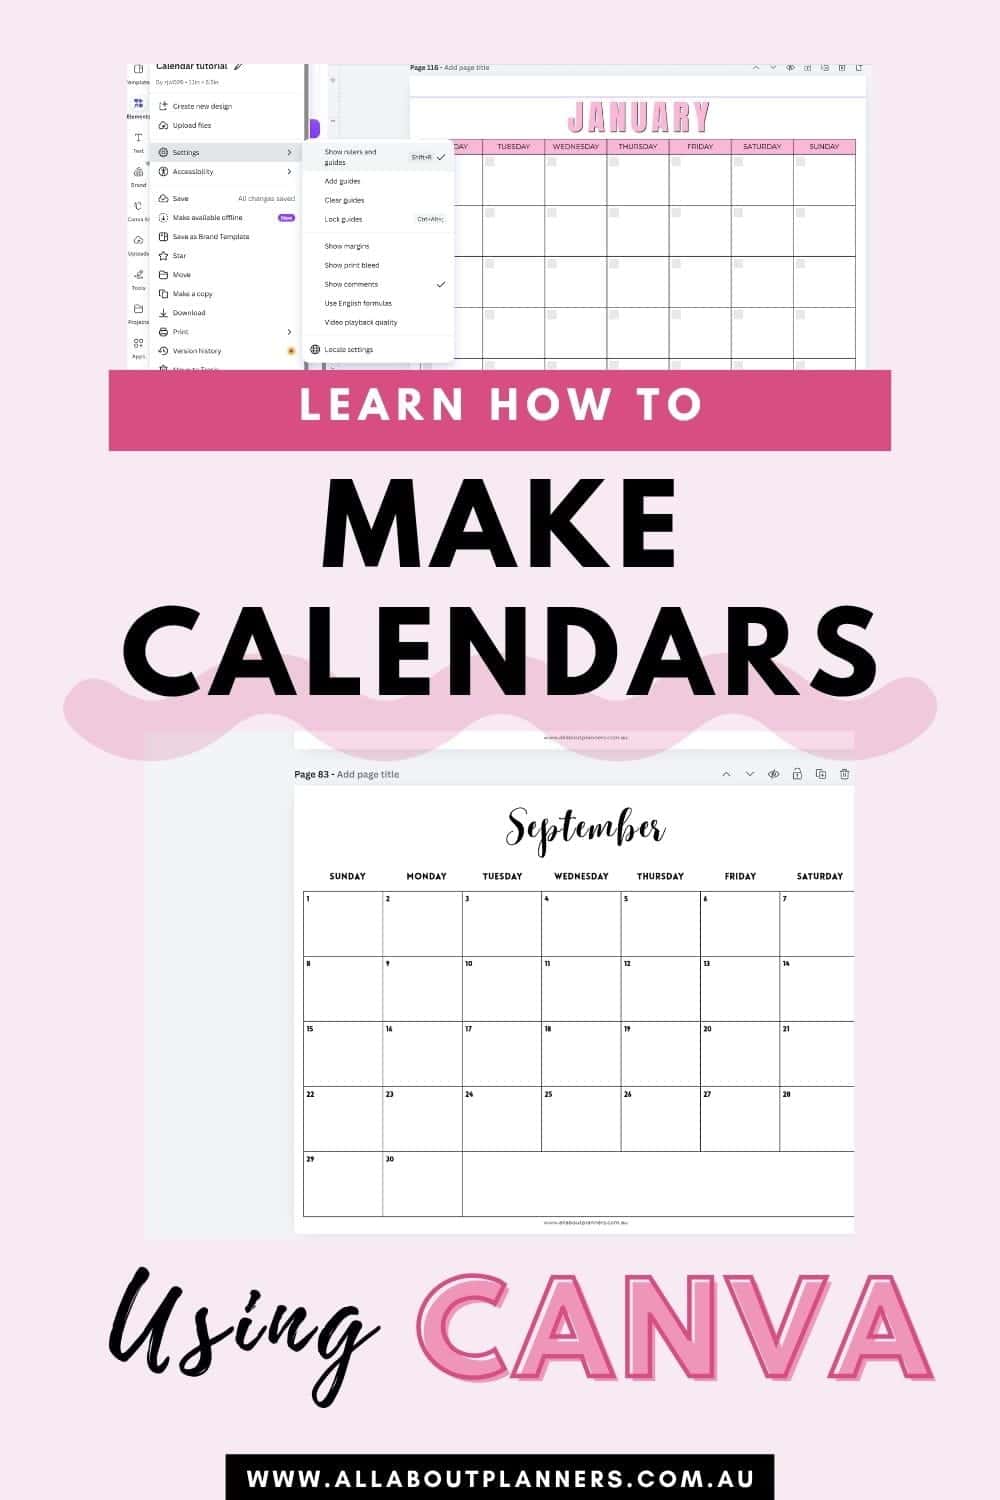
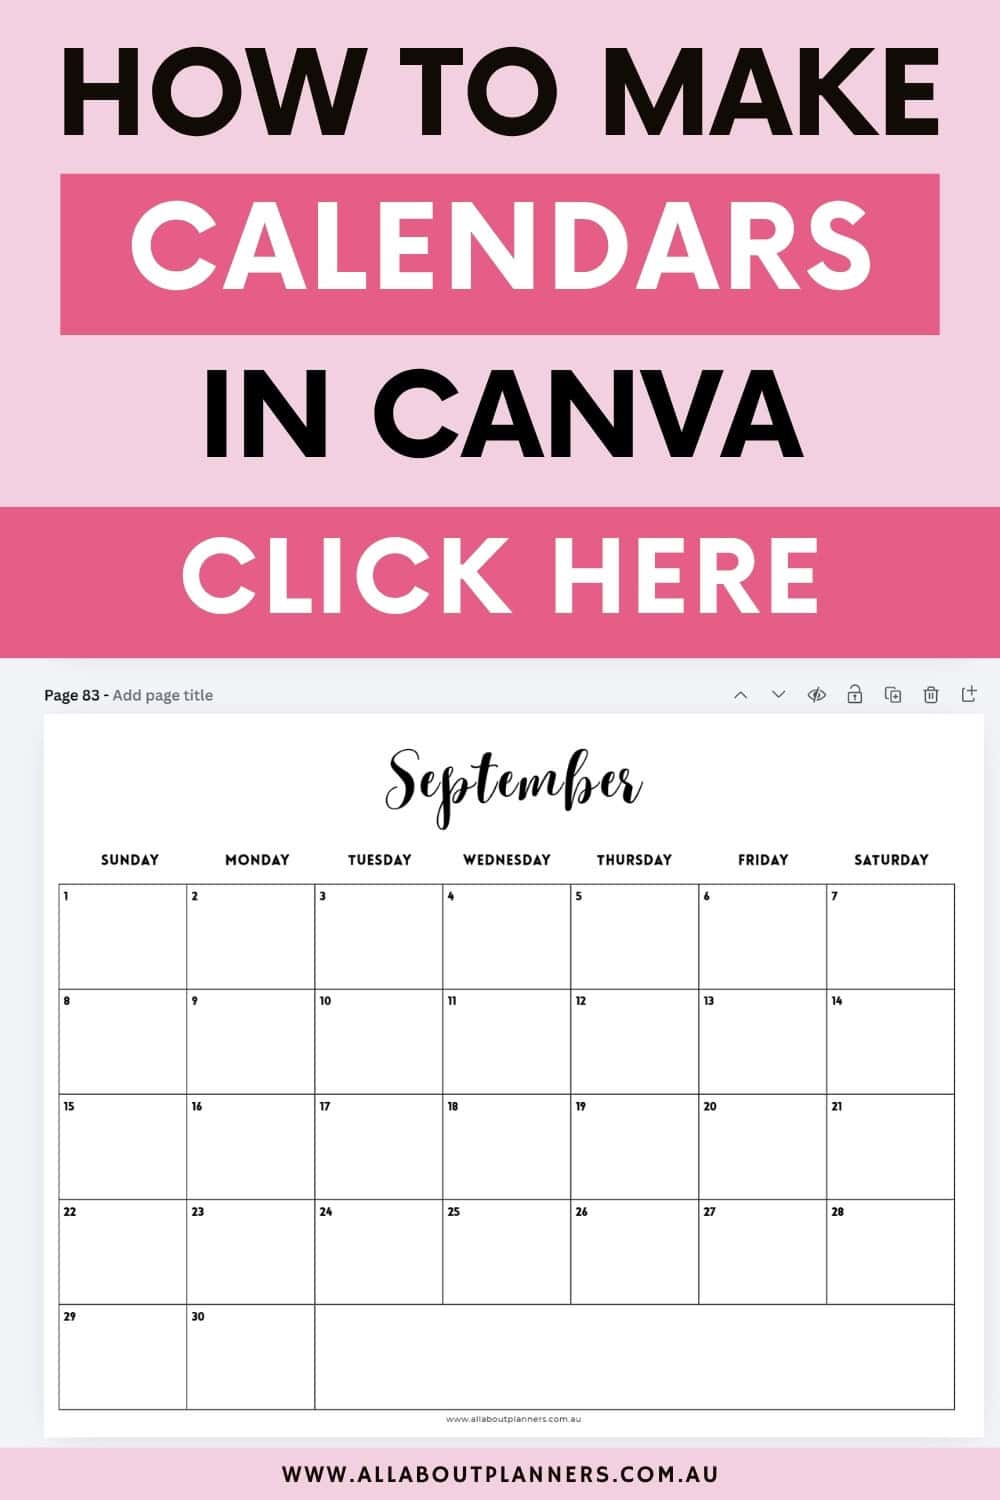
How to Make a Printable Monthly Calendar in Canva (Step by Step Tutorial with Video)
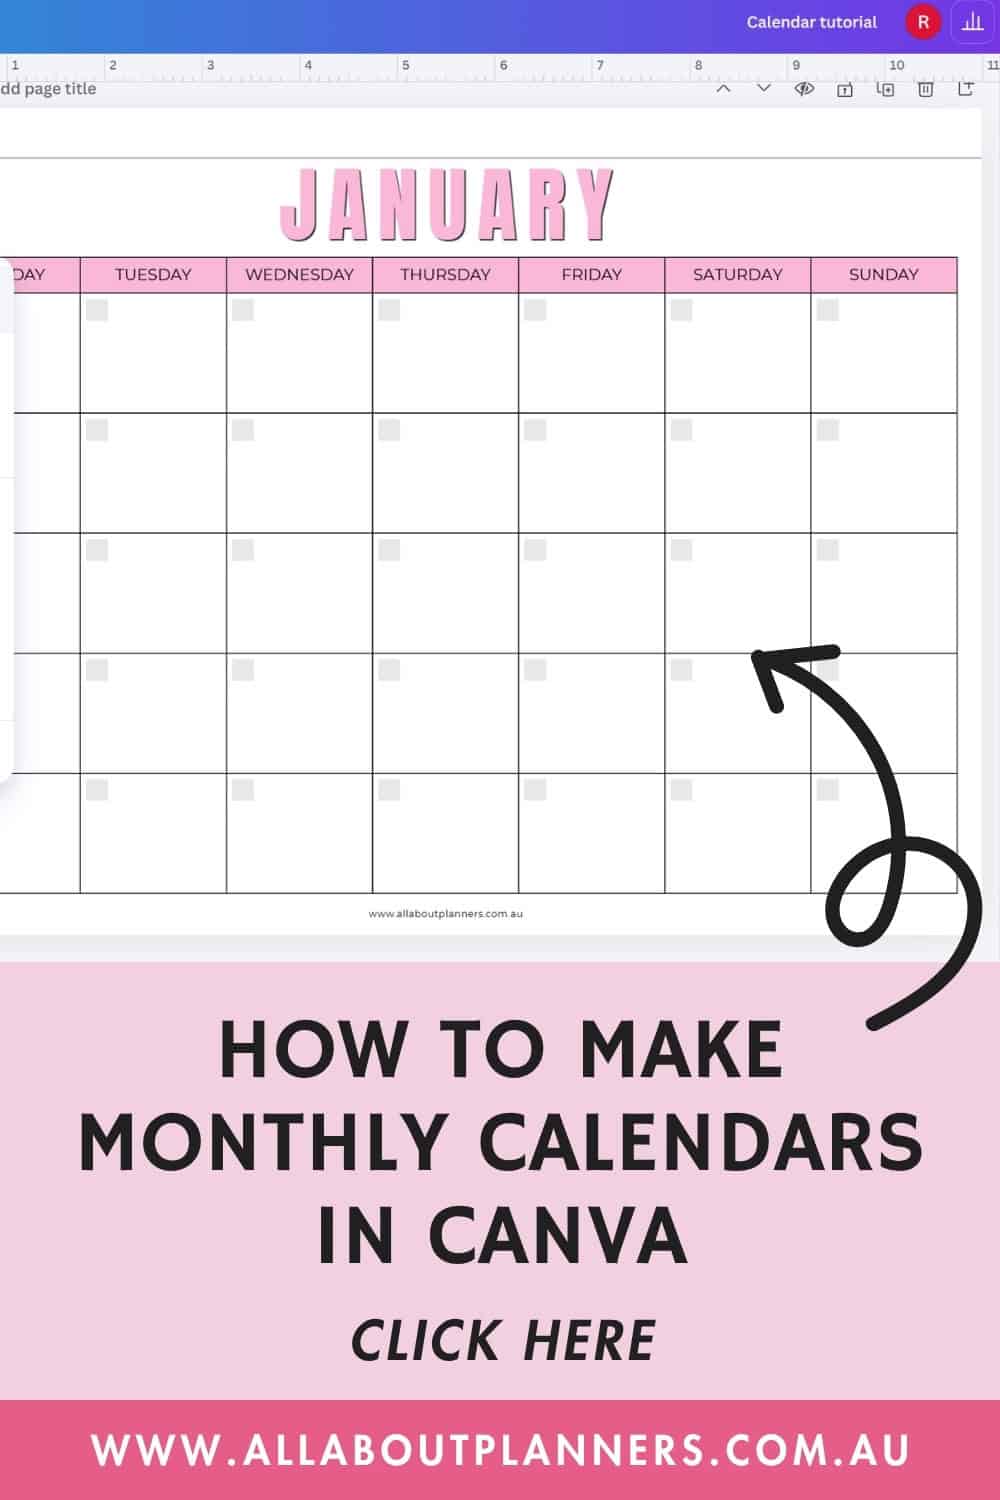
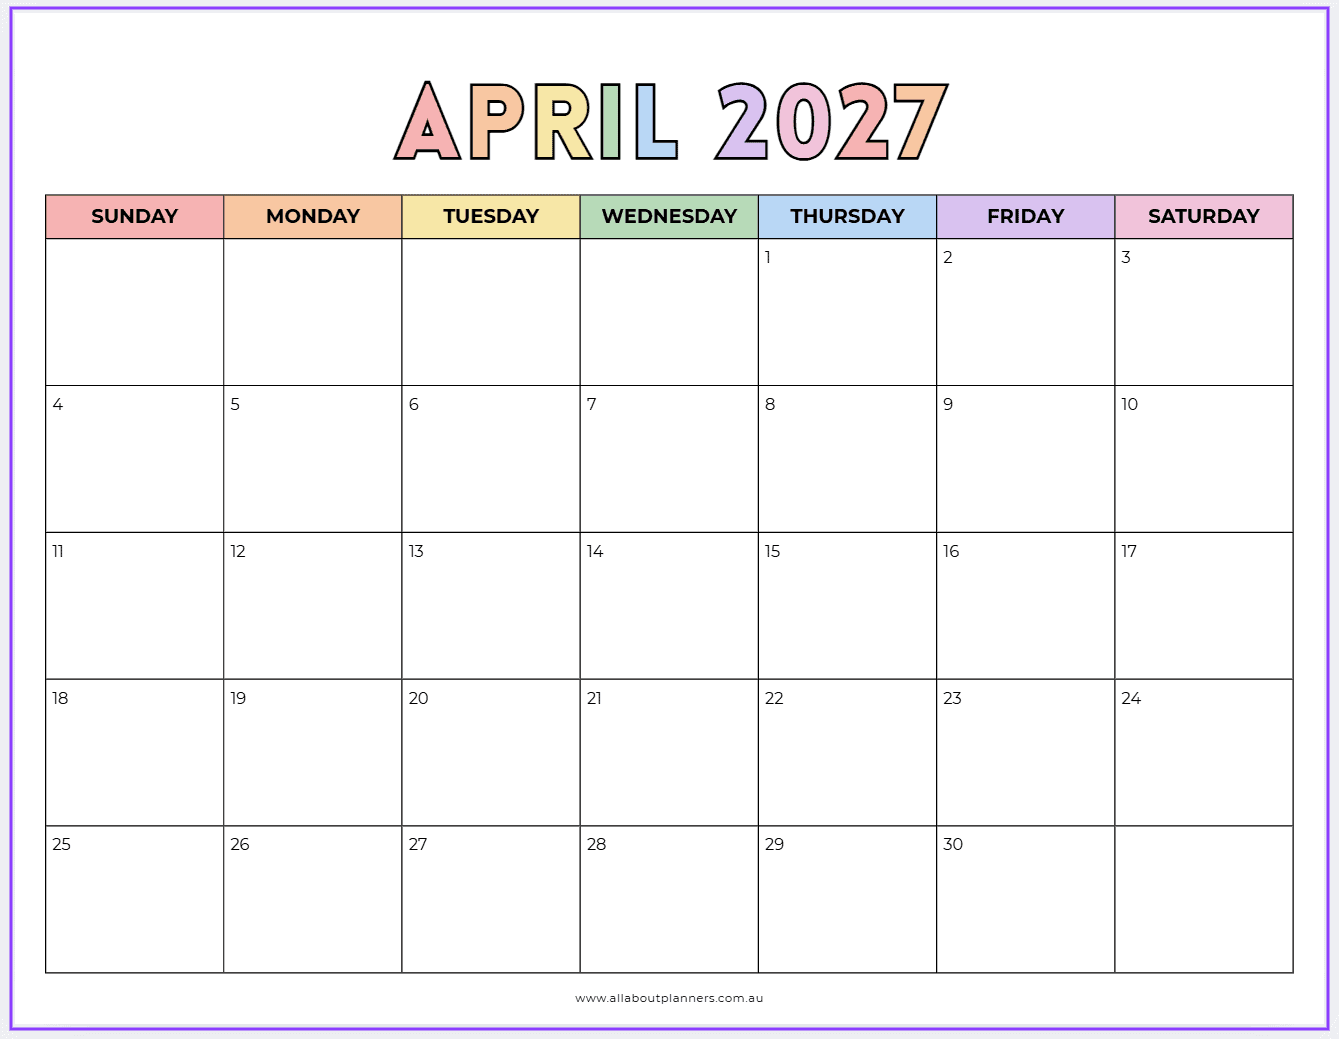
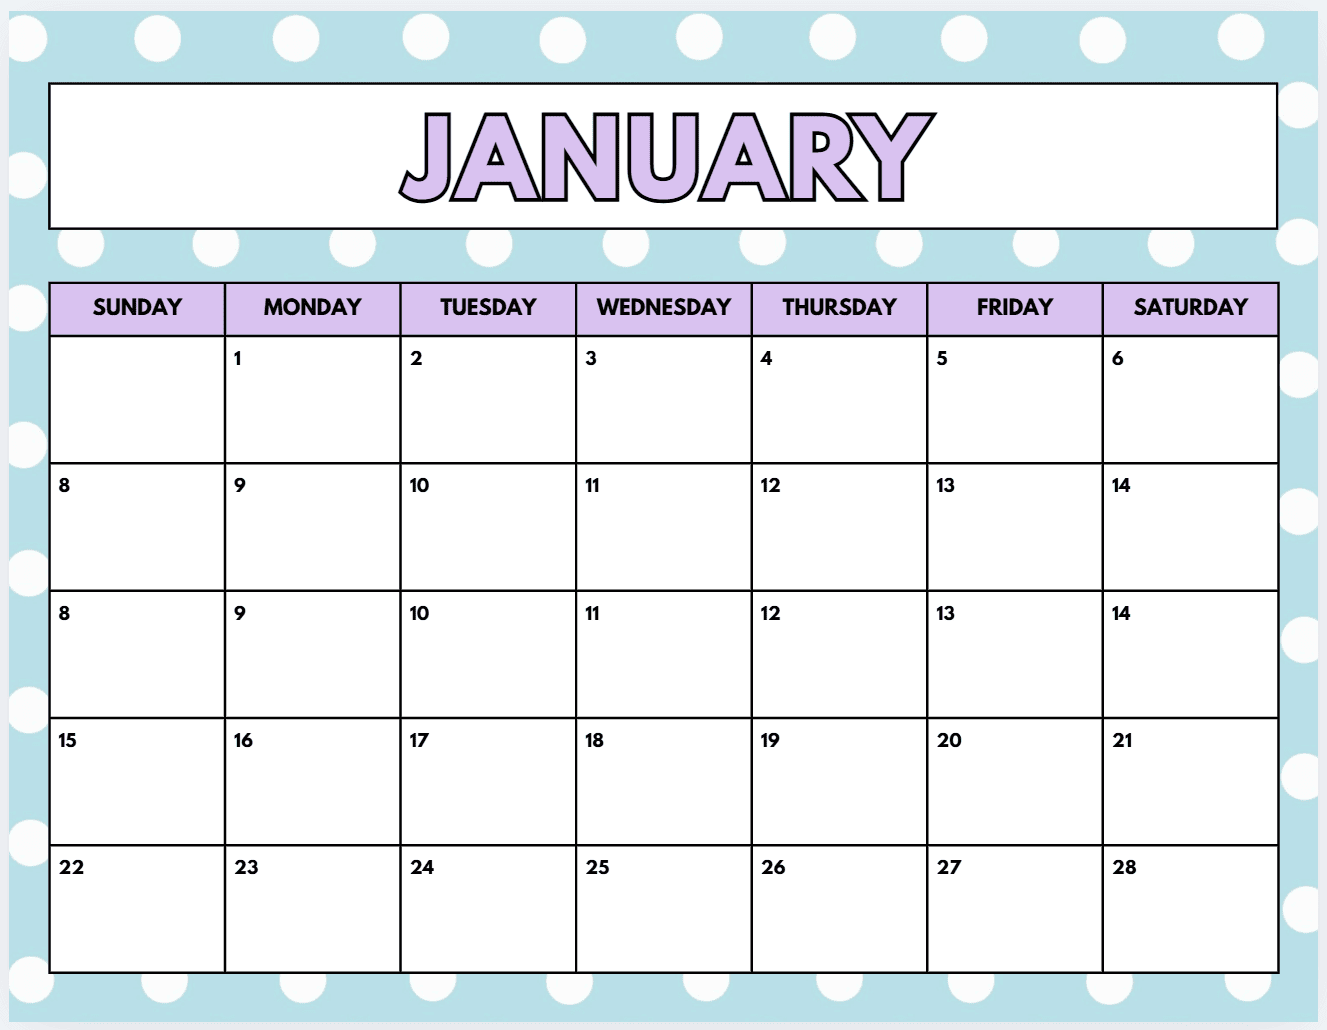
In today’s tutorial I’m going to show you how to make this simple monthly calendar in both a colorful style:
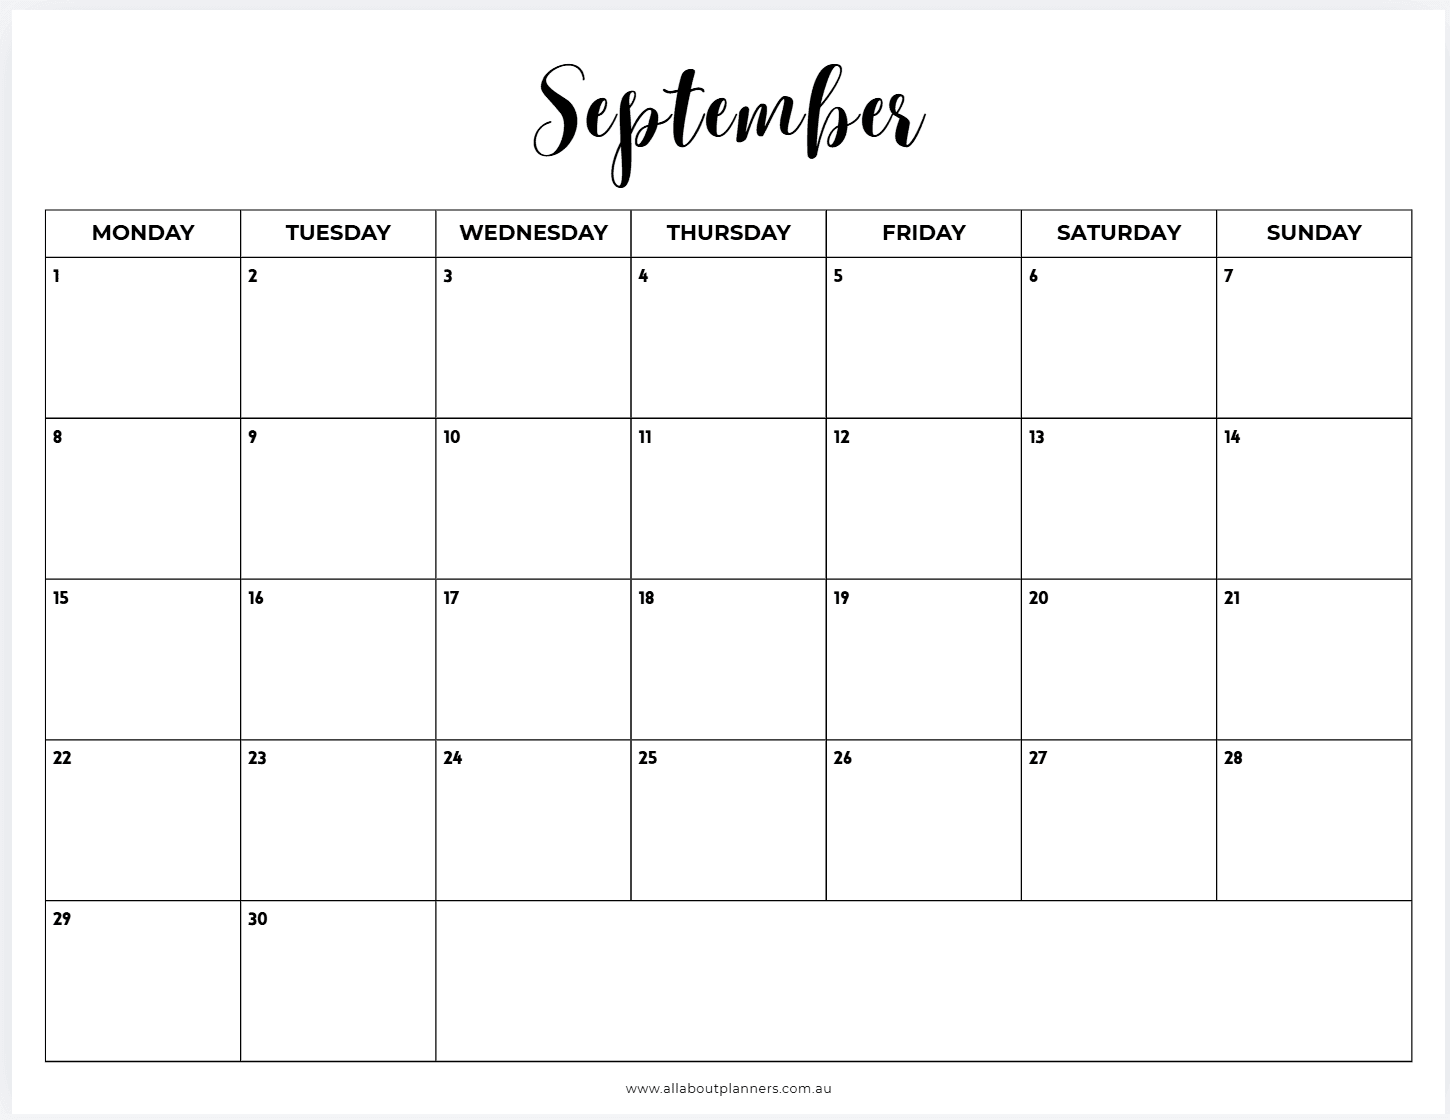
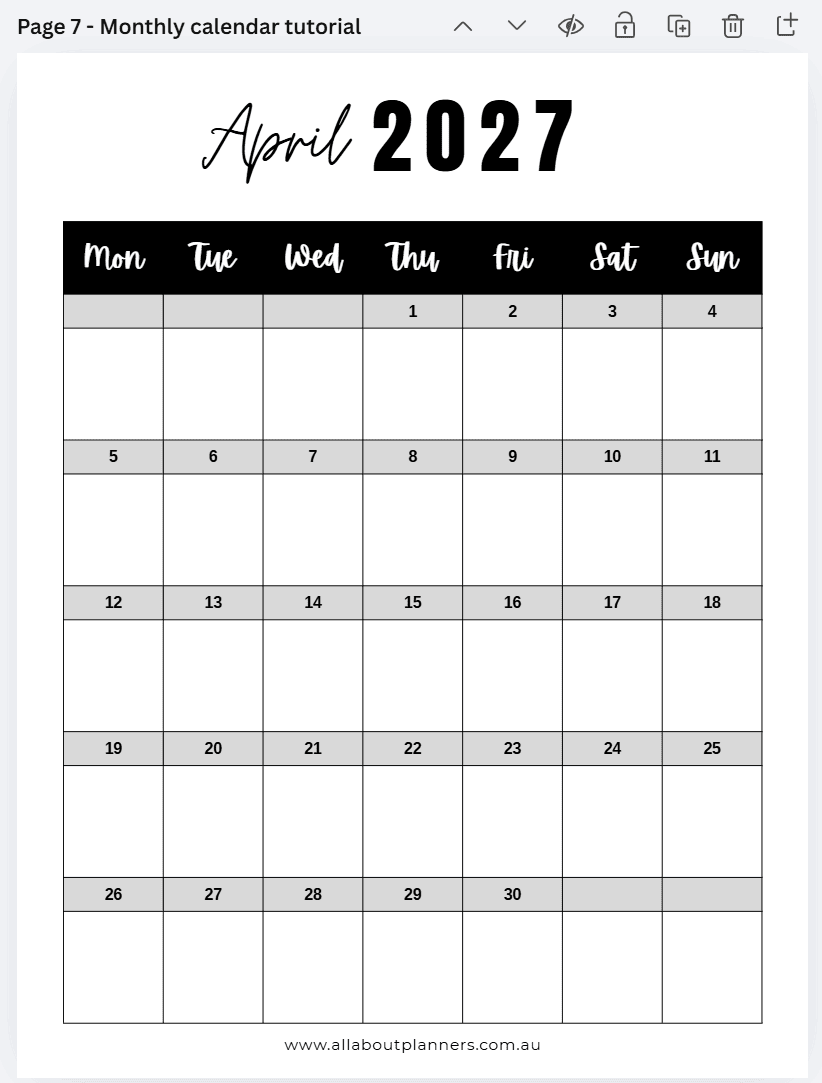
And a minimalist version
If you don’t want to learn how to make the calendar and just want a copy of the finished calendar you can download and start customising straight away, click here.
Example of a finished calendar template that’s available here in my shop

How to make a monthly calendar in Canva

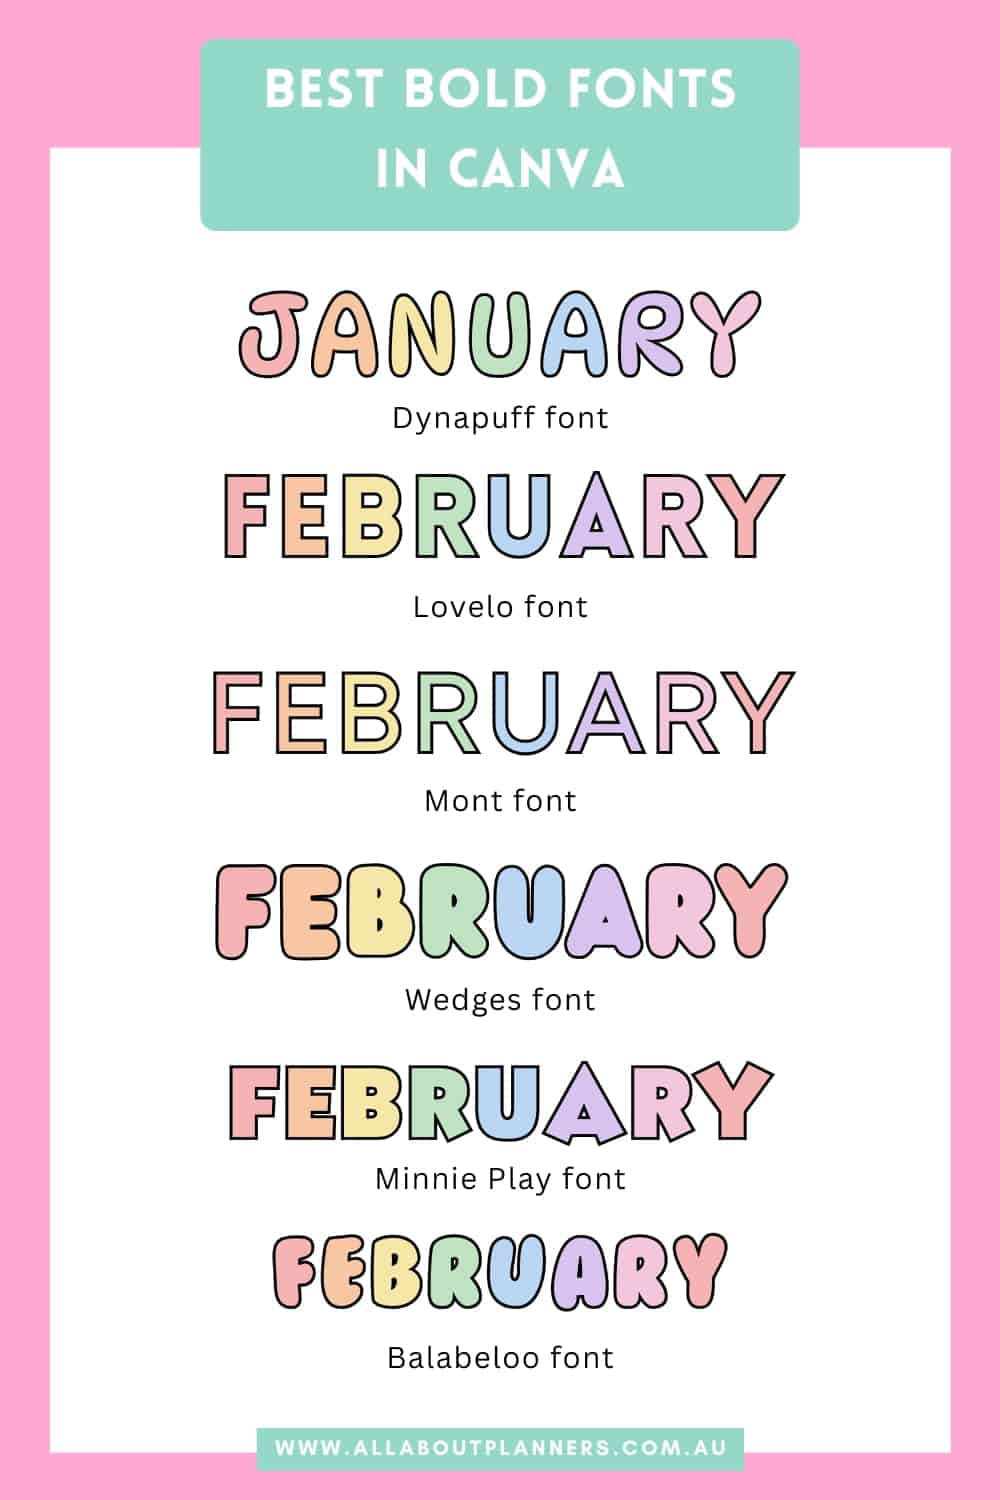
Mentioned in the video: the tutorial on how to add text effects for the months of the year. Like this:
Some more tips / things to consider that I didn’t have time to go over in the video:
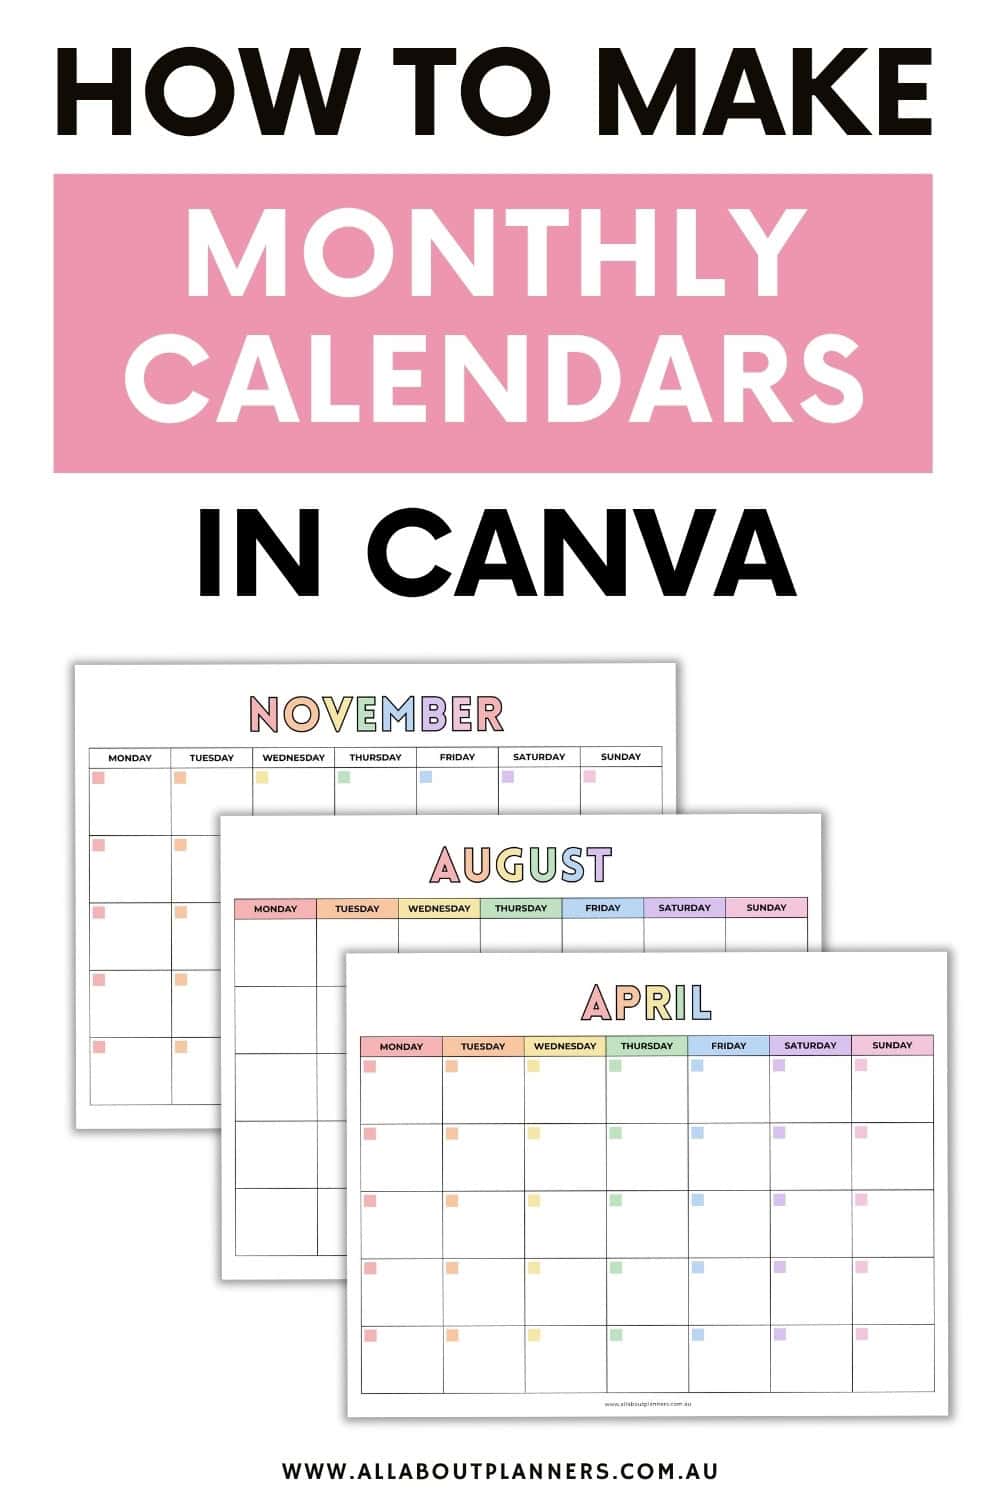
Layout Options for calendars
Here are some layout options you might want to consider when making your monthly calendar:
- Calendar grid only
- Notes sidebar
- Checklist sidebar
- Habit tracker
- Large text for the month with text effects added (tutorial for that here)
- Add a pattern background
- Mini dates at a glance calendars for the next month (shrink down the calendar we made in the video or just copy and paste in a pre-made template from another Canva template)
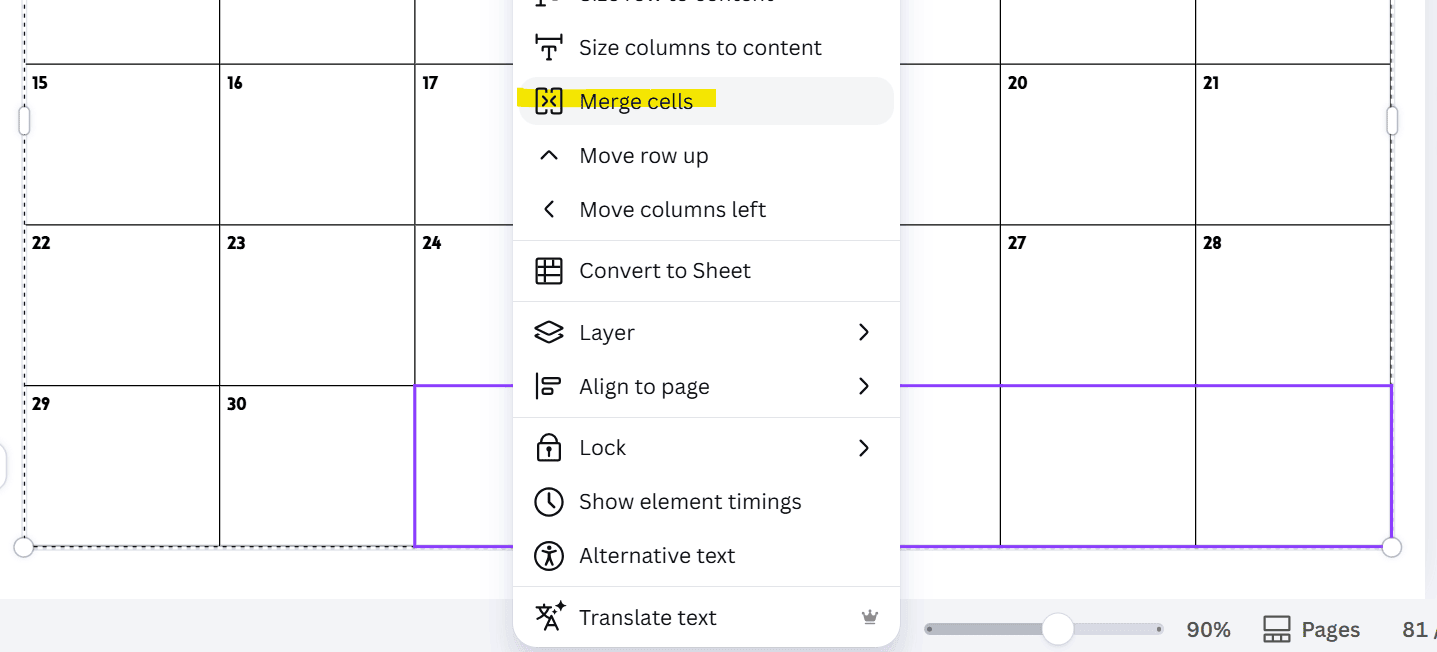
- Merge cells for the empty date boxes
![]()
How to add a notes box within the calendar
If you don’t want a sidebar and instead want to add notes space in the unused boxes within the calendar itself:
- Select the cells you want to merge
- Right click
- Select ‘merge cells’
Related post: Best Cursive Fonts in Canva: 50+ Free and Pro Script Fonts for Designers
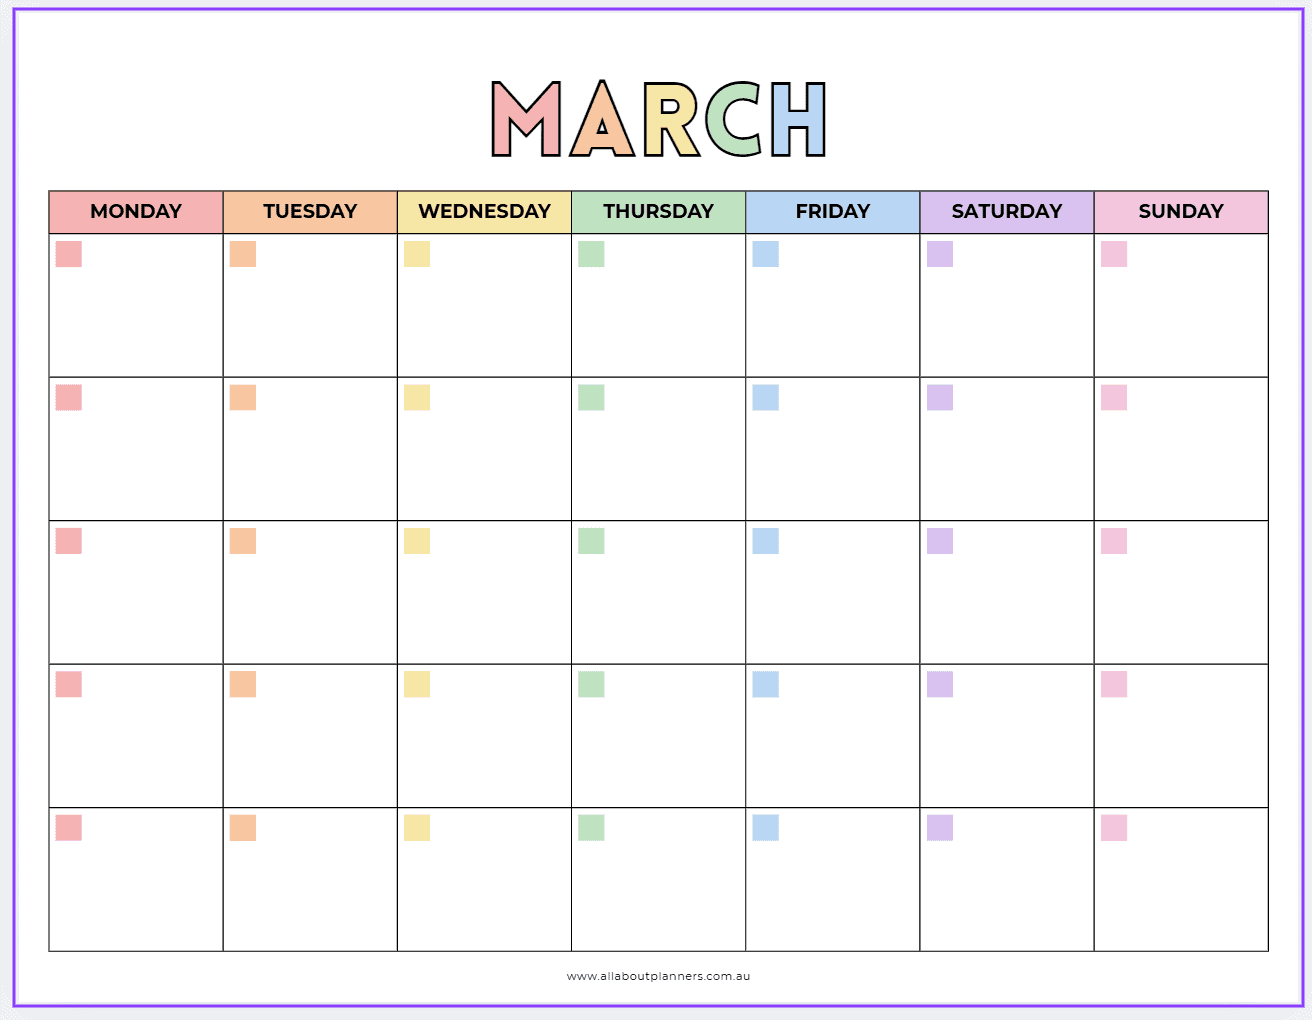
Some color options
- Add rectangles behind the days of the week and use different colors for each day of the week
- Use 1 color per month
- 6 colors that you use for all 12 months (so 2 months of the year will have the same color)
- Add elements then match the colors in those elements onto the calendar design
Tips for making monthly calendars in Canva
I mentioned most of these in the video but just including here as well:
- If you use one of the premade Canva templates, make sure you check the page size after you open the template. If the template is an odd page size, create a Canva template at the size you want. Then copy and paste elements into your separate template and resize as needed
- I recommend using 8.5 x 11″ page size. You can always resize it in your printer menu
- I recommend doing 5 rows for the dates. If any dates need another row, I just restart the numbering on the top row
- I recommend 1 to 1.5 point border thickness
- I recommend light grey or black for the border lines
- If you want to add a lined notes sidebar, you can do this via the table tool or by creating a line (press L on your keyboard, make multiple copies then spacing them accordingly)
Add rulers and guides to set up page margins
I recommend a minimum 0.5″ on the side that is going to be hole punched. You may choose to use a smaller margin on the other sides to allow more room to plan
File > settings > show rulers and guides
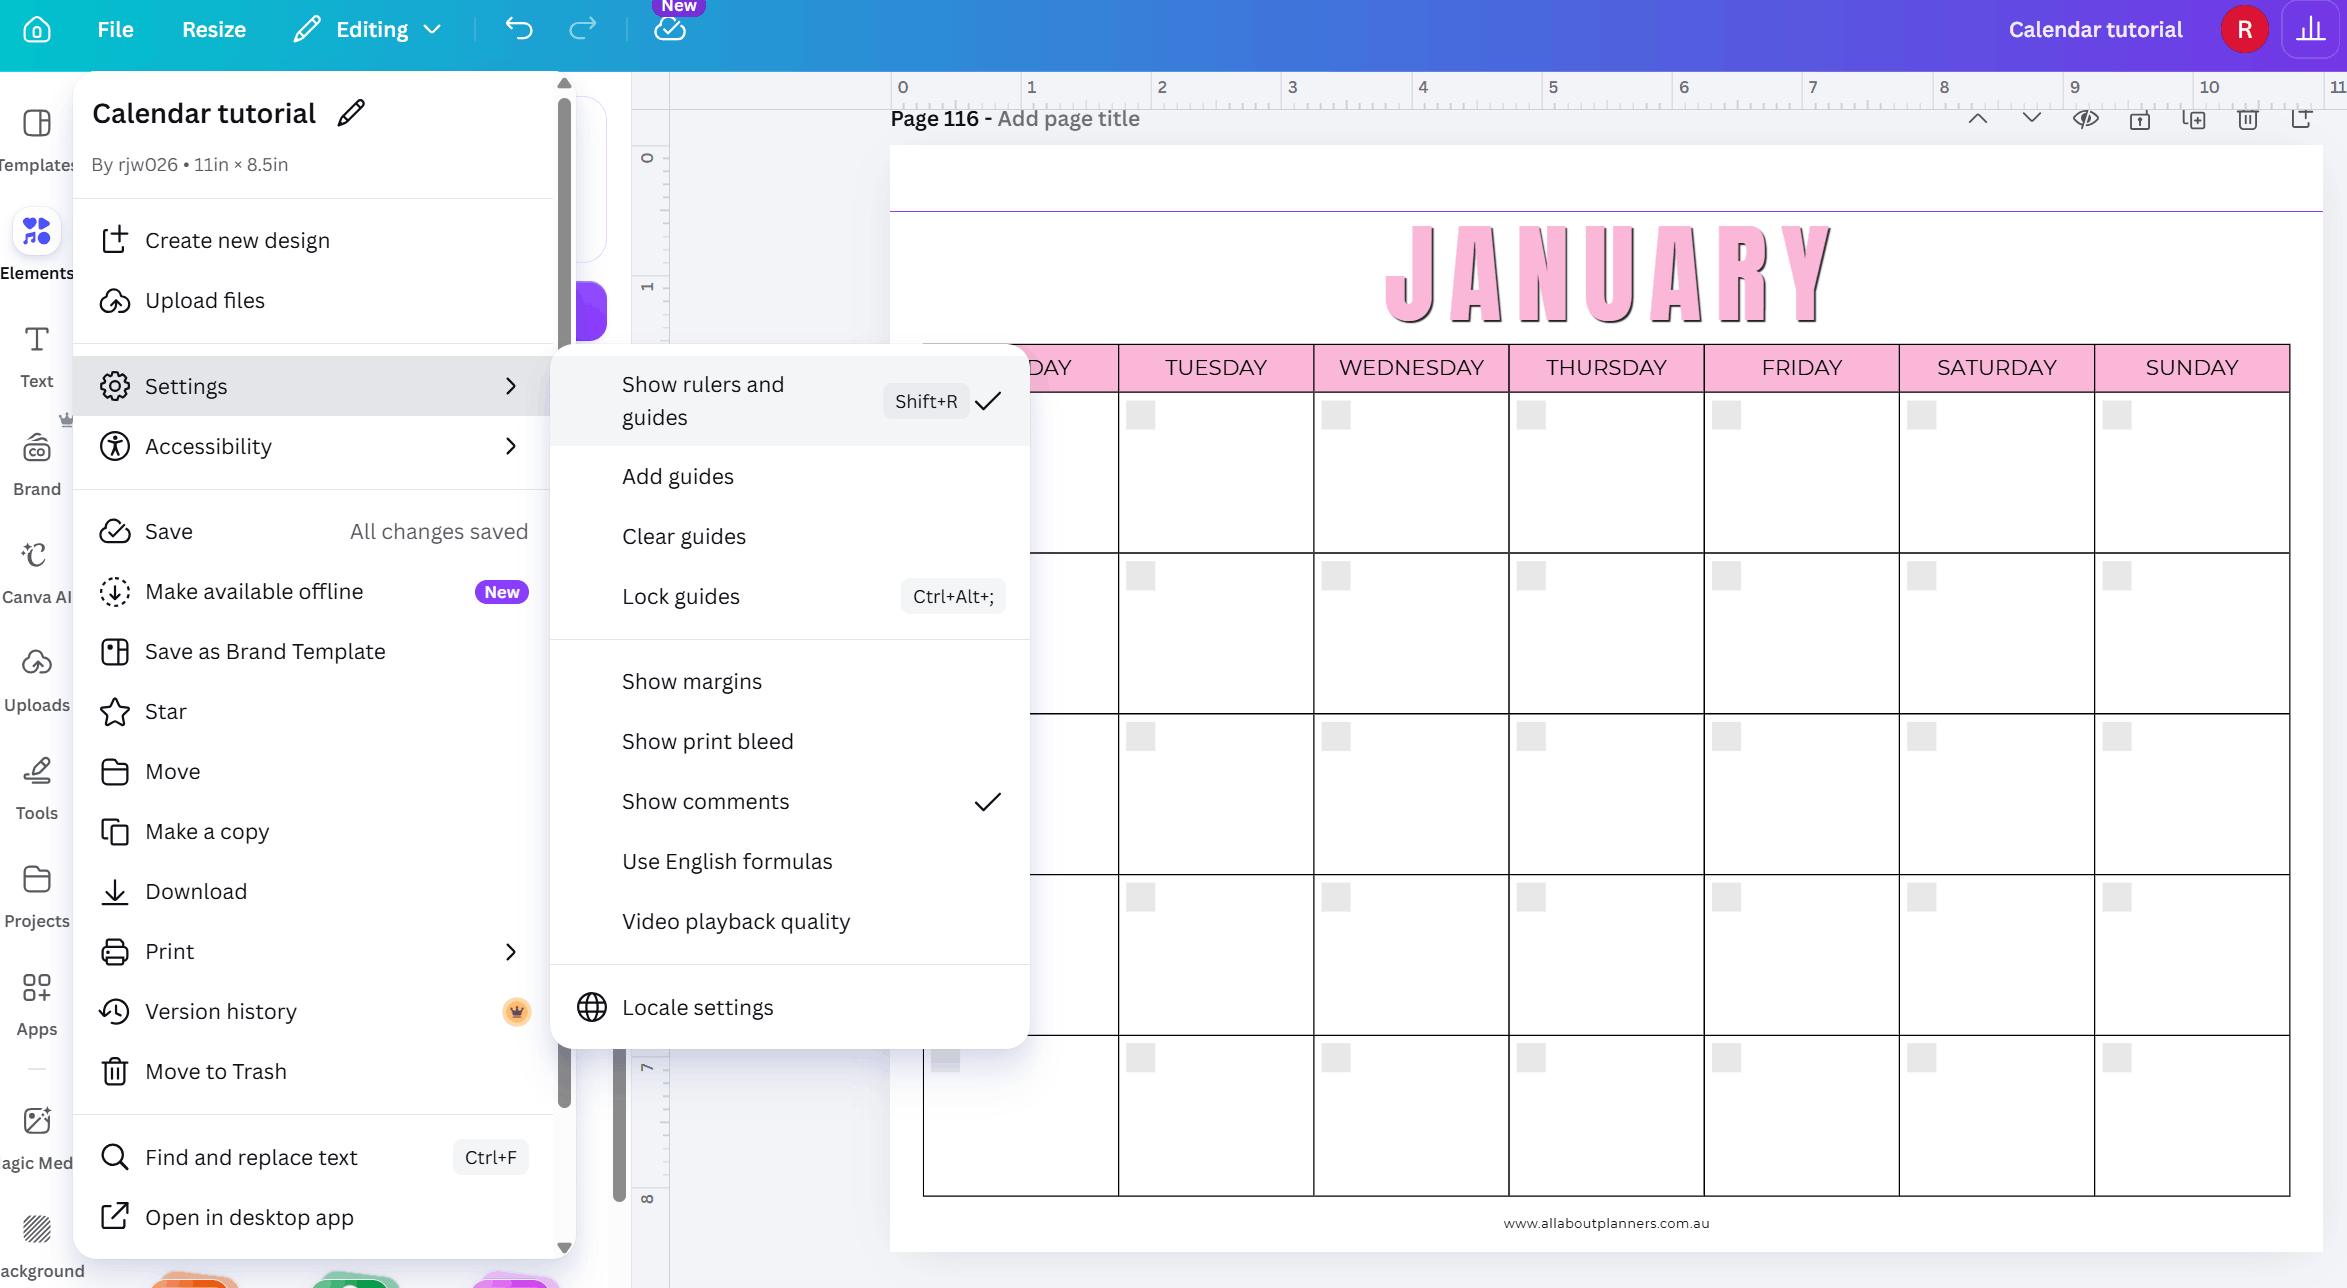
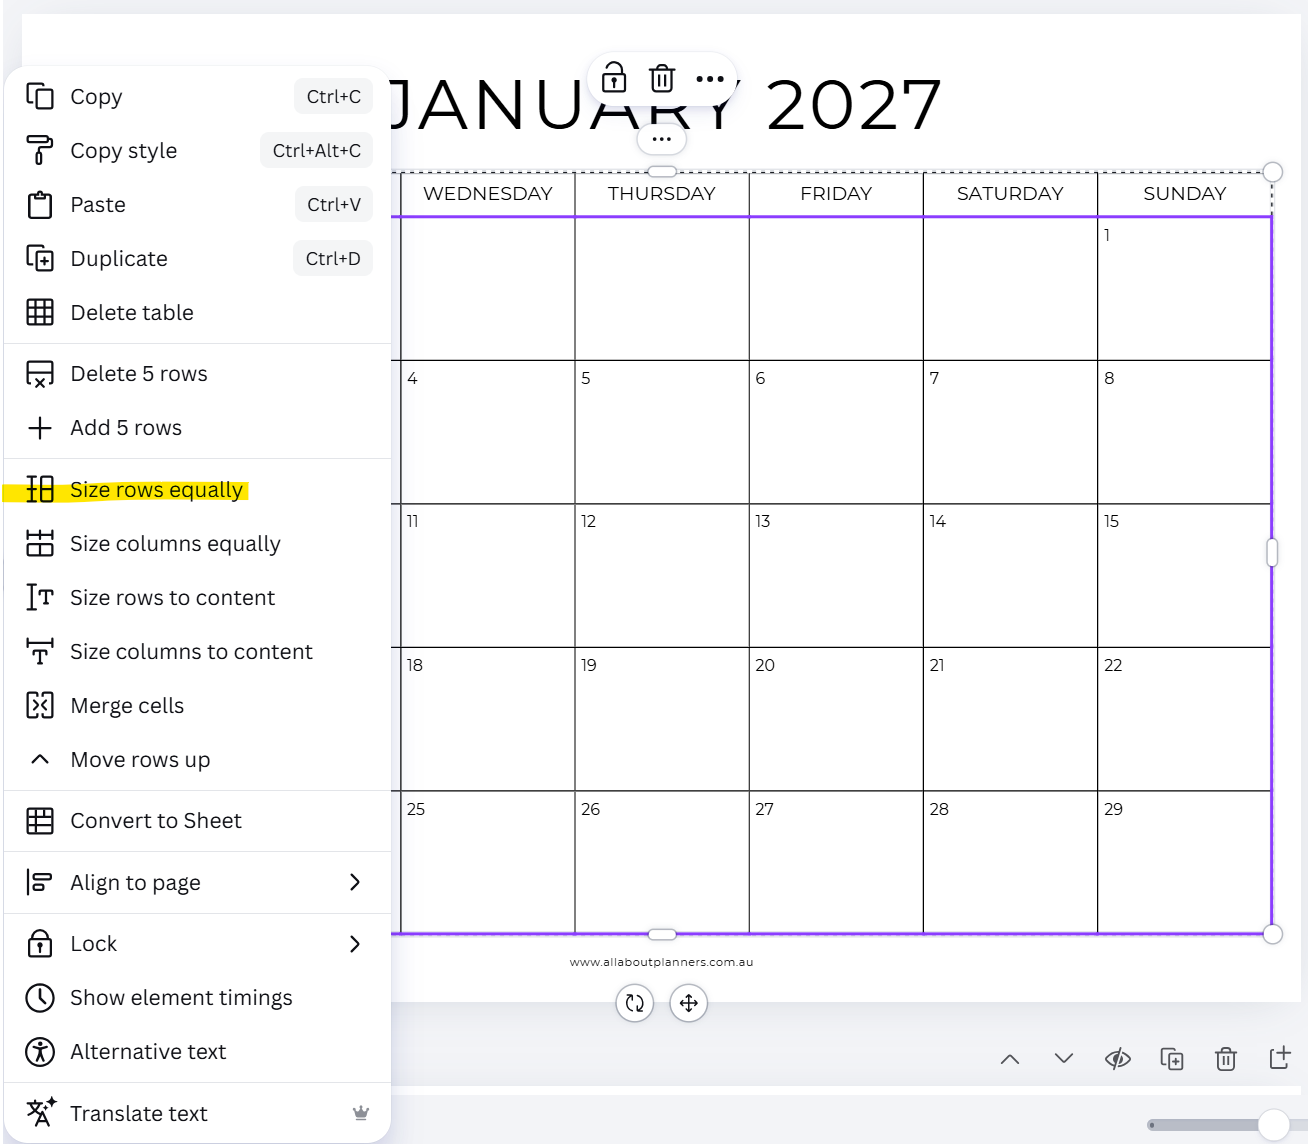
Table tools menu
- You can change the thickness of the lines
- Change them from solid line to dashed or dotted
- Use table spacing to make the cells in the top row smaller to fit the words
- To space all rows evenly, click the 3 dots at the top of the table
- To space all columns evenly, click the 3 dots on the side of the table
If you want the days of the week to sit in the top row of the table, then only select the rows with dates when you resize the rows to be equal.
You could also place the days of the week above the grid instead for a different aesthetic.
Formatting Text
Since the text forms a crucial part of the calendar design (there’s only so many ways you can change the grid with the dates…), choose the font style carefully!
If you like the style of the font I used for the month in the example calendar at the start of the video, I showed how to create it in this post (includes video tutorial).
Here are some other options:
- All uppercase letters
- Different colors for each letter
- Different colors for each month
- Add text effects such as a drop shadow
- Add a colored rectangle behind the text
You may also consider aligning the text to the left of the page, rather than in the middle of the page.
Add the boxes for the dates
You can manually add boxes for the dates by pressing R on your keyboard which will bring up the rectangle tool. You can then duplicate and align them the same way I showed how to add the dates using the line calendar method in the video.
This option is good for undated calendars. It would be very fiddly if you added the boxes for the dates and then also added the dates over the top of the boxes.
Add lines into the boxes
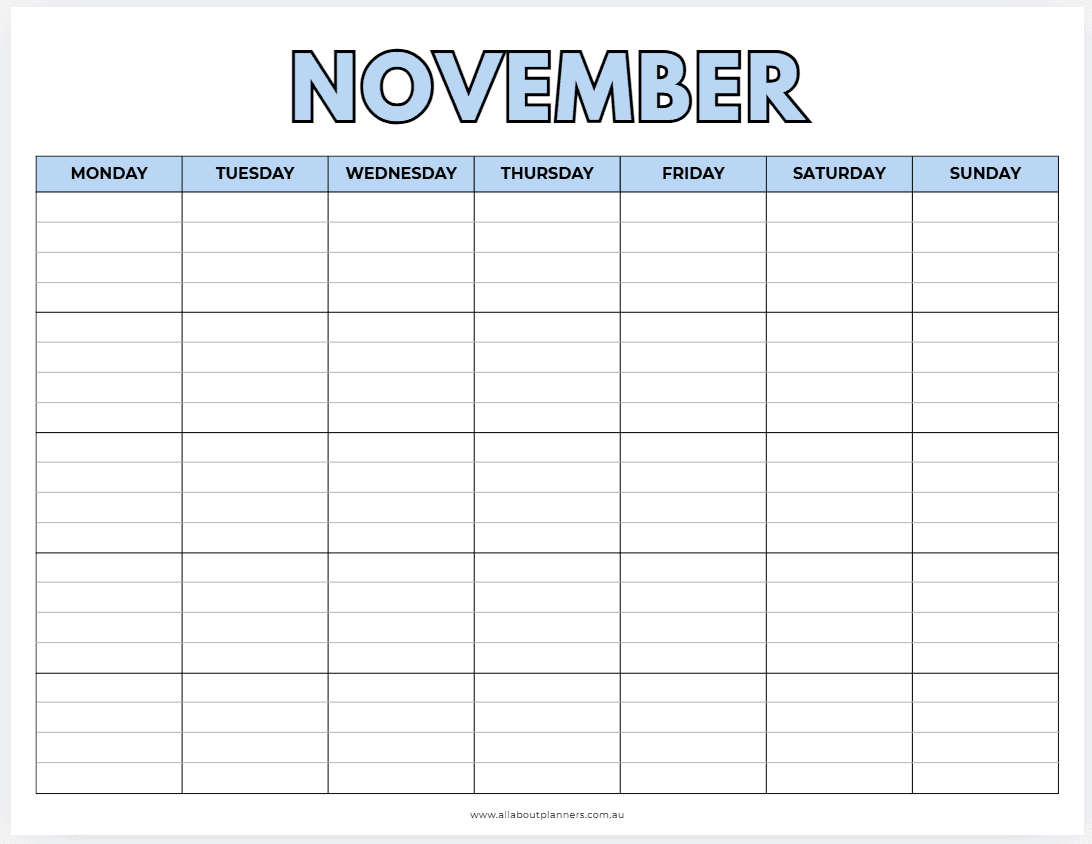
If you want to add lines to your calendar you can either add lines manually (press L on your keyboard), or insert extra rows if you used the table tool method.
I create a rectangle to align the lines to one row of the calendar. Once the alignment is done, I then copy and paste down for the rest of the rows. Then delete the rectangles when finished.
How to add dates
Click in the cell that will be the 1st of the month.
- Type 1
- Press tab on your keyboard to move to the next cell
- Type 2
- Etc.
Press the tab button on your keyboard to quickly move between each box when adding the dates.
You could add a separate row for the dates like in the example above (looks great in rainbow colors), or just add the dates directly into the boxes for each day.
Change colors
I used ChatGPT to generated a color palette. You can be very specific and tell it what 7 colors you want it to include, if you want to use a different color for each day of the week.
Related post: The best color tools in Canva for quickly creating color palettes
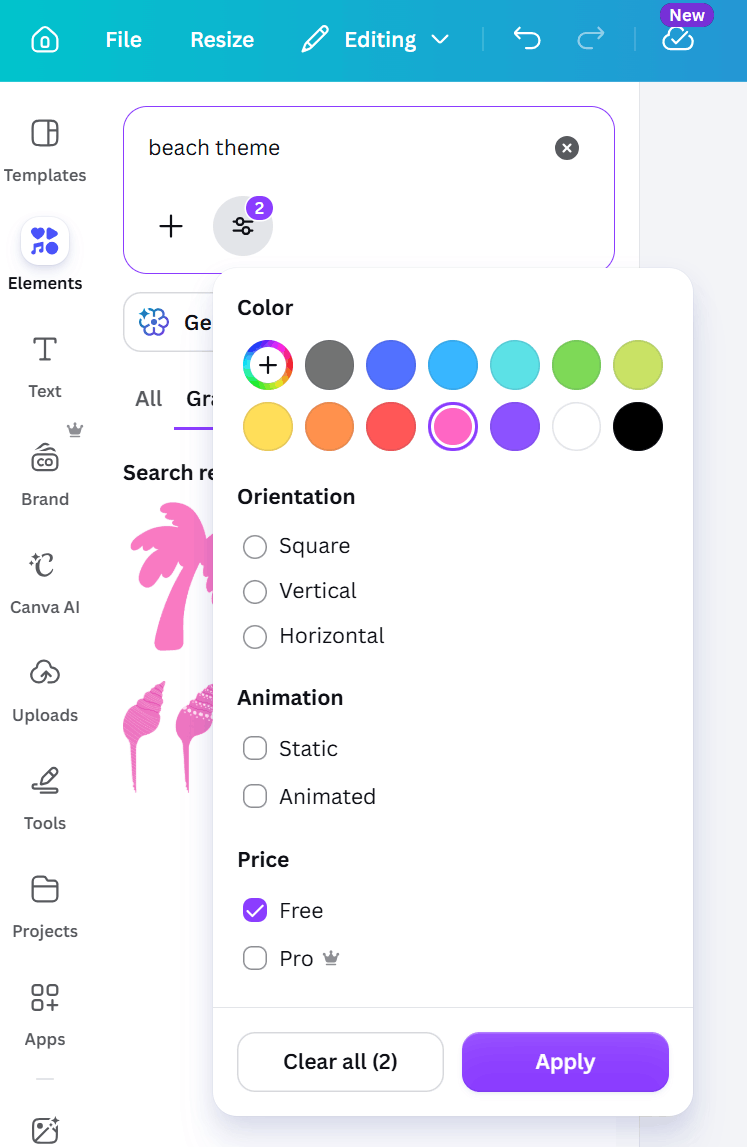
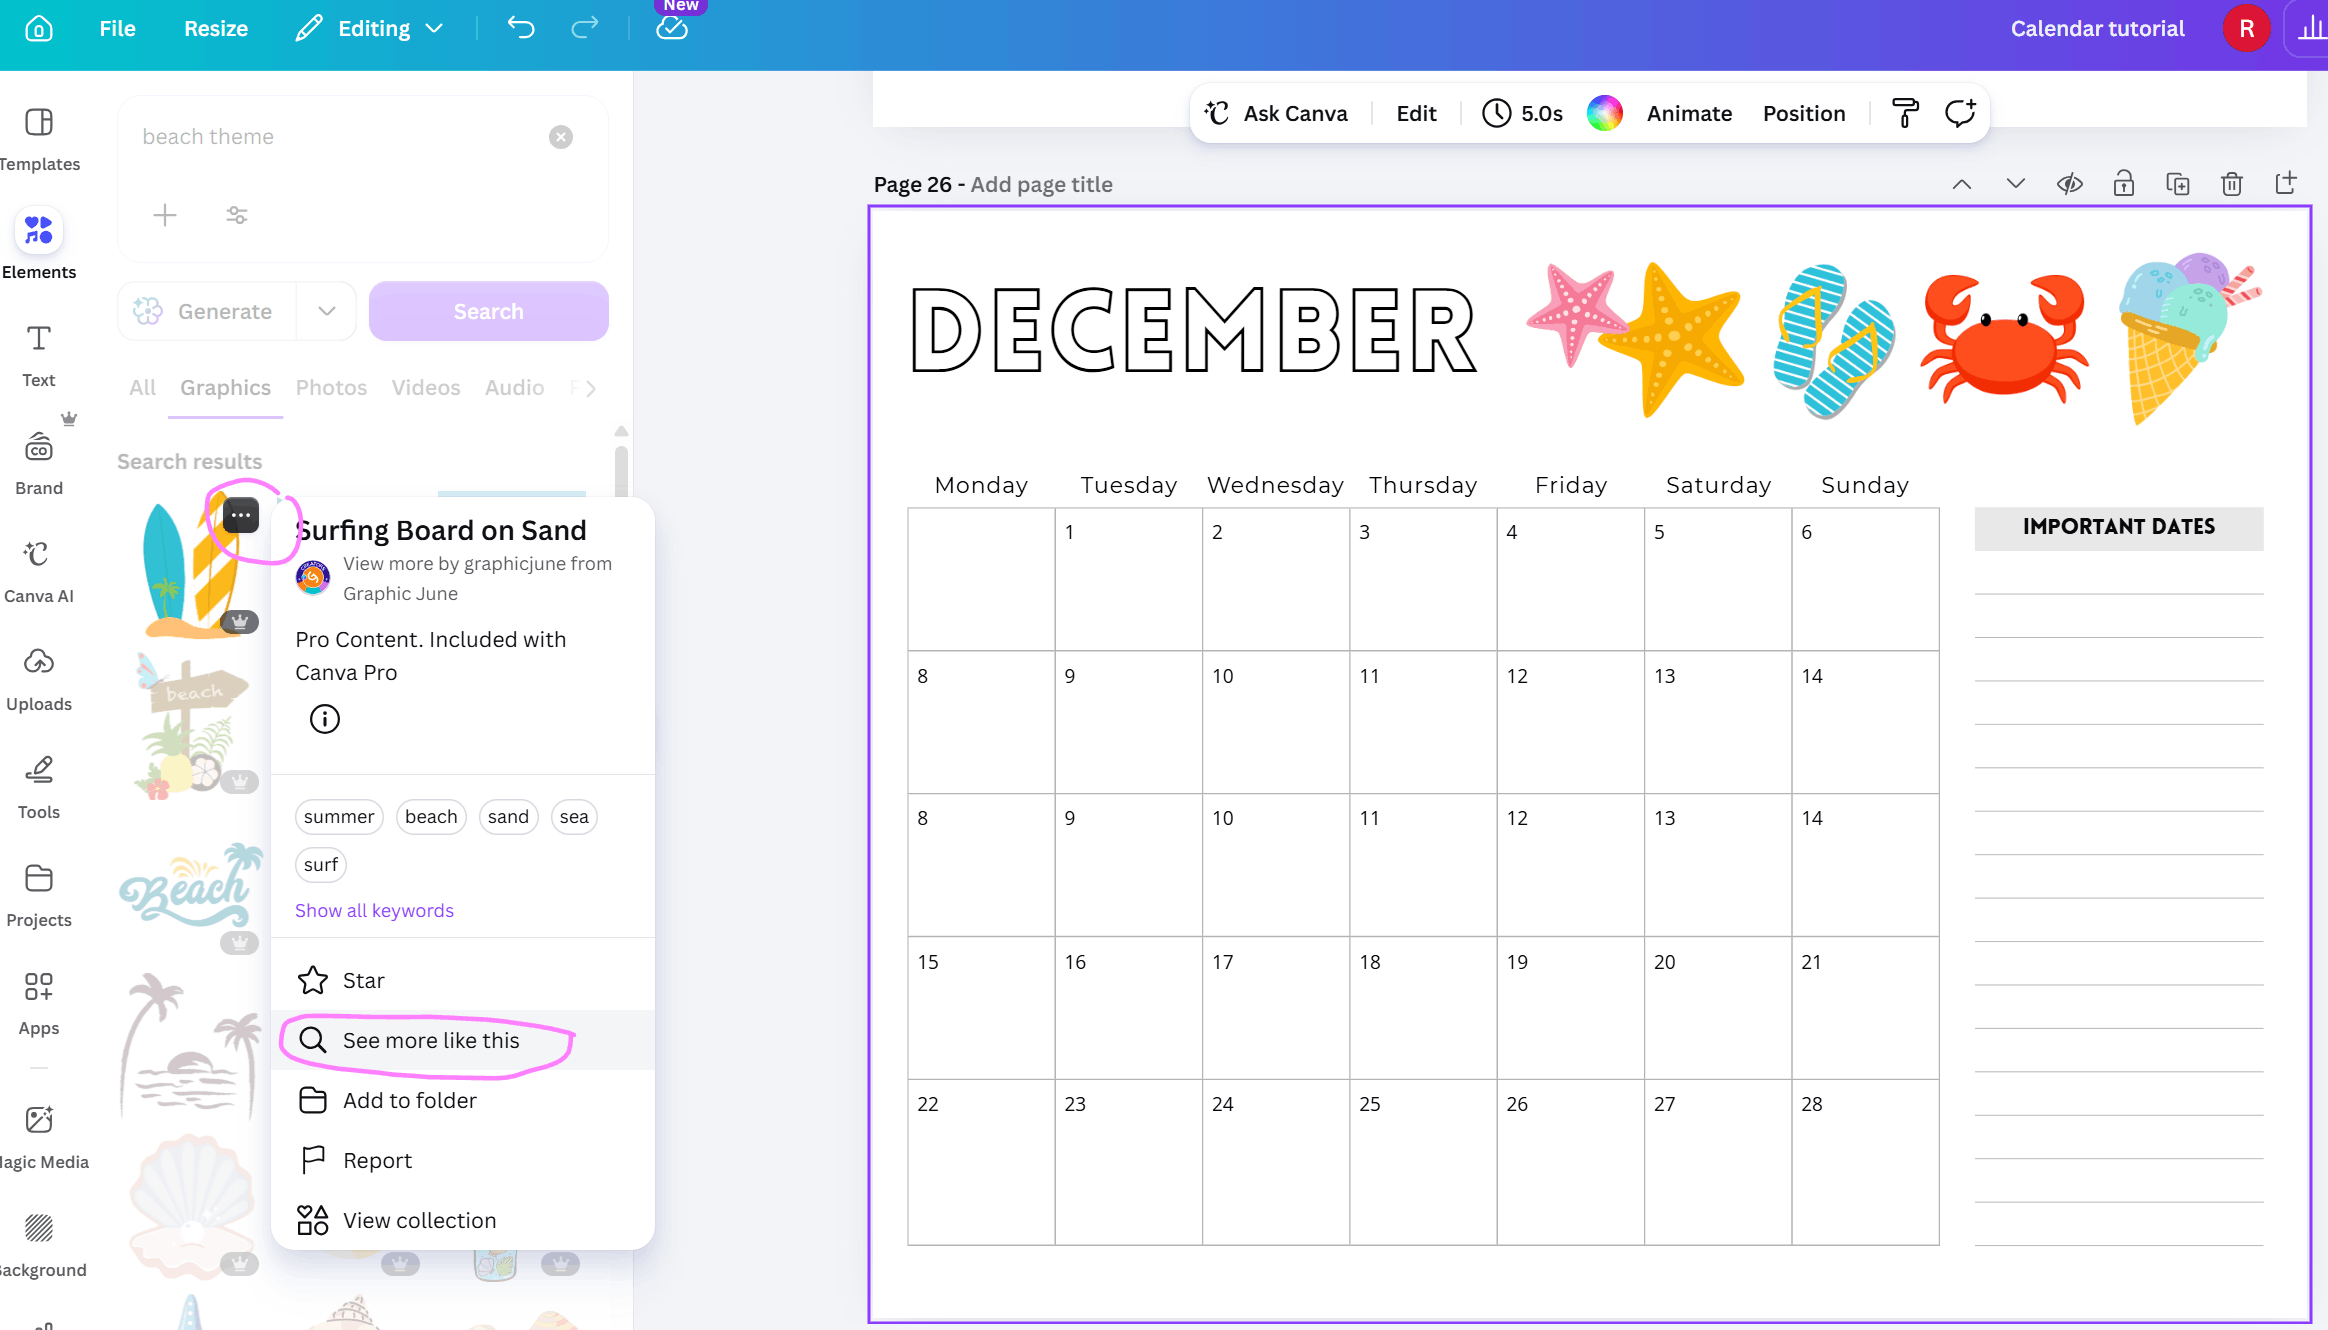
Add decorative elements
You might choose to add a pattern background or some graphics onto the page.
Go to the elements menu and search what you need.
Tip: If you find an image you like in the elements menu, hover your mouse over it, click the 3 dots and select ‘see more like this’. You can star elements to find them again later. You can also filter elements between free and paid
If you leave the text hollow you can color it in after printing
Resizing printables
I make all my printables at US letter page size as most of my customers for my Etsy shop also live in the US. I live in Australia and we use A4 page size, I’ve never had any issues resizing download from US letter to A4.
I shared a tutorial on how to resize printables using your printer at home in this post.
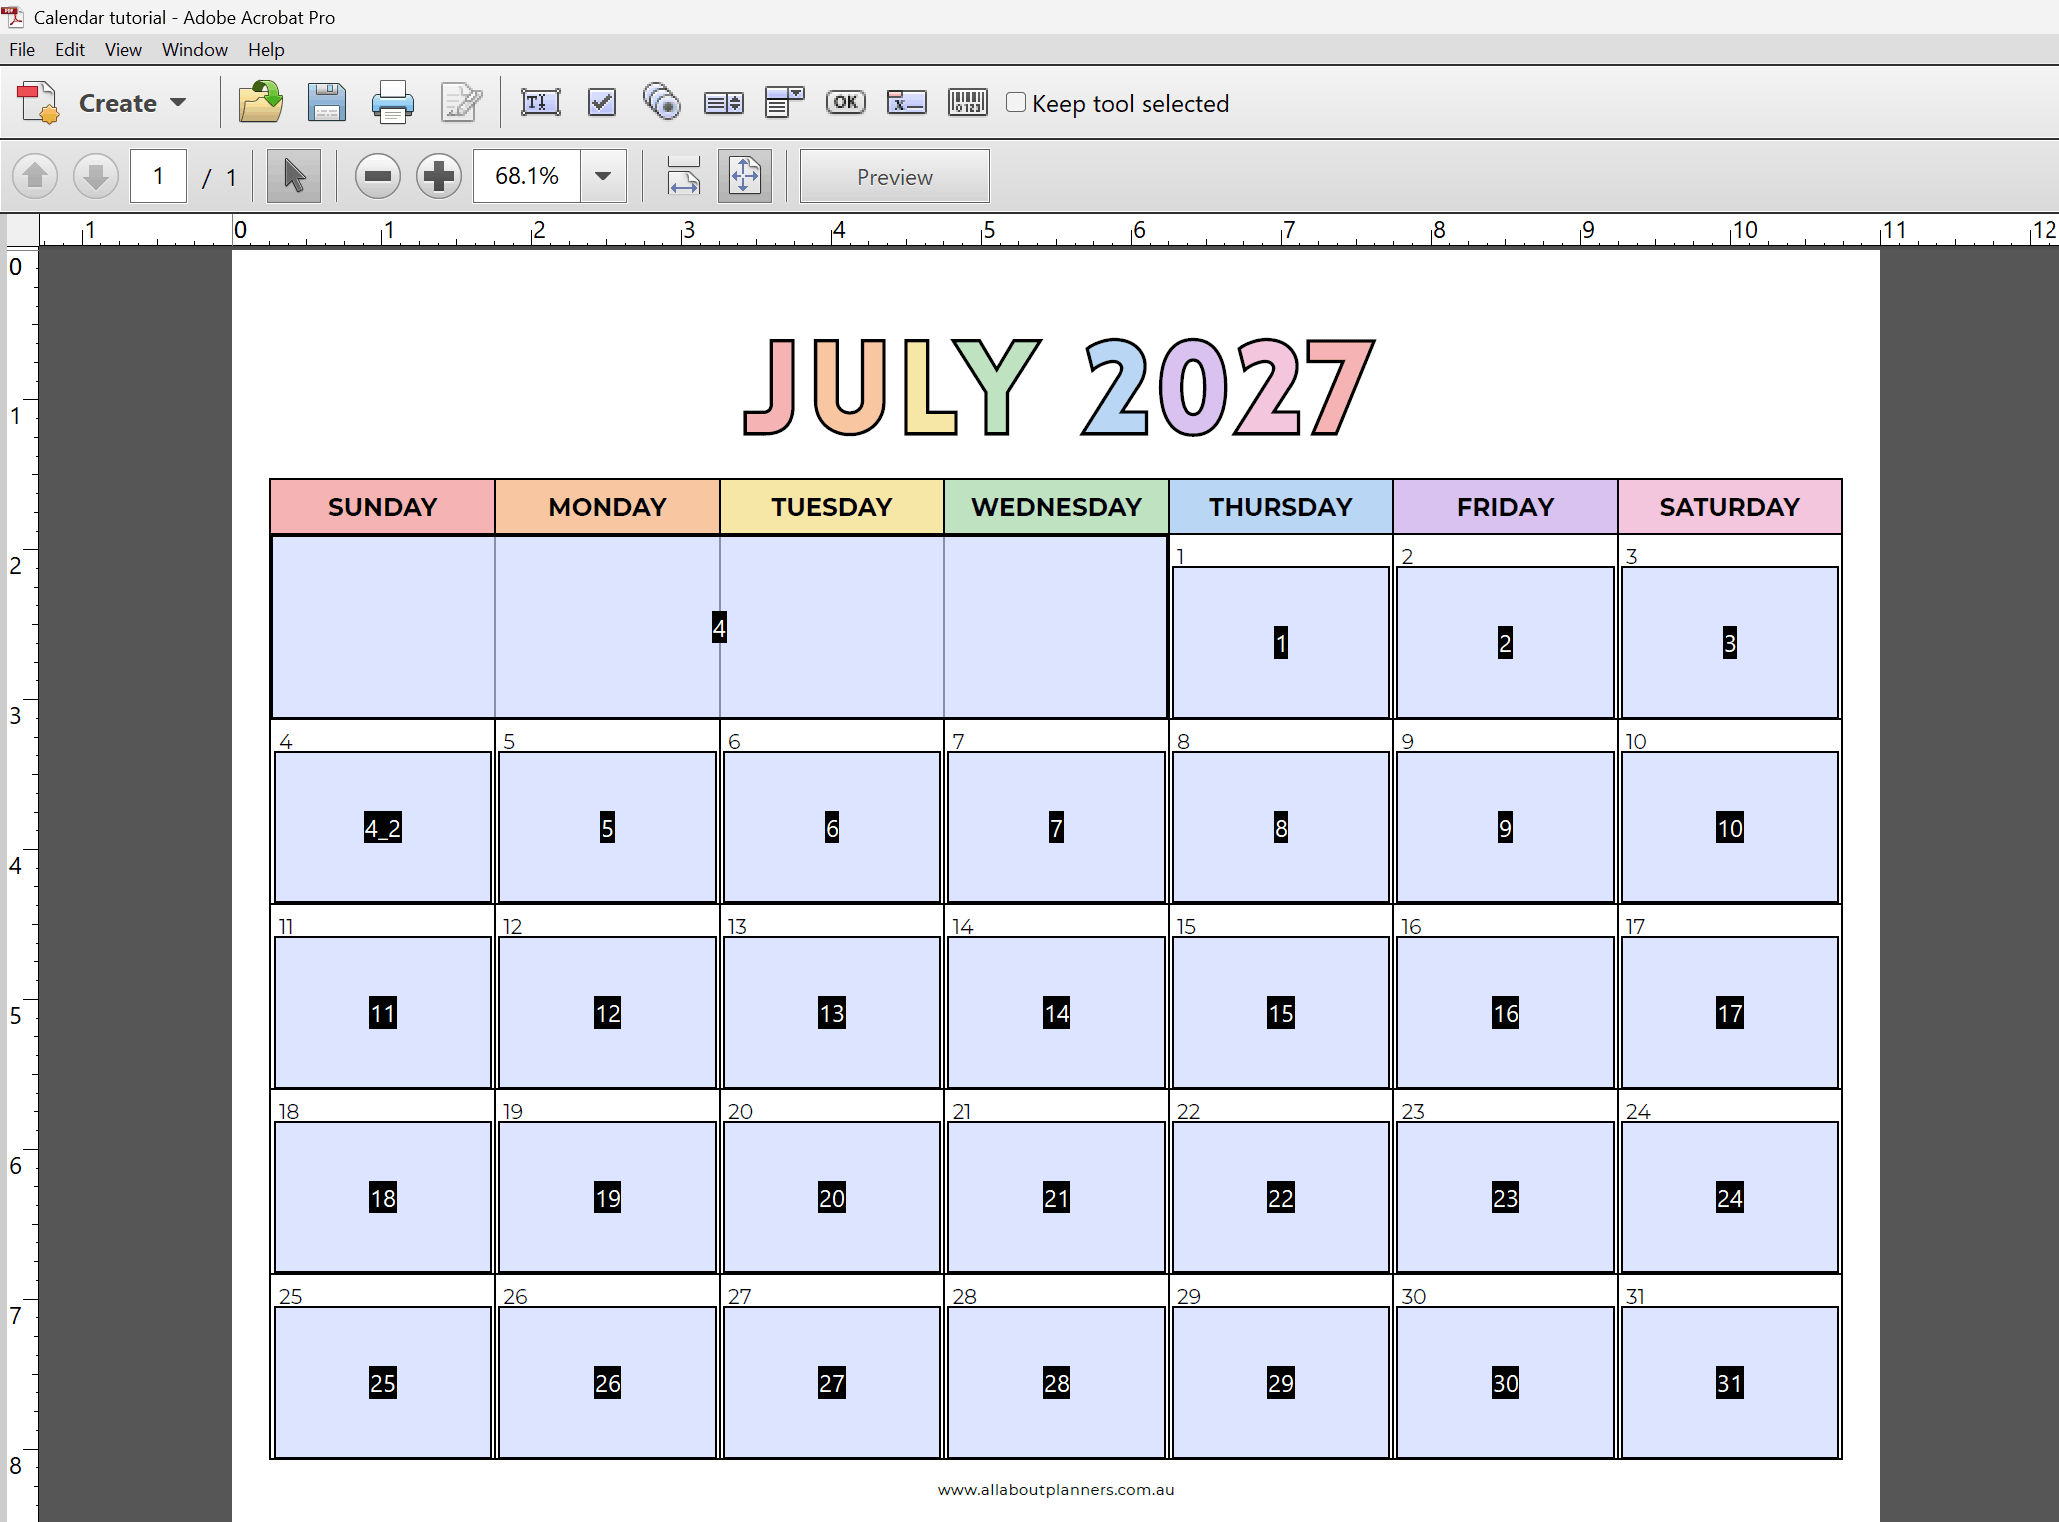
Make the template fillable
You may choose to sell the original Canva file to customers, otherwise you can make the exported PDF into a fillable file (the light blue boxes) using free only PDF software such as PDF escape.
I prefer to use Adobe Professional (paid) for this. It’s quite accurate at automatically registering where the boxes should be added onto the pages, and only requires some minor adjustments.
Selling your template on Etsy
I recommend offering US letter page size as a minimum. Make sure you offer both Monday and Sunday start.
For the file format, I would offer PDF files. You could also offer PNG or JPG, then people can resize it down to fit in their digital notebook and still have clickable tabs. If you insert a PDF file into Goodnotes it won’t be hyperlinked.
Related post: How to download and share a template made in Canva
Example of a finished calendar template that’s available here in my shop
Other Canva tools for making calendars
There is a calendar maker tool in Canva that will pre-dated the calendars for you, but I find it clunky and actually more time consuming to use and customize than just making a monthly calendar template myself and customizing it.
More graphic design tutorials
- 40 of the best cursive fonts for making printables
- How to highlight text in Canva: 4 Different Ways (Video Tutorial)
- Why I still use Canva even though I have Photoshop
- The best color tools in Canva for quickly creating color palettes
For more tutorial for making planner printables, check out my ecourses:
- How to make printables in Microsoft Word
- How to make printables in Microsoft Excel
- How to make printables in Affinity Publisher (it’s now owned by Canva and is free! This is my favorite tool for making printables)
- How to make printables in Photoshop
Browse all graphic design tutorials on the blog here.
Found this post helpful? Pin it!