How to highlight text in Canva: 4 Different Ways (Video Tutorial)
In this post I have a quick Canva tutorial with 4 different ways you can highlight text in Canva. Some ways you could use these tips are:
- For making planner stickers (instead of just using a rectangle shape)
- Behind a heading / title on a printable
- Adding some interest to your Pinterest pin images
- Color coding study notes
- Digital scrapbooking or journaling
How to highlight text in Canva: 4 Different Ways
At the moment, Canva doesn’t have an option to quickly and easily highlight text like you can do in other programs like Microsoft Word. So here are some workarounds.
Scroll down this page (below the video) if you prefer written instructions.
To enlarge the screen of the video, click the square icon in the bottom right hand corner of the video (it will say ‘full screen’ when you hover your mouse over the icon).

Subscribe to my YouTube channel for more graphic design tutorials and planner review videos
Here is the link to the Pinterest pin templates I mentioned in the video (and what I’m currently using the skills I teach in this tutorial for).

Method 1: Use a rectangle and place it behind the text
In the elements menu in Canva, search for ‘rectangle’. Add it to your template and send the shape layer behind your text.

Method 2: Use a rectangle and reduce the transparency
Similar process to the above method, but reduce the transparency of the rectangle. This works well if you only want to highlight only one word or a few words. Like this:

Method 3: Use text effects > background
After writing your text, go to the pop up menu that appears in Canva when the text is clicked. Click ‘effects’ and then ‘background’.
Note: this will highlight all of the text in that text box. If you only want some of the text highlighted, you’ll need to split your text into separate text boxes.

Method 4: Use an element (search ‘highlighter’)
In the elements method, search ‘highlighter’ and plenty of options will appear. Choose between plenty of realistic looking highlighters with a ‘scribbled’ look.

You can also search ‘paint swatch’ to find similar swatch effects.
A lot of the highlighter effects are in the free version, you should be able to find some you like without having to pay for a Canva Pro subscription.
Note: If you use a highlighter element you’ll only be able to proportionally increase or decrease it. There is no dot in the middle to be able to ‘squish’ and make it thinner.

Some ways to highlight text
- Behind headings
- To draw attention to a few words you want to stand out e.g. keywords on a Pinterest pin
- The highlighter elements could be useful for making digital planner stickers to use with a Goodnotes digital planner
- Digital scrapbooking
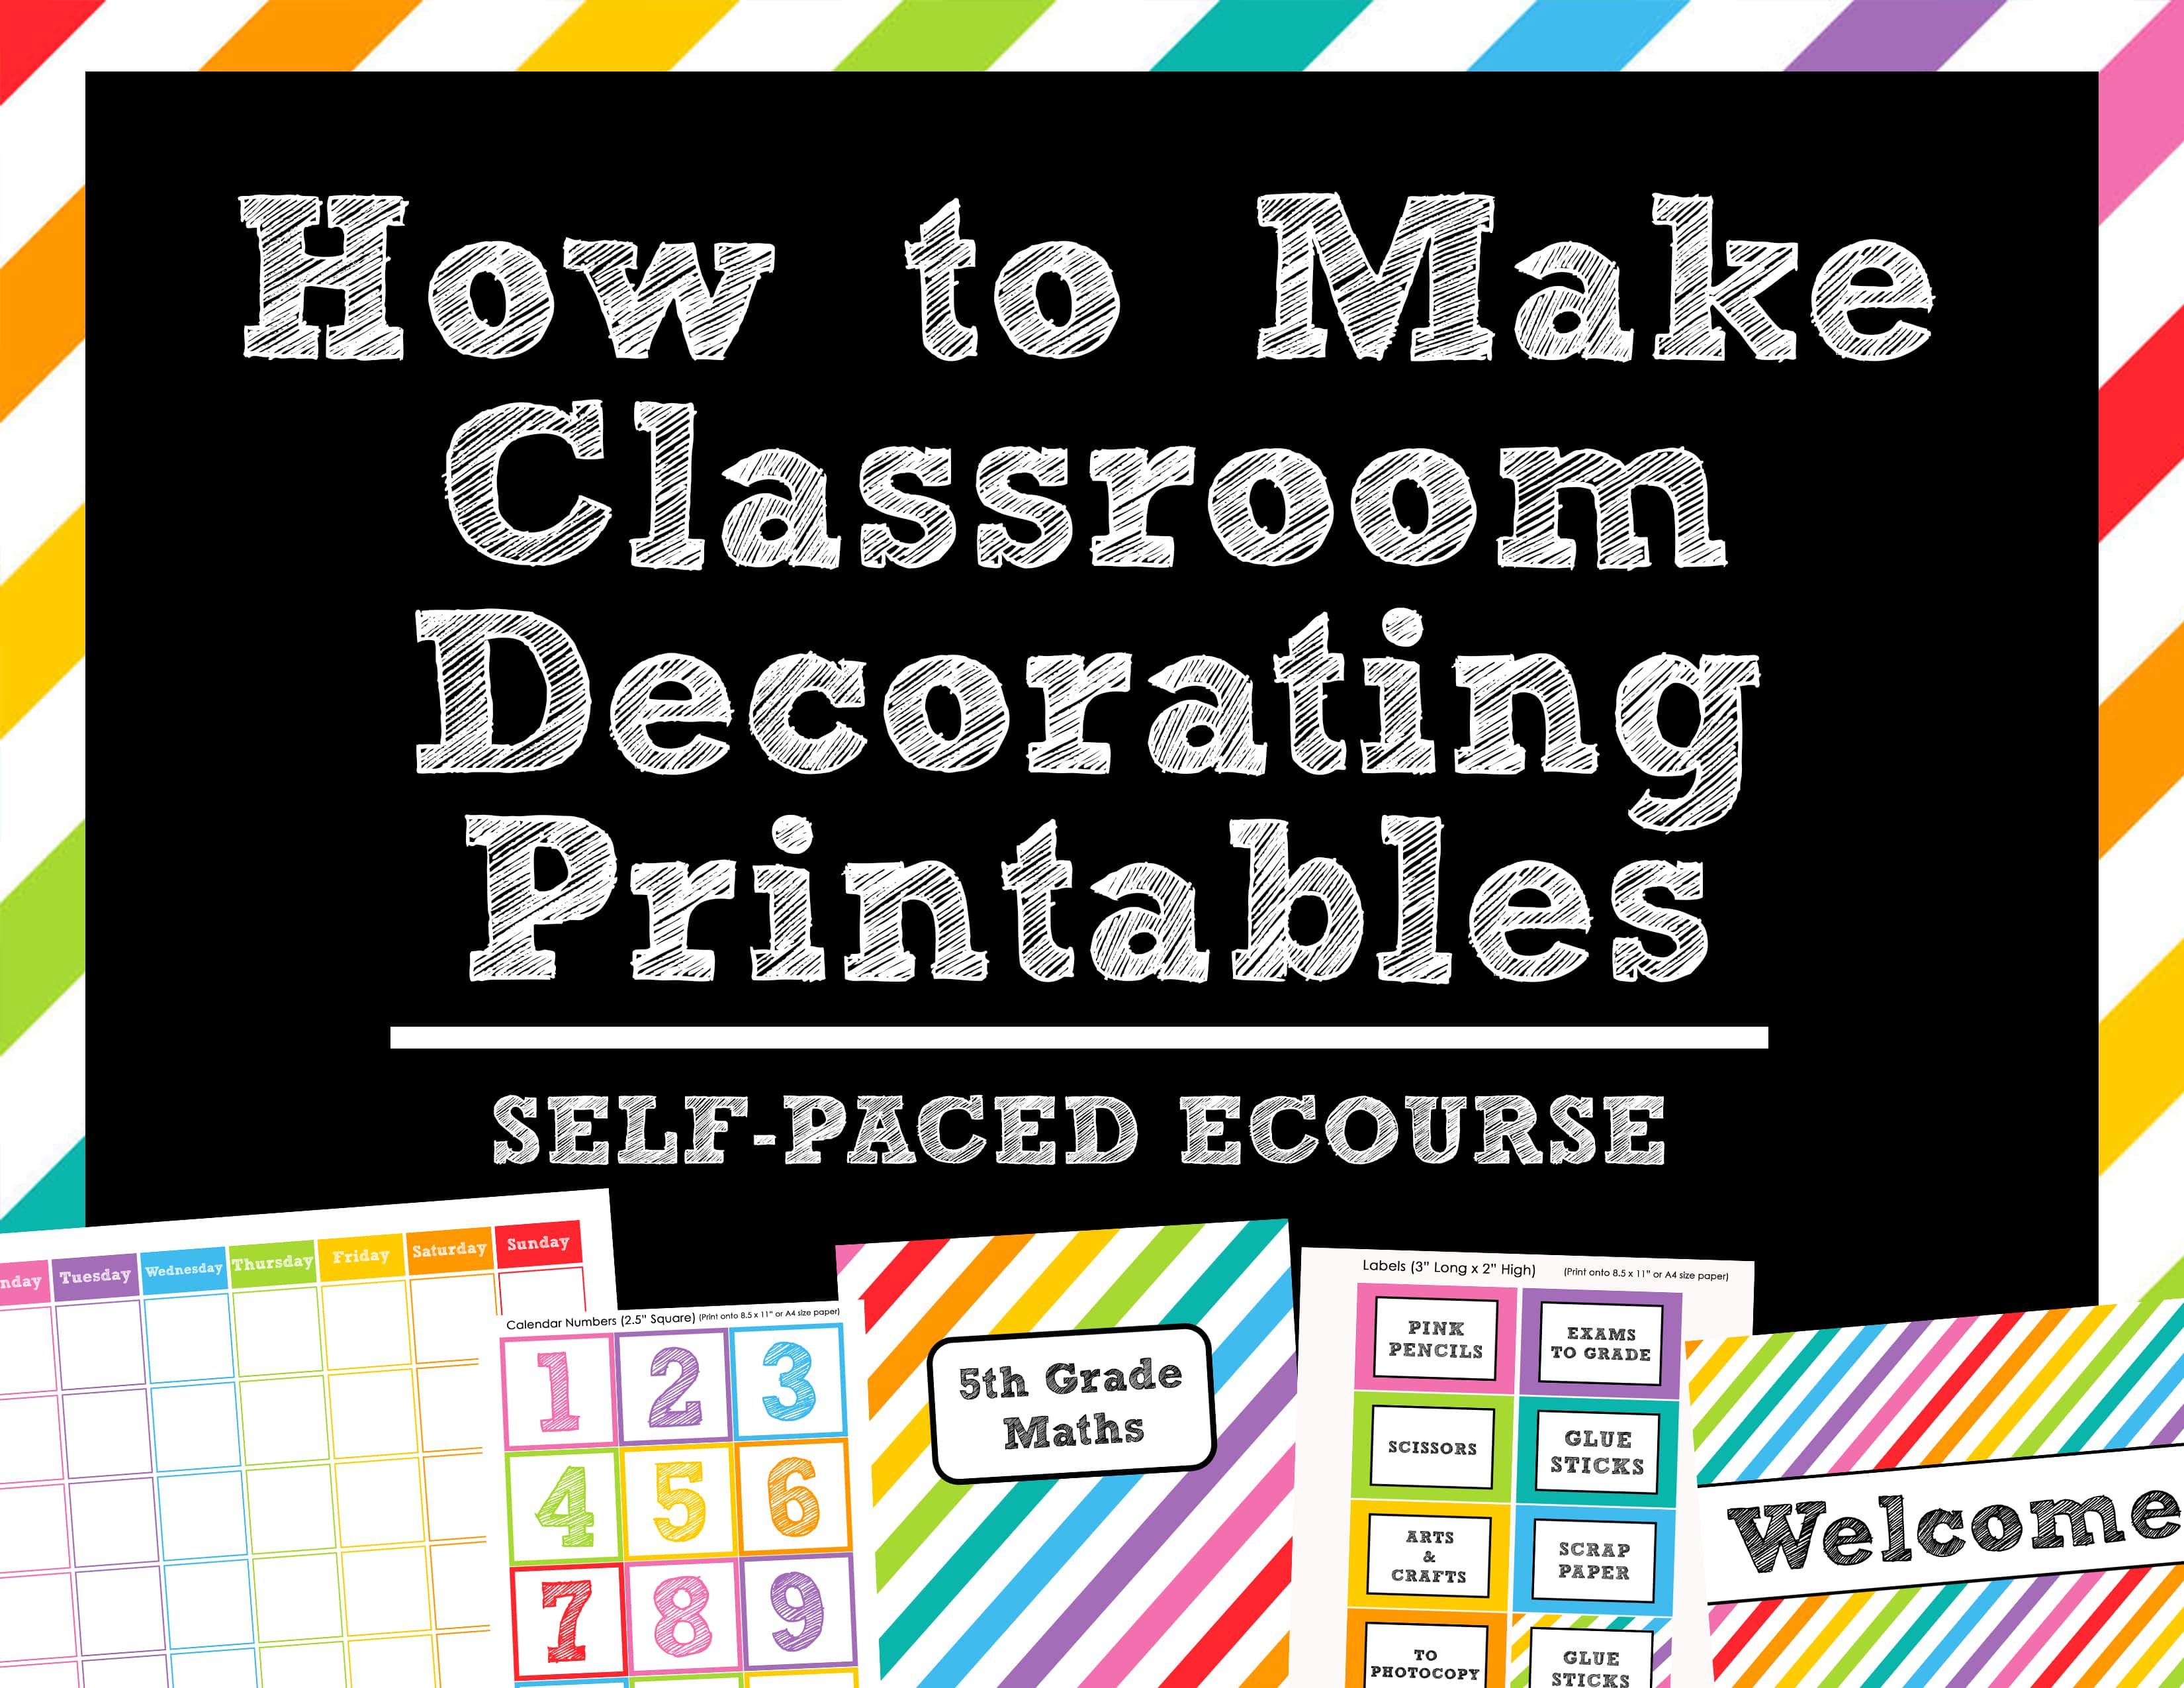
Some examples where I’ve use the steps in this tutorial to make pinnable images for my blog posts:

You can download these templates for your blog here and here.
More graphic design tutorials
- How to use Canva to make a travel itinerary (is it better than Word and Excel?)
- How to choose a laptop for making printables (and how much you can expect to spend)
- 10 Reasons why I switched from Adobe Photoshop to Affinity Publisher
Browse all of my Canva tutorials here.
Found this post helpful? Pin it!