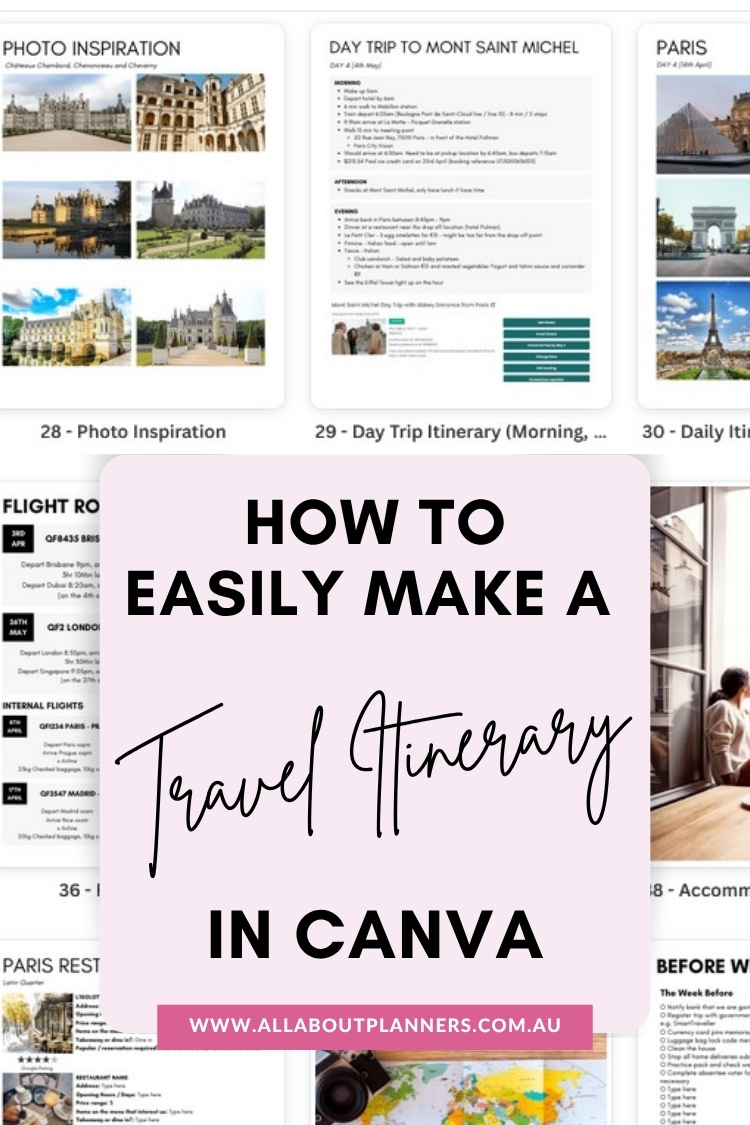
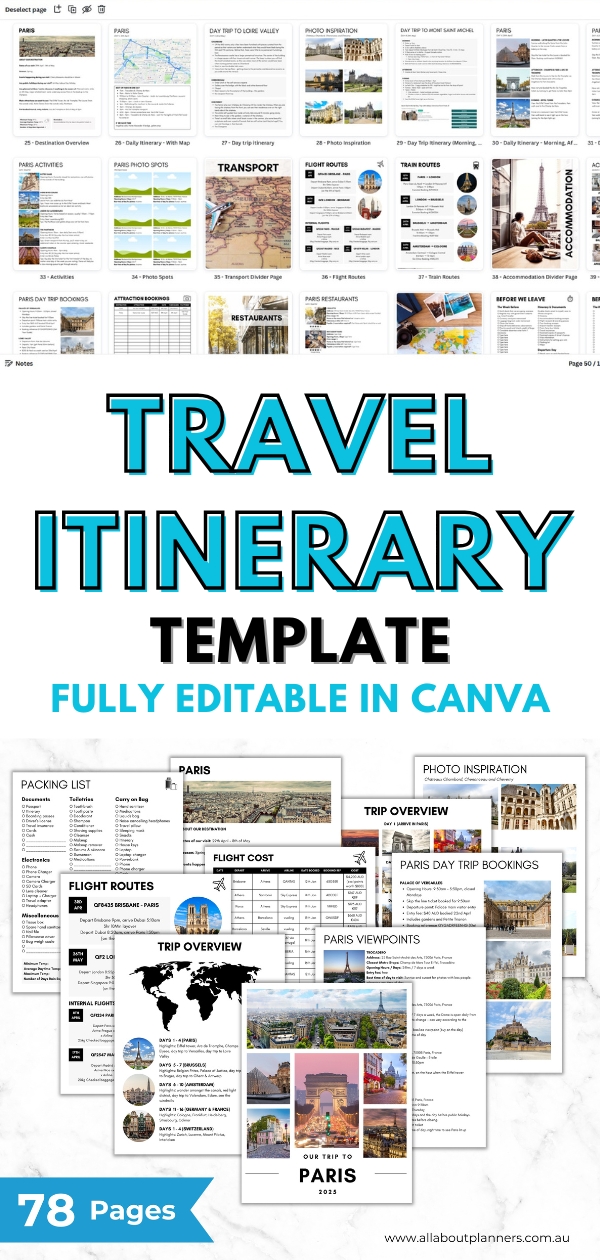
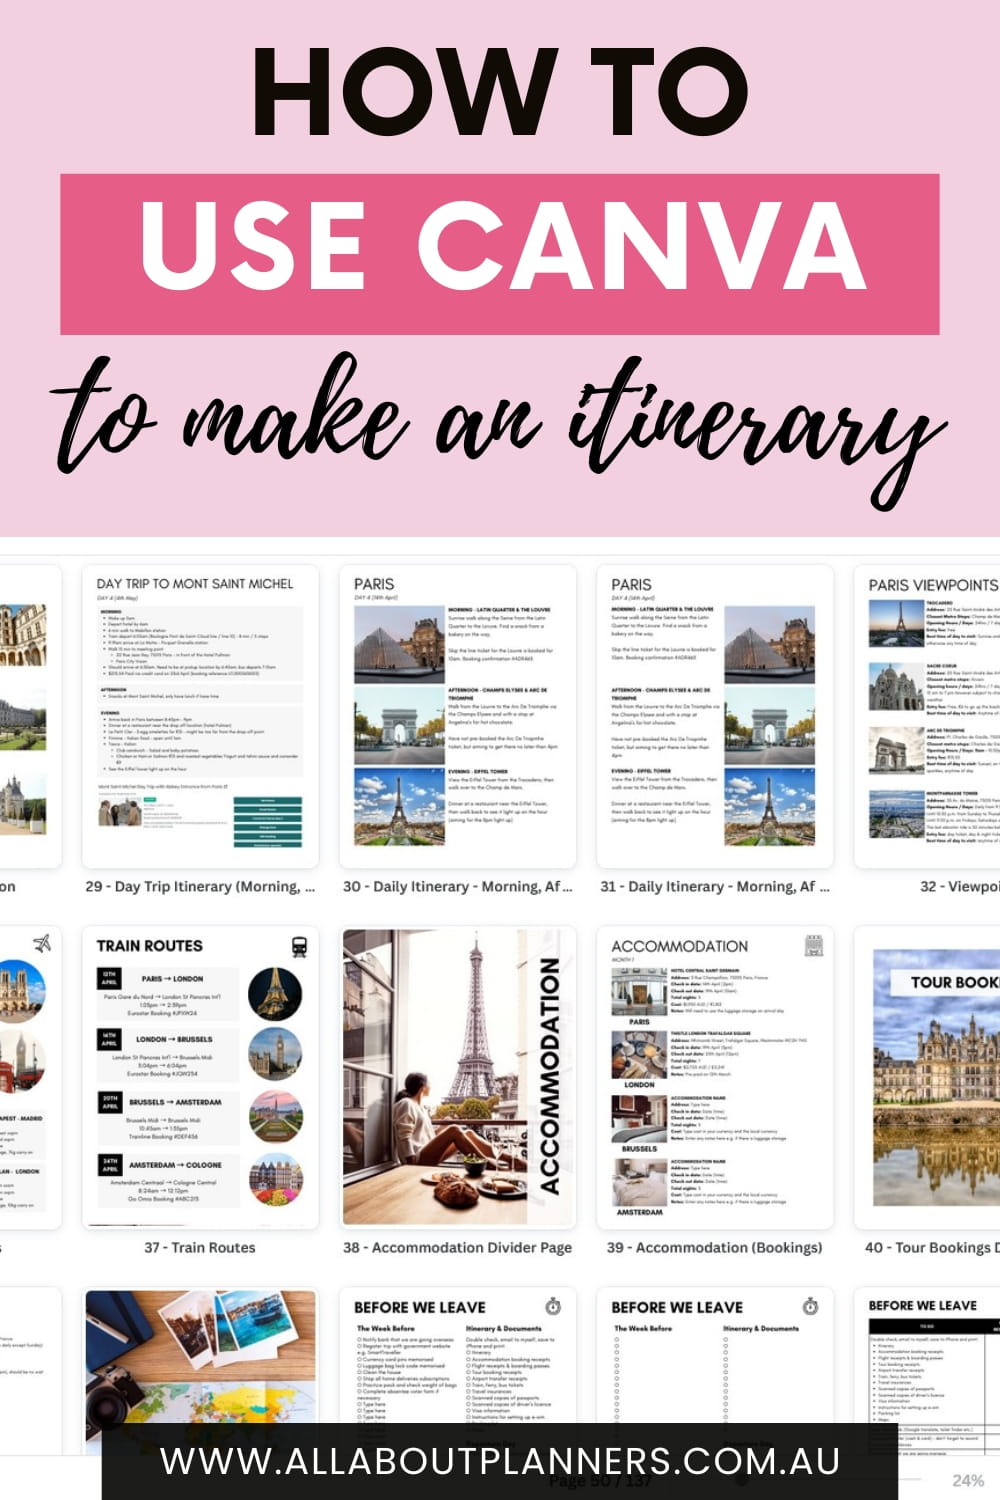
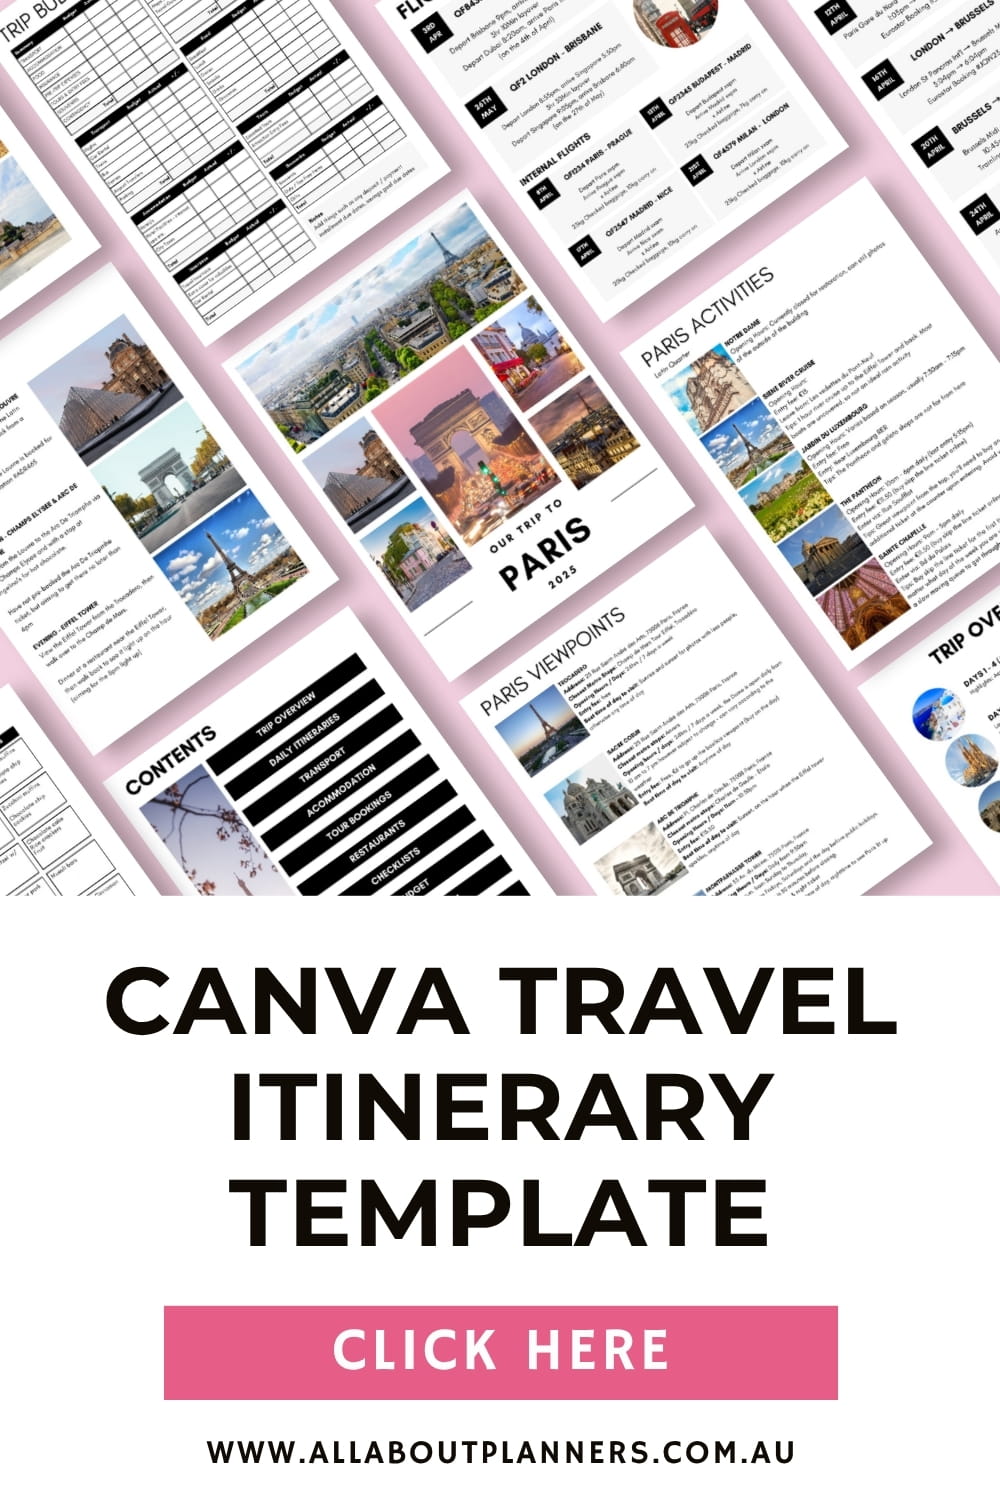
How to use Canva to make a travel itinerary (is it better than Word and Excel?)
Word has gotten around the office at my day job, that I have quite the travel hobby – so now I get asked for copies of my itineraries. One of my colleagues asked for my Paris and London itinerary But after reviewing the itinerary she said ‘it’s very helpful and full of information, but can you make it… pretty? And add hyperlinks?’
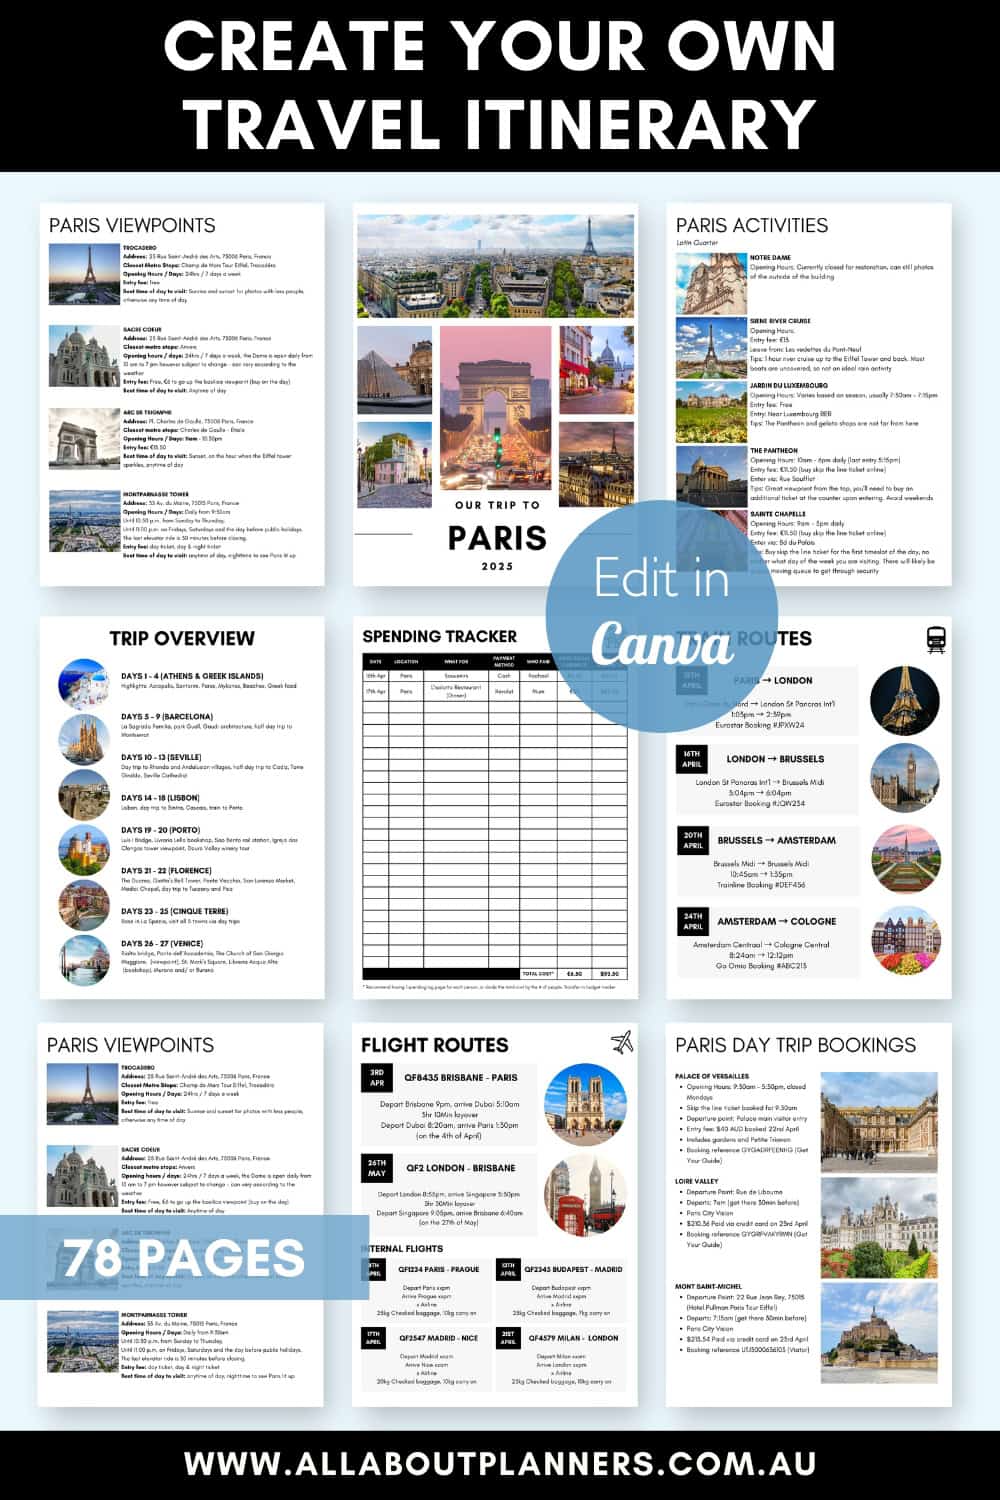
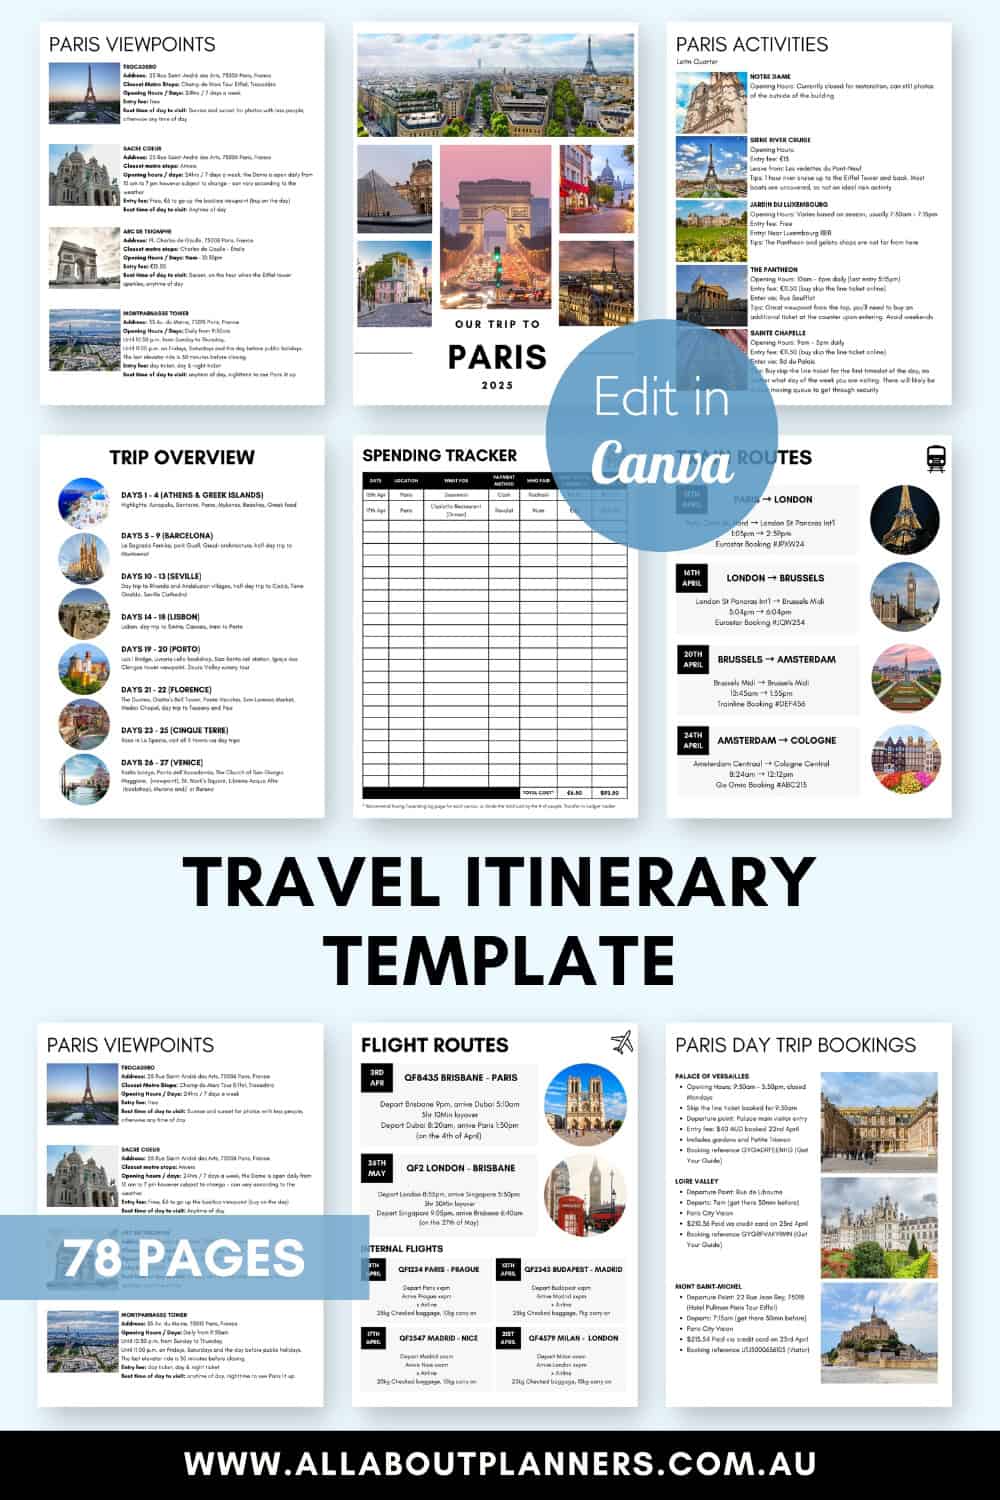
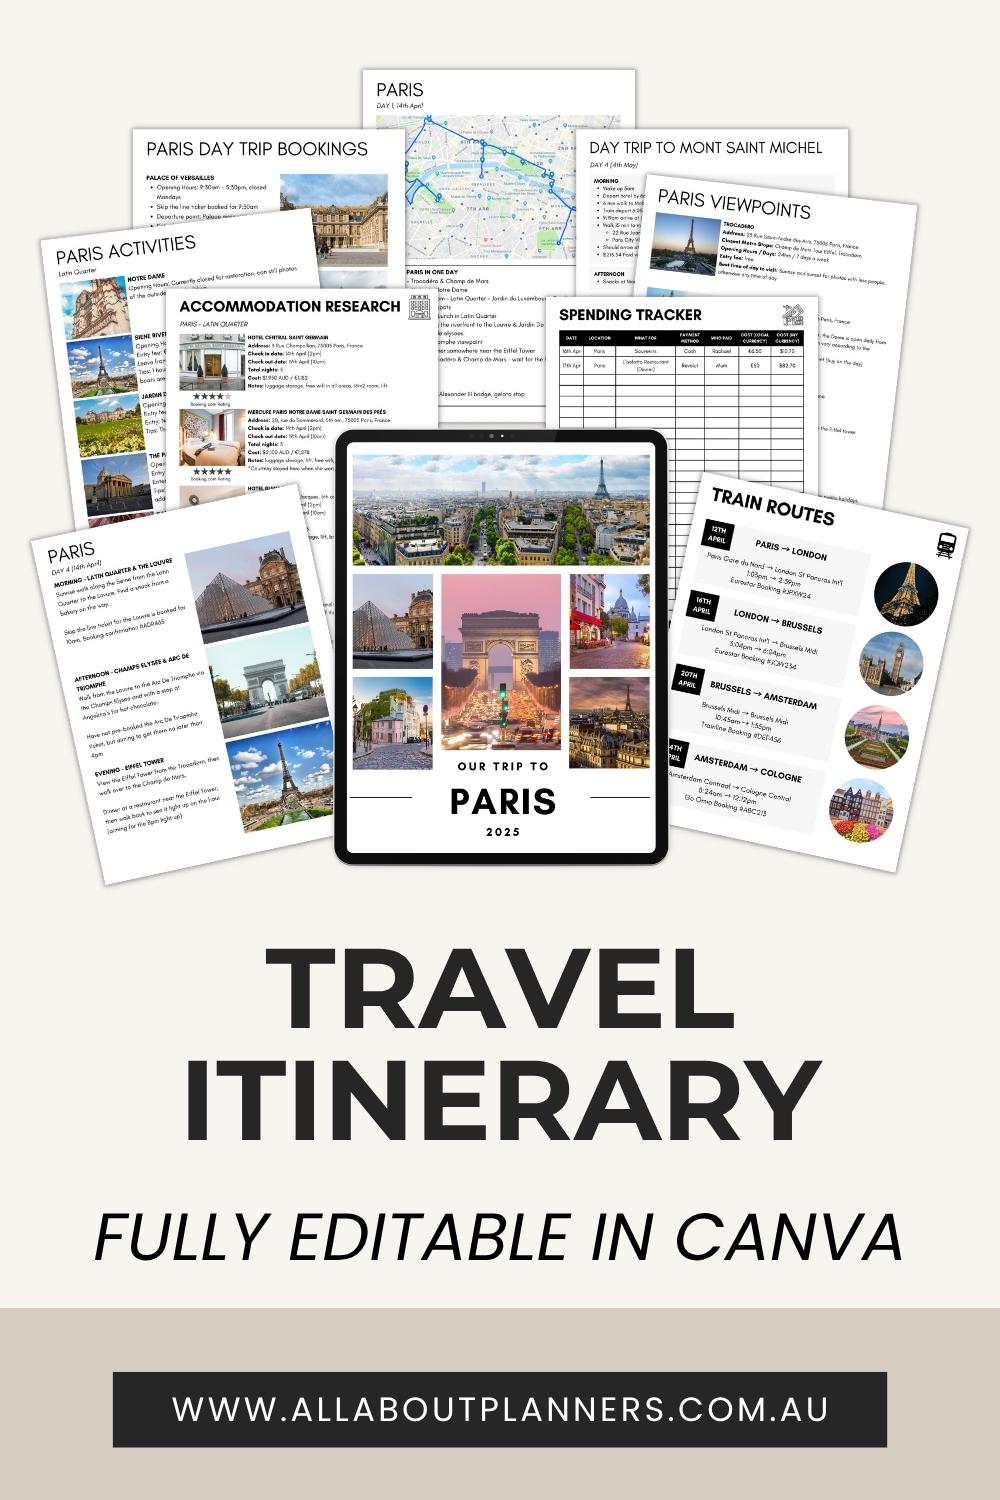
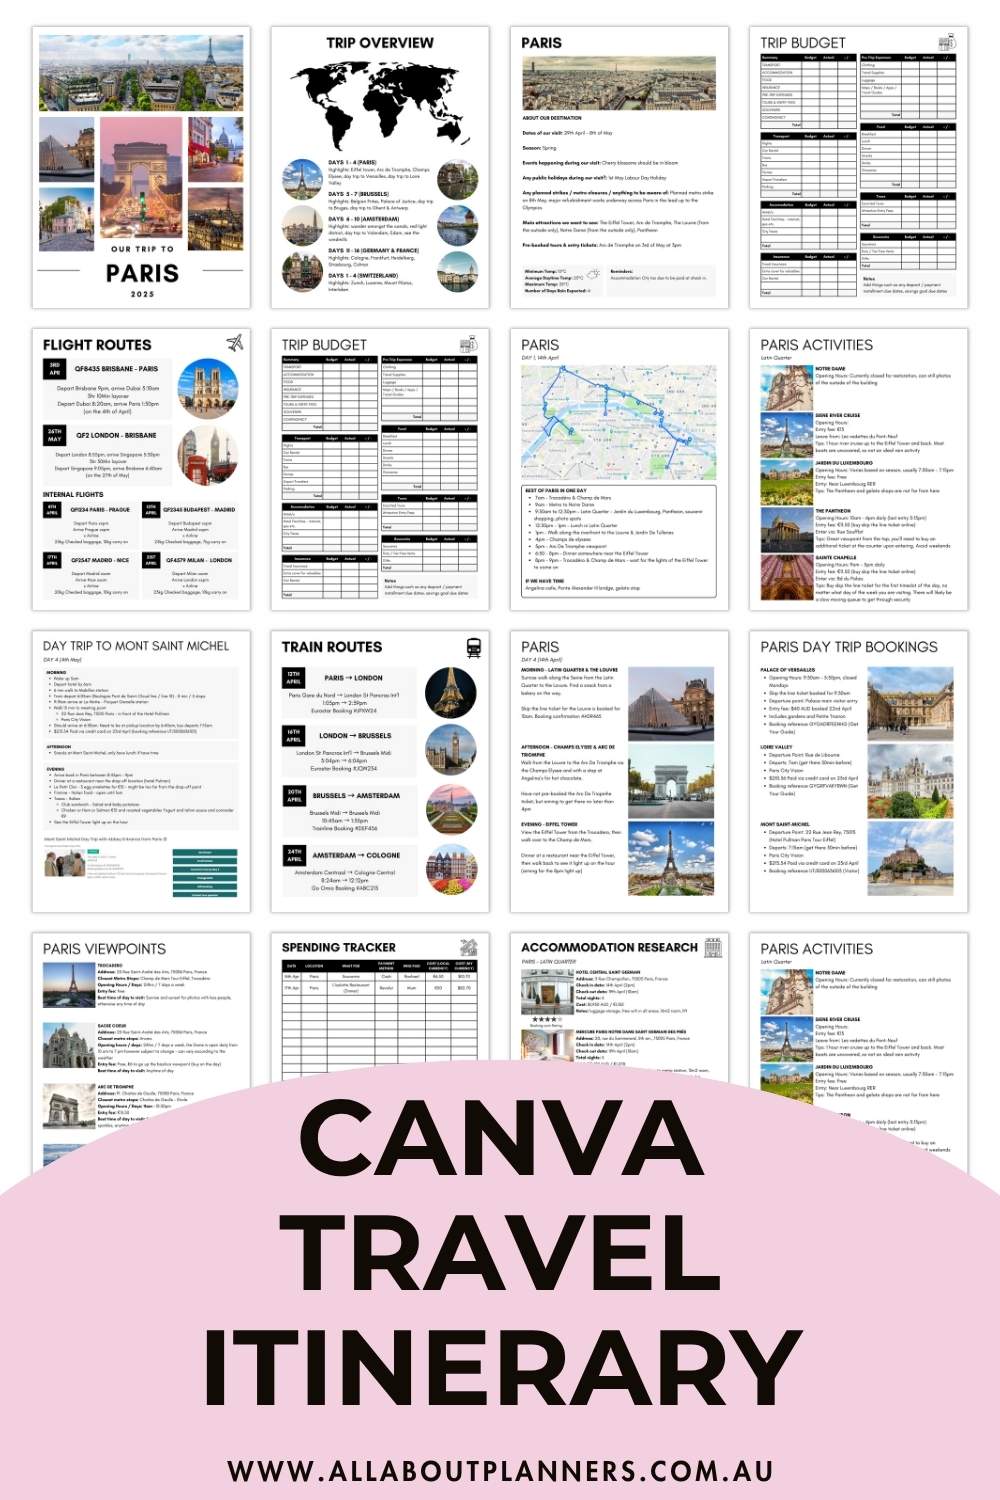
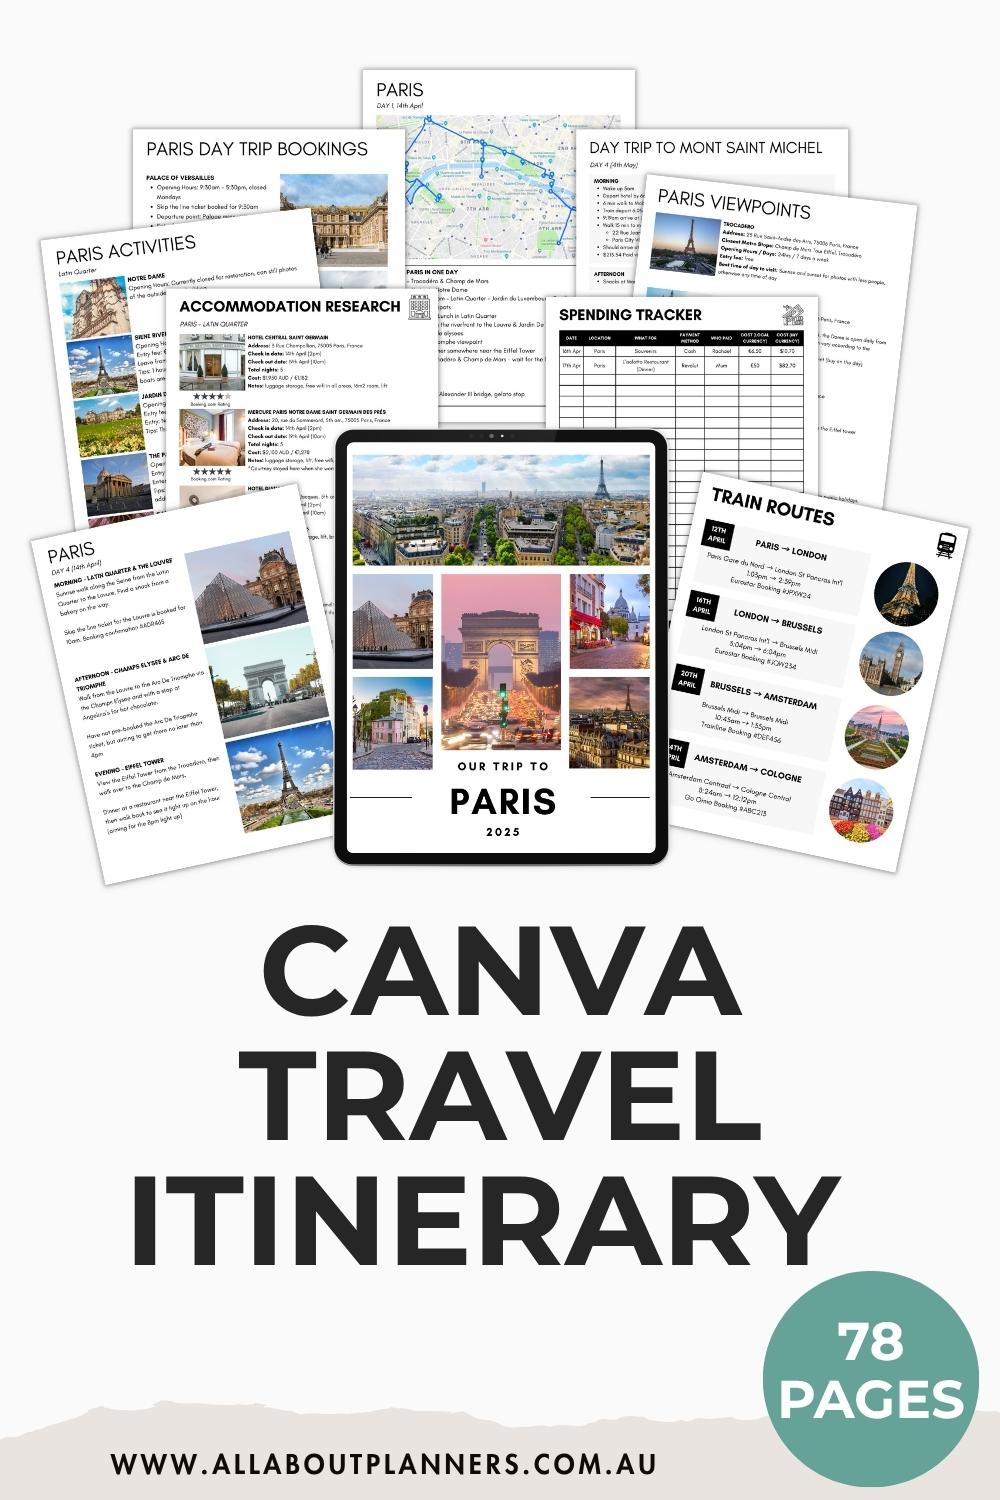
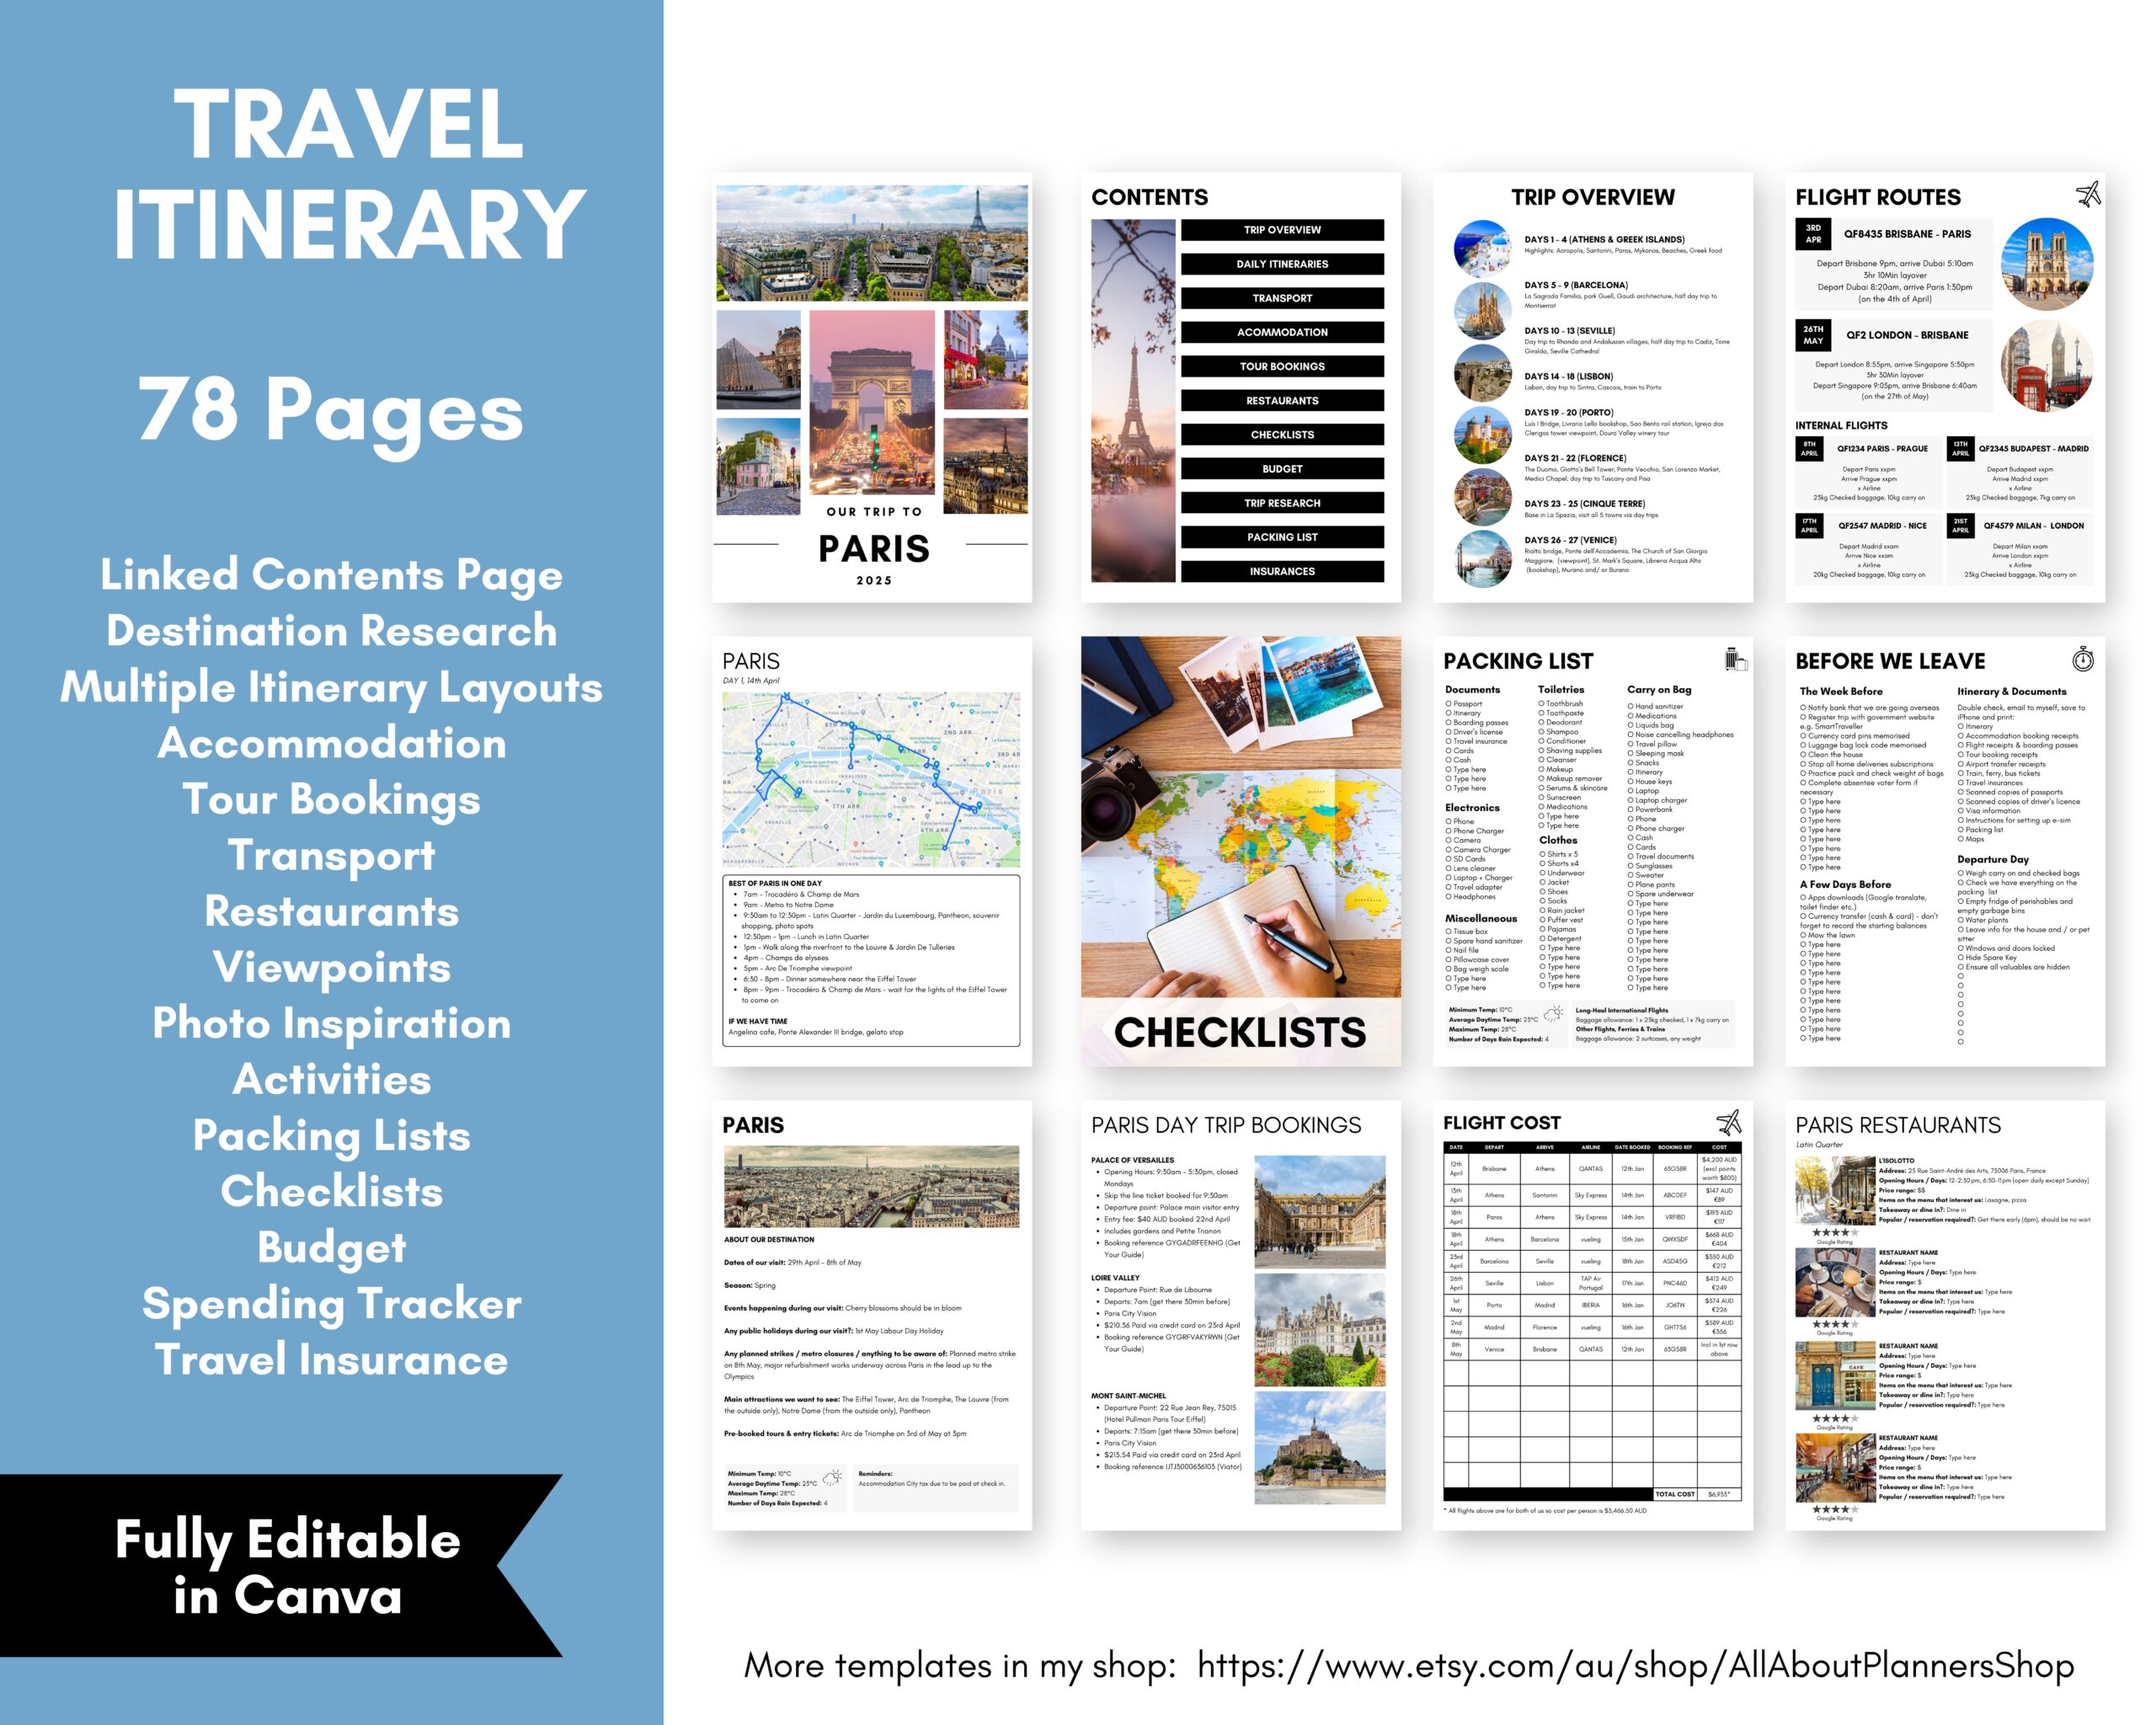
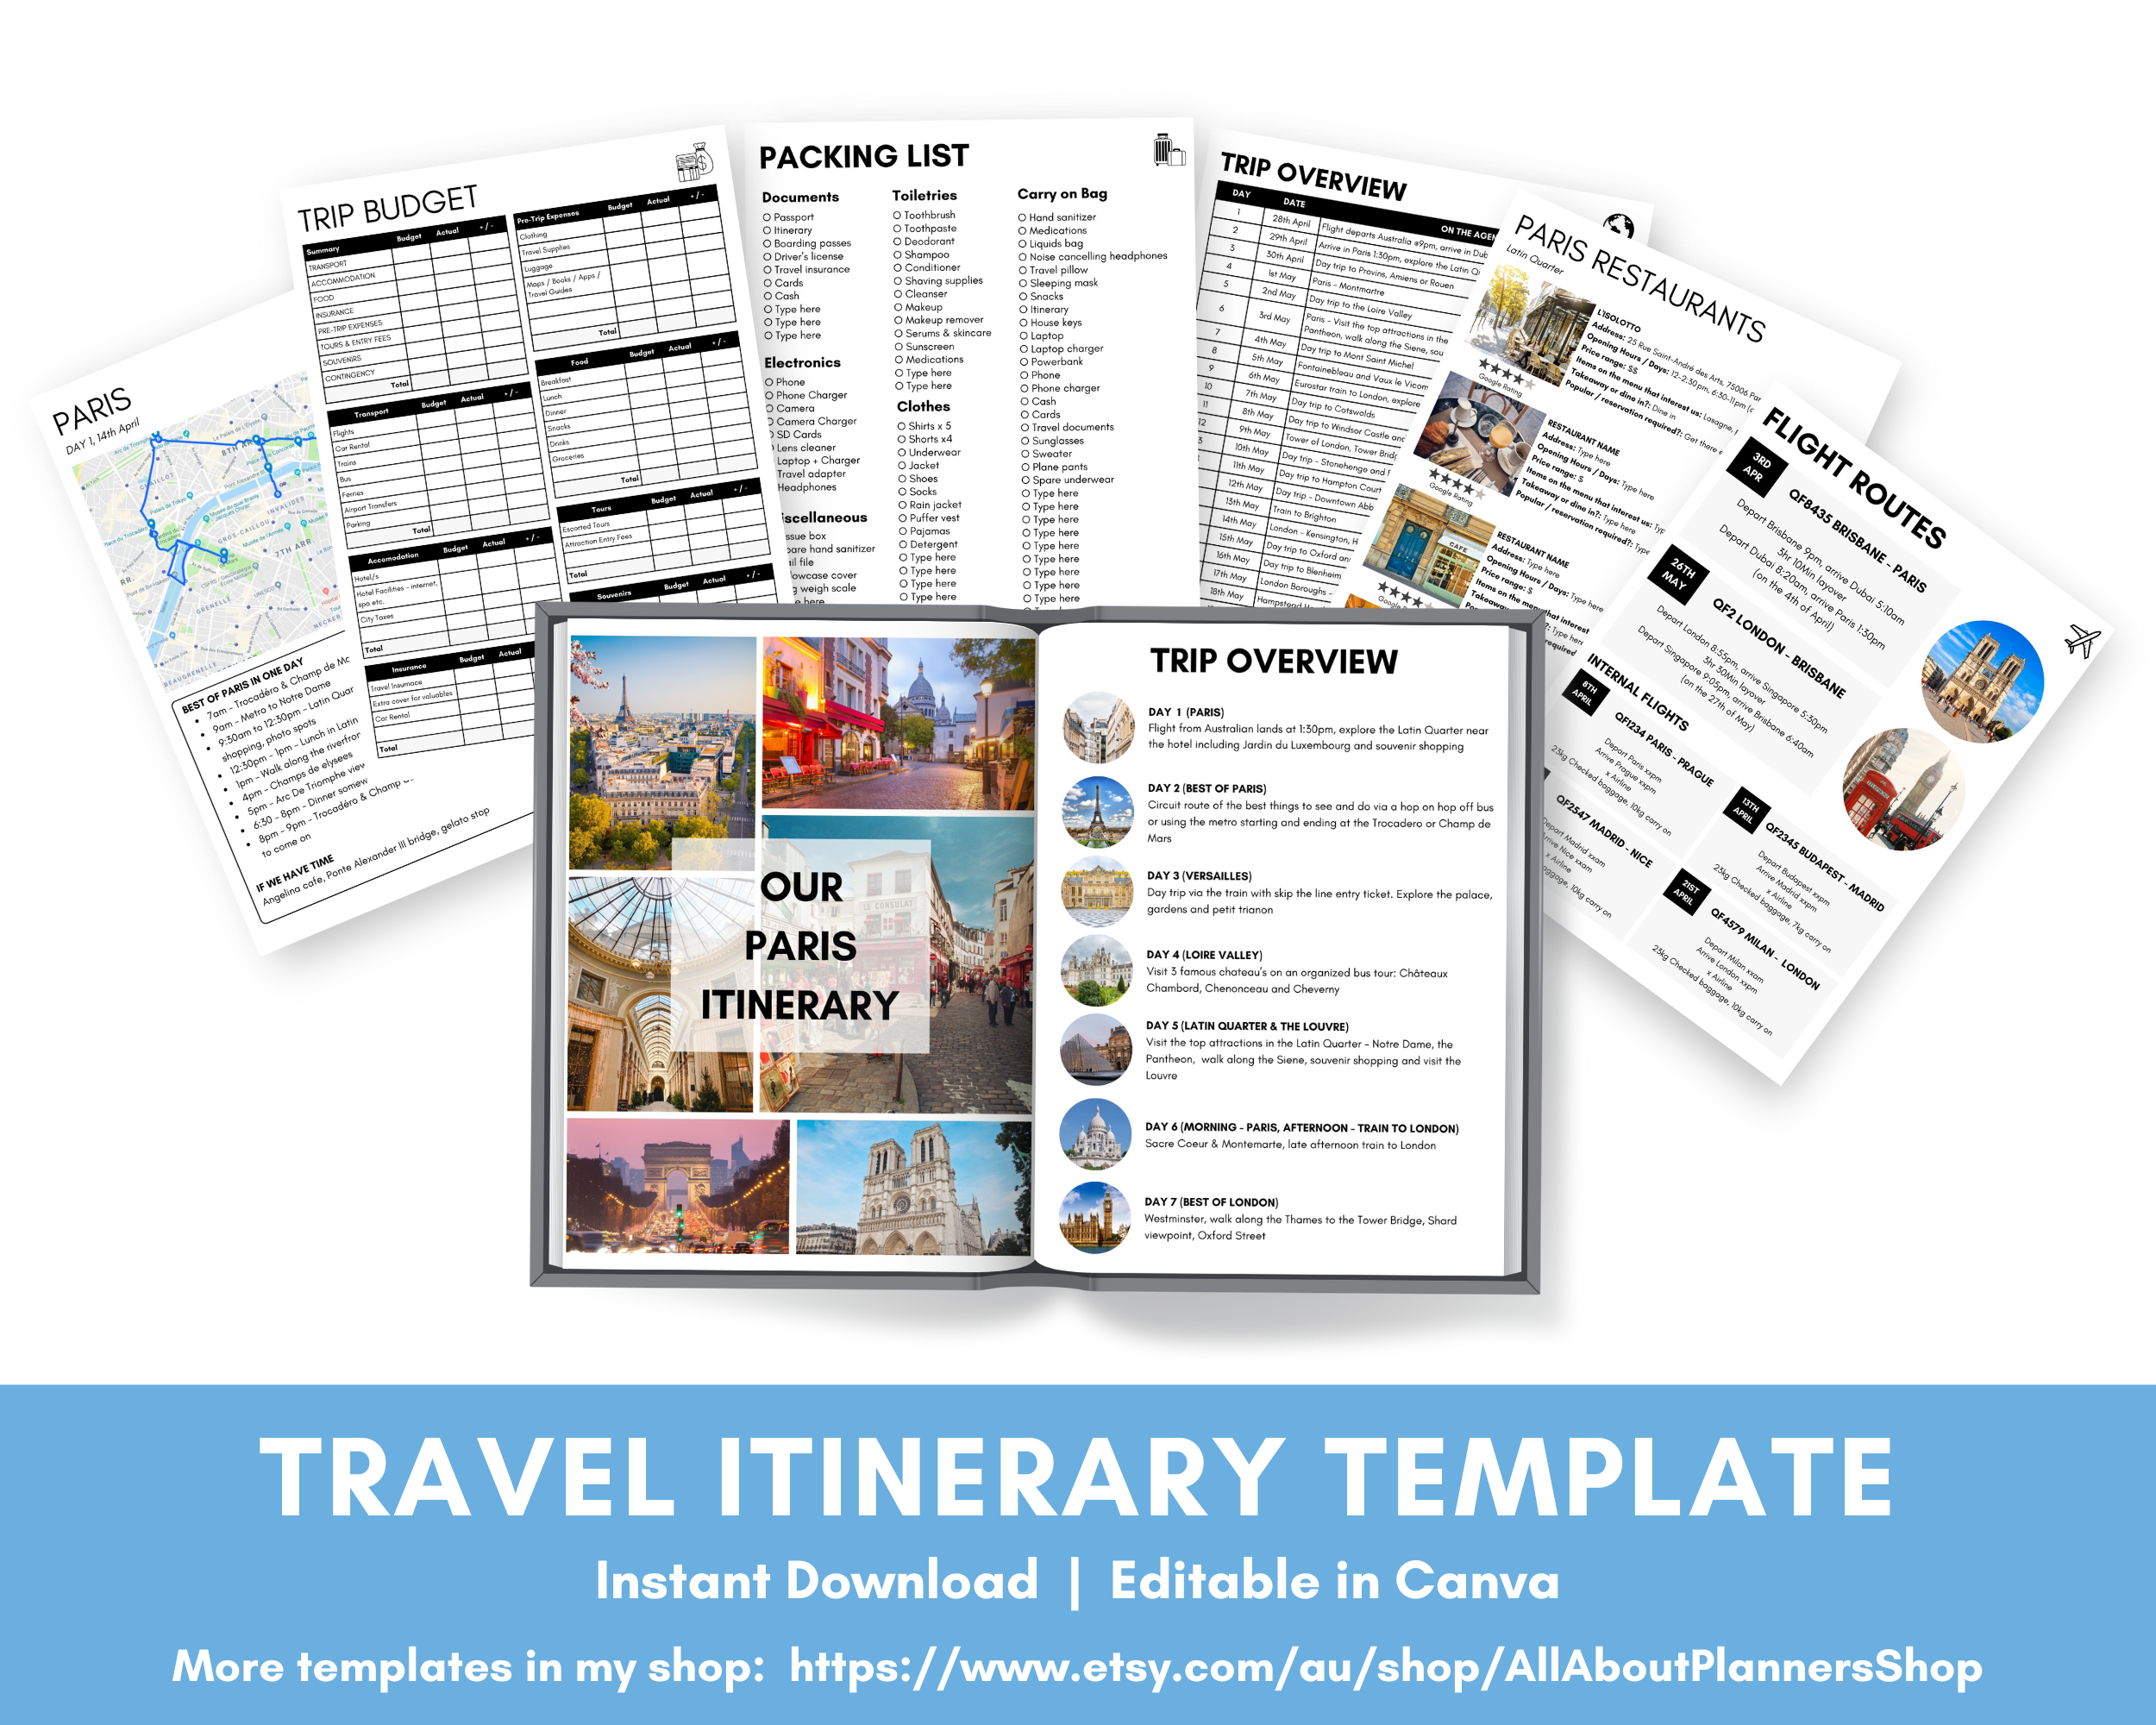
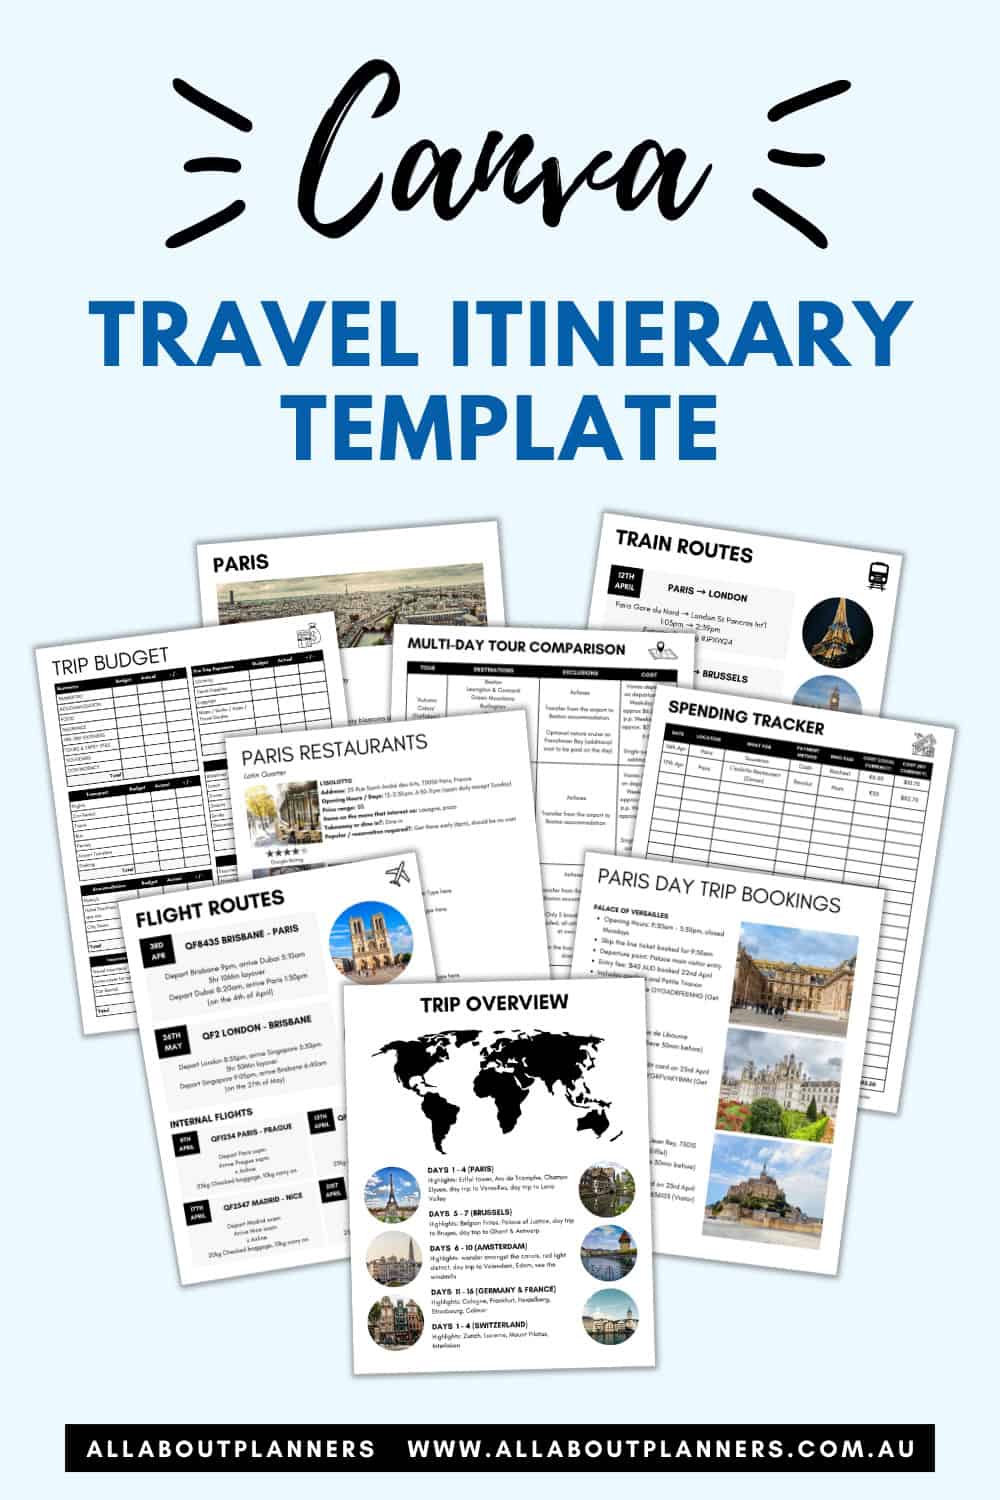
So here’s what I came up with:
I chose to create an itinerary template in Canva for similar reasons to the cookbook template I also recently make in Canva (more info in this post).
Canva is:
- Simple and easy to use
- Quick to make edits once you’ve set up a template
- Easily duplicate pages (so you can create an itinerary as long or as short as you need)
- Can download to PDF or keep the hyperlinks in the template to use digitally on your iPhone while on the go
- There’s a free version
- If people ask for a copy of your itinerary, you can simply send them a link (and not worry about email file size attachment limits if you have a long itinerary)
- You can send a copy of the itinerary to other people if multiple people are contributing to planning the itinerary
But the main reason I chose Canva is because it provided the ability to combine my research (travel planning spreadsheets) and my itinerary (my travel planning document) into one convenient location. Canva’s ability to drag and drop to quickly rearrange pages also appealed, as well as the option to add hyperlinks if you want to refer to the itinerary digitally from your laptop, ipad or phone.
How to use the Canva Itinerary template

Subscribe to my YouTube channel for more planner videos
If you’d like to purchase a copy of the itinerary template, it is available in my online store and Etsy shop.
What pages should you include in your itinerary?
I like to be a little ‘extra’ and have templates for everything. Travel planning is my favorite type of planning and I’m very thorough with my research, so I end up with quite a large itinerary by the time I board the plane.
I start with doing overview research. Things like:
- What time of year do I want to go?
- What cities will be my entry and exit points?
- Are there any events or specific things I want to see at the destinations I’m going to (for me, I always prefer to go to the northern hemisphere during their autumn so plan my itinerary around fall foliage predictions)
- If traveling during shoulder season, are there any activities that have a cut off date (e.g. most river cruises finish in Europe by mid to late October)
- What is my budget?
- Who is going with me?
- Etc.!
The research pages are essentially ‘Canva’ised’ versions of my Microsoft Excel travel itinerary template.
I usually take trips that are 3 – 4 weeks long, and the research process usually takes me 4 weeks.
Once I finish my initial research and have a good idea of where I want to go and when, it’s time to start fleshing out the itinerary. I consider things like:
- How much time do I need in each place, in order to see the things I want to see?
- Will I do DIY day trips via train / bus / ferry, or is public transport too difficult and will I join an organized day tour instead?
- What flight / train / bus / ferry route is the most efficient? (I prefer direct flights only and never double back to a city in order to catch a flight / train / bus if I can avoid it)
- Are attractions only open on certain days of the week? (e.g. Versailles is closed on Monday’s)
- If I don’t want to drive in another country, or the logistics look too difficult, I compare different multi-day organized tour itineraries – inclusions, exclusions, departure dates, which ‘must see’ places on my list they include.. and which ones they don’t
The itinerary planning process can be very detailed if I’m doing everything myself (typically 8 – 12 weeks to plan it – remember I work full time, run my Etsy shop and this blog – so it takes me a little longer). Or only about 4 – 6 weeks if I’m doing an itinerary that is half on my own and half on a multi-day group tour.
You don’t need to spend that long but once you see some of my completed itineraries like this one, you’ll start to see why it takes me so long. I also fiddle with the days and times for things until I get the most efficient route. Sometimes I’ll change the route / what days things are happening 20+ times if it’s a particularly difficult route with limited transport options from A to B. I only get a few weeks annual leave per year so I don’t want to waste a minute of it!
If you haven’t already realised, I’m type A and I like a packed itinerary. You’ll never find me lounging beside a pool on a beach, I prefer an itinerary that is go go go, and this itinerary template is catered to that. But if you want to travel at a more relaxed pace, you can delete any pages you don’t need in the Canva template.
The itinerary pages are ‘Canva’ised’ versions of my Microsoft Word itinerary template.
I may have gone a tad overboard and created 15 different itinerary layouts. I kept thinking of all the styles of itineraries I’d created over the years and couldn’t choose just one to include in the template as the ‘best / right’ one, so I ended up just including them all.
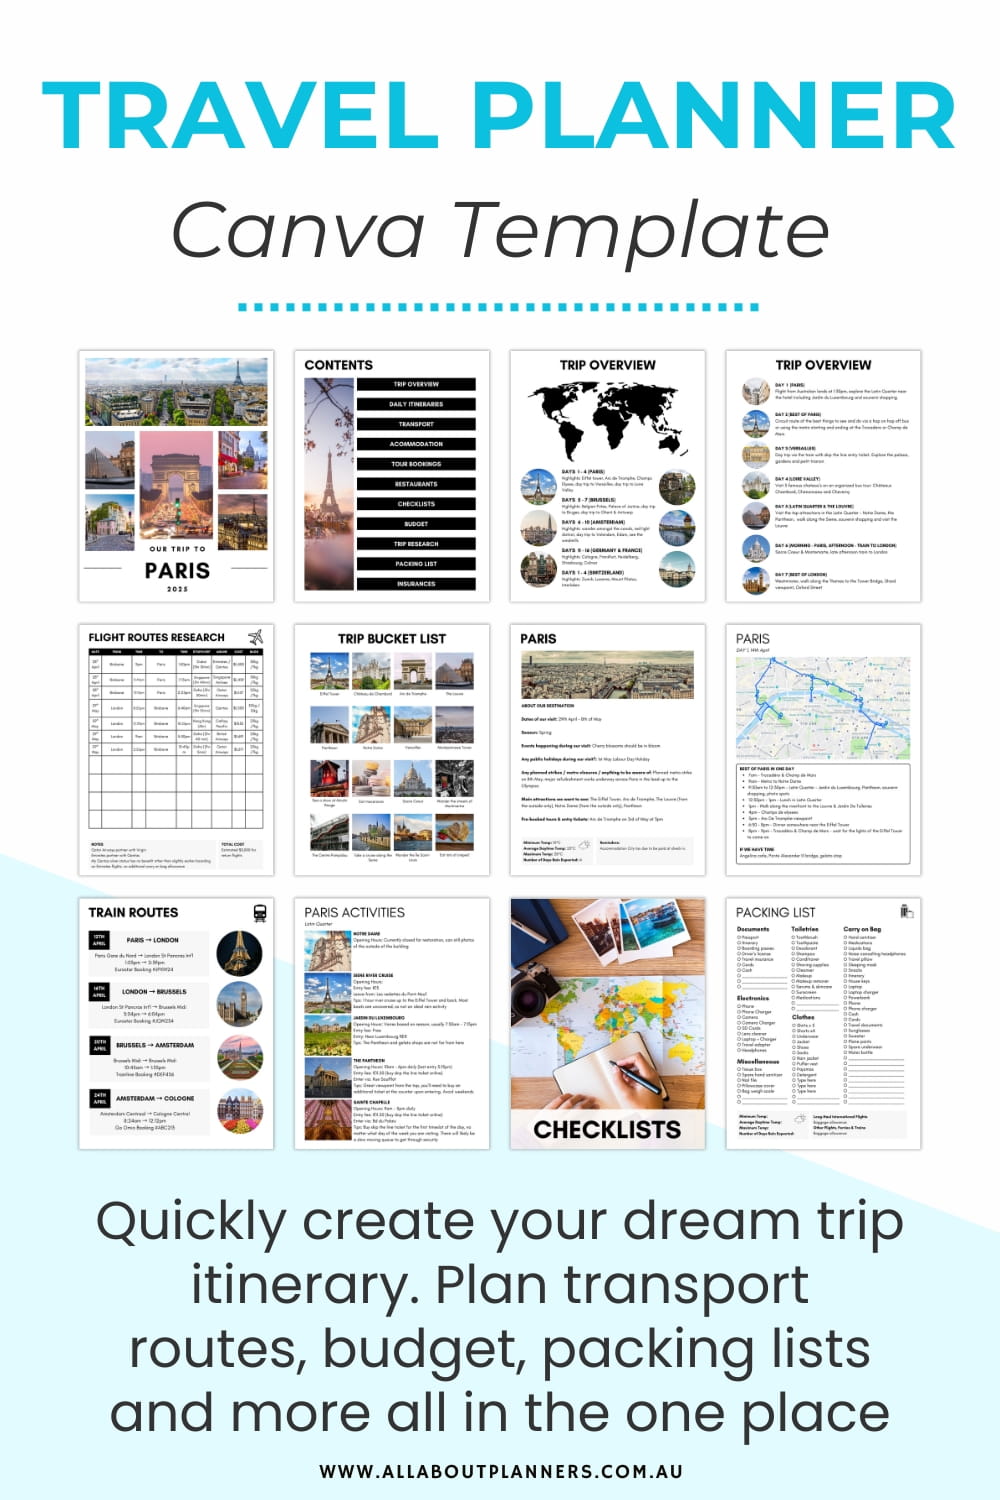
Pages included in the itinerary template
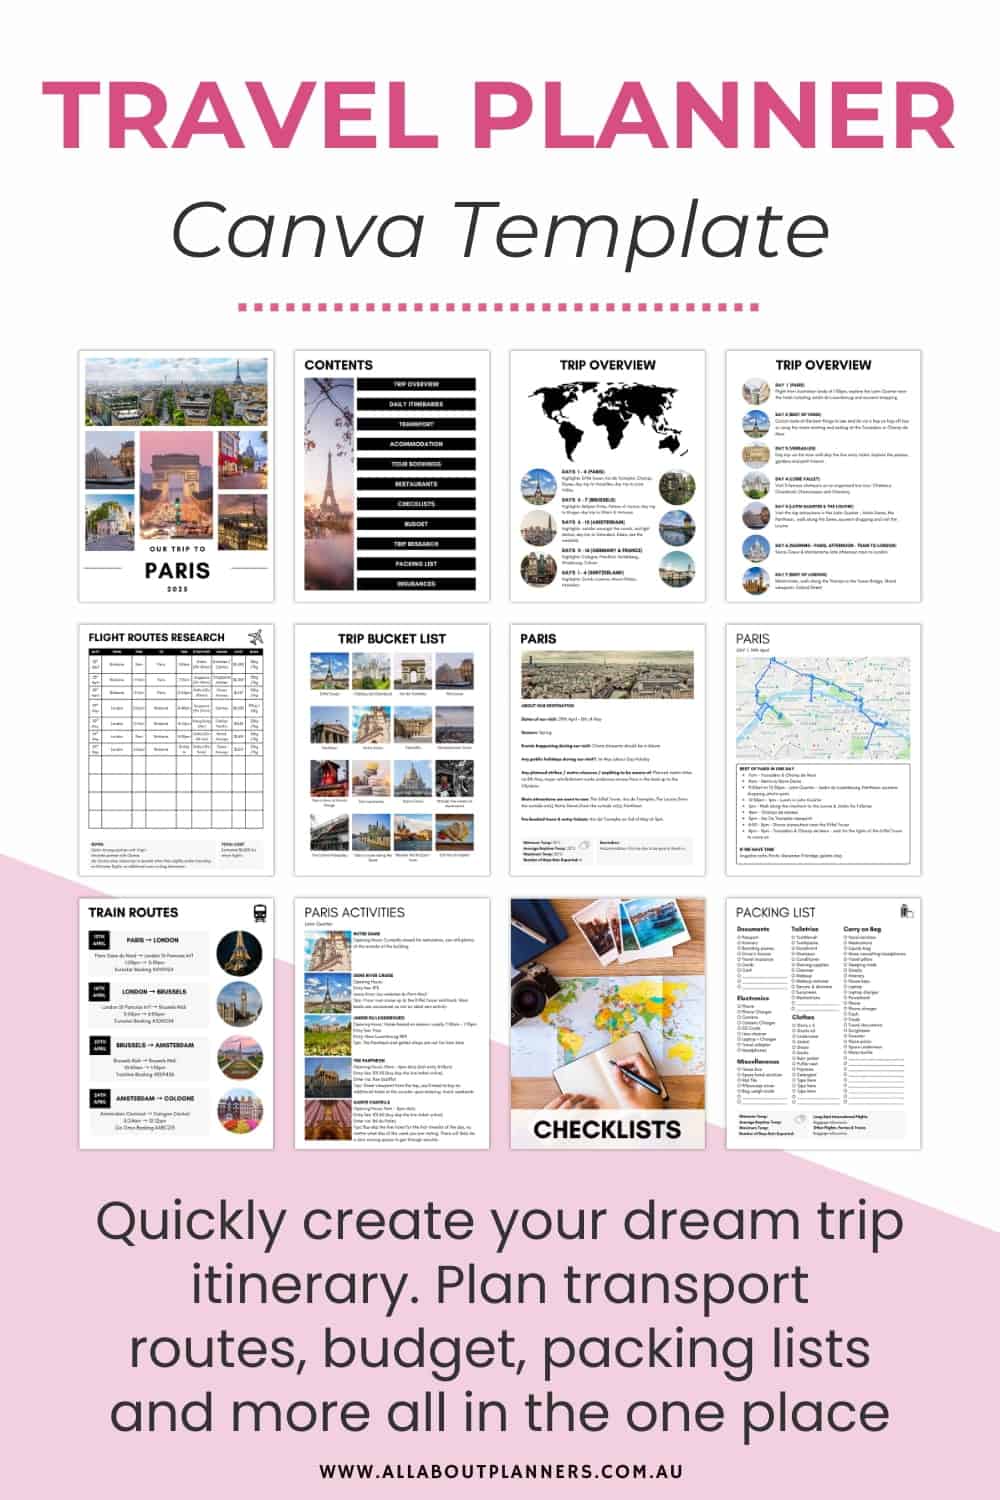
A full list of pages included in the travel planner is below.
COVERS & DIVIDER PAGES
• 5 Cover page options
• 9 options for divider pages for the categories of your choice e.g. checklists, divider pages for each destination etc.
• 1 back cover page
CONTENTS
• Clickable contents pages that will take you to each section
• Trip overview contents page ideal for longer trips – I’ve included instructions for adding hyperlinks to each day of your itinerary. Each page in the template is named so you can quickly find it when hyperlinking
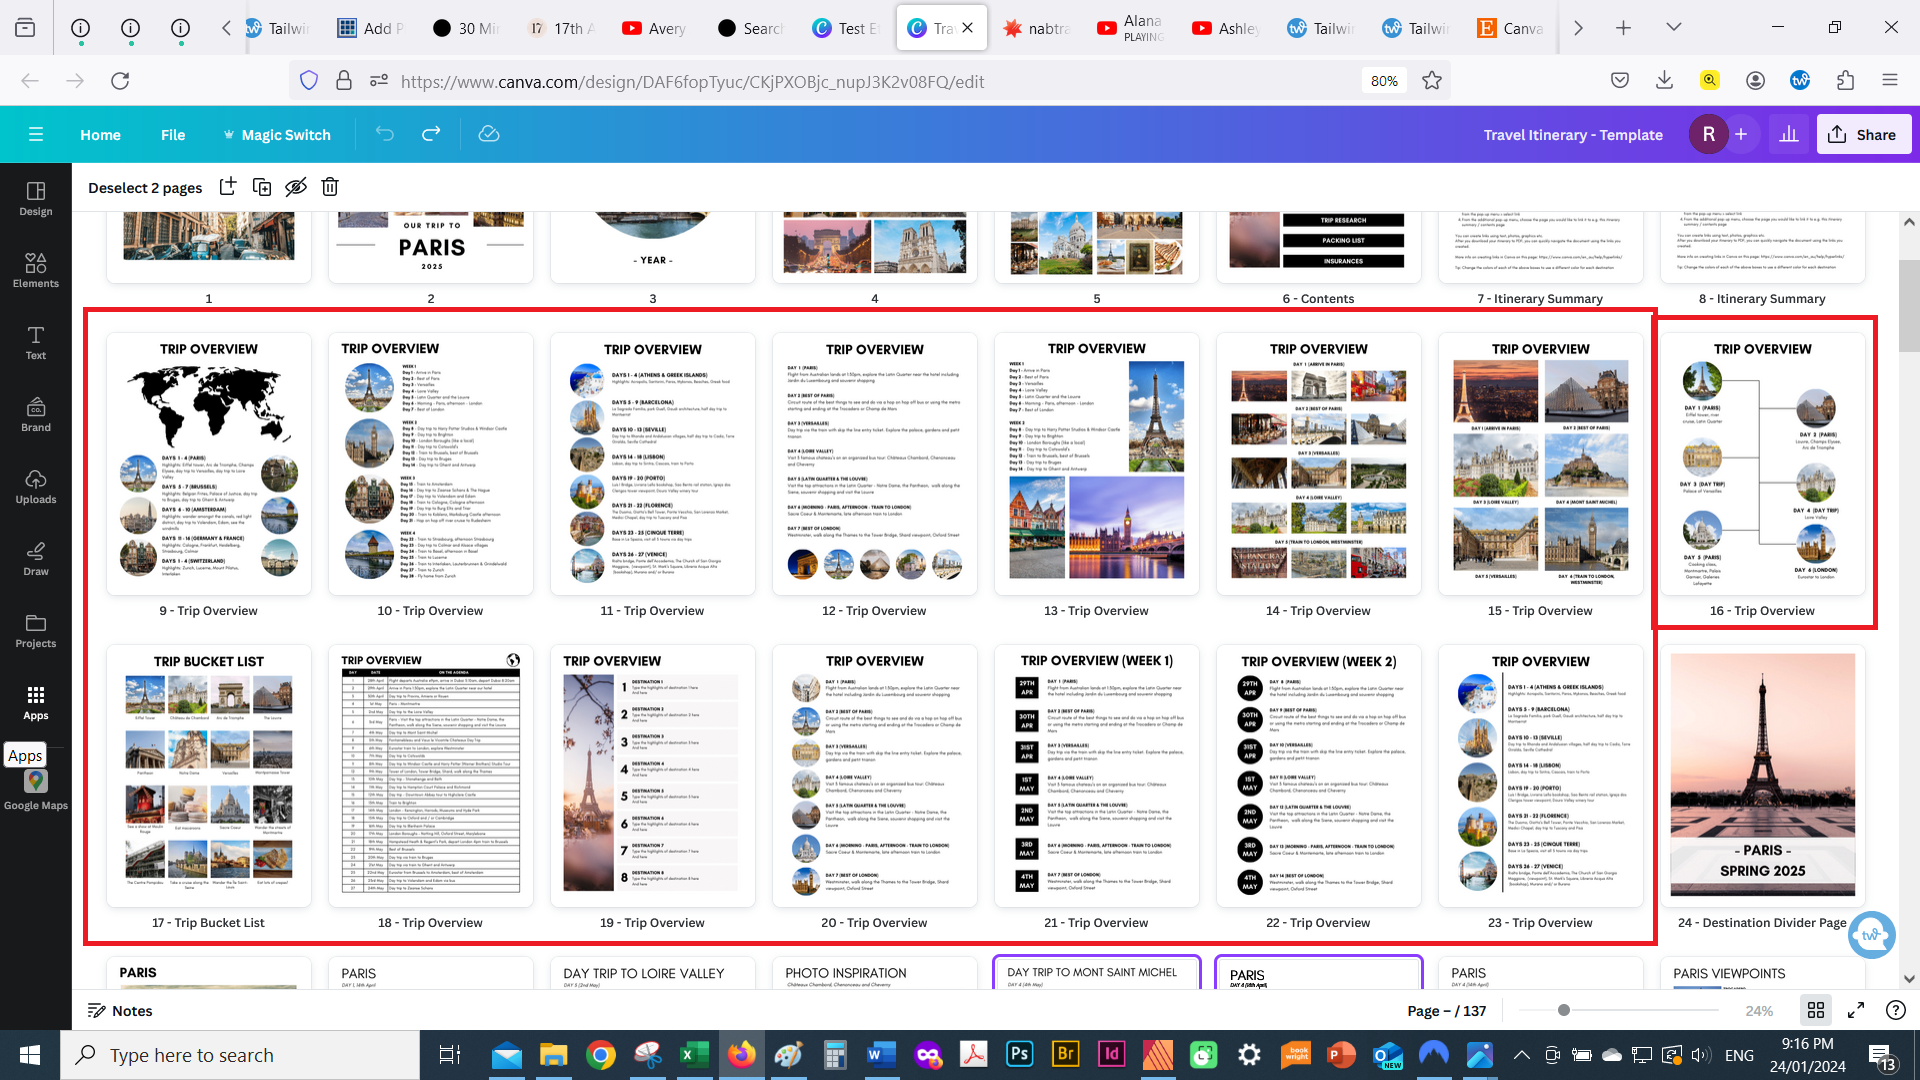
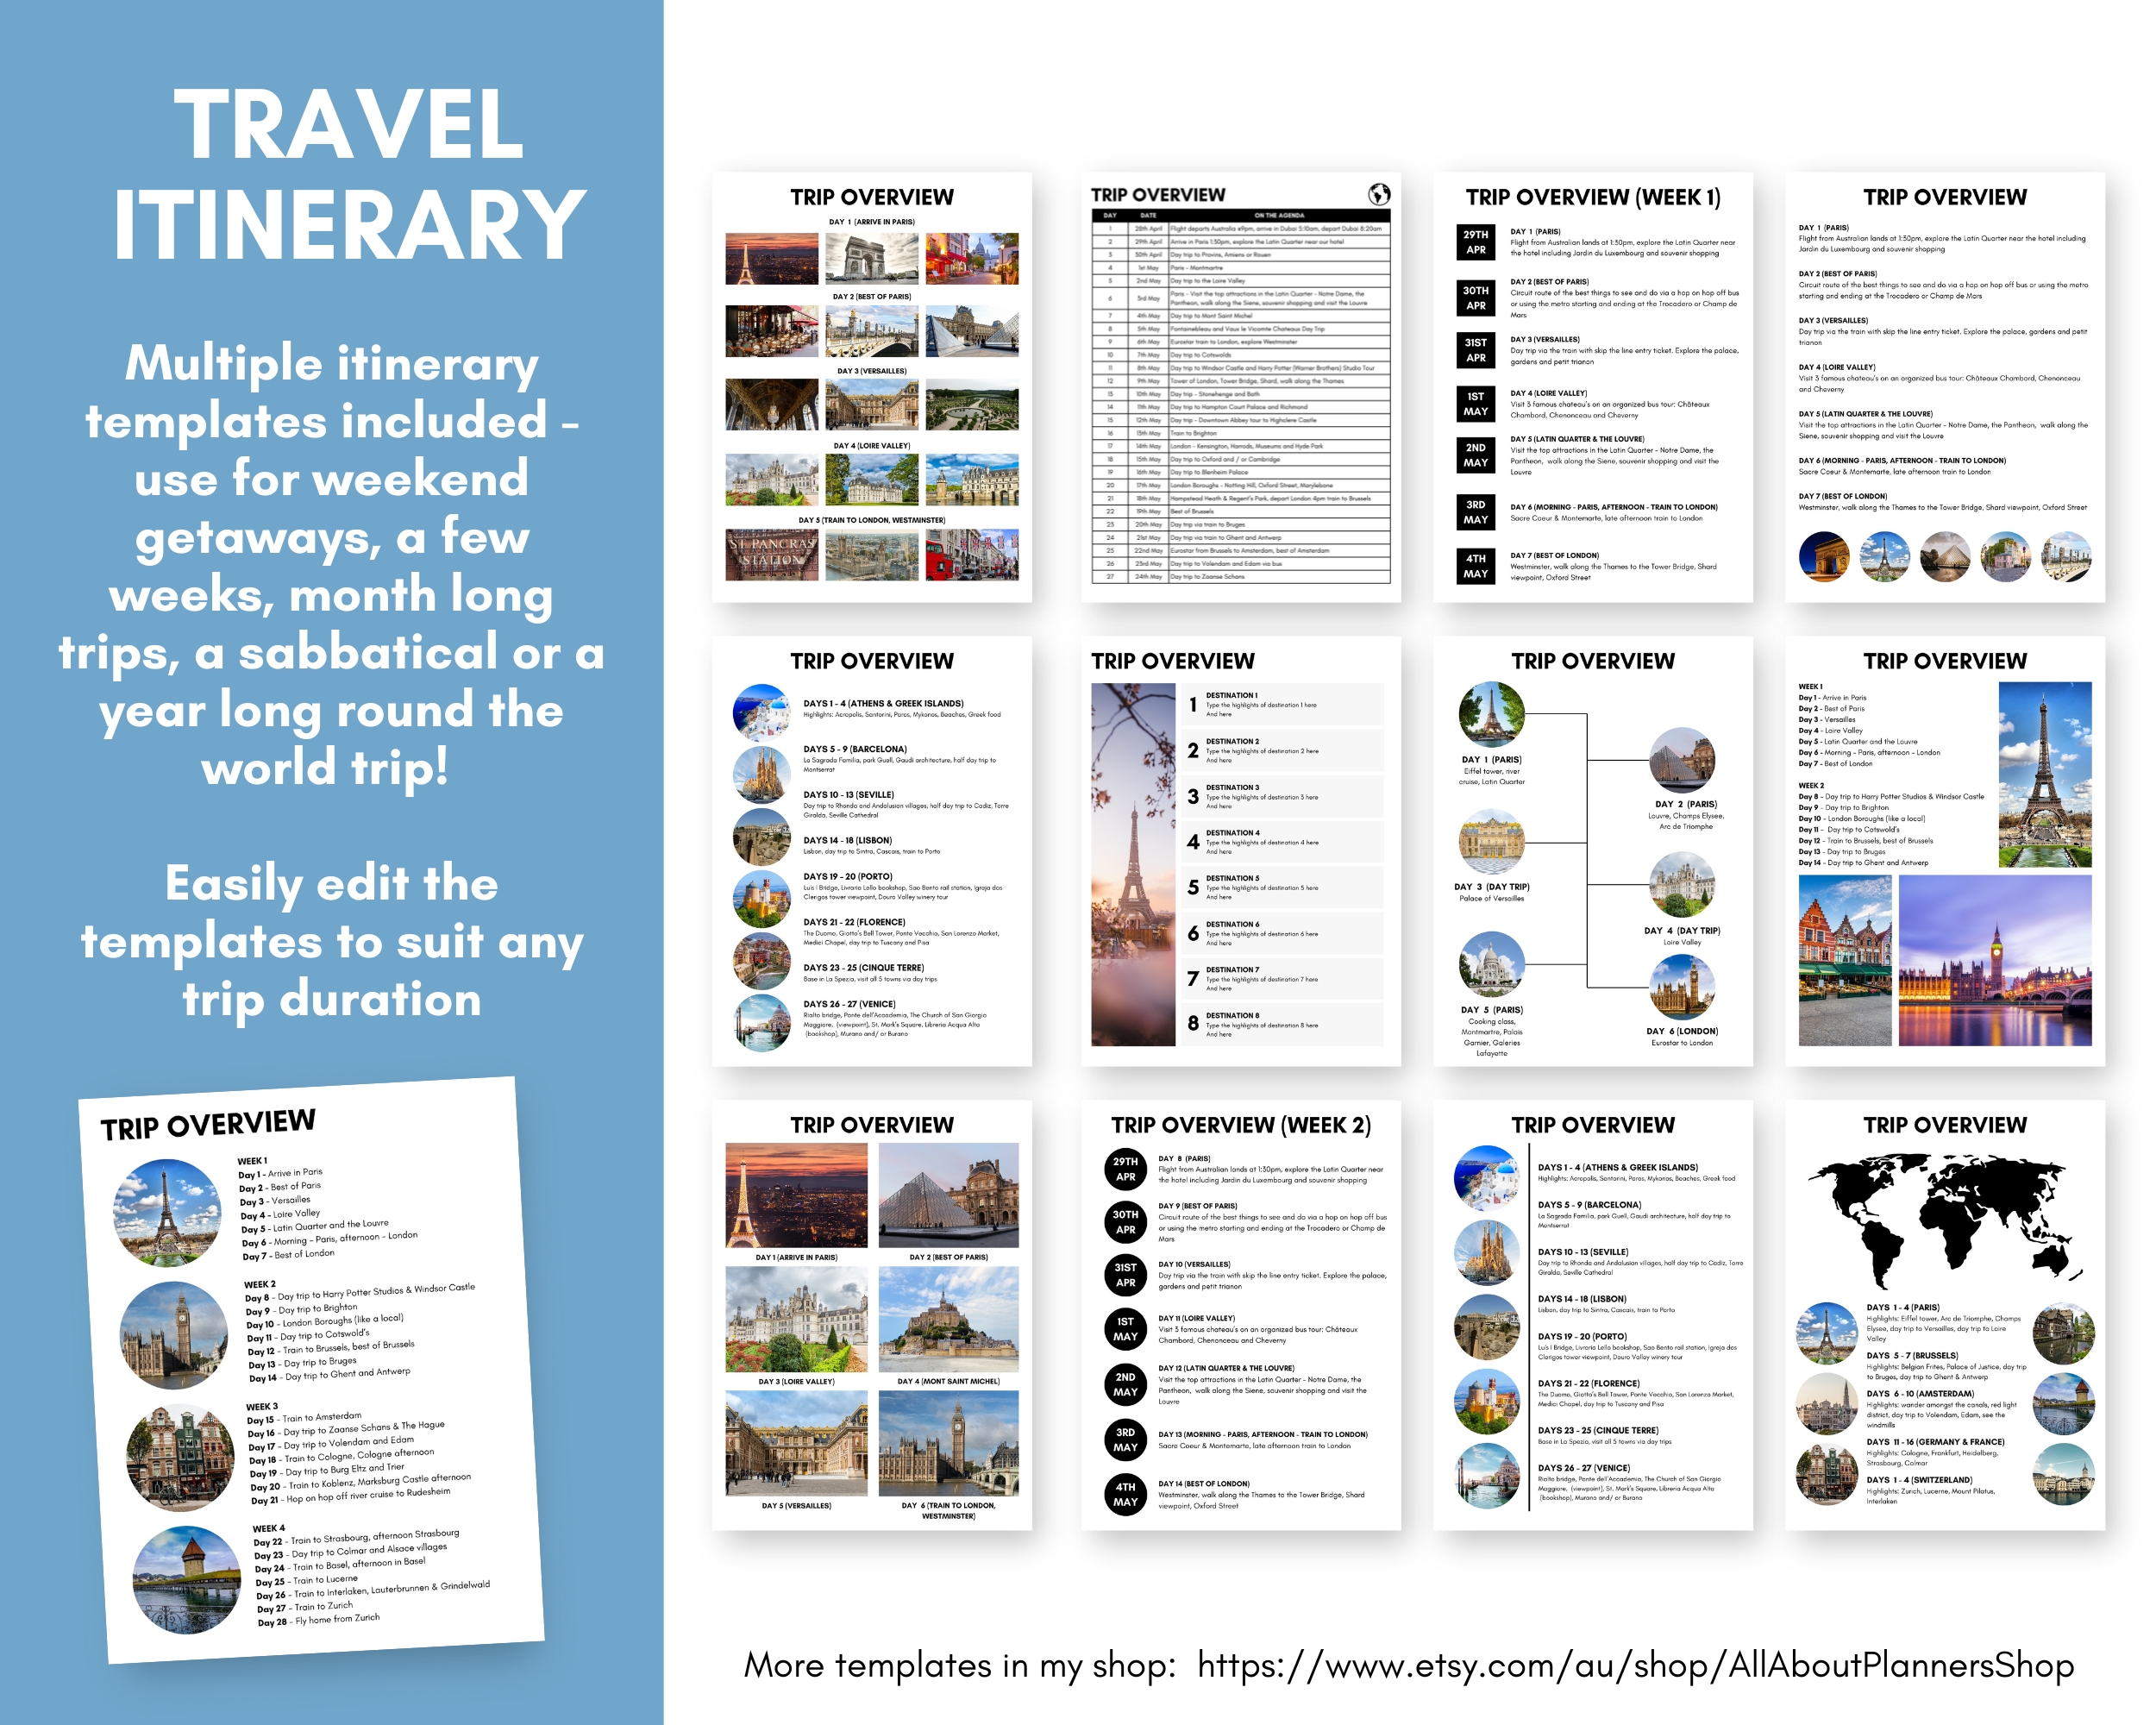
TRIP OVERVIEW (ITINERARY)
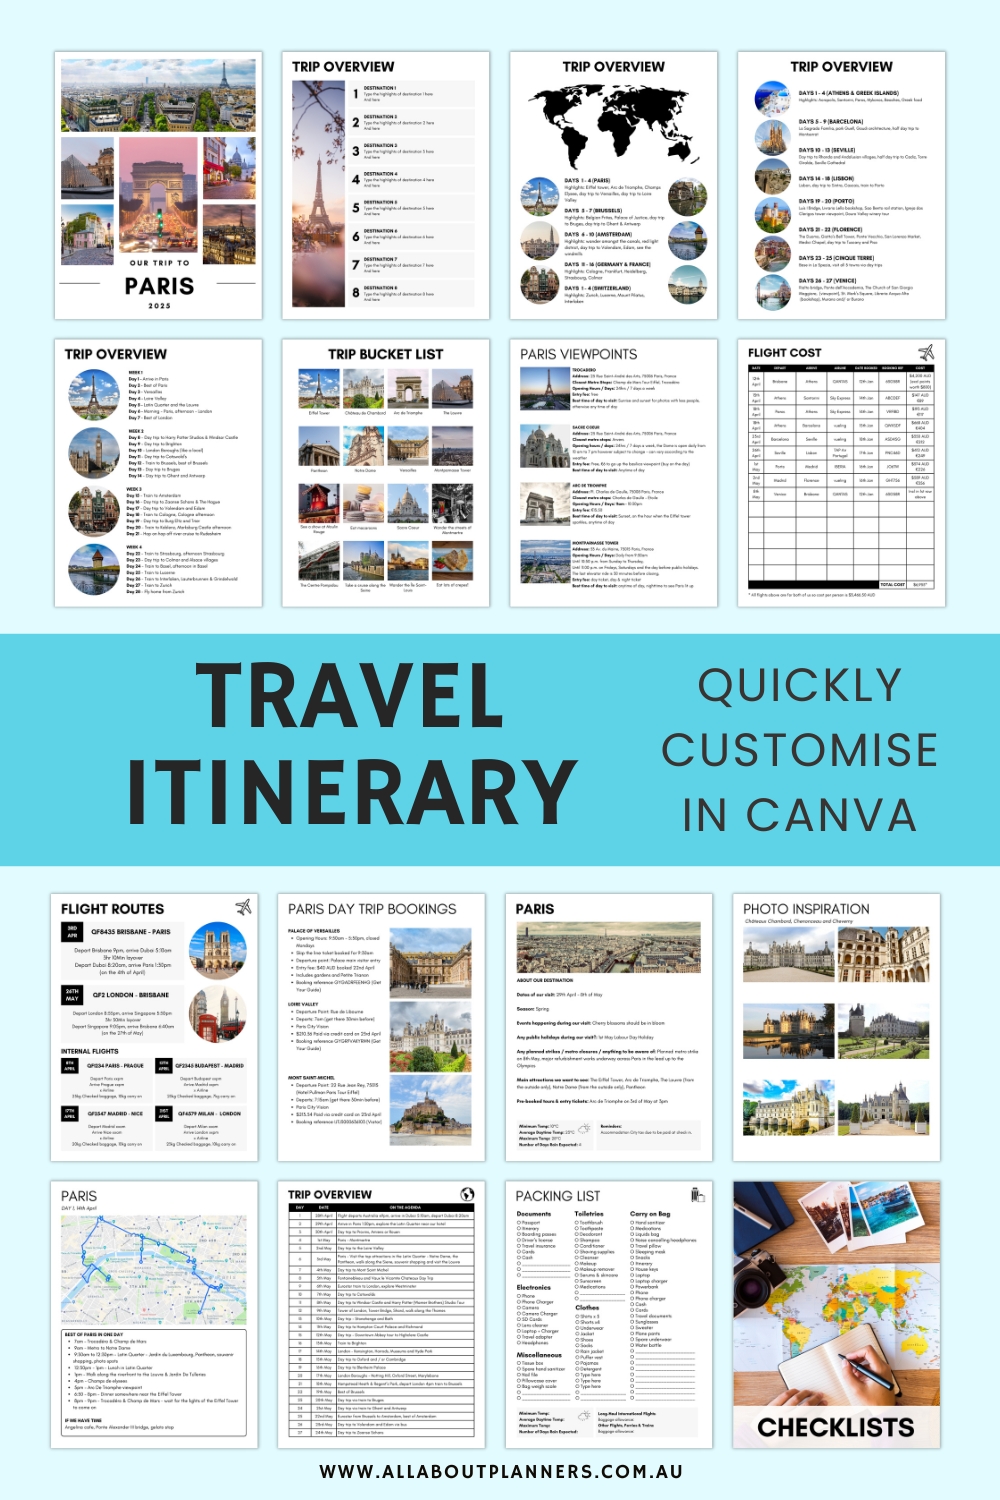
15 different page layouts so you can mix and match and choose between more a visual itinerary (with photos) or list format. You can easily customise the various layouts to suit any holiday duration – weekend trip, week, fortnight, month long, multiple months, a year long round the world trip.
* Make copies of any of these templates if you are planning a multi-week/multi-month long holiday
• Trip overview (with world map)
• Weekly trip overview (timeline)
• Weekly trip overview (with photos) – 9 styles
• Weekly trip overview (text only format) – 2 styles
• Weekly trip overview (text only format – destination highlights)
• Trip bucket list
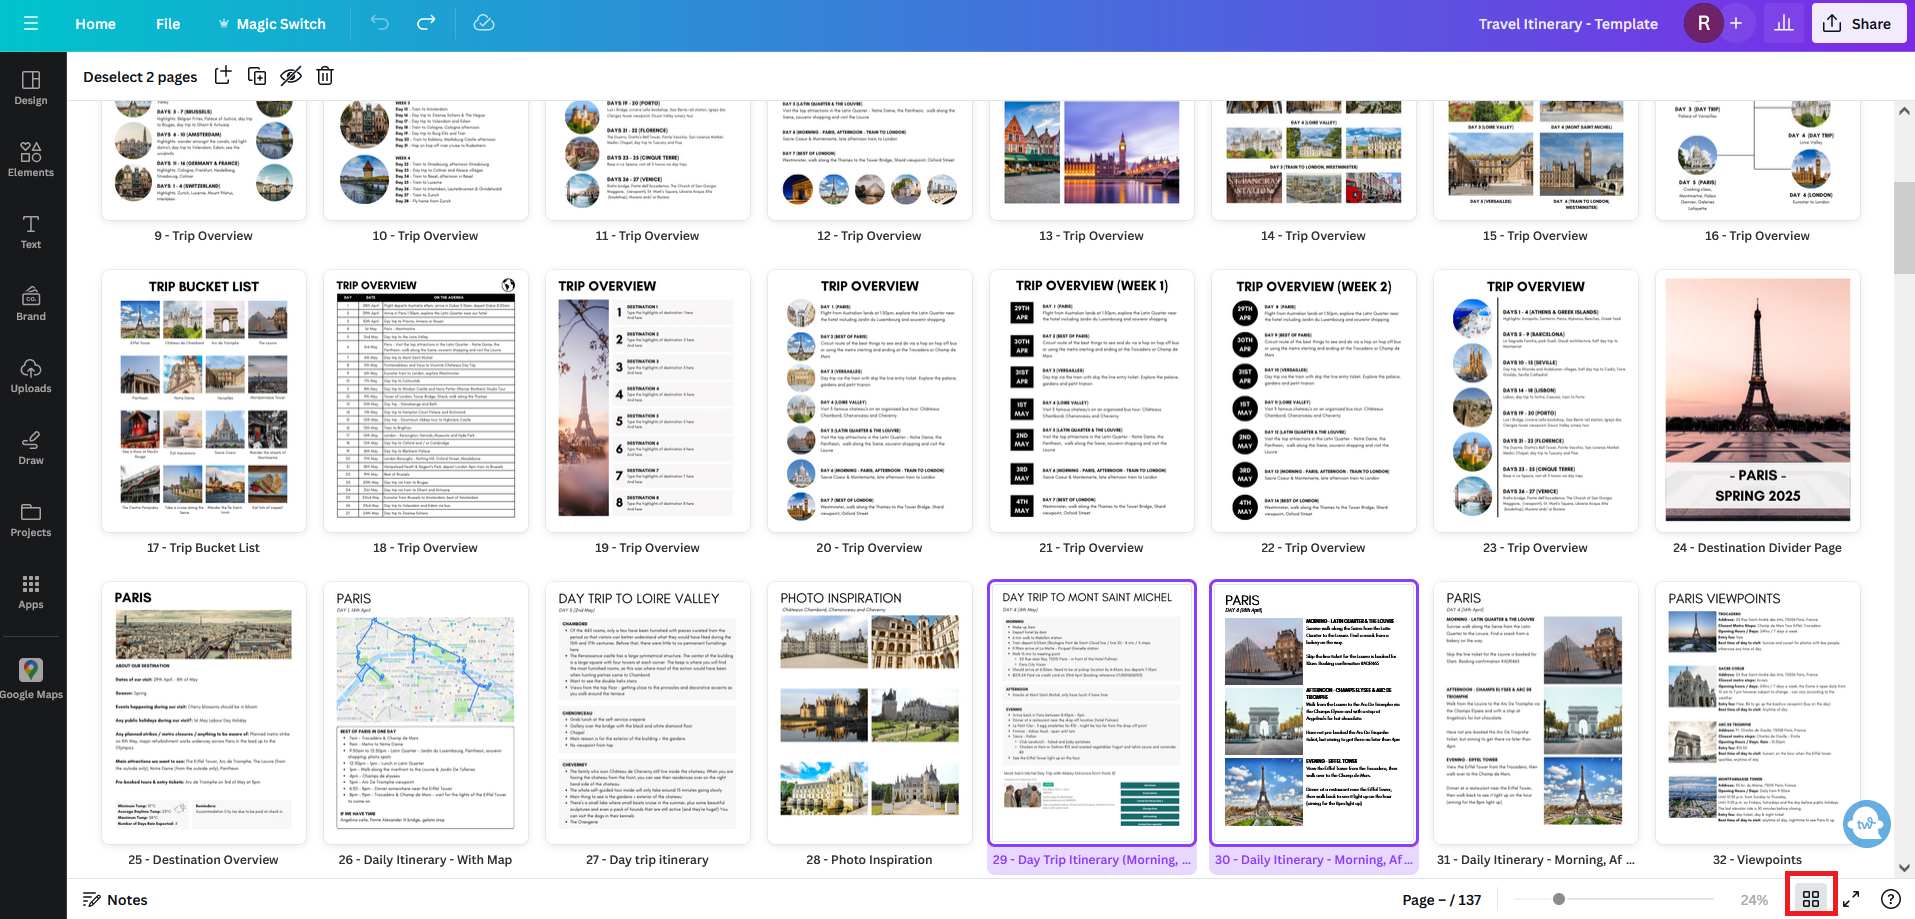
DESTINATION
• Destination overview (1 page) – add helpful information such as dates you will be at this destination, temperature, events happening during your visit, any planned strikes, main destinations you want to see, pre-booked tours and activities
* Use one template per destination or country
DAILY ITINERARY
• Morning, afternoon & evening
• Morning, afternoon & evening + notes and / or tour bookings
• Morning, afternoon & evening (with photos) – 2 versions – one with photos on the left, the other with photos on the right
• Walking map (or any other helpful screenshots you want to insert) + daily schedule (tutorial for using Google My Maps is here)
• Day trip itinerary
• Day trip itinerary – morning, afternoon, evening + space to add your booking confirmation details
• Destination viewpoints
• Destination activities
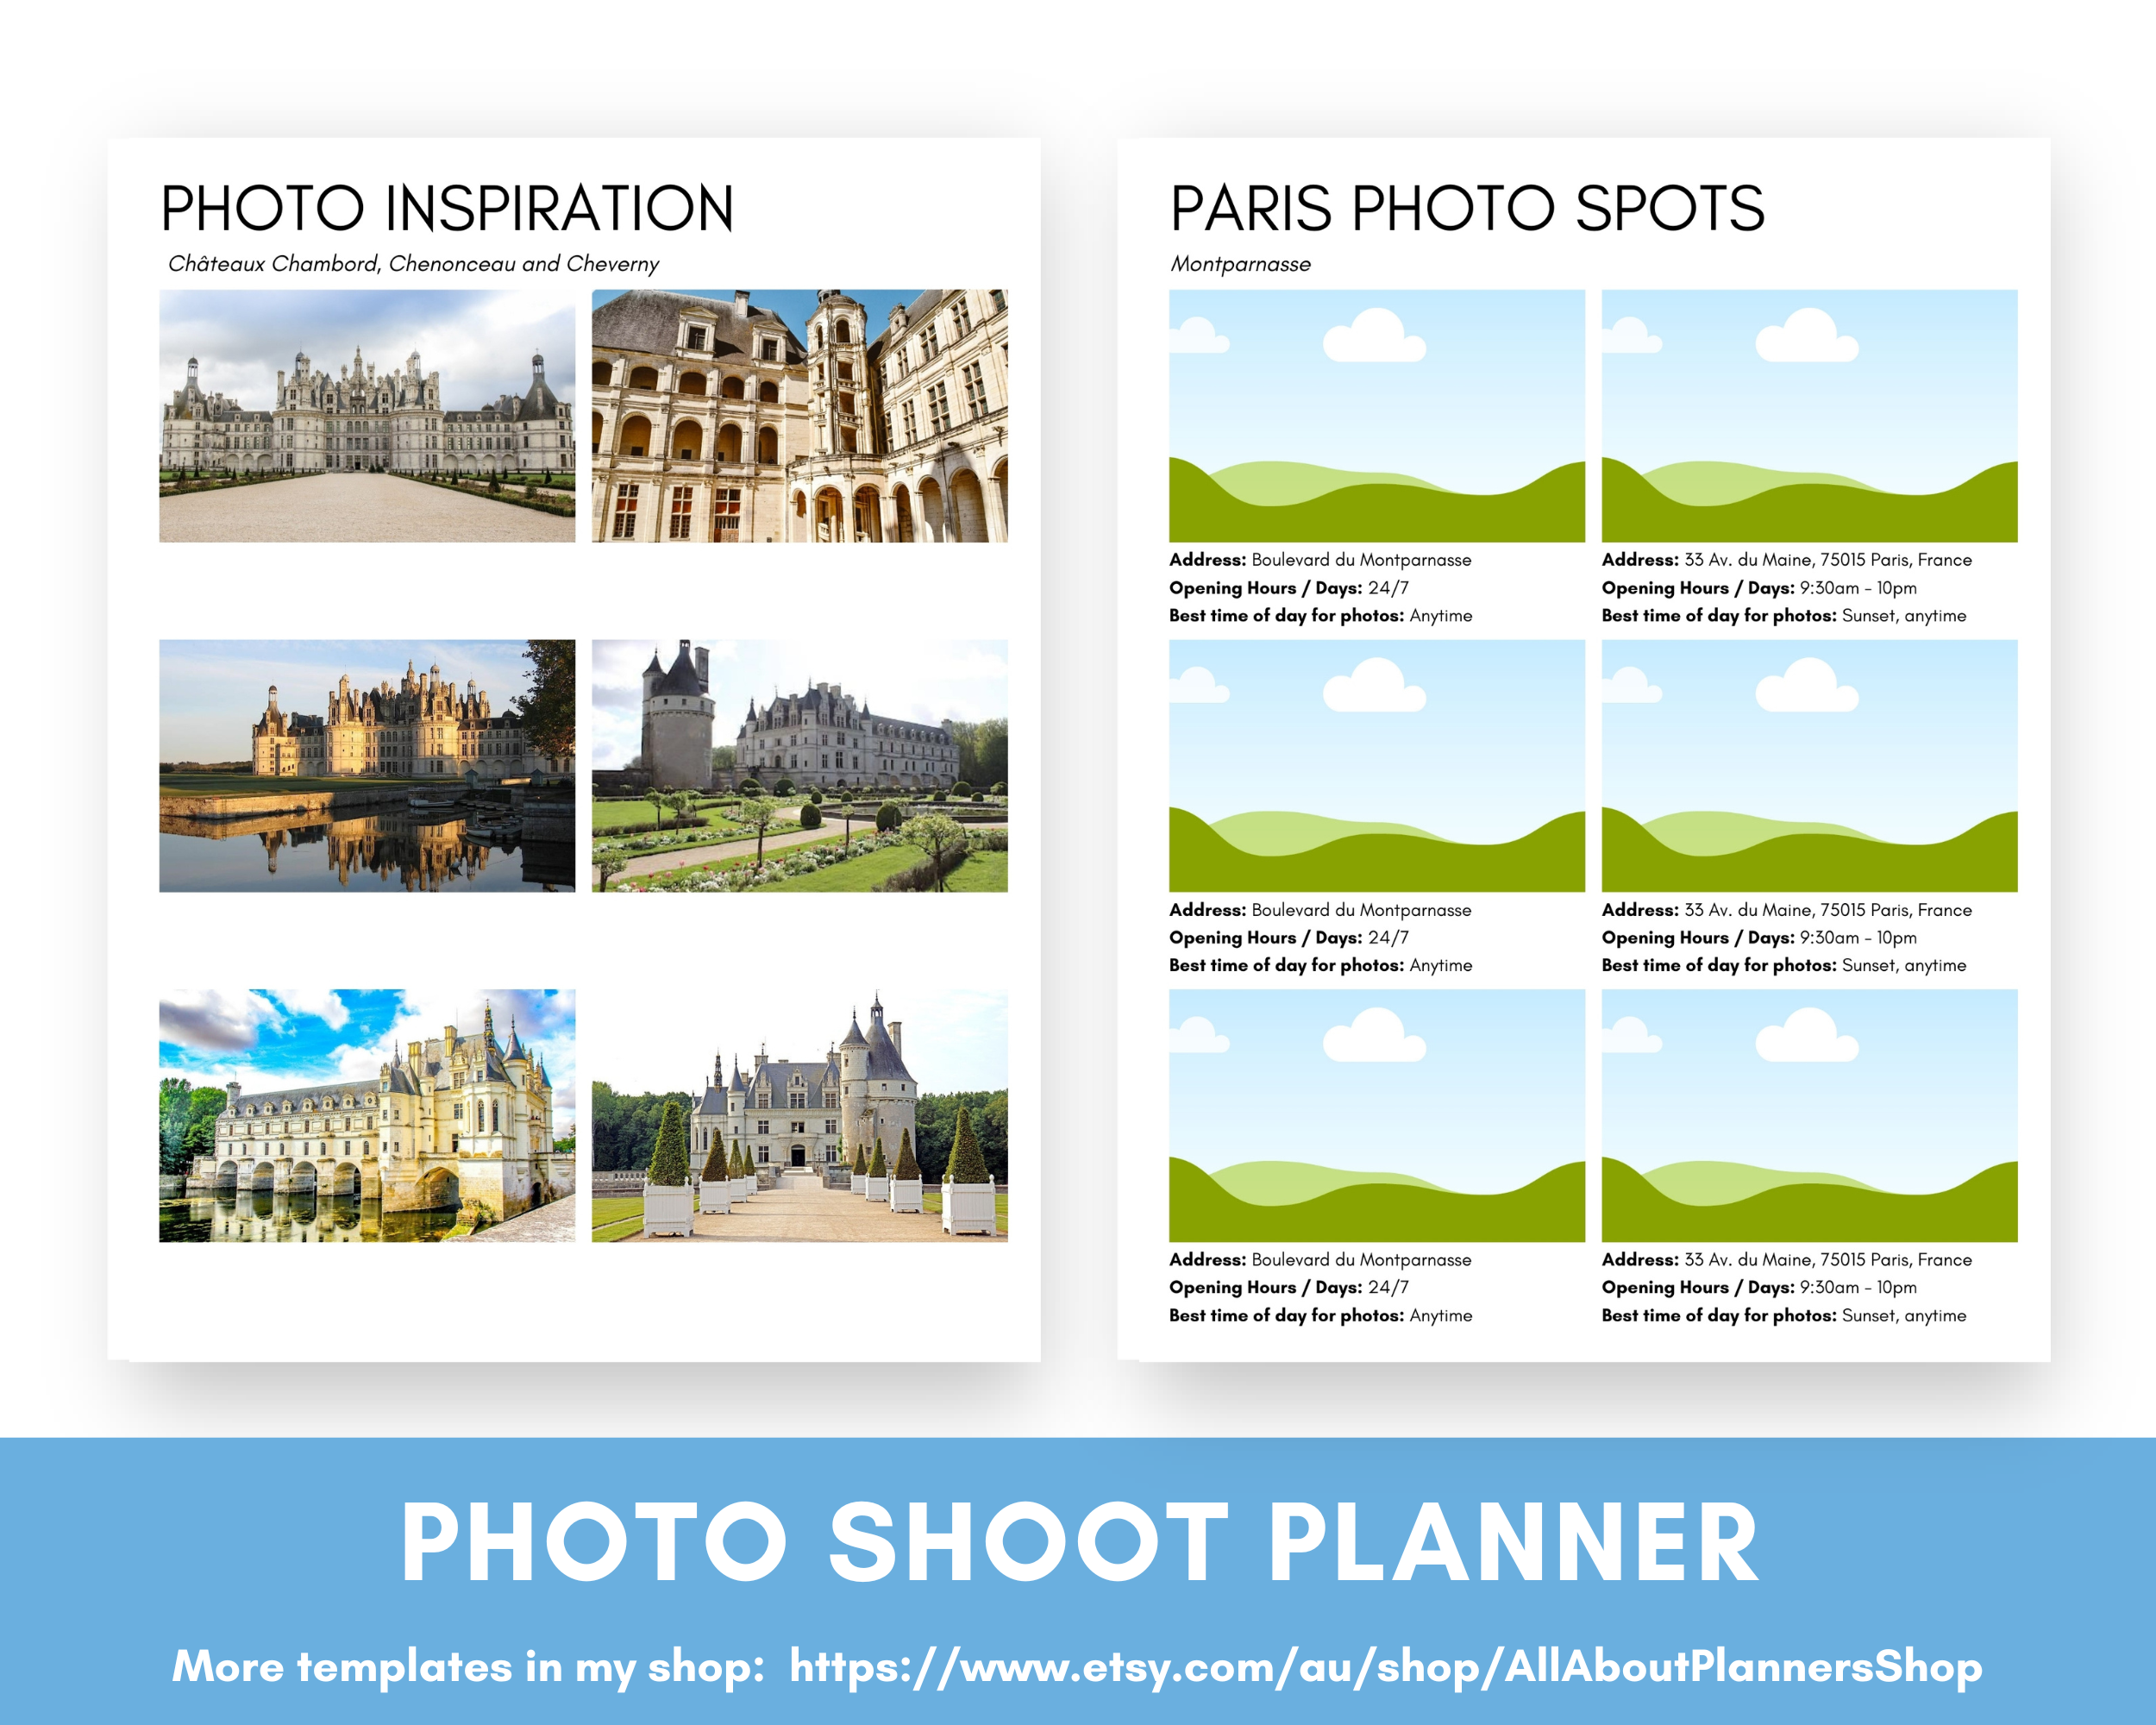
• Photo inspiration – ideas for photos to replicate, address, best time of day for photos and opening hours) – 2 versions

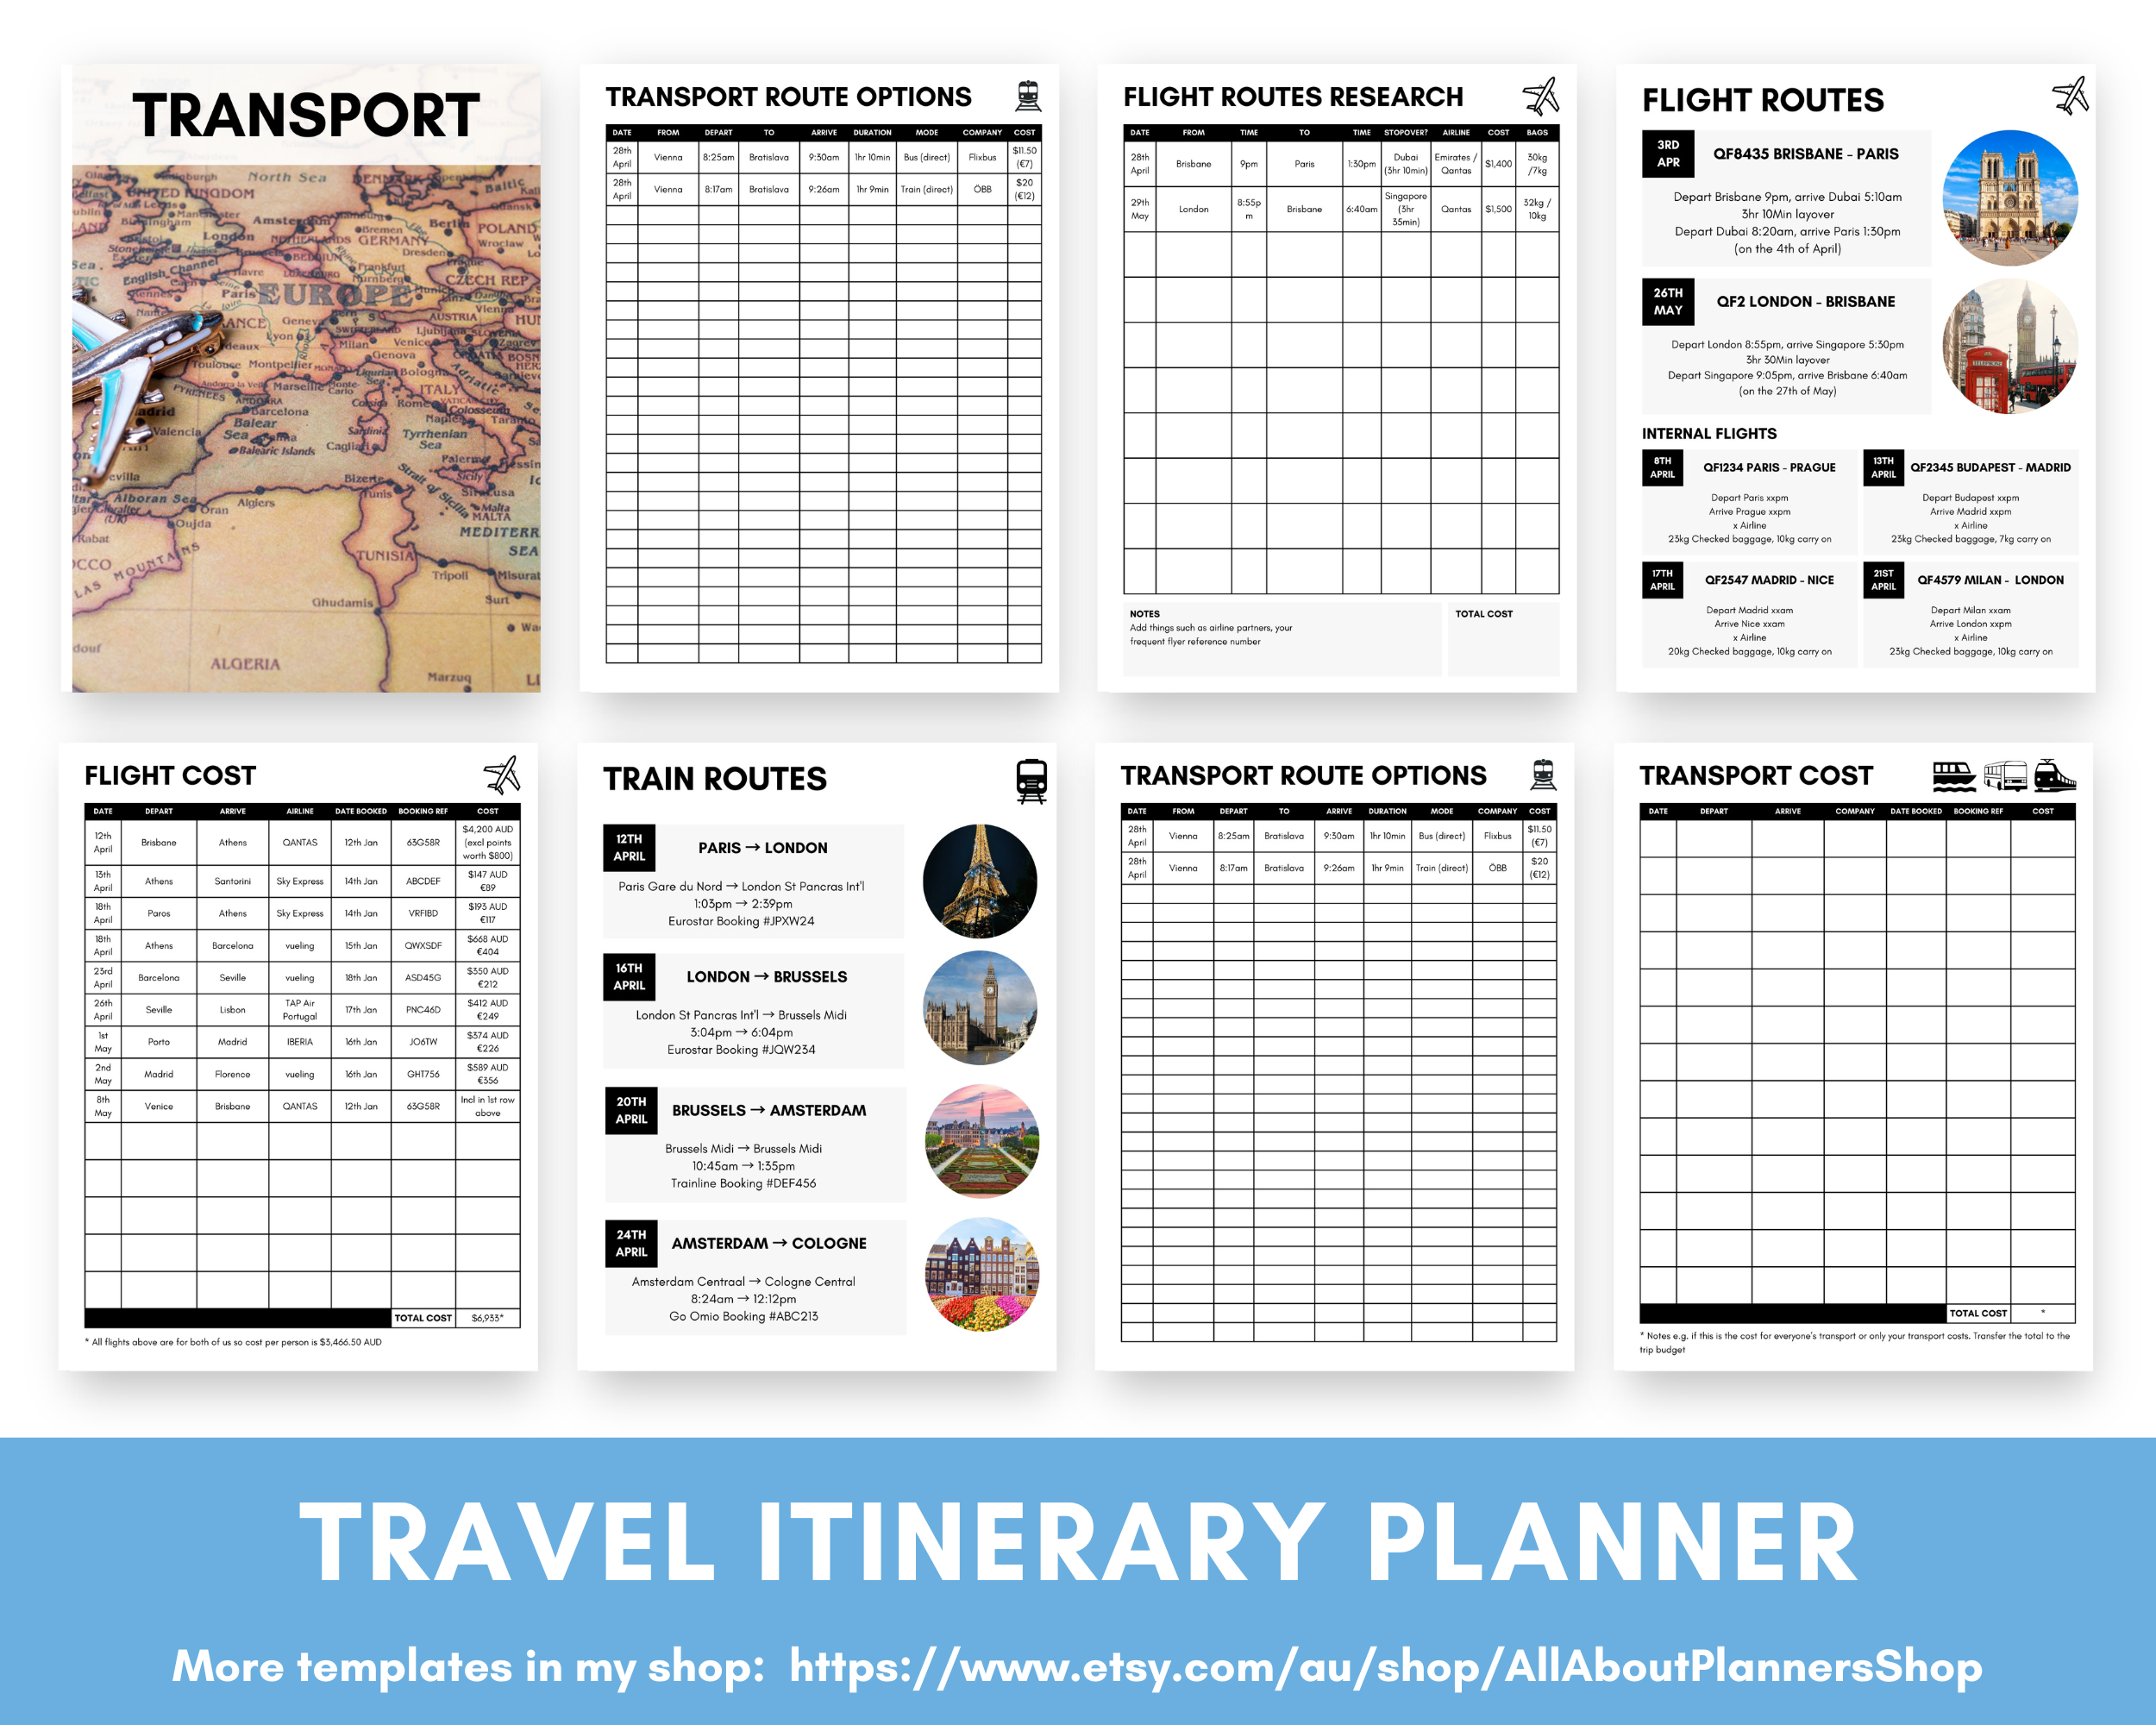
TRANSPORT
• Flights you have booked
• Trains routes you have booked (you could easy tweak this page to suit bus, ferries and other modes of transport)
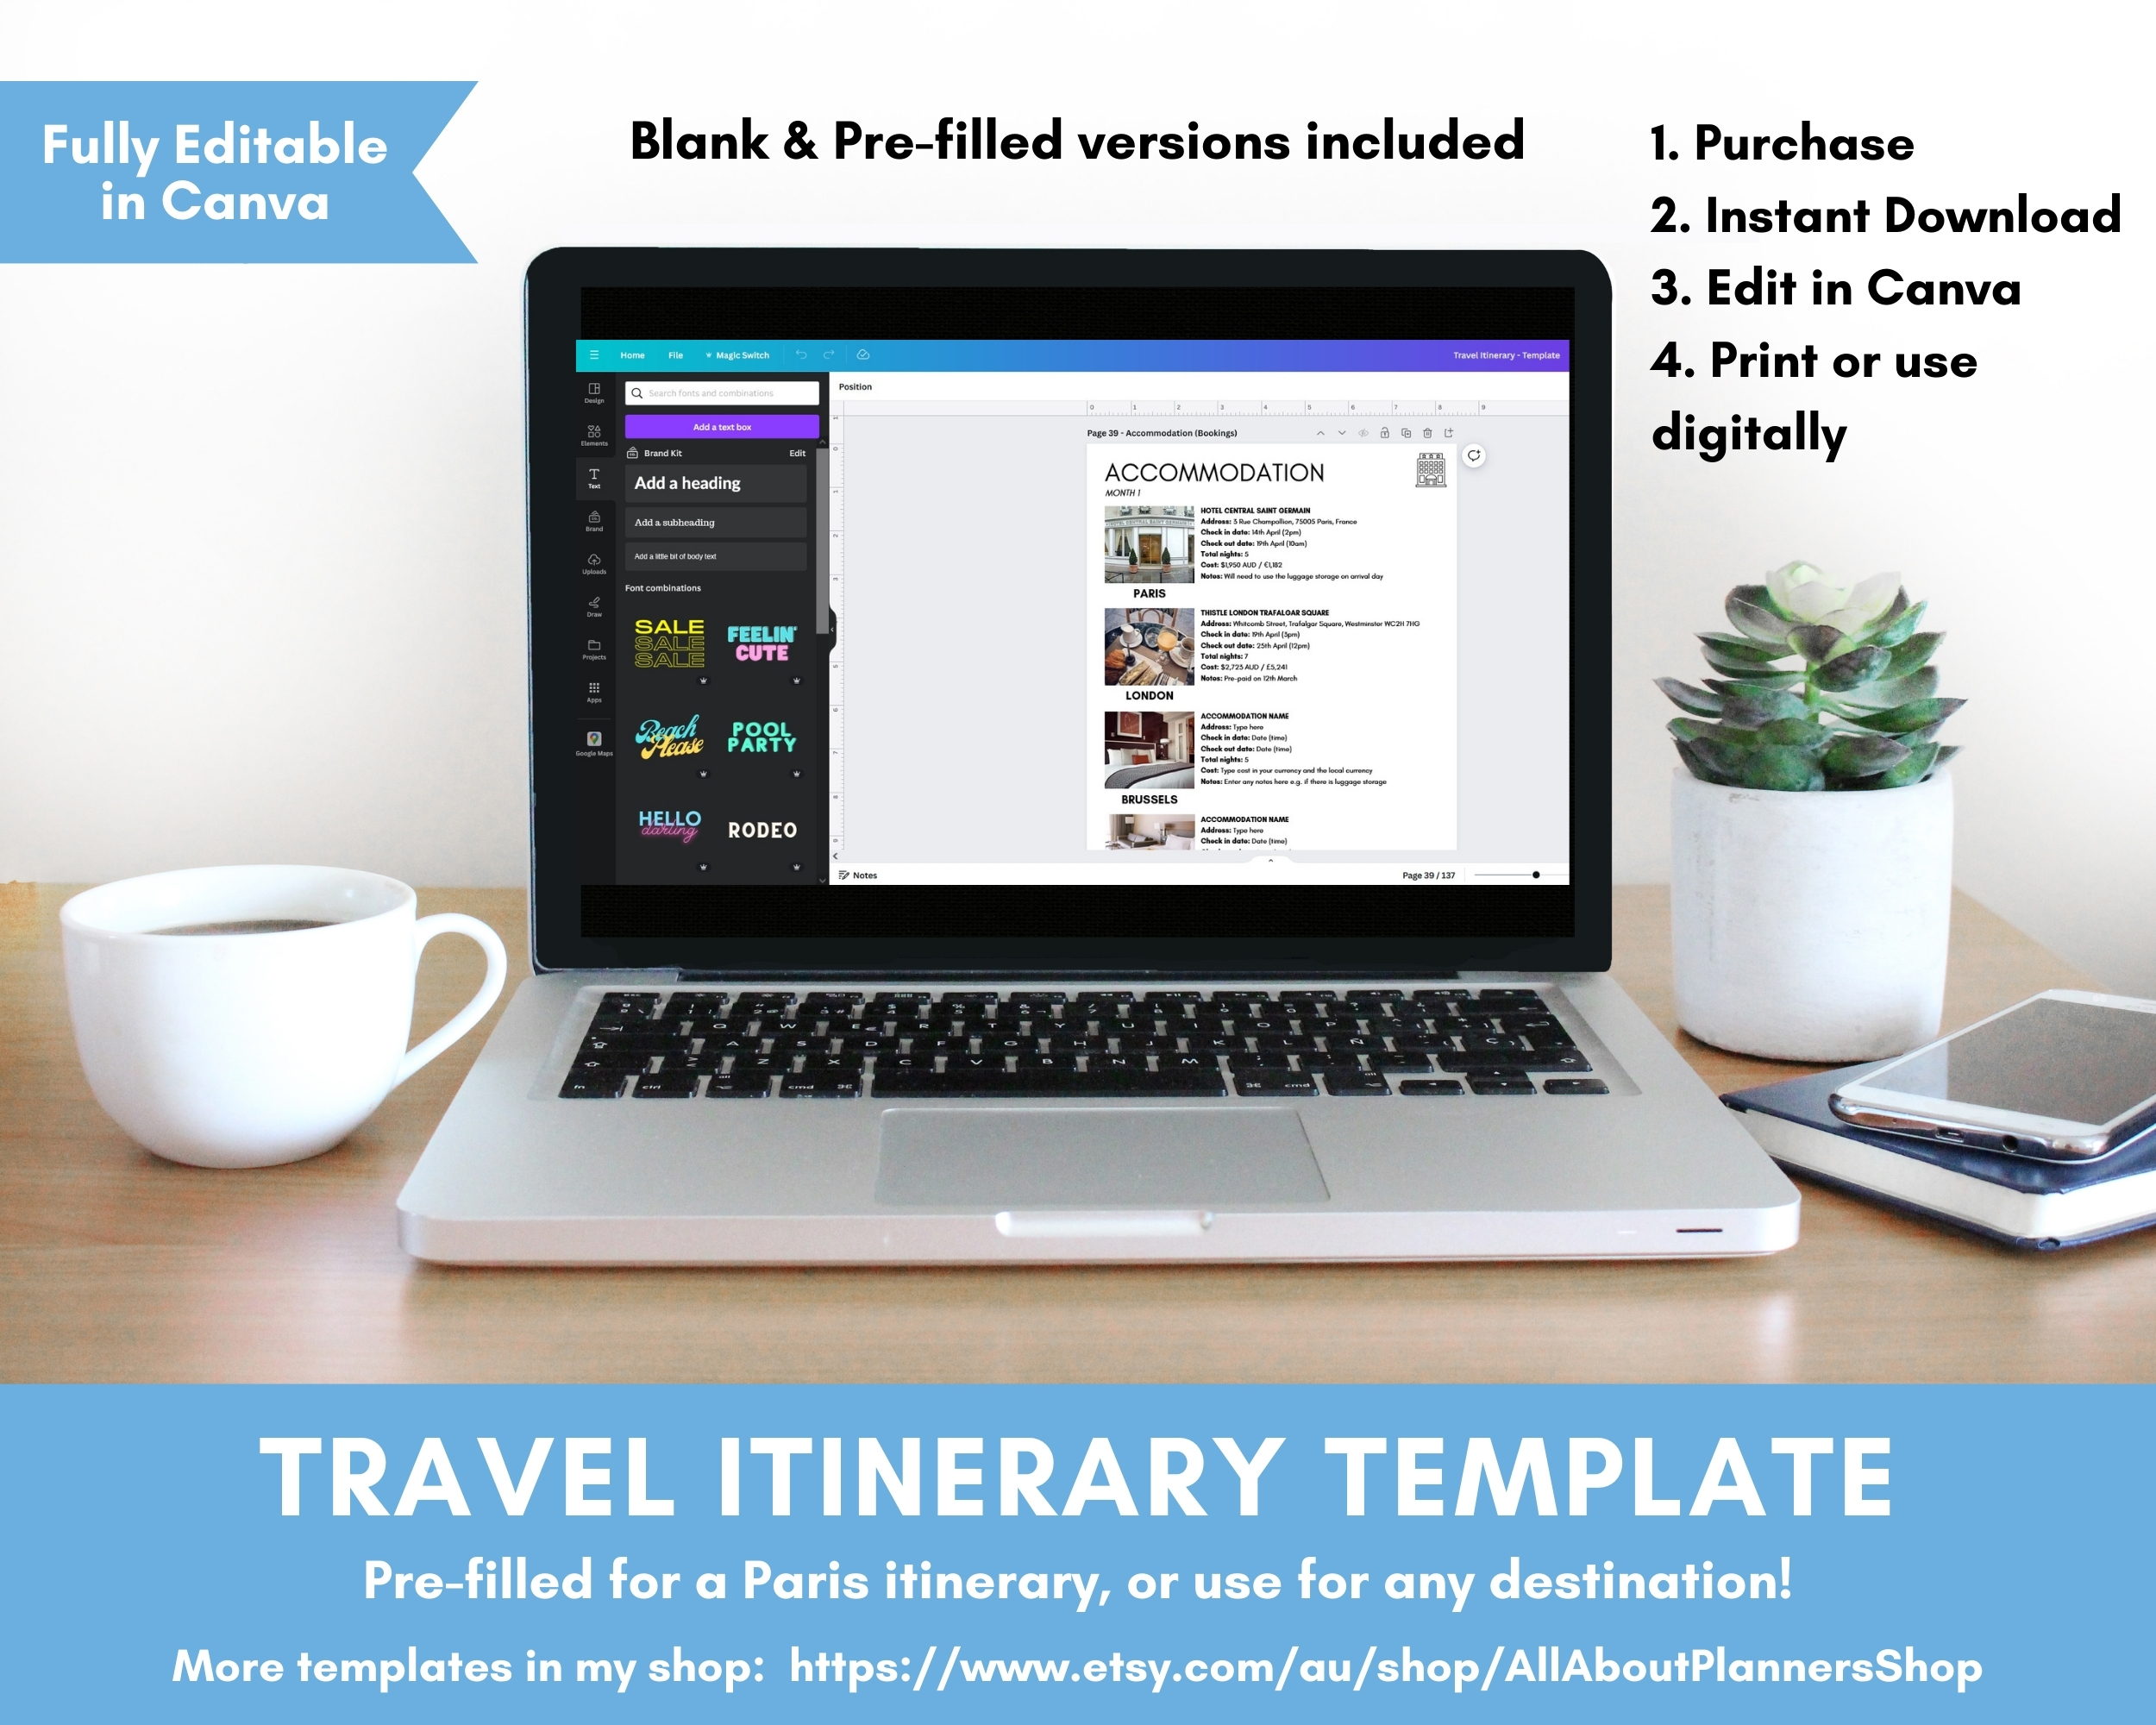
ACCOMMODATION
• Keep track of your accommodation bookings including check in, check out dates, cost (and if it has been pre-paid)
BOOKINGS
• Tour bookings – half day and day trips, guided walking tours etc.
• Attraction bookings – for skip the line entry tickets, any other entry tickets etc.
RESTAURANTS
• Keep track of restaurants you want to visit with this restaurants list including address, rating, things on the menu you want to try at each restaurant
CHECKLISTS
• Before we leave checklist (style 1) – prefilled & blank versions
• Before we leave checklist (style 2) – prefilled & blank versions
• To do checklist – prefilled & blank versions
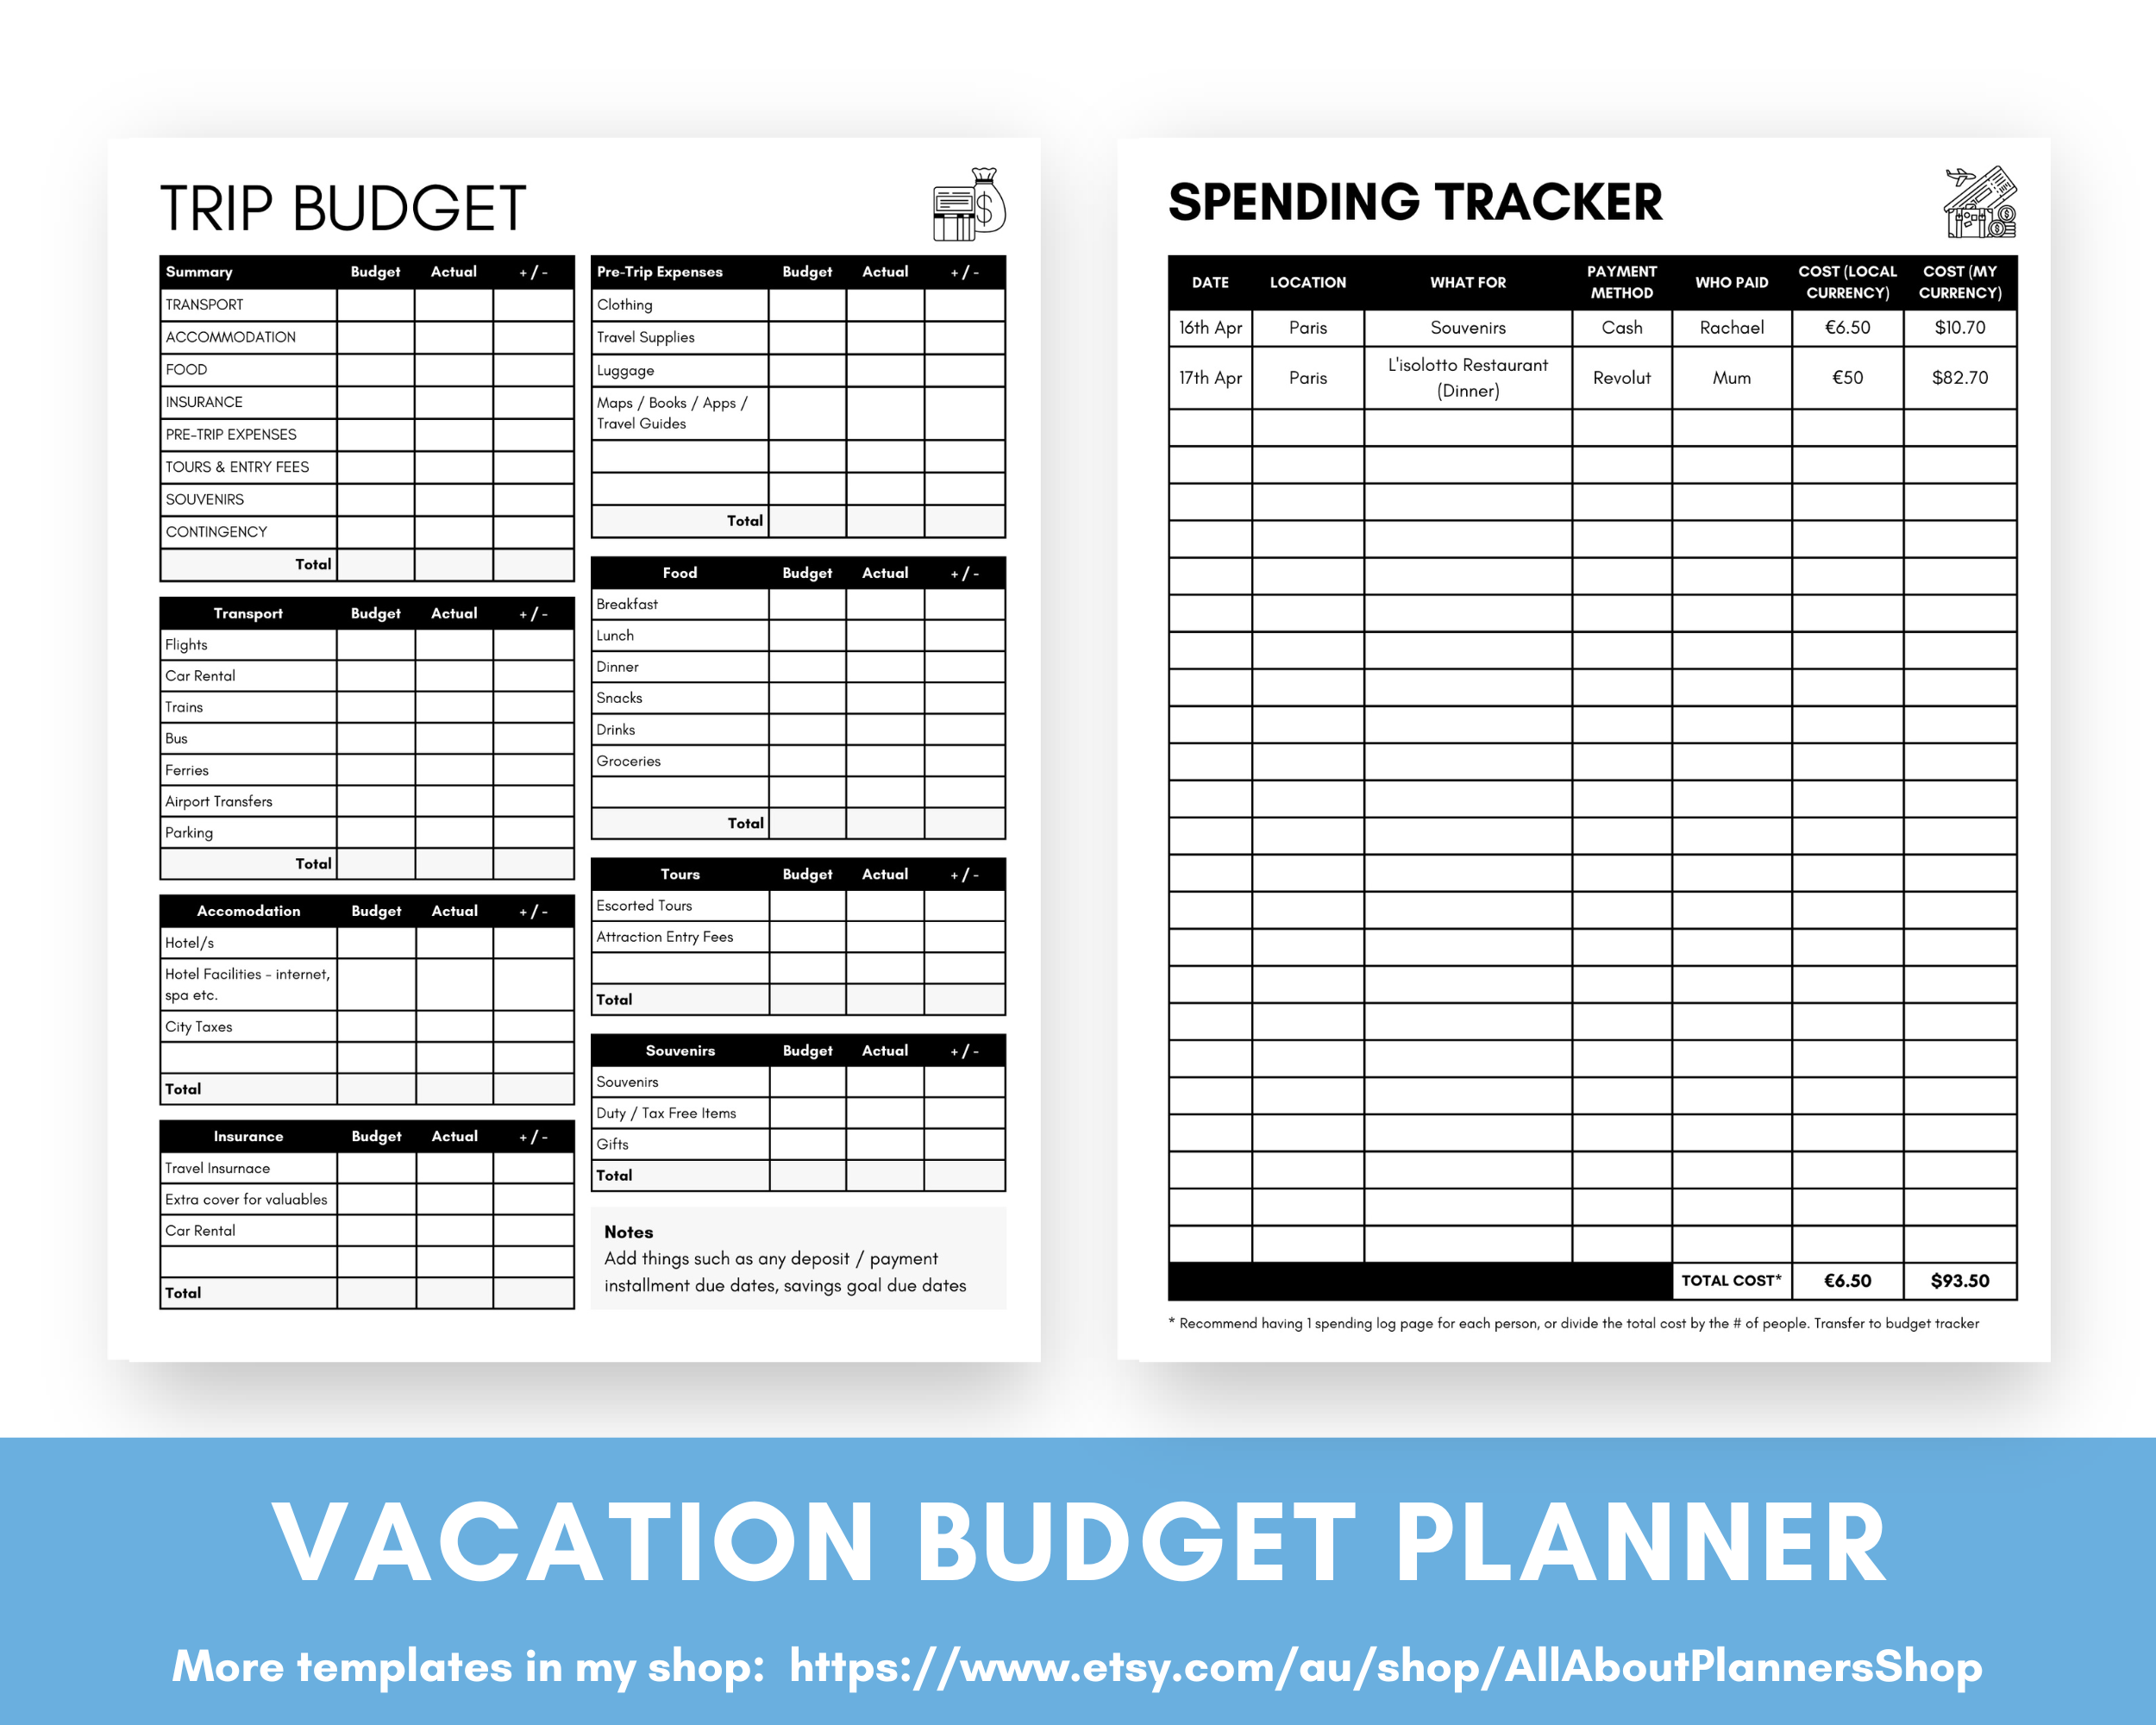
BUDGET
• Trip budget
• Accommodation cost breakdown – track the accommodation cost at each of the destinations on your trip
• Flight cost breakdown – track the flight cost for each of the destinations on your trip
• Transport cost – track the rest of the transport cost for each of the destinations on your trip – trains, buses, ferries, airport transfers etc.
• Spending tracker – to use while on the trip
RESEARCH
• Research notes – tour options, attractions, helpful blogs, URL links to helpful websites and YouTube videos with example itineraries and anything you want to make a note of etc.
• Organized multi-day tour research – Pros, cons, other things to consider for different pre-organized group tours (e.g. Globus, Cosmos, Trafalgar, Avalon, Viking etc.)
• Comparison table for organized multi-day tours – inclusions, exclusions, compare the places visited in the itineraries etc.
• Flights routes research
• Transport route options – compare the time and cost of different modes of transport e.g. flying, train, bus, ferry etc.
• Accommodation research
• Common language phrases from your own language to the destination’s language equivalent
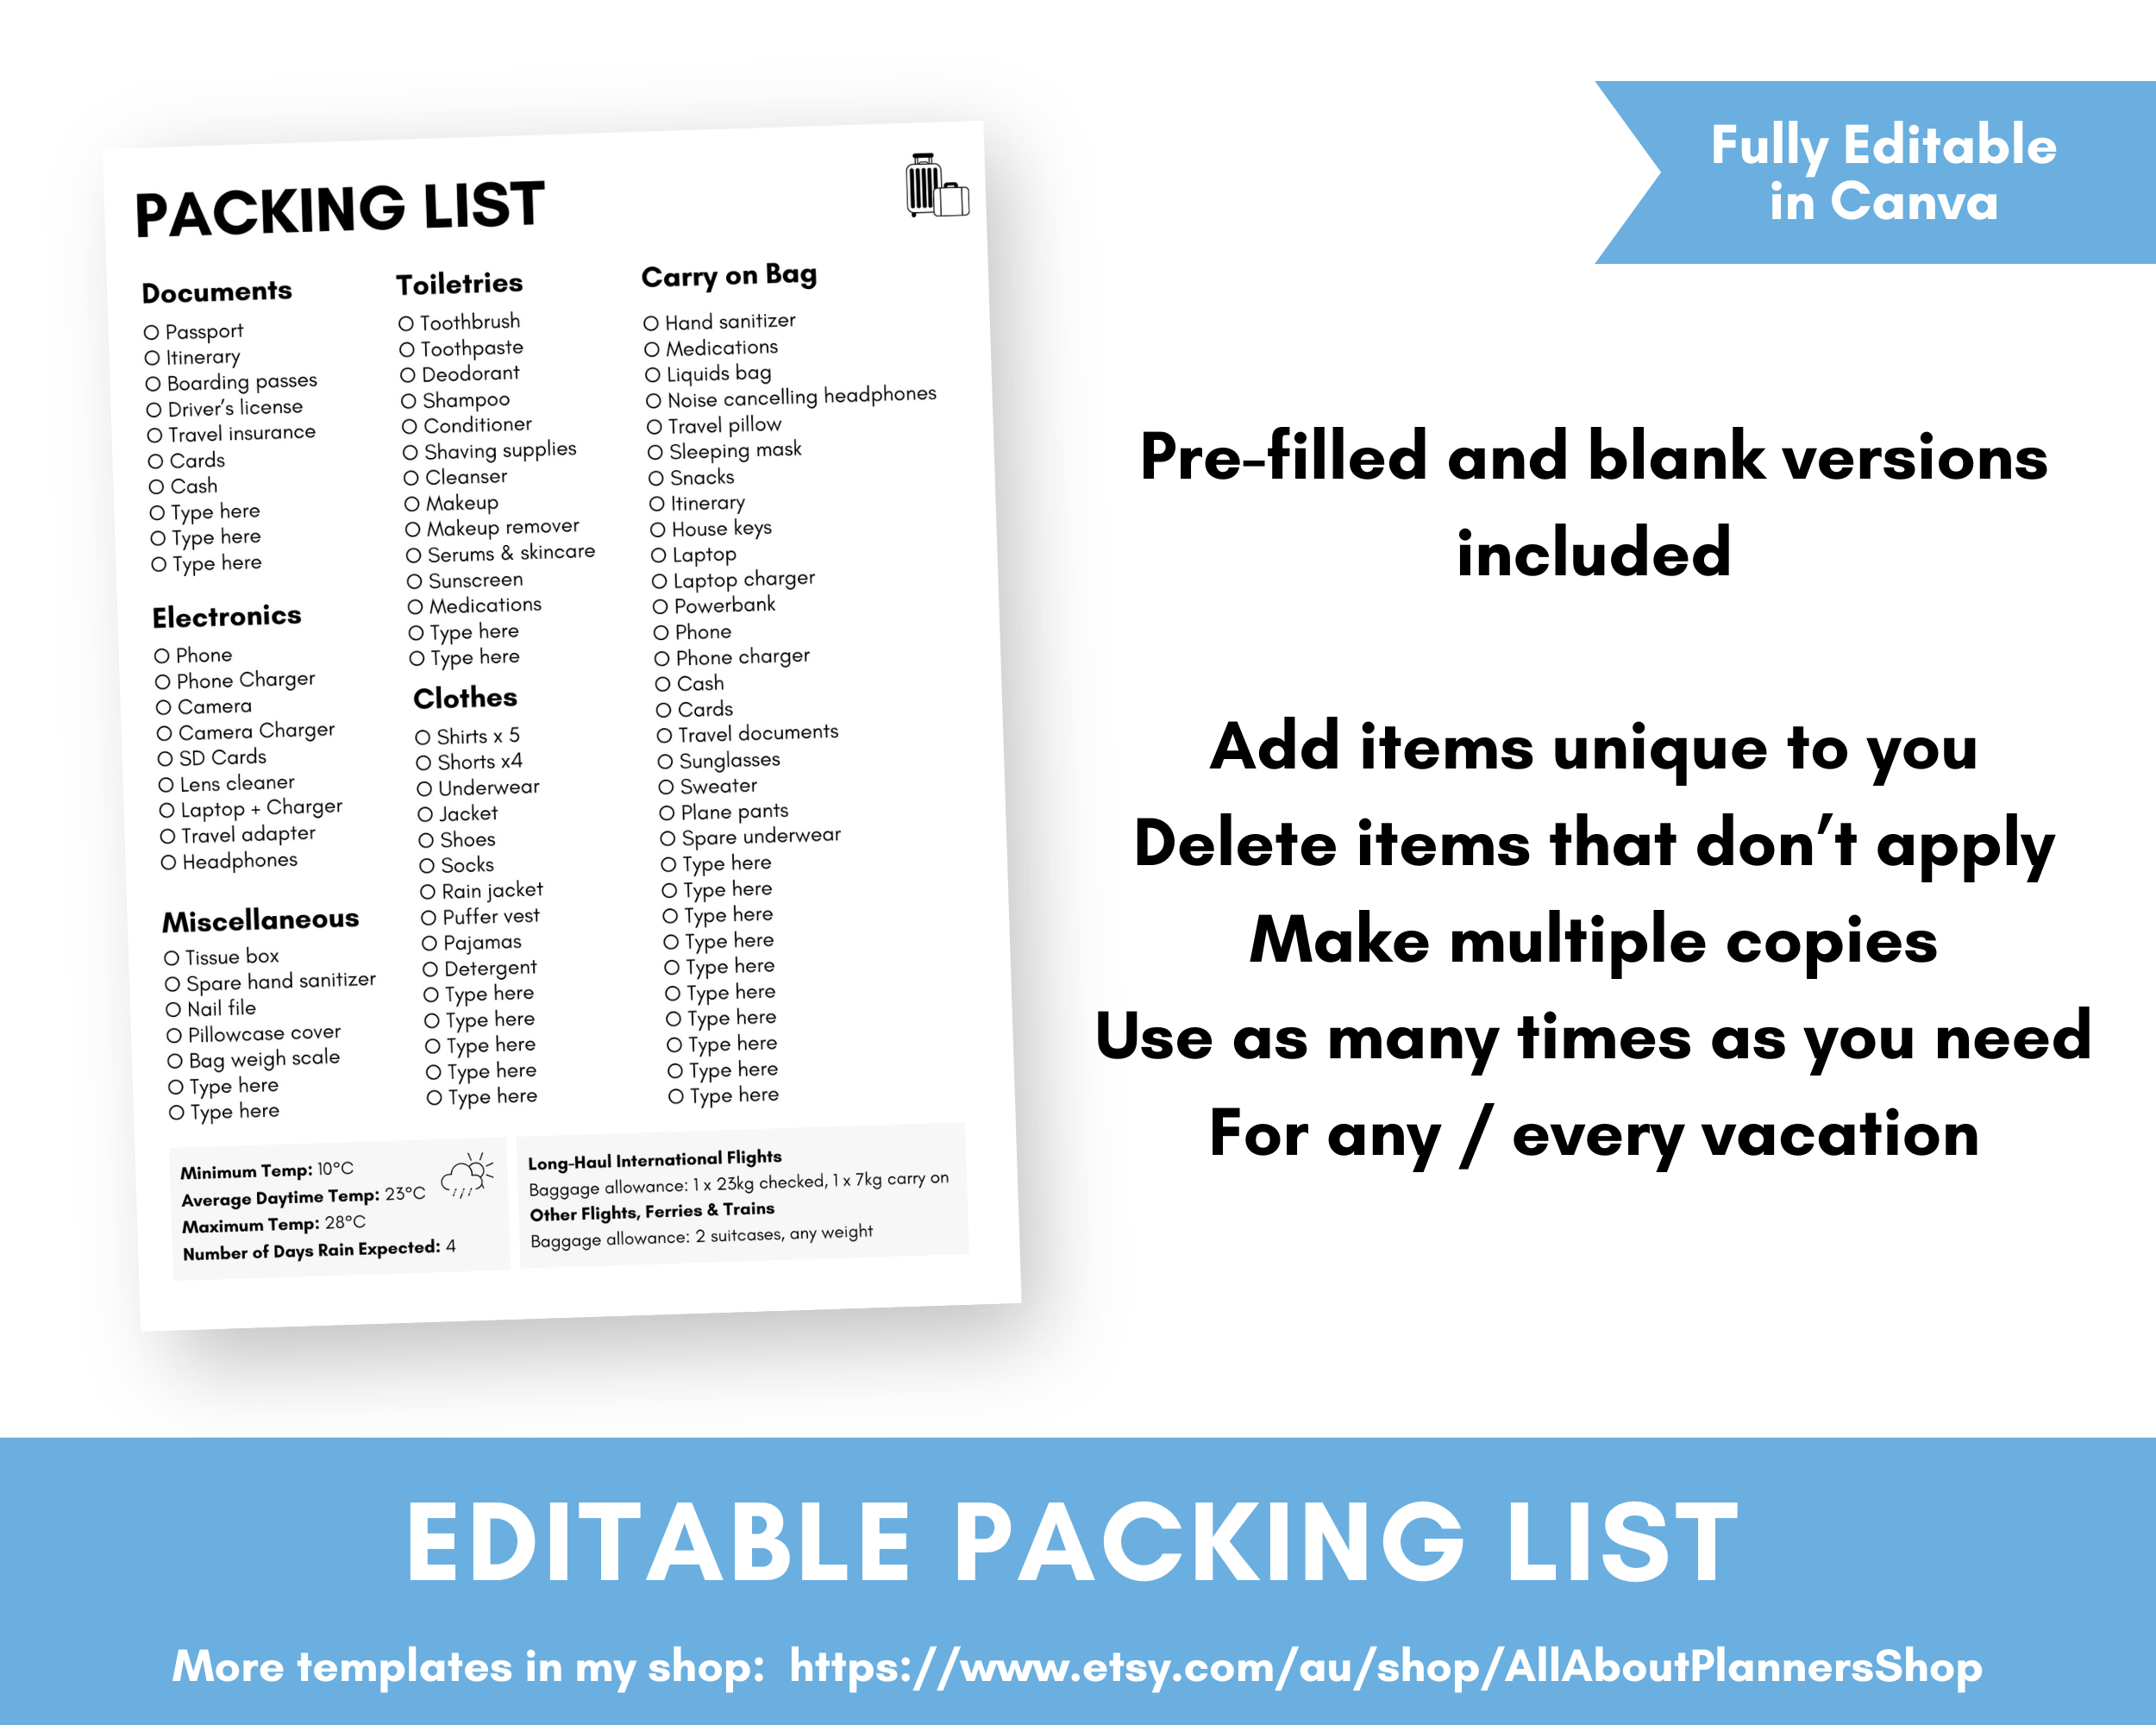
PACKING LIST
• Pre-filled packing checklist
• Blank packing checklist – if you want to create your own or have more categories and things to add to the packing list
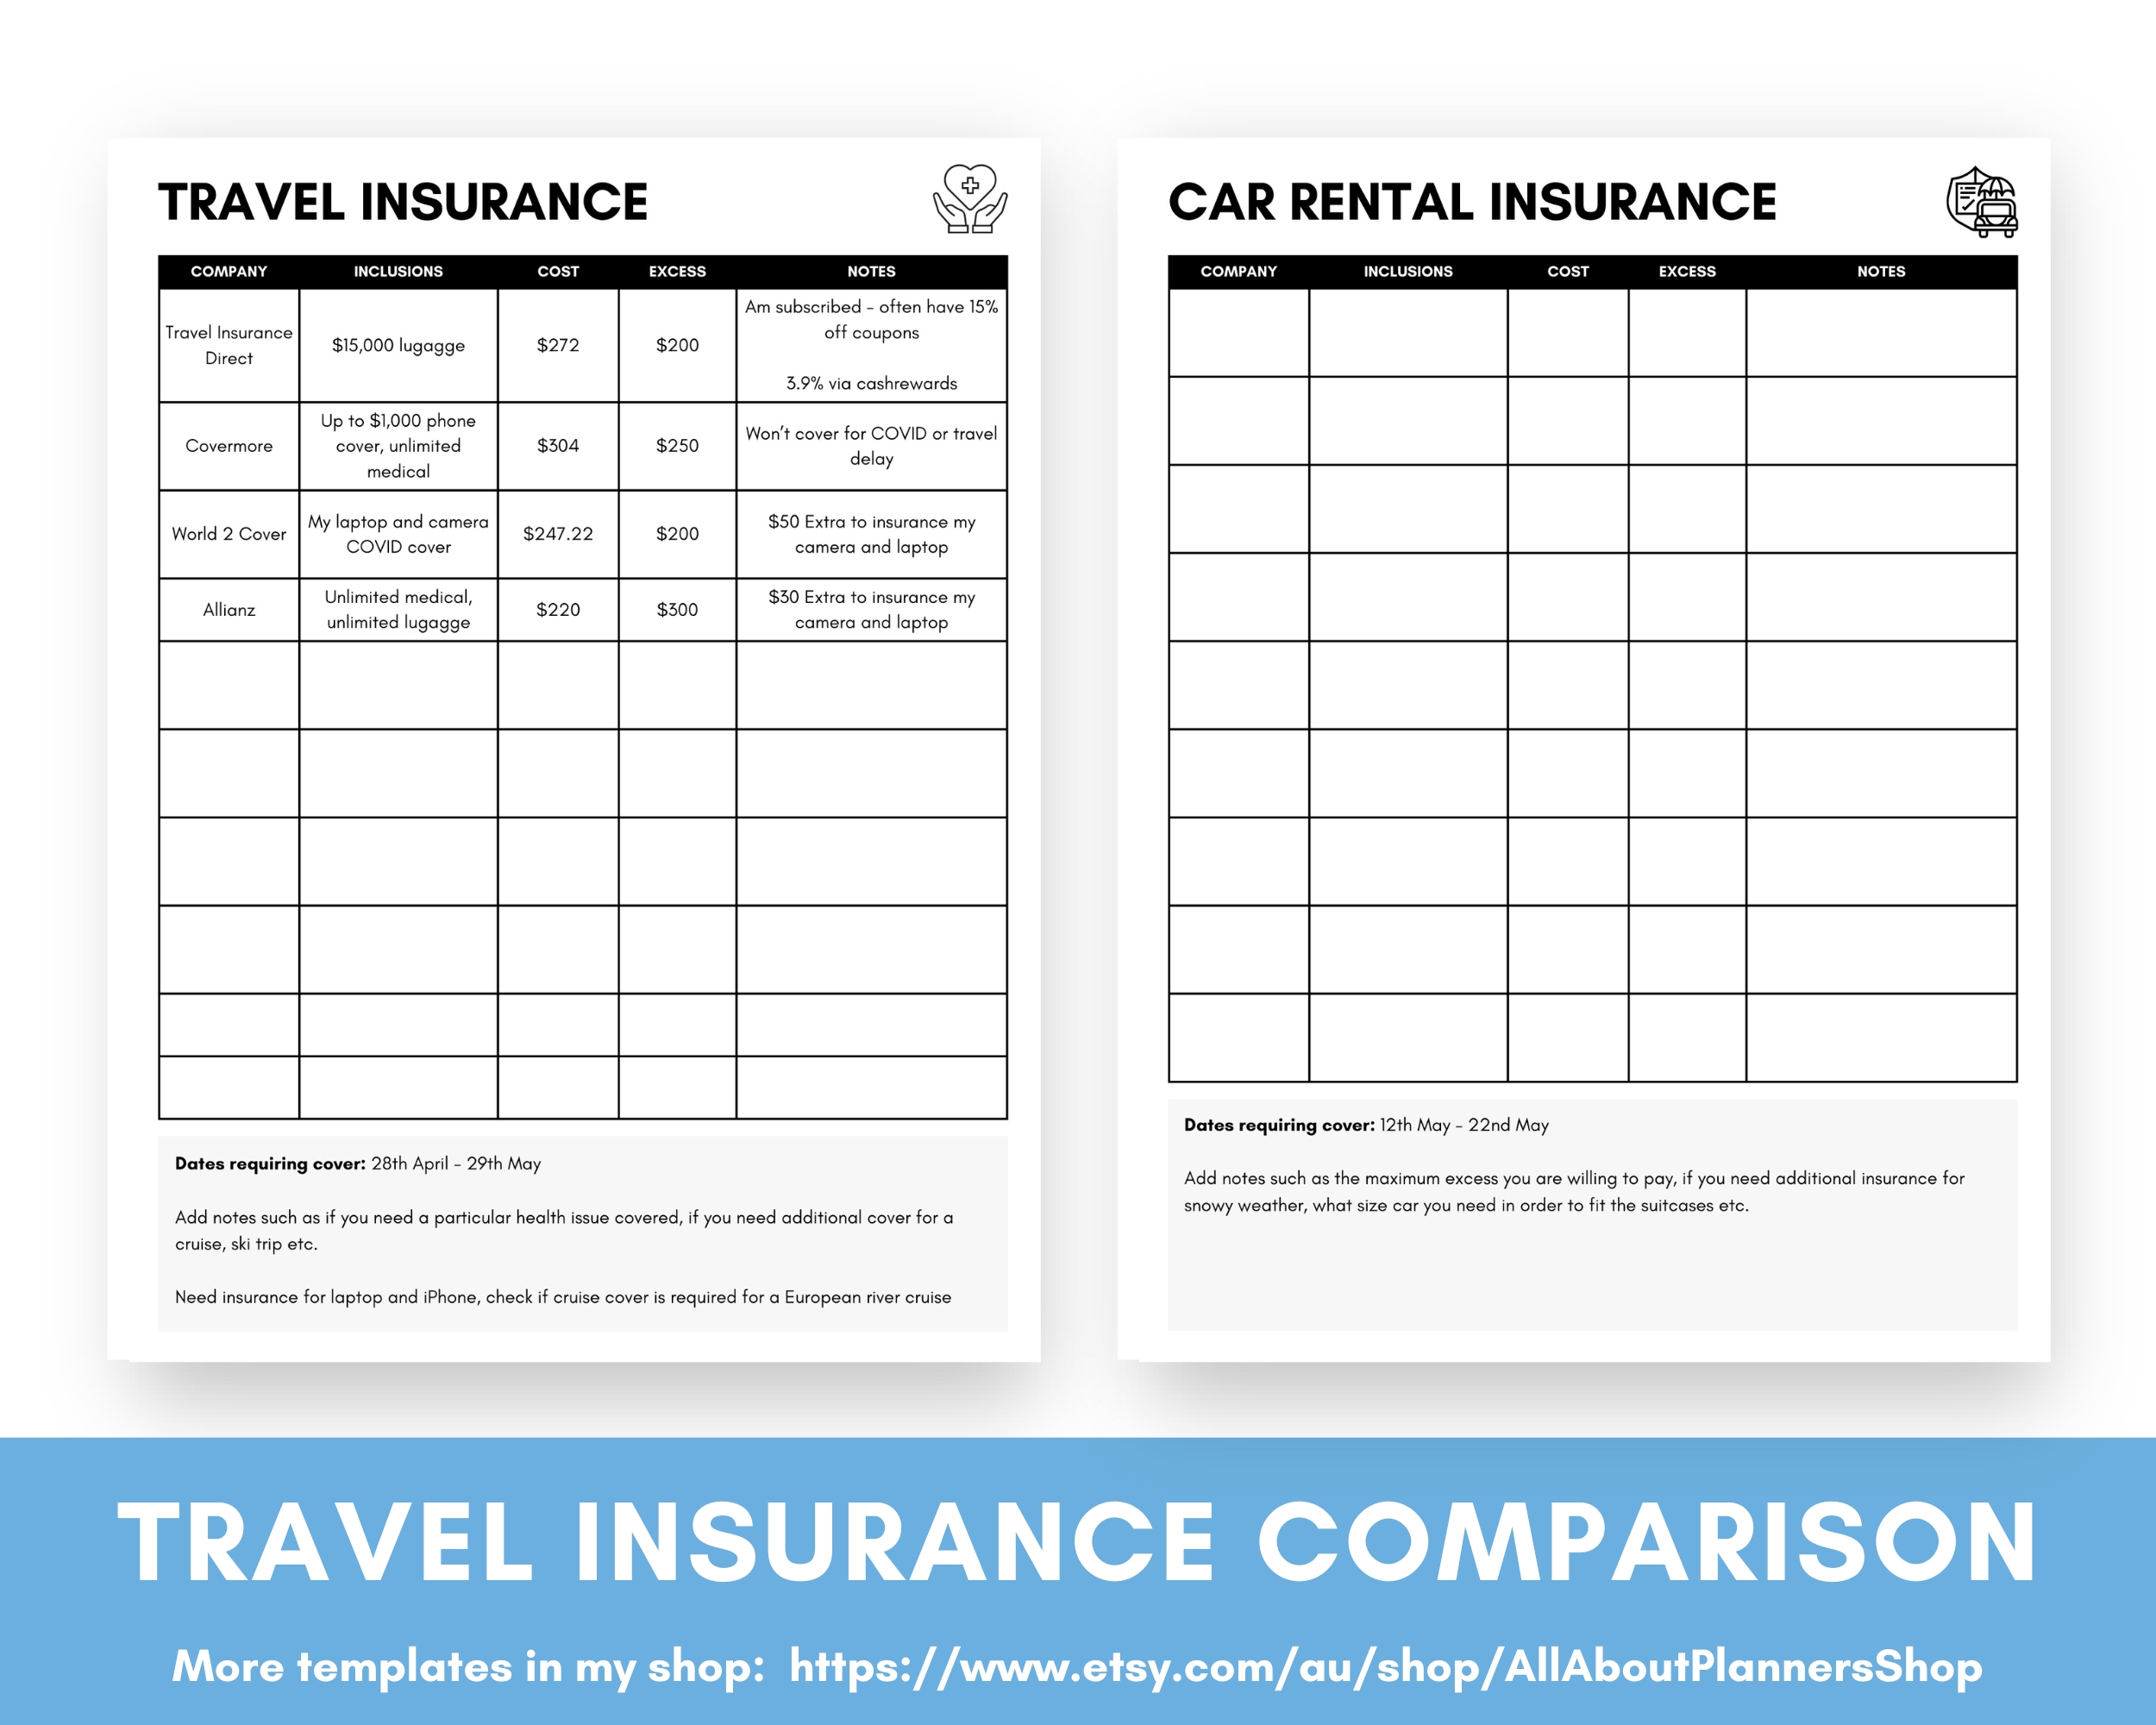
INSURANCES
• Travel insurance research / comparison
• Car rental insurance research / comparison
Group tour itinerary research
A new page I added that does not appear in either my Excel or Word travel itinerary templates, is the group tour itinerary research.
I’m looking at taking an autumn colors tour later this year as I’m not comfortable driving overseas – let alone on the ‘wrong’ side of the road in the USA. So I used this page to keep key details of the itinerary as well as pros and cons so I could easily compare the itineraries offered by various companies.
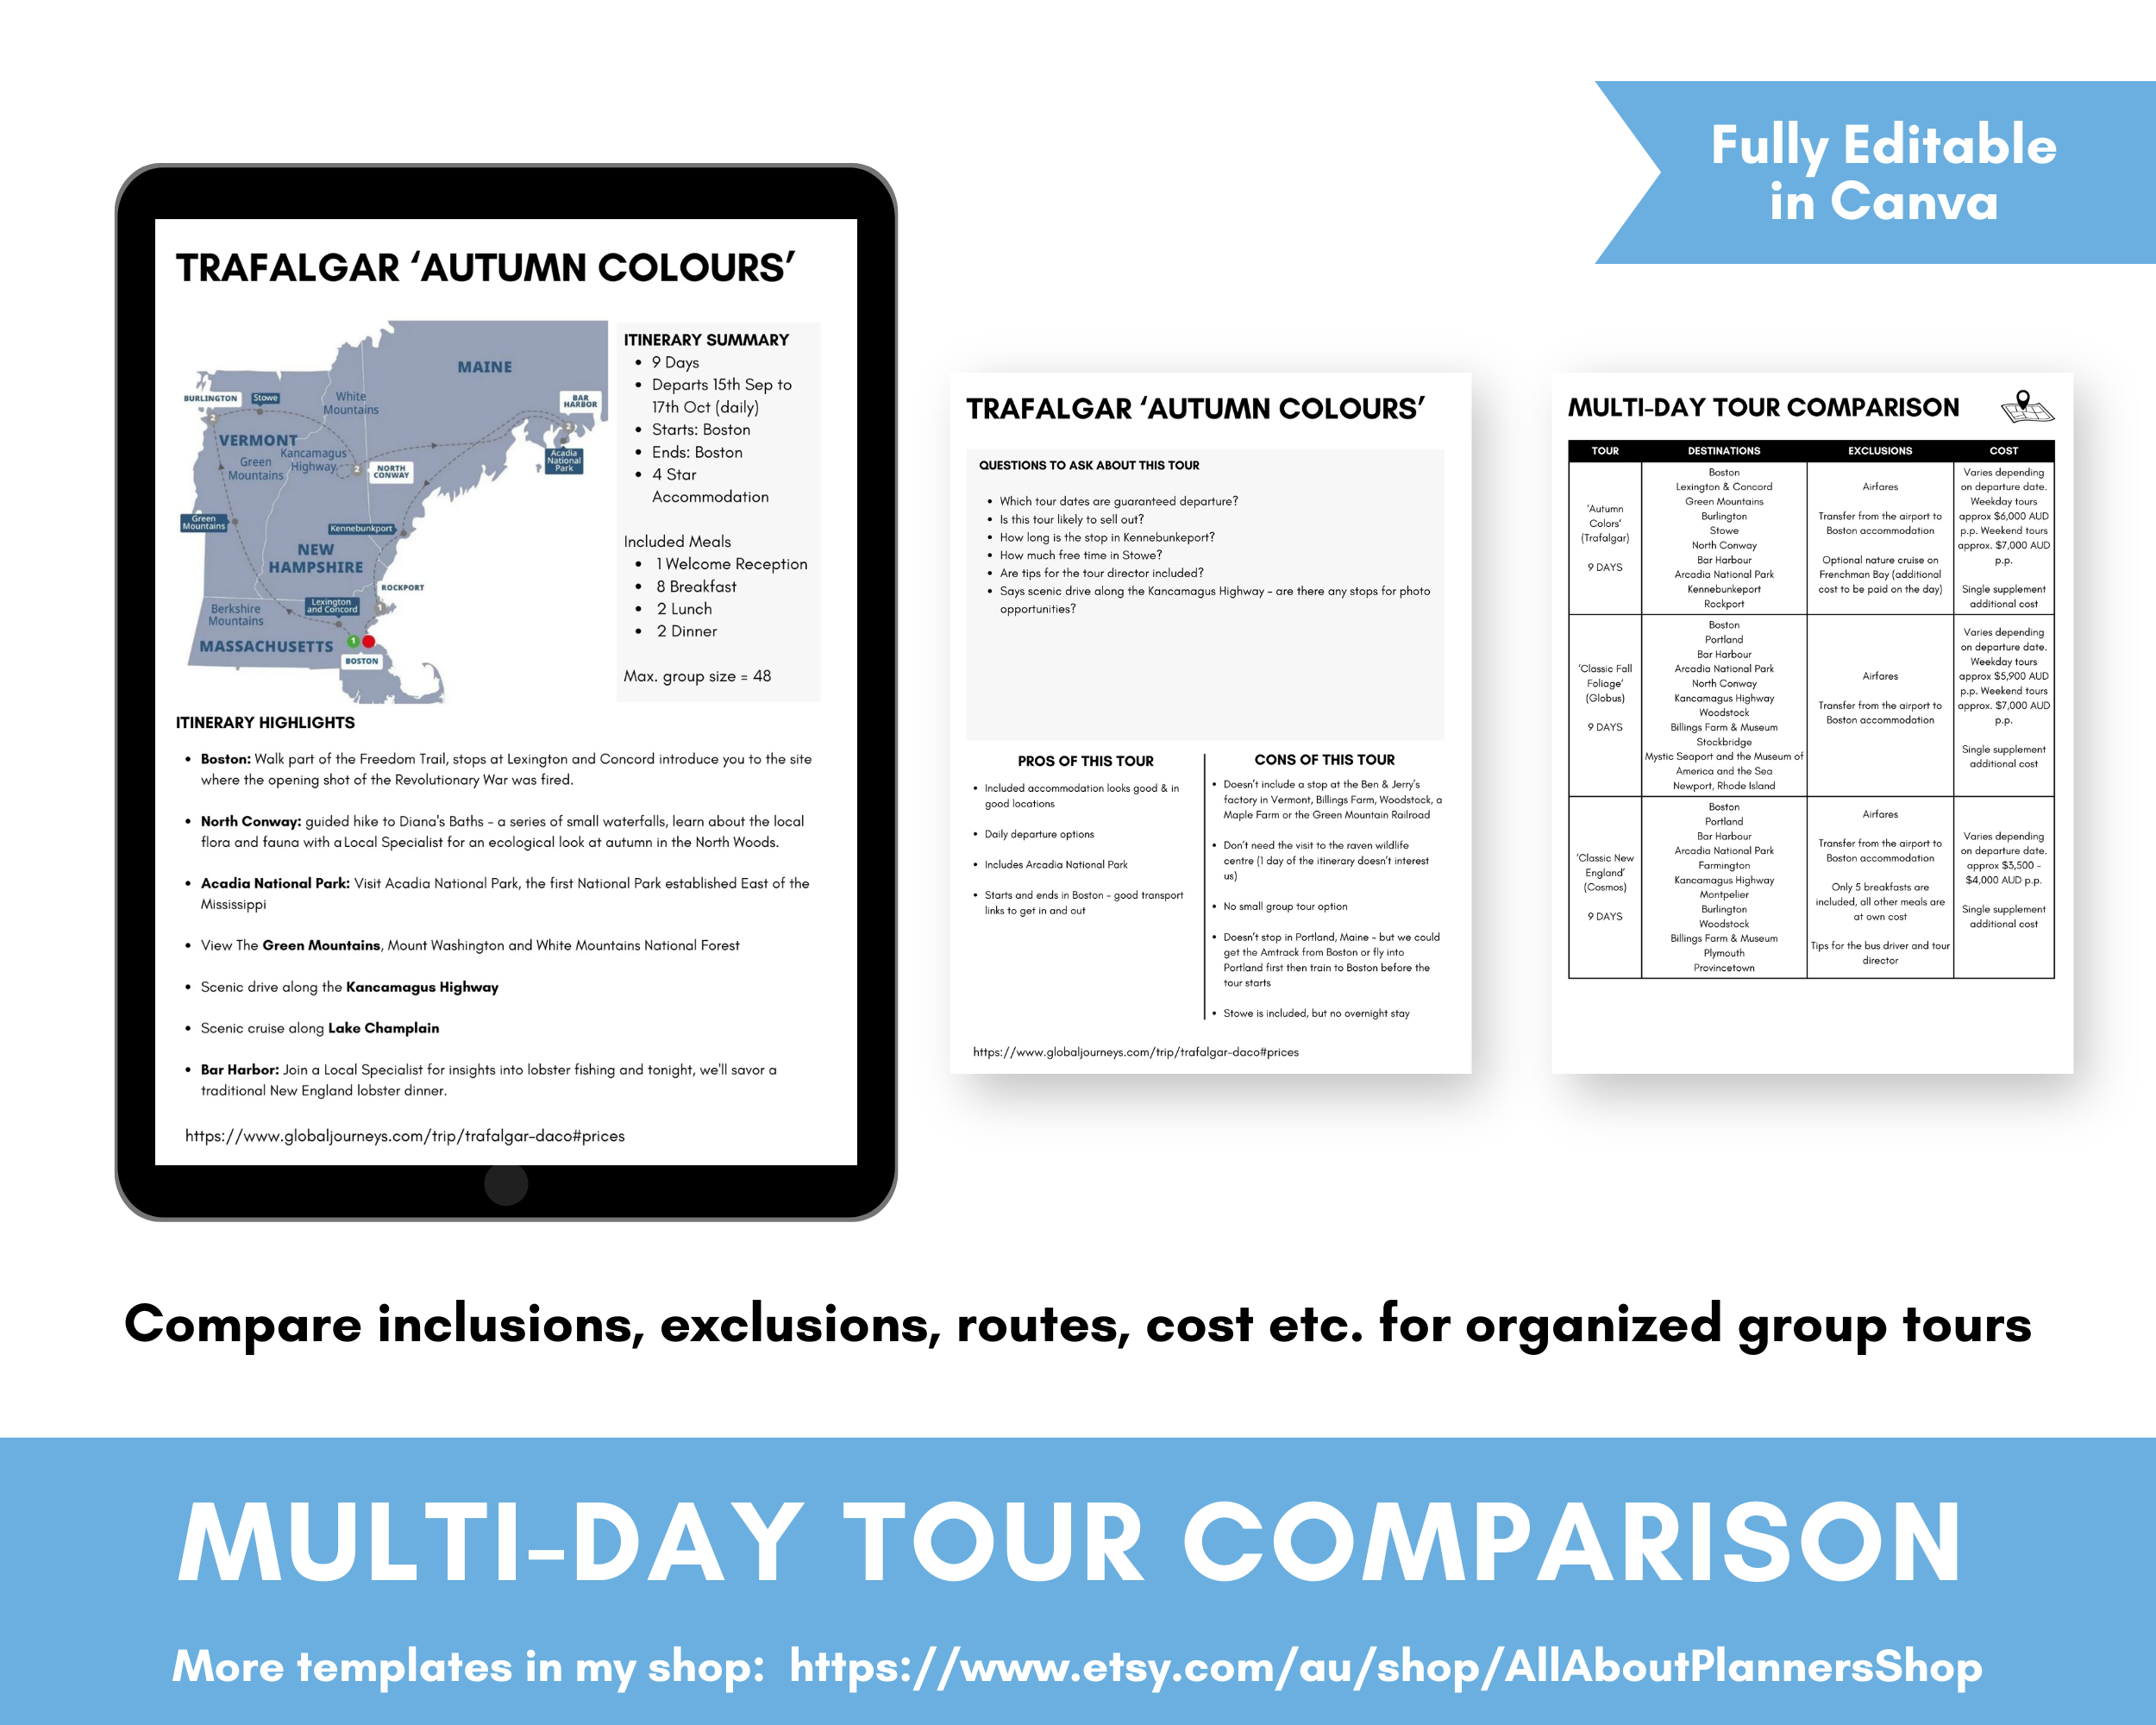
Photo spots
I’ve become a bit obsessed with getting ‘all the shots’ over the years. If I see a photo taken from a particular angle that I didn’t think of when I visited that destination, I get a bit annoyed with myself. Photos are my souvenirs from my trip (see this post for a tutorial on how I turn them into photobooks), so I want them to be the best they can be!
Arranging the itinerary
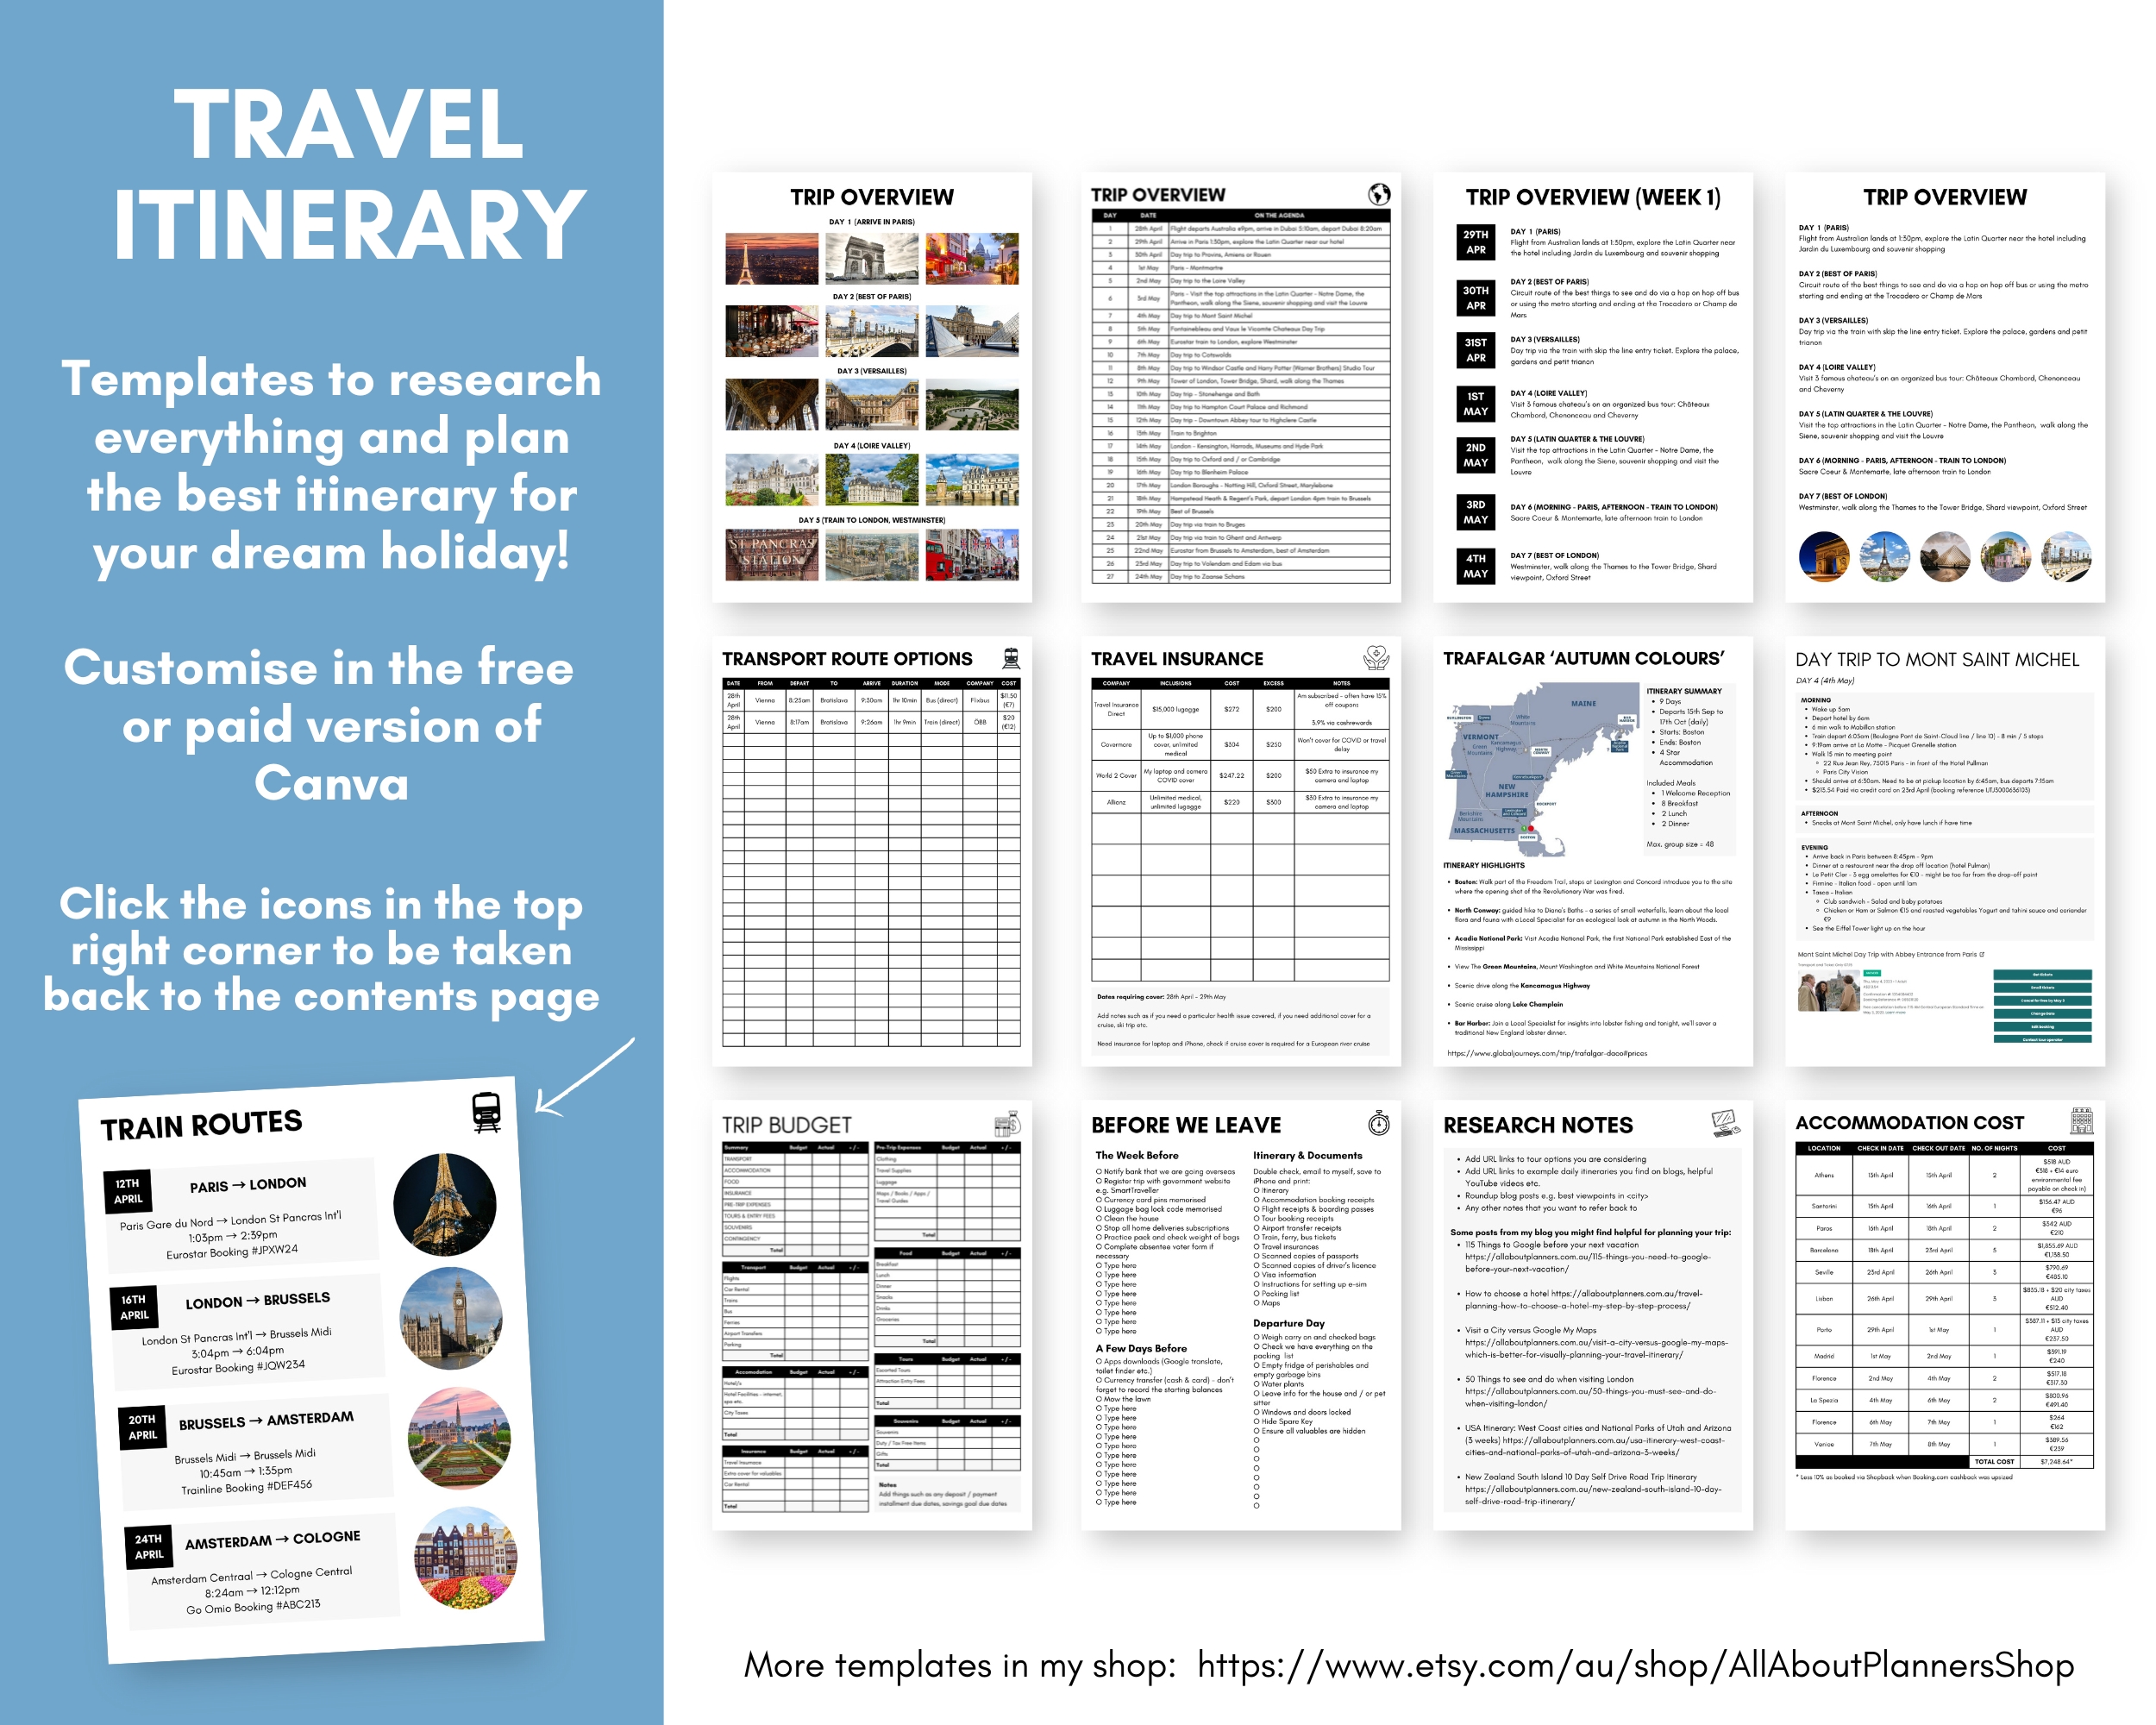
You can drag and drop pages in Canva and rearrange your itinerary however you like!
In my itinerary I order the pages like this:
- Cover page
- Contents
- Research
- Accommodation
- Restaurants
- Attractions
- Viewpoints
- Flight routes
- Transport options
- Train routes
- Trip summary (overview)
- This might be by week, month, or destination (depends on the trip and how long I’m going for)
- Destination research for things like
- Temperature (so I know what to pack)
- Image of their power plug adapter
- Currency
- Foods to try
- Daily itineraries
- Tour bookings
- Reference Info
- Packing list
- Travel Insurance

You might choose to cluster topic together e.g. accommodation which could comprise your research and booking pages, then your flight routes research and then eventually booking information, tour research and tour bookings etc.
Then after you book the trip you could move the research pages to the back / end of the document in Canva. You can keep them there for future reference (e.g. if a friend asks for a copy of your itinerary and research). You can choose what pages to download and print from Canva.
I always start a new day of the itinerary on a fresh page. It makes it easy to find information I need when navigating the document. And when I’m on the trip, I only take the relevant pages for that day with me, instead of carrying the entire itinerary.
How to add hyperlinks in Canva
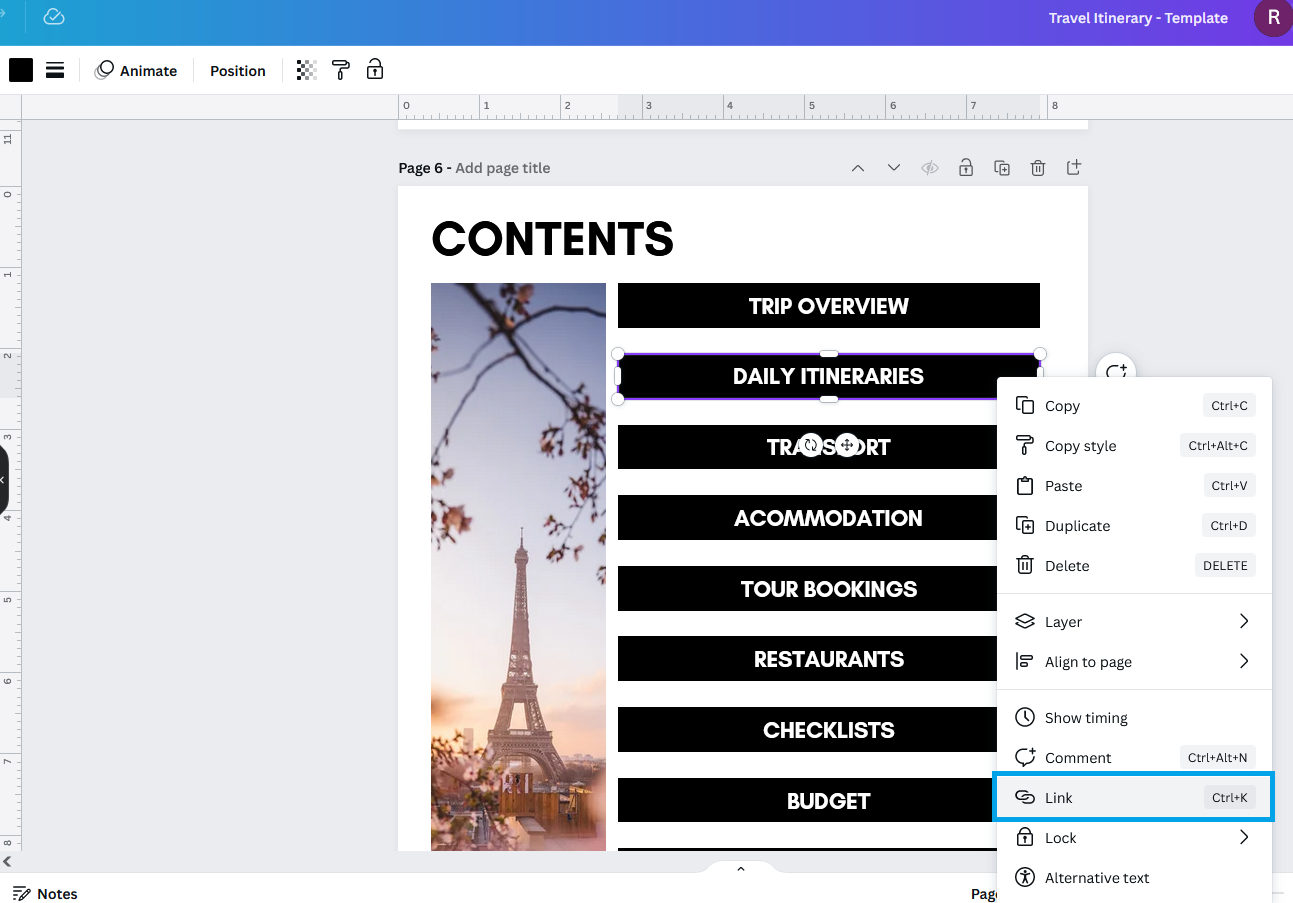
in the template I’ve created there is a clickable contents page. When you click on the boxes it will take you directly to the pages that are mentioned e.g. flight research.
If you click the icons in the top right corner of the relevant pages, it will act as a ‘back button’ and take you back to this contents page. Super quick and easy to navigate and ideal if you want to use your itinerary digitally (on an iPad or tablet).
You can add new links into the template (e.g. links to each day’s page in the itinerary) by right clicking on text, a shape or image and clicking ‘link’. Next select what page in the template you want the link to go to. You can add as many links as you want! There is also a separate itinerary contents page where you can link day 1, day 2 etc. to each of those day’s pages.
Free or paid version of Canva?
Many of the destination images are from Canva Pro (the paid version of Canva). If you are using the free version of Canva these images will not appear in the template when you import it into Canva. However, you can save images from websites as you research for you trip, upload into Canva and add them into the itinerary.
The icons on the relevant pages which are hyperlinked and act as a ‘back button’ if you are using the itinerary digitally (e.g. on an iPad or tablet), are all free from Canva so will always be there – regardless of whether or not you have the paid version of Canva.
You can use this template in the free version of Canva. You will need to create a free Canva account (click here).
Purchase a copy of the itinerary template
If you’d like to purchase a copy of the itinerary template, it is available in my online store and Etsy shop.
Some of my past itineraries
- Best of Tasmania Road Trip (10 Day Self Drive Itinerary)
- 5 Day Amsterdam Itinerary (including 2 day trips)
- USA tinerary: west coast cities and national parks of Utah and Arizona (3 weeks)
Some of my past posts where I share how I create my travel itineraries
- 115 Things to Google before your next vacation
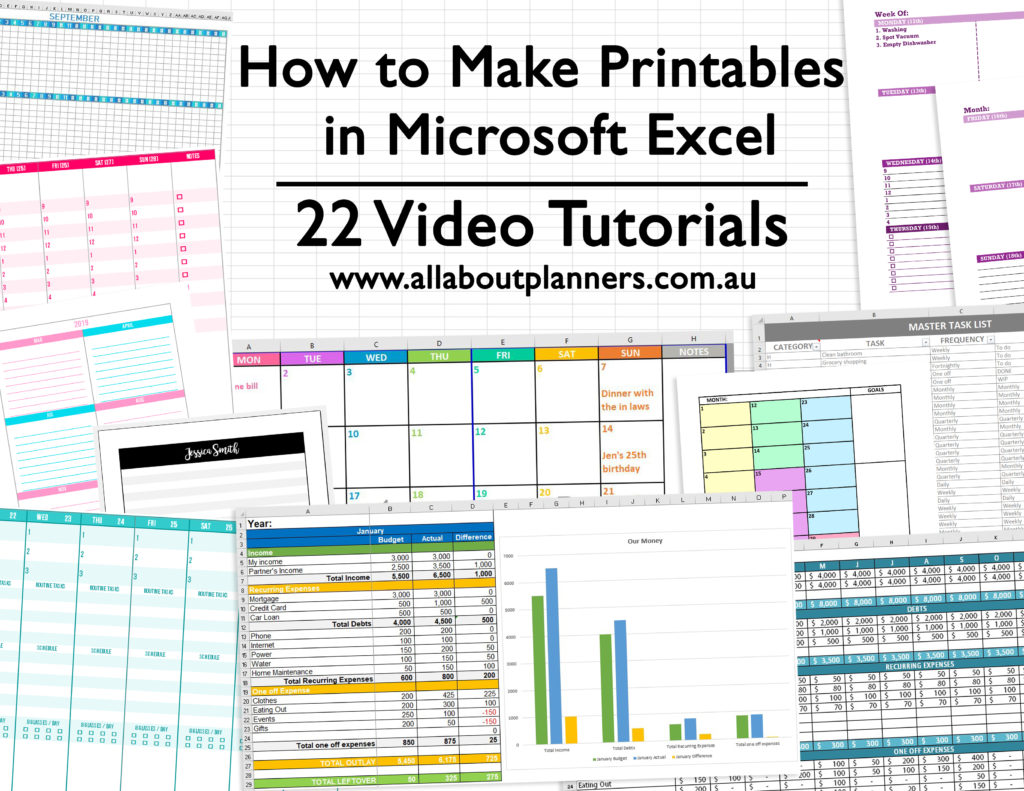
- How I use Excel to organize all my travel plans (research, itinerary, hotel, tours, bookings, packing list etc.)
- How I use Microsoft Word to plan my travel itinerary (my template & planning process)
- Travel Planning: How to choose a hotel (my step by step process)
More travel planning tips in this section of the blog.
Found this post helpful? Pin it!

![]()
![]()