
How I use Microsoft Word to plan my travel itinerary (my template & planning process)
I may not be able to travel right now due to Coronavirus, but when the borders re-open, I’ll be ready. I’ve been spending the past couple of months planning future trips I want to take. I previously shared how I organize my travel plans using Microsoft Excel (see this post). But there is another step in my process I haven’t shared because it was still a work in process.
After more than 5 years of testing and tweaking a document I made in Microsoft Word while planning 8 trips (ranging from long weekends, to 10 day road trips, 1 month or longer overseas trips to multiple countries), I’ve finally perfected this template to keep everything neat and organized 🙂
I’ve filmed a video walkthrough as I can say a lot more (and faster) in a video than a blog post but I do have details in this post as well.
- How I set up the document
- Why I used Microsoft Word
- Travel planning I don’t do in Microsoft Word
- How I print and assemble the pages after I’ve finished the itinerary
- Why I plan in so much detail!
Travel Itinerary Planner for Microsoft Word
To enlarge the screen of the video, click the square icon in the bottom right hand corner of the video (it will say ‘full screen’ when you hover your mouse over the icon).

Subscribe to my YouTube channel for more planner videos!
I hope this gave you some ideas you can adept into your own travel planning system. lf you’d like a copy of my travel planning document, click here
WHY MICROSOFT WORD?
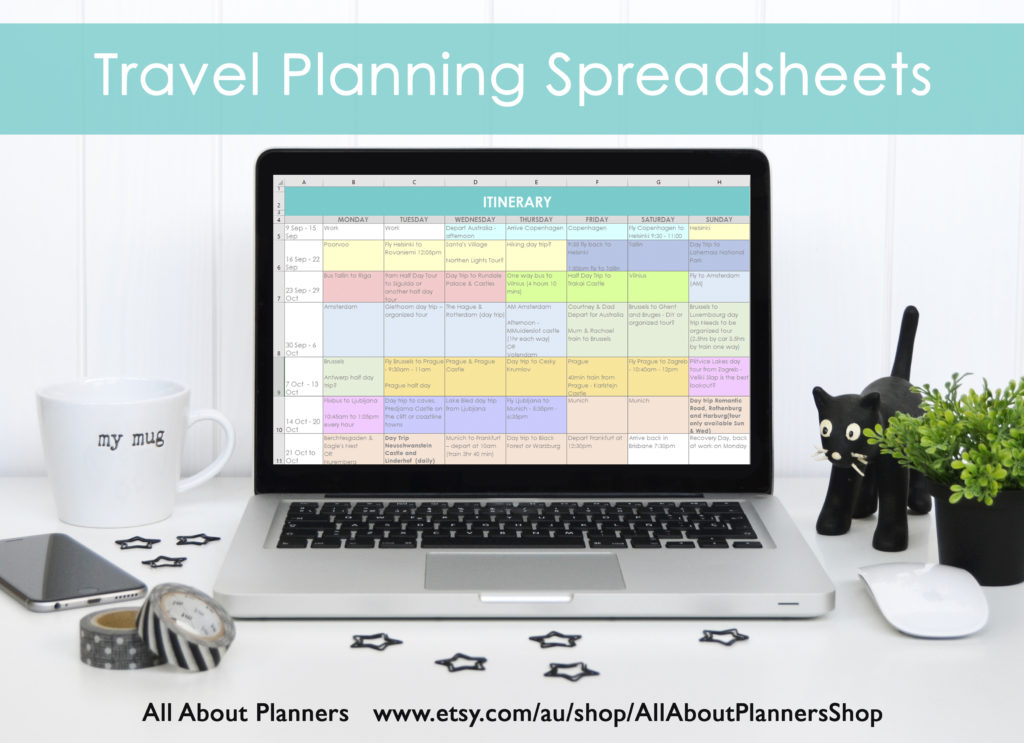
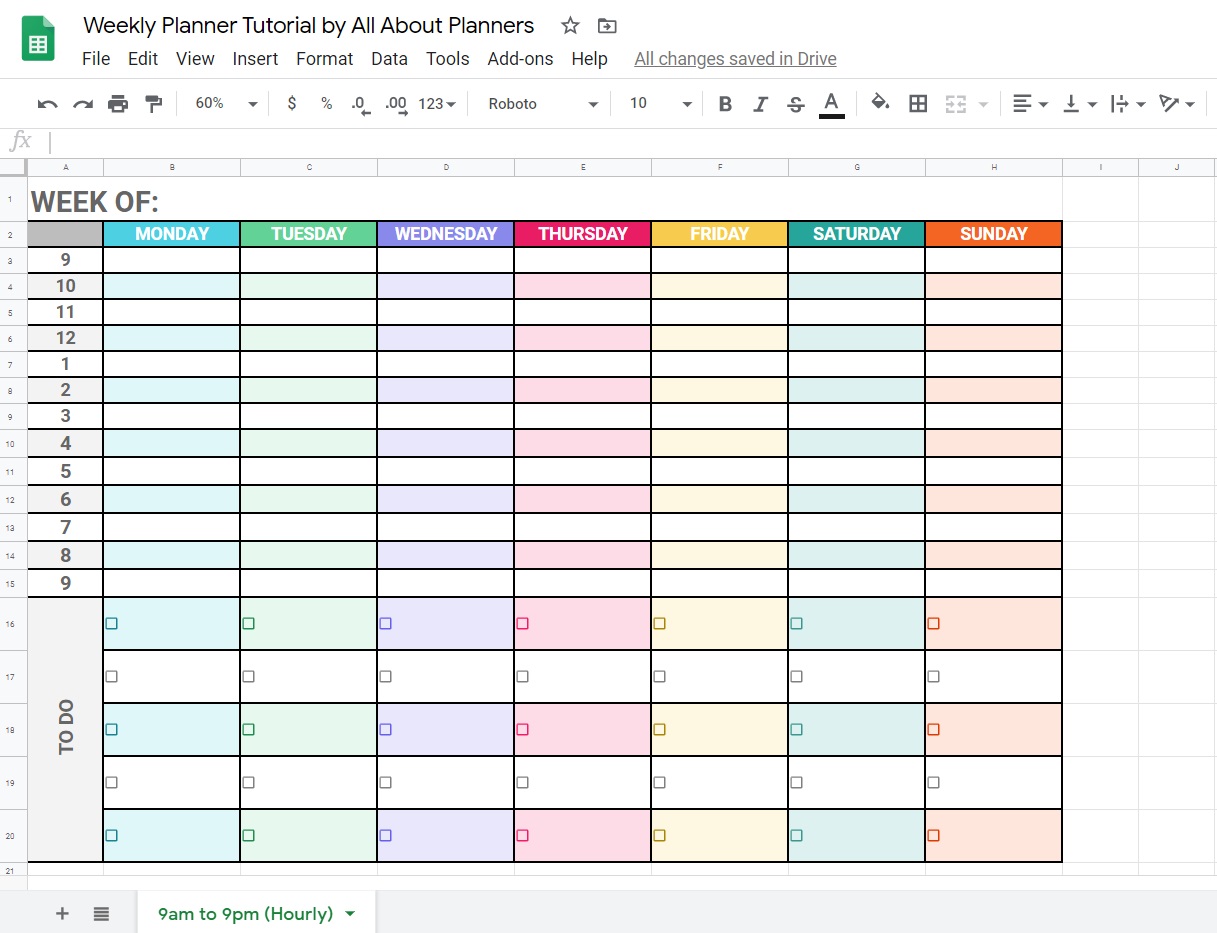
I also have travel planning spreadsheets that can be used in Microsoft Excel or Google Sheets for planning an overview, budgeting the trip and comparing things like flights, but I needed a way to plan all the details for each day in an organized manner. I was dumping links to blog posts, YouTube videos and other helpful resources that I found in my spreadsheets making them cluttered. I also wanted a way to be able to print my itinerary onto paper in a convenient format that I could take with me.
Why paper? I don’t want to use my phone as I already rely on it for navigating with Google maps etc. and a phone battery doesn’t last forever. When I plan in detail I mean REALLY detailed.
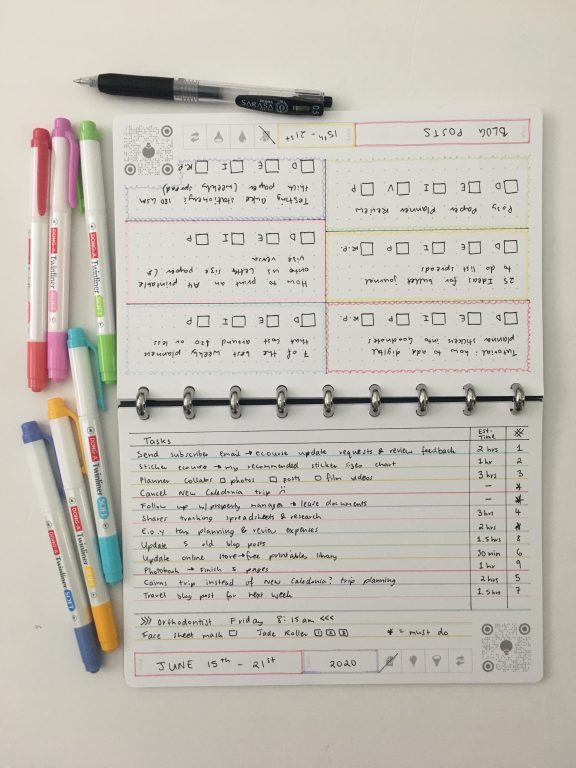
I use this document for recording things like:
– Separate the itinerary for each day by morning, afternoon and evening
– Bus / train numbers, times and frequency
– Directions – I go super detailed just in case my phone battery dies e.g. turn right at hotel, walk 3 blocks, turn left, the stationery shop is on the left
– Opening hours for quick reference or if I need to change plans due to weather
– Entry cost so I have the right currency on hand
– Reminders e.g. confirm the tour 2 days from now (as some tour companies require you to reconfirm)
– Paste screenshots of walking routes and maps that I’ve plotted shops, restaurants etc. that I want to go to
– Tips & notes
I don’t want to turn my computer on of a morning before leaving the hotel, I want all the info I need for that day all on the 1 or 2 pages that I can take with me and then throw in the bin at the end of day instead of lugging around the entire itinerary everyday.
I’m not a spontaneous traveller, I like to thoroughly research everything before I get there so once I’m there I don’t waste ANY time and see ALL of the things I want to see. I never come back from a trip and think, ‘I wish I’d gone there’ or ‘I wish I’d known about that’ or ‘shame that museum was closed that day’. Having an itinerary thoroughly planned out takes all the stress away so I can focus on enjoying the trip and taking tons of photos.
It does take time to record plans in detail but it means I never miss out on something I want to see, I’m always at the most popular attractions at opening time to get good photos without crowds. If I need to swap days or change things on the fly I can, because I have all of my trip details neatly organized in this document.
So to me the hours of research and organizing it all into this document is worth it, especially if it’s an expensive international trip where I’m not sure I’ll ever get the chance to go back there if I miss anything.
I use this document concurrently along with:
- Visit a City – it creates a visual map of where things are located so I can cluster everything together before allocating to days and adding to this Word document
- My travel planning spreadsheets in Microsoft Excel – where I plan an overview of the trip e.g. what destination I’m at on what days e.g. Neuschwanstein Castle (I then do the detailed planning for each of those days in this document)
- Google Maps – where I sometimes plot walking routes and then paste the map into this word document
Here’s a breakdown of the various sections of the document:
For the purposes of showing you how I use this trip planner I’ve taken an extract of some itinerary pages from one of my past trips:
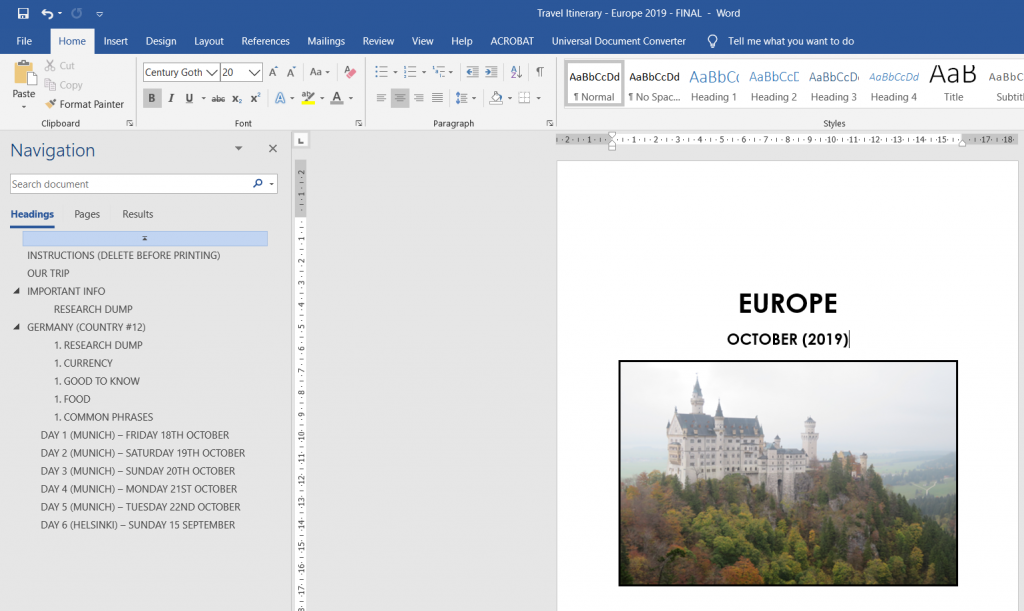
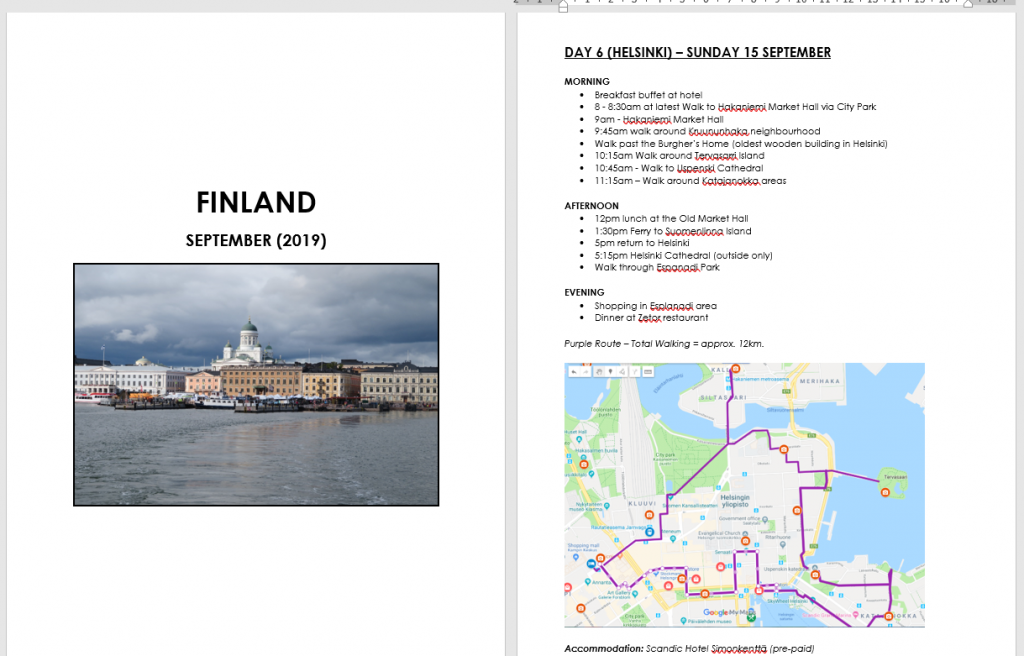
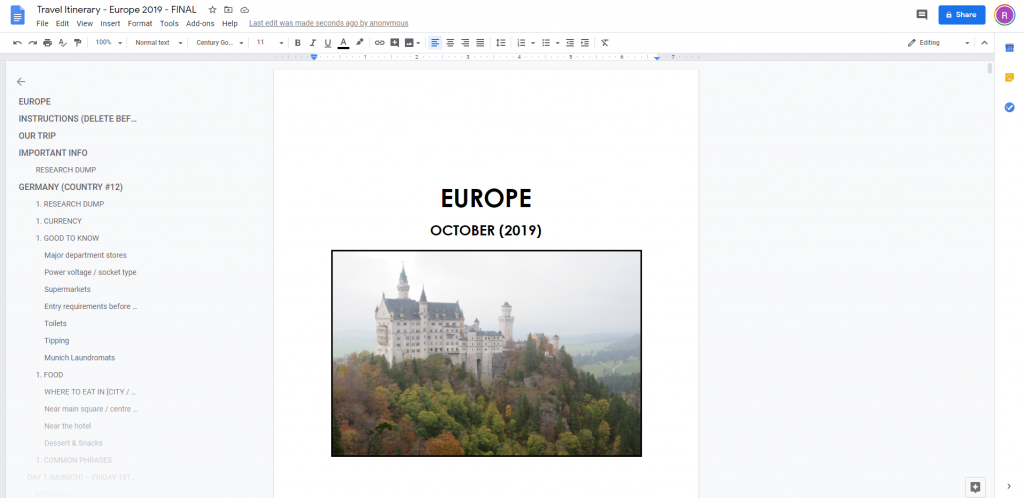
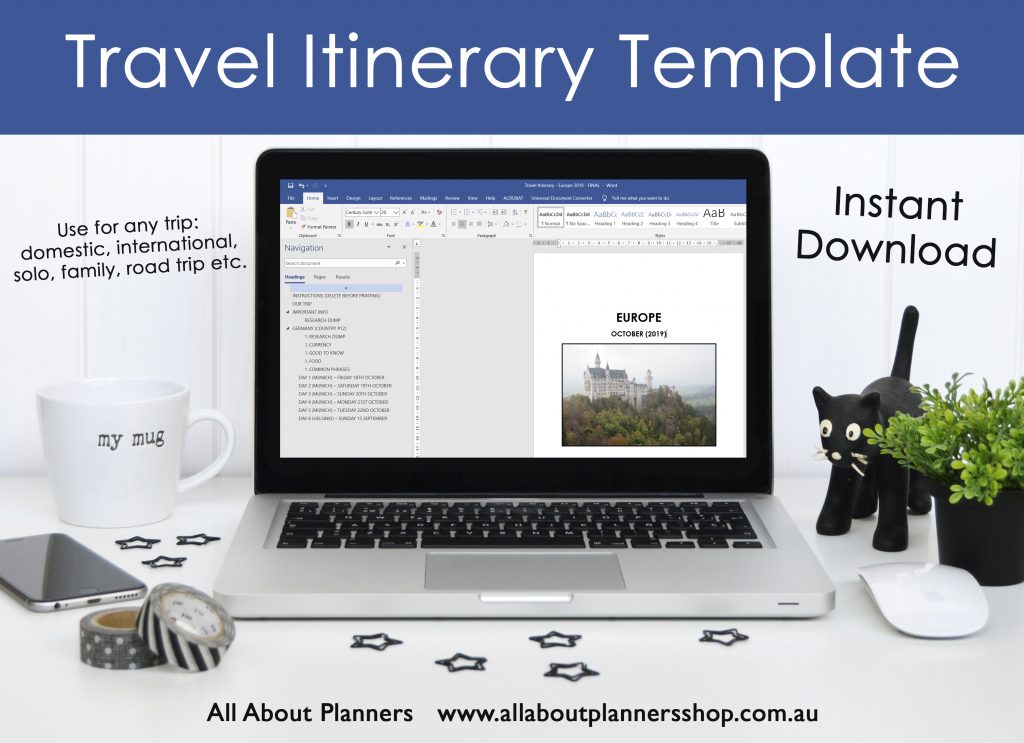
1. COVER PAGE
Add a photo of the destination you’re going to and your trip dates.
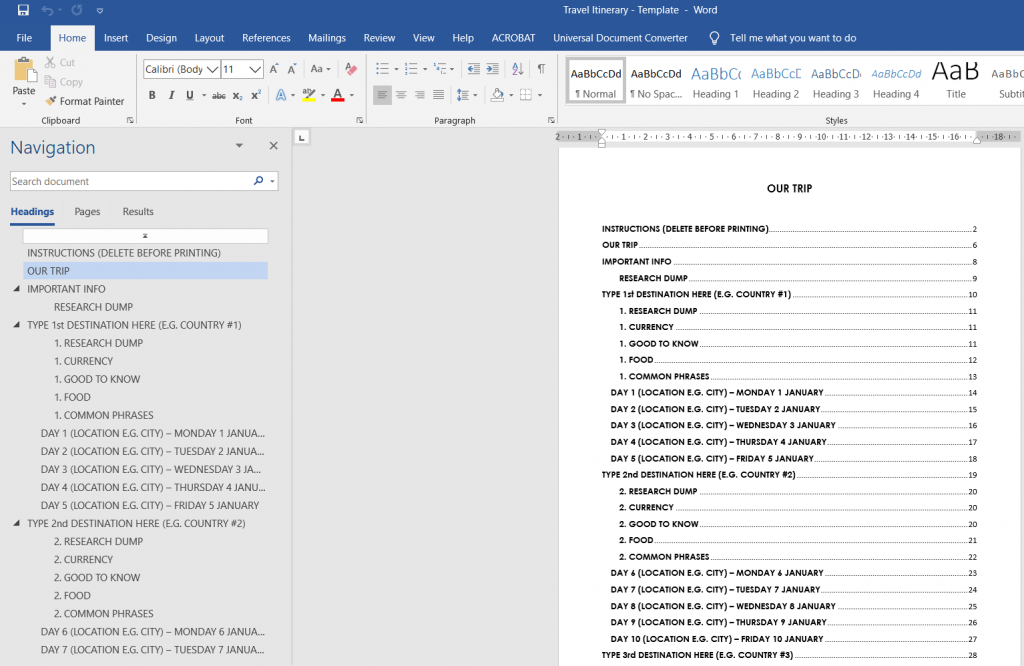
2. CONTENTS
Easily find what you’re looking for with this contents which will automatically update the more destinations / days of the trip that you add.
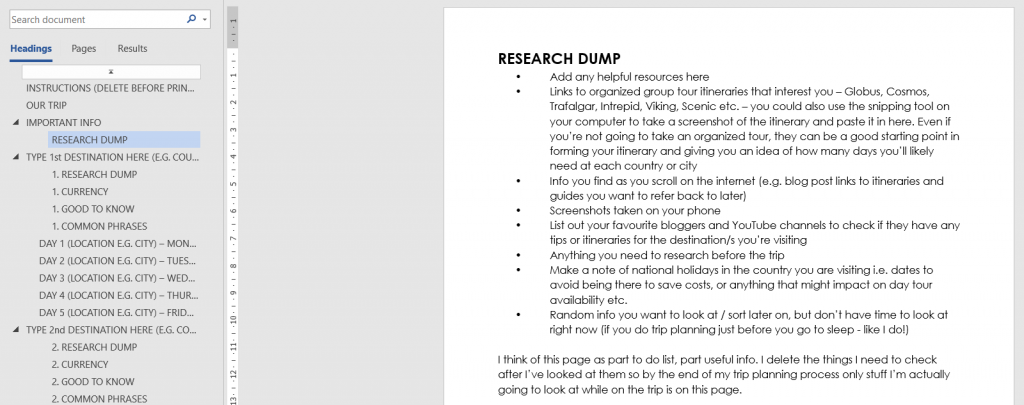
3. IMPORTANT INFO
Make a list of things to research for the entire trip and then ‘dump’ it all here.
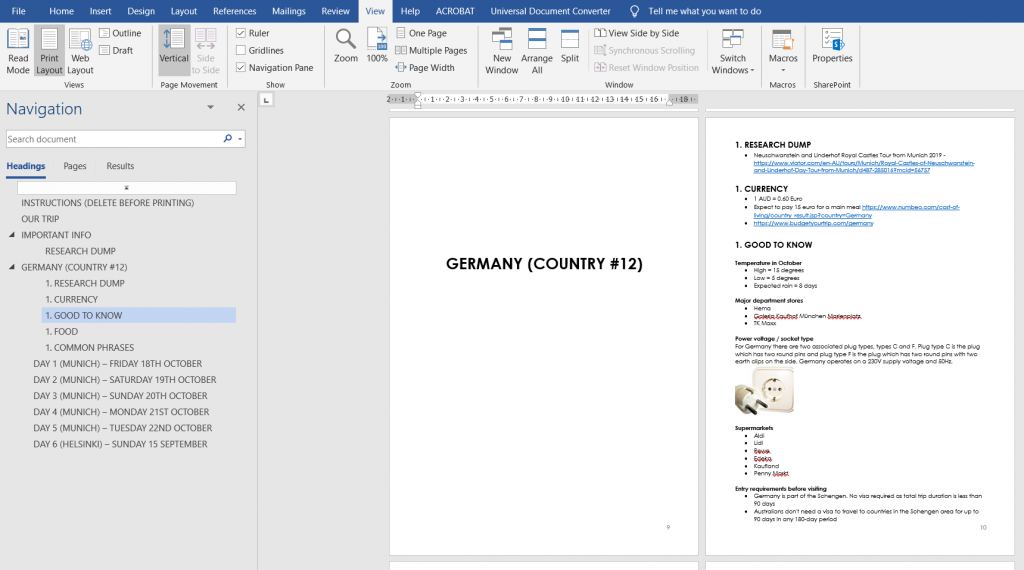
4. SECTIONS (for each city or country)
This document is organized into sections. There are 5 sections with 5 days in each section but you can easily add more days (and sections) if you need them (instructions are in the guide that comes with the download). I use 1 section per destination – usually a city (or an entire country if it’s a small one).
You can copy the first page of the document (main cover page) if you want to add a photo for each destination like this:
I keep the country / section dividers plain because all of the other pages in the document have text on them, when I’m flicking through the itinerary, a blank page is easier to find.
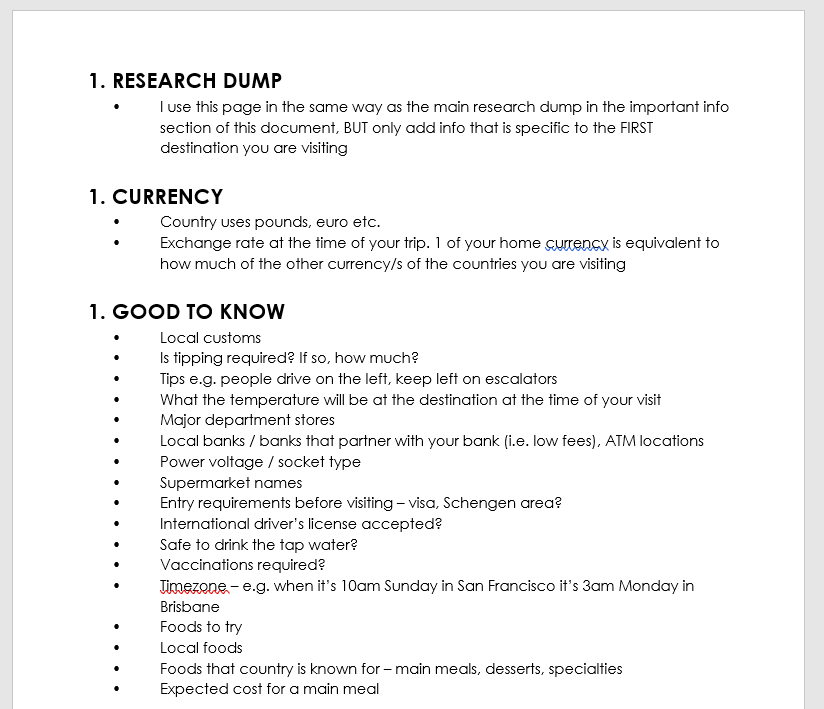
3. INFORMATION
Each section starts with an information overview followed by the itinerary for each day I’m at that destination.
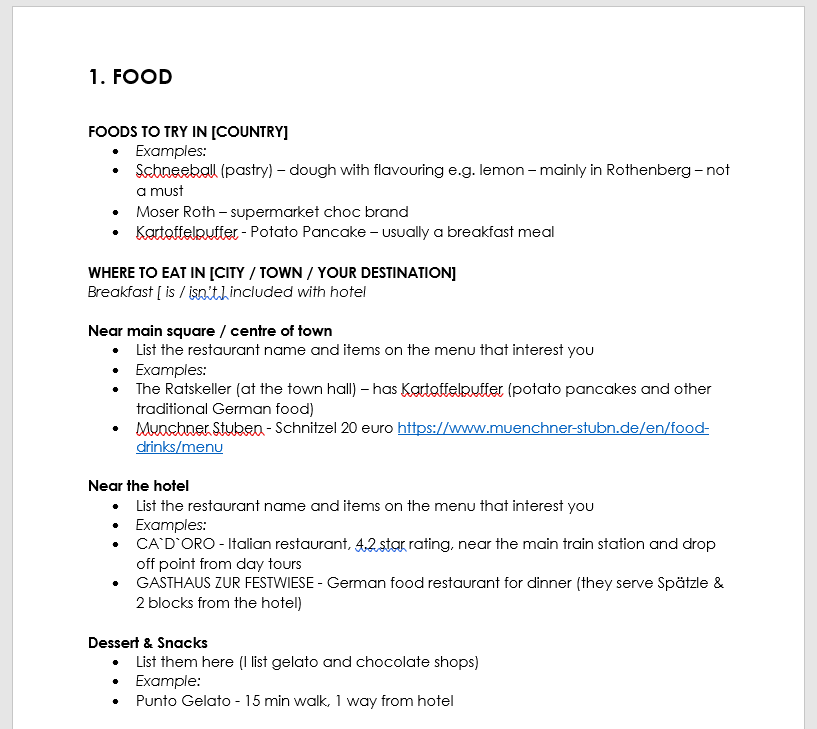
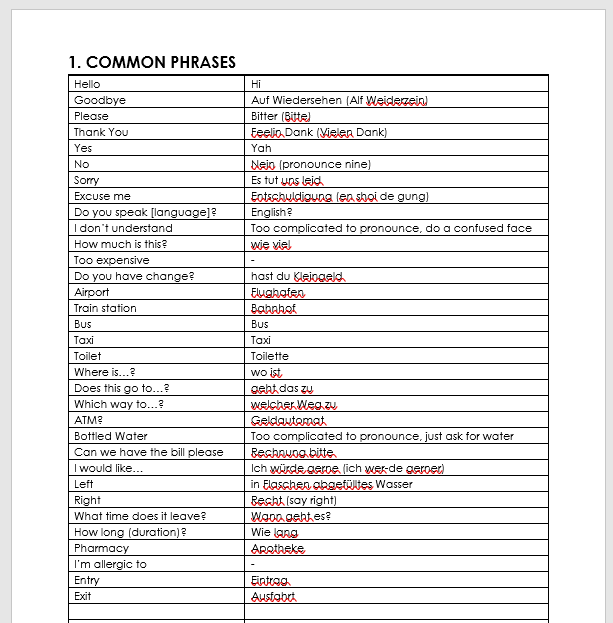
Information section includes space to add – research dump, currency, good to know, food and common phrases
Another thing to add to the good to know section is data / wifi. I use Vodafone’s $5 a day data roaming in most countries but you might want to use a Sim card and enter those details into the document.
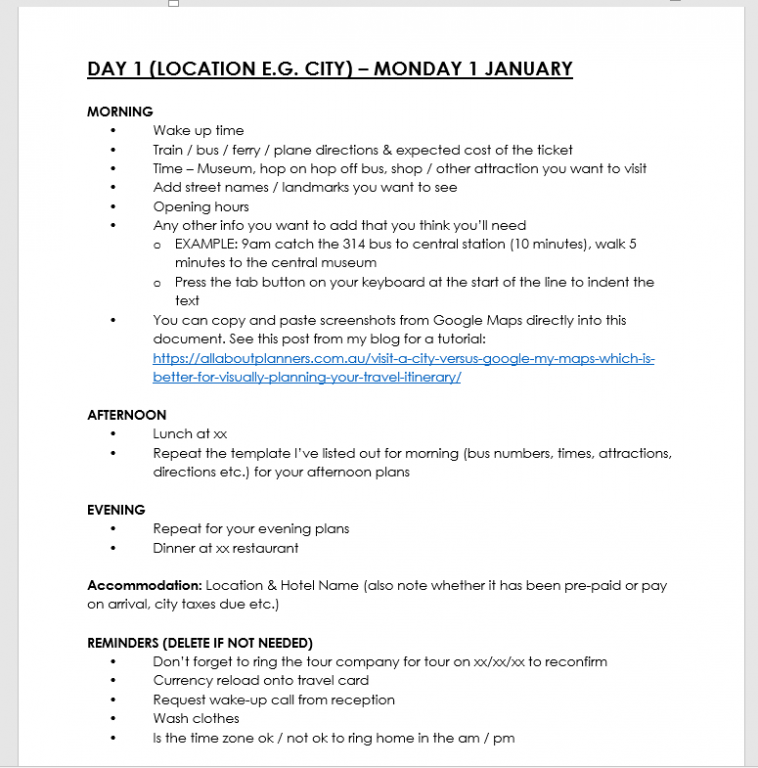
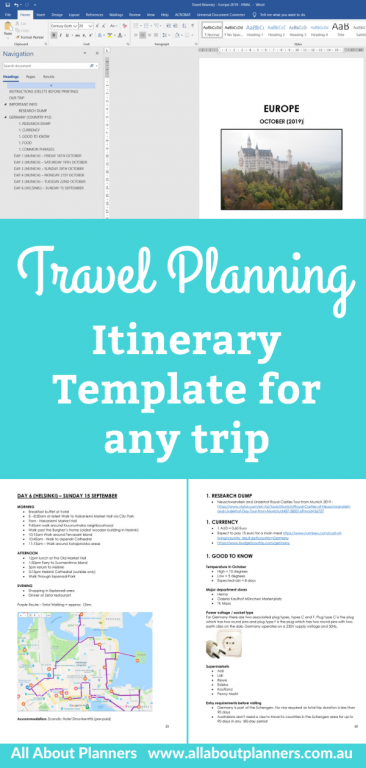
4. DAILY TEMPLATE
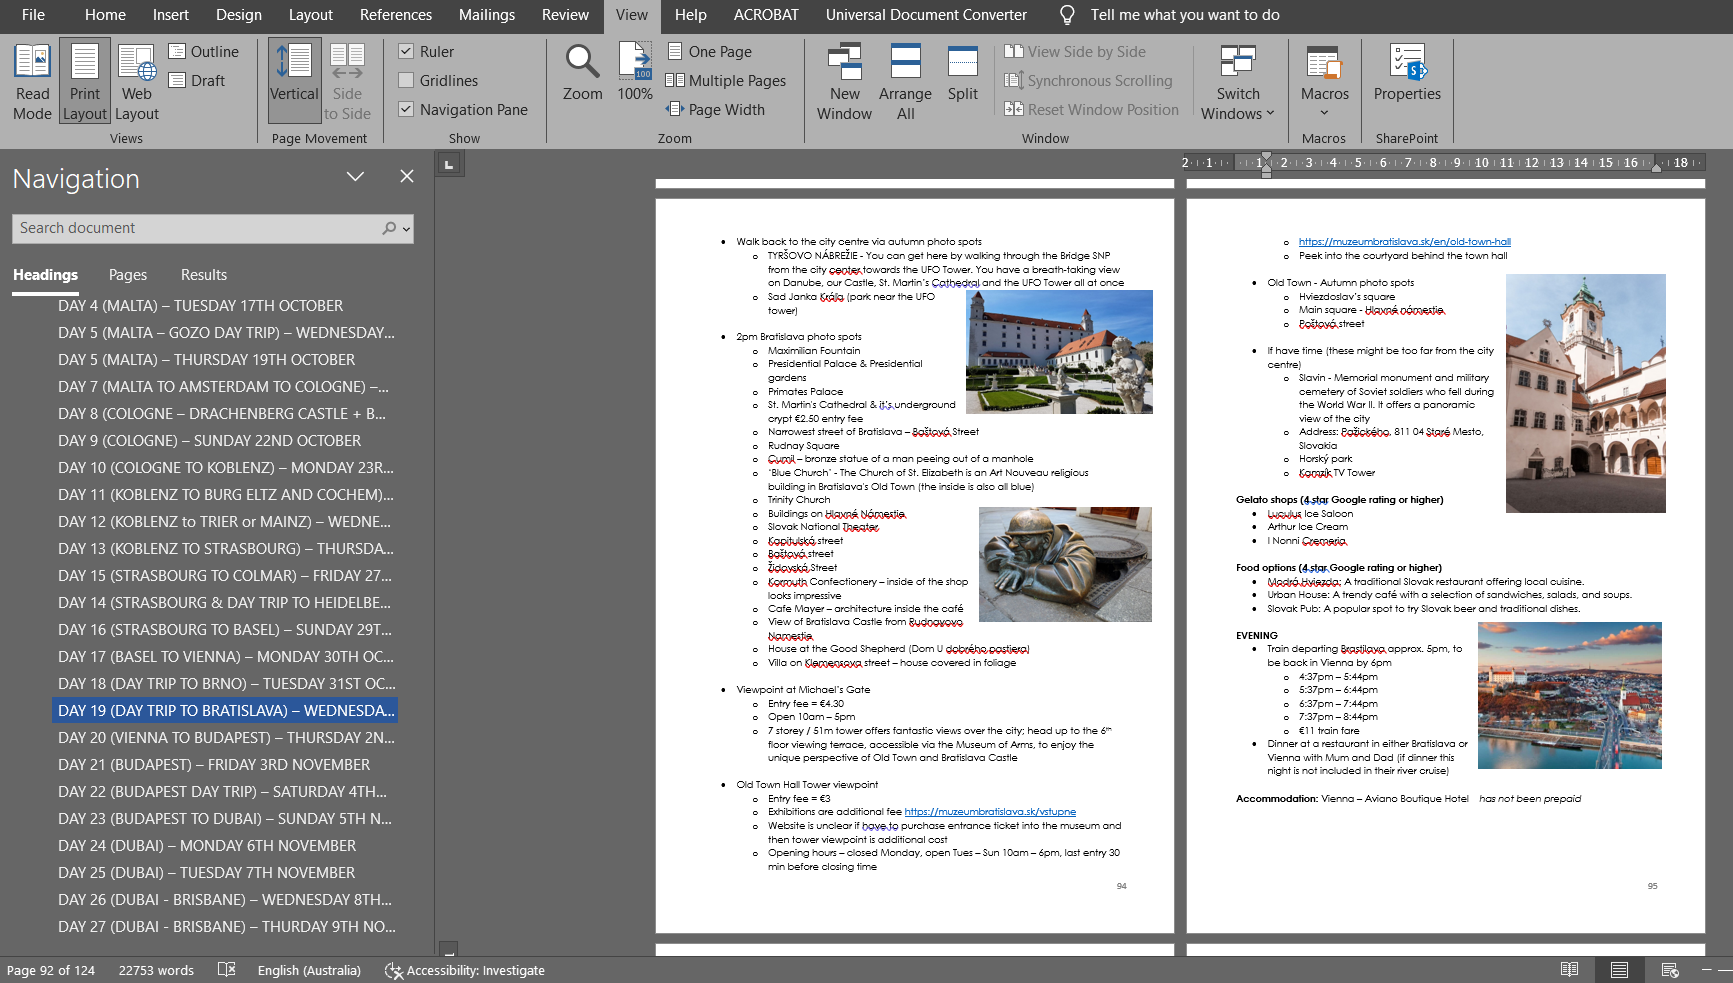
For each day I break my plans into morning, afternoon and evening. I prefer to use dot points to list everything out – it’s just much easier to follow
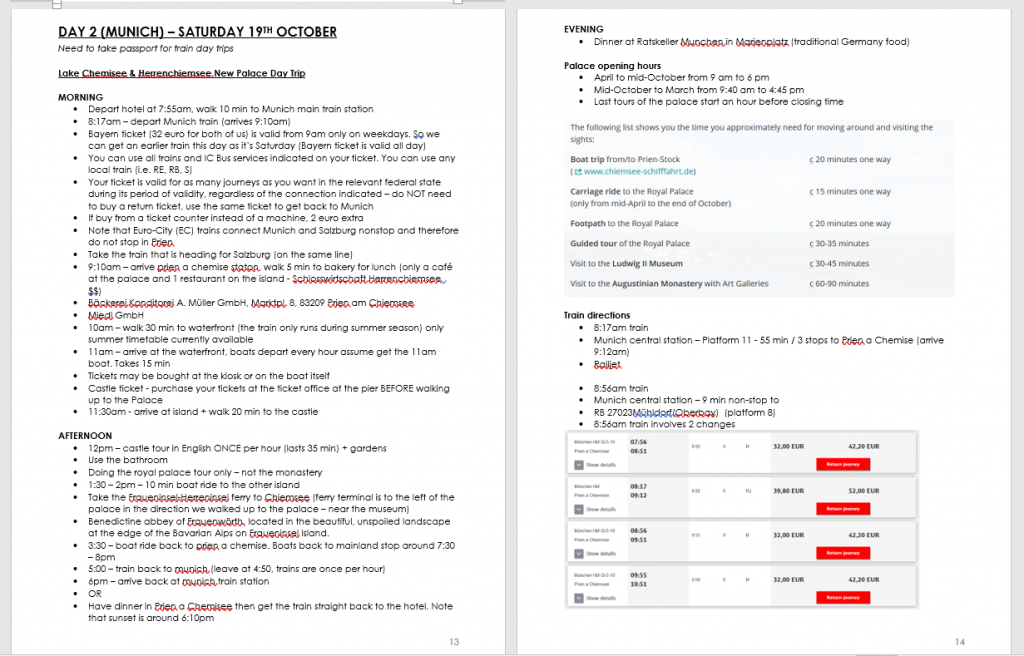
Here’s an example of a day where I was taking various transport so needed everything scheduled out in detail. I take screenshots of train timetables, how much it should cost (and the exact ticket e.g. the Bayern ticket). That way when I go to purchase the ticket at the train station if I can’t figure out the ticket machine or it’s in another language, I can show this to the person at the counter and they can arrange the ticket for me, or take it out the back to their manager or other person who might speak English.
If a train, bus, boat etc. is running late I can see if I should switch plans and eat first and get a later bus, or go take photos and come back etc.
Tips
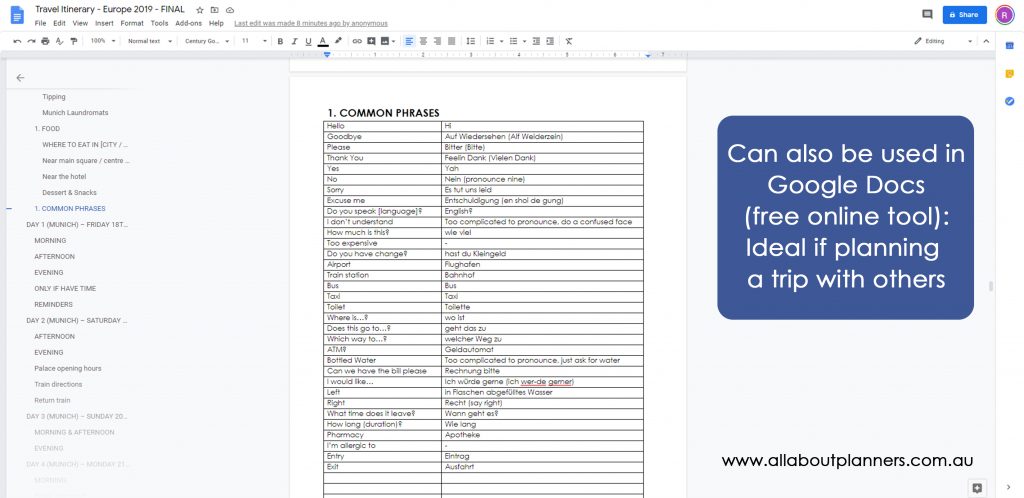
– Microsoft Word documents can also be used in Google Docs which is a free online tool you can access from anywhere, on any device (perfect to access your plans while on the trip, and if you’re planning a trip with others)
– You can easily find what day you’re looking for and move around the document using the navigation menu (press CTRL and F on your keyboard)
– Tips & instructions guide included
– Can be used for any type of travel – solo travel, family, road trip, domestic trip, international trip etc.
– You can change the font style, size etc. and color code by destination if you like
– Purchase once and re-use again and again for all your trips!
This is what it looks like loaded into Google Docs – all of the formatting, navigation menu etc. is the same – you don’t need to do anything extra.
Info I don’t record in this template
I record these things in my travel planning spreadsheets, so don’t repeat it in this template I made for Microsoft Word:
1. Handy info reference page
2. To do list
3. Budget
4. Attractions (and their cost)
5. Itinerary by Month
6. Itinerary by Week
7. Flight Comparison
8. Accommodation Comparison
9. Car Rental Comparison
10. Transfer comparison
11. Tour comparisons
12. Travel insurance
13. Spending Tracker
14. Before We Leave Checklist
15. Packing List
16. Outfit Planner
You can read more about that in this post: How I use Excel to organize all my travel plans (research, itinerary, hotel, tours, bookings, packing list etc.)
Finished your itinerary, now what?
I print the itinerary single sided so I can tear the page out as I need it and then throw it away at the end of the day (aren’t carrying around the whole itinerary with me everyday).
I like to place everything in a plastic folder (they only cost a few dollars and are surprisingly sturdy) or bind the pages into a notebook with my comb binding machine. If you take the pages to Officeworks or your local office supply store they can bind it into a notebook for you. You could just print and staple everything but if you have a lot of pages the staple might not go through or hold up well (I’ll usually only staple for a long weekend i.e. short trip).
Assembling my travel itinerary
I logically order the printed pages in the order I will use them. So flights first, then once you arrive you need the transport info to the hotel, then the hotel booking confirmation etc.
- COVER PAGE
- TABLE OF CONTENTS
- IMPORTANT INFO
- DESTINATION 1
- Important info
- Flight booking confirmation / voucher
- Transport pre-booked transfer from airport to accommodation
- Accommodation voucher
- Daily itinerary pages with day tour bookings interspersed between (i.e. if a tour is on day 2, I put this with day 2 itinerary, before the itinerary for day 3)
- DESTINATION 2
- Repeat in the same order as destination 1
By destination I usually mean country (e.g. Germany) but if you’re in a big country it might be each city (e.g. Munich, Frankfurt, Berlin etc.)
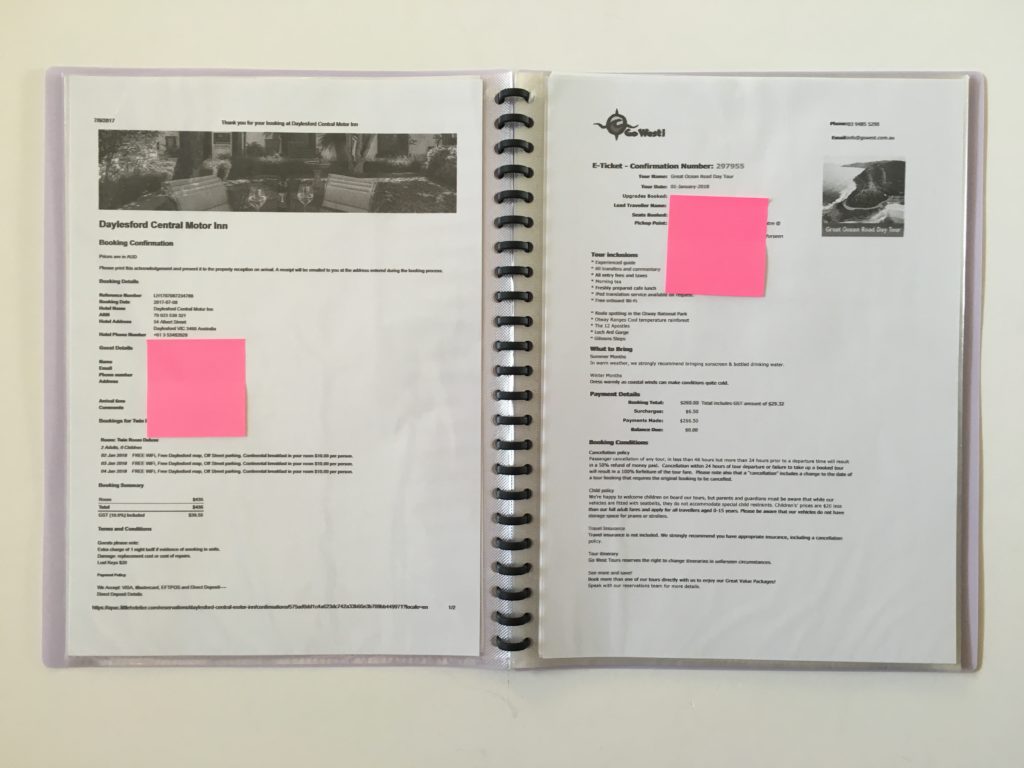
Here’s an example from a road trip around Victoria I did a few years back (sticky notes are just to cover up personal info), so you can see what I mean when I say plastic folder (they’re sometimes called ‘display books’). This one is A4 page size but I later found A5 sized ones from Officeworks, so now I use 2 x A5 plastic sleeves instead (much more convenient at a smaller page size).
Tutorial for resizing printables is in this post, or you can just print at full page size and fold the pages in half.
Why I plan in so much detail
It may seems excessive to some, but I since I spend so much time planning, by the time I go on the trip I basically have everything memorised of what we’re doing on each day, at what time and usually only check the piece of paper a few times (mainly for train numbers / route etc.)
I live in Australia. It takes literally 24 hours OR MORE to get to the other side of the world (sometimes a day just to get to the other side of my own country) so I need to make the most of my annual leave. I like to plan things in detail, doing extensive research is fun to me, it gets me excited for a trip and all the things I’m going to see. Some people might prefer spontaneous travel but that’s just not my personality.
Trip planning in details means:
- I always have great photos to include in my travel photobooks
- I’ve thoroughly researched each destination so I never come home thinking ‘oh I wish I’d done that’ or ‘I wish I could’ve fit that in but I didn’t allow enough days in that city’
- I know exactly what I want to see so I never miss out on anything
- I’m always at attractions during opening time when it’s less busy
- With the exception of things like exact train numbers, I usually have the entire itinerary memorised before the trip since I’ve reviewed and edited the itinerary so many times – it makes it much more efficient as I’m not Googling various options of how to get from A to B on the go
- If I need to change something on the fly due to weather I can shuffle things around

If you’d like a copy of this template, it’s available in my online store and my Etsy shop.
More travel planning
- My all time favorite trip planning tool: Visit a City
- Travel Planning: 50 Things to consider when planning an itinerary
- Travel Planning: How to choose a hotel (my step by step process)
- Visit a City versus Google My Maps: which is better for visually planning your travel itinerary
Found this post helpful? Pin it!


Great post! I love how you’ve broken down your process for planning travel itineraries using Microsoft Word. The template you shared looks super practical and user-friendly. I can’t wait to try it out for my next trip!
I am like you. I plan it all out as much as possible and have it all printed out in a folder to take with me.