
How I plan and make travel photobooks (plus download my workflow printable)
I love traveling and make a photobook when I get home. I take thousands of photos while travelling so making a photobook is quite an overwhelming task! Here is the process I use:
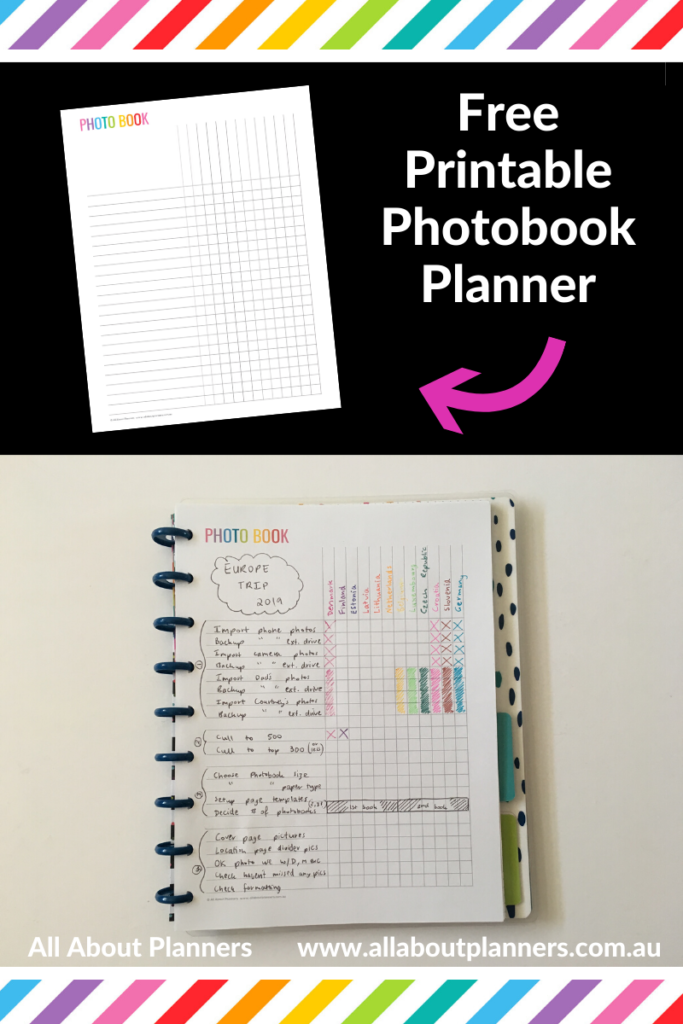
I made this printable in Photoshop. If you’d like to download the template for free, click here (existing subscribers can login here).
I go into more detail about the steps to make a photobook below, first a few things you should consider & some tips if you want to make a Photobook.
Inspiration & Planning
First things first, before you even start a photobook, get some inspiration. I’d seen plenty of photobooks but it was only after seeing all of my next door neighbours photobooks from their trips – big and small books, matt paper and glossy, scrapbooking / journal / diary style versus just a book with photos only, that I had quite a few ideas of things I did and didn’t want to incorporate into my Photobooks. I also took photos of the layouts I really liked to keep for later. Google was also a help for page layout ideas.
Next I sketched out some layouts. I started with some mini sketches in one of my Happy Notes… And then pinched some A3 size paper from work so I could sketch it up life size.
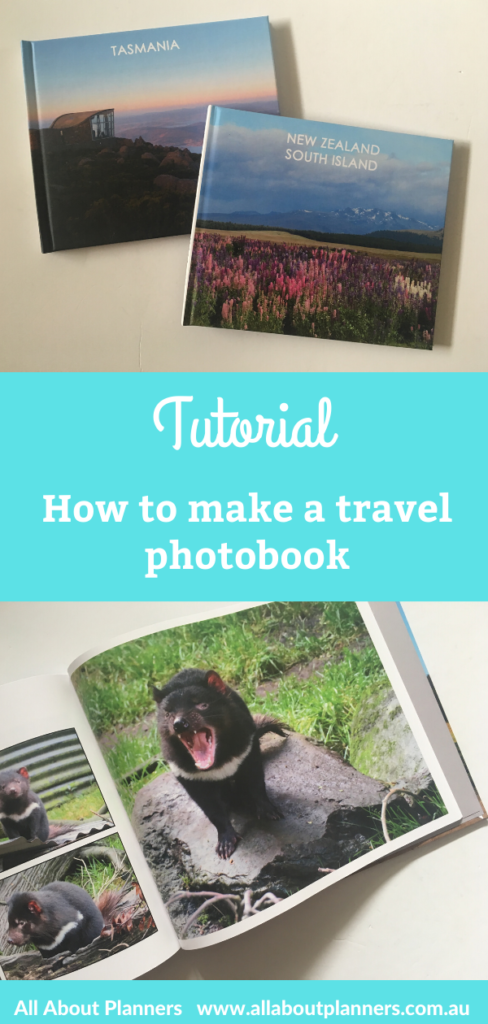
As for the page size, I decided I wanted around A4 page size for smaller, ‘local’ trips (e.g. around Australia, New Zealand) and bigger page size for overseas holidays where I take more photos (America, Canada, Europe etc).
I’m currently working on photobooks from my trips to Europe. I deliberately started with the photobooks for the small 10 day trips as there was about a fifth of the amount of photos I took in Europe – much less overwhelming! I also wanted to start with the destinations that weren’t as good so I could pick up any things to improve on for my next photobooks.
Some of the things I’ve learned from doing a few photobooks which you might want to consider for your own photobooks
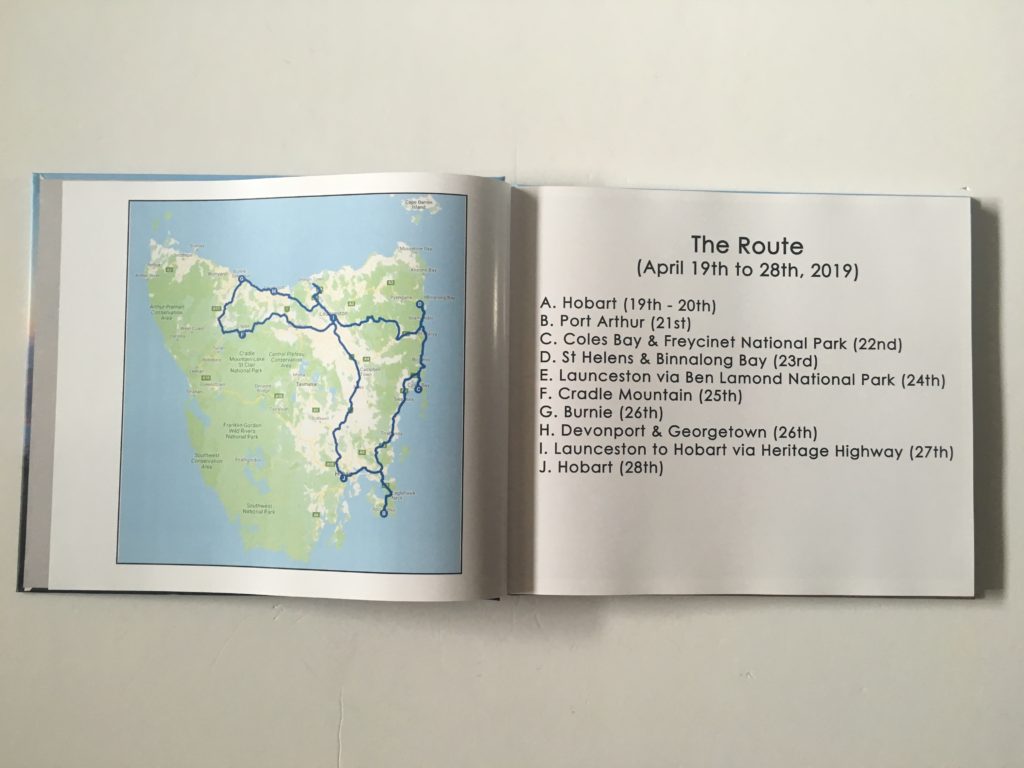
- I now include a map that I make in Google Maps, see here) where I plot the route we drove
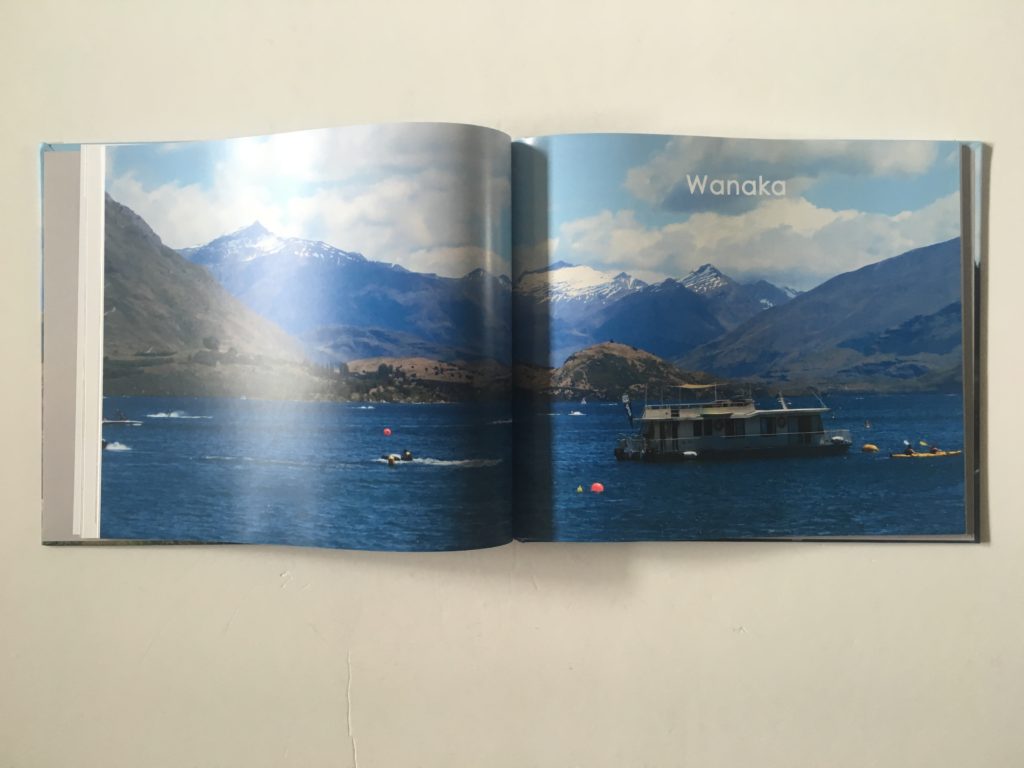
- I like borders around all photos except full page photos
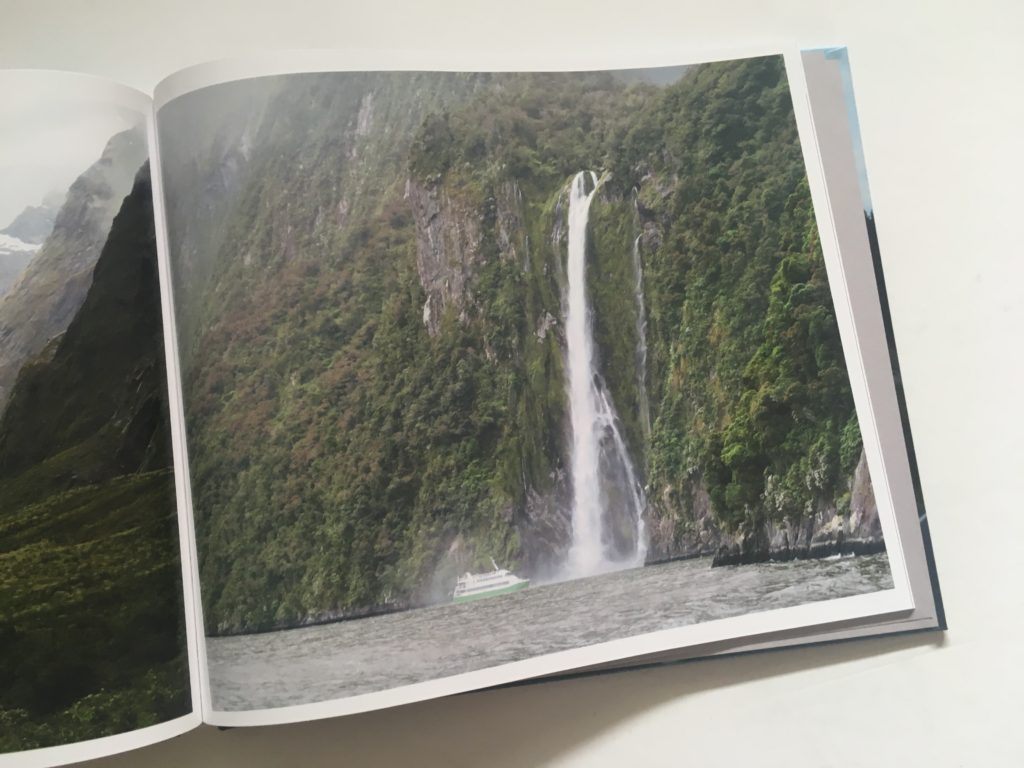
- I like when full page photos print right to the edge of the page with no white space borders
- I like using font style Centutry gothic in black text, unless it would blend too much e..g a dark photo in which case I use white
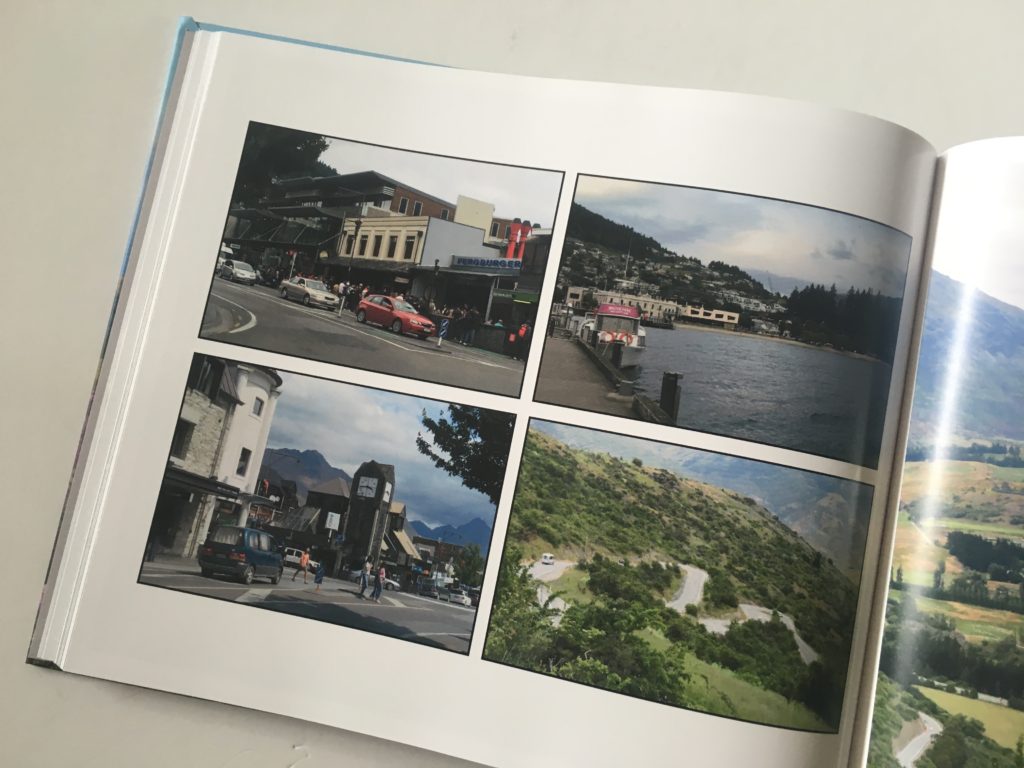
- For a small size photobook I include no more than 4 photos per page
- I’m going to do a photo collage for iconic things like the Eiffel tower (you know those instances where you have like 50 good photos of the same thing and can’t part with any of them)
- Avoid using iPhone photos for full page spreads. The print quality of the photobooks is good, but iPhone photos can be a bit grainy at full page size
Where I get my Photobooks printed
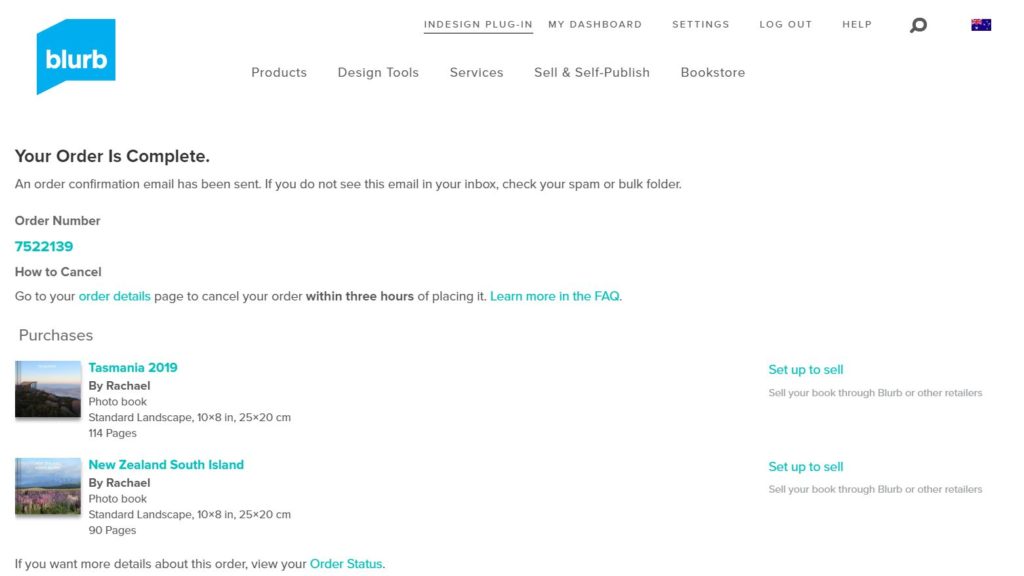
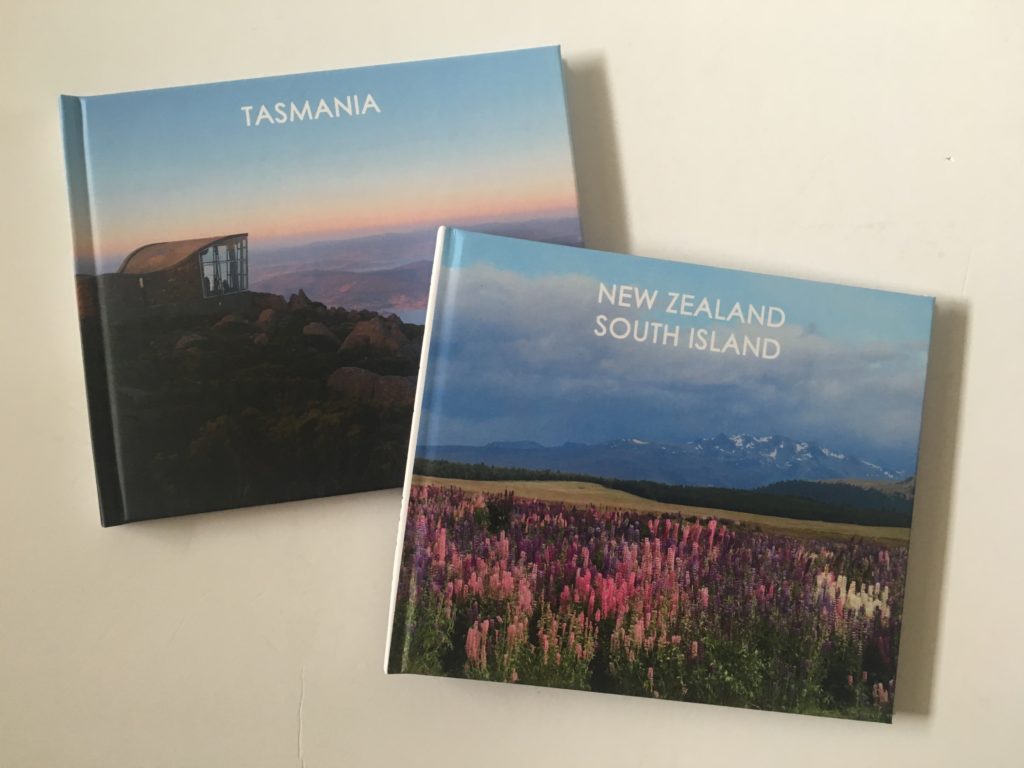
Blurb. There are many companies that can print decent photobooks for you. The company I use in Blurb. This is not a sponsored post! After seeing all of my neighbours photobooks I really like the quality. I made my first photobook with Blurb and was happy with it.
I made another second book where the image quality wasn’t as good – the images had vertical streaks (like it was the end of the print run or the pages got stuck on the rollers). I contacted them about it. They replied within 24hrs and re-printed and re-shipped the planner to me for free. This second print run was better so I will be using them for the rest of the photobooks I have left to make!
Cost of printing a Photobook
Sign up for their mailing list – they send out a coupon once a month or once every other month. They send out coupons so often, I’d never pay full price. There’s usually a discount if you order 3 or 4 copies of the same book. Maybe ideal for some but I usually only need 2 copies.
My Current Process
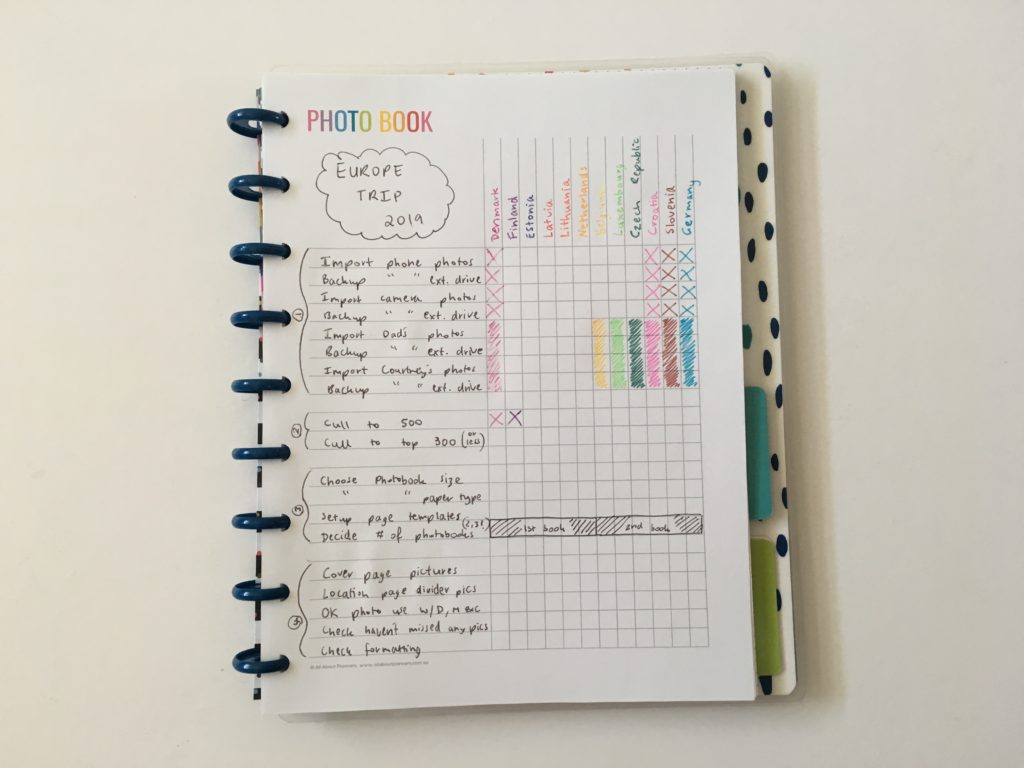
I’ve now honed my process, these are the steps I take. Remember if you want to create your own workflow (or copy mine), download the free printable here.
Step 1: Import Photos
I import all of the photos from:
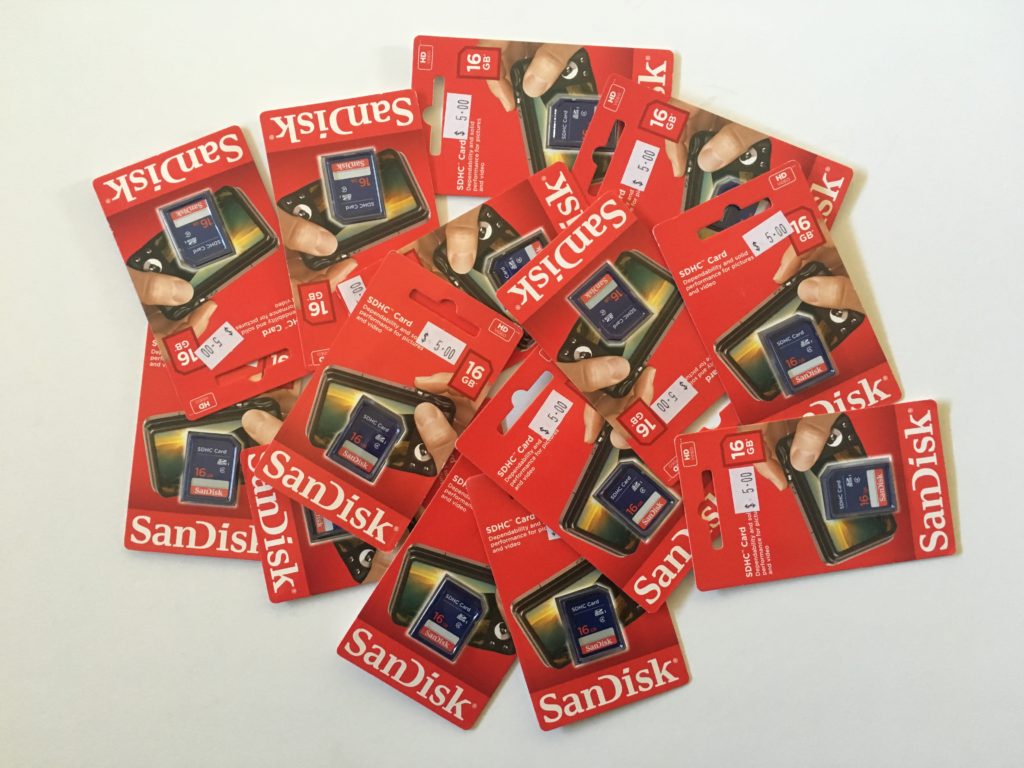
- The various SD cards with photos I’ve taken on my camera
- My iPhone
- Whoever I’m travelling with’s camera
- Whoever I’m travelling with’s iPhone
I do like to take copies of other people’s photos as yes there may be some duplicates, but they may have photos they took of you, they may have better lighting / camera settings etc.
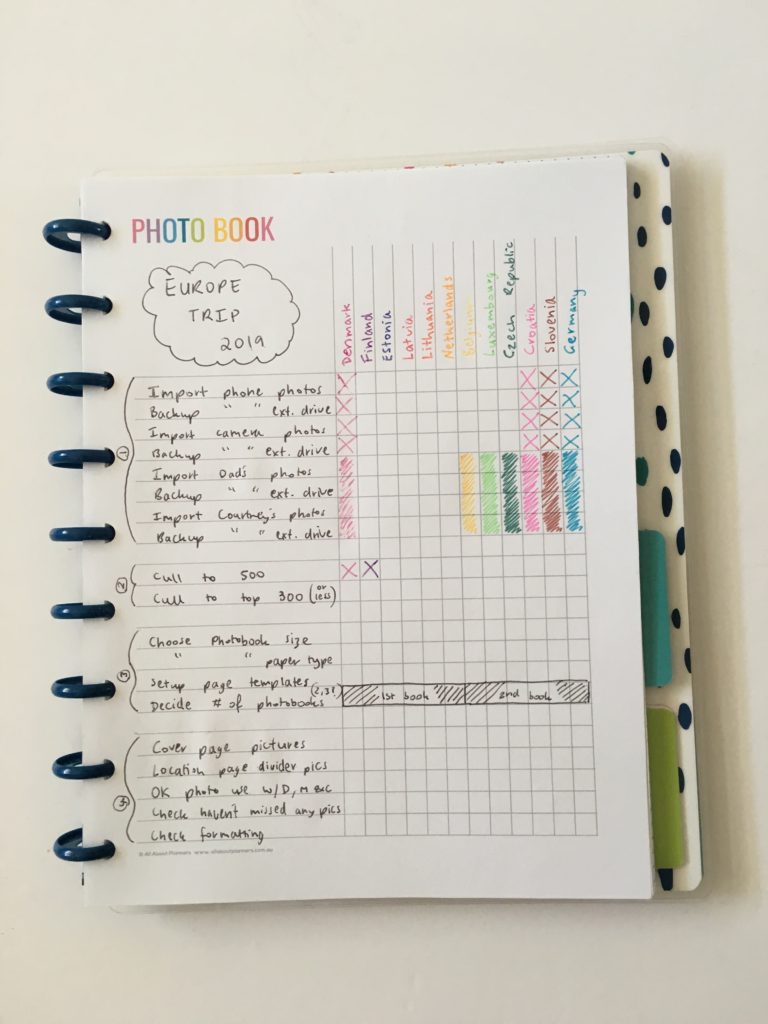
I organize all of my SD cards by location using my DYMO label maker and some small cello bags. For big trips e..g Europe I try not to have more than 3 countries per SD card or around 1 – 2 weeks worth of photos. Just in case the SD card is lost or gets stolen, damaged etc. It also makes it easier to sort photos i.e. half of 1 country isn’t on another SD card.
Can never have too many SD cards!
Step 2: Backup Photos
After I’ve imported all of the photos onto my computer I do a backup to TWO external harddrives. I use a WD harddrive as my main backup and a Seagate harddrive as my backup. I prefer used the WD harddrives. I’ve had 2 Seagate harddrives corrupt on me so won’t be buying anymore in the future.
I don’t like backing things up to the cloud or using online storage as I’m never really sure if the company can access / someone steal it etc.
Step 3: Cull Photos
The hardest and most time-consuming part!
Depending on the size of the trip I’ll usually do 10 – 15 minutes per day over a week or 2 weeks culling photos (for my Europe trips which were 5 – 7 weeks).
For smaller trips, I’ll usually cull photos as I’m making the book i.e. I might take 5 photos of the same thing, pick the one I like, drag it into the photobook and drag the rest into a ‘not used’ folder.
I have these folders setup on my computer for each photobook:
Folder: LOCATION E.G. NEW ZEALAND
- Sub-Folder: Favorite photos
- Sub-Folder: Photobook used
- Sub-Folder: Other photos
- Sub-Folder: Not Using
I could probably just delete the not using photos but I have trouble deleting photos!
Step 4: Setup the Photobook
I can’t say how it works with other photobook companies but with Blurb you download their program to your computer – it’s called BookWright. They have plenty of pre-made templates in various combinations. Collage style, 3 photos per page, 4 photos, 6 photos, a mix of portrait and landscape, 1 photo per page etc. or your can also add your own.
I opted to make my own templates as I wanted a black border around all photos except for the full page size ones.
Read more: Best of Tasmania Road Trip (10 Day Self Drive Itinerary)
At the front of the photobook I like to add a point of reference / overview of the trip.
For road trips I like to add a map I make in Google Maps (see this post for a tutorial). I just used the snipping tool on my computer to get the map – surprisingly the image quality straight from the snip was quite good!
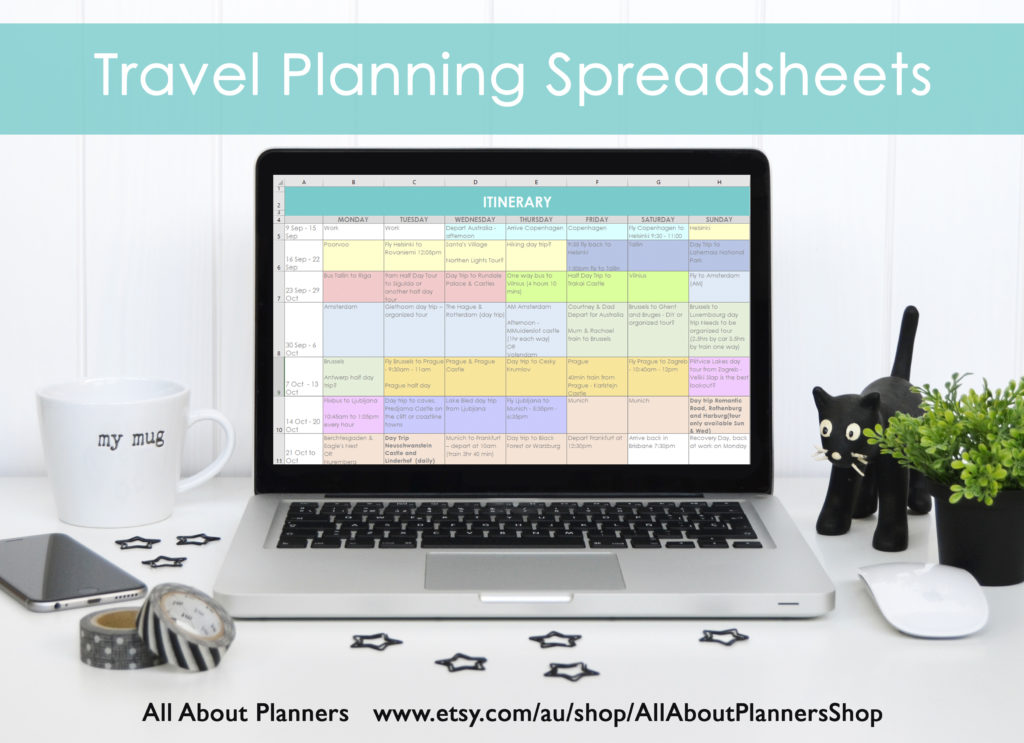
For my Europe trips, I’m going to add screenshots of the itinerary I made using my Excel travel planning spreadsheets.

Step 5: Make the Photobook
For a small, 100 page photobook like these it took me about 40 hours to make each book. However now I have my page templates set up so only need to drag and drop photos, I expect it will be a lot quicker going forward.
Step 6: Checking & Send to Print
It usually takes 2 weeks receive the photobook.
Blurb run frequent sales 30% off or more if you sign up to their mailing list. Their last Black Friday sale was 50% off!
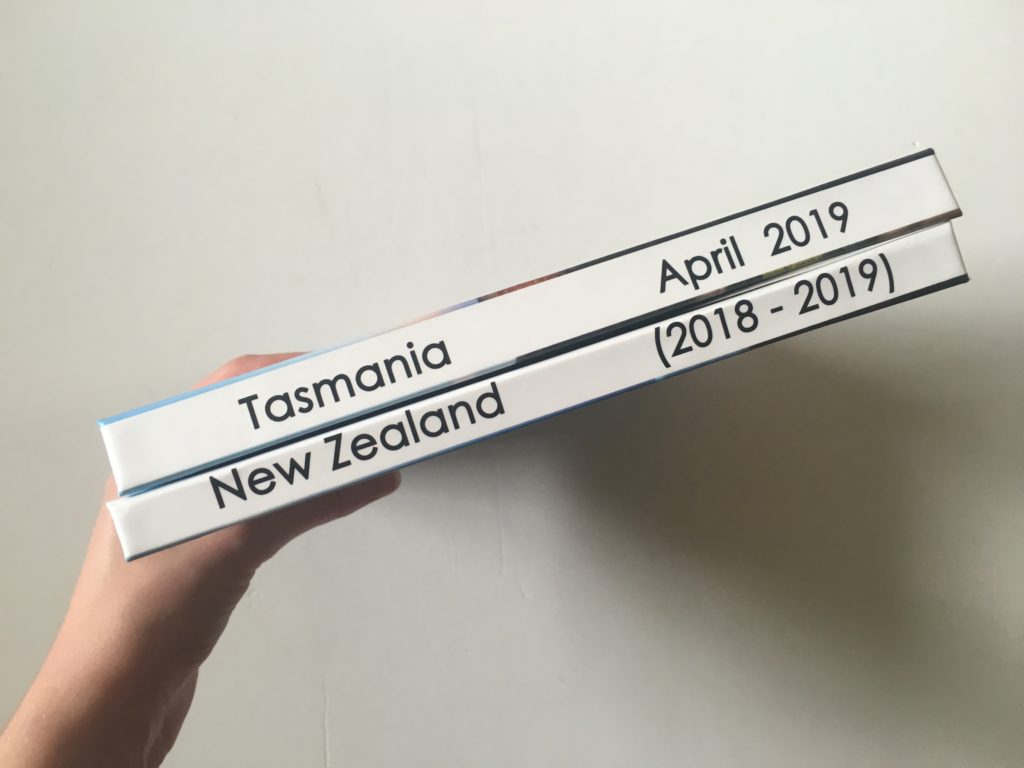
I add the location & year visited to the spine:
Don’t forget to download the printable to organize your photobook here.
Travel Planning
- Travel Planning: 50 Things to consider when planning an itinerary
- Travel Planning: How to choose a hotel (my step by step process)
- Visit a City versus Google My Maps: which is better for visually planning your travel itinerary
- 10 Methods for planning & organizing your next vacation
Found this post helpful? Pin it!
Organize your trip with my travel planning spreadsheets!
This post is so helpful that I shared it with my family AND my VIP group! I struggle with follow-thru on photobooks because of the sheer volume of digital photos available, but this structured workflow has provided a clear and realistic guide. Much appreciated. Thank you, Rachel!
Thank you for the info and printable 🙂 Looks simple yet beautiful 🙂
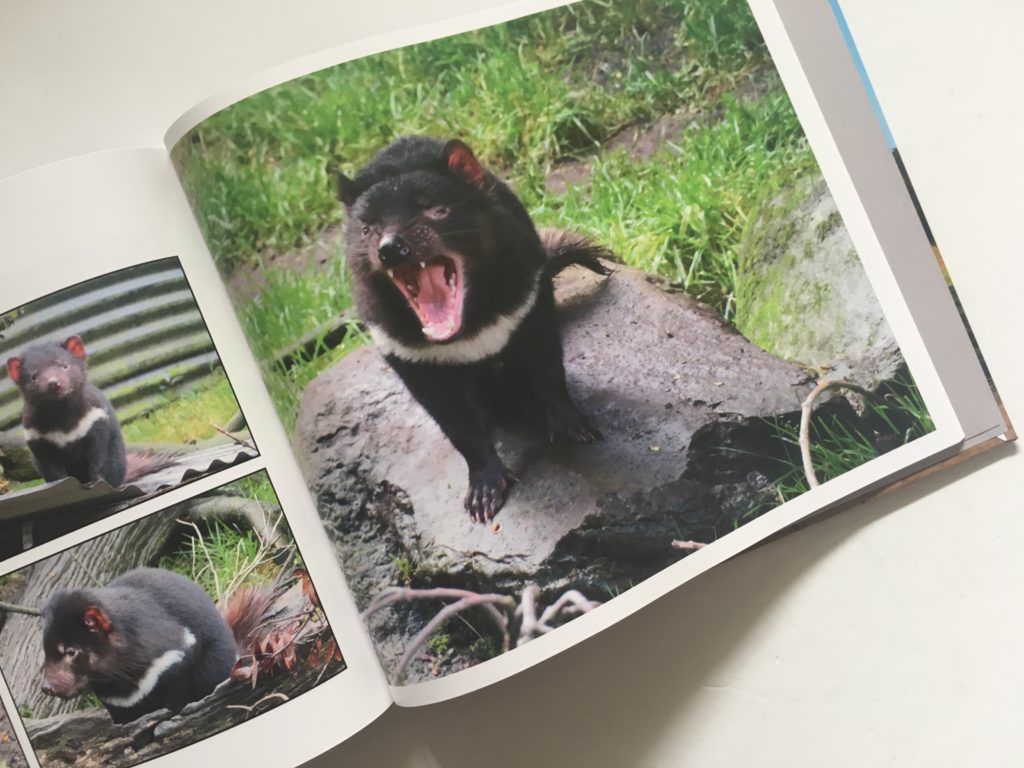
Oh my word, the photo pages of the Tasmanian Devil! I just love him! So sweet and cute on page 1 and showing the devil side on page 2.
I have never met someone like me when it comes to planners, pens, markers and lists. ( I will add quotes to mine as well). I have hid a lot of my pins on Pinterest because of the obsession I have with creating the perfect agenda. I even started this bullet journal. Which I have discovered way too many lists. ?? I’ve never loved a blog as much as yours. Also thank you from the bottom of my heart for not having a crap load of ads. Nothing is more frustrating to click on something on a blog and accidently click on one of those. I’m going to have to find a way to put you on a favorite. I did find you on YouTube. ☺