Favorite Photoshop keyboard shortcuts (plus free downloadable cheat sheet reference list)
A lot of people seem intimidated by Photoshop but there’s no reason to be! I only use around 20% of Photoshop’s tools for making printables, patterns, planner stickers, labels and party printables.
If using Photoshop is something you’ll be doing often (or if you already use it often), learning keyboard shortcuts will greatly help speed up your workflow.
There are dozens of keyboard shortcuts but these are the main ones that I use.
This post contains affiliate links. If you make a purchase after clicking one of these links I’ll receive a small commission (at no extra cost to you) in exchange for referring you.
Favorite Photoshop Keyboard Shortcuts
If you don’t have Photoshop, you can purchase and download it here (my affiliate link).
To enlarge the screen of the video, click the square icon in the bottom right hand corner of the video (it will say ‘full screen’ when you hover your mouse over the icon).

Subscribe to my YouTube channel for more planner related videos & graphic design tutorials!
Want more Photoshop tutorials? Enroll in the free graphic design video tutorials library!
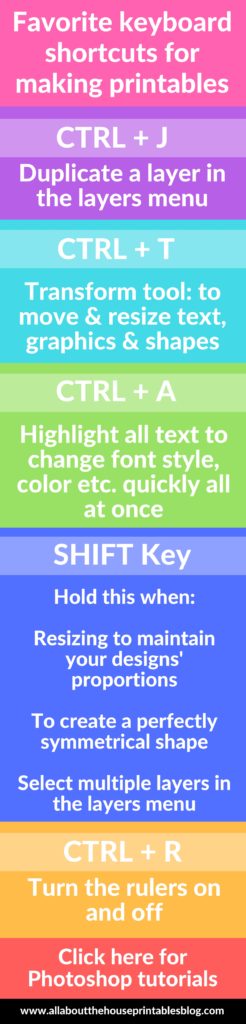
CTRL + J
Click on a layer in the layers menu then press CTRL and J to duplicate. Keep pressing these keys to create multiple copies. You can rename the duplicate layers by double left clicking on the name in the layers menu.
Related: Free graphic design video tutorials library
CTRL + R
This will turn the ruler guides off and on. To bring a marker onto the page, left click on the ruler and drag your mouse (down to your design if you’re using the top ruler and to the right if you’re using the side ruler). The ruler tool is good for setting up page margins, aligning elements and ensuring things are perfectly straight.
Click here for a video tutorial on how to use the rulers tool.
SHIFT KEY
Hold this when:
- Resizing shapes, graphics and/or text to maintain their proportions (i.e. prevent them from getting squished), and to prevent a square from becoming a rectangle
- To create a perfectly symmetrical shape (e.g. a perfect circle or square)
- To select multiple layers in the layers menu. If you have a lot of layers in your design that you want to change the size of all at once, left click on the bottom layer in the layers menu, press the SHIFT key then left click on the top layer. This will select all of the layers and you can now resize them all at once
CTRL + T
This will enable the transform tool. With this tool you can resize elements. If you have multiple layers selected in the layers menu you can resize everything at once and save a lot of time. Holding the SHIFT key will also ensure the shape is resized proportionally (e.g. your square will stay a square and not become a rectangle).
This shortcut will also bring up the menu you can use to place shapes, graphics, photos etc. on an angle
Related: How to Make Printables in Photoshop
CTRL + A
Press these keys to highlight / select all text to change the font style, color, size etc. quickly and easily all at the same time.
CTRL
To select individual layers in the layers menu. Press CTRL then left click and select all the layers you want to modify e.g. resize multiple layers to convert a printable from letter size to A5.
Click here to download the cheat sheet reference list!
Pin for later:

Related tutorials:
- How to use shapes in Photoshop
- How to create a new file in Photoshop and how to resize (without distorting!)
- How to use the color tools in Photoshop
- How to color match anything in Photoshop (step by step tutorial)
View all Photoshop tutorials here.
Want to put these keyboard shortcuts into action? Click here!