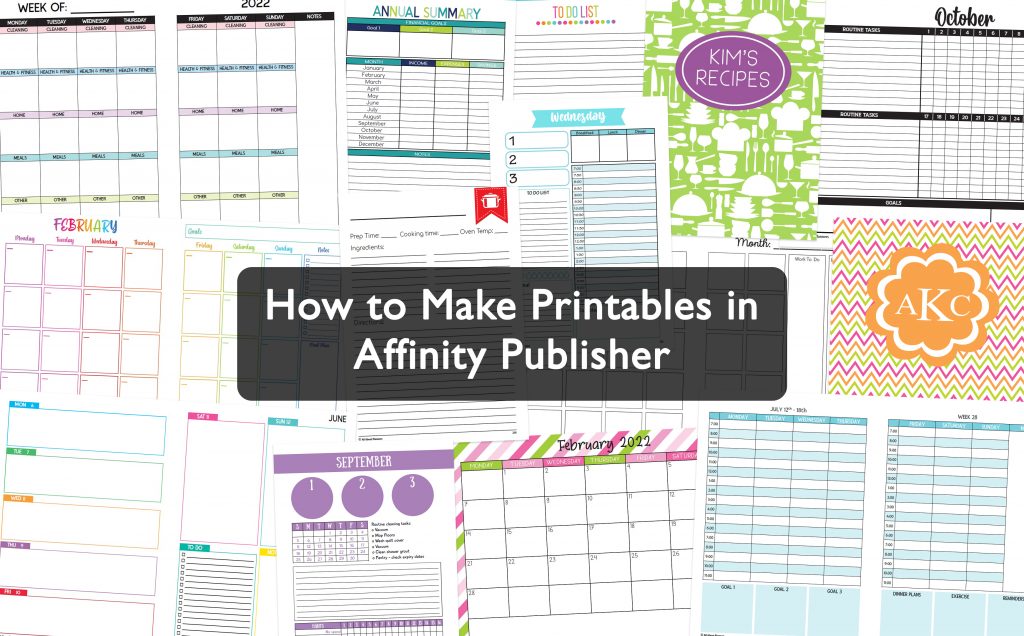
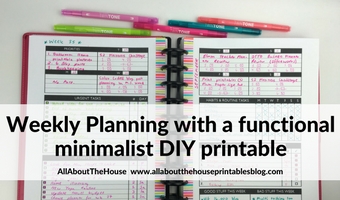
Making printables in Affinity Publisher: How to set up your document and choose page size
Following on from yesterday’s post, here is a sample tutorial from the course.
In this video I show how to:
- Set up your document
- Recommended page margins
- Ring bound versus discbound and how this affects your margins
- What DPI to choose
- What to do if you want to use a non-standard page size e.g. if you’re making printables for the Happy Planner
Making printables in Affinity Publisher: How to set up your file and choose page size
To enlarge the screen of the video, click the square icon in the bottom right hand corner of the video (it will say ‘full screen’ when you hover your mouse over the icon).

These are the settings I use:
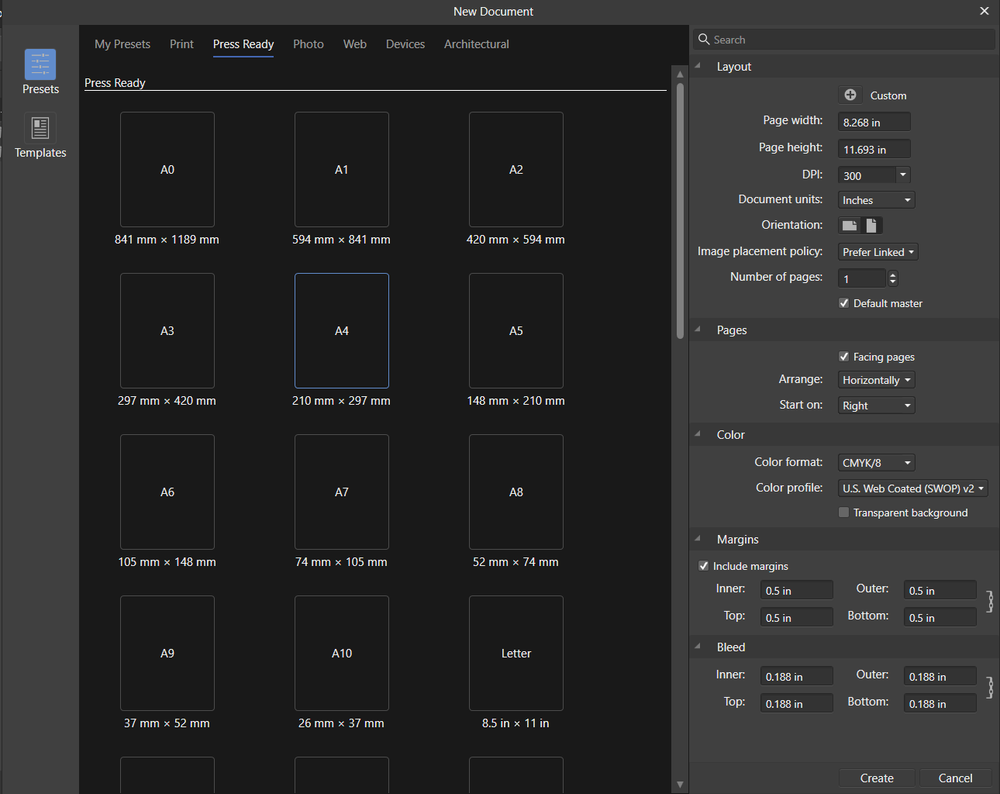
Tips for setting up your document
- Recommended margins = 0.5 inch on all sides (I use disc binding. If you want to use coil binding or a 3 ring binder, you might want to use a larger margin)
- If you’re not sure about what margins to allow, Google search the printer model’s manual e.g. Canon Pixma MG2520 printer manual and see if it has the capability to resize printables and do borderless printing
- Make sure you do a test print to check you’re happy with the margins
- I recommend PDF file format
In this post I shared why I use disc binding instead of ring binding.
Printing tips
- How to print any printable at any page size
- How to Choose a Printer (Including the best printer for printing printables and planner stickers)
- How to get rid of a white border when printing printable (borderless, no bleed, no scaling step by step video tutorial)