How to make a monogram screensaver for your phone lock screen or computer wallpaper (DIY Tutorial)
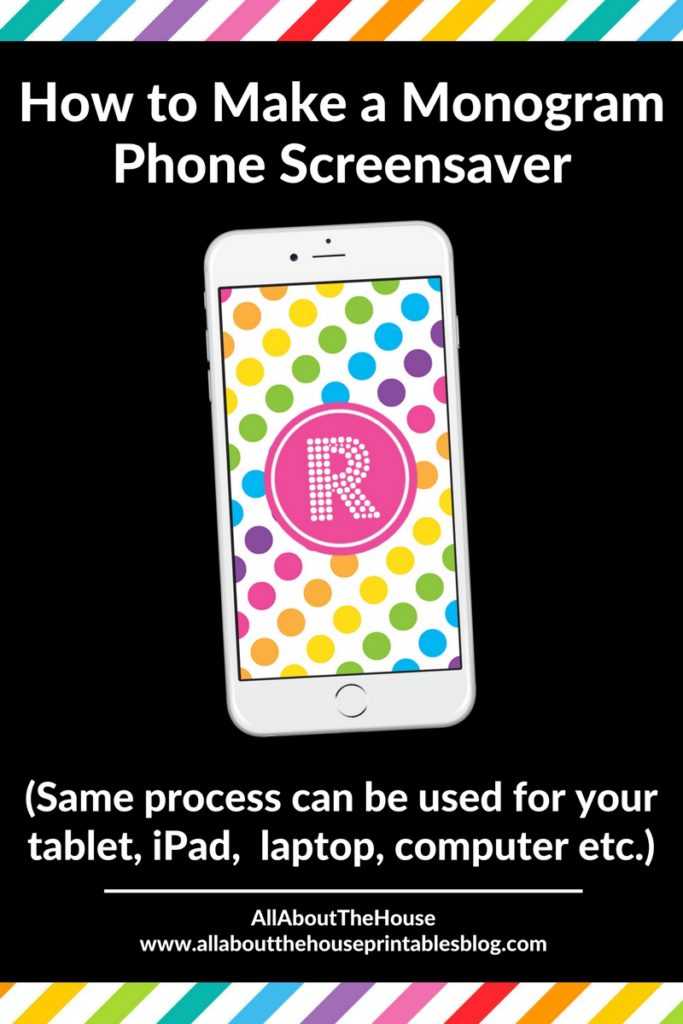
I love personalising notebooks and planners with custom monogrammed covers! So I figured, why not do the same with my phone? In this post I’m sharing a tutorial on how to make your own monogrammed phone screensaver. You could use this tutorial to make a screensaver for your tablet, iPad, laptop, computer etc.!
How to make a monogram phone screensaver
To enlarge the screen of the video, click the square icon in the bottom right hand corner of the video (it will say ‘full screen’ when you hover your mouse over the icon).

Subscribe to my YouTube channel for more planner related videos & graphic design tutorials!
I’ve also added the instructions below:
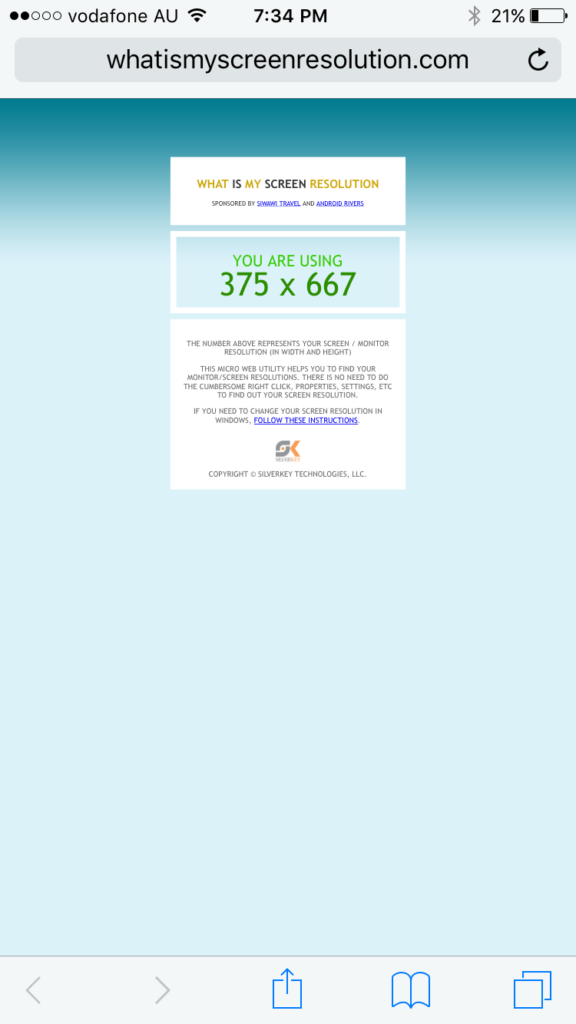
1. On your phone, go to www.whatismyscreenresolution.com and take note of the dimensions. You can take a screenshot to save for later by clicking the home button and the button at the top of your iPhone.
If you want to make a screensaver for your tablet, iPad, laptop etc. the process is the same as this tutorial.
2. Open Photoshop and create a new file that is the same size as the dimensions you found in step 1.
Related: How to download Adobe Photoshop (the software I use to make all my printables!)
3. Choose a digital paper to become the background for the wallpaper. The rainbow polka dots used in the tutorial are from this digital paper set in my graphic design resources shop, PaperCravings
4. Create a new file in Photoshop that is the size of the digital paper/pattern background that you’re using (most digital papers are 12 x 12″ although some are 8.5 x 11″ – to check what size the image is, right click the image and choose ‘properties’ it will tell you how many pixels the paper is in that menu. A 12 x 12″ digital paper is 3,600 x 3,600 pixels
5. Left click the image file from where it is saved on your computer (make sure it’s not in a zipped file folder), drag and drop it into the new Photoshop file you created in step 4.
Related: How to Open Zipped File Folders
6. Press the enter key on your keyboard to place the digital paper
7. Right click on the pattern layer in the layers menu, and choose ‘duplicate layer’ then choose the file name of the first file you created in Photoshop.
The reason we created a second file in Photoshop is to maintain the image quality. When you load an image into the iPhone size file, the image will automatically reduce to fit the width of the iPhone (so you’ll end up with a gap up the top and the bottom of the canvas). If you then increase the pattern background to fill out the space at the top and bottom, the image will become blurry and the quality won’t be very good.
8. Resize the background to whatever size you like in proportion to your template. To resize, make sure you hold down shift and drag your mouse inwards to reduce the size.
If you just want a pretty pattern background as your phone screen and don’t want to add a monogram, skip to step 13.
Adding a monogram
9. Time to add the monogram! I like to add a frame behind the monogram to make it stand out more. It’s easier to do this first and then add the text (so you can actually see the text against the background).
I prefer to use a circle frame but you could also use a square, rectangle, oval, heart or any other shape you like! If you right click on the shape menu in Photoshop it’ll open a secondary menu – from there you can choose the shape you wish to use.
I did an entire tutorial on how to use the shapes menu in Photoshop if you haven’t used it before – it’s a quick tutorial I recommend you watch!
To create a perfectly proportioned shape, hold down the shift key while you drag your mouse outwards or if you left click a menu will pop up where you can enter the dimensions you want your shape to be. If you use a circle like I did, I like to leave a bit of space on the left and right so you can still see the pattern.
I like to color match the circle to one of the colors used in the pattern. To do this, click the eye dropper tool, then click the color on the pattern that you want the shape to fill with. You can click different colors and experiment with how they look to choose the right one.
Related: How to color match anything in Photoshop (step by step tutorial)
10. Add an inner border
This step is optional but I prefer to add a white inner border to the circle. To make a hollow circle – turn off the fill color and turn on the stroke (border) in the shapes menu. You’ll want to make the color of the stroke white. You can also do a lighter shade of the frame background if you prefer.
11. Add your text.
Go to the text tool, choose a font and type your monogram. I used R as my first name is Rachael.
The font I used is called Budmo Jiggler – you can download it for free from Dafont.
If you haven’t downloaded a font before, I shared a tutorial here: how to download and install custom fonts on your computer
Simple sans serif block style fonts work best for single letter monograms (e.g. Times New Roman). You can do a 3 letter monogram if you prefer (I’ll be posting a tutorial in the future, make sure you subscribe if you haven’t already to be notified when that post is published).
12. Centre everything.
Hold down CTRL button on your keyboard and select these layers in the layers menu:
- Frame for your monogram
- Inner border
- Text
Now go to the marqeuee tool (the square with the dashed border icon), left click off the edge of your canvas and drag until you have a dashed border appearing on all sides / edges of the design.
Now go to the align menu and choose ‘centre horizontally’ and ‘centre vertically’ this will move everything into the middle.
Press CTRL and D on your keyboard to de-select.
13. Adjust as needed
If you decide that the frame and monogram look too big for the template, press CTRL and select those layers from the layers menu again.
Now press CTRL and T on your keyboard.
Left click and drag your mouse inwards. Make sure you hold down the shift key so everything reduces in size proportionally.
Re-centre everything like we did in step 12.
Some fonts may push the letter further to the left or the right and appear off centered. If you want to tweak it, just select the text layer and press the arrow keys on your keyboard until you’re happy with it’s position.

How to set the image as your phone lock screen
I have an iPhone 6S, the steps may be slightly different if you have a different brand phone.
14. Email yourself the saved JPG of your lock screen and save the file to the photos on your phone
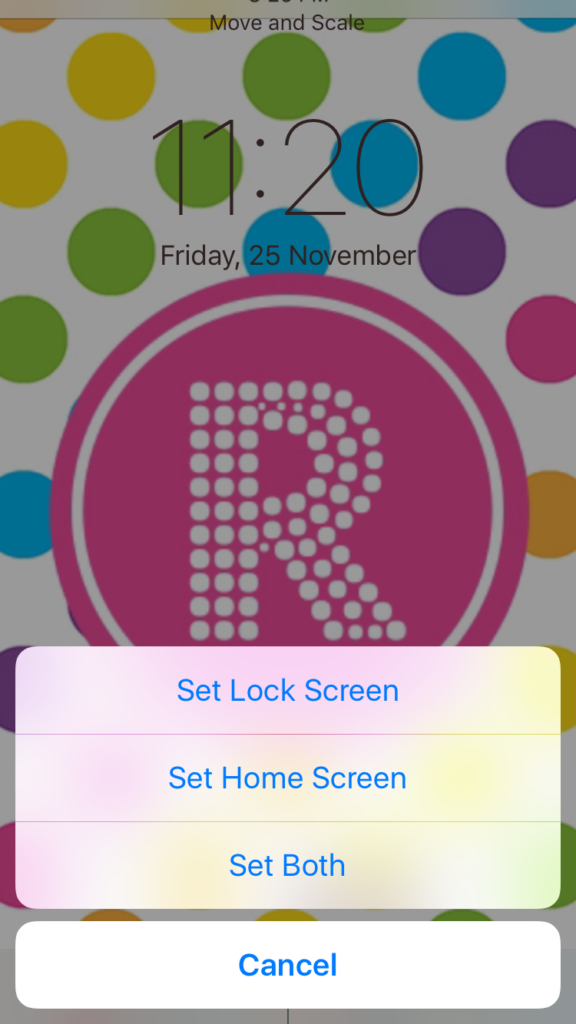
15. Click on the image and choose either ‘set lock screen’ or ‘set home screen’ (or ‘set both’)
That’s it! 🙂
Make sure you save the Photoshop file so you can come back later to make a new design. Now that you have the template set up – it’s quick and easy to switch out the pattern for a new one or change the color or text in a matter of minutes.
Be sure to pin this post so you can come back to the tutorial if you forget a step!
Liked this tutorial? You may also be interested in:
- How to make a 1, 2 or 3 letter monogram in Microsoft Word (video tutorial)
- How to make a monogram desktop wallpaper – you can also download the wallpaper
- Free nautical computer/laptop wallpaper/screensaver
- How to Set an Image as a Desktop Background/Wallpaper
- How to make a personalised screensaver/computer or laptop wallpaper/desktop background
Want more tutorials like this? Click here to learn how to make your own printables!