Bullet journal vertical weekly spread using the Zonon stencils
I haven’t used stencils to create a weekly spread in a while, so decided this week it was time to use some. I don’t normally do vertical weekly spreads but the layout seemed like it would work for what I had going on, so let me show you how it turned out.
This post contains affiliate links. If you make a purchase after clicking one of these links I’ll receive a small commission in exchange for referring you (at no extra cost to you).
Before the Pen
Before I show you the finished spread, I wanted to show it blank. Because when I look at blank spreads like these with no dates, no lists, no personalisation to suit the person that created it, it gets me thinking about how I could customise a layout like this to suit my own needs.


After the Pen
Now… Do you notice anything missing on my weekly spread?

I skipped Monday.
I had to go to Cairns for the day for work which means an awfully early 4:30am wakeup and not getting back home until 9pm. So the whole day is a complete write off. I figured well it’s my weekly spread, and there’s no set rules, so why create a box that takes up space when I don’t even need it? So I just skipped Monday altogether.
I decided I wanted more color, so outlined the borders for each section.

I wanted more room on the weekend so made 2 boxes for Saturday and Sunday so I could have AM and PM boxes.

No need to stress if a stencil isn’t sized perfectly for what you need. Stencils should be a tool that helps draw up your weekly spreads. You can use them exactly as you see them, or take inspiration and use parts of them to create your own layouts you might not have otherwise thought of. I wanted a slightly longer box for my miscellaneous list, so I just ruled half with the stencil, moved the stencil down the page and finished the other half to create a longer box.
On my 10th attempt putting an offer on a property I finally got it (!) so now it’s my second time moving in 3 months (after I had to move to another rental). I created a moving to do list and a blog to do list on my weekly spread. I have separate master task lists for just about everything, and then each week I just pick a few things off that list to work on so it doesn’t get overwhelming.
The circles for the checklist were from the stencils I used, and were aligned to suit 5mm spacing between the dot grid. Some notebooks have 5mm including the dot grid. If that’s the case I just move the stencil slightly down the page so that each checklist aligns with the grid.
Related post: Printable moving planner
Supplies Used
- Zonon A5 stencils from Amazon (stencils number 2 and 7 from this set)
- Pilot Frixion erasable pen (0.7mm)
- Otto ‘The Dot Journal’ Notebook from Officeworks (review in this post)
- Zebra Clickart 12 pack of retractable rainbow pens (that I got in Japan!) See my Japan stationery haul in this post.
- Recollections everyday basics stickers for the house icon
- Date / number stickers from KHD Stickers

The Zebra Clickart pens come in different colorways (rainbow, light colors, dark colors and a jumbo pack of 48!), they’d pair well in a spread with the colors of the Zebra Mildliners.
I used the Zonon A5 stencils from Amazon (stencils number 2 and 7 from this set), which unfortunately looks like it’s no longer sold. But there are so many stencils to choose from on Amazon these days and there are plenty with similar designs to the ones I used. I’ve seen plenty where, instead of the square above the rectangles with rounded corners, there might be a flag banner and square corners. There are dozens of similar brands with the same stencil material, so do some shopping and pick a set that has stencils that work for you!
I shared some more of my favorite stencils in this post and this post.
Tip: since a lot of stencils have similar designs, I use washi tape to color code the stencil collections to make it easier to find what I need

Related post: Quickly create monthly spreads in your bullet journal: These are all the stencils you need
Would I use this spread again?
Yes, This spread is similar to one I created with the Speedy Stencils and Zebra Mildliner highlighters that you can read about here.
I like using stencils as it really speeds up drawing up the spread. I like using the shapes on the stencils to make my own spread, moreso than exactly following the ‘pre-created’ layouts on the stencils.
Bullet journal stencils are super cheap and can be used over and over again, without them getting damaged (you only need to wipe off excess pen ink). I don’t think I’ll ever need to throw out and replace the stencils.
Yes you can just draw up lines to create spreads, but stencils give a different look, with angles, or dashed or dotted lines – just little somethings – that you might not consider if you weren’t using them. Stencils always help me get out of a creative rut and are also a great tool if you’re new to bullet journaling.
Related post: Archer and Olive Dot Grid Planner Stencil Review (including example spreads)
More bullet journal spreads
- Beyond bullets book review (inspiration for bullet journal layouts)
- 30 Minimalist Bullet Journal Weekly Spreads (set up the week in 10 minutes or less)
- 15 Quick and Simple Vertical Bullet Journal Weekly Spreads
Planning tips
- Planner pens I don’t recommend (prone to smearing, bleed through etc.)
- How to color code your planner for school using pens
- How to make printables in Microsoft Excel (step by step tutorials)
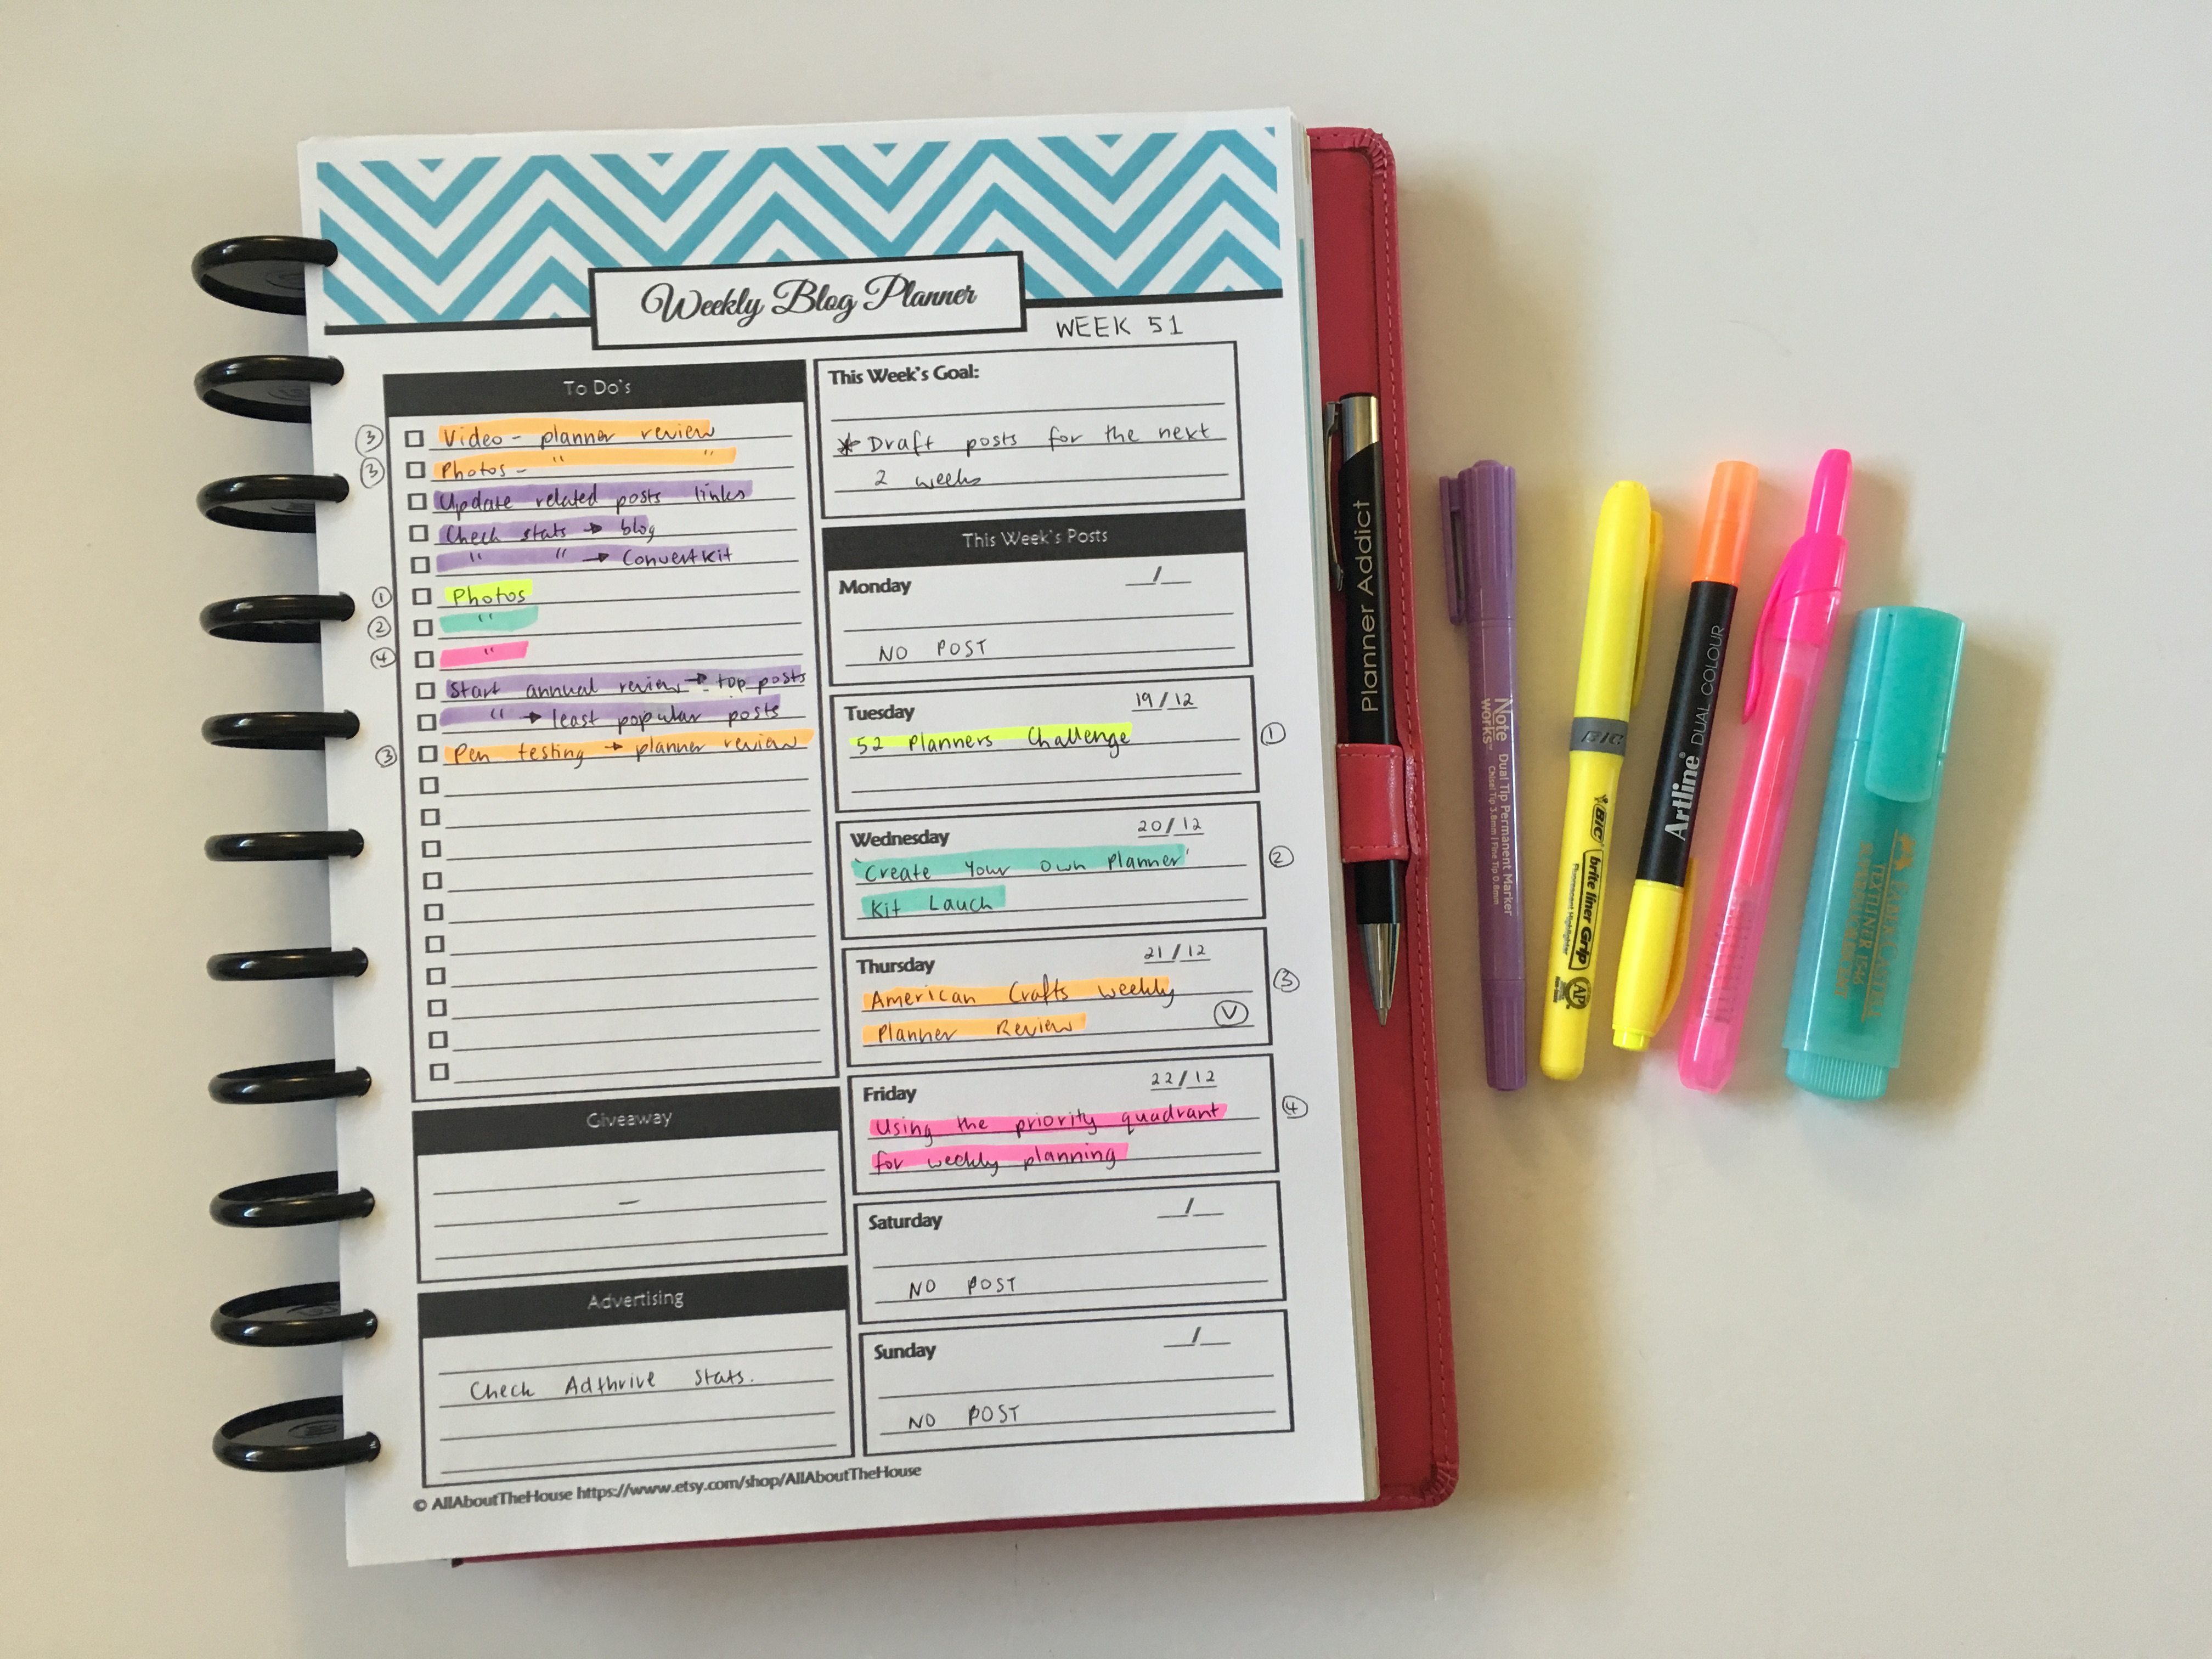
Tired of drawing up weekly spreads? This printable bundle of 52 different 1 page weekly planners (you can mix and match to create 2 page spreads if you prefer), is available in my Etsy shop and online store. It comes in US letter size and Happy Planner classic page size.

Liked this post? Pin it!