Converting a vertical hourly layout into a categories layout using the Lucky Life Tools Planner
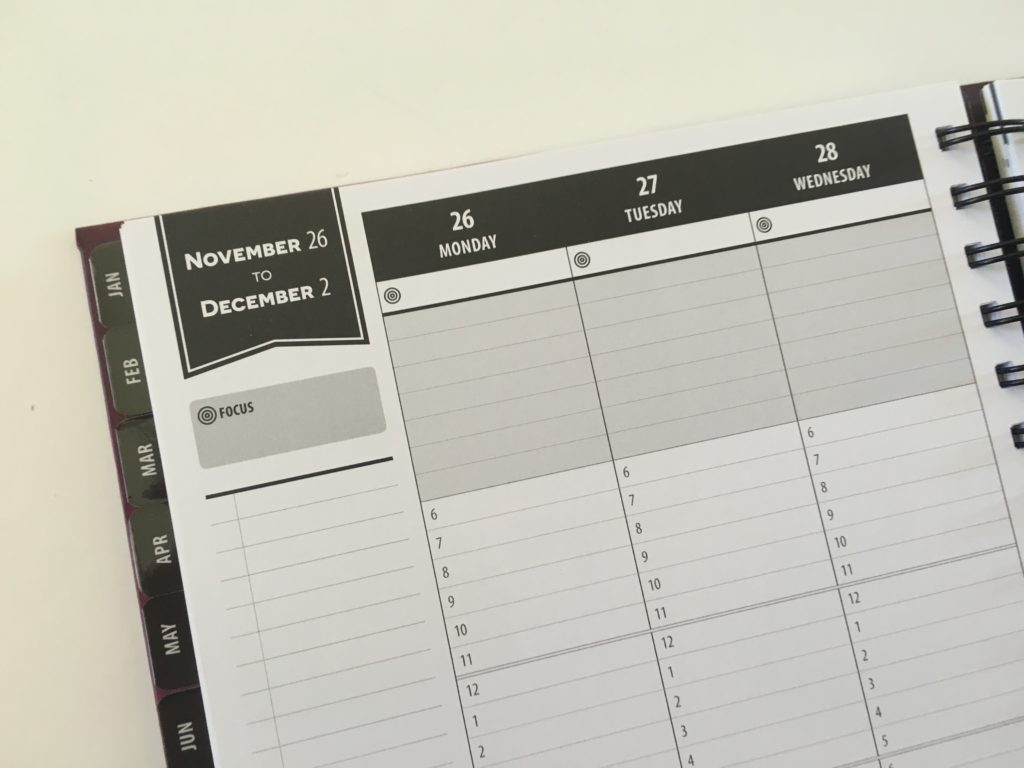
The Lucky Life Tools planner is a vertical hourly planner which I would normally avoid (#teamhorizontal)… however, the way the planner is structured means you can also convert it into a categories layout (using each row for different things).
Before the Pen
See my full review of the planner in this post.
After the Pen
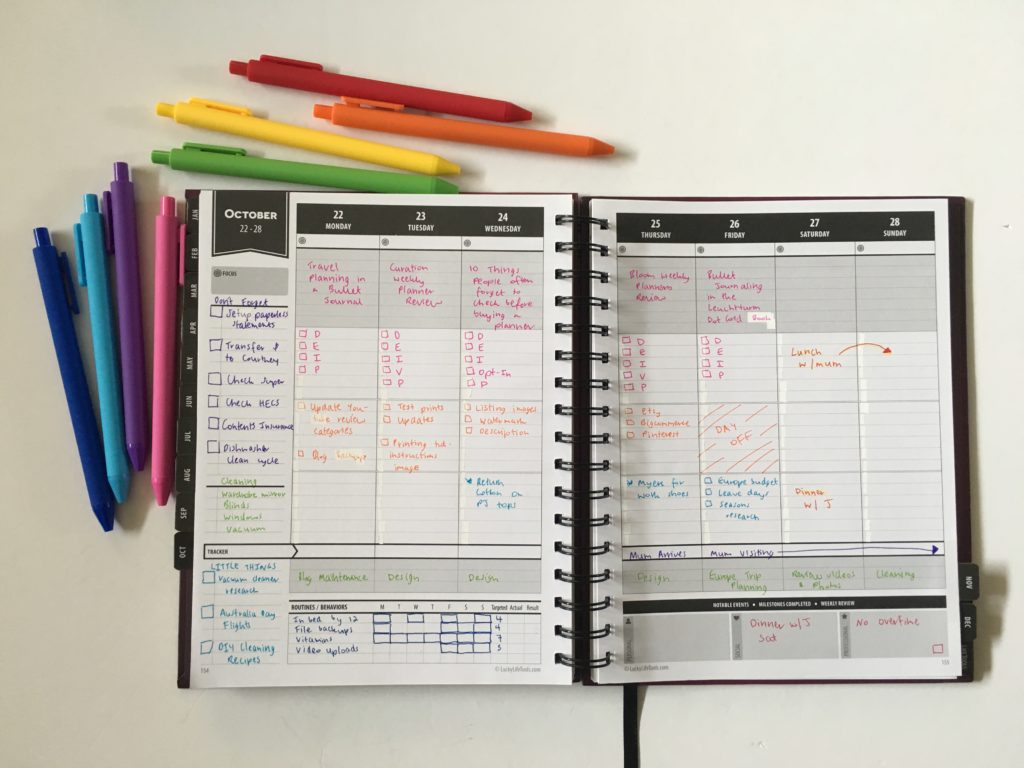
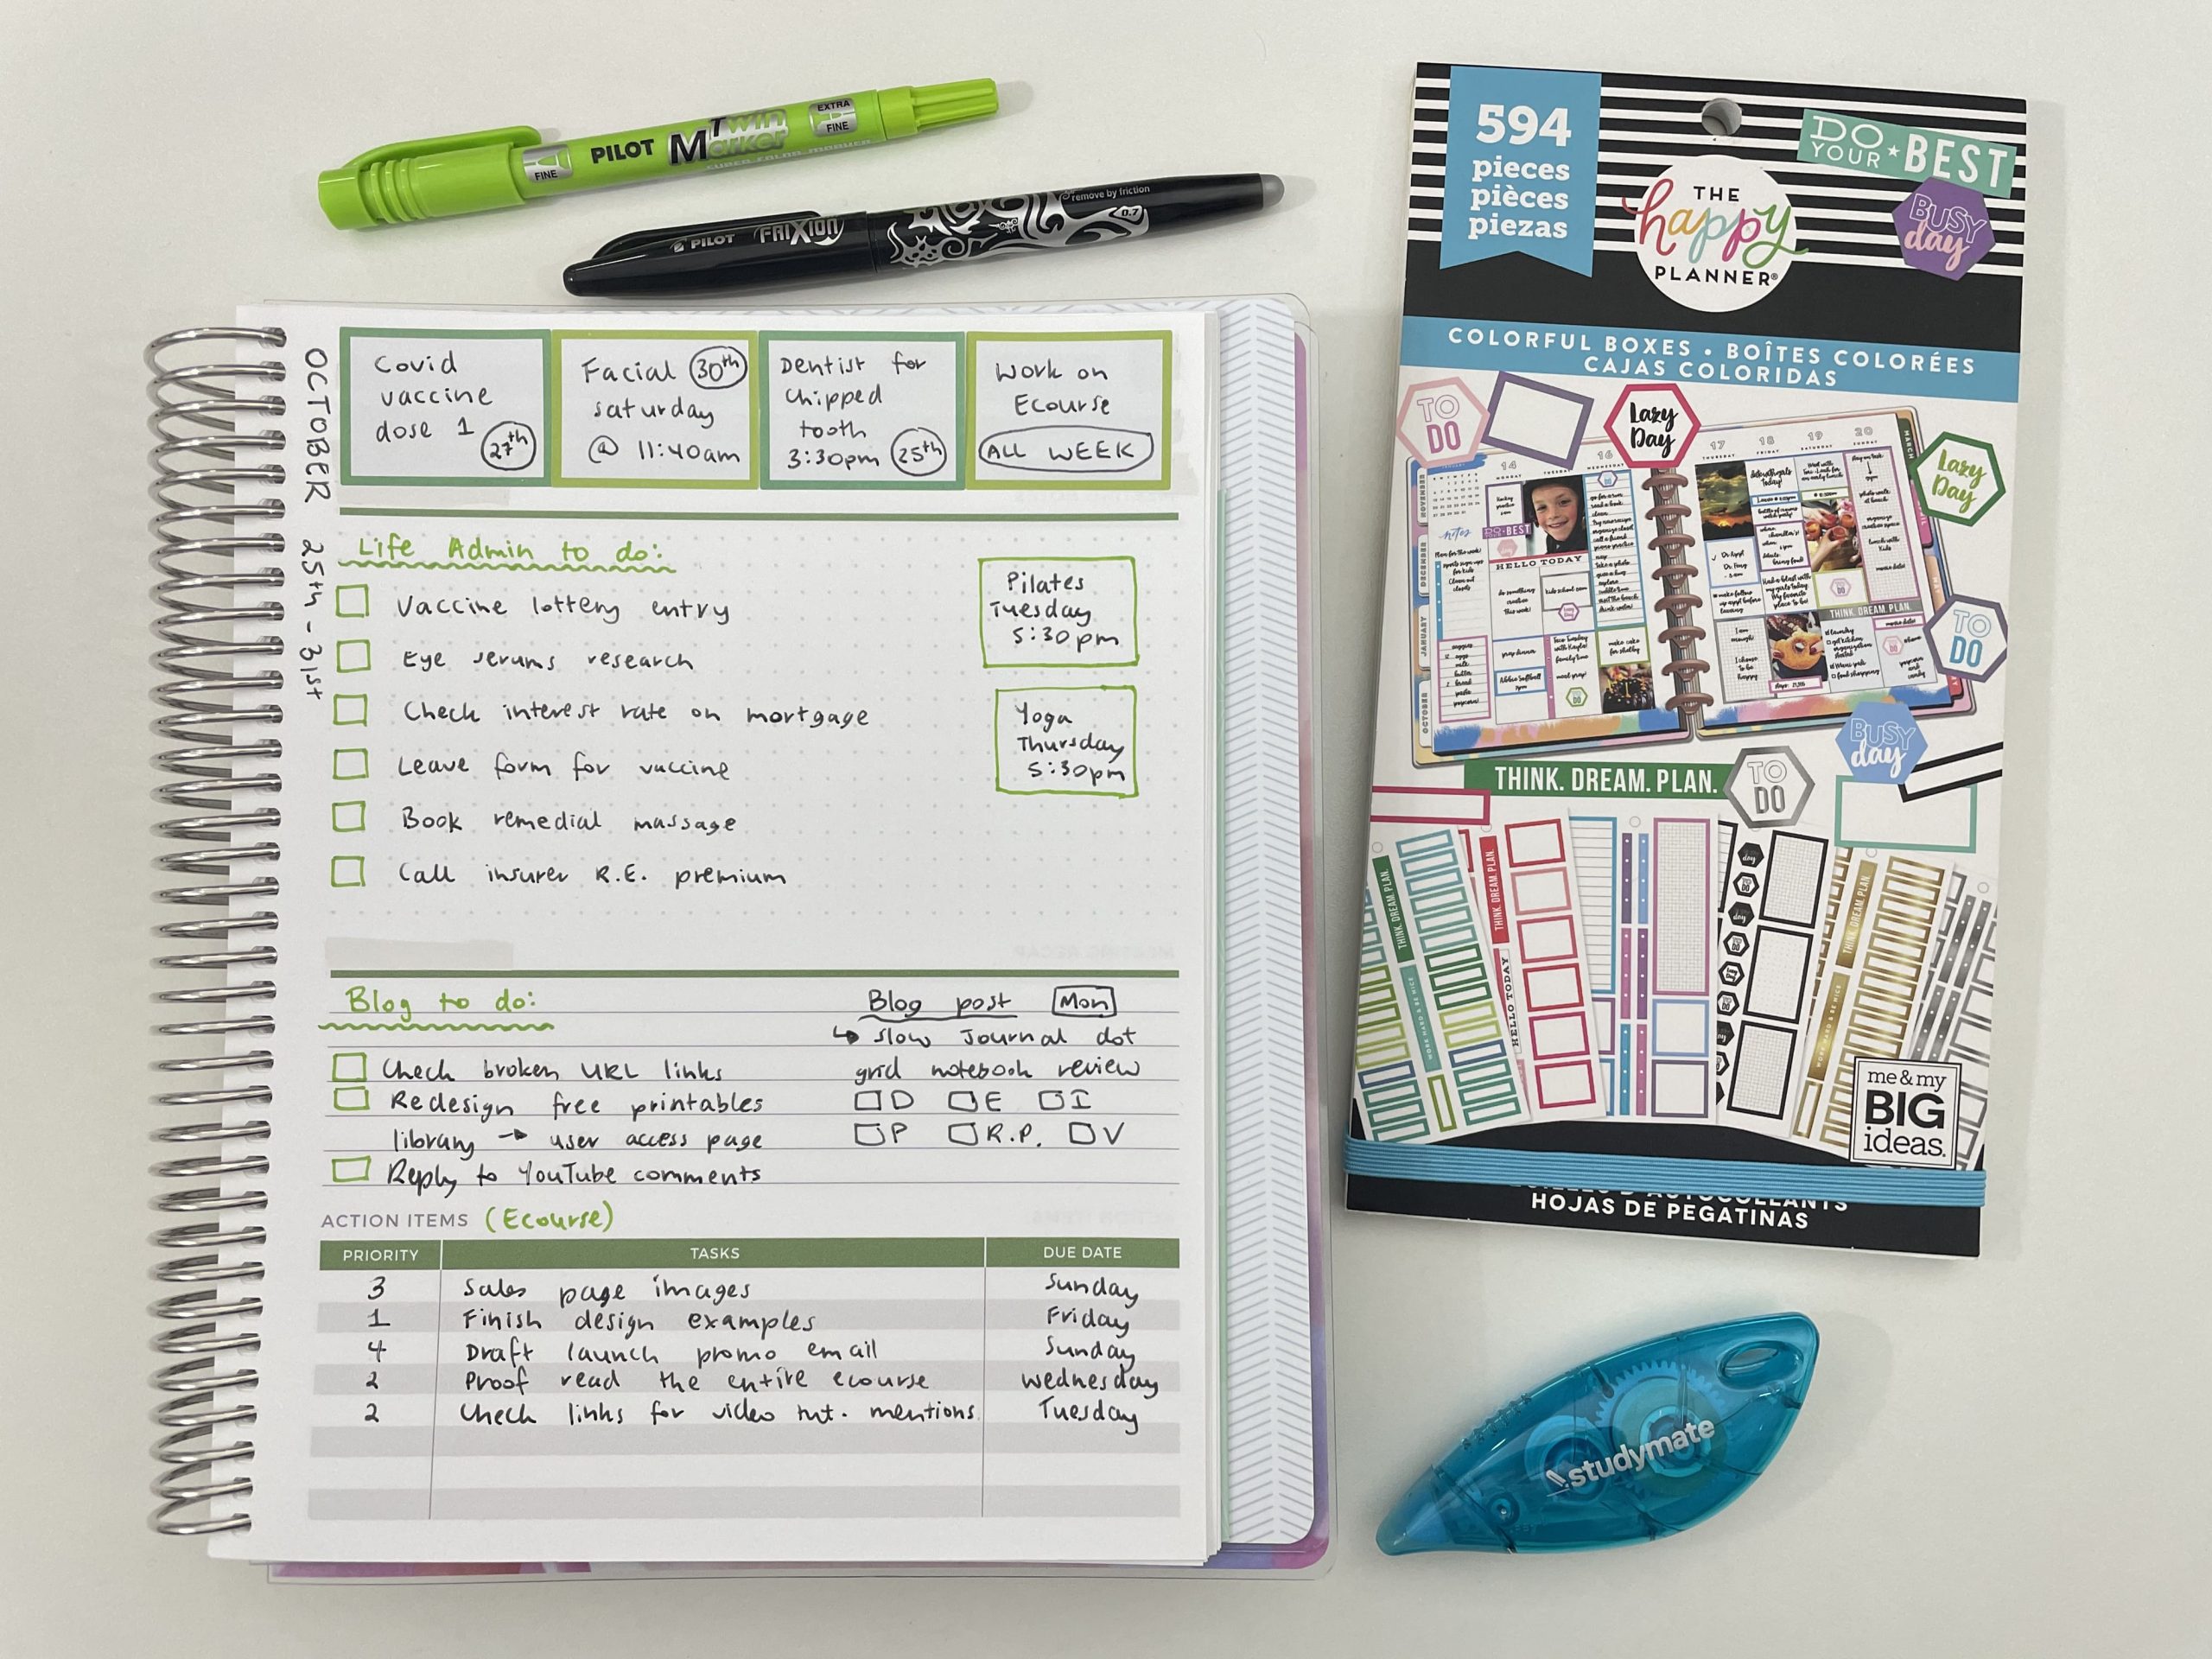
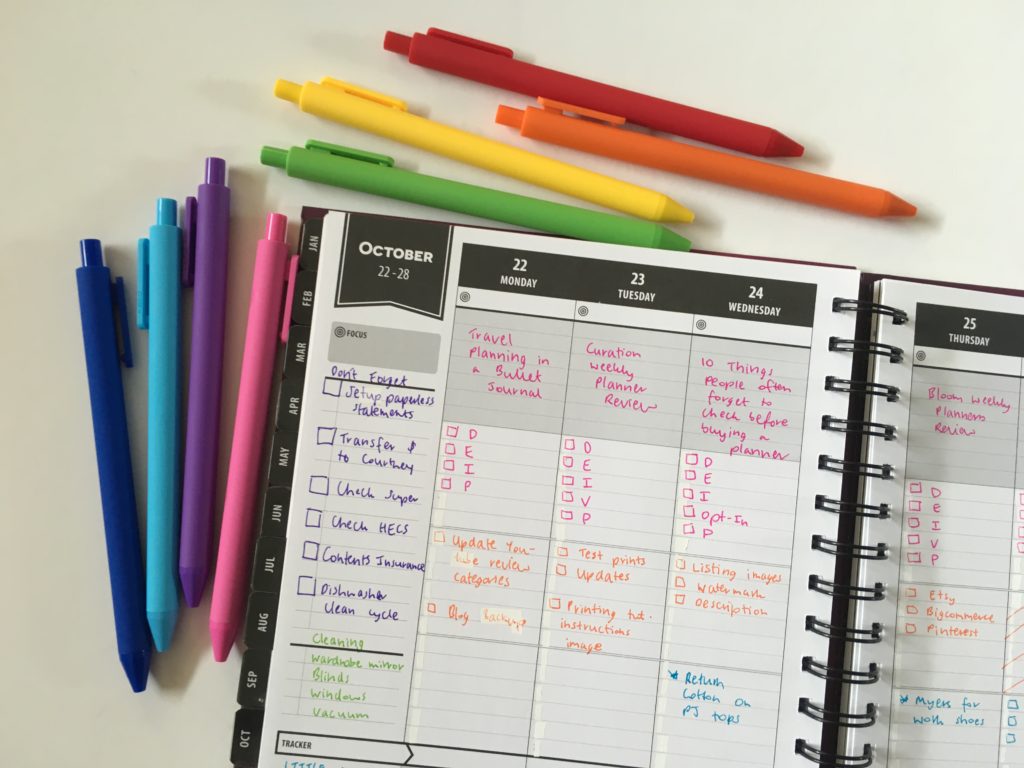
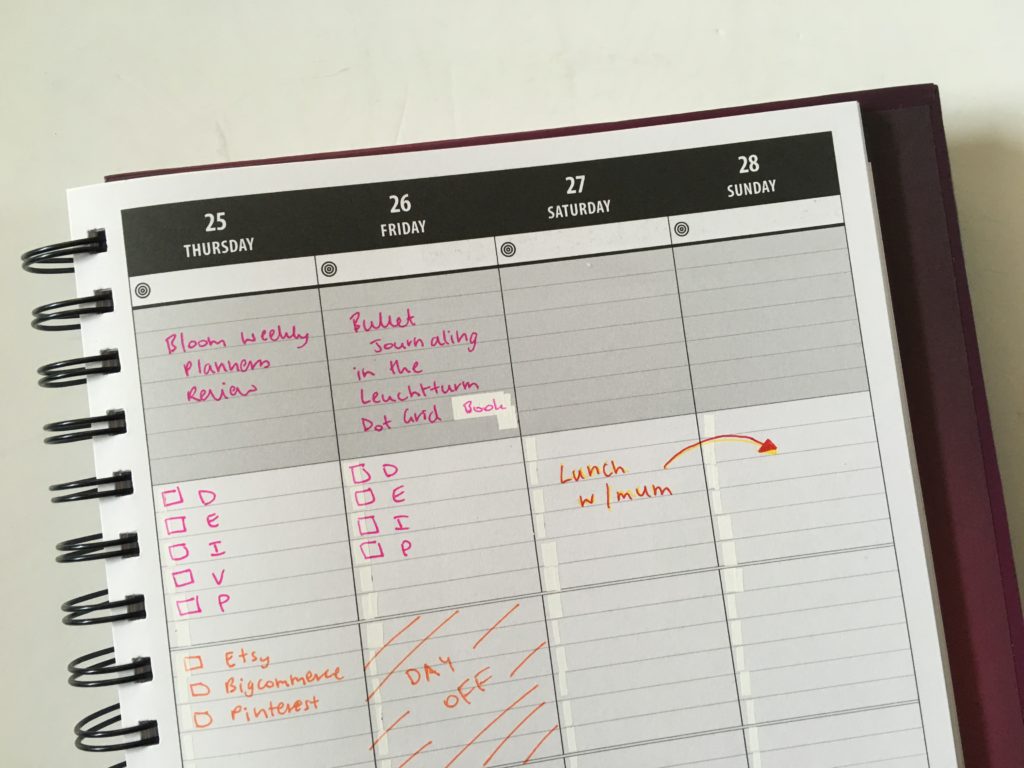
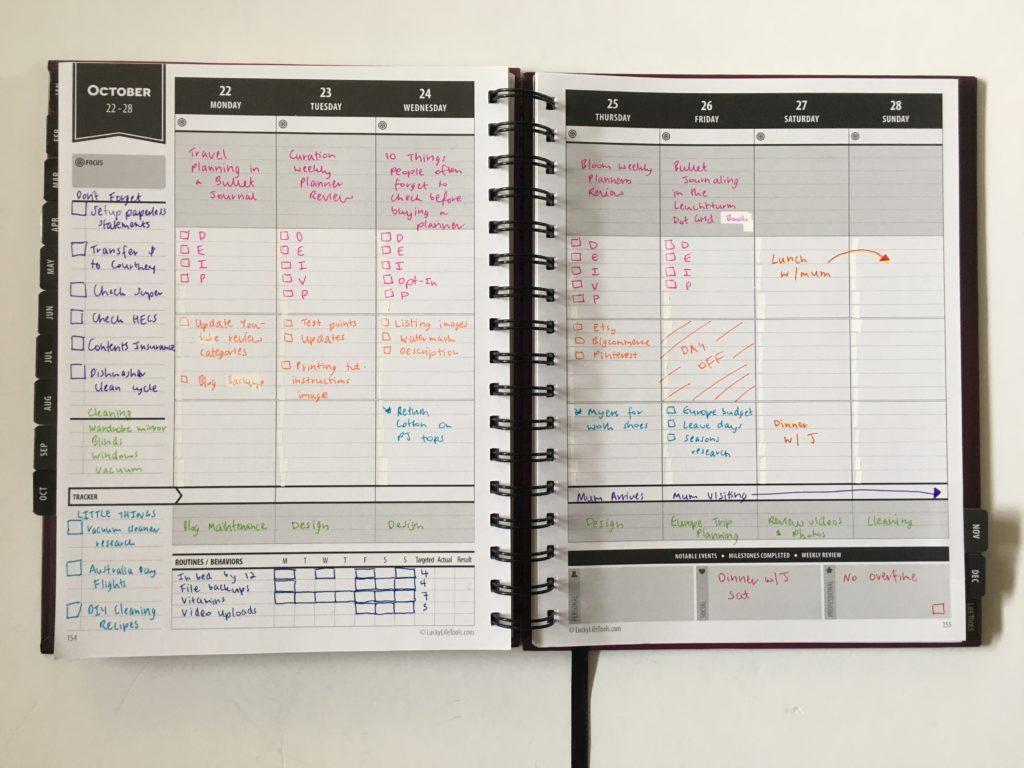
Since I don’t plan hourly, the first thing I did was white out the times to convert the planner into one of my favorite layouts: categories.
- Top box = blog post
- 2nd box = blog post workflow
- 3rd box = Shop to do
- 4th box = personal / random
The sidebar was a bit small for each task to only need 1 line so I added my own checkboxes. Even by skipping every second line there was still a fair bit of space due to the small line spacing.

Because the focus box at the top of each day is very small, I ended up using the bottom shaded box for this instead.
Since I mainly use monthly habit trackers these days, I only added the routines / habits I need to work on the most. I do like the target vs. actual columns.
![]()
I used the Kaco Green Pure Plastic 0.5mm gel pens. They write really smoothly and the colors are really bright.. except for the yellow.
It was so feint I ended up just writing over the top in a different colored pen.
Pros of the Lucky Life Tools Planner
- Roomy boxes to plan each day
- Habit tracker includes target & actual columns
- Line spacing is small so it fits a lot on the page
Cons of the Lucky Life Tools Planner
- The focus and tracker boxes at the top and bottom of each day were too small
Would I use this planner again?
Yes, I liked having so much space. If I had to say a con, the focus and tracker boxes at the top and bottom of each day were too small.
Past weekly spreads
- Plum Paper Me Planner
- Trialing the Sugar and Type Rule the World Planner
- Unbound Planner (4 page weekly spread)
Planning tips
- Setting up a new month in my bullet journal (minimalist style)
- 5 Planner supplies you should never skimp on
- 10 Pen brands that are available in a pack of 20 or more colors
Tired of drawing up weekly spreads? This printable bundle of 52 different 1 page weekly planners (you can mix and match to create 2 page spreads if you prefer), is available in my Etsy shop and online store. It comes in US letter size and Happy Planner classic page size.