Planning by category rather than by day (weekly spread with icon planner stickers)
I actually used to do the spread I’m showing today, quite frequently in 2021. But I figured people weren’t interested in a weekly spread that wasn’t Monday to Sunday, so I never actually posted it here on the blog. But this post from the 52 planners in 52 weeks challenge that I did back in 2017 has really gained popularity in the last year, so I thought I’d bring it back and show another method for planning your week by category instead of by day.
Before the Pen
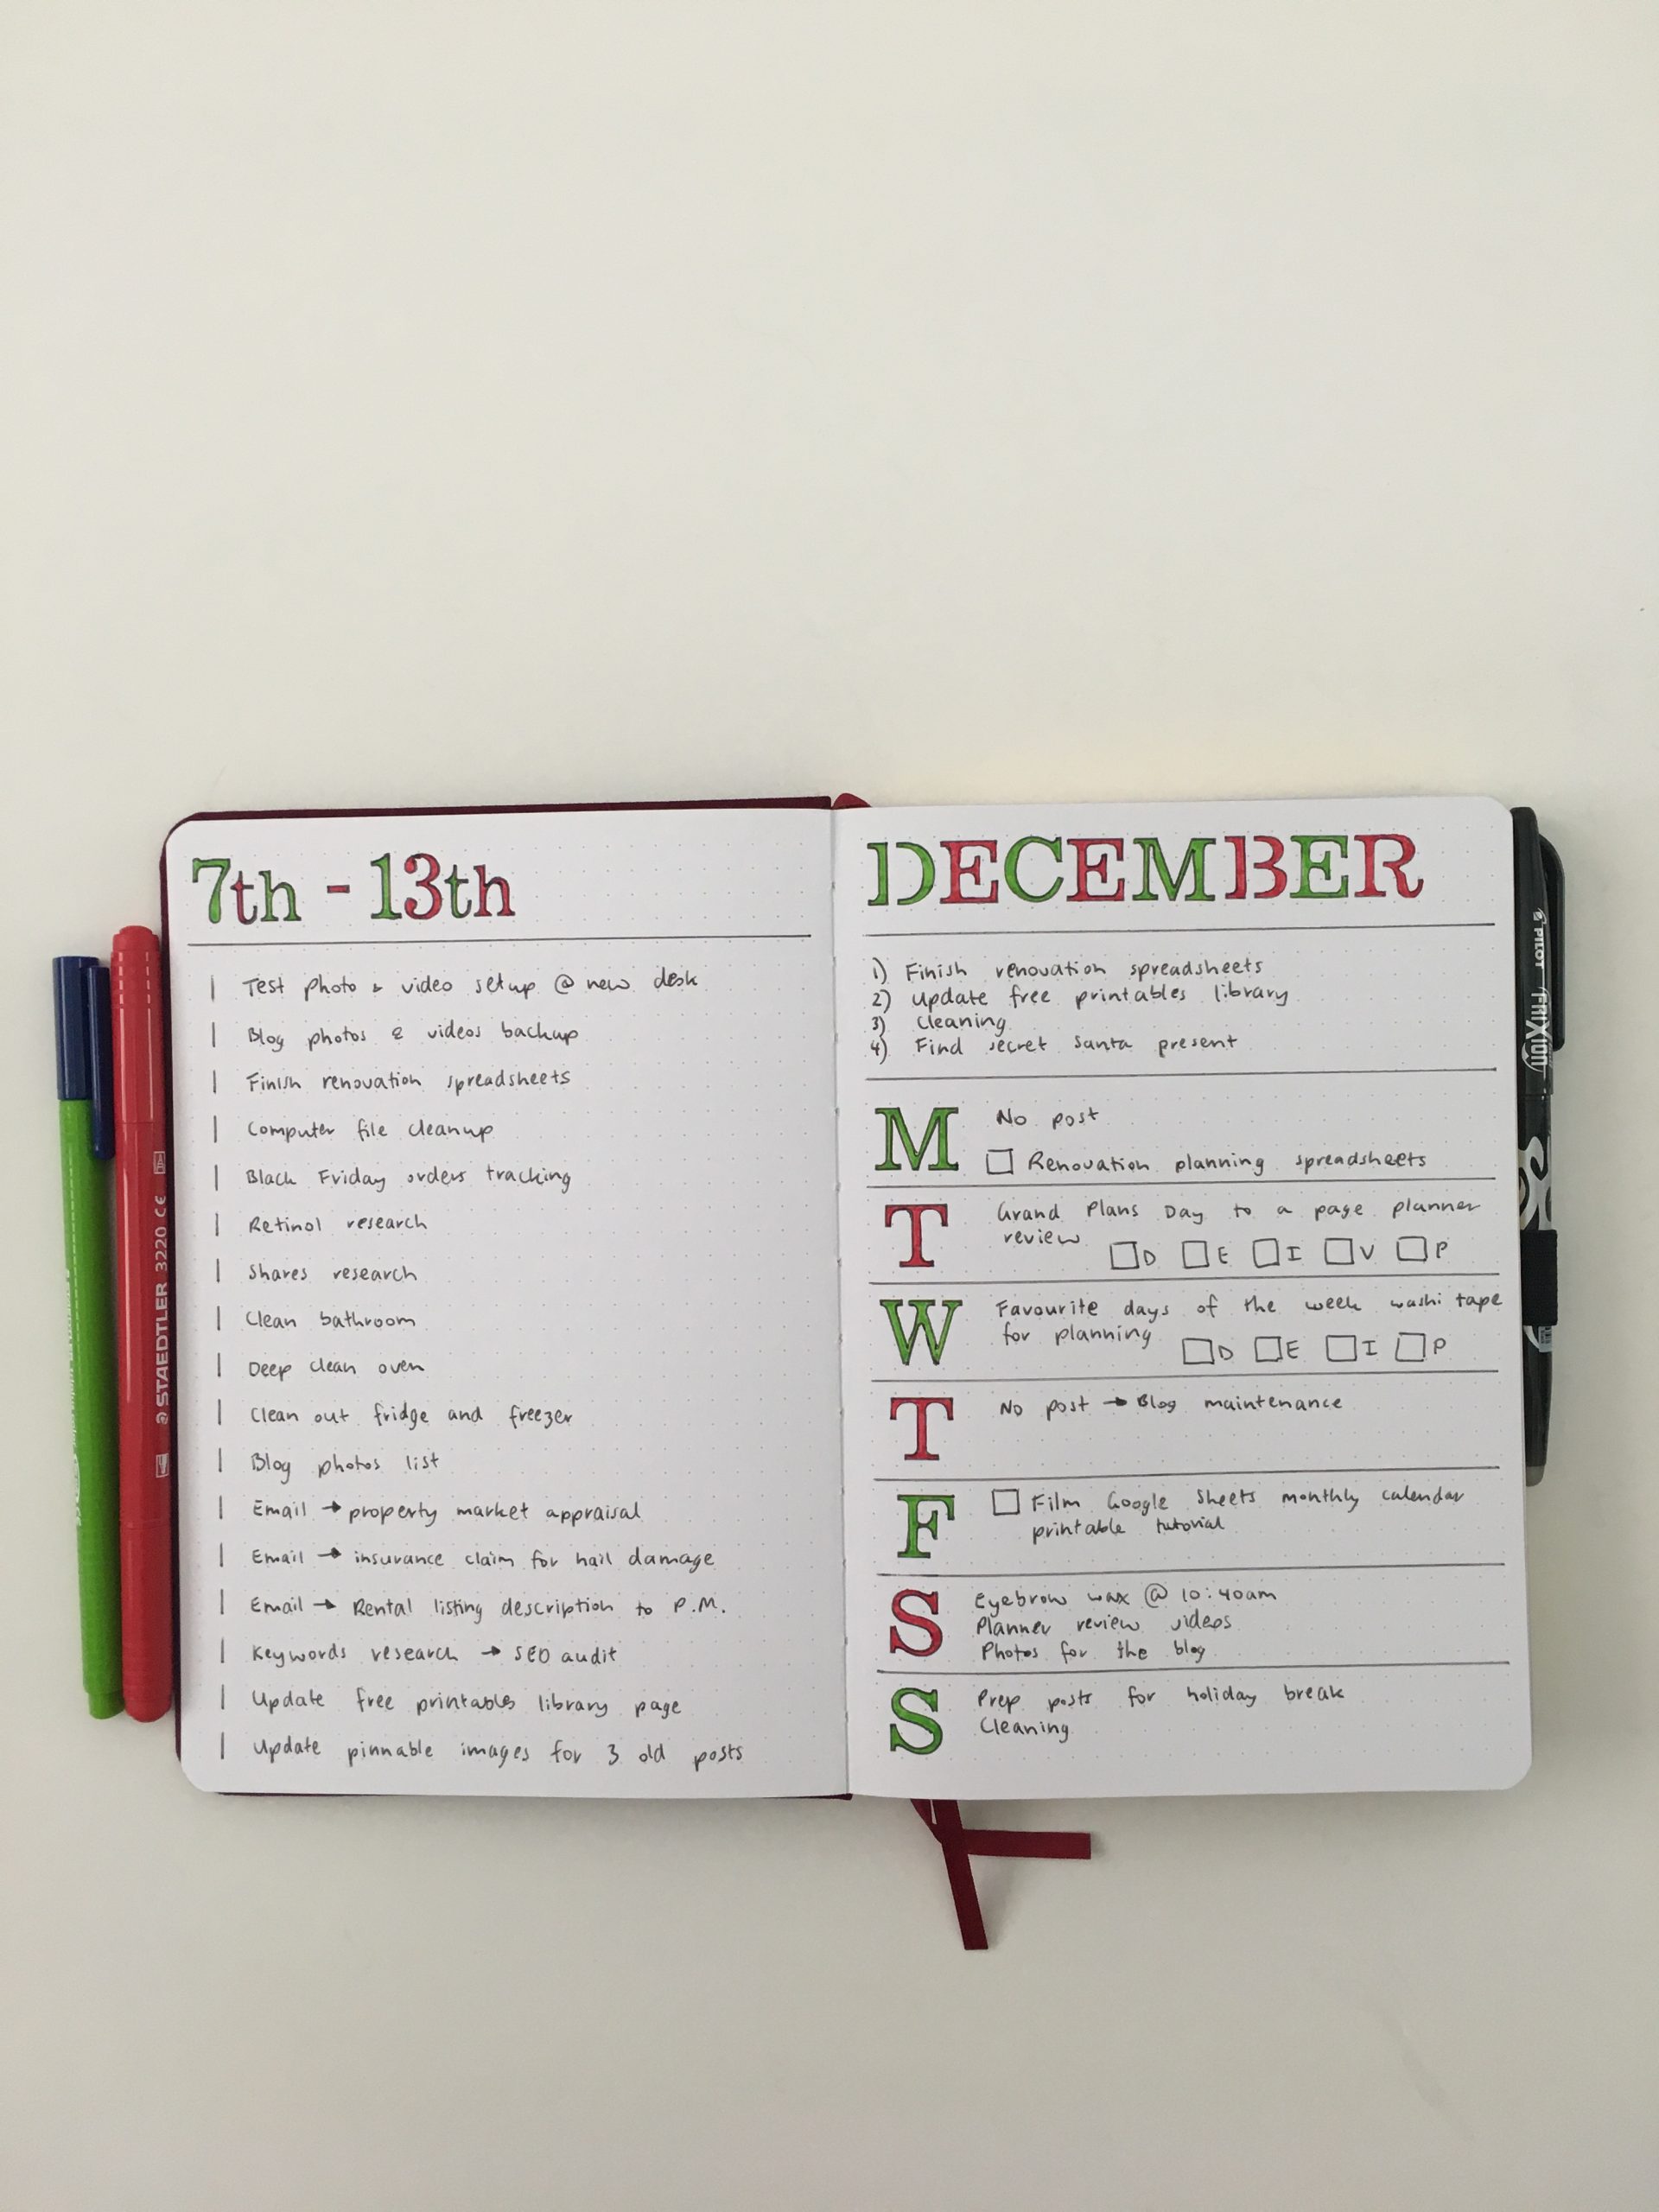
This week I decided to do a categorised lists spread using some of my printable rainbow stickers. I picked icons for my 6 categories:
- Black Friday shopping
- Blogging
- Quick tasks
- Cleaning
- Travel planning
- Exercise
I created simple borders using this 3mm solid rainbow washi tape. Then stuck some of my printable icon stickers from my shop over the top of the washi tape.
Unfortunately, the orange washi tape is more of a golden orange not a true orange. It’s much lighter when stuck down on the page, than it looks on the roll.
Related post: My Favorite thin washi tape for planning
![]()
You could do a pen border but it’ll look a bit plain. You could try a marker pen (like the Staedtler Triplus) if you don’t have thin washi tape.
Related post: Favorite pens for writing headings in my planner
If you read my recent post on how I create my rainbow themed spreads, you’ll see some of that logic in this spread (e.g. no yellow!).
Read more: 7 Tips for creating rainbow themed spreads in your planner or bullet journal
After the Pen
I’m thinking about next year’s holidays I want to take, so added a bunch of things to research as I start to flesh out my itinerary summary in my travel planning spreadsheets, and then I move to the more detailed / thoroughly scheduled day by day itinerary in Word.
![]()
You can obviously use any planner stickers you like. I’ve also done this spread using text stickers (Erin Condren morning / day / night stickers for their vertical layout work well too).
I used the box with the clock for quick tasks.
![]()
I normally avoid using 2 columns in A5 notebooks (and use a B5 notebook instead), as the columns end up being too narrow. If I did this spread again in an A5 size notebook, I’d downsize from a 0.7mm pen tip to a 0.5mm pen tip. I might also do horizontal boxes so there’s more room to write, as the vertical boxes were a bit squishy.
I wanted to use the checklist stamp from the Happy Planner stackable stamps set, but the ink in mine have run dry and they’re now discontinued 🙁 so I hand drew the checkboxes instead.
![]()
Printing planner stickers
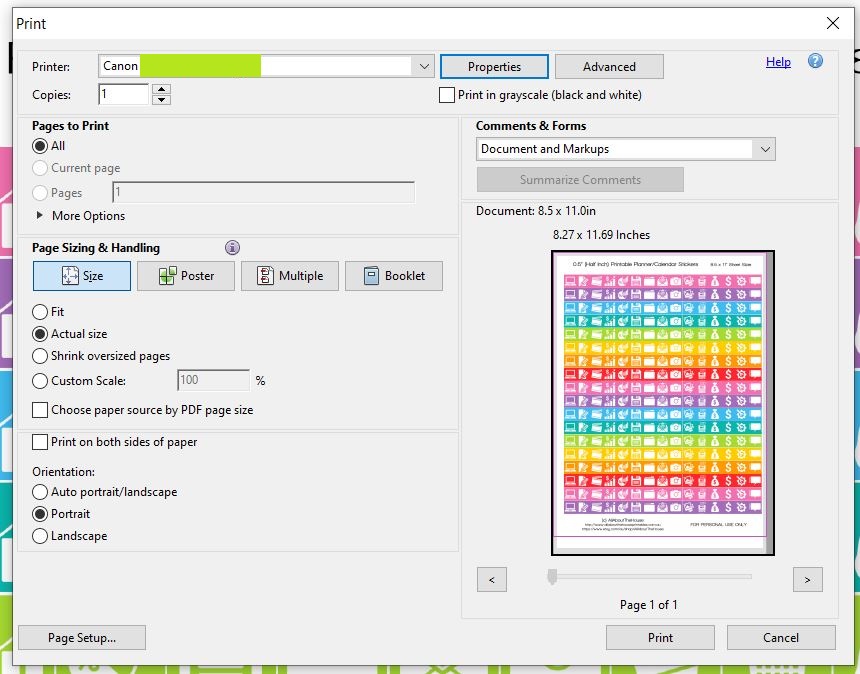
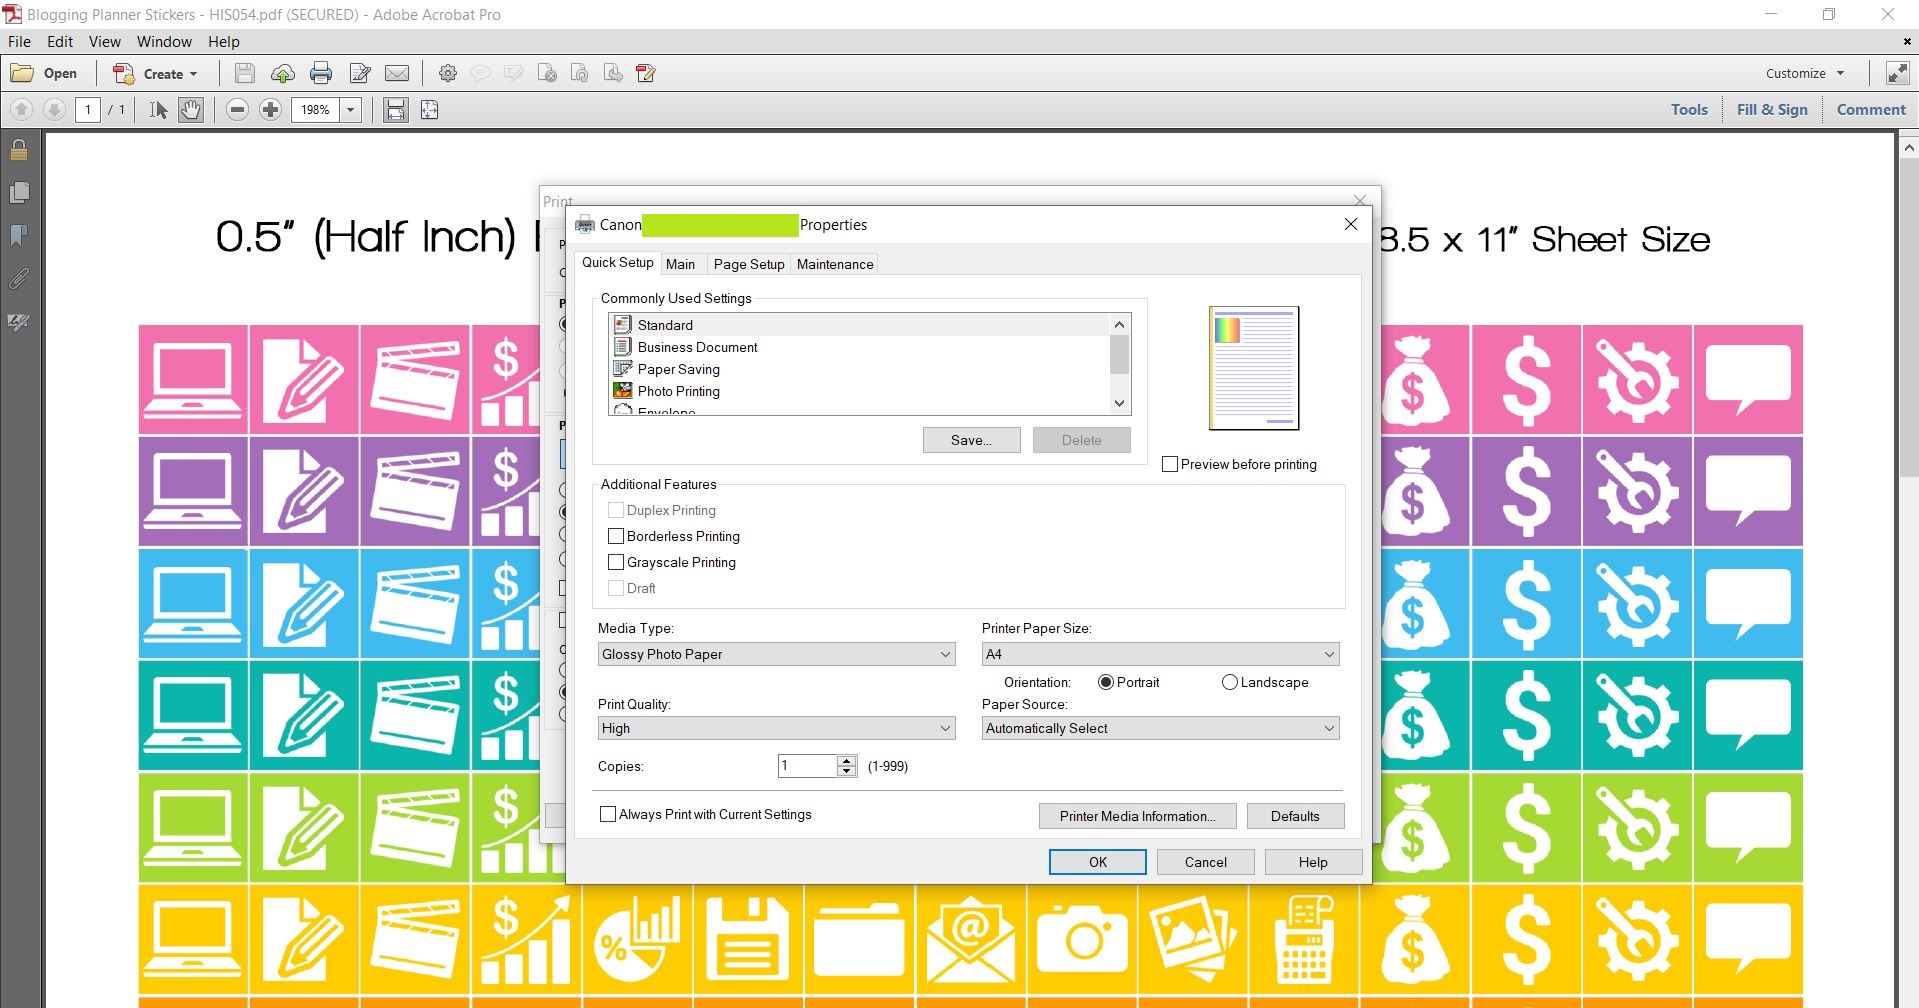
I make my printable sticker sheets at US letter size (8.5 x 11″) as most of my Etsy shop customers are located in North America. However I’m located in Australia and we use A4 page size here. Not to worry, I can still print US letter size templates onto A4 size paper. I just select ‘actual size’ in the page setup menu for my printer. There’ll be a narrower margin on the right side of the sticker sheet, but nothing gets cut off.
Here are some tips for printing planner stickers:
- I use (and have only ever used) Canon inkjet printers
- My printer loads the paper from the rear tray
- I need to put 2 or more sheets for my printer to ‘grab’ the paper
- I put the glossy side of the sticker sheet (the side I want to print on) facing me, but check which way your printer feeds the paper by doing a test print first
- I used glossy sticky paper for these icon stickers, but if you’re printing stickers you want to write on, use matte paper
- Choose ‘high’ quality in your printer’s menu
I used to think fresh ink cartridges gave the best results but I actually printed sticker sheets with 2 cartridges saying a warning that they were out of ink, and the color printing was fantastic. I feel like printer companies put that warning on far in advance to get you to buy ink more frequently.
But I did want to mention that I used to use non-genuine-but-compatible ink cartridges, and I think it killed my previous printer. So nowadays I only buy the genuine ink cartridges.
You can see the difference between choosing ‘high’ print quality (the blogging stickers) versus ‘standard’ print quality (the cleaning stickers) in the photo below.
![]()
It doesn’t show as well in the photo as it does in person, but the sticker sheet on the right that was printed used ‘high’ quality in the printer settings, has much more vibrant colors and more crisp images. I also printed the sticker sheet on the right when my printer had a warning saying 2 ink cartridges needed replacing.
Read more:
- 7 Ways to make colors POP when printing using an inkjet printer
- How to clean your printer (prevent smudging, streaks and make the colors POP!)
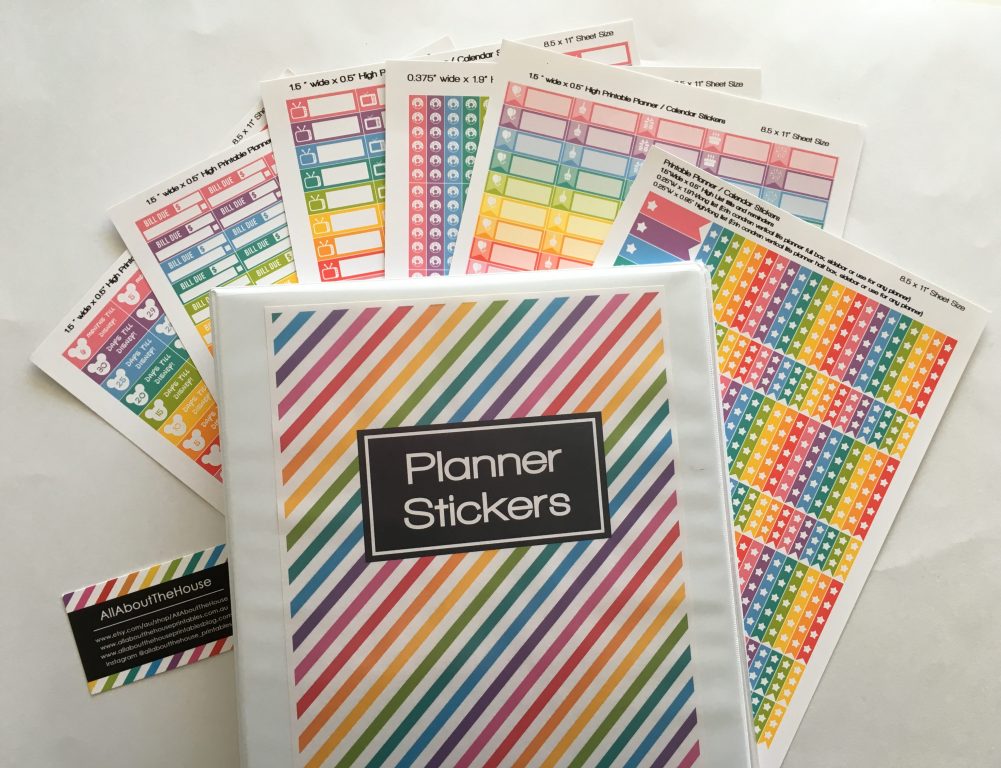
Storing planner stickers
I keep my full sheet planner stickers in plastic sheet protectors in a binder on my bookcase so they’re protected from sunlight, fading and stay flat. Once cut / I’ve used more than half the sheet and it becomes annoying trying to get the sheets back into the sheet protectors, I transfer them to a receipts folder. I shared more tips for organizing planner stickers in these posts:
- How to organize planner stickers (my favorite supplies)
- How to organize planner stickers using folders (plus free printable labels)
- 4 Tools for cutting printable planner stickers (and my favorite method)
Supplies Used for this week’s spread
- 3mm rainbow washi tape
- Seqes A5 notebook
- Frixion erasable pen (0.7mm)
- Printable icon planner stickers
- Shopping (Etsy shop)
- Cleaning (online store, Etsy shop)
- Travel (Etsy shop)
- Work (Etsy shop)
- Fitness (online store, Etsy shop)
- Clock (online store, Etsy shop)
![]()
Pros of this spread
- Simple and quick to setup
- Would easily work with any page size
- Icon stickers are easy to find and affordable
- Can easily add color to the page with minimal effort or thought
Cons of this spread
- Can’t think of any!
Would I use this layout again?
Yes. It was super simple and quick to setup, without the spread looking too plain. In weeks where you have a lot going on, you could easily upsize to a B5 notebook.
With a spread like this you don’t have to worry about counting dots to make equal size columns for each day like you would with a traditional Monday to Sunday weekly spread. You don’t have to keep the boxes the same size either, just increase or decrease the size of the boxes for each section as needed.
You could do a few simple variations of this layout:
- Use the same color for all of the icons and washi tape
- Use the same color for all of the icons, but use different colored washi tape borders
- Use 2 or 3 colors in the spread, instead of a full rainbow color scheme
- Use different box sizes
- Use a different number of categories
- Make the boxes the full width of the page, instead of splitting the page into 2 vertical columns
I normally avoid using 2 columns in A5 notebooks (and use a B5 notebook instead), as the columns end up being too narrow. If I did this spread again in an A5 size notebook, I’d downsize from a 0.7mm pen tip to a 0.5mm pen tip.
Past weekly spreads
- Using MAMBI inserts and Carpe Diem planner stickers for a colorful weekly spread!
- Bullet journaling with planner stickers in the Happy Notes Book
- Using Erin Condren size planner stickers in the Mini Happy Planner
Planning tips
- 50 Themes for your planner or bullet journal spreads
- 15 habit tracker tips & ideas to try
- 50 Category Ideas for Color Coding Your Planner
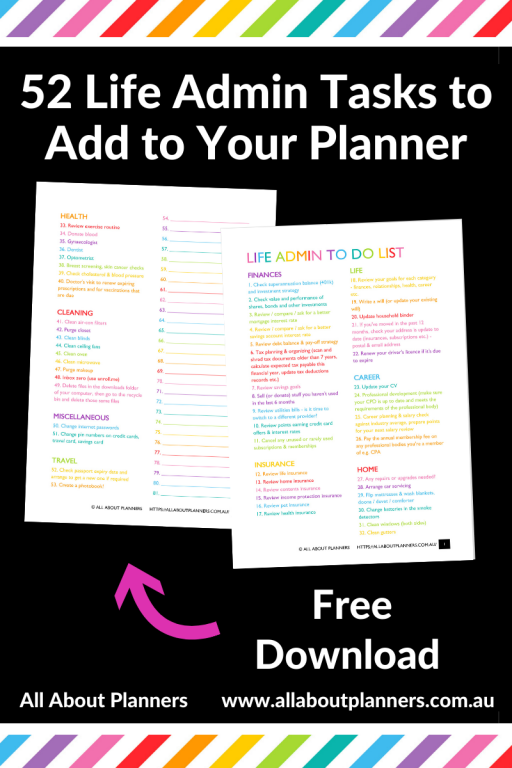
Liked this post? Pin it!
![]()
![]()