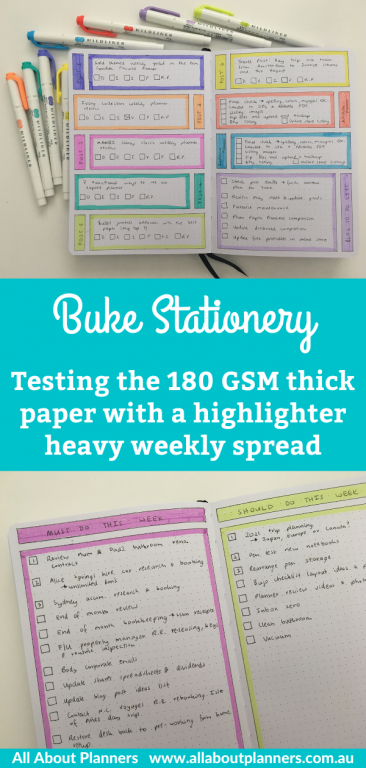
Testing Buke Stationery’s 180 GSM thick paper with a Highlighter Heavy Weekly Spread
I was so impressed by the results of my pen test in the 180 GSM thick paper Buke Stationery notebook that I decided to really put it to the test with a highlighter heavy weekly spread.
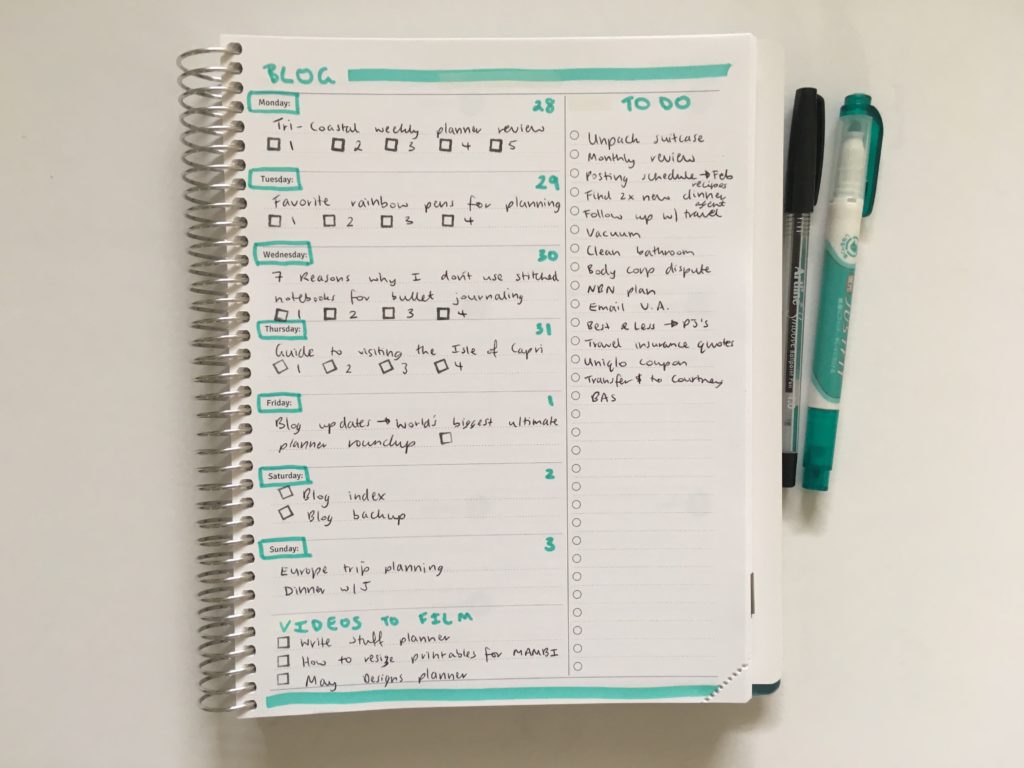
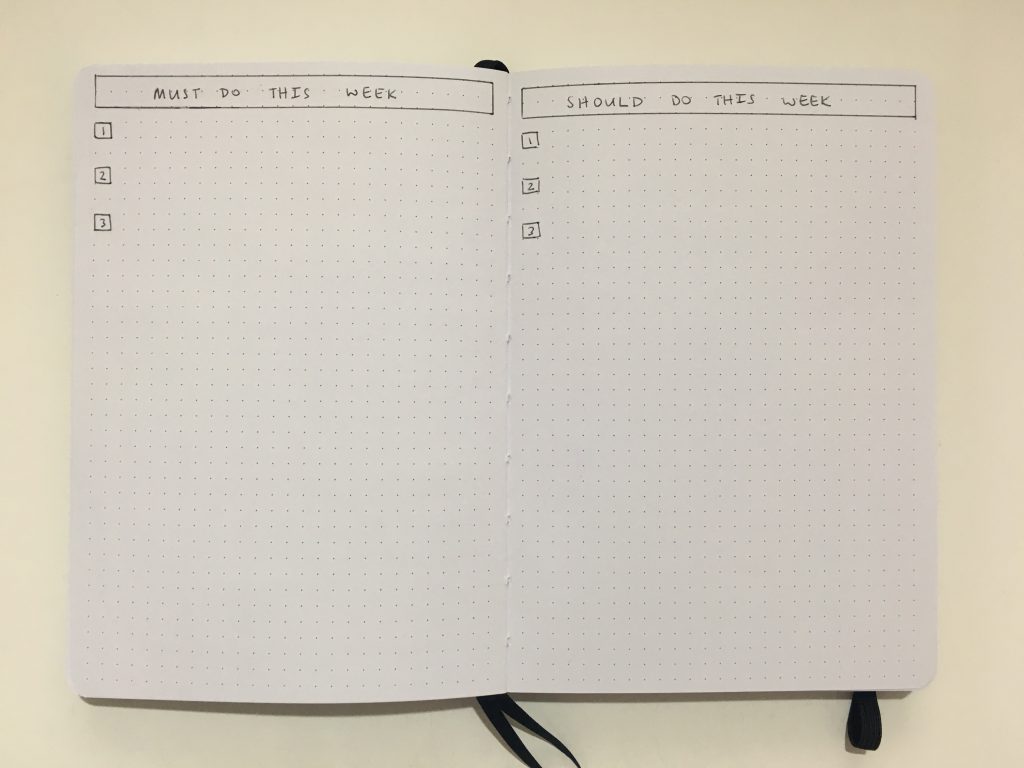
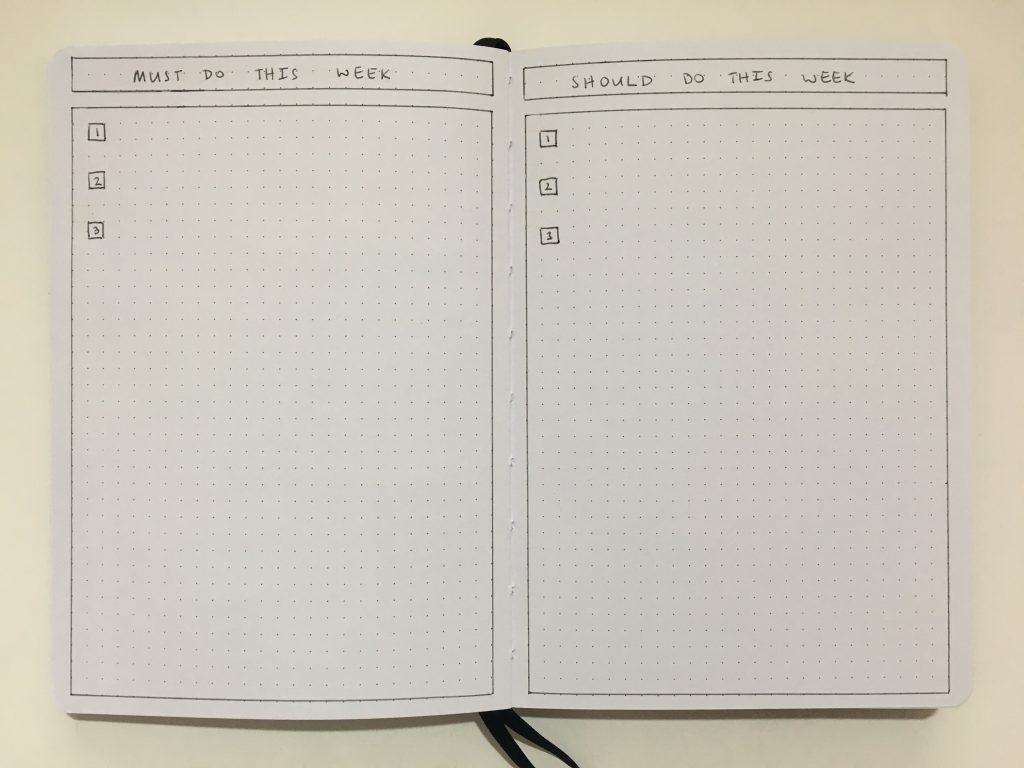
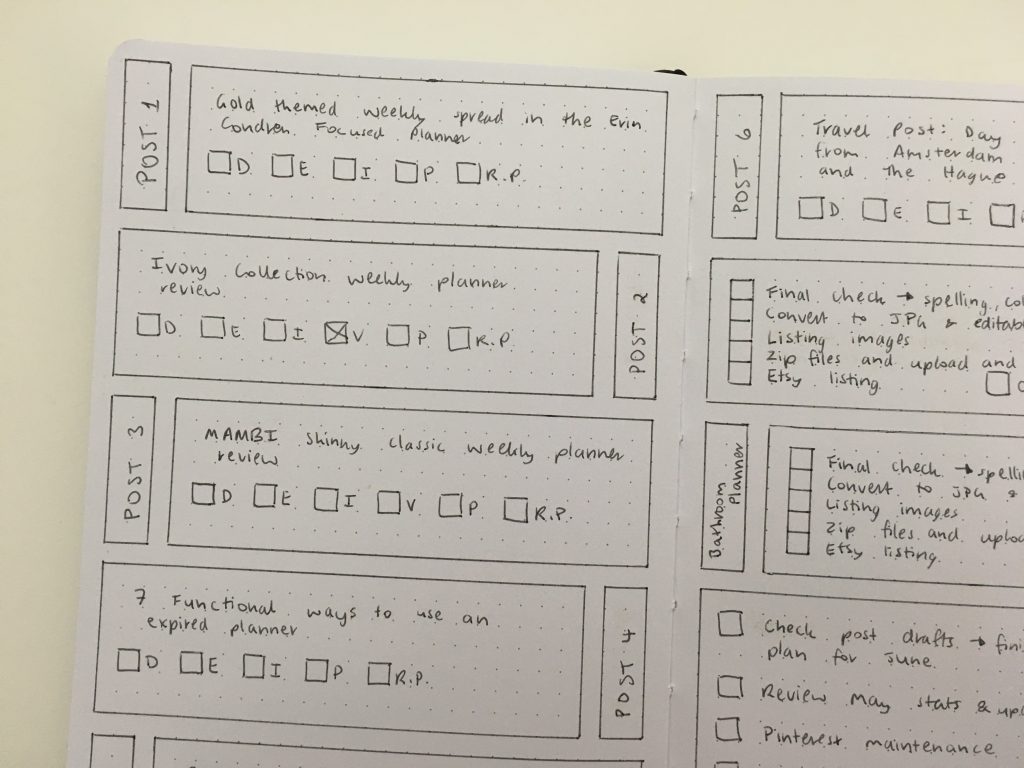
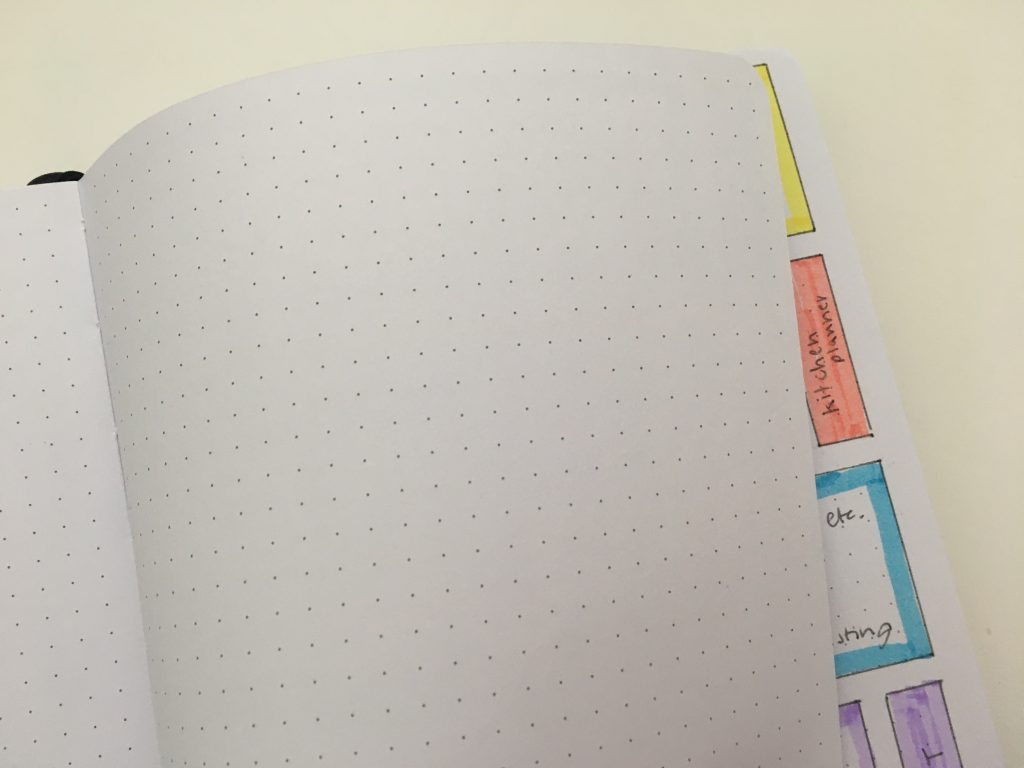
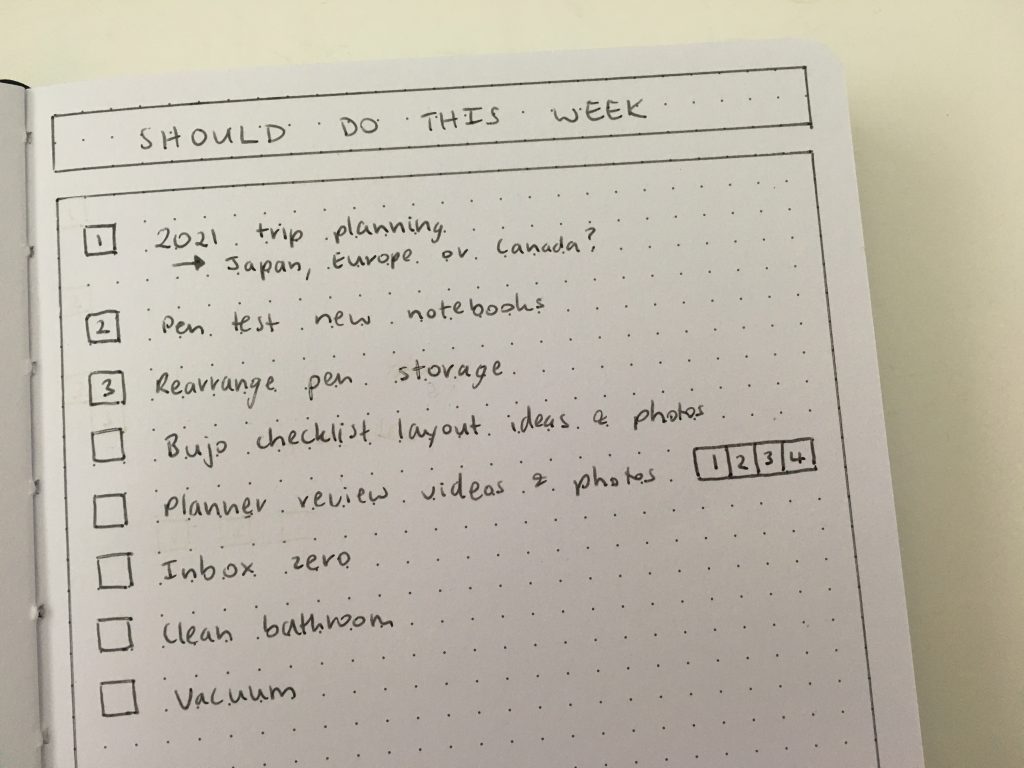
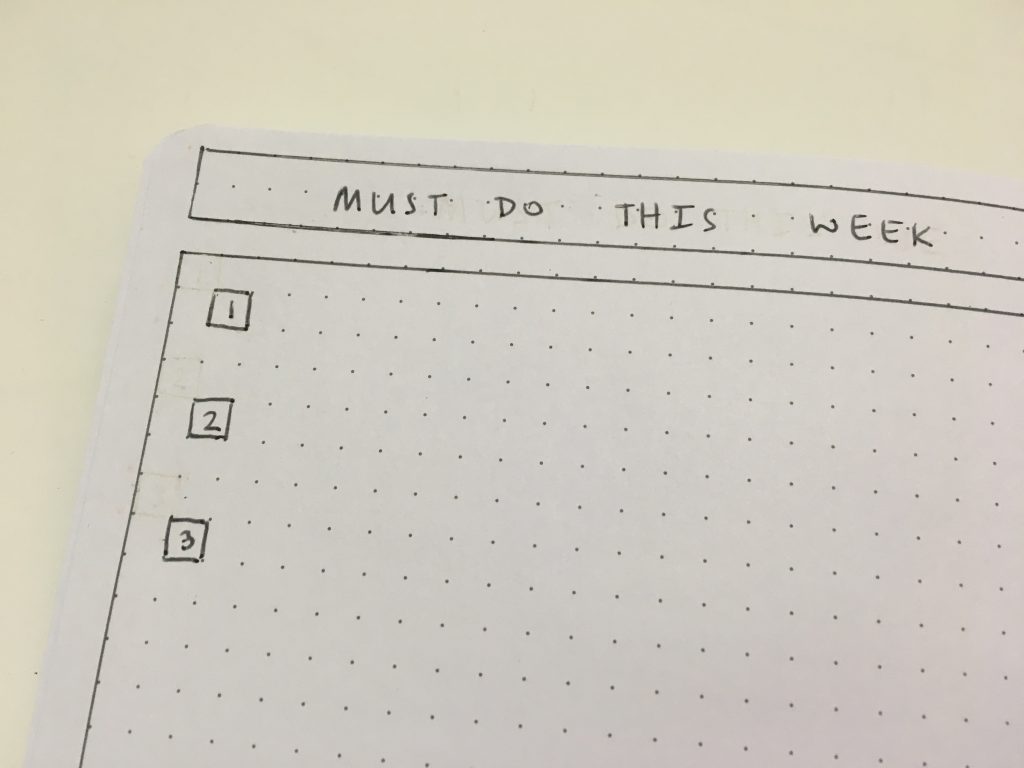
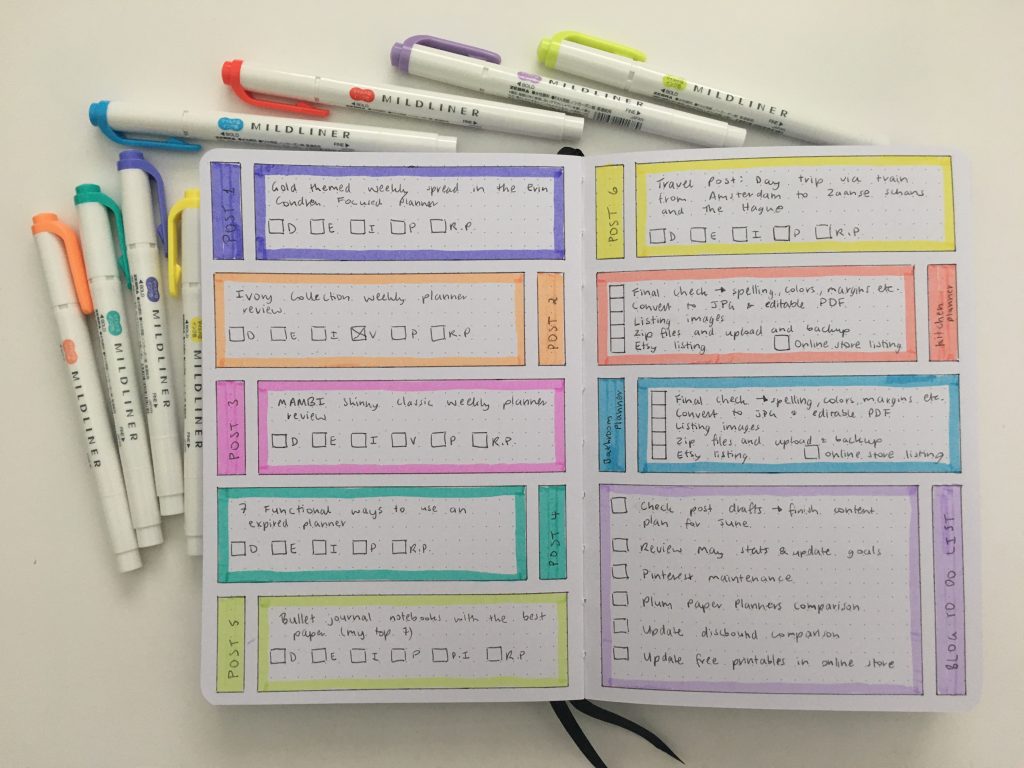
I started with a minimalist black and white only spread with some boxes for blog posts & projects, and then the 3rd and 4th pages of the spread for to do lists.
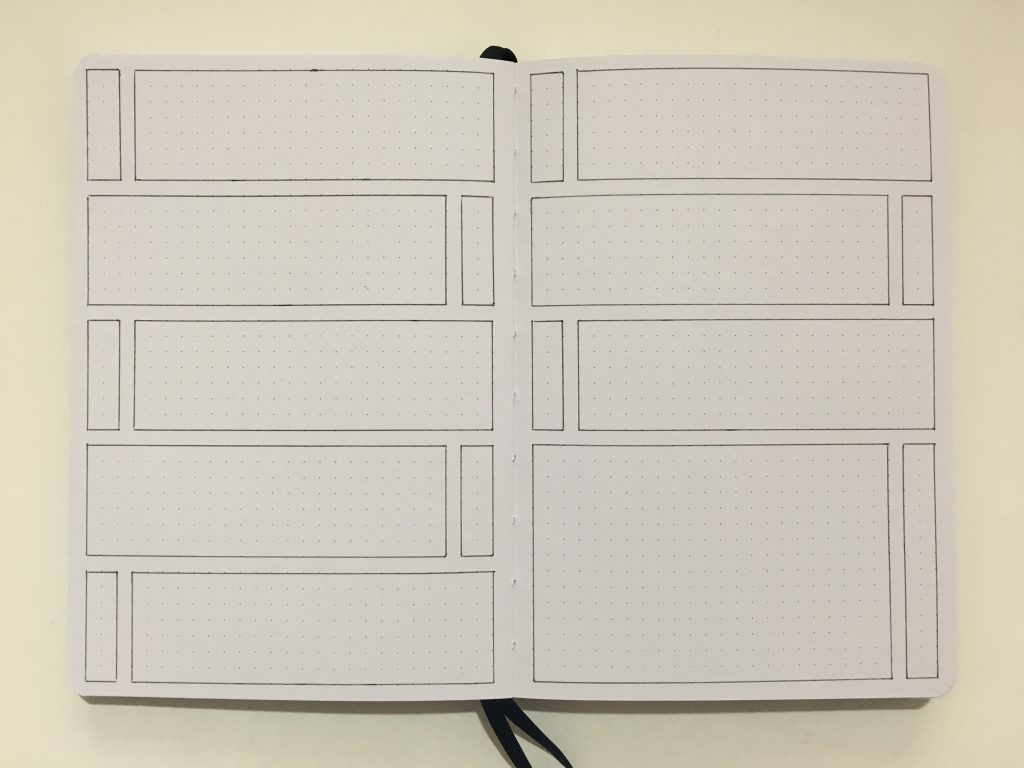
This type of spread would be good for monthly planning (or even quarterly or annual planning) with different projects in each box.
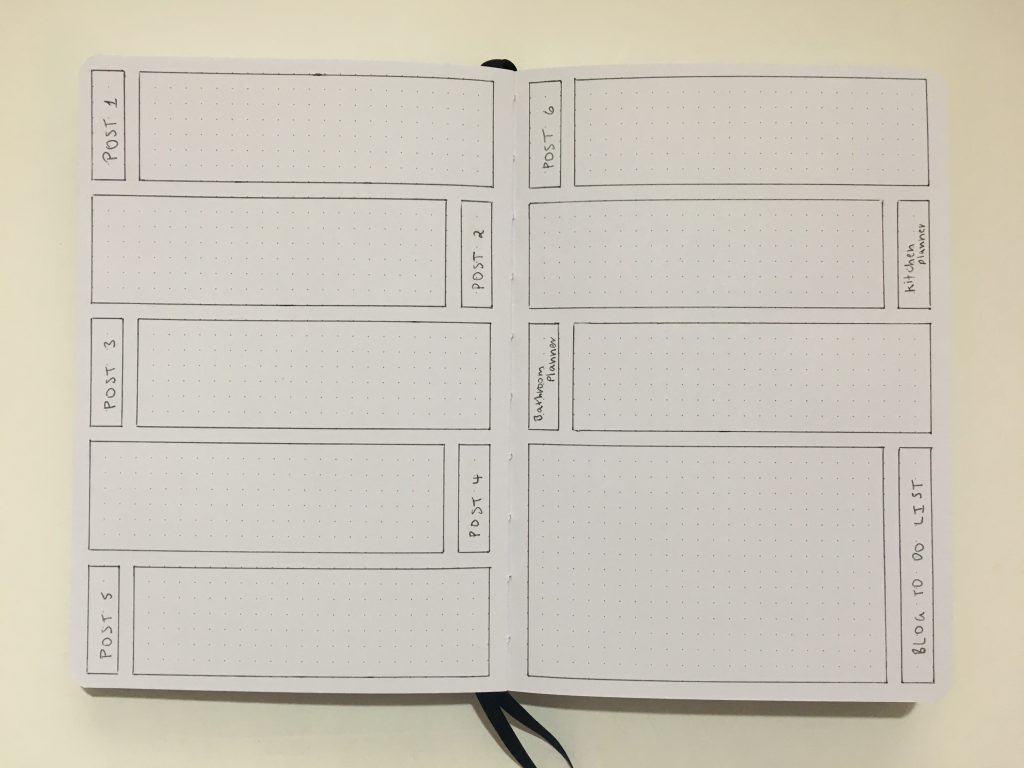
I started with no border but it looked too plain..
Much better with the border!
I have a separate project planner / workflow tasks list that I use for making printables, I just copied the remaining tasks into my planner. I was updating the kitchen and bathroom planners from the chevron style into the simple rainbow style printables. I updated these sets as my parents are finally renovating their circa 1980’s puke green bathroom that should’ve been renovated as soon as they bought it (I’m talking green floor and wall tiles, green bathtub, green vanity bench top, green counter top, green sink, green toilet… there was even a green toilet roll holder). I’m still working on convincing them to renovate the kitchen too (thankfully it’s not puke green!) – I updated the kitchen printables set just in case 😉
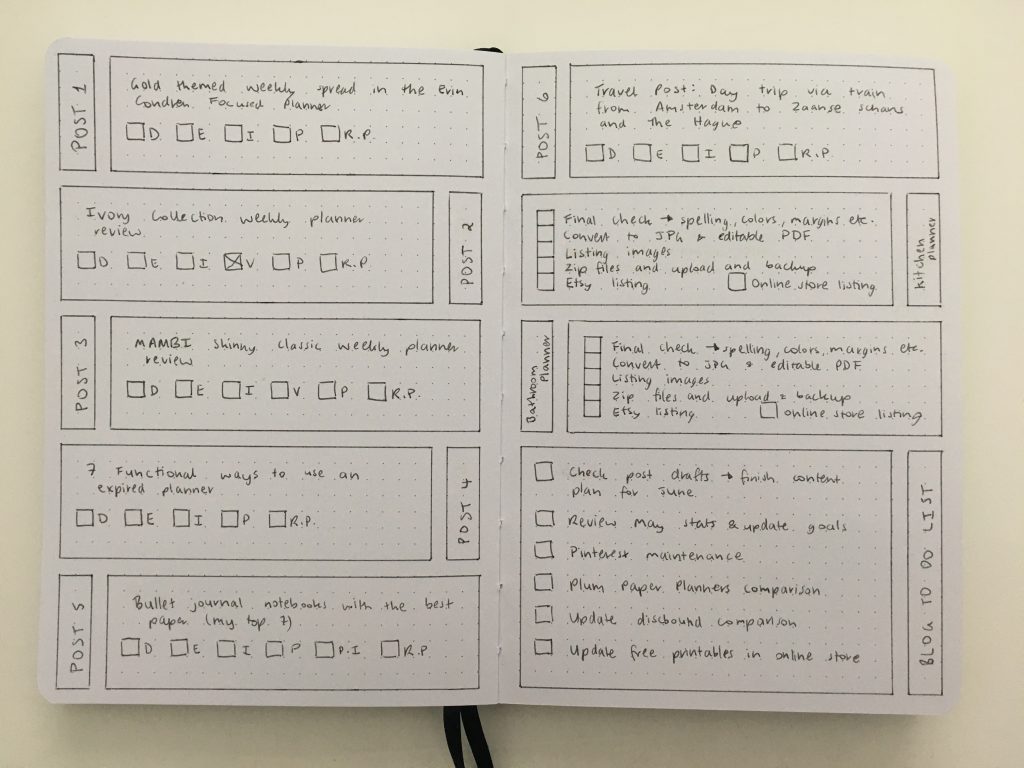
Halfway through highlighting…
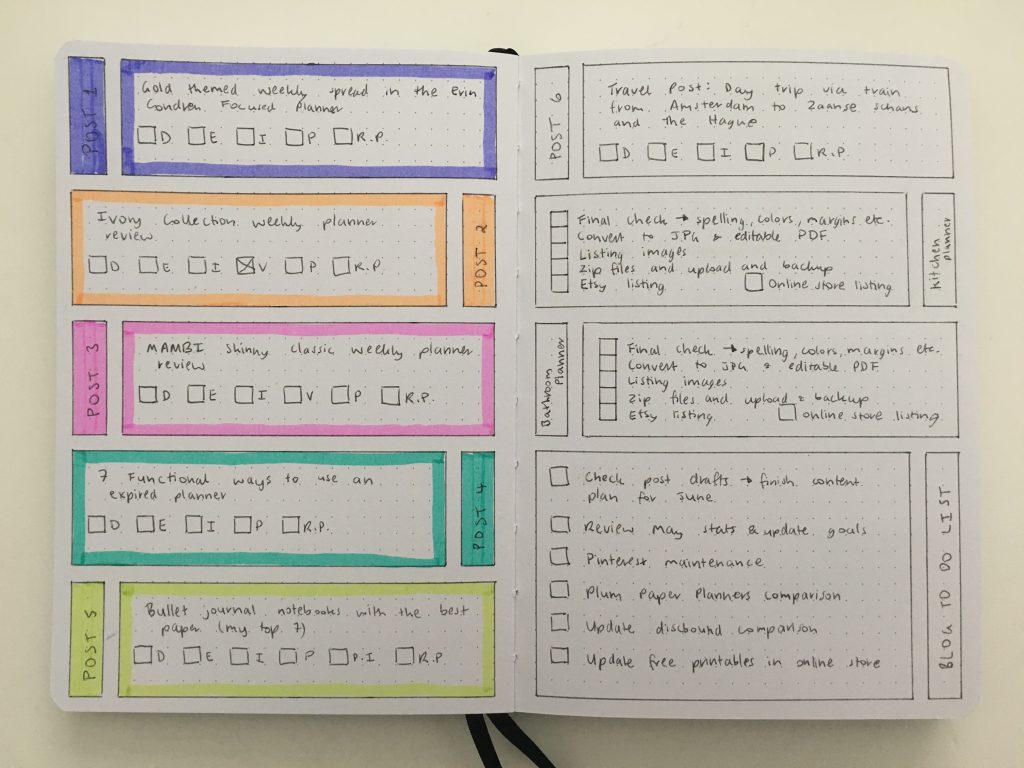
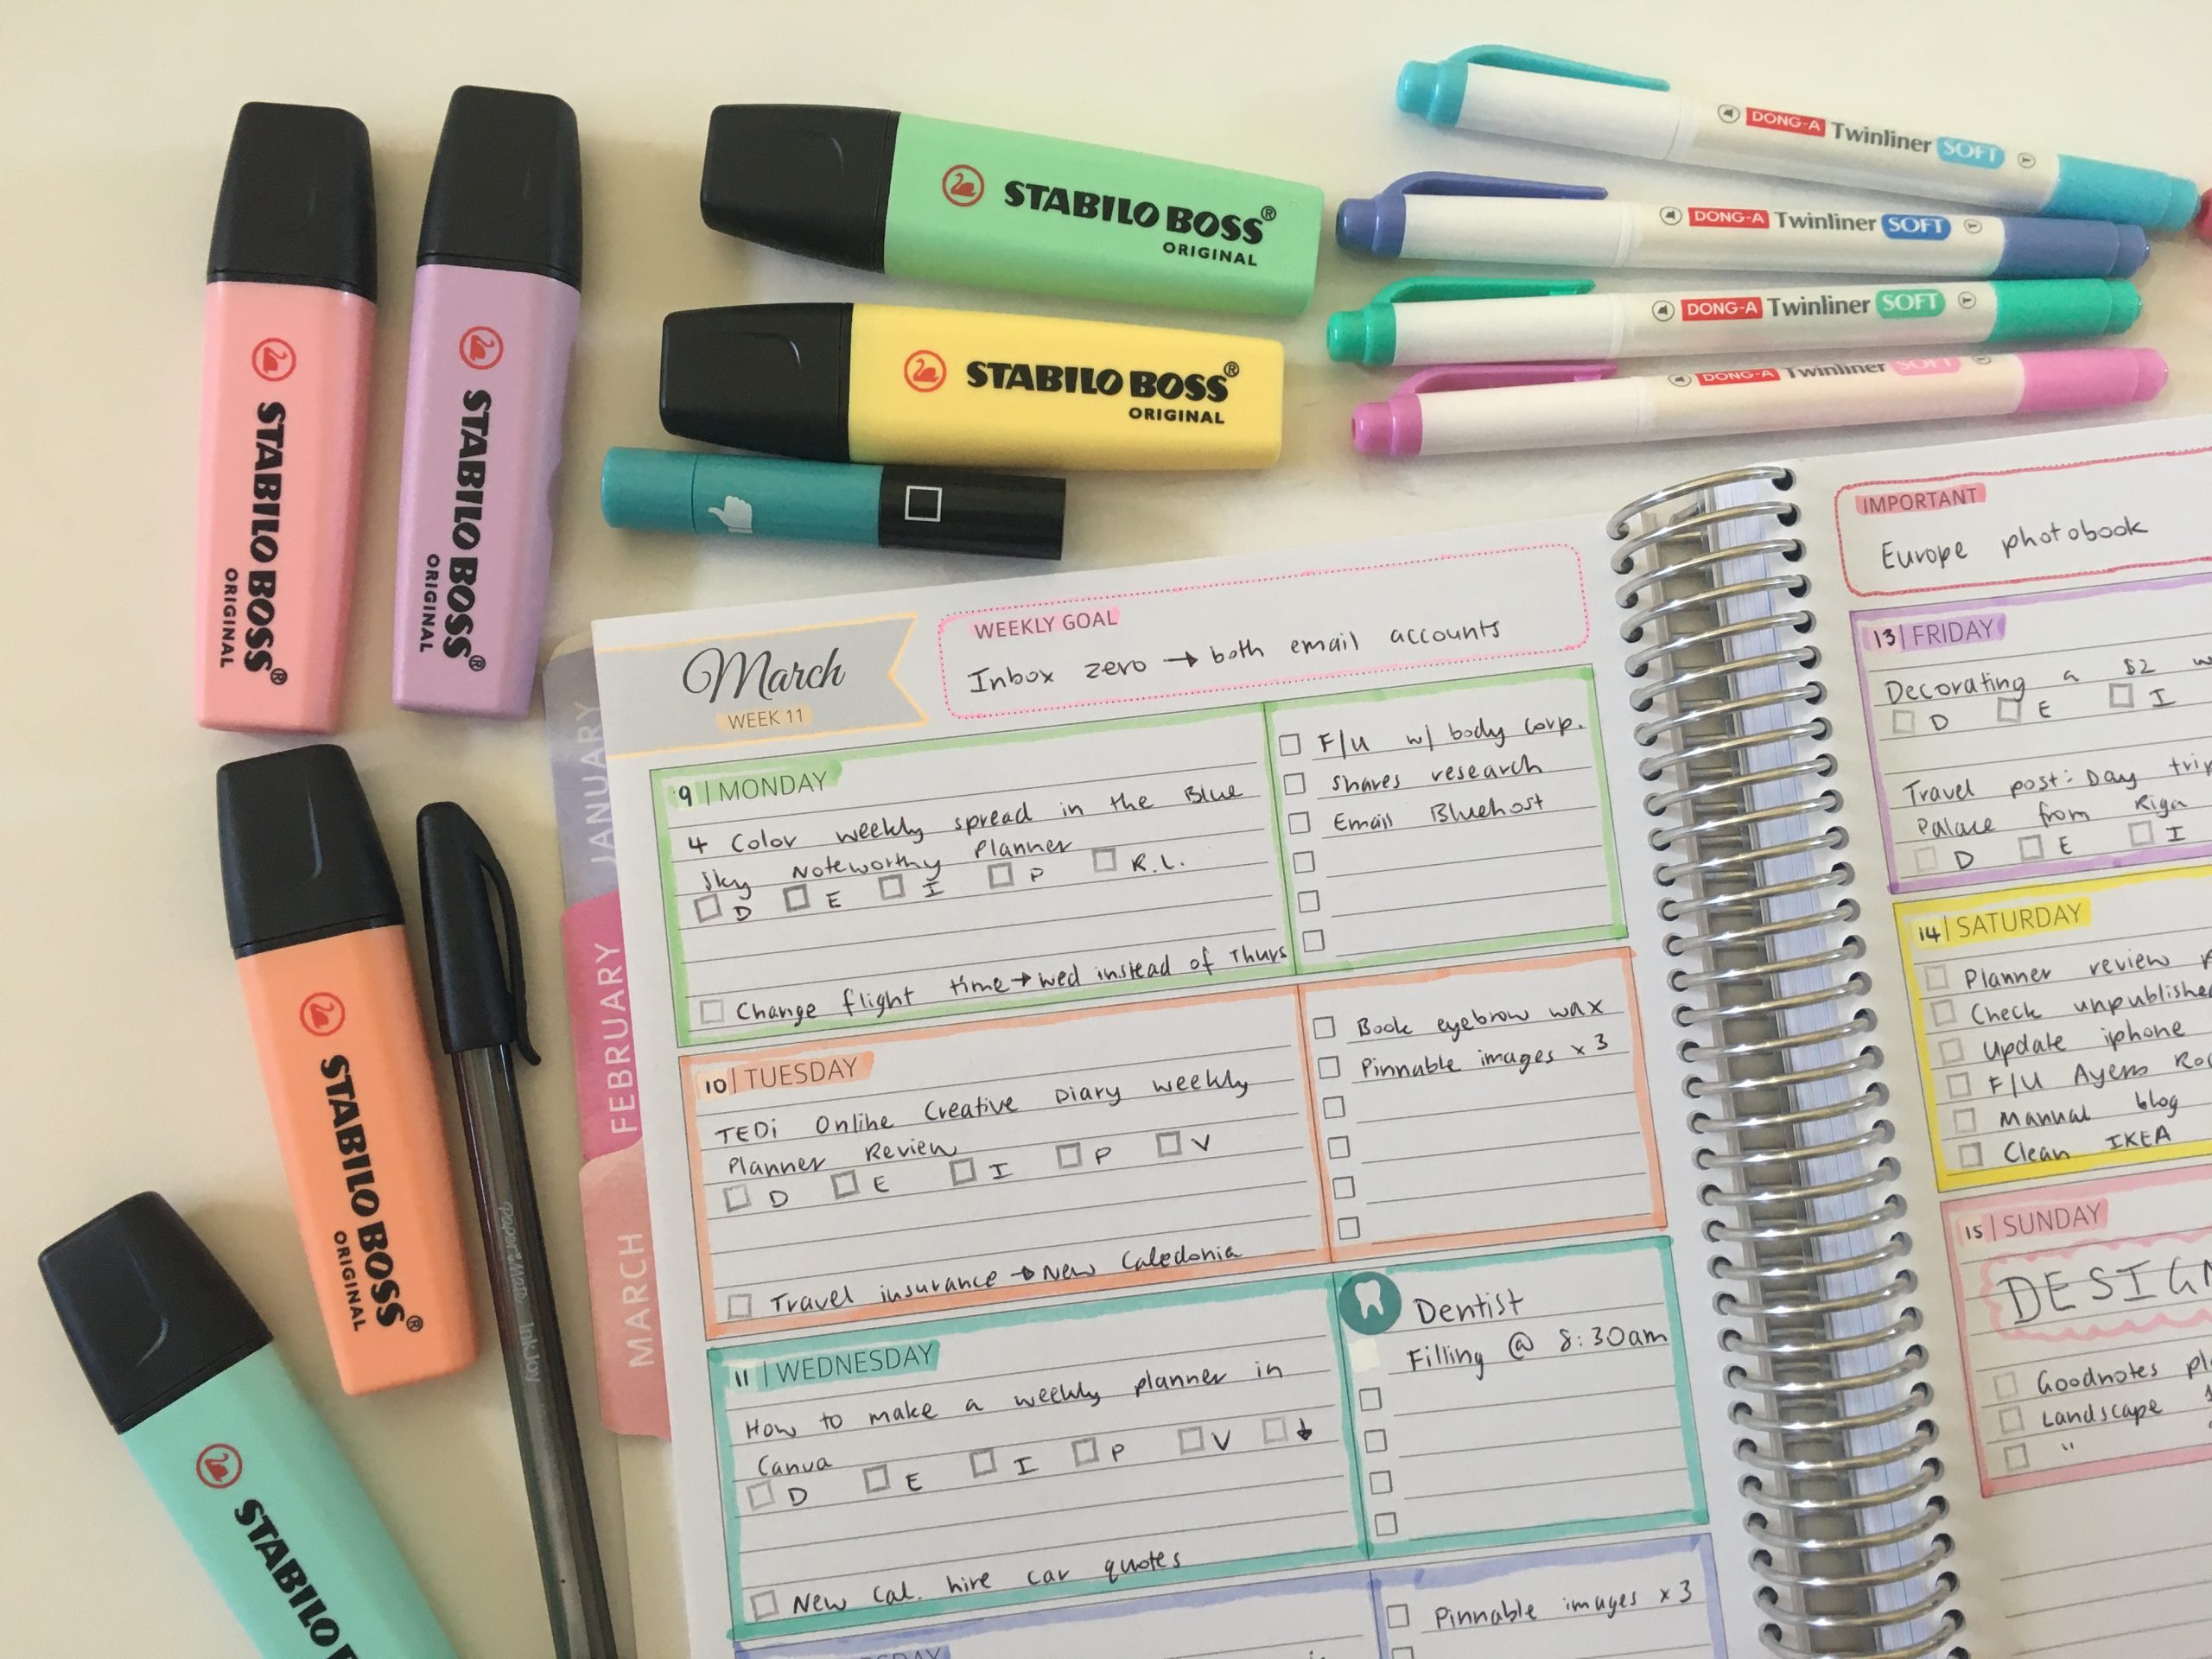
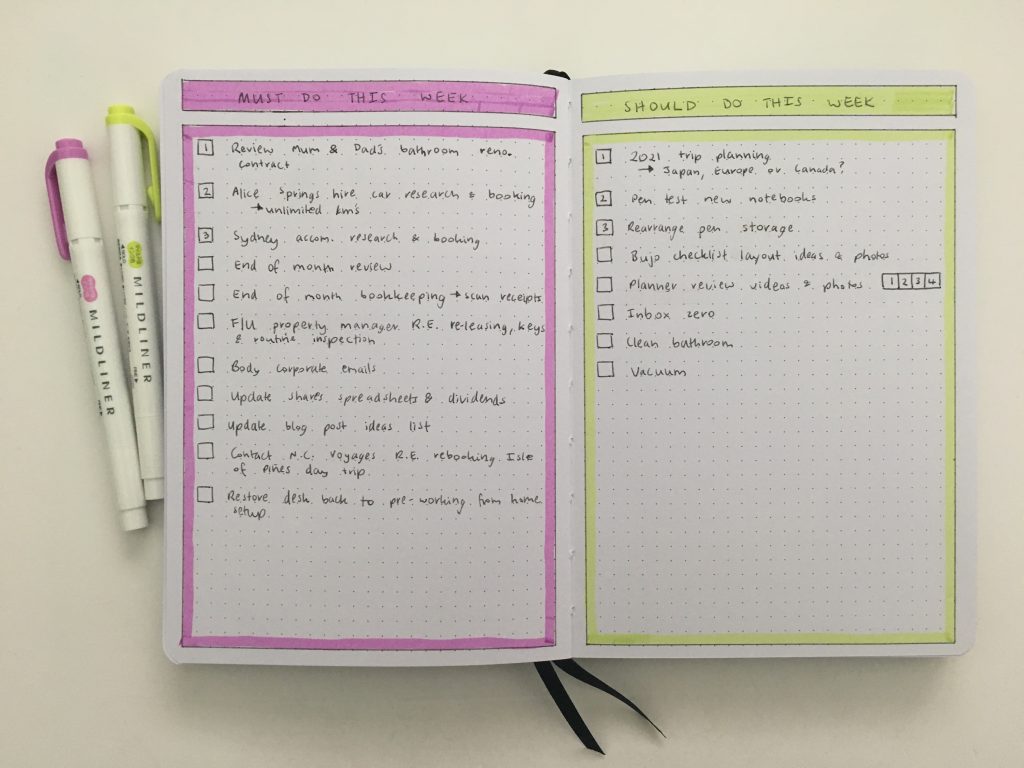
I wanted to use a different color for each box so needed a brand that comes in a variety of colors so reached for the Mildlliners. Some of the Mildliner highlighters have dark colors so I ended up re-writing the ‘Post 1’ text in the Uniball Signo 0.7 gel pen. Probably didn’t help that my Frixion pens ink was running out too.
Related post: 4 Similar (and cheaper) alternatives to the Zebra Mildliner Dual Tip Highlighters
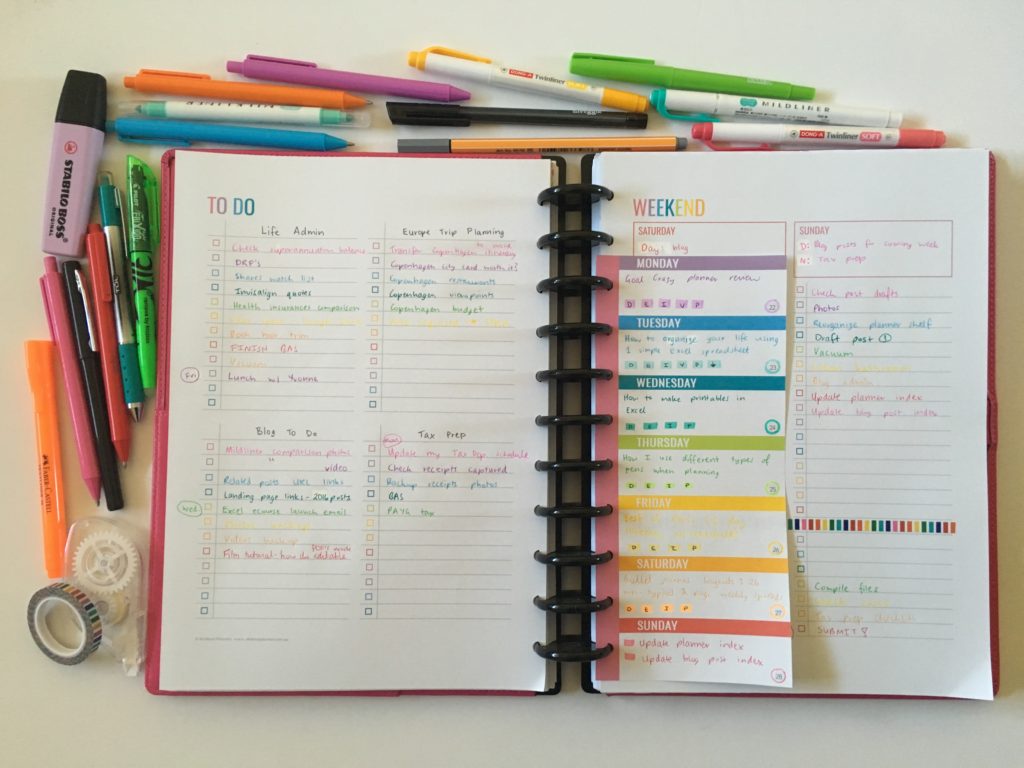
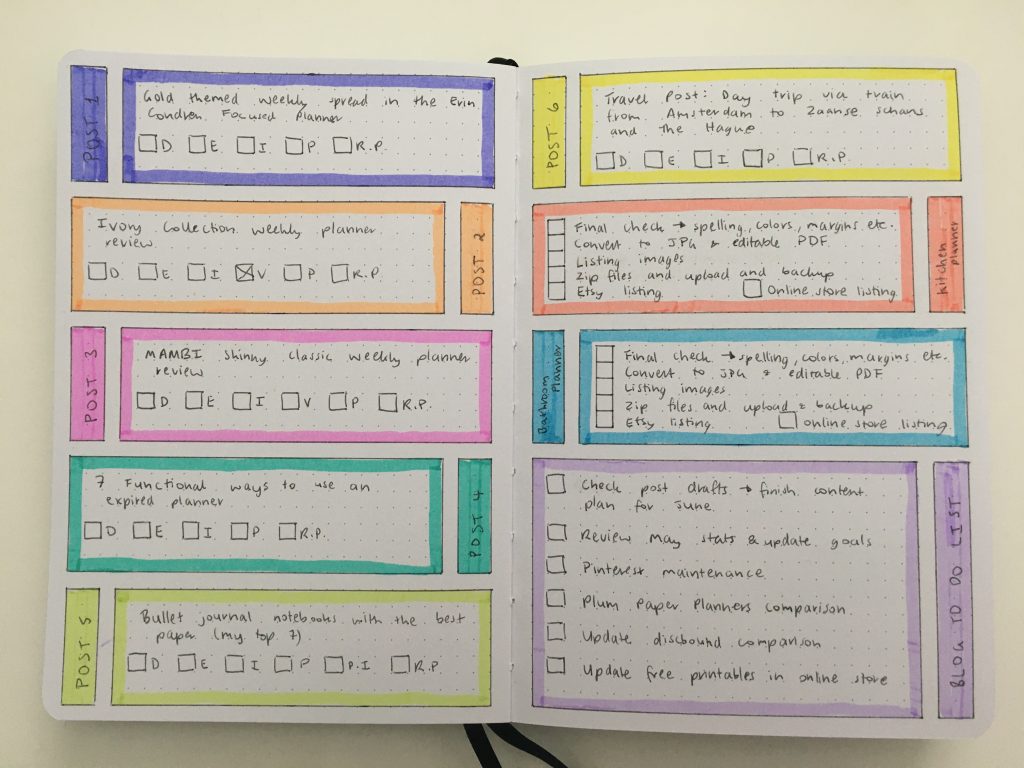
I was going to highlight over absolutely everything – full color in the entire box – but highlighters tend to ‘pool’ the ink at the end of each run, it would waste a lot of highlighter ink and some of the colors were a bit dark so I knew I’d end up re-writing over the top in a bolder black pen so I just left it as it. I considered using zooms or pencils but restrained and left it like this:
So how did the paper hold up under all that highlighter?
Brilliantly! Look – no ghosting or bleed through at all
One thing I do want to point out. While the highlighters and no pens ghost or bleed through the paper, the paper feels much thicker than normal paper (like thin cardstock). My favorite pen for bullet journaling, the Frixion Erasable, didn’t erase cleanly. There was some resistance when rubbing out and you can see the shadow it left in the photos below.
I did notice an issue with the dot placement in this notebook – it doesn’t quite match up – the right pages’ dots start a few millimetres lower than the left page. I don’t really care but thought I’d point it out in case this is a deal-breaker for this notebook for anyone reading this post.
Supplies Used
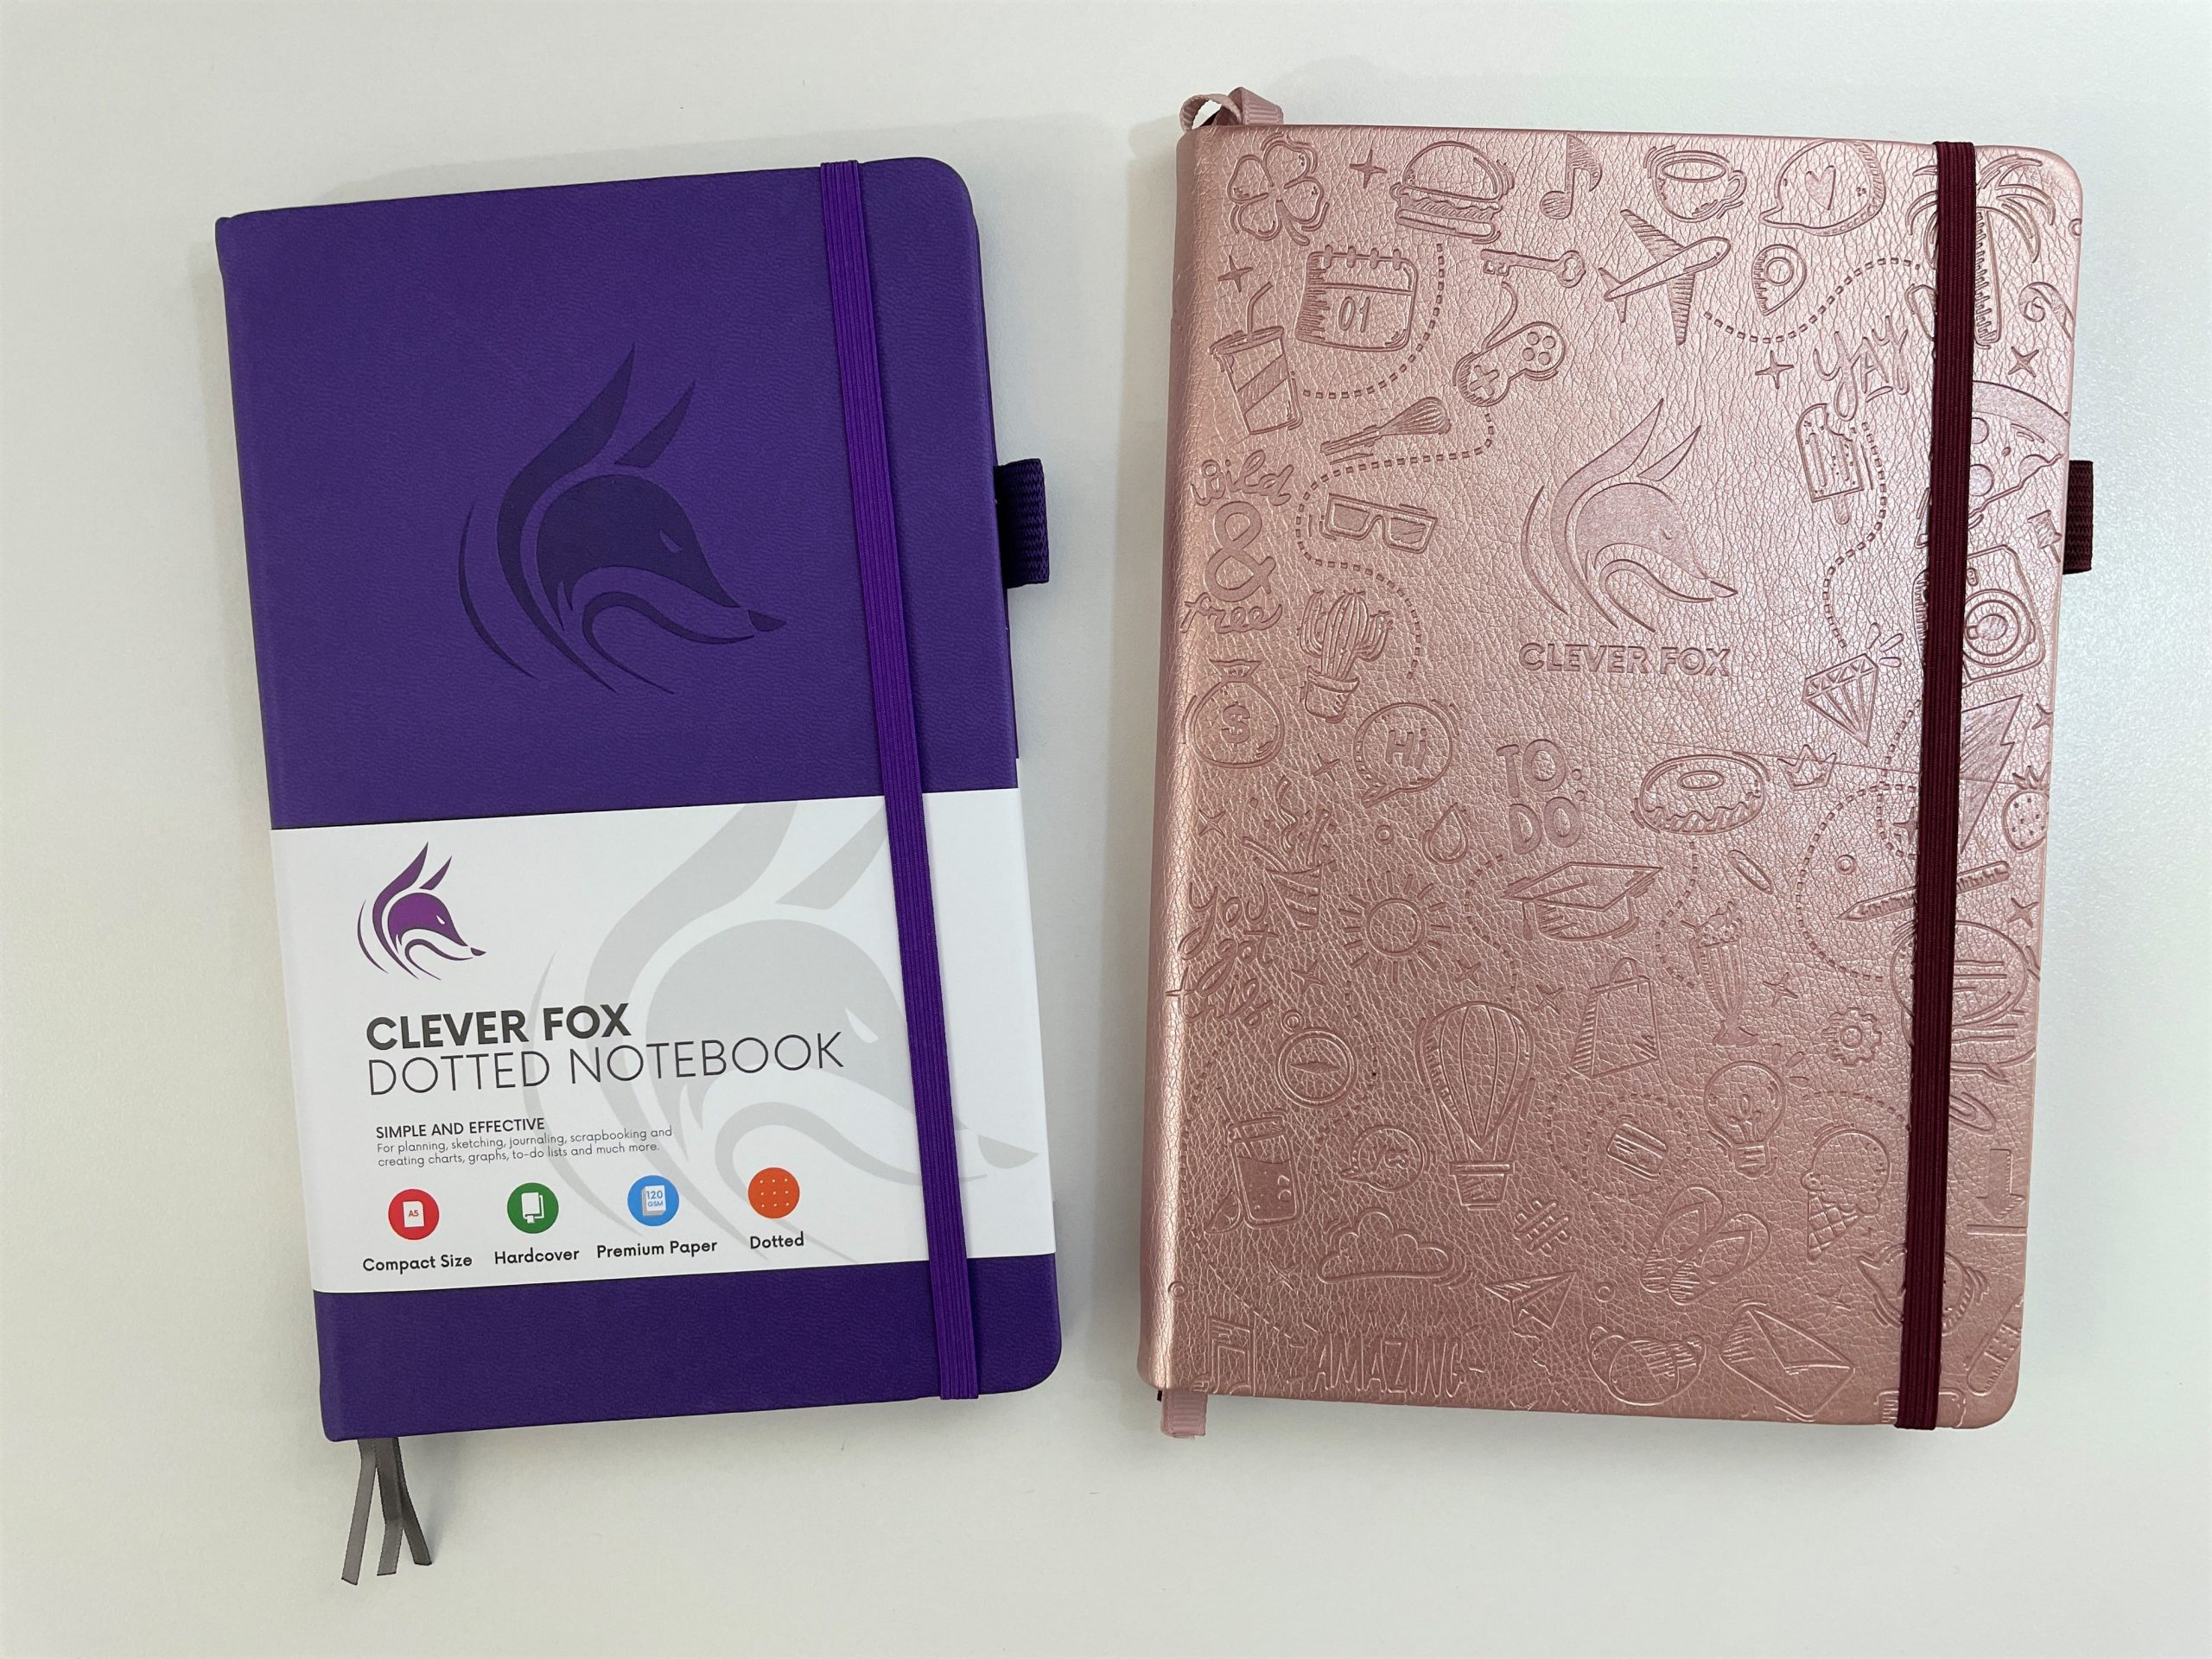
- Buke stationery 180 GSM dot grid notebook
- Frixion erasable black pen
- Poppin ruler (my favorite ruler for bullet journaling as it’s heavy so stays in place)
- Zebra Mildliner highlighters (affiliate link) (I used the chisel tip only) – I used a mixture of highlighters from 4 out of the 5 highlighter sets (the one that have 5 highlighters in each) – all except the neon set

Related post: 4 Similar (and cheaper) alternatives to the Zebra Mildliner Dual Tip Highlighters
Would I use this spread & notebook again?
I would.. but only for super colorful spreads. It’s great there’s no ghosting but I have so many cheap notebooks it doesn’t bother me that much if there’s ghosting or bleed through as I just skip writing on the back side of that page.
If you’re someone that wants to use watercolors or only use one notebook for bullet journaling not switch between various notebooks like I do, then this has the best paper I’ve come across in a dot grid notebook (after reviewing more than 30 dot grid notebooks).
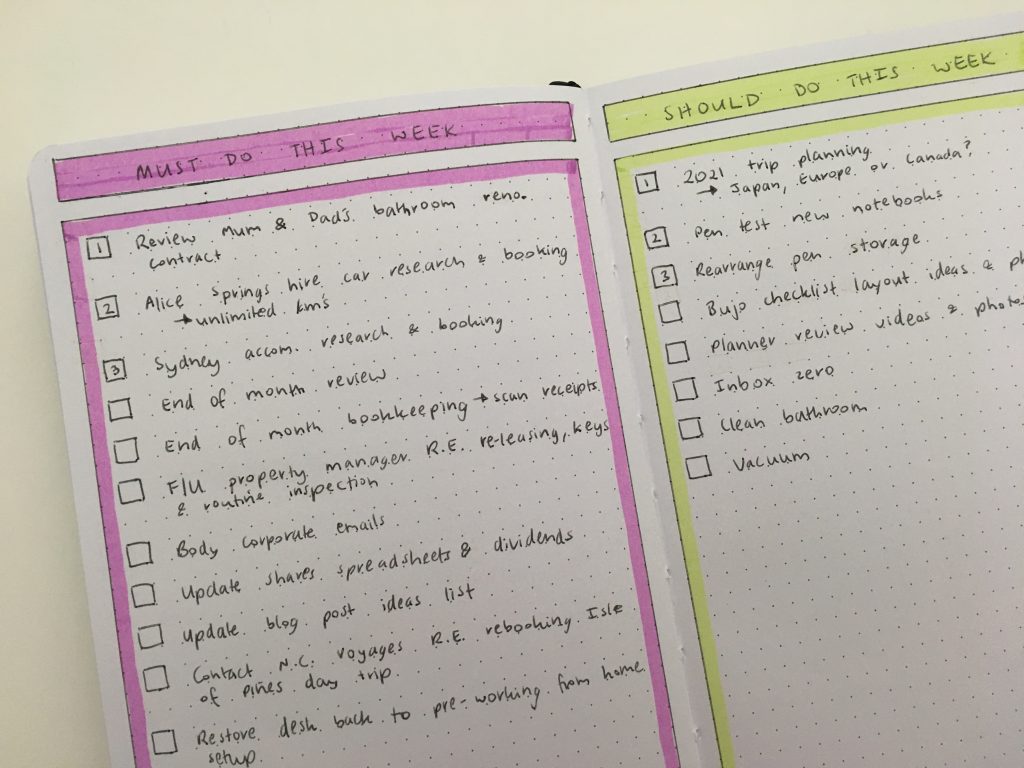
As for the weekly spread it worked well for this week, I’d tweak the blog post planning section to reduce the space for each blog post and create more list space. If you don’t need as many lists as me, you could change the post labels to Monday to Sunday with 1 combined box for the weekend, and then use the project space I created as your must do and should do lists and use the large section at the bottom for an if I have time list.
Read more: 25 Ideas for your bullet journal to do list spreads
Past weekly spreads
- Converting the Panda Planner daily version into a weekly planner
- Decorating a $2 weekly planner
- 10 Minute Rainbow Weekly Spread Using Highlighters
Planning tips
- How to choose the right planner pens: what to look for when buying planner pens
- Using blank pages: 50 useful lists to add to your planner
- 15 Quick and Simple Vertical Bullet Journal Weekly Spreads
Found this post helpful? Pin it!