
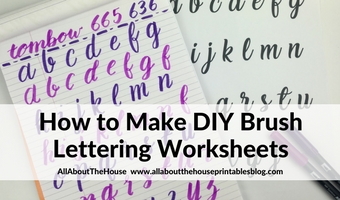
Decorating a $2 weekly planner
I like to splurge on pretty planners but I get that some people don’t. So if you can only afford a generic, cheap planner or you are buying a cheap planner to try out the layout, here’s some simple ways to make it pretty!
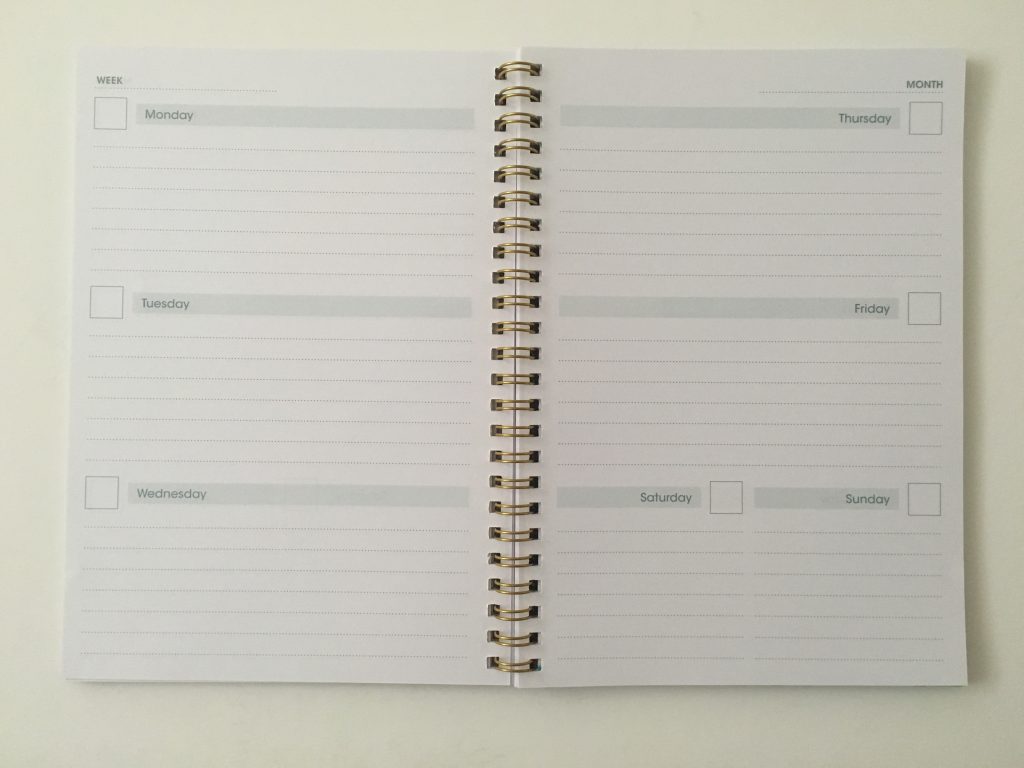
Before the Pen
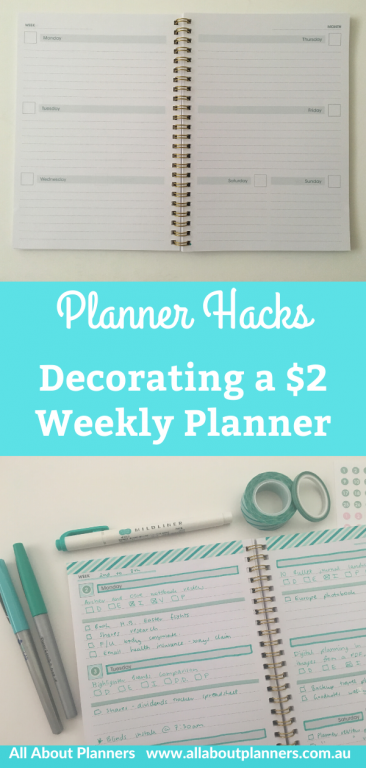
This is a $2 planner I found a few years ago at the Reject Shop (they seem to bring out this same planner every year. just with different covers). If you’re in the USA or anther country, I’m sure there’s plenty of cheap planners you could do something similar with (dollar store etc.)
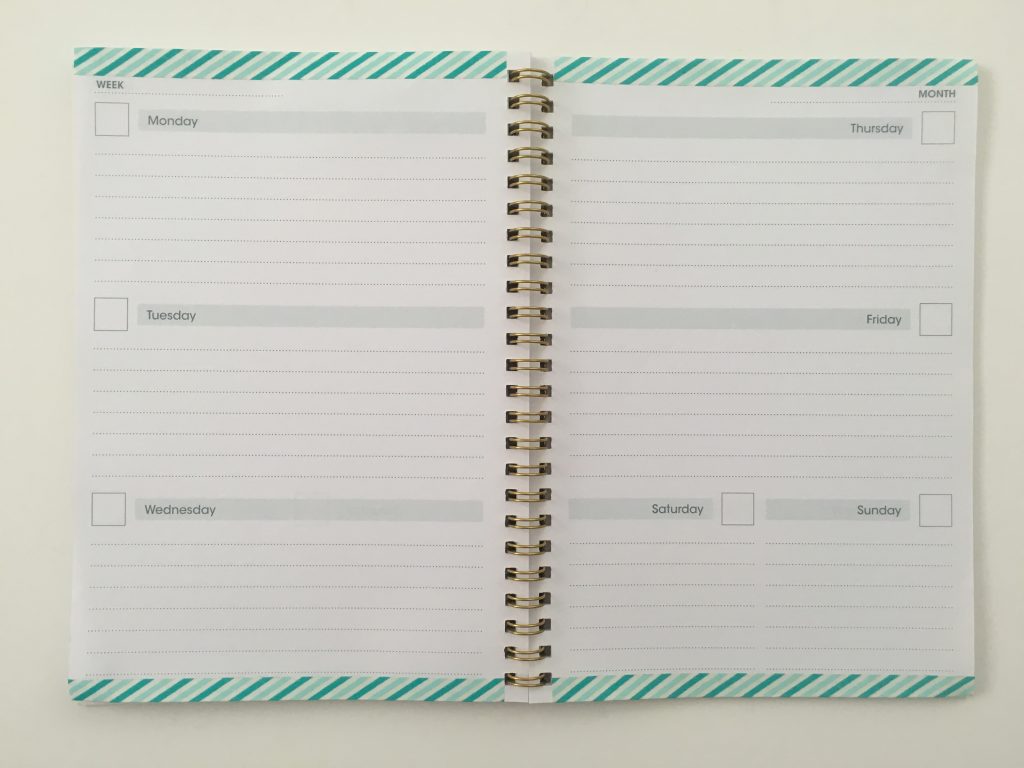
I’m accumulated plenty of washi tape – some I’ve never even used! Including this teal and mint washi tape. I usually start with highlighter or washi tape and then go raid my pen stash for matching colors. After doing a few test swatches on the back of an envelope (I test the color combination first otherwise it doesn’t look that great) – I managed to find close matches!
Washi tape adds a little something… but not quite enough…
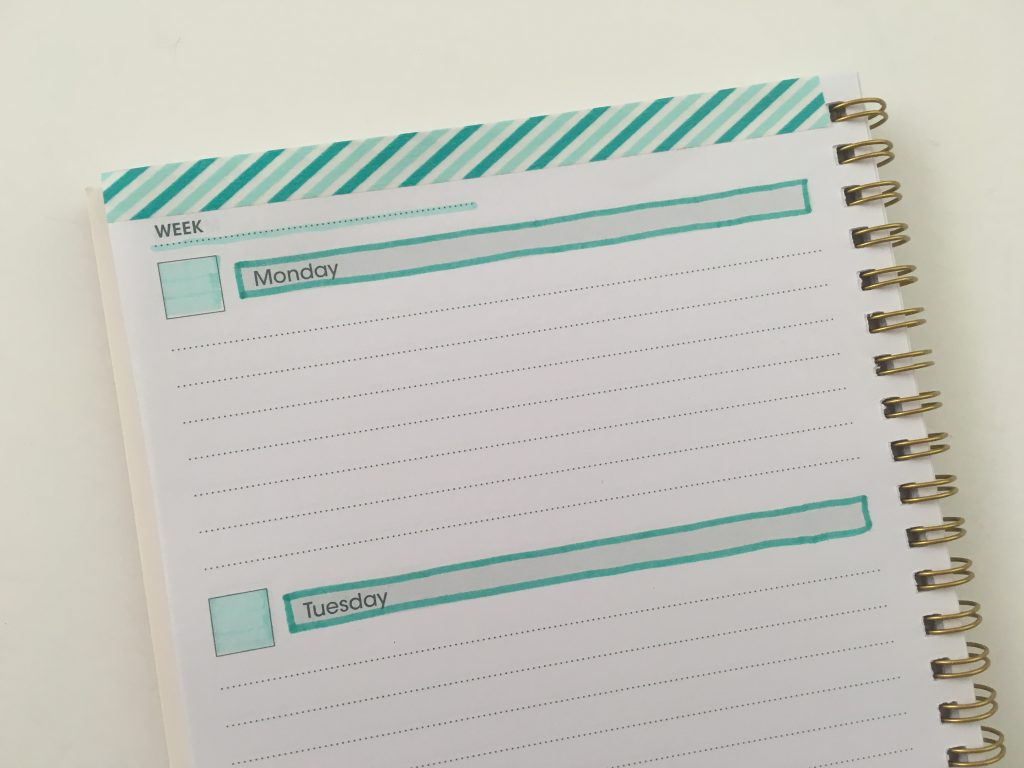
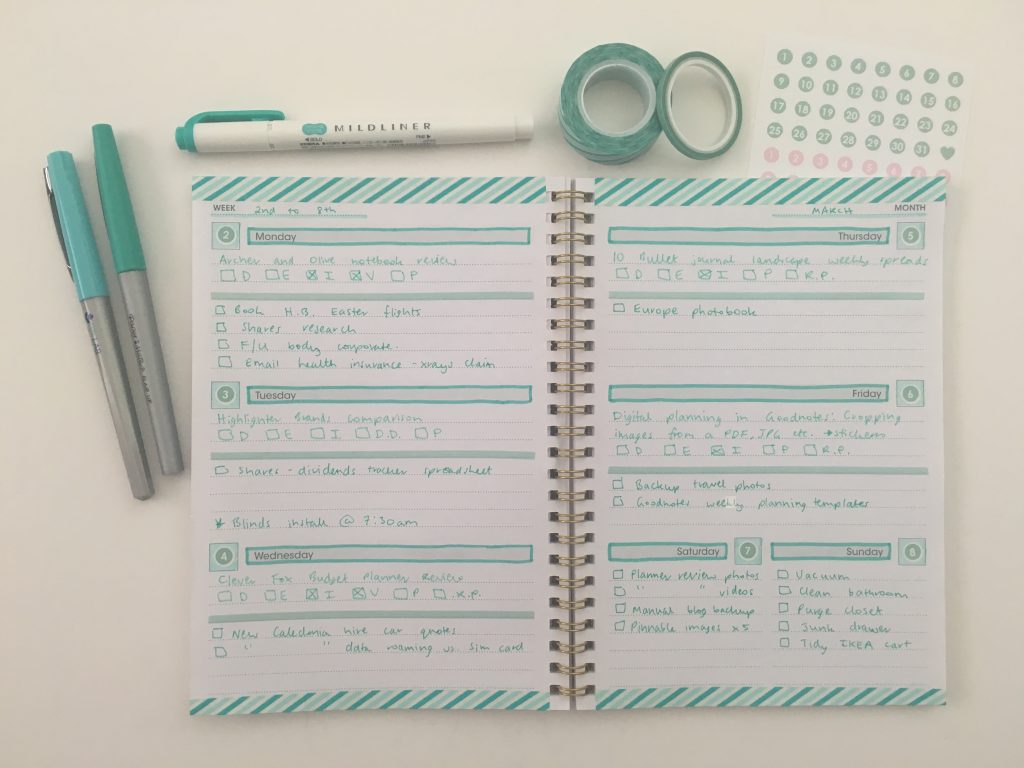
What a difference highlighters make!
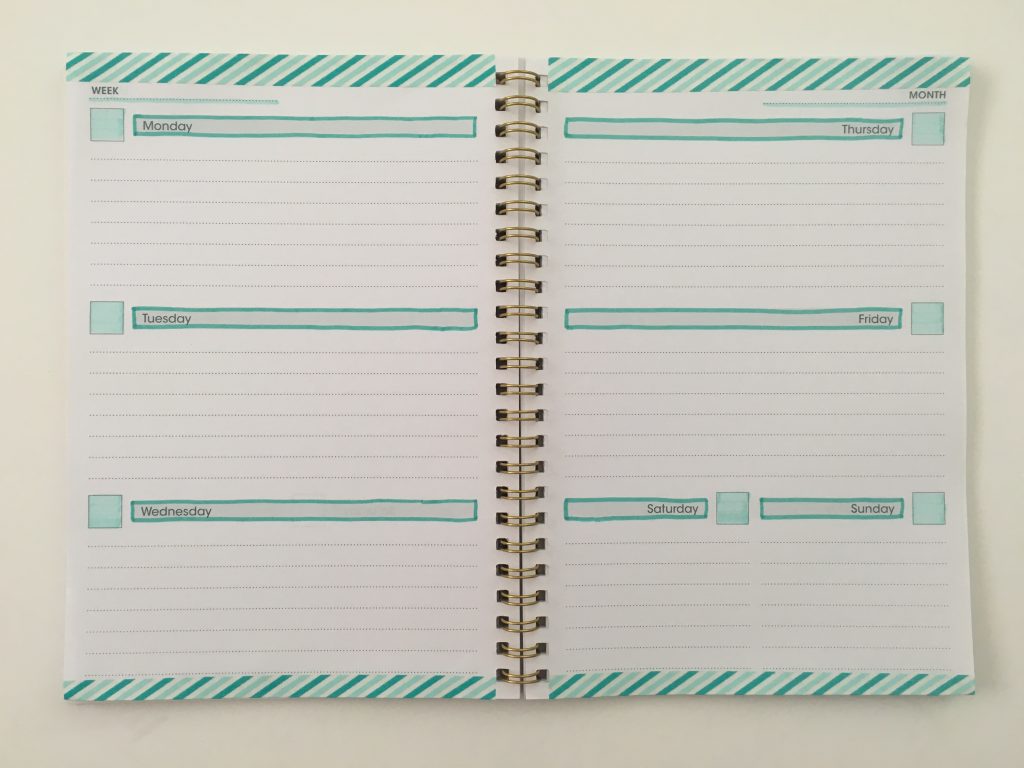
After the Pen
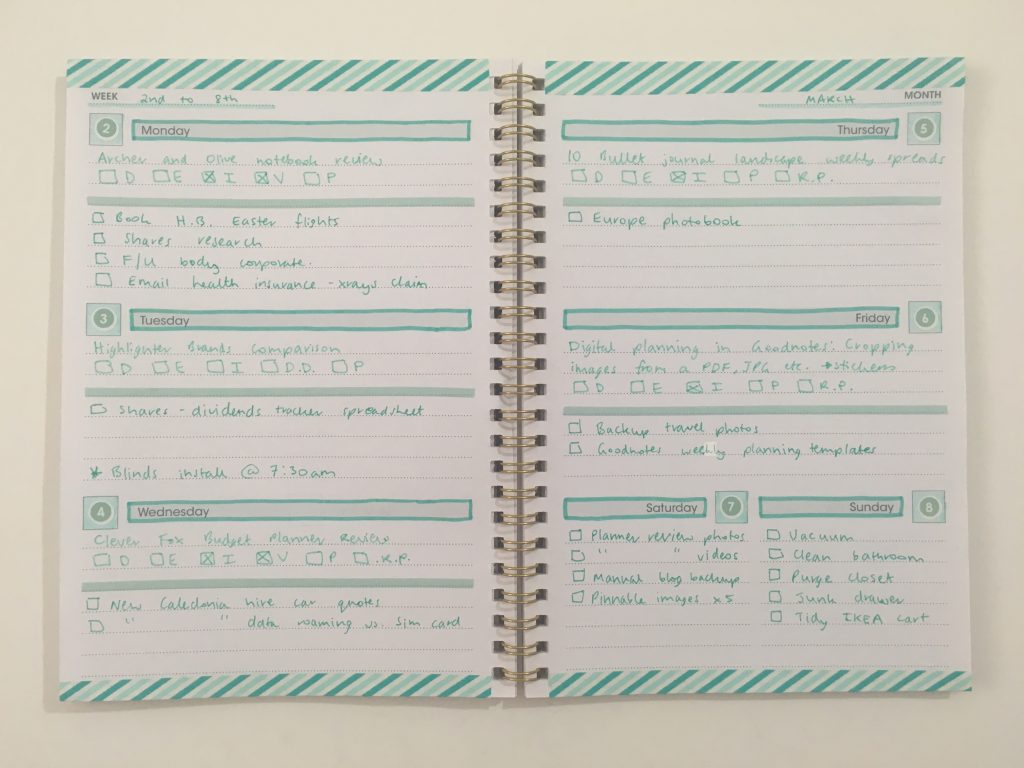
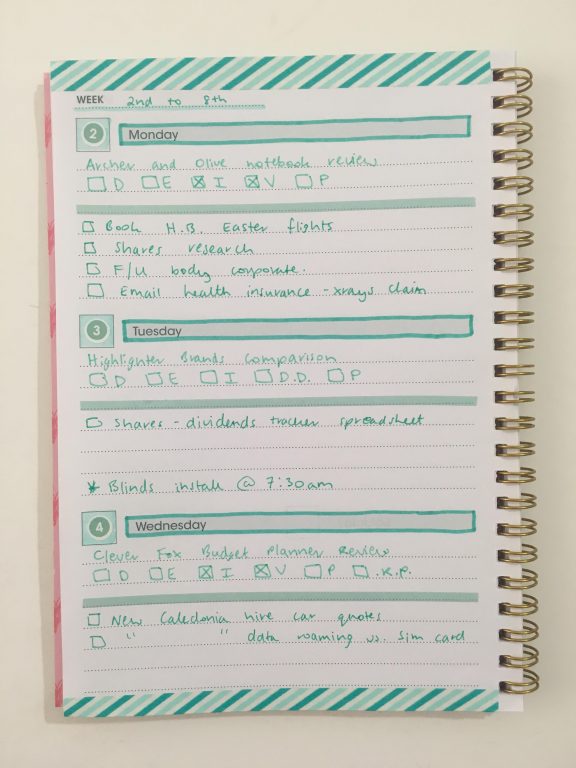
Most horizontal planners split each day’s box into 2 vertically (which is what I tend to do as well) so I decided to try something different and split the box into 2 horizontally.
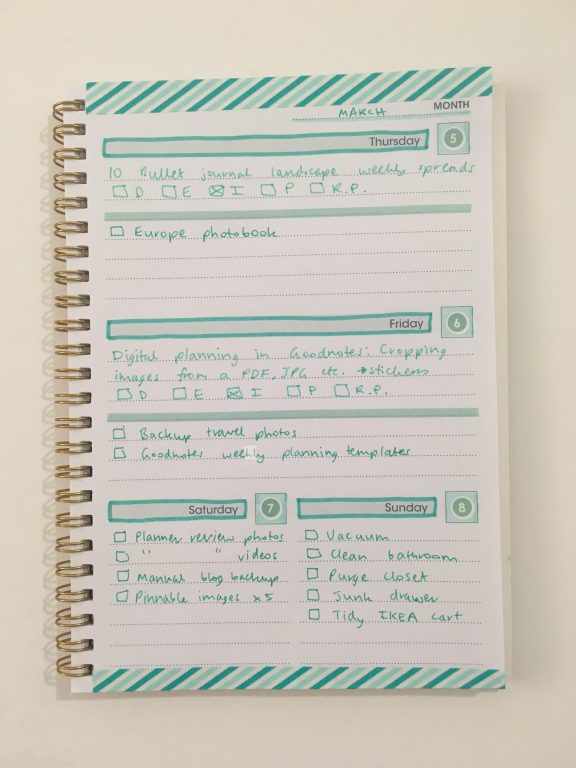
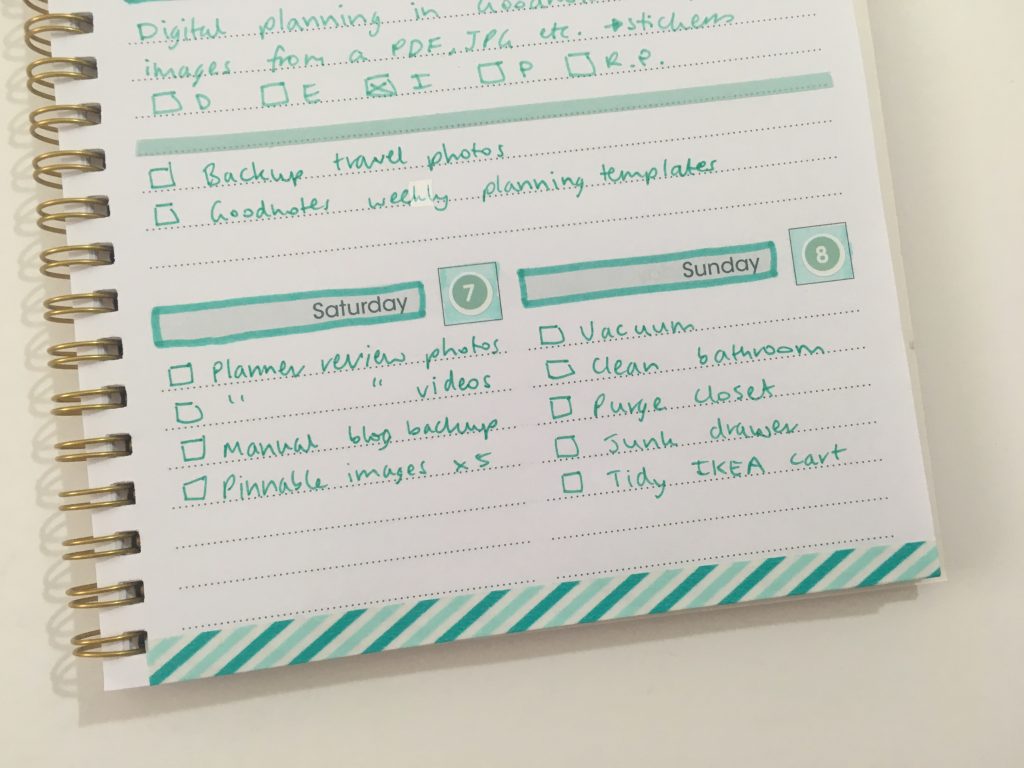
Space was a bit squeezed having a combined weekend (that’s when I have more time for tasks and need more room) so I ended up adding a sticky note (Post it Note 3M has a nice teal / aqua color)
Supplies Used
This list contains affiliate links. If you click one of these links and make a purchase I’ll receive a small commission in exchange for referring you.
- Illustrated Faith rainbow thin washi (thin aqua to divide up the days)
- Teal and mint stripe washi
- Papermate flair ultra fine (UF) mint
- Inklab fineliner (which are like a cheap knock off of the Papermate Flair) – aqua
- $2 undated planner from the Reject Shop
- Mint date dot stickers from the Reject shop
- Zebra mildliner mint / aqua from the cool / furoescent colors set
- Zebra mildliner teal from the bright colors set

Would I use this spread again?
It worked well for this week as I didn’t have many tasks (as the ones I did were big time consuming projects) however it’s not a layout I’d use every week. I much prefer writing horizontally instead of vertically hence why I split the box lengthways. Not many planners do this so if I wanted to use a similar layout then yes I’d probably use this planner again. A slightly bigger page size would be great.
Past weekly spreads
- Bullet journaling in the Scribbles that Matter Notebook (is it worth the hype?)
- Whistle and Birch weekly planner spread using the study layout
- Agenzio PaperChase Color coded weekly spread
Planning tips
- 10 Quick planner hacks you need to try (planning tips & inspiration)
- Minimalist Planner Decorating: Title Ideas for your Bullet Journal
- How to store planner pens (5 ways – and my favorite method)
Tired of drawing up weekly spreads? This printable bundle of 52 different 1 page weekly planners (you can mix and match to create 2 page spreads if you prefer), is available in my Etsy shop and online store. It comes in US letter size and Happy Planner classic page size.

Like this post? Pin it!


Absolutely brilliant.
I would have been tempted to chuck that 2 dollar planner in the dustbin.
The power of creativity.