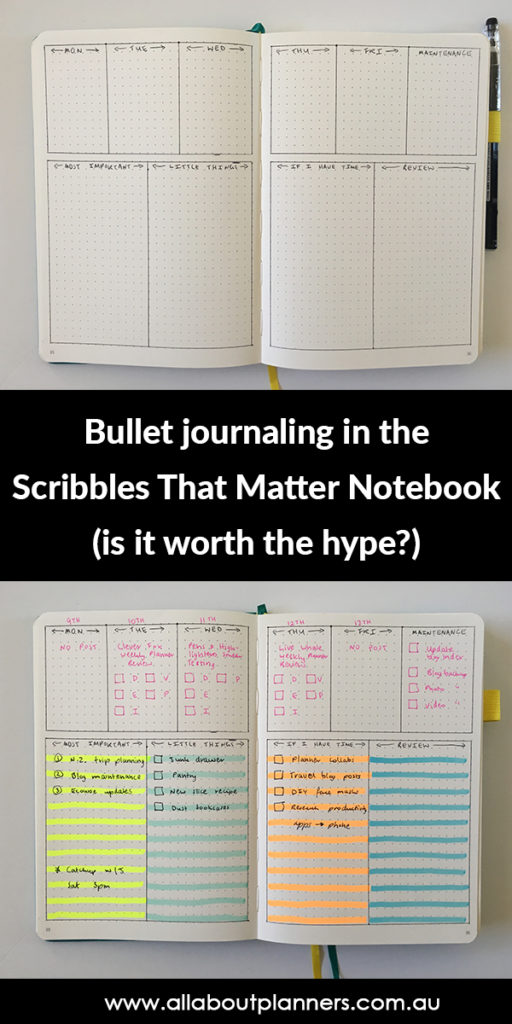
Bullet journaling in the Scribbles that Matter Notebook (is it worth the hype?)
For all the hype surrounding the Scribbles that Matter notebook I thought I better try it out and see what all the fuss is about!
Before the Pen
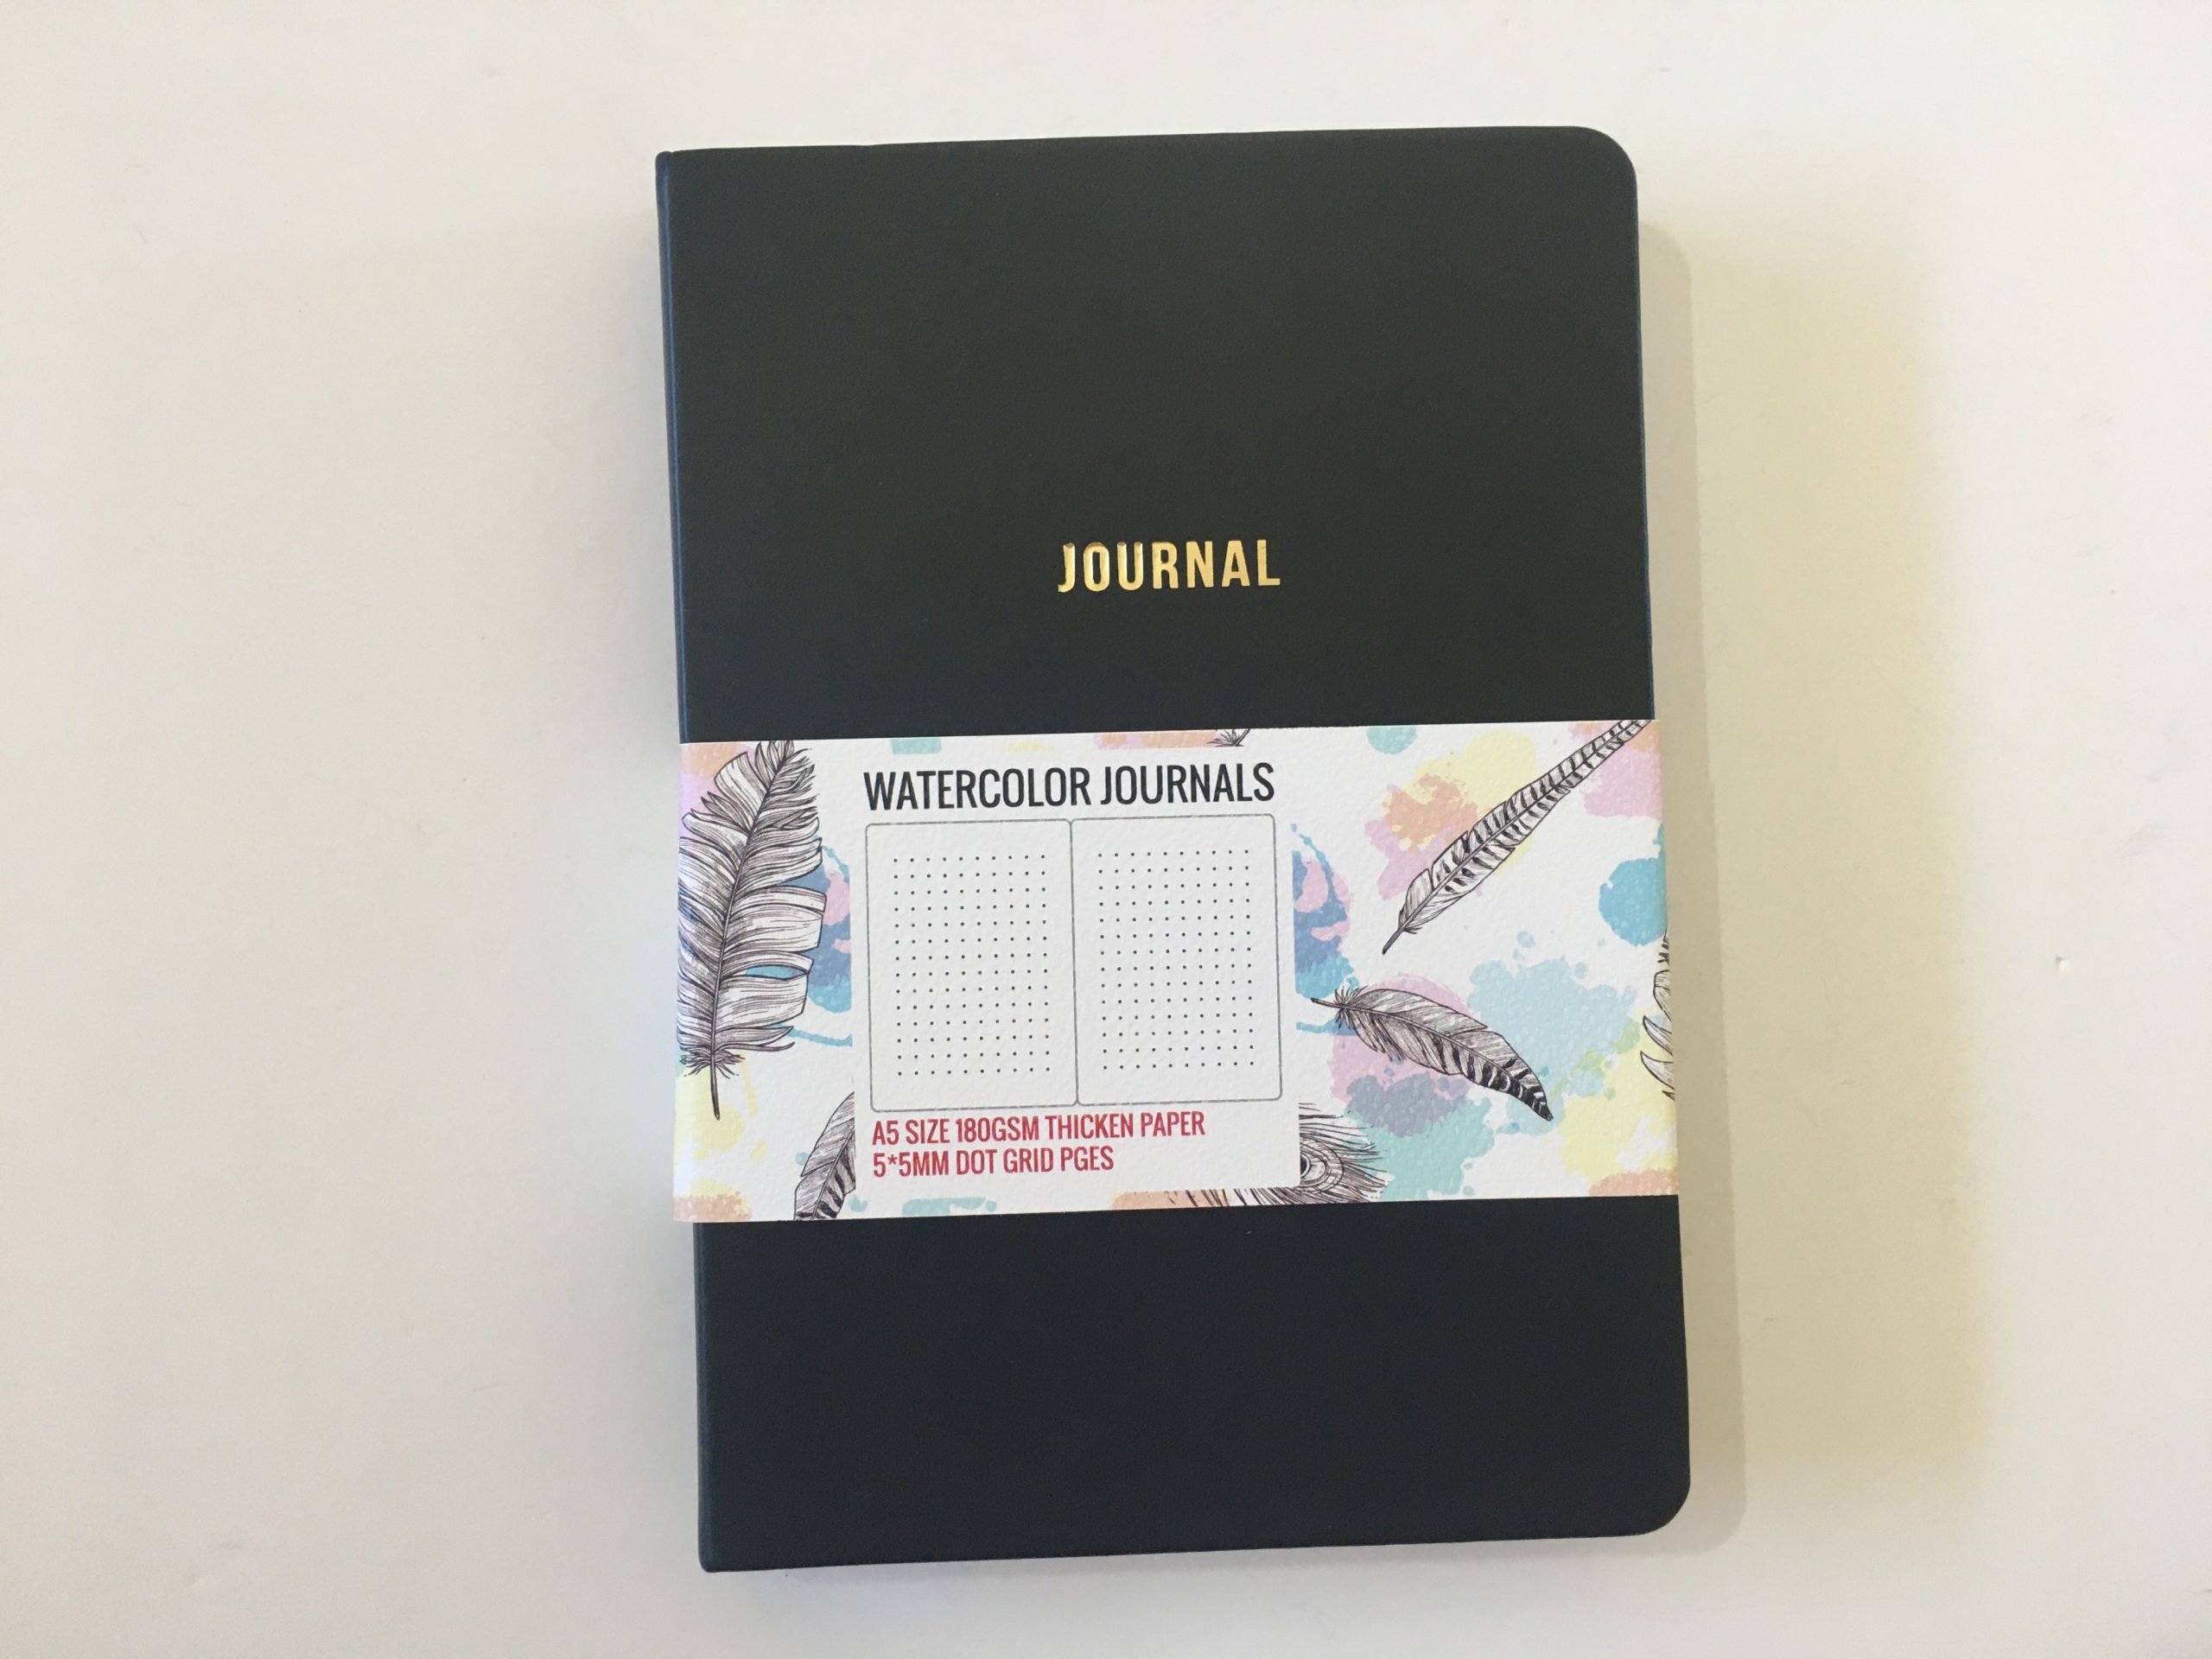
The Scribbles that Matter notebook is dot grid, A5 size with numbered pages and a pre-printed index – a notebook specifically designed for bullet journaling.
See my full review of the notebook in this post.
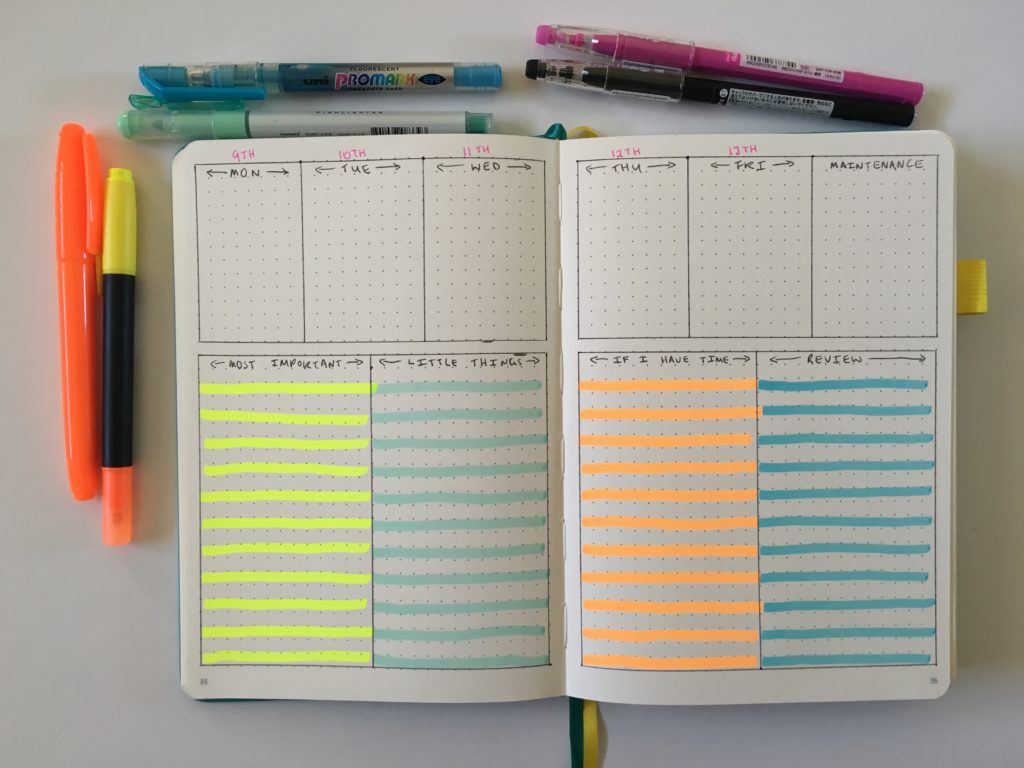
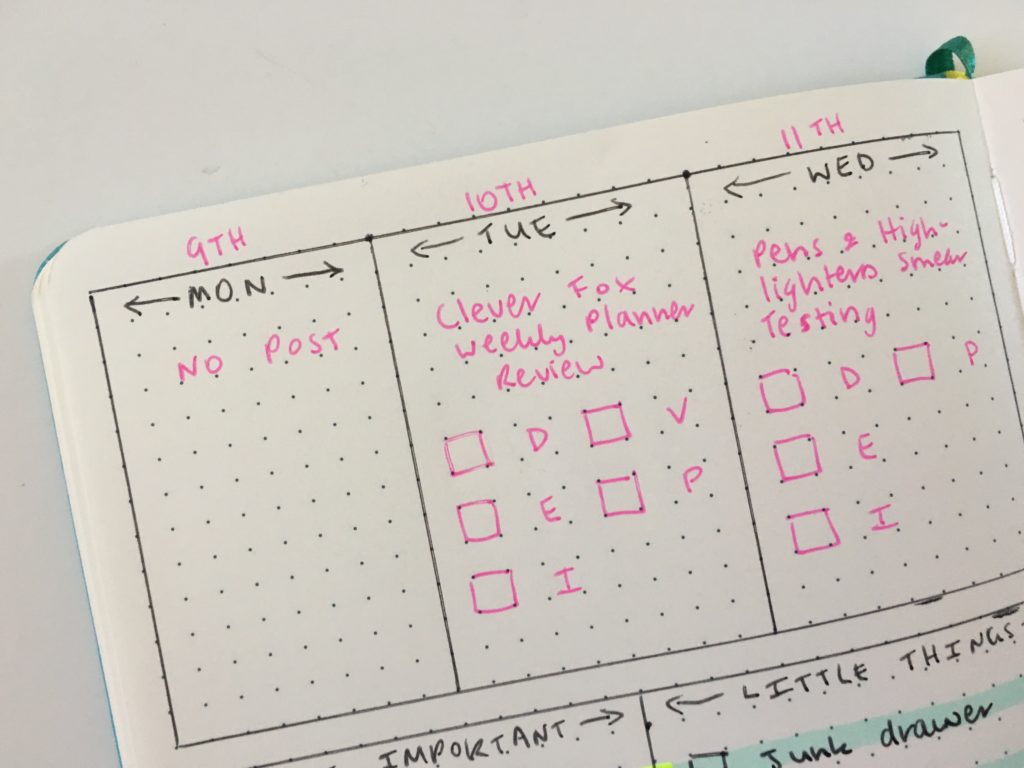
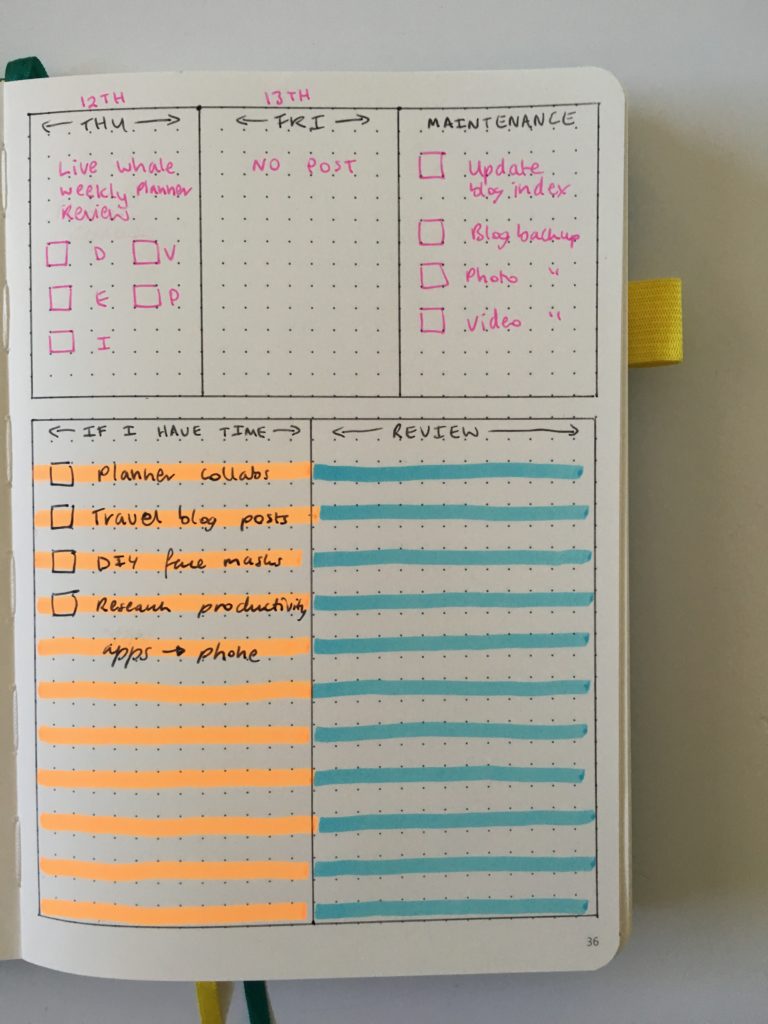
For this week’s setup I opted for less daily planning space and more list making space. I really only need the days of the week for blog post scheduling.

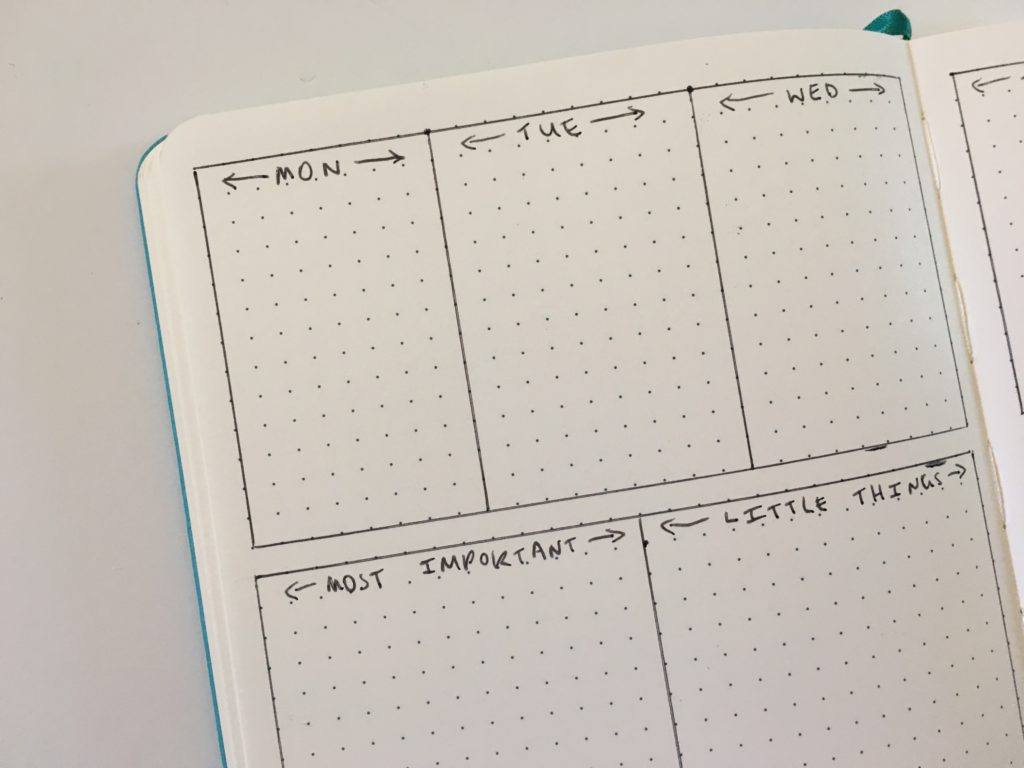
On dot grid paper, I prefer to write on every second line to keep it neat. Rather than ruling lines which I thought would make the page look a bit busy, I opted to use different colored highlighters to make my own lines. I probably didn’t choose the best highlighters – some of them had a thin tip that didn’t fill the spacing between the rows of dots. I probably should’ve used the Stabilo Boss highlighters (which tend to be as thick as the dot grid spacing in these types of notebooks). Never mind, I’m still happy with how it turned out!

After the Pen
Neat, simple and a bit of color!
I used to hate dot grid pages but am slowly being converted. The dots certainly make it easier to space things out, draw straight lines and neat checkboxes.
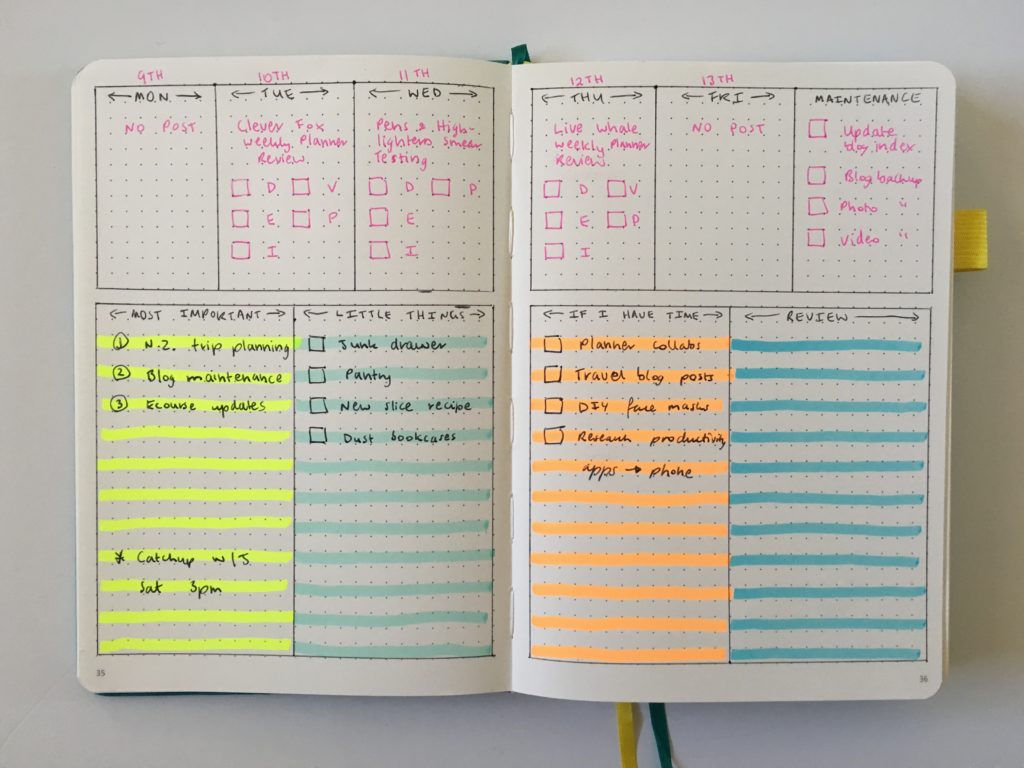
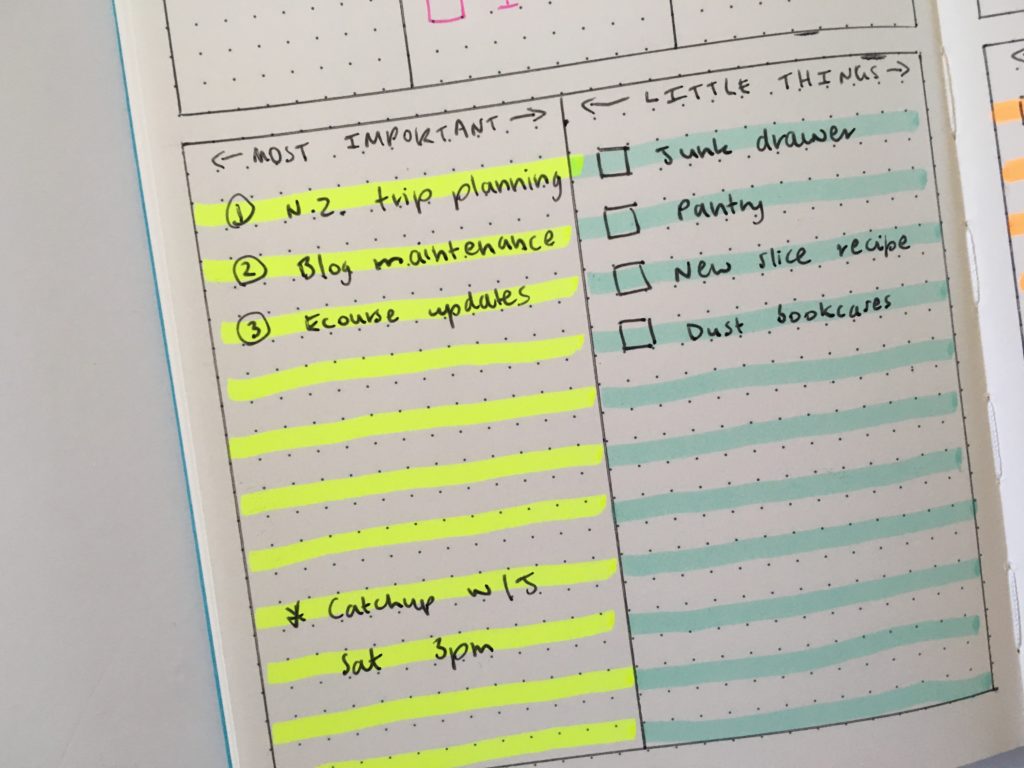
Since I don’t like with dot grid paper that things get bunched and write on every second line I opted to create my own lines using highlighters. To add a bit of color since most bullet journal layouts end up looking very minimalist with only black pen, I used a different color for each task list.
For the price of this notebook, the paper quality is disappointing. The highlighters ghosted on the back side of the paper.
Supplies Used:
- Smiggle scented orange highlighter
- Artline yellow highlighter
- Mitsubishi fluorescent uni promark blue
- Monami Essenti soft mint highlighter
- Pilot frixion erasable pens in black & pink
Would I Use this layout again?
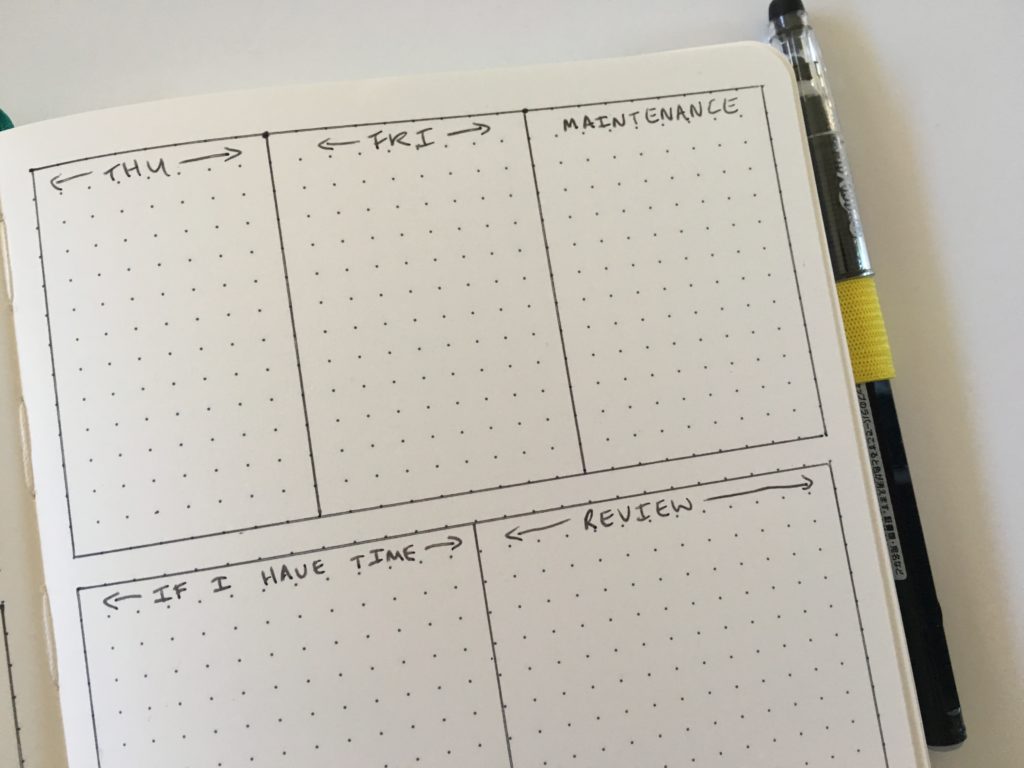
Would I use the Scribbles That Matter notebook again? Probably. The pages lay flat and the notebook is wide enough to comfortably fit 2 list columns on the 1 page.
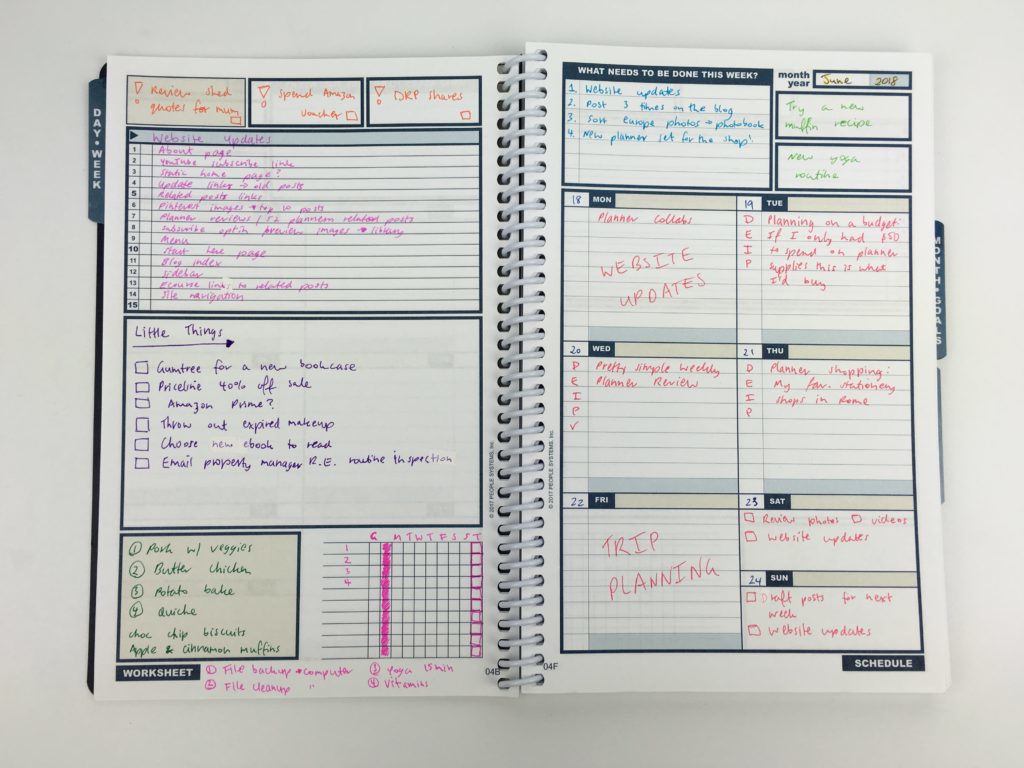
I liked this layout with an overview up the top and then detail below. I’m so bored with the standard vertical, horizontal, hourly etc. layouts that most planner companies offer so this was a nice change. Plus because it was a DIY / bullet journal spread I got to choose to size of each section to suit my needs.
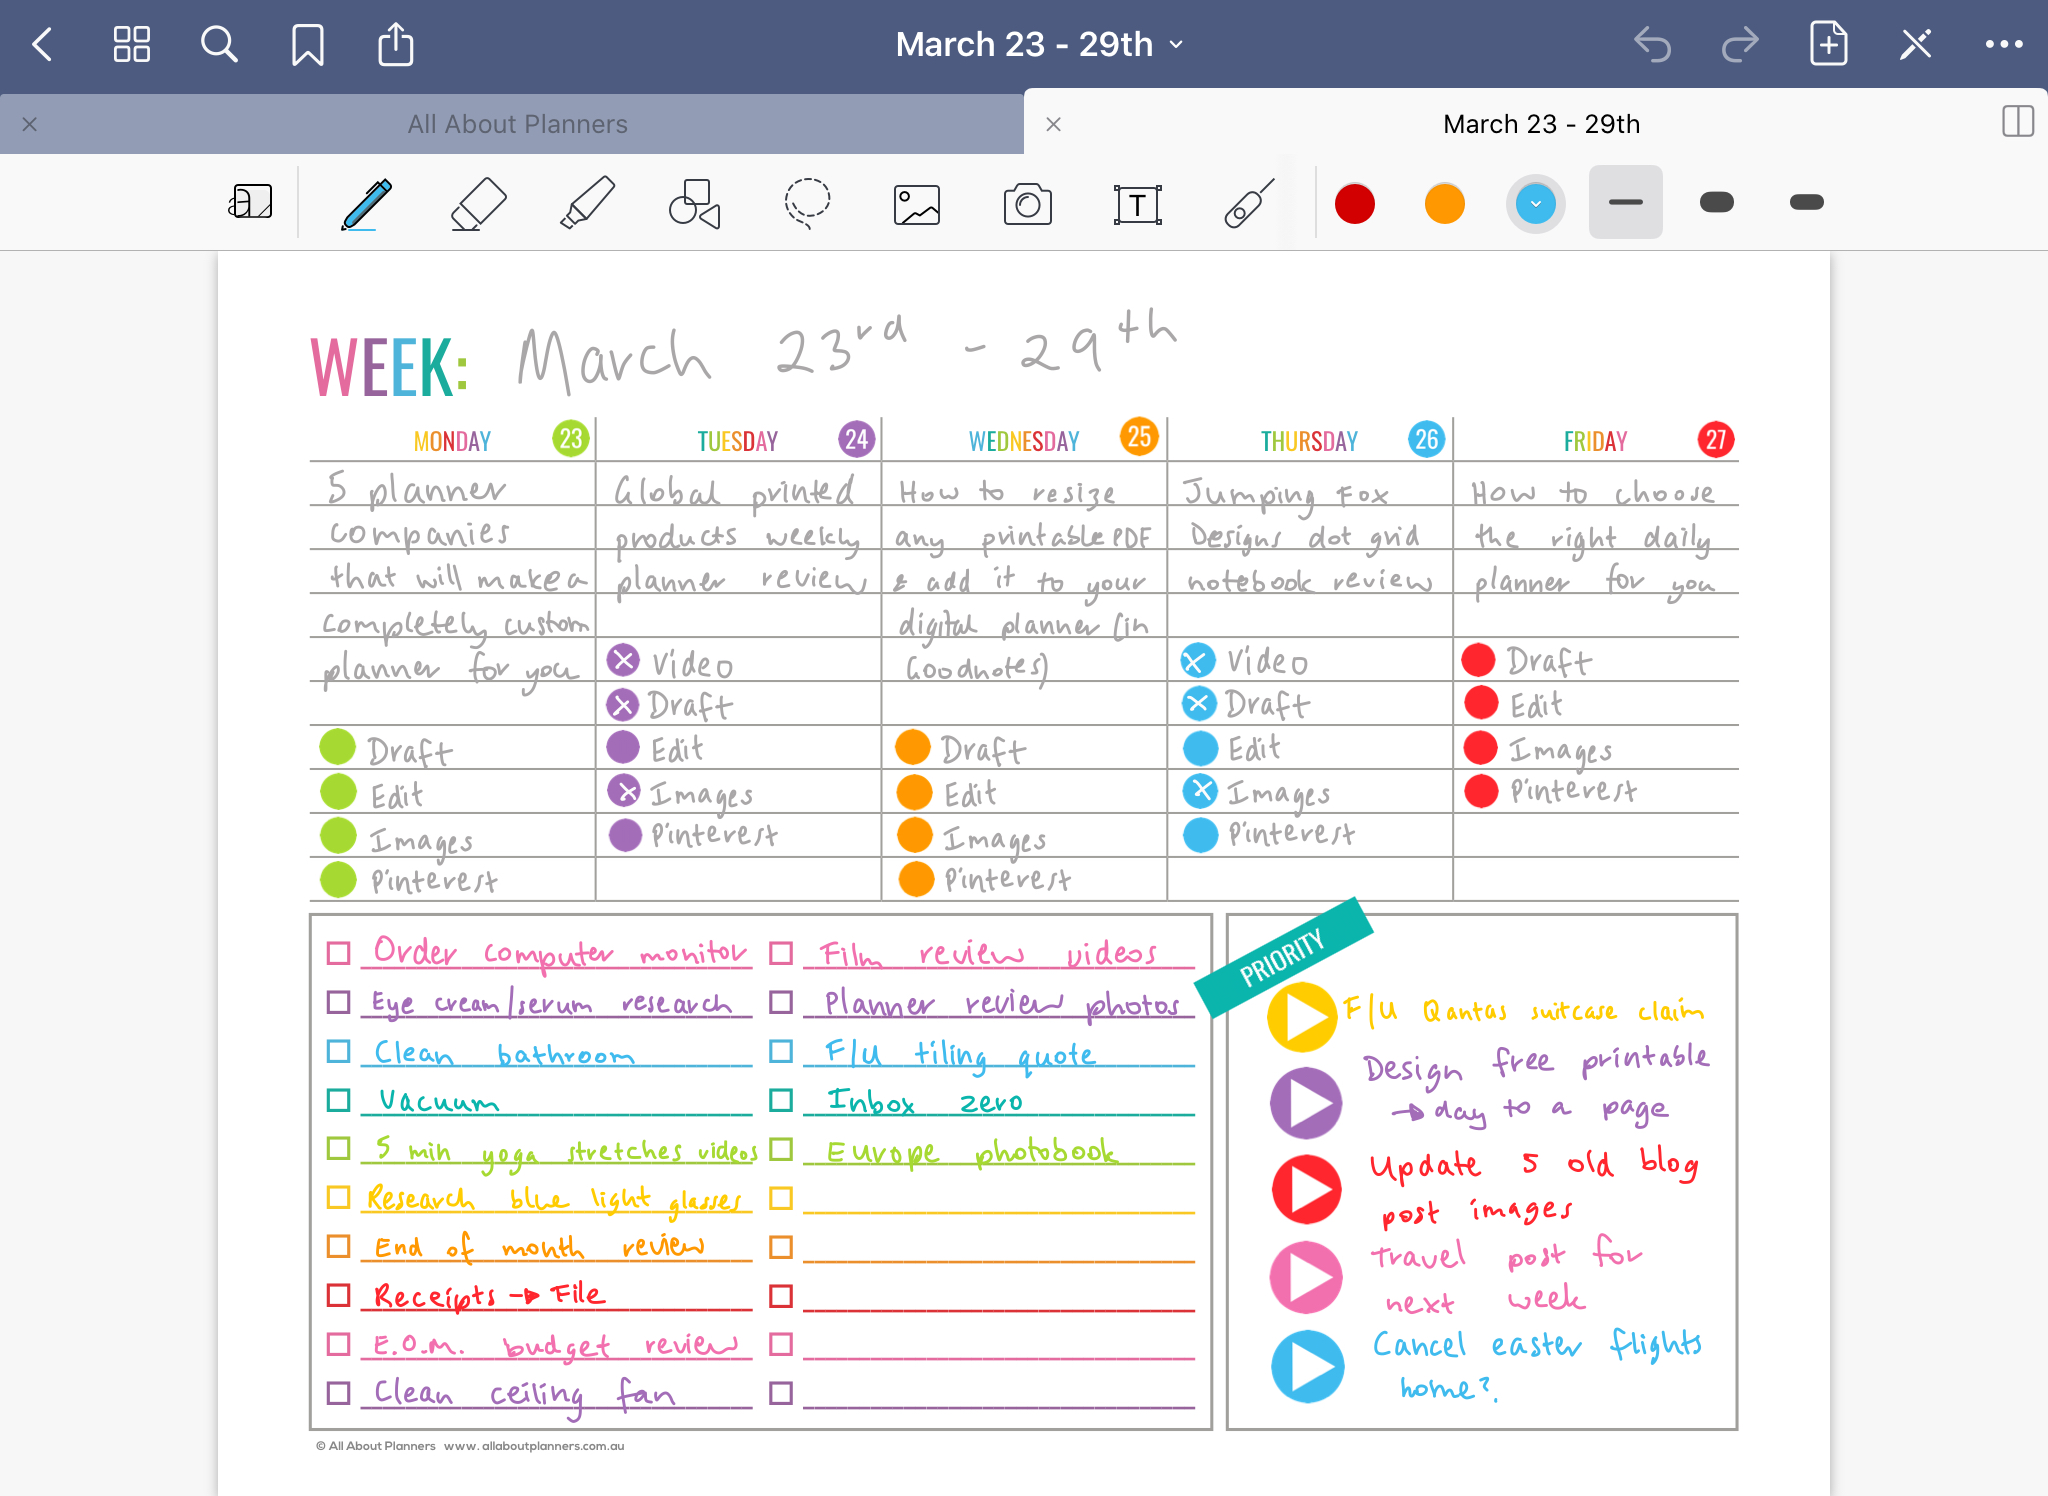
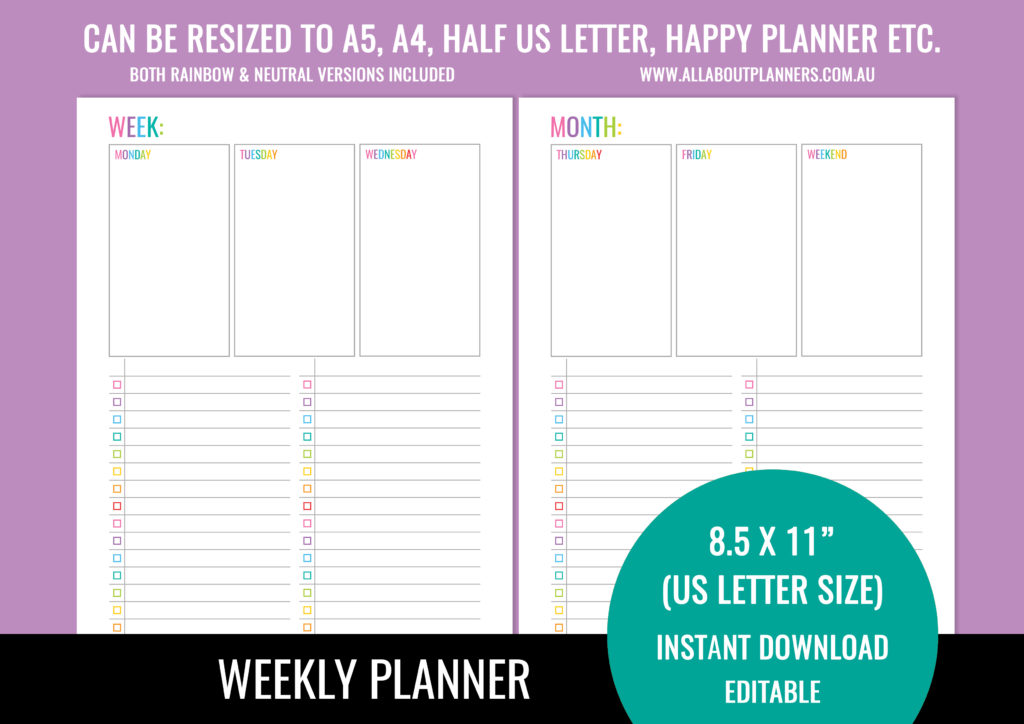
Want to try this layout? I converted it into a printable (in rainbow and neutral) – it’s available in my shop here. Includes 2 versions: days of the week and a blank version to choose your own headings.
More bullet journal
- Tombow Brush Pen Testing in 8 Different Bullet Journals
- Week 33: Colorful Bullet Journal Inspired Weekly Spread
- Week 41 (part 3): Daily planning bullet journal style (using a Plum Paper grid dot notebook)
Planning tips & inspiration
- Finding planner peace: how to choose the right planner page size for you
- Favorite washi tape for planning, planner decorating & color coding
- 7 Planner supplies I don’t regret splurging on
If you want to try your own version of the 52 planners in 52 weeks challenge, this printable bundle of 52 different 1 page weekly planners (you can mix and match to create 2 page spreads if you prefer), is available in my Etsy shop and online store.

Found this post helpful? Pin it!