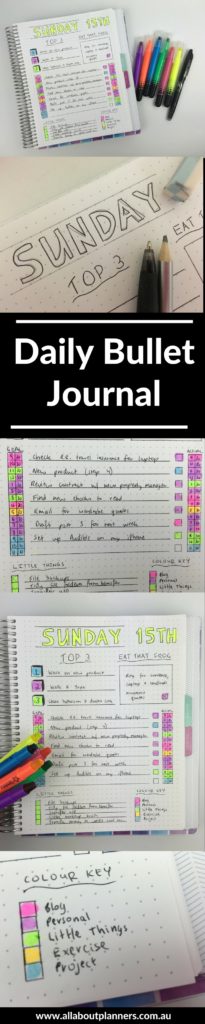
Daily planning bullet journal style (using a Plum Paper grid dot notebook)
After seeing a ton of creative bullet journal spreads on Instagram, I wanted to try one for myself!
Setting up the week
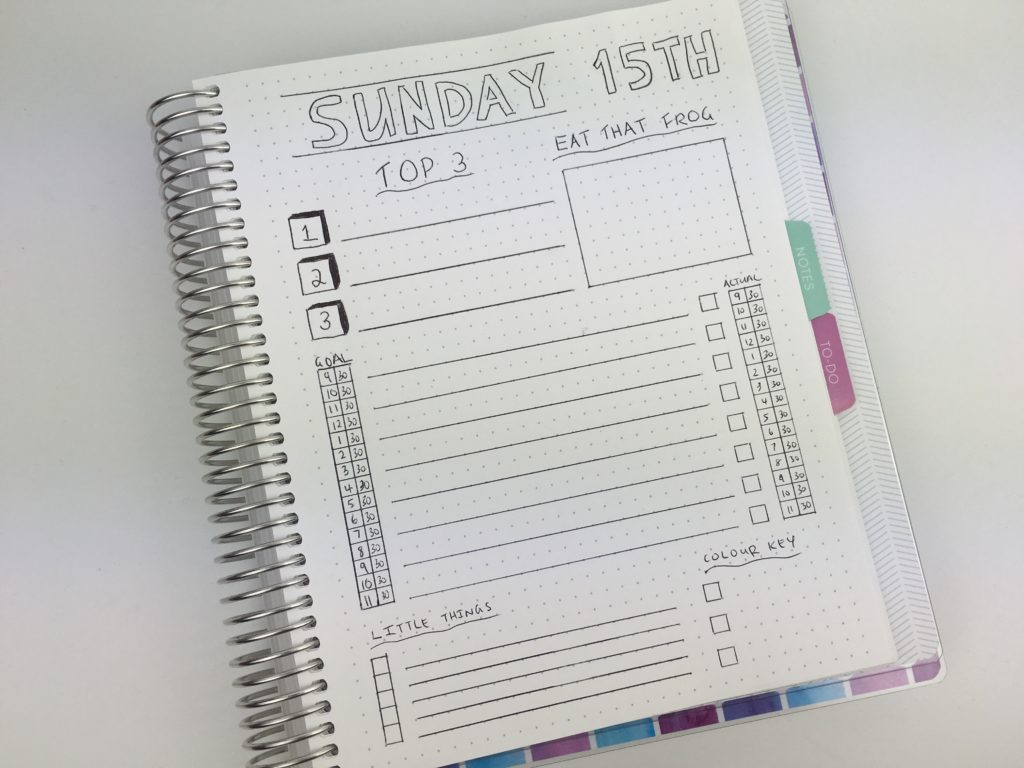
I wanted the page to have:
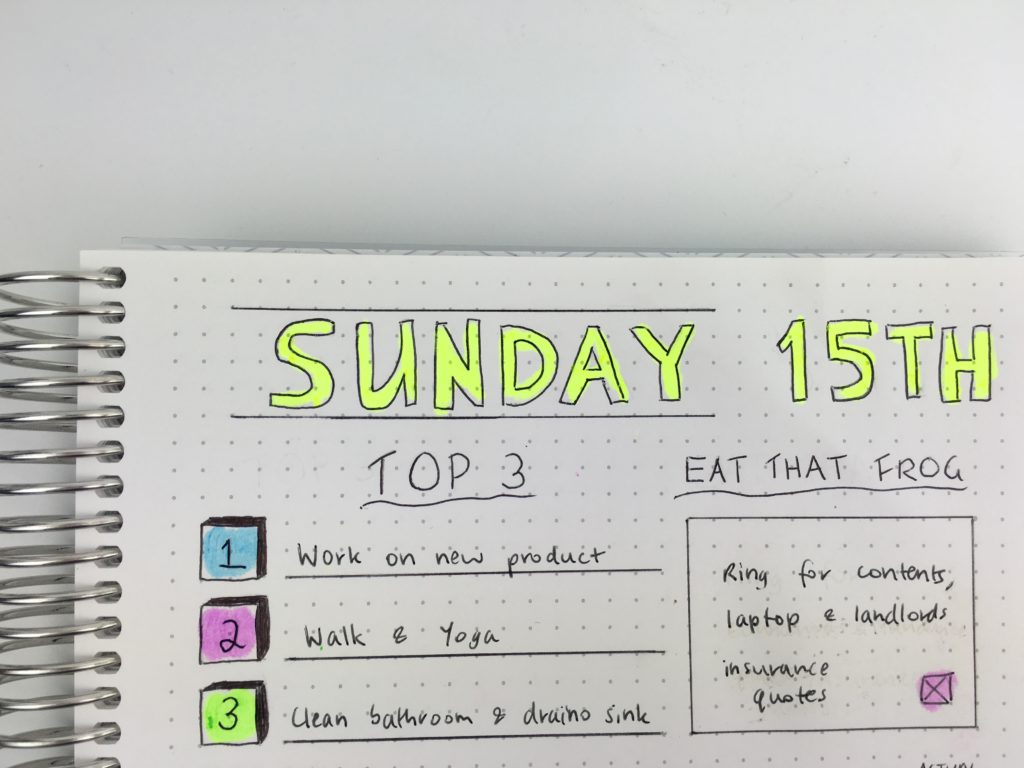
- Top 3
- Eat that frog
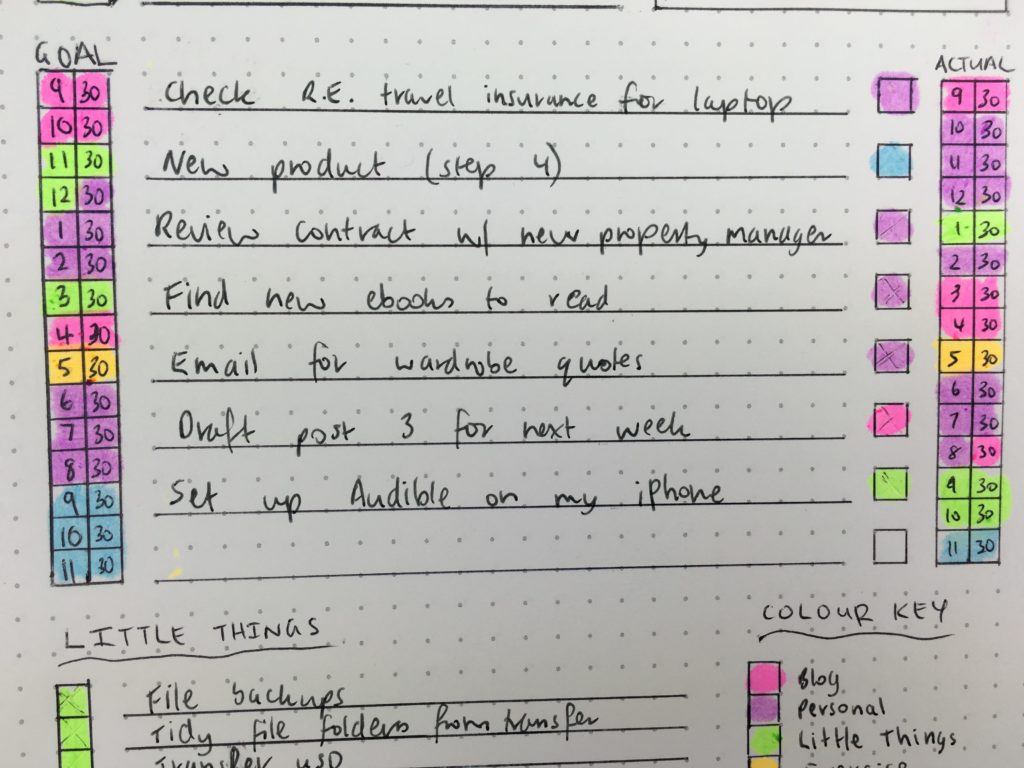
- Checklist
- Goal for how I was going to spend the day (in 30 min increments) and a way to track how I actually spent my time so I could compare
- Little things for those random 15 minute tasks
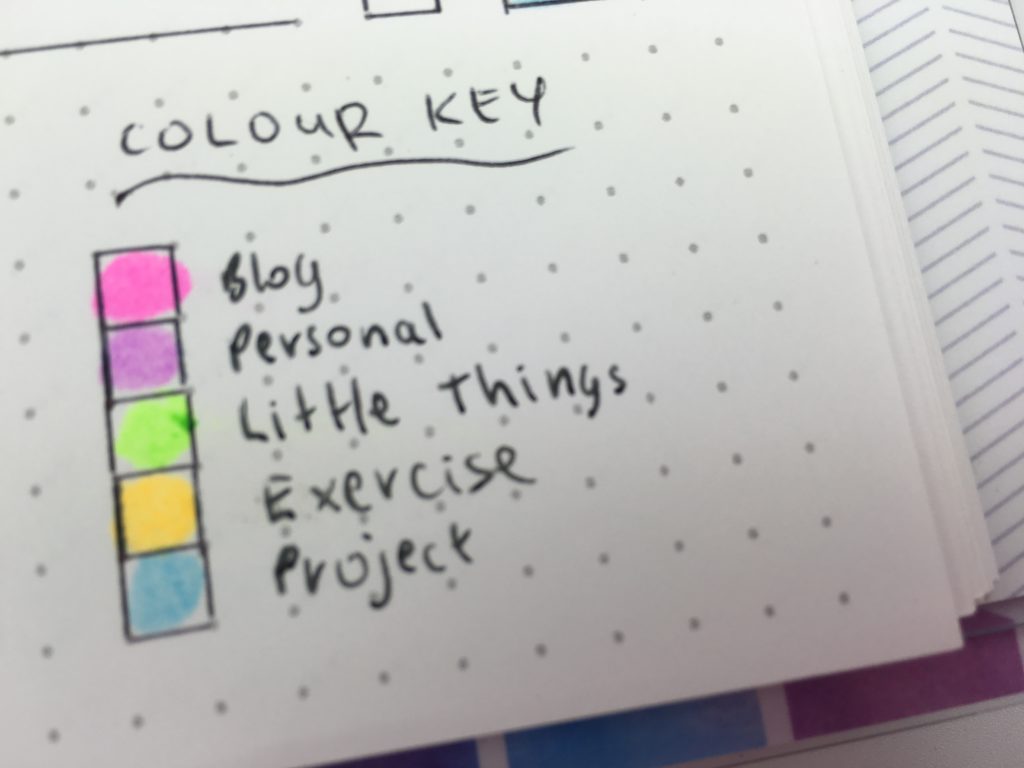
- And a color key because of course I was going to color code! 🙂
Related: How to color code bill paying in your planner (7 different ways)
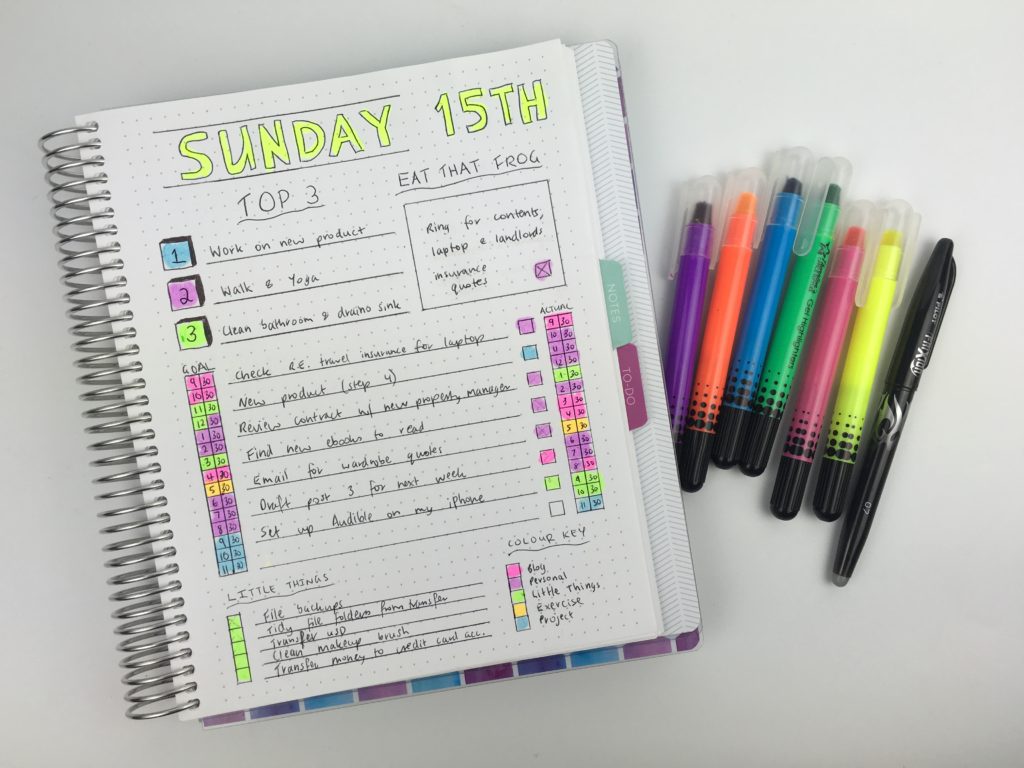
This is what I came up with!
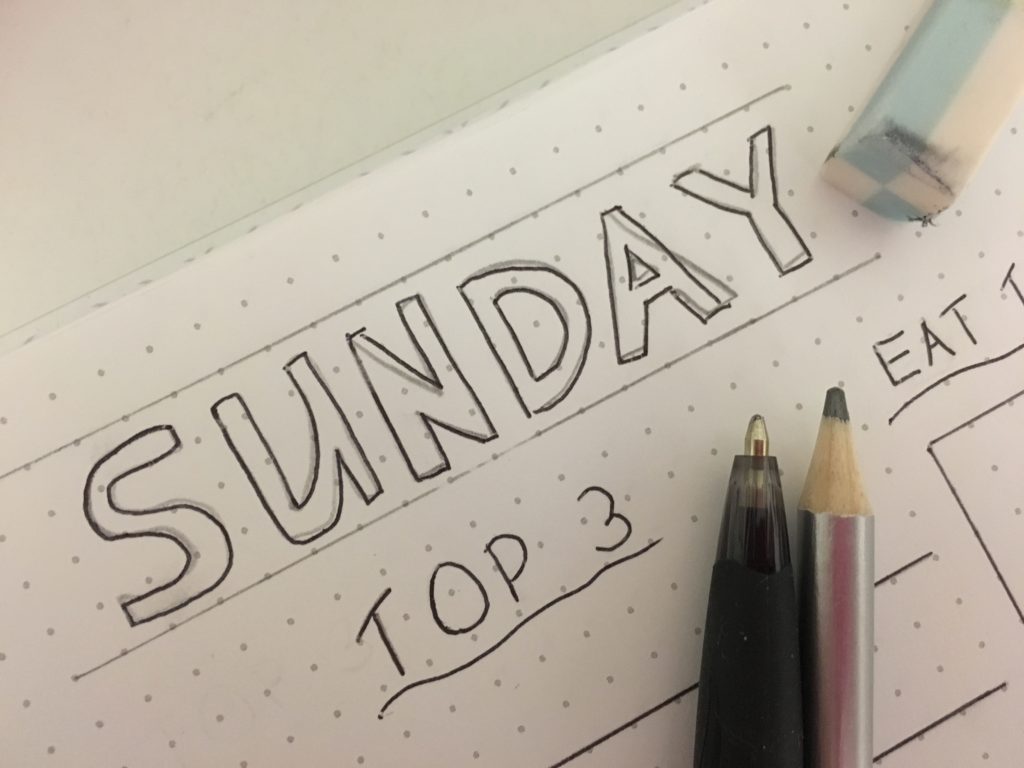
Before the pen
I didn’t think it was going to take that long to set up just 1 page, but by the time I sketched out a few designs and chose one, marked it up in pencil and then went over the top in pen it actually took quite a long time (30 minutes!)
In contrast I can create a printable in a matter of minutes, then make slight tweaks to create new printables, and then you also have the ability to re-print the pages as often as you need them. Bujo layouts are ok every once in a while when I have the time, but it’s definitely not something I’d do every week.
Anyway, I really liked how the page turned out!
After the pen
This was the page at the end of the day…
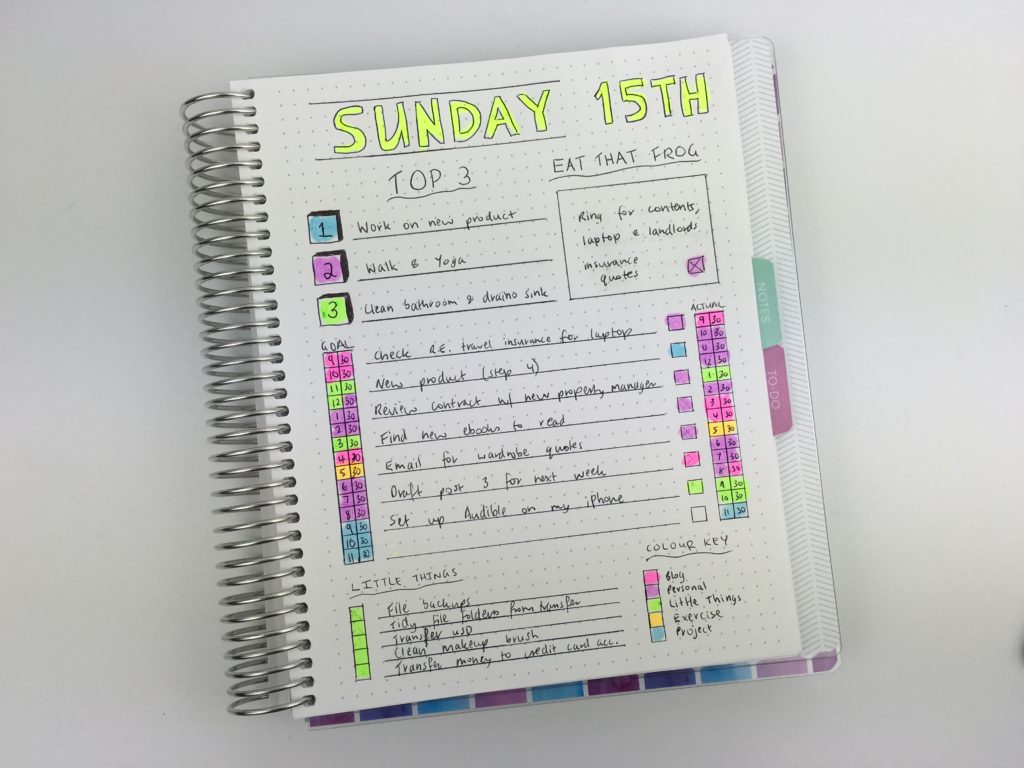
In the morning I used a highlighter to color in the time slots of when I thought I would get things done. Then at the end of the day I colored in the time slots with what I actually did – doing this helps me see where I am spending too much / not enough time.
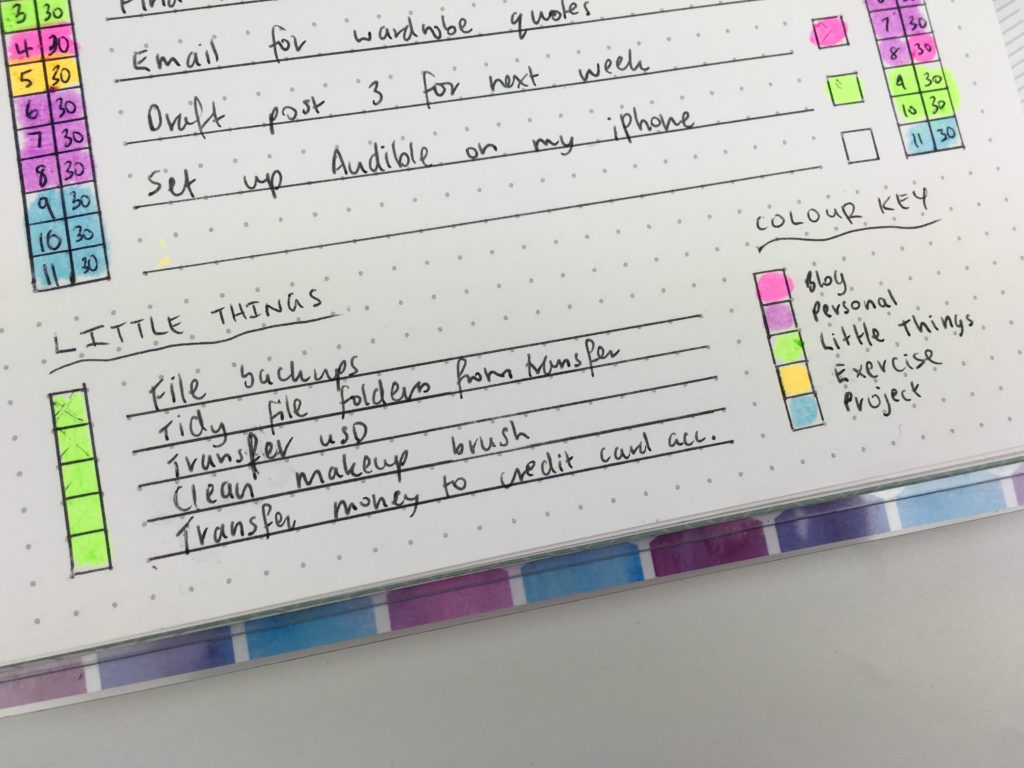
Color Coding:
I chose 5 colors (more than I normally would) – I was worried this might end up being too many but it worked out well. And it added a nice pop of color to the page!
The categories I used were:
- Blog = pink
- Personal = purple
- Litte things -= gree
- Exercise = Orange
- Project (new planner for the shop!) = blue
I wanted to use all 6 colors in the pack so I used yellow for the title. I initially attempted to keep the highlighter within the lines and then it went out of the line on the first letter so I was like near enough is good enough for the rest of the letters! #recoveringperfectionist
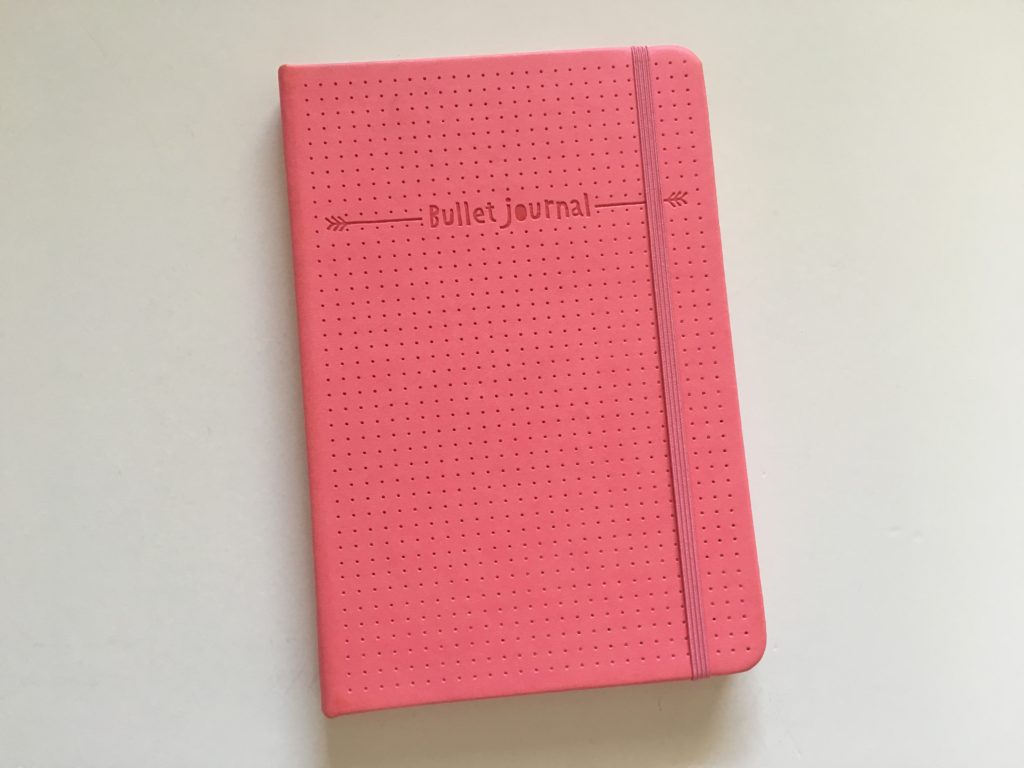
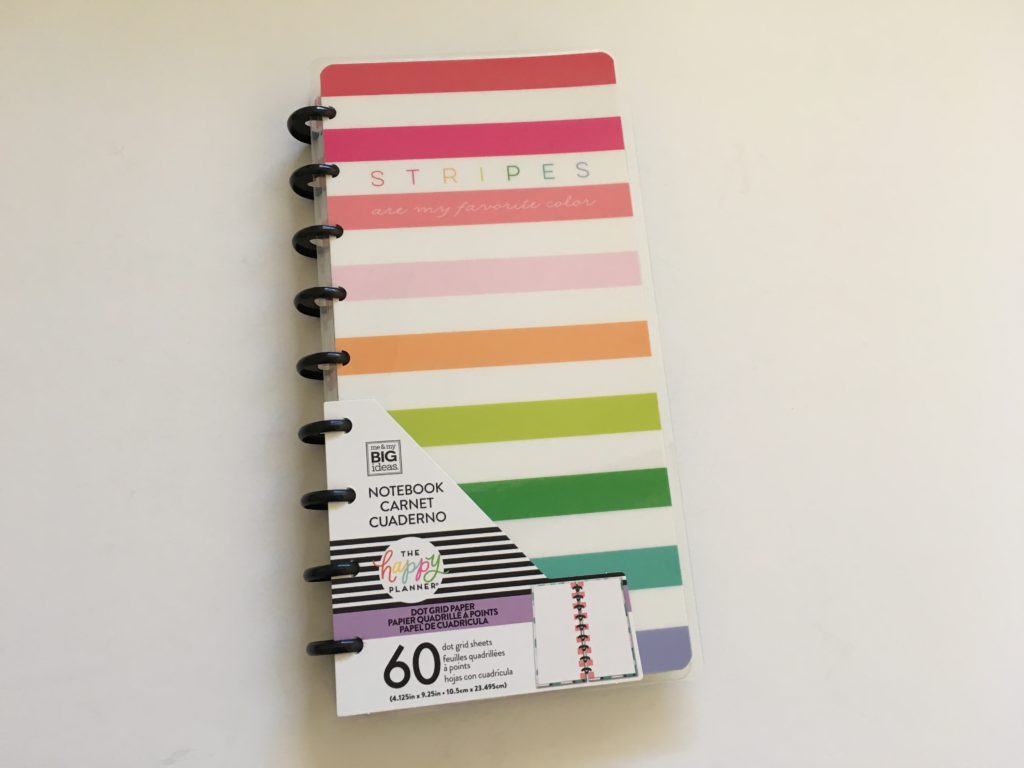
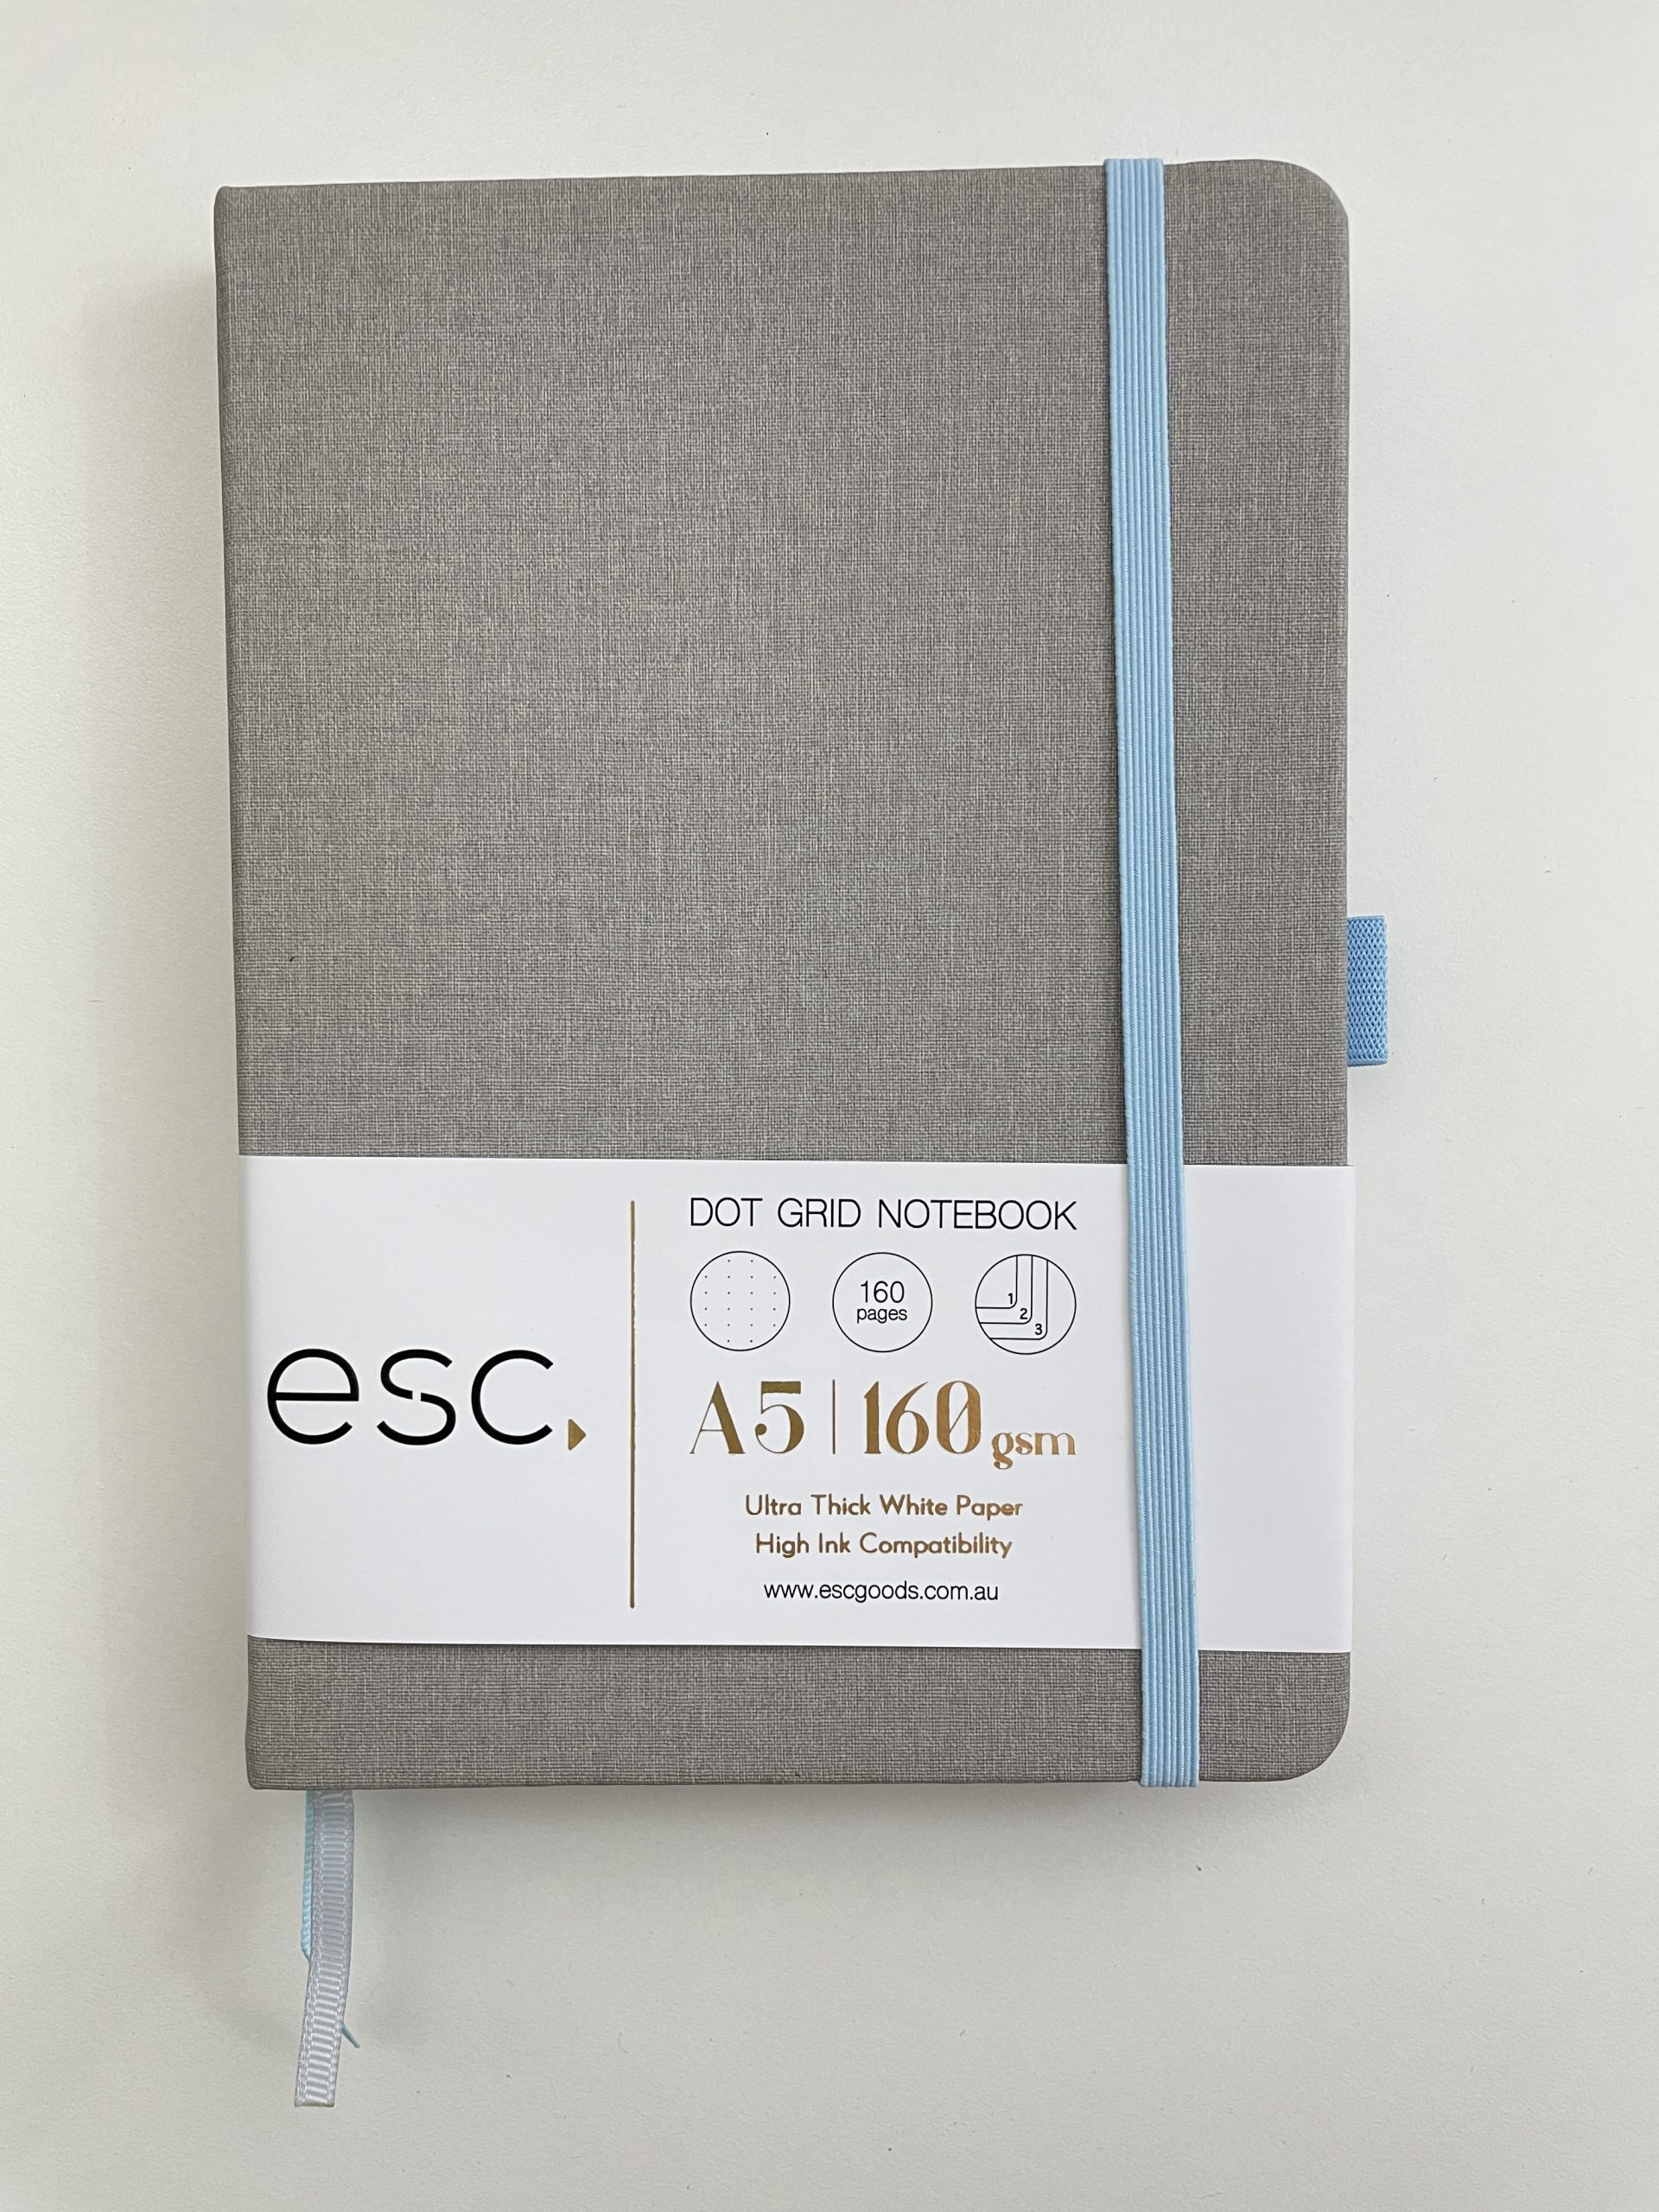
NOTEBOOK USED
I used one of my (many!) Plum Paper notebooks. I had extra grid pages added to the notebook. I highly recommend grid dot paper for bullet journalling, especially if you’re doing the hourly time tracker bar like I did.
Stationery Used
I used a Bic Atlantis ballpoint pen (just an ordinary, nothing special pen). If I do another bullet journal spread I’m going to use the Frixion erasable pens. Then I won’t need to draft it up in pencil first.
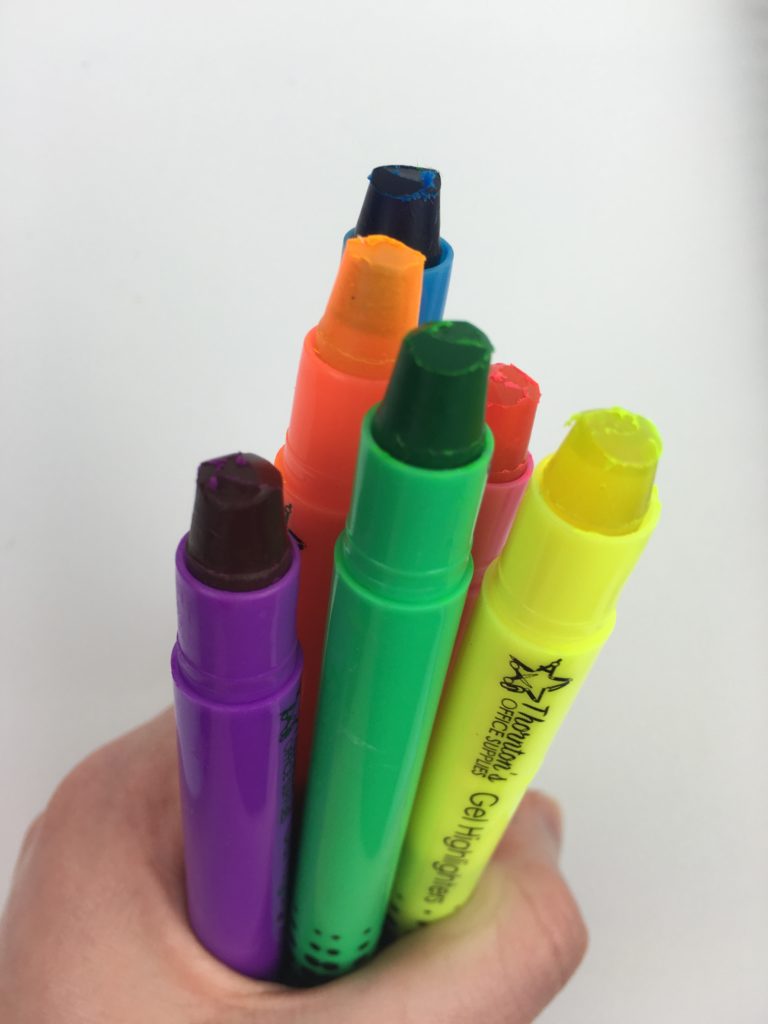
I used gel highlighters from my sister’s shop – the brand is Thornton’s office supplies. <3 gel highlighters as they remind me of a crayon – they don’t dry out and a really smooth to highlight with. These highlighters from American Crafts are similar and come in more colors – including teal!
Pros of bullet journalling
- Can create the exact page layout you need
- Can change layouts as the year goes by and as your planning needs change
- Can choose how big or small to create each element on the page
- Only need a ruler, paper and a pen
Related: Minimalist Planner Decorating: Title Ideas for your Bullet Journal
Cons of bullet journalling
- It took me half and hour to set up the page
- The spreads can look a bit dull
- I’m a perfectionist and my writing can get messy – I also tend to write in the same style (unlike printables where you can use different fonts)
- In terms of colors you’re limited to pens, highlighters, stickers etc. whereas with printables you can choose literally any shade of color you like
Related: Minimalist planning: simple decorating & divider ideas for your planner using pens

Would I use this spread again?
I didn’t mind this page for daily planning, but it was far too time consuming to create for a perfectionist like me. I can create a printable in a matter of minutes, then make slight tweaks to create new printables, and then you also have the ability to re-print the pages as often as you need them. Bujo layouts are ok every once in a while when I have the time, but it’s definitely not something I’d do every week.
Catch up on past week’s of the challenge:
- Week 15: Trying a freehand weekly planner inspired by bullet journalling
- Week 22: Using Erin Condren size planner stickers in the Mini Happy Planner
- Week 37 (part 2): Planning using the daily plan bar method (bullet journal inspired)
- Week 41: Weekly planning using Microsoft Excel
Related Posts:
- Using a planner key and symbols to code your planner (efficient planning methods)
- Daily versus weekly planners: which is right for you?
- What is the best day of the week to plan?
- How I plan my week: my 6 step process
Found this post helpful? Pin it!