
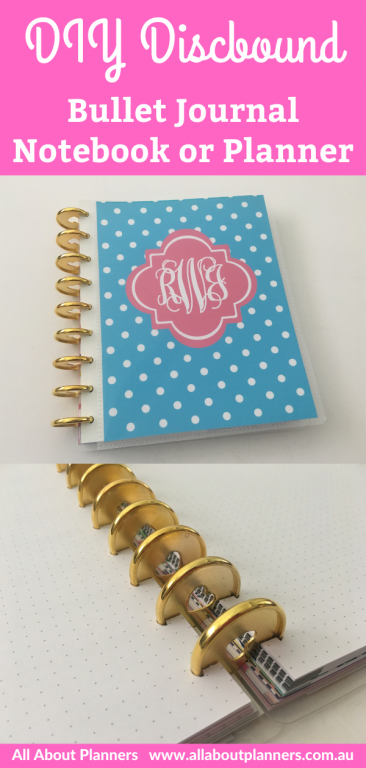
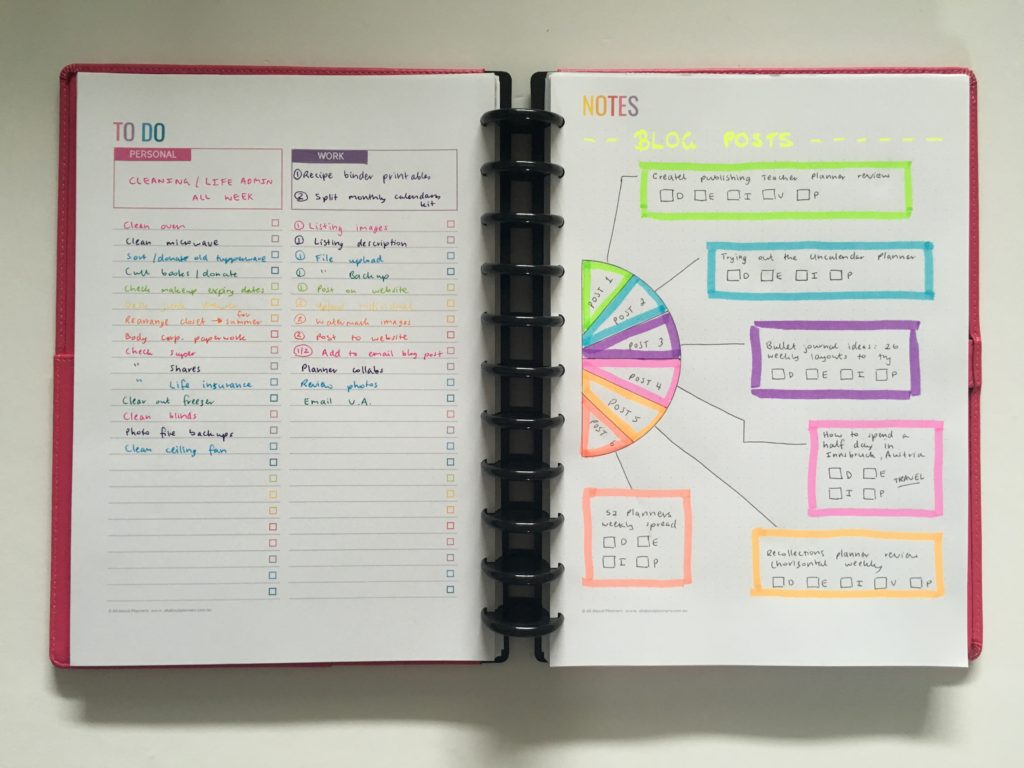
How to make your own DIY Discbound Bullet Journal, Notebook or Planner
I love discbound planners and notebooks because you can arrange pages in any order you like, add and remove them as often as you please. If you’re not a fan of the sewn binding that most dot grid notebooks have and you’d prefer to use disc binding instead, here’s a tutorial on how to make your own bullet journal notebook (or a custom notebook or planner).
This post contains affiliate links. If you click one of the links and make a purchase I’ll receive a small commission in exchange for referring you (at no extra cost to you).
To enlarge the screen of the video, click the square icon in the bottom right hand corner of the video (it will say ‘full screen’ when you hover your mouse over the icon).

Subscribe to my YouTube channel for more planner videos!
I made my custom notebook using:
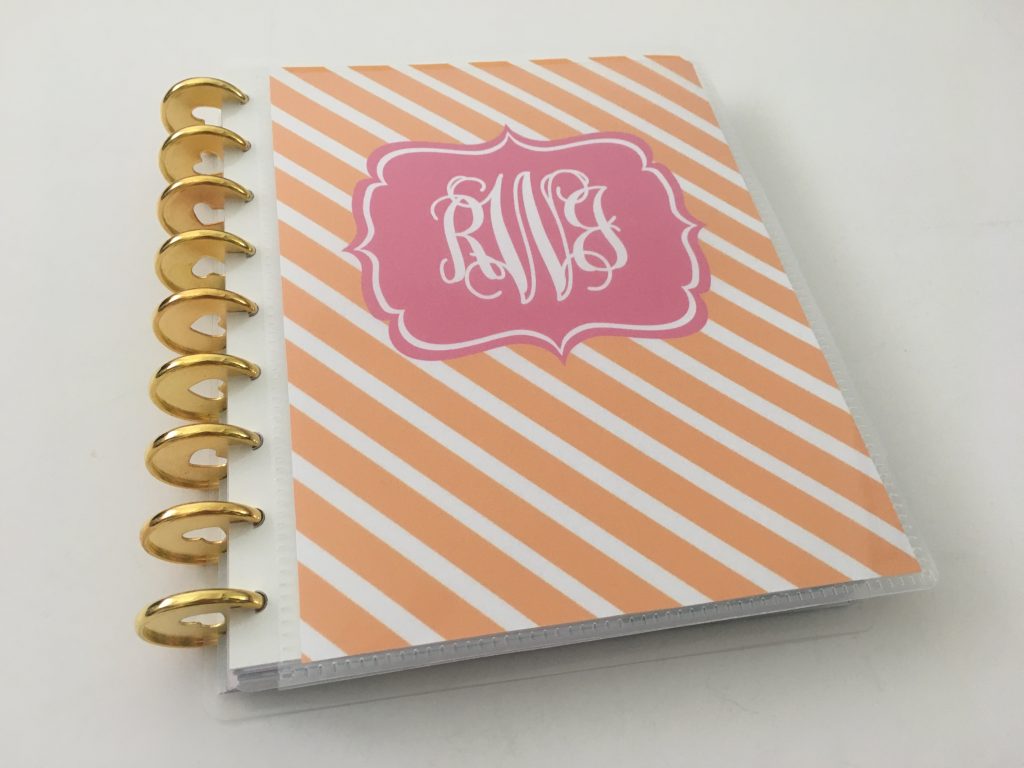
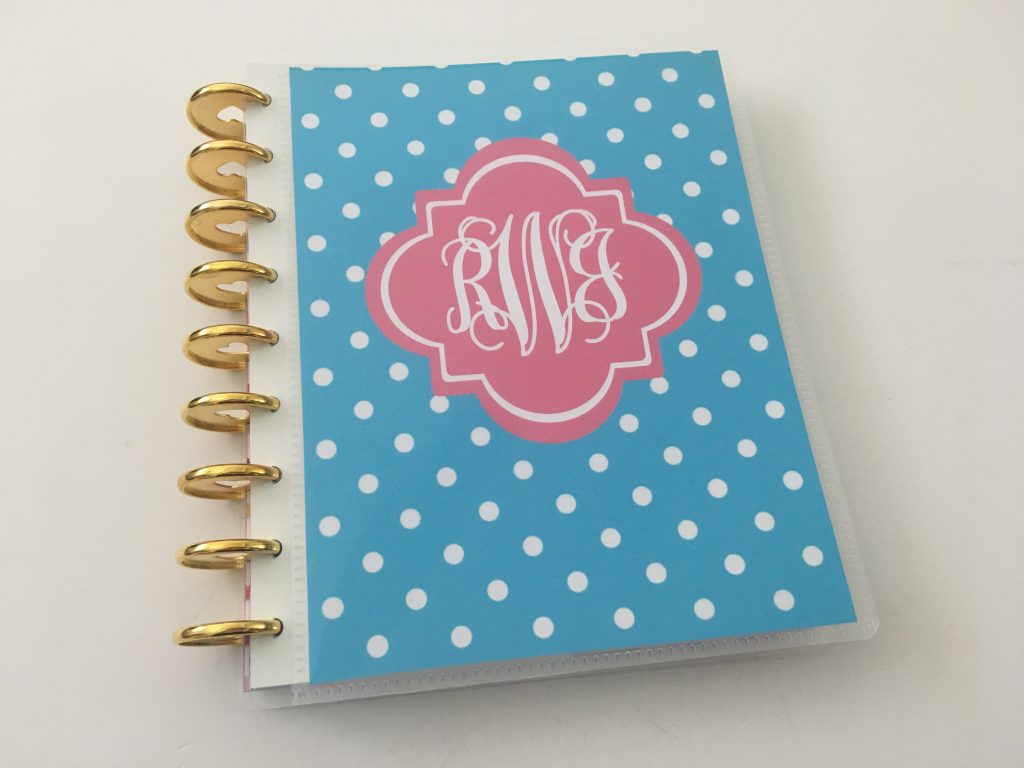
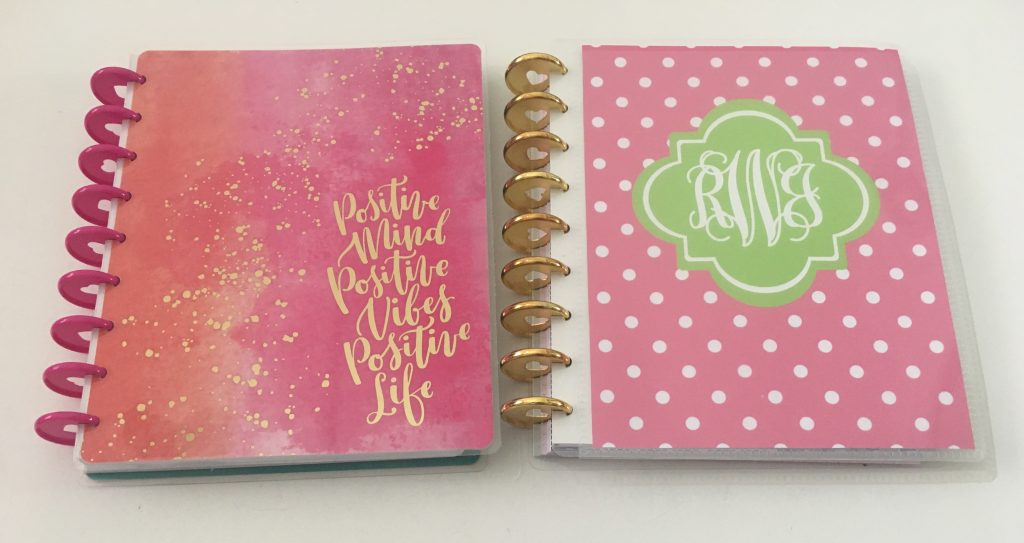
- Binder cover printable I made (I teach how to make them in my printables course and there are similar covers available in my shop), printed onto A4 paper and cut it down to size after printing
- Happy Planner Create Your Own Cover
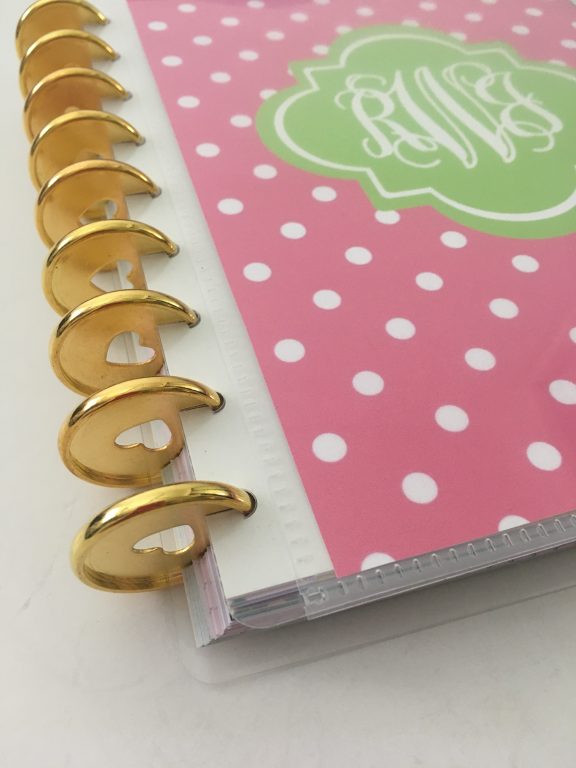
- Gold discs (they’re compatible with the Happy Planner & Maggie Holmes) from my sister’s shop, Carefully Crafted
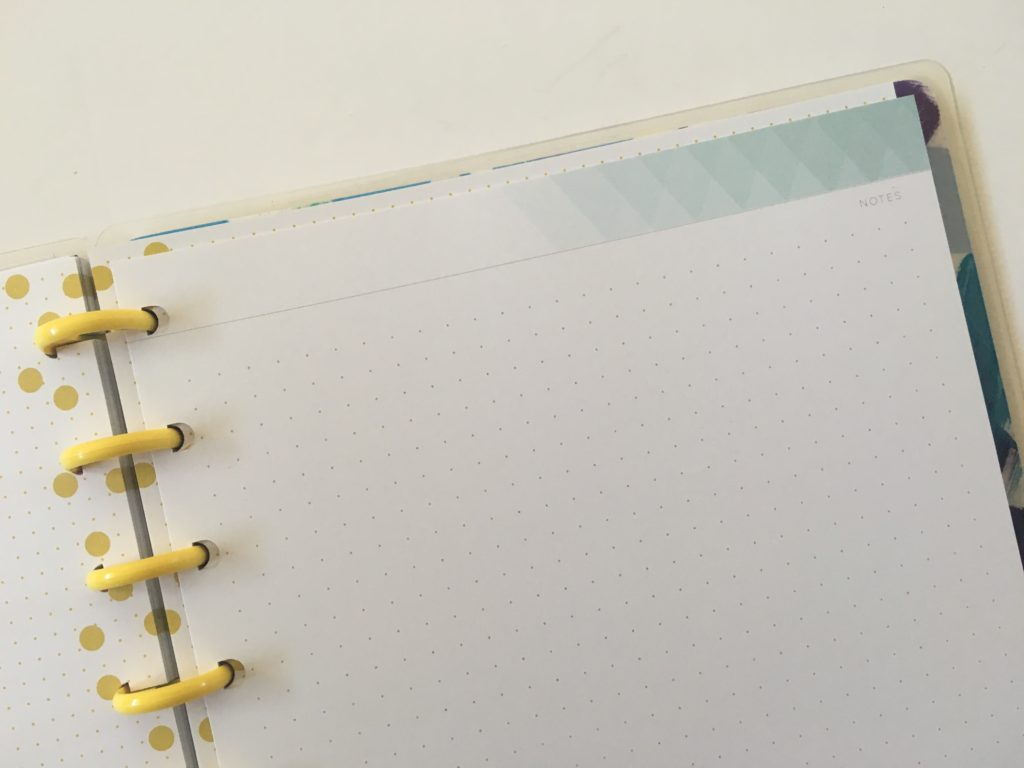
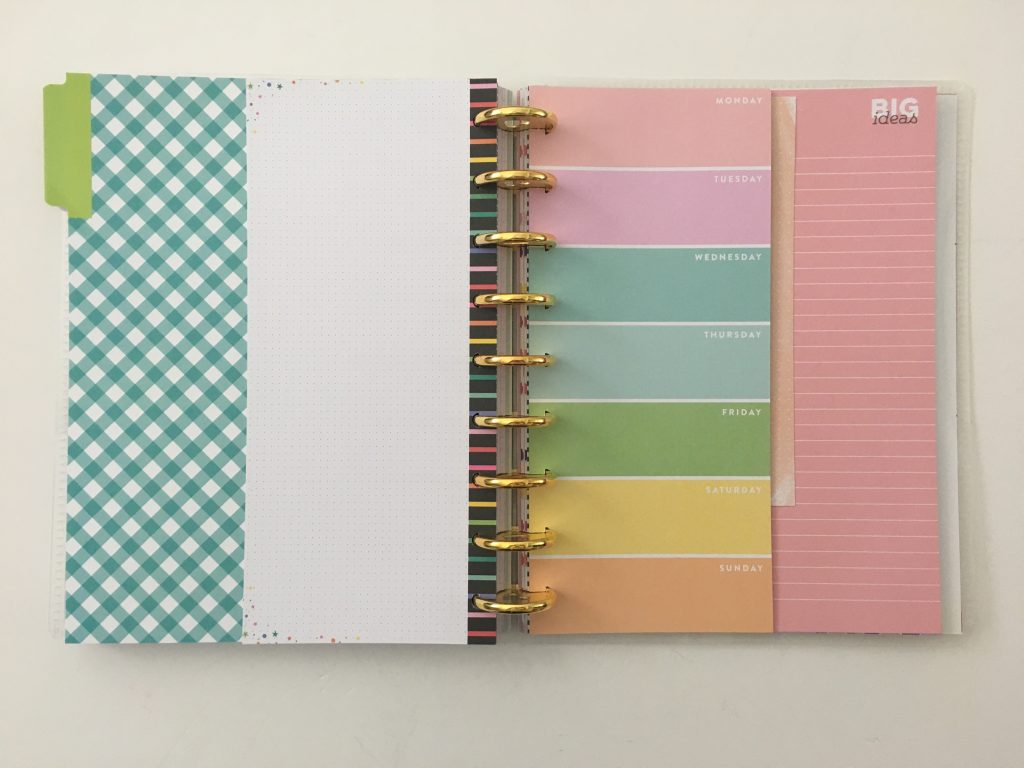
- A mixture of refill pages from Happy Planner, Maggie Holmes and my own printables. I really like the ARC lined note paper refills (they’re thick paper and very smooth to write on) but unfortunately they don’t have a page size similar to the Happy Planner’s page sizes
If you want to make your own custom notebook or planner, keep reading for everything you need to know:
New to discbound?
If you’ve never heard of discbound planners or aren’t sure if it’s the right option for you, see these posts:
- Guide to Discbound Planners & Frequently Asked Questions
- Why I use the Arc Planner instead of binders
- ARC by Staples versus MAMBI – Which discbound system is better?
- How to choose a binding system for your planner (comparison and which one I like the most)
- 10 Discbound notebooks for planning or bullet journaling
- Discbound planners & notebooks: brands that are compatible
- Where to find discs for your discbound notebook
Why you should use disc binding
Most people gravitate towards sewn bound notebooks for bullet journaling but there’s no reason you can’t use disc binding, especially with more and more options available nowadays. Some of the reasons I love disc binding so much:
- Add, remove and rearrange pages as often as you like
- Can keep using the notebook forever, just keep adding new refill pages
- Plenty of refill pages to choose from
- Can add your own printables, or printables you’ve found on the internet
- Because you can take the pages out to write, you don’t need to worry about the rings getting in the way
- Many page sizes to choose from including A5, A4, around 7 x 9″, US letter page size, half US letter page size
- The discs can be reused as many times as you like – I’m still using discs from my very first discbound notebook (the ARC) which I purchased 7+ years ago
- Can switch out the covers and create your own covers (print onto cardstock and laminate)
If you’ve never used a discbound planner or notebook, this post is a good place to start: guide to Discbound Planners & Frequently Asked Questions
What you need to make a custom notebook
- A discbound punch
- Discs
- Refill pages (e.g. dot grid, graph, lined, weekly planners, monthly calendars, checklists, meal planners etc.)
- Dividers / tabs
- Front and back cover
1. Page Size
Before you start buying supplies I would decide on a page size. Most discbound brands come in A5, around 7 x 9″ (Happy Planner) or US letter size.
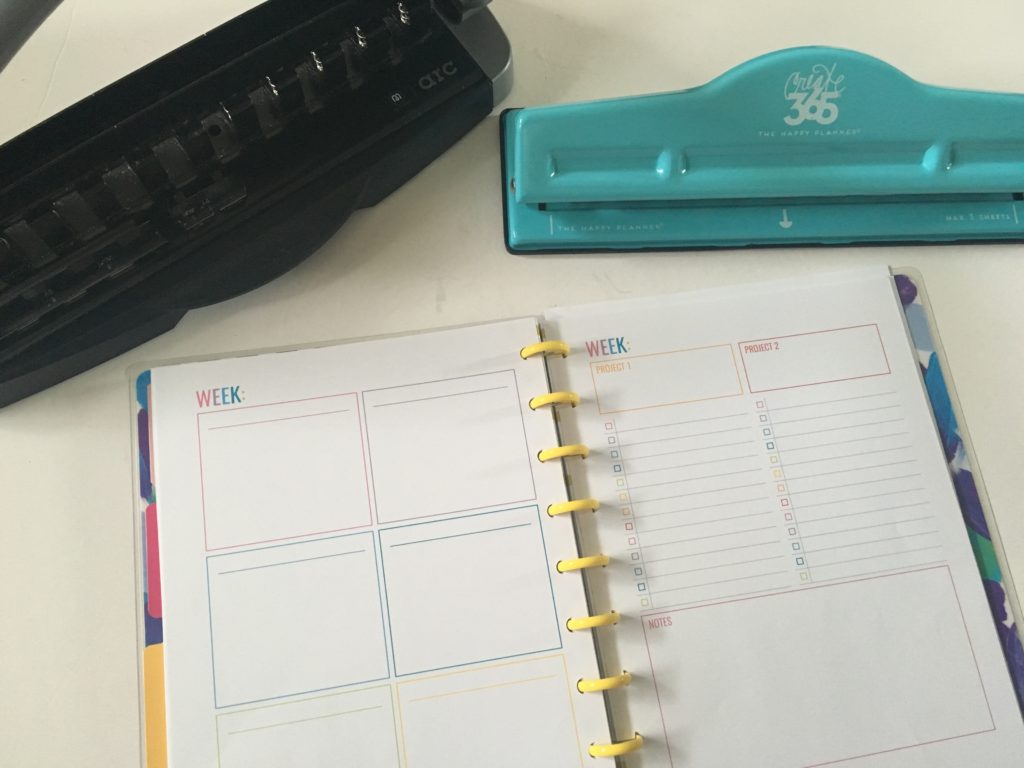
2. Discbound punch
Next, if you want the ability to add your own pages, narrow your options down to those that have a punch.
There are many companies offering discbound these days. I shared a list of 10 and my thoughts on each in this post.
Not all discbound brands have a punch, these are brands that do:
- ARC
- MAMBI Happy Planner
- Levenger
- Tul
My favorite are the ARC and MAMBI Happy Planner. Happy Planner is more affordable and comes in 2 sizes:
- The big punch is designed for the big happy planner (US letter page size or 8.5 x 11″ high)
- The classic punch is designed for their classic size (7.75 x 9.75″ high) but can also be used for the mini (5.5″ x 7.5″ high)
The ARC, while expensive, is my favorite disbcound punch (and much better quality than the Happy Planner). I usually punch through 6 pages at a time (although the company claims you can do 10). It has a slider to quickly change the punch to suit different page sizes (A5, A5, US half letter and US letter). The punch has a giant lever / handle making it easier to push down to punch the holes through. The tray that collects the paper clippings is also bigger than the Happy Planner so doesn’t need to be emptied as frequently.
Read more: ARC by Staples versus MAMBI – Which discbound system is better?
There are other brands that have a punch but they aren’t the full length of the page e.g. 8 holes required but the punch can only do 4 holes (or sometimes only 1 hole!) at a time. To me, these punches take too long and the holes are less accurate / even. They’re not practical when punching multiple pages so I haven’t included them on the list.
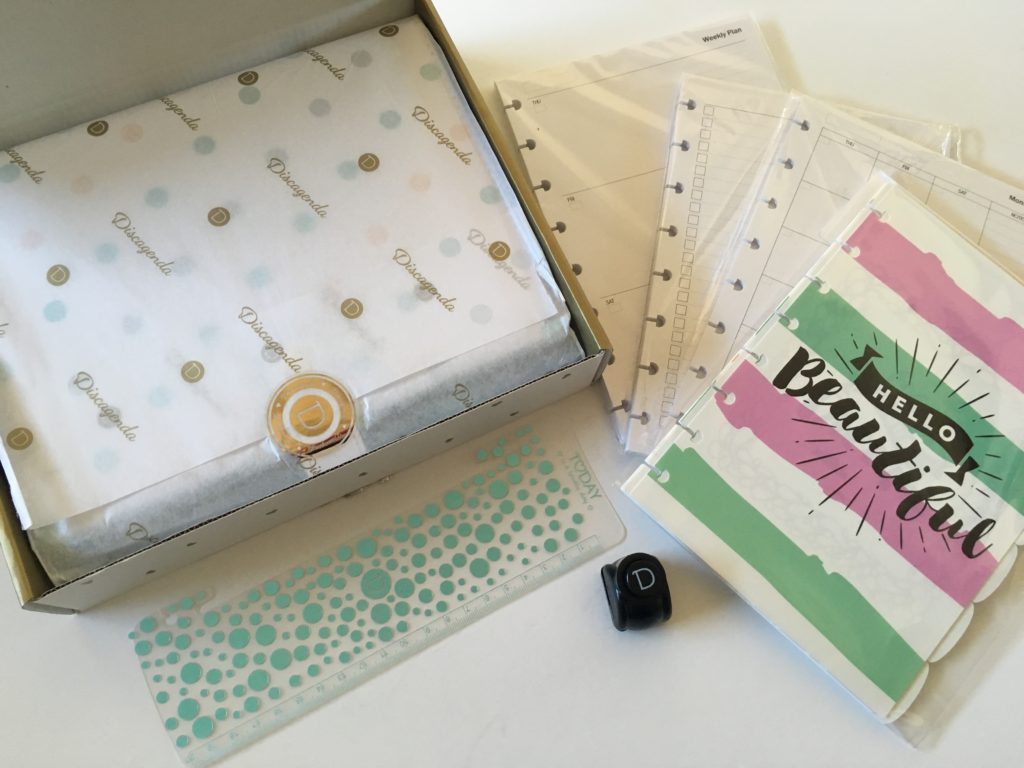
Example: the Discagenda say they have a punch… but it’s really not (it’s the tiny black thing in the photo below). It’s just a single hole punch that you have to use either their guide to line up the spacing correctly. It would take ages just to punch one page let alone an entire planner.
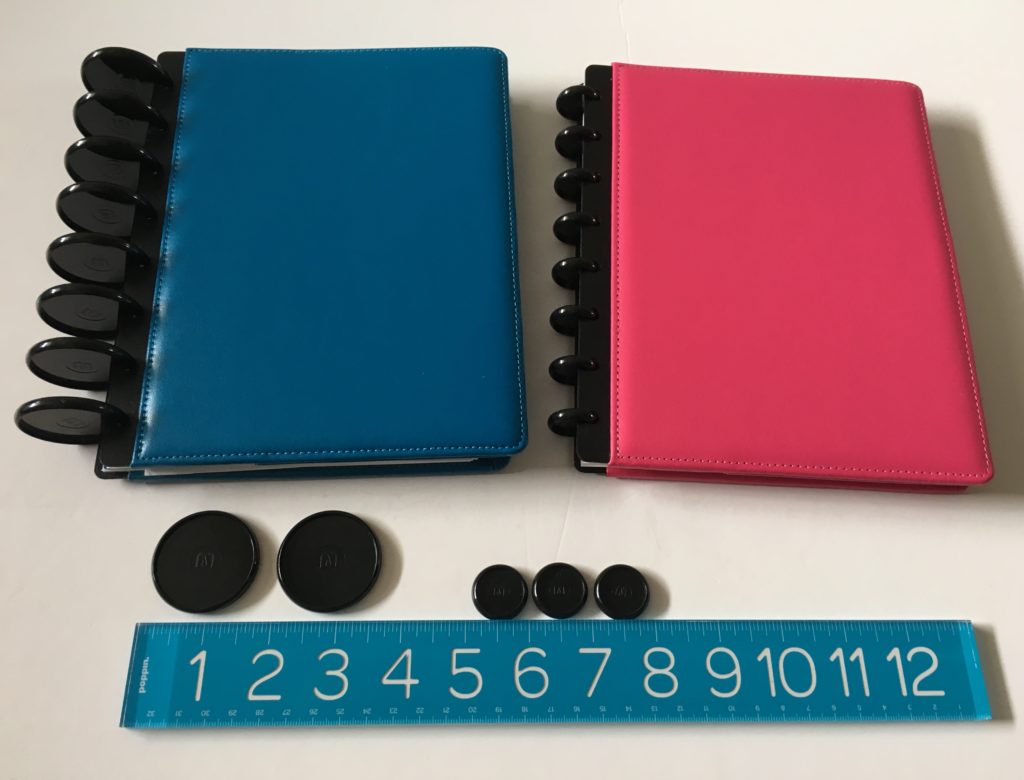
3. Discs
My favorite is the MAMBI Happy Planner for availability and affordability.
I’ve been using the ARC for more than 7 years and have never had a disc break. I’ve only seen their discs in black though.
The Levenger discs are sturdy metal discs.
You can either purchase a notebook with covers and discs and remove the pages, or purchase discs on their own. If you want to buy discs on their own, here are some options:
- Discs from my sister’s store, Carefully Crafted
- Happy Planner
- Levenger Circa
- Inkwell Press
- ARC
- TUL
- DiscAgenda
- Maggie Holmes
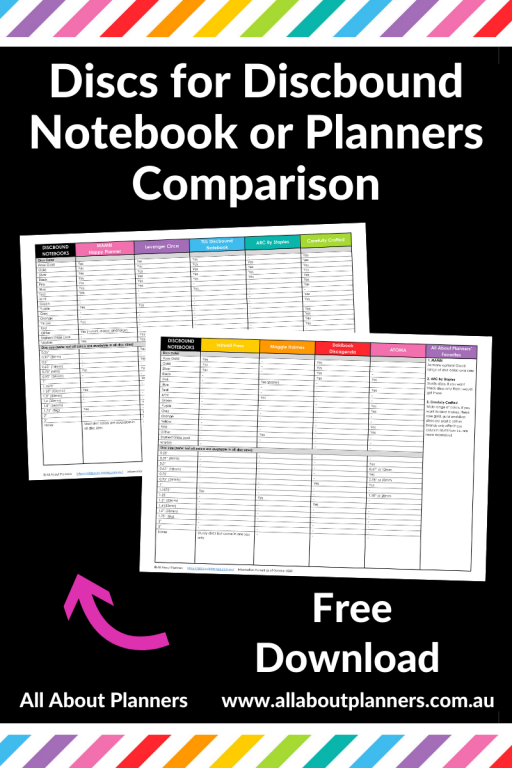
Each of these brands offer different discs. Some are colorful, some are metal, some are solid and others like the Happy Planner have a cut out shape in them.
Because there are so many variables, I’ve done a comparison table which you can download here.
4. Disc compatibility
Not all disc brands are interchangeable between different discbound notebook brands.
Inkwell Press has the thickest dot grid refills (160 GSM) with almost no ghosting or bleed through making it a great option for bullet journaling, but unfortunately it doesn’t quite sit right in the Happy Planner which has the best range of pretty covers and accessories. The stems of the mushroom holes are different and the page size is slightly different.
A lot of the discbound brands have bought out new discs over the years, so if they don’t have what you want right now, they might offer it in the future.
Discbound planners & notebooks: brands that are compatible
I did a detailed comparison of which discs work between different discbound brands in this post.
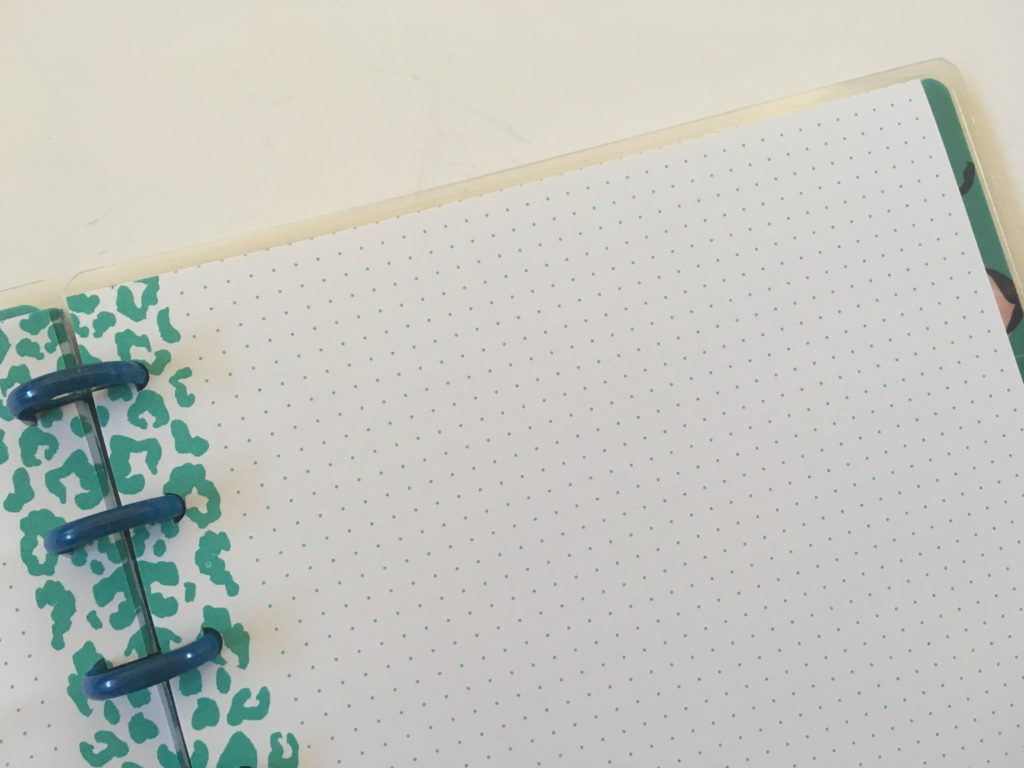
5. Dot Grid Paper
Brands that offer dot grid paper:
- Happy Planner
- Inkwell Press
- Eleven Discs (I haven’t tried them but the listing states it’s compatible with the ARC and TUL)
Some discbound companies have refill paper you can purchase that’s already punched to suit their disc size and spacing. Unfortunately, most companies don’t so the next best thing is to make your own. If you want to learn how to make your own dot grid paper I show how in my ecourse.
If there is printable dot grid paper you like and want to use in your notebook, you can still use it (even if the page size is different). I did a tutorial on how to resize any printable for any page size in this post.
If you’re thinking about purchasing dot grid paper made by another discbound planner company, see this post where I did a comparison of which brands are compatible.
If you want pre-printed refill pages there are plenty to choose from. My favorites are
- Happy Planner
- Inkwell Press
- If you don’t want to print your own, there are plenty of unique pre-printed and punched inserts on Etsy
Brands like ARC and Levenger have refills but they’re very basic / not very pretty and aren’t cheap.
6. Dividers & Tabs
There are a few options for dividers:
- Purchase dividers from a company. Happy Planner have cardstock dividers, the ARC have poly dividers
- Make your own by cutting some cardstock down to size. If you turn the page over you can draw up a template on the back in pencil at the exact size you want
- Use a Photoshop template like this one I made
- Skip dividers and just add a sticky note to create a tab
You can use a DYMO label maker or the Poooliprint machine (my review post is coming soon) if you want to make custom labels (as the Happy planner dividers are laminated you can’t write on them with a pen. Plus if you use a label maker you can just change the label if you change your mind later on).
7. Front and Back Cover
The easiest way to DIY a cover is to print digital paper onto cardstock and then laminate. Especially if you want to use a non-typical page size (i.e. Happy Planner). Choose a pattern like stripes and it won’t matter where you trim the pattern, it’ll look good at any page size.
If you’re using the Happy Planner they have the create your own cover.
You can get laminated pouches that you slip your cover in and then seal by hand without needing a laminating machine. Your accuracy will need to be good and you only get 1 shot to get it right so for that reason, I prefer the create your own cover instead.
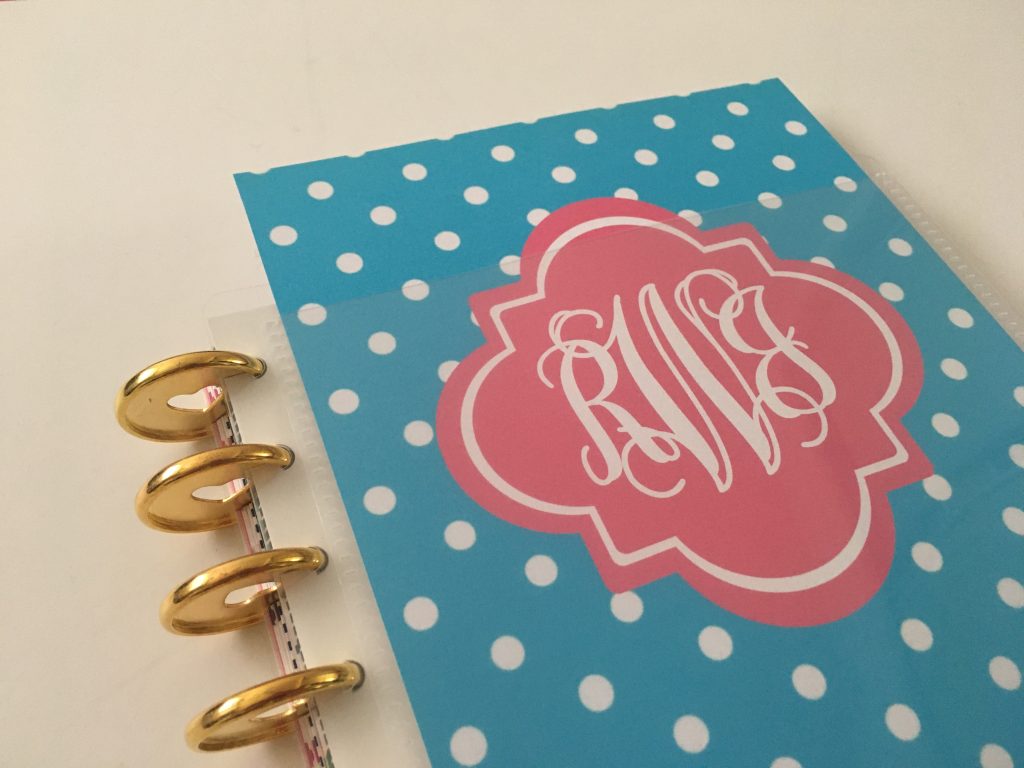
I printed a binder cover I made onto cardstock, trimmed to size and then slipped it in. Quick and easy. The only problem is that it does show a gap of the pages underneath. To get around this I placed the cardstock template that came in the pocket underneath. You could also use just a plain piece of white paper, Happy Planner’s dot grid paper with the black stripe (as black goes with anything), a strip of washi tape, or punch white cardstock that’s slightly wider (i.e. wider than the insert section for the cover), so you only see white, not the page underneath.
I tried printing onto paper but it’s not strong enough and would bend when I tried to put it in the sleeve. You’ll definitely need to use cardstock. I used some 120GSM cardstock I purchased from Officeworks. It’s thicker than printer paper but thankfully not so thick that it jams my printer.
I also tried making it double sided by slipping another pattern cardstock into the backside but the sleeve is not big enough. So you might want to print double sided, otherwise the white backing could be used to place sticky notes or add some adhesive pockets.
I will say that Happy Planner’s create your own cover is not very sturdy, it’s quite bendy.
Yet another option from the Happy Planner are the snap in covers that are either laminated or the fake leather material. The laminated covers are similar to the ones that come on a Happy Planner and the leather ones are much sturdier (similar to the ARC leather covers). There’s also the deluxe covers as well. All of the Happy Planner covers extend beyond the pages to protect tabs underneath.
8. Add some pages
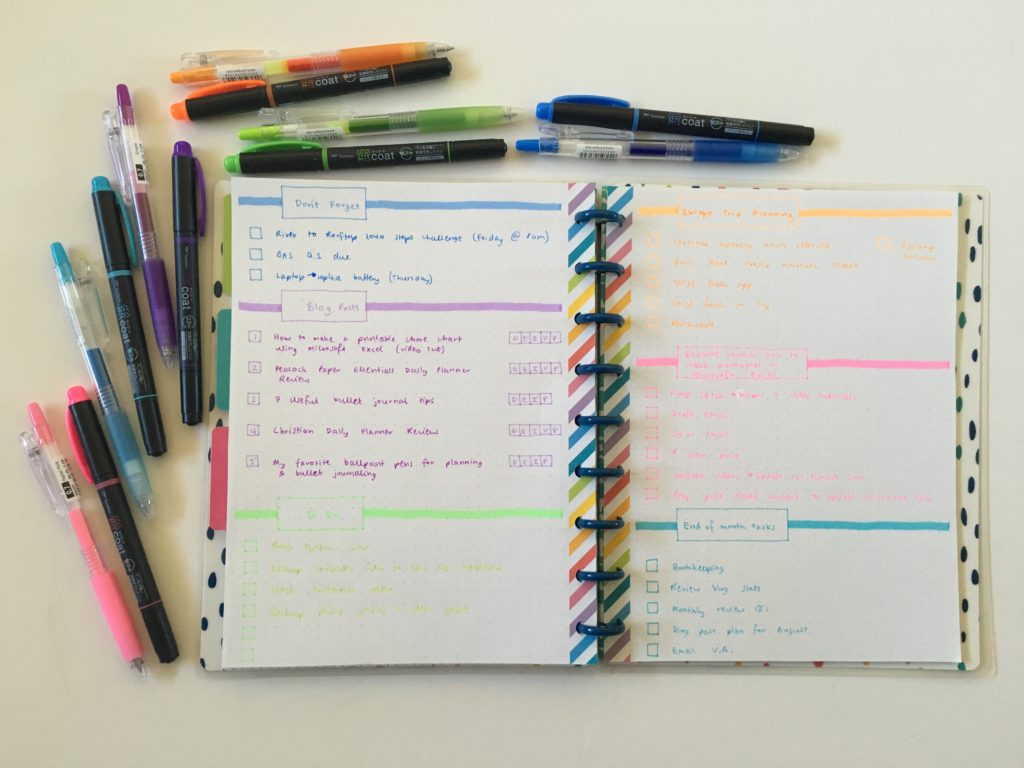
Some handy pages you might want to add to your notebook:
- Future log printable
- Habit tracker
- To do lists
- Budget pages
- Dot grid pages
- Lined pages
- Cleaning checklist
- Refills – you can get these from Happy Planner but you can also get some from companies like Plum Paper and Limelife (they have an option to request them unpunched when you place your order).
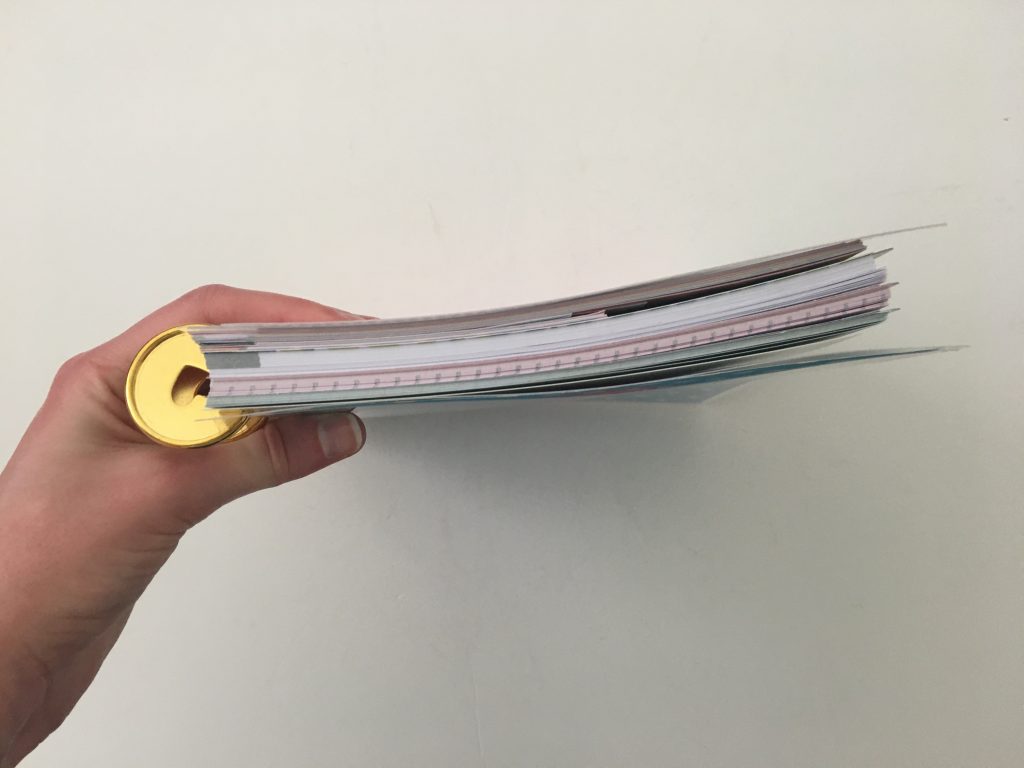
I’ve had people ask me over the years why it’s so hard to turn the pages of their discbound notebook. The solution? You need to add more pages! The pages are far easier to turn when there’s more of them on the discs.
When adding pages I like to clip the first one into the mushroom and then use two fingers and push the paper onto the rest of the discs by placing my hand horizontal to the discs.
Another thing to note: I only add about 5 pages onto the discs at a time. Any more than that and the cut outs where they slip onto the discs can get damaged.
Buying versus DIY
The Happy Notes are my all time favorite Happy Planner product. However, if you want something more custom, here’s the cost comparison:
DIY discbound bullet journal
- DIY front and back covers, including laminating = $2
- DIY dividers say = $1
- MAMBI discs medium size = $9
- Printer paper for printing dot grid = $3
- Printer ink = say $2
- Total cost = $17 AUD
If you want to buy dot grid refill pages instead of printing and cutting your own they cost about $12 AUD.
- Total cost = $29 AUD
Happy Planner ‘Happy Notes’ dot grid notebook
- $25 AUD (comes with dividers, cover etc. you don’t need to purchase any other accessories to get started planning)
As you can see the cost of DIYing your own versus buying one already made is similar. With the custom option you can change out the cover as often as you like whereas the Happy Notes come with a laminated cover. You could do a mixture of both where you add your own pages to one of the Happy Notes.
Planning Inspiration
- Best Paper for Printing Printables
- Buying a planner versus DIYing and making your own (pros and cons)
- Using blank pages: 50 useful lists to add to your planner

Found this post helpful? Pin it!


FYI You have good info, but you talk way too fast. 😊 I can’t follow you and take notes.
Hi, no need to take notes as you watch the video, all of the info is in the blog post.
I adore disc bound notebooks but I’ve never gotten to use one, I ordered a Happy Planner in February but Corona meant that it only just got into my country, I was so looking forward to it. And there aren’t any local sellers of disc bound notebooks
Thank you! This is exactly the information I was looking for and more! I needed to make a cover for my custom dot journal and had no idea that digital paper existed! I followed your link and purchased a cute gingham print to use for my cover!