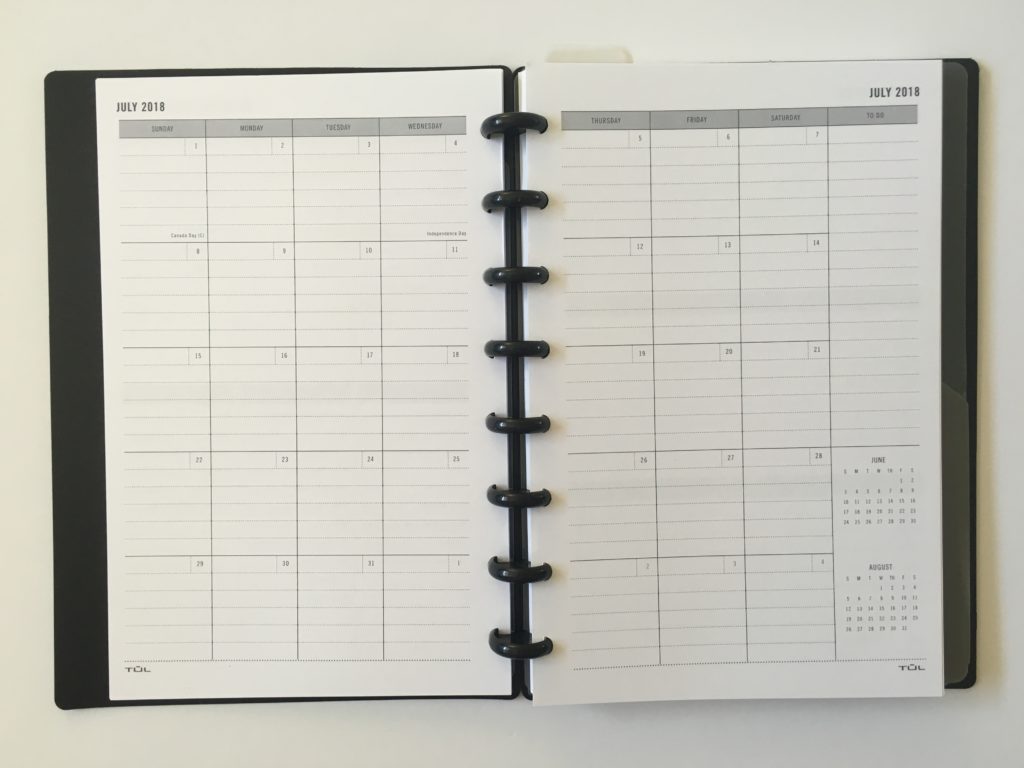
Converting a monthly calendar into a weekly spread using the TUL planner
I’ve previously converted a monthly calendar into a weekly spread (see here) but decided to take a different approach this time.
This post contains affiliate links. If you make a purchase after clicking one of these links I’ll receive a small commission in exchange for referring you (at no extra cost to you).
Before the Pen
I chose the TUL because it’s discbound and the monthly calendar has lines. If you want lines and a bigger page size, try the BlueSky or Day Designer for BlueSky Planner.
TUL Student Planner Discbound Notebook Review
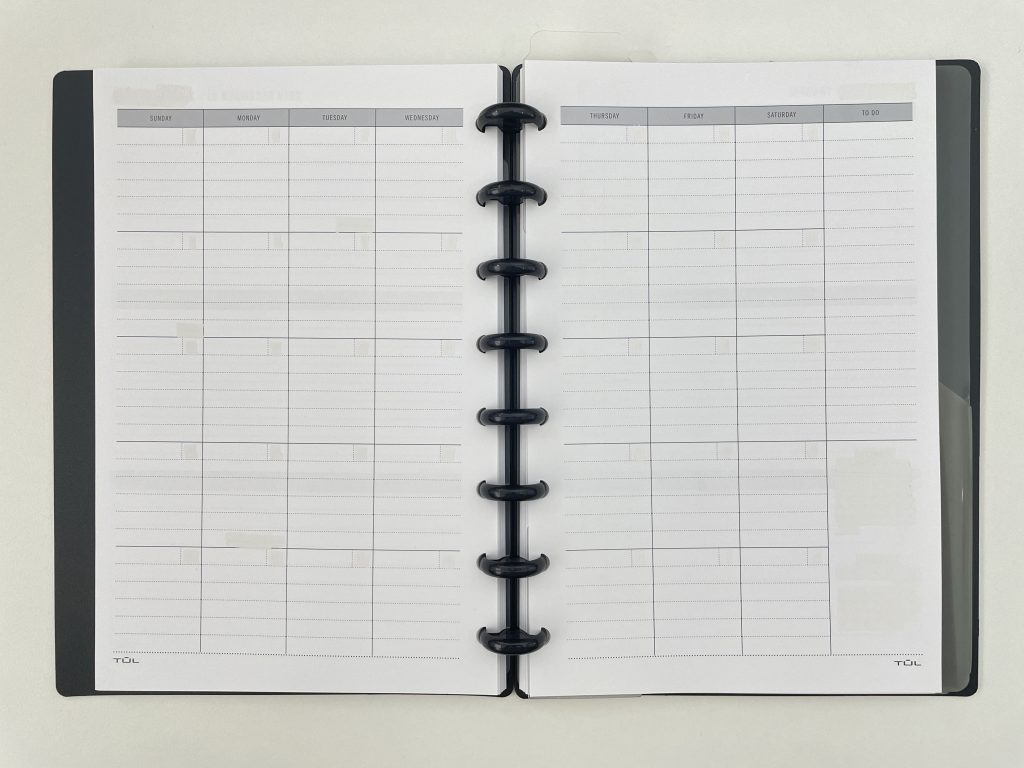
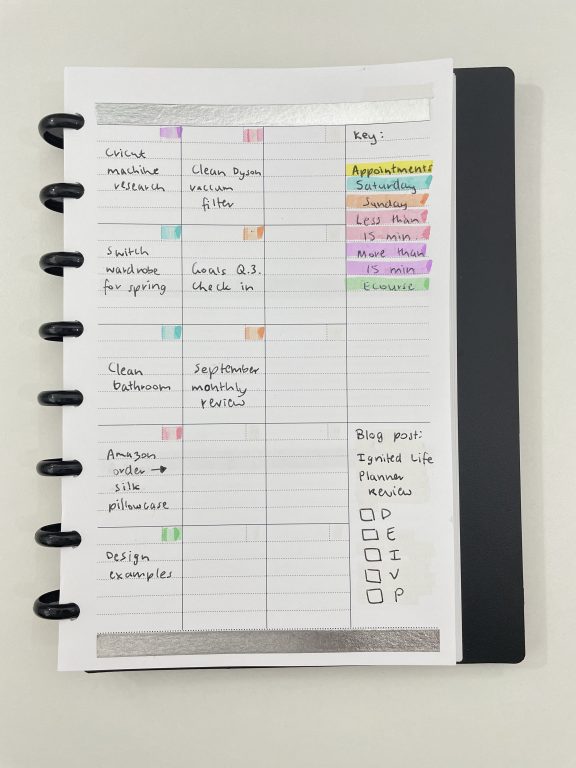
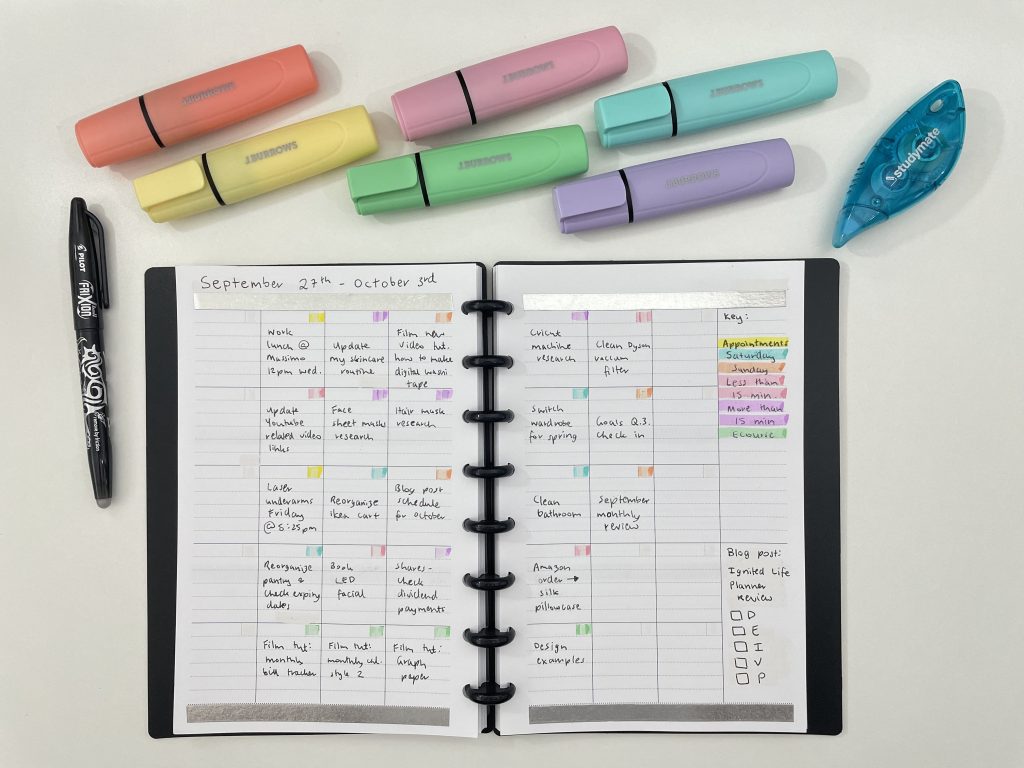
First I used whiteout tape over all of the pre-printed events like new years day, the dates in the boxes for each day and the mini monthly calendars in the sidebar. Then I was ready to start planning.
After the Pen
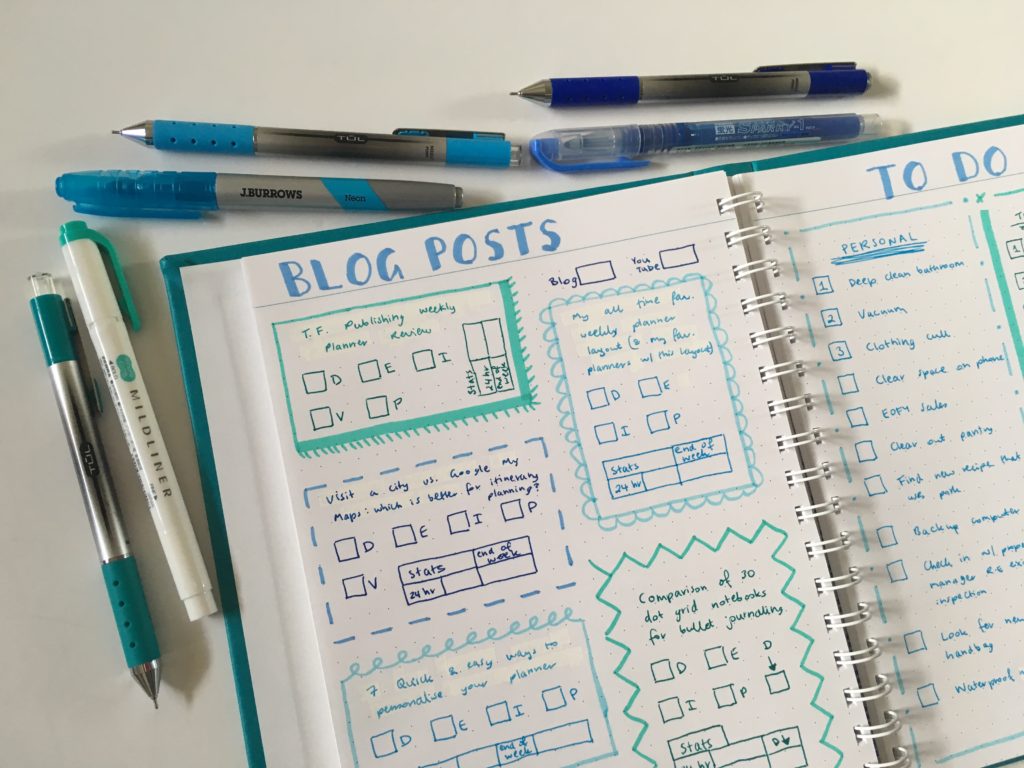
I used one box per task. The idea this week was that once the boxes were full, I couldn’t add anymore things to my to do list. A better work life balance has been one of my goals for this year, but I will admit I added just a small sicky note with a few extra things during the week. At least the intention was there!
I used the boxes for each day that were originally for the dates, as a checkbox to cross off once a task was finished.
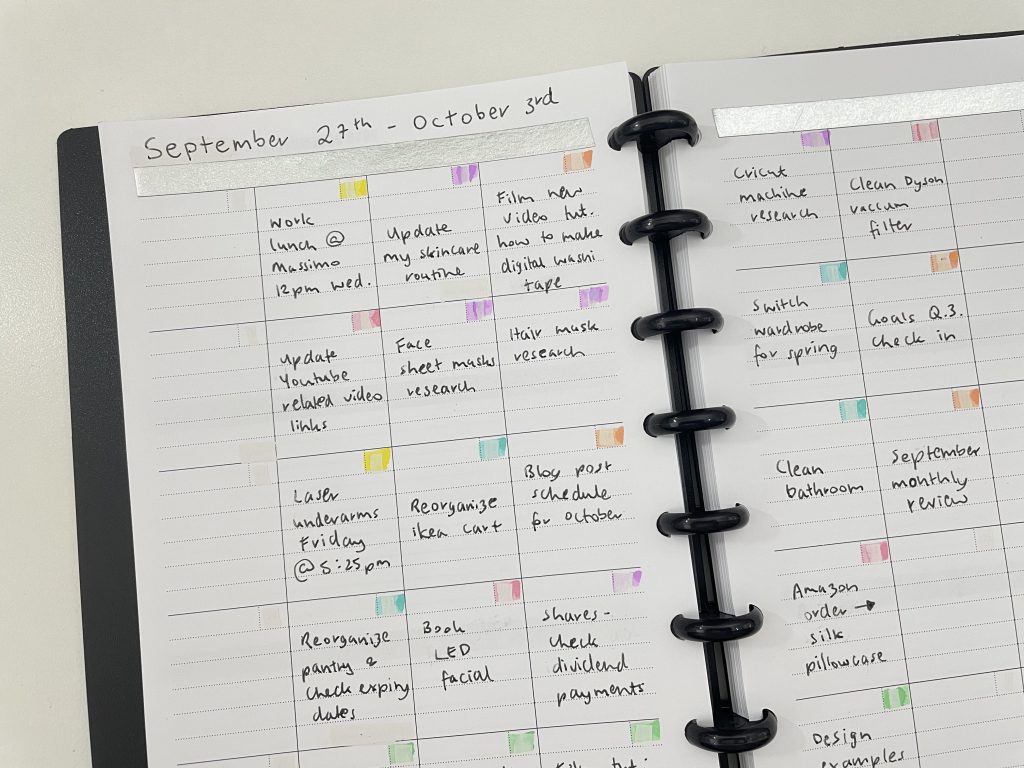
I used my favorite Frixion pen and left the ink to dry but it still smudged when I used the J Burrows highlighter over the top. So I erased the Frixion and used a J Burrows ballpoint pen for the rest. The ink of the J Burrows pen is too dull (see photo below) and I wouldn’t purchase again.
Related post: Pens & Highlighters Smear Testing: Which ones don’t smear
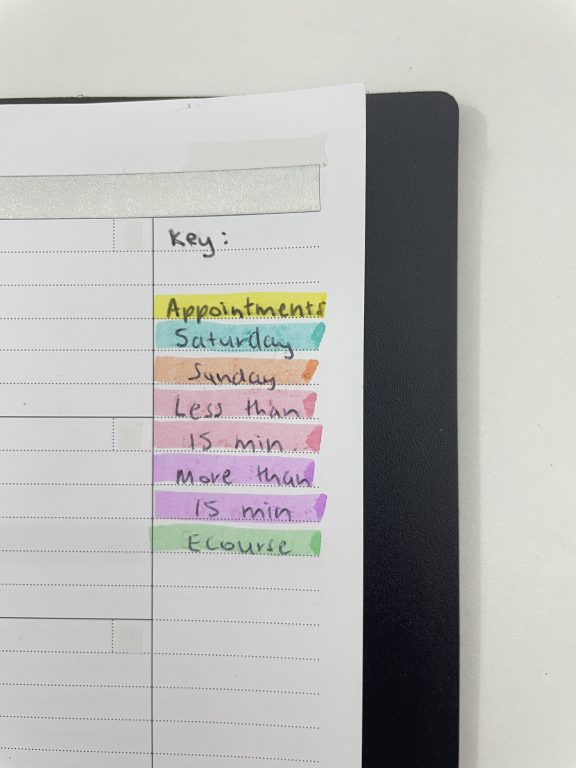
My key for this week was:
- Appointments – things with a set time I can’t change
- Saturday to do
- Sunday to do
- Less than 15 minute tasks
- More than 15 minute tasks
- Tasks for my how to make printables in Affinity Publisher ecourse
I did separate colors for Saturday and Sunday as I’m at my day job during the week so get most things done on a weekend.
By using a separate box for each task there was more white space than if I were to use a vertical checklist – I like how clear and organized the boxes kept everything.
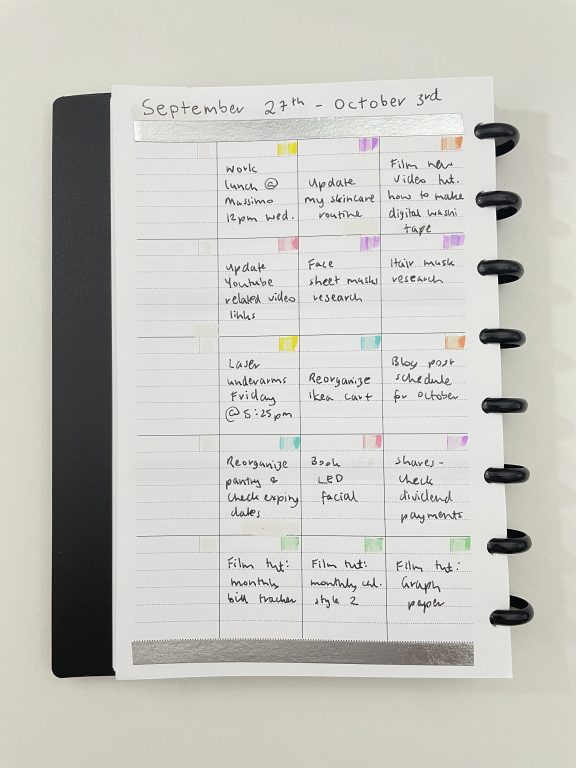
It would’ve looked nicer if I had used a blank / undated monthly calendar then you wouldn’t see the whiteout underneath the highlighters.
Supplies Used
- Studymate without tape from Officeworks
- J Burrows pastel highlighters from Officeworks (cheaper dupe of the Stabilo Boss or Staedtler highlighters)
- J Burrows black ballpoint pen
- Frixion black erasable pen
Would I use this spread again?
Yes, I like having separate boxes for each day and this was a change from my usual list style format. This planner is half US letter size so the columns were a bit narrow for my liking, if I try this again I’d use a 7 x 9″ or similar size planner.
While it’s not a very decorative spread, it was very quick to set up and the colors in the checkboxes were enough for me, although you could do a highlighter border around the boxes if you want the colors to stand out more. Similar to what I did in this past spread:
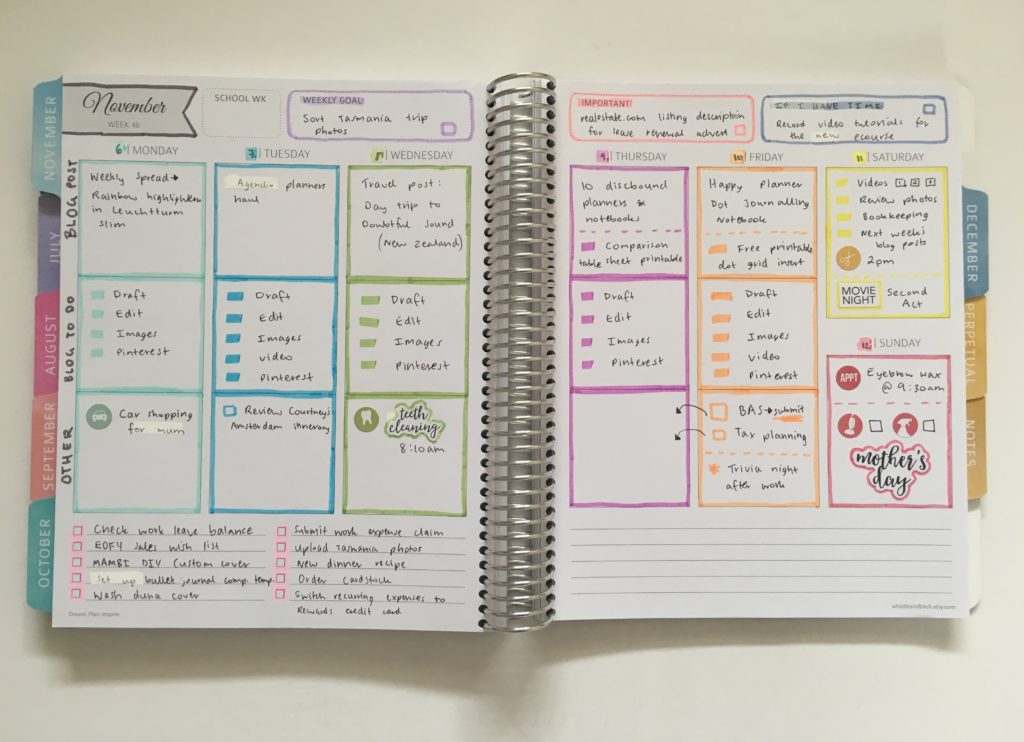
Whistle and Birch Rainbow Weekly Spread using the Zebra Mildliners
Past weekly spreads
- Rainbow Color Coded Weekly Spread Using the Passion Planner
- Trying out my custom A5 Agendio dashboard planner
- Weekly spread with DIY stickers using the Poooliprint inkless pocket printer
Planning tips & ideas
- 6 Useful ways to efficiently plan your week using highlighters
- Where to find discs to make a discbound planner or notebook (downloadable comparison)
- 7 Useful Bullet Journal Tips
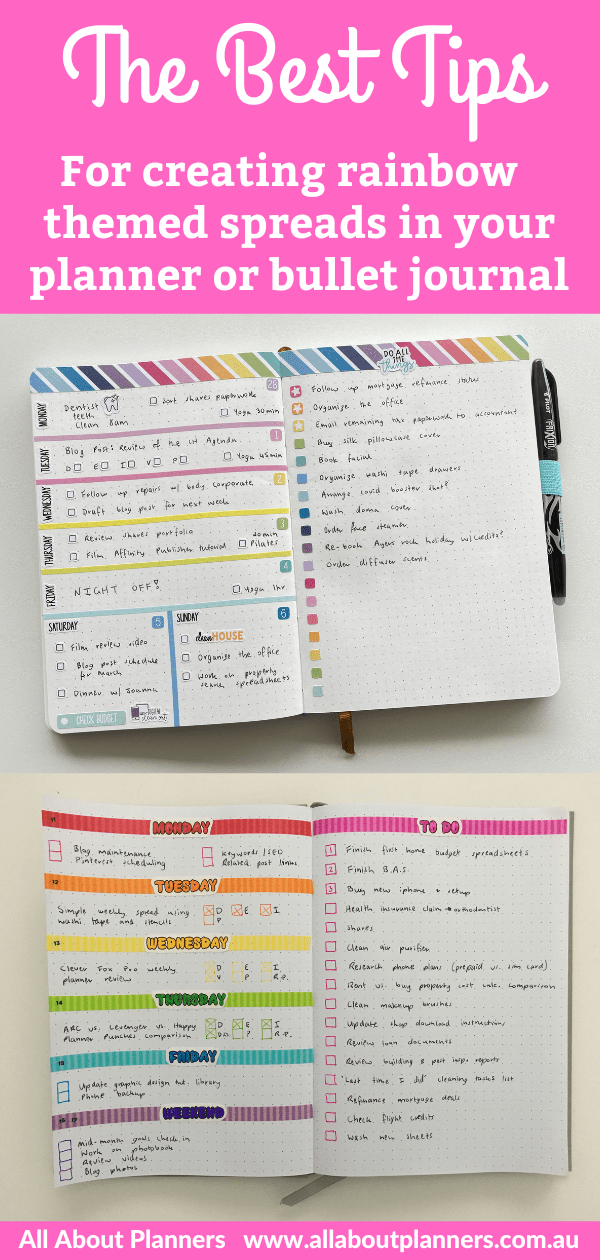
Liked this post? Pin it!
j