
Bullet journaling in my custom Agendio dot grid notebook
There are 3 main reasons I wanted an Agendio dot grid notebook: the bright white paper, no stitched binding and larger than A5 page size. So let’s see if paying the price of a custom notebook was worth it:
This post contains affiliate links.
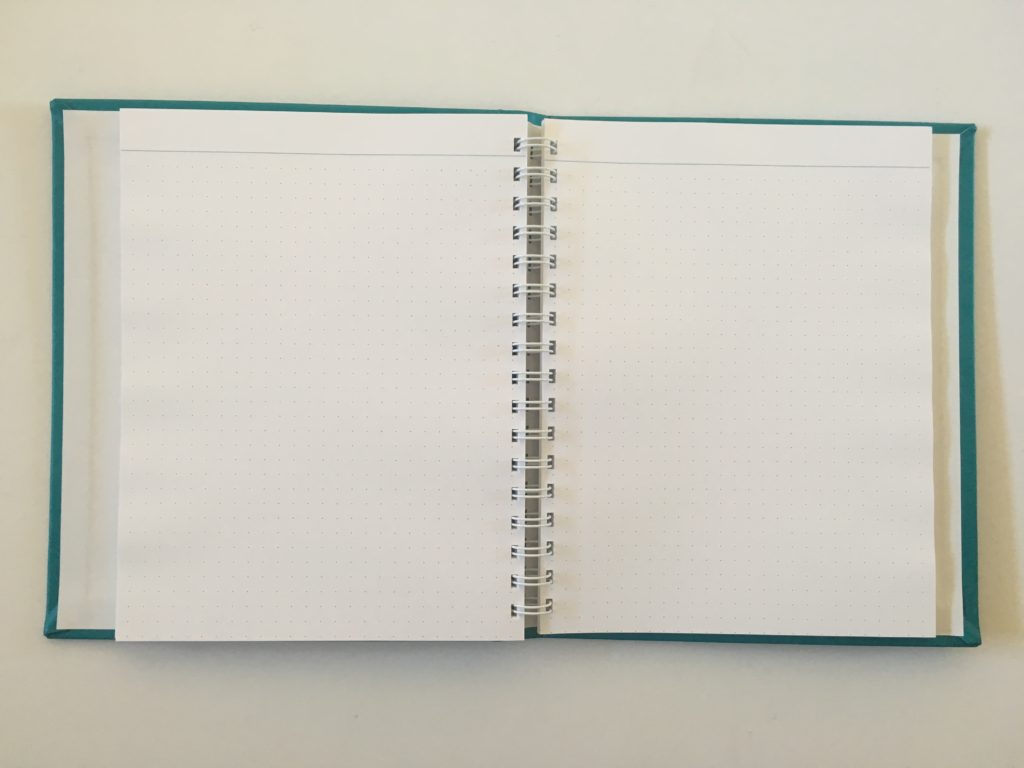
Before the Pen
I do prefer this dot grid spacing (7mm / approx 0.275″) that’s larger than most dot grid notebooks.
After the Pen
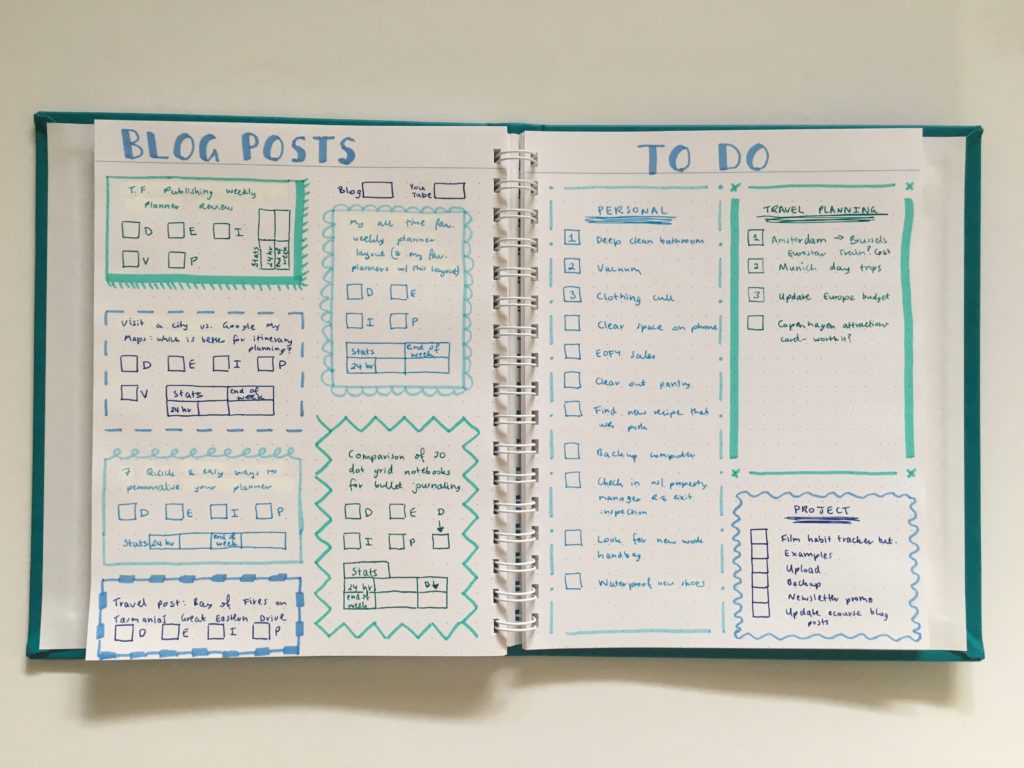
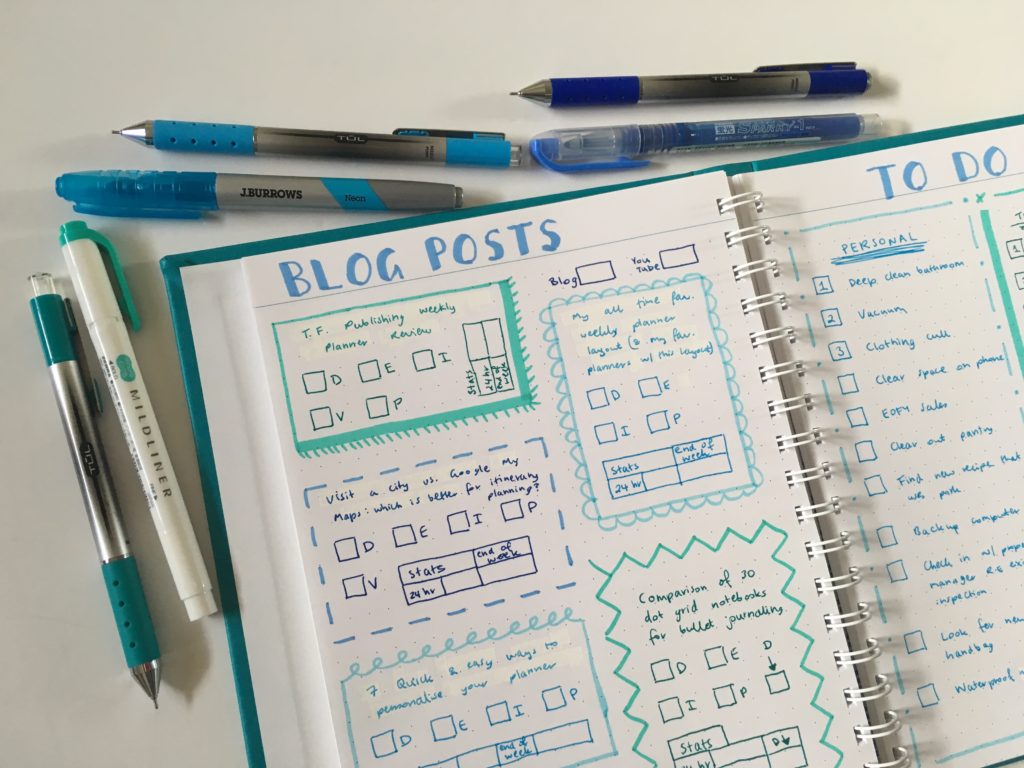
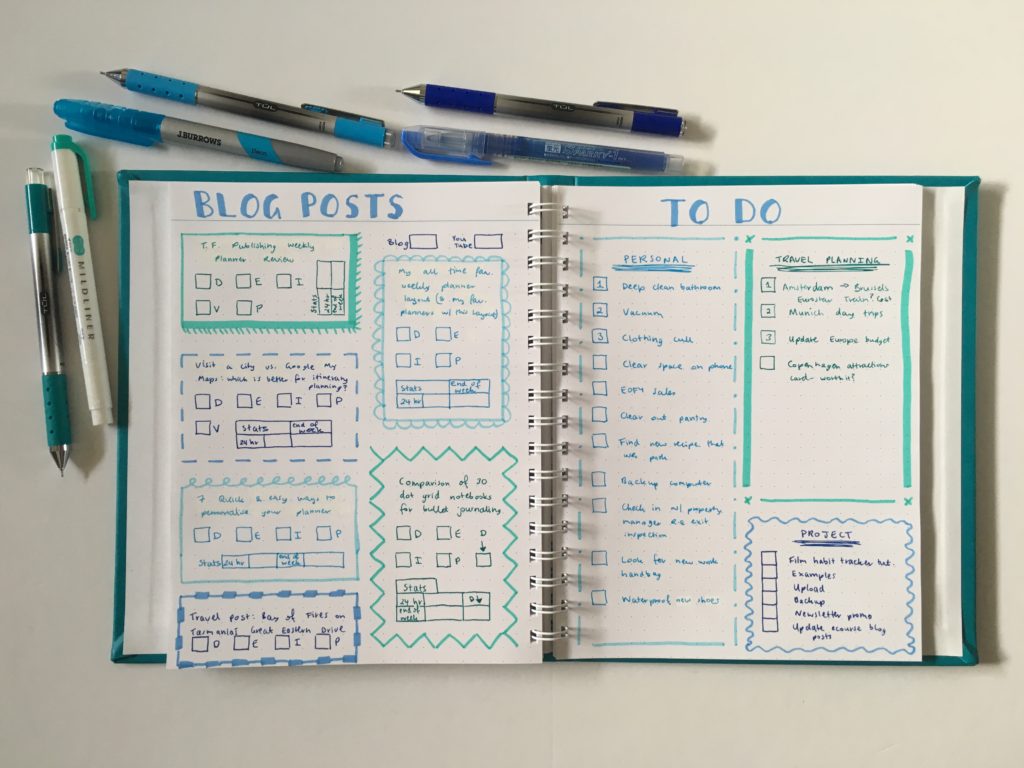
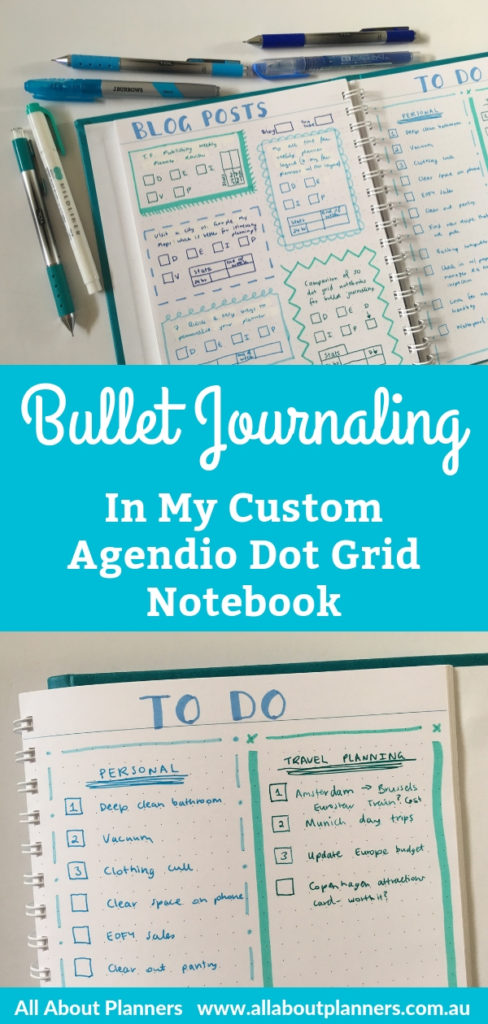
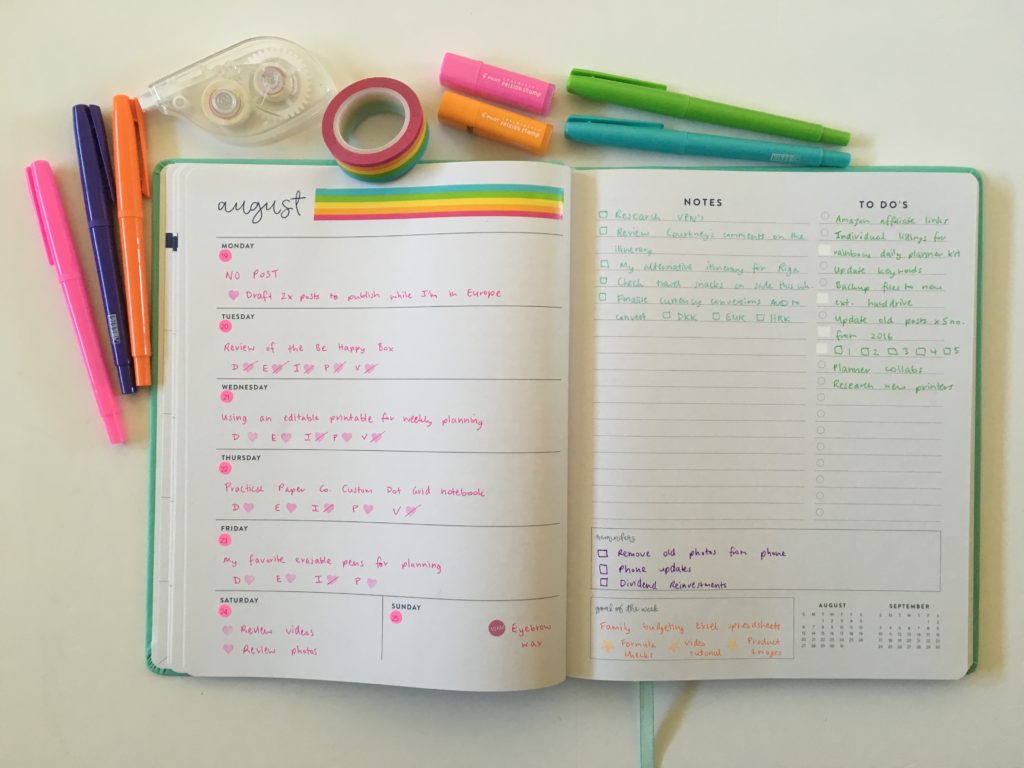
At first glance you can probably tell what the theme for this week was: shades of blue & teal.
Why? To match the teal cover of the notebook! Plus I have way too many blue pens & highlighters.
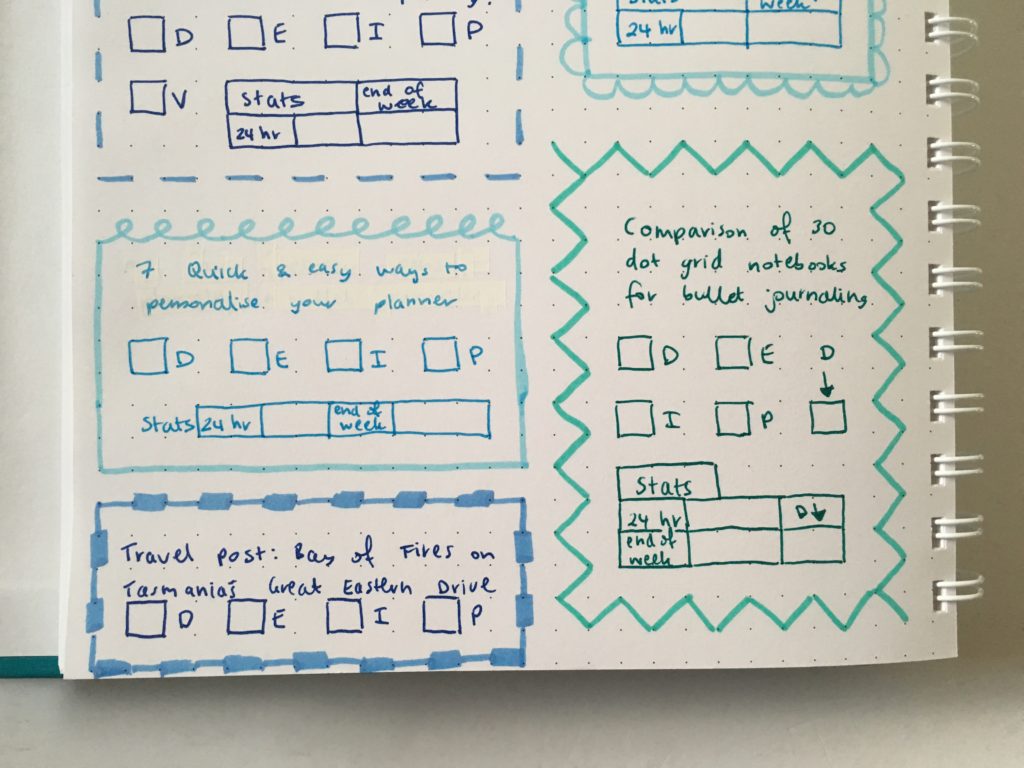
Since I tend to just do a solid line for borders all the time, this week I decided to randomly do different borders around each section.
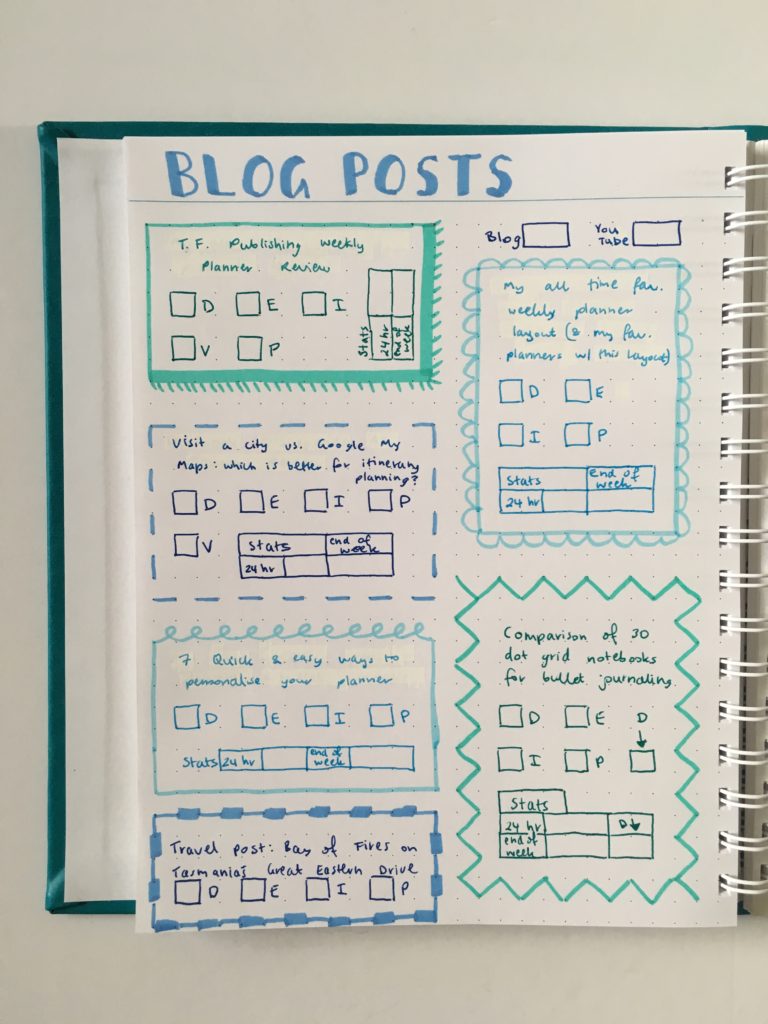
I ended up completely changing what blog posts I was going to do so thank goodness the paper is bright white which made all the whiteout much less noticeable.
Posts published this week:
- Comparison of 30 Dot Grid Notebooks for Bullet Journaling (Buying Guide)
- TF Publishing Weekly Planner
- The Bay of Fires on Tasmania’s Great Eastern Drive – Is it Worth The Hype?
- Visit a City versus Google My Maps: which is better for visually planning your travel itinerary
- 7 Quick & Easy Ways to Personalise Your Planner
- My all time favorite weekly planner layout (plus my favorite planners in this layout)
One thing I noticed on closer inspection is that the dot placement of the last row sometimes skims the very edge of the page and others it sits just above.
The only dual tip highlighter I used was the Mildliner. I just used the pointy end of the chisel tip for the other highlighters.
Related: Favorite dual tip highlighters for planning (roundup)
The title was done with 1 chisel tip highlighter – I just angled it to the pointy end to make it look like I used a dual tip. Obviously not as accurate or neat as a brush pen but still turned out ok.
Related: DIY Hand lettering practice worksheets (tutorial on how you can make your own!)
The notebook can be folded back on itself and while it doesn’t have discbound binding, the wire isn’t clunky and doesn’t get in the way when writing.
Supplies Used
- TUL needle tip gel pens
- Zebra mildliner teal dual tip highlighter
- J Burrows Highlighter (from Officeworks)
- Sparky-1 Zebra Highlighter
I normally hate needle tip pens as they’re scratchy and the ink skips if you write at any angle. However, the TUL needle tip gel pens are one of the few needle tip pens that aren’t like that. They write more like a gel pen and rarely smear. They also glide over white out tape so easily – just like writing on paper. Most needle tip pens will scratch through the whiteout.
Would I use the Agendio notebook again?
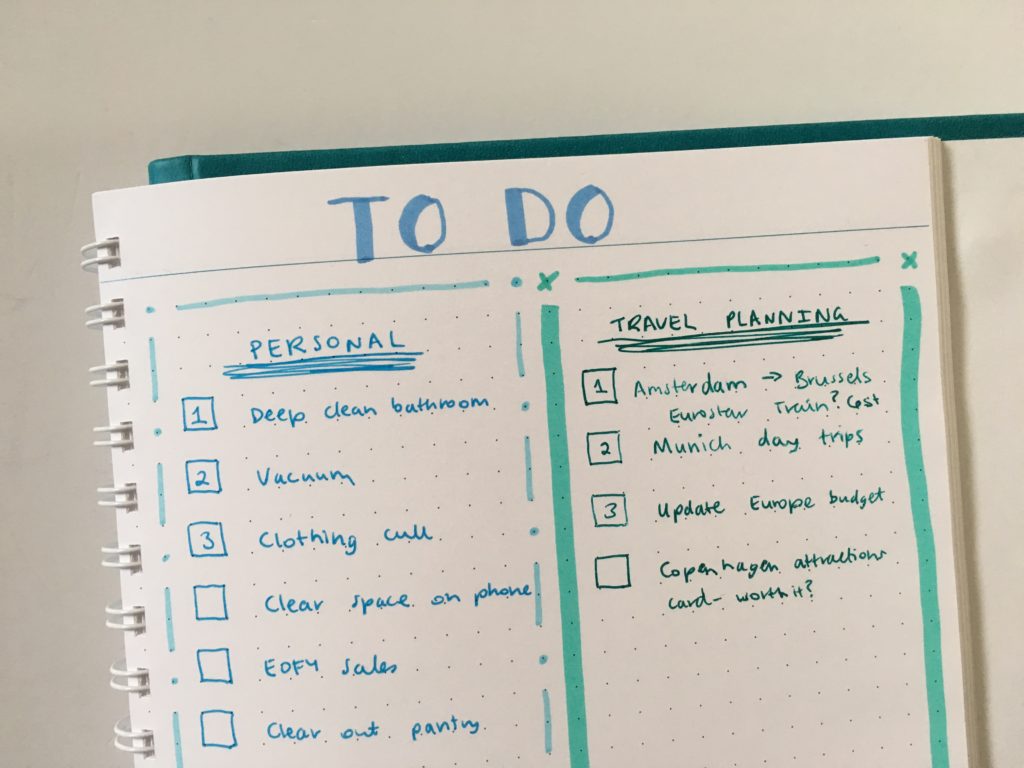
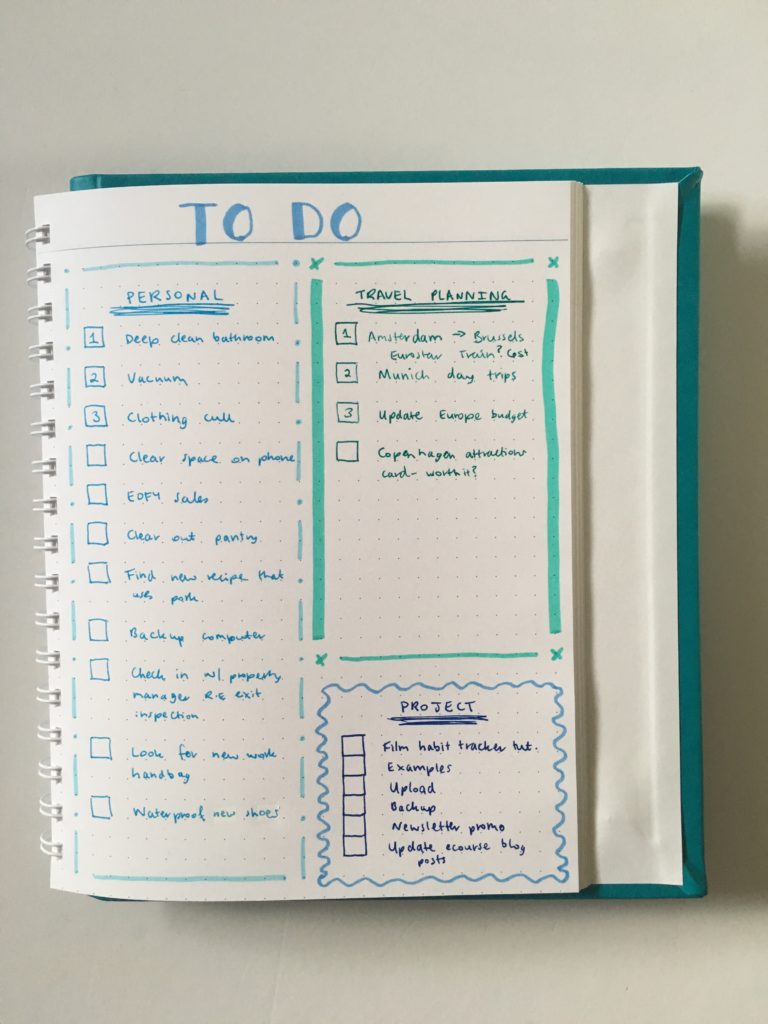
I like the bright white paper, especially because it makes white out less obvious. The larger page size (7″ x 9″ high) is also perfect for me – I can space things out and create 2 list columns on the one page without things being crammed.
The dot placement is too close to the edge of the bottom of the page making the last row of dots not practical to use.
While I do like this notebook it’s quite pricey, so I’m on the quest for similar but cheaper notebooks.
Past weekly spreads
- Rainbow and Neutral Weekly Planner Spread Using the Unique Planner
- Bullet journaling with planner stickers in the Happy Notes Book
- Setting up a new month in my bullet journal (minimalist style)
Planning Tips
- The Process Behind Making a Printable Planner
- 5 Planner supplies you should never skimp on
- Favorite Twin Tip Markers for Planning (Roundup)
Liked this post? Pin it!


One Comment