
7 Useful Bullet Journal Tips
If you’re new to bullet journaling or have been for a while, here are some helpful tips to incorporate into your bullet journal.
1. Resize printables
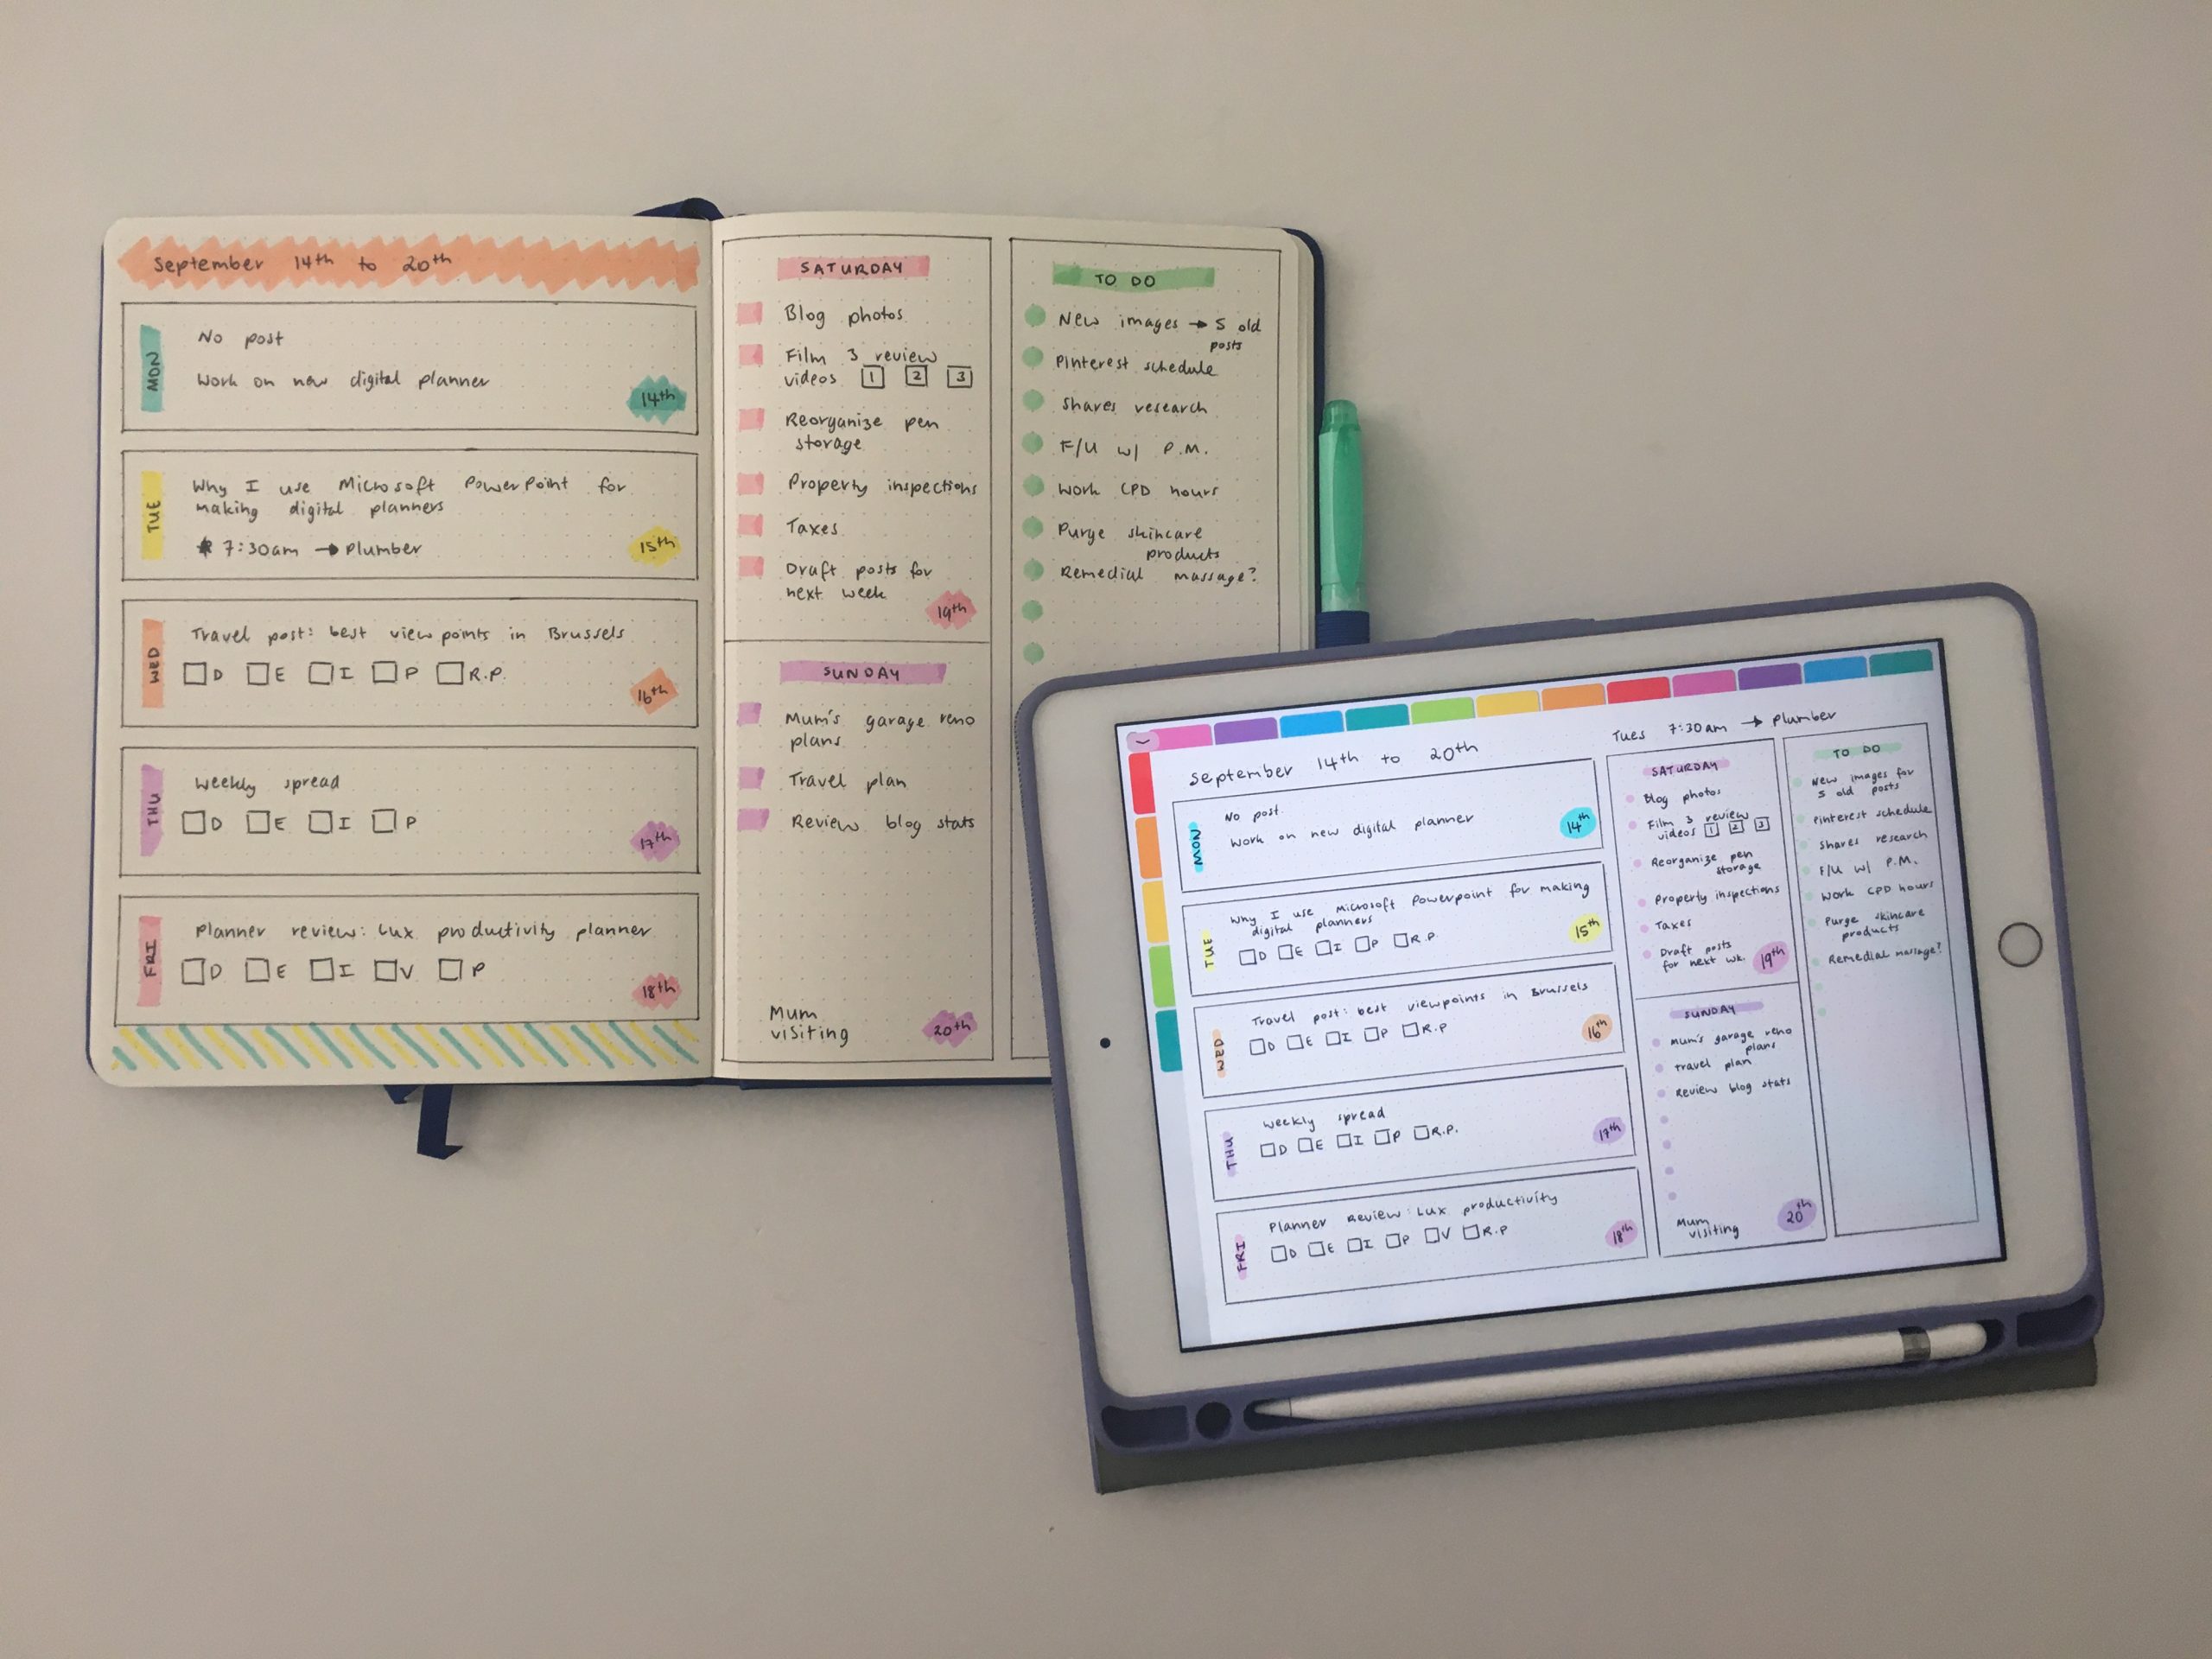
One of the reasons I can never 100% comitt to bullet journaling as my only planning method is the time it takes to draw up the spreads.
But there is a quicker way! If there’s a layout you use often e.g. habit trackers, then resizing a printable will save a ton oft time.
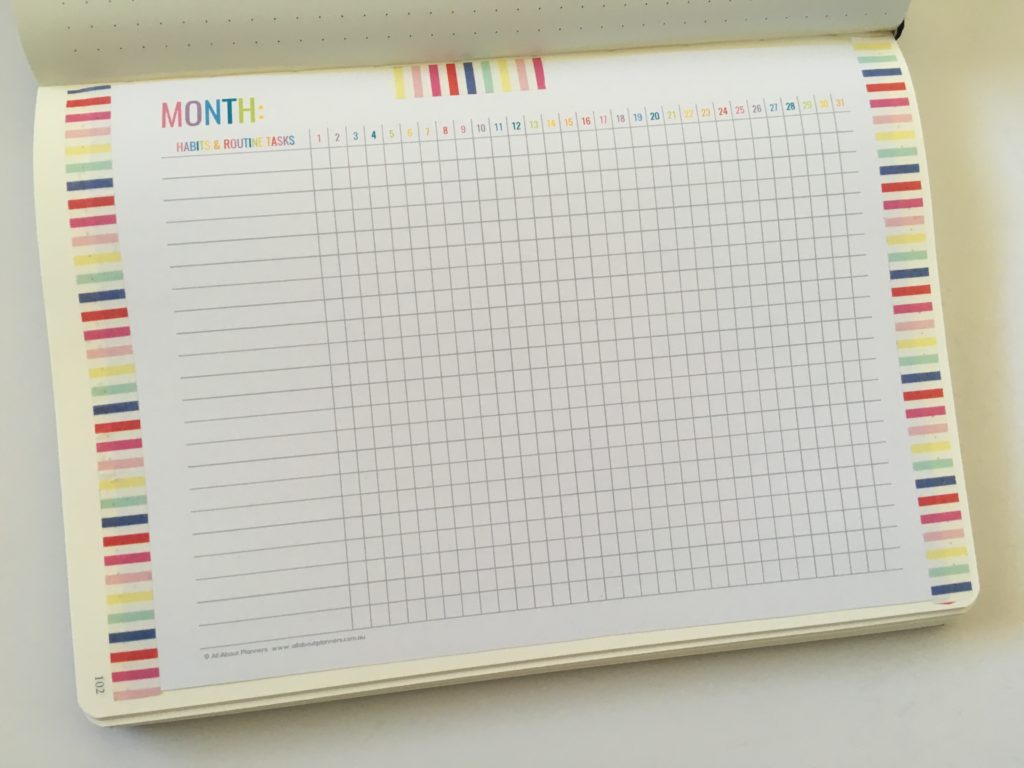
Tutorial: How to resize any printable for any size bullet journal
Want to try this out? Download a printable habit tracker from the library (click here)
2. Paper quality
Paper quality might not seem like a big deal however most sewn bound dot grid notebooks (which are considered the ‘go to’ for bullet journaling) have really bad paper quality. I don’t know about you but I don’t like writing on the backside of pages where ink has bled through or if there’s heavy ghosting.
Definitely check for pen testing & reviews of bullet journals before purchasing (I have a comparison of 30 notebooks here and tons of reviews here). But if you’ve already purchased a notebook that doesn’t have the best paper quality, place a piece of cardstock underneath the page you’re writing on to absorb some of the bleed through, then you can just throw that piece of cardstock out when it’s covered in ink.
3. Lay flat pages
Most bullet journals are sewn bound notebooks which have a tendency to close on their own.
Use butterfly clips to hold the pages open while you write.

Related: Bullet Journal Ideas: 26 Weekly Spread Layouts to Try
4. Hack a notebook
I don’t recommend using notebooks that don’t have page numbers. If you have, I’d convert it into a draft notebook. I.e. where you experiment with different spread layouts.
But if you have purchased a notebook that doesn’t have pre-printed page numbers, here are a few suggestions:
- Date dot stickers – I know date dot stickers only go up to 31, but most date dot stickers come in various colors so you could color code. E.g. green 21 signifies page 21 of whatever you’ve color coded green e.g. green = lists
- Instead of numbered pages, use colored dot stickers and color code. E.g. orange dot = blog planning so add an orange sticker to the bottom corner of the page
- Use different colored pens to color code. E.g. everything relating to budgeting or money management, bill tracker etc. in blue pen
- Highlight the corners of the pages in accordance with your color coding category. or you could use one color for monthly spreads, another for weekly, another for daily etc.
- Dog ear the pages you refer to most frequently (e.g. password log), or just snip the corner off the edge of the page
- Use sticky notes – I like the Post it Note 3M that comes in a pack of 10 colors (2″ wide x approx 0.5″ high)
Related: 50 Category Ideas for Color Coding Your Planner
If you want to use date dot stickers, these are some of my favorites:
- Carpe Diem (rainbow calendar number stickers)
- Carpie diem date dot stickers
- My rainbow calendar stickers
- Prima planner date dot stickers
- MAMBI date dot stickers from the journaling sticker book
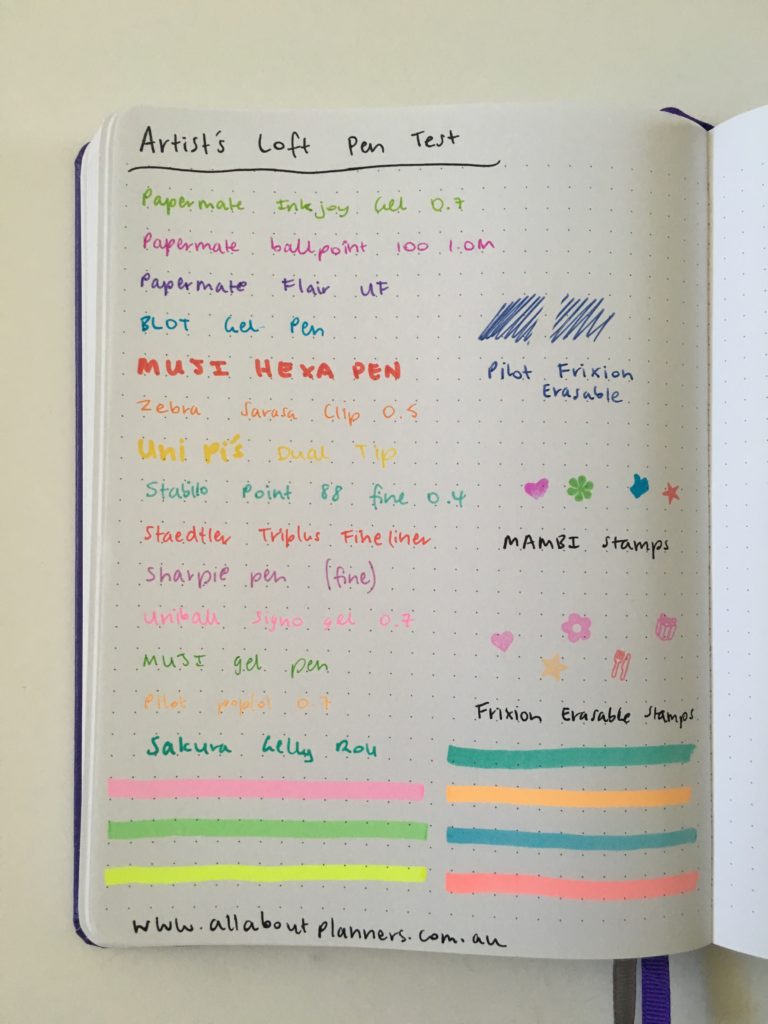
5. Pen testing page
The first thing I do when I buy a new notebook (or planner) is a pen test. At the back of the notebook I’ll test all the gel, fine tip and ballpoint pens I typically use, as well as brush pens, highlighters & stamps.
6. Sticky Notes
I know one of the main things about bullet journaling is the index so you could write wherever in the notebook… But I prefer to keep things clustered and on consecutive pages. Sticky notes are helpful for deciding what you’re going to plan on what page.
They’re also great for mapping out what you want to put where for each of your spreads.

Every time I buy a new dot grid notebook, I count the number of dots across and the number of dots down, and then add this to a sticky note which I stick to the inside of the cover of the notebook. It’s very helpful when ruling up spreads!
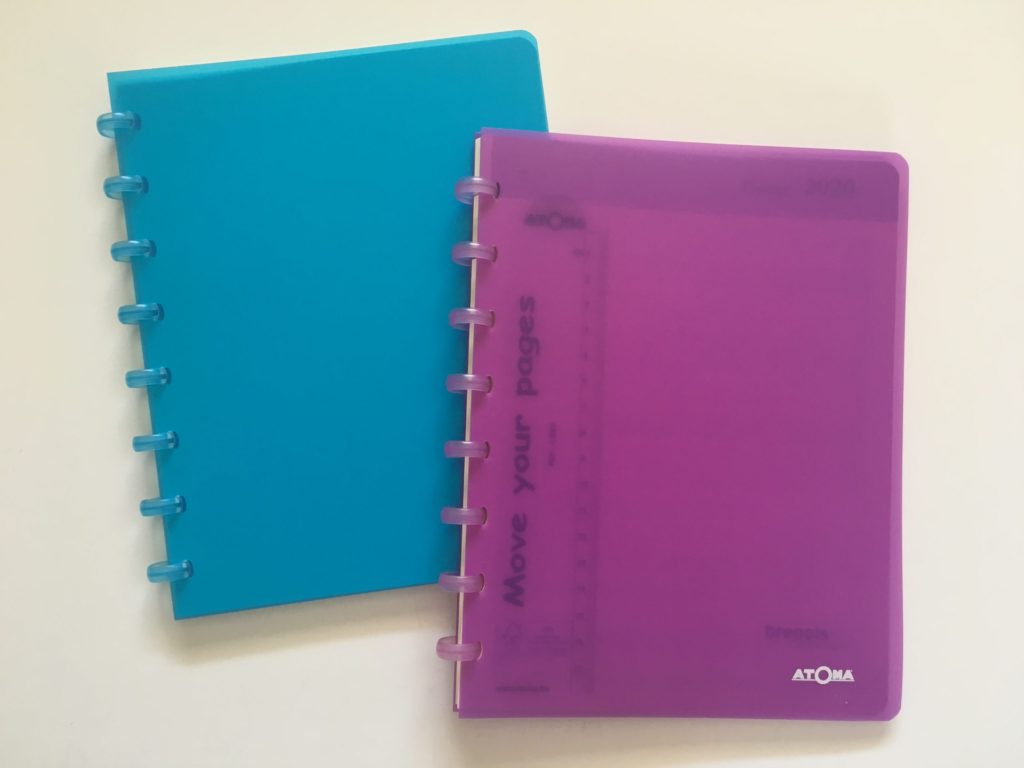
7. Discbound
I know I talk about discbound all the time but it really is the best type of binding. The ability to add, remove and rearrange pages as often as you please makes it perfect (in my opinion) for bullet journaling.
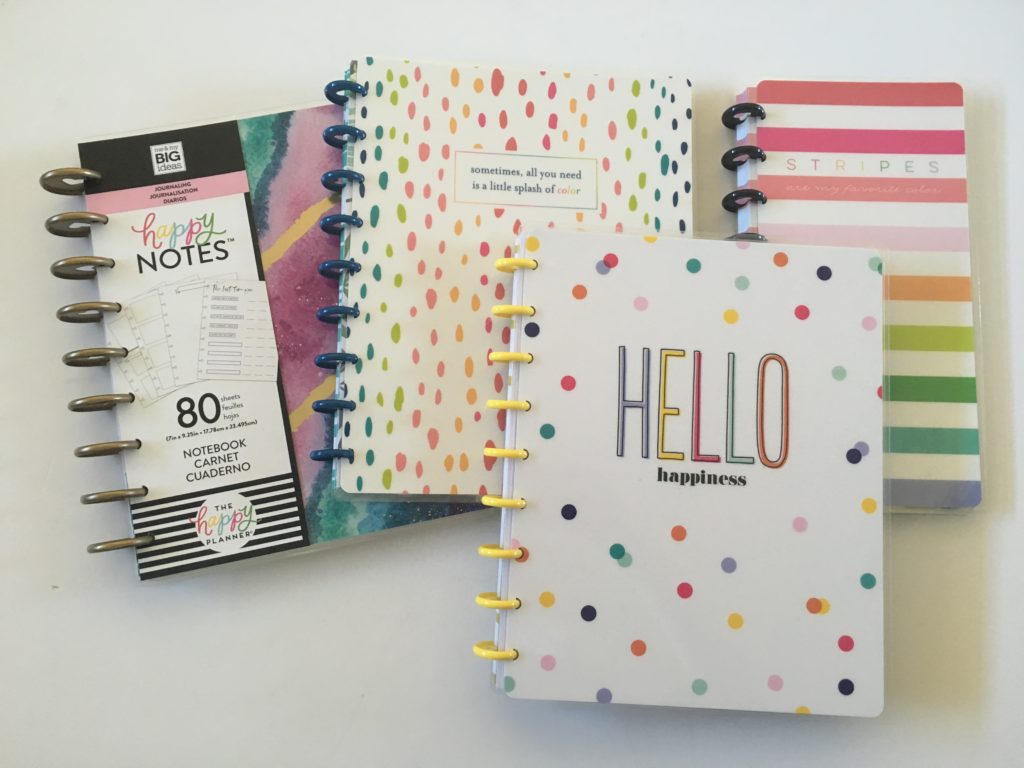
There are a few discbound notebooks available nowadays (see this post). The most affordable and readily available option as the moment seems to be the MAMBI Happy Notes which come with dot grid pages. And if you need some refill pages, I have some dot grid refill printables in the free printables library (click here).
Planning Tips
- Buying a planner versus DIYing and making your own (pros and cons)
- 50 Themes for your planner or bullet journal spreads
- 7 Reasons why I don’t use stitched notebooks for bullet journaling
Bullet journal spreads
- 7 Bullet Journal Weekly Planner Spreads you probably haven’t thought of
- 20 Bullet Journal Weekly Spread Ideas (One Page Layouts)
- 10 Quick and Simple Bullet Journal Daily Layouts
Found this post helpful? Pin it!


Rachel you often mention storing your stickers in a binder. You show the cover, but I’m curious how you organize them inside. What do you put them in to store them & how do you organize them. I have some, I’m trying to keep them to a minimum, But a zipper bag isn’t really working. I also have some stencils & some rubber stamp sheets I need to figure out storage for as well. I have a spare notebook, so I thought I’d ask about how you store the stickers, then maybe inspiration will come to me for the others. My Hubs thinks my little Washi collection is huge,( it’s smaller than yours) but he’d have a heart attack if I told him about your sister’s. I’m still getting underway so my Bujo is still pretty minimalist, I want to learn the artsy stuff but first get the process down. I’ve saved a number of your articles, as you are a voice of common sense & speak your mind plainly. I like that in people. So if you get a chance, maybe just a little reference link if you have ever blogged about your sticker notebook. Or a short message regarding what kind of filing pages you use would be most welcome. I also live in a tiny 2 room apartment with Hubs & need to be hyper organized, a reason for starting my Bujo in the 1st place. MA from Boston MA USA. My email is [email protected] ( I’m on your mailing list already) Thanks
Hi Mary,
Glad you’ve found my blog helpful 🙂
I discussed most of my sticker storage methods in this post: https://allaboutplanners.com.au/planner-organization-organize-planner-stickers/
1) Binders with plastic sleeves for sheets of printable planner stickers. I also use these 4 component plastic sheet protectors (which are intended for photos): https://www.officeworks.com.au/shop/officeworks/p/x-photo-sheet-protectors-25-pack-x14p200263
You can get full page size pockets with a Velcro enclosure like these (but shop around – these are expensive!) https://www.officeworks.com.au/shop/officeworks/p/cumberland-a4-heavy-weight-sheet-protectors-with-flap-10-pack-cusp6138f
I was using the ARC at one point but the plastic sheets + the leather covers are expensive so I switched back to using a binder
2) For stickers printed and cut with my Silhouette (smaller than full page size), I use plastic pockets with printable labels you can download from this post: https://allaboutplanners.com.au/how-to-organize-planner-stickers-using-folders-plus-free-printable-labels/ which I keep on my Ikea trolley. Another option (which is better if you’re on the go or have limited space) is to use a mini photo album or receipt folders: https://allaboutplanners.com.au/organize-store-small-planner-stickers-using-receipts-folders/
I’m not sure how big your stencils and stamps are, but boxes with cardstock dividers and tabs sorted by type could work.