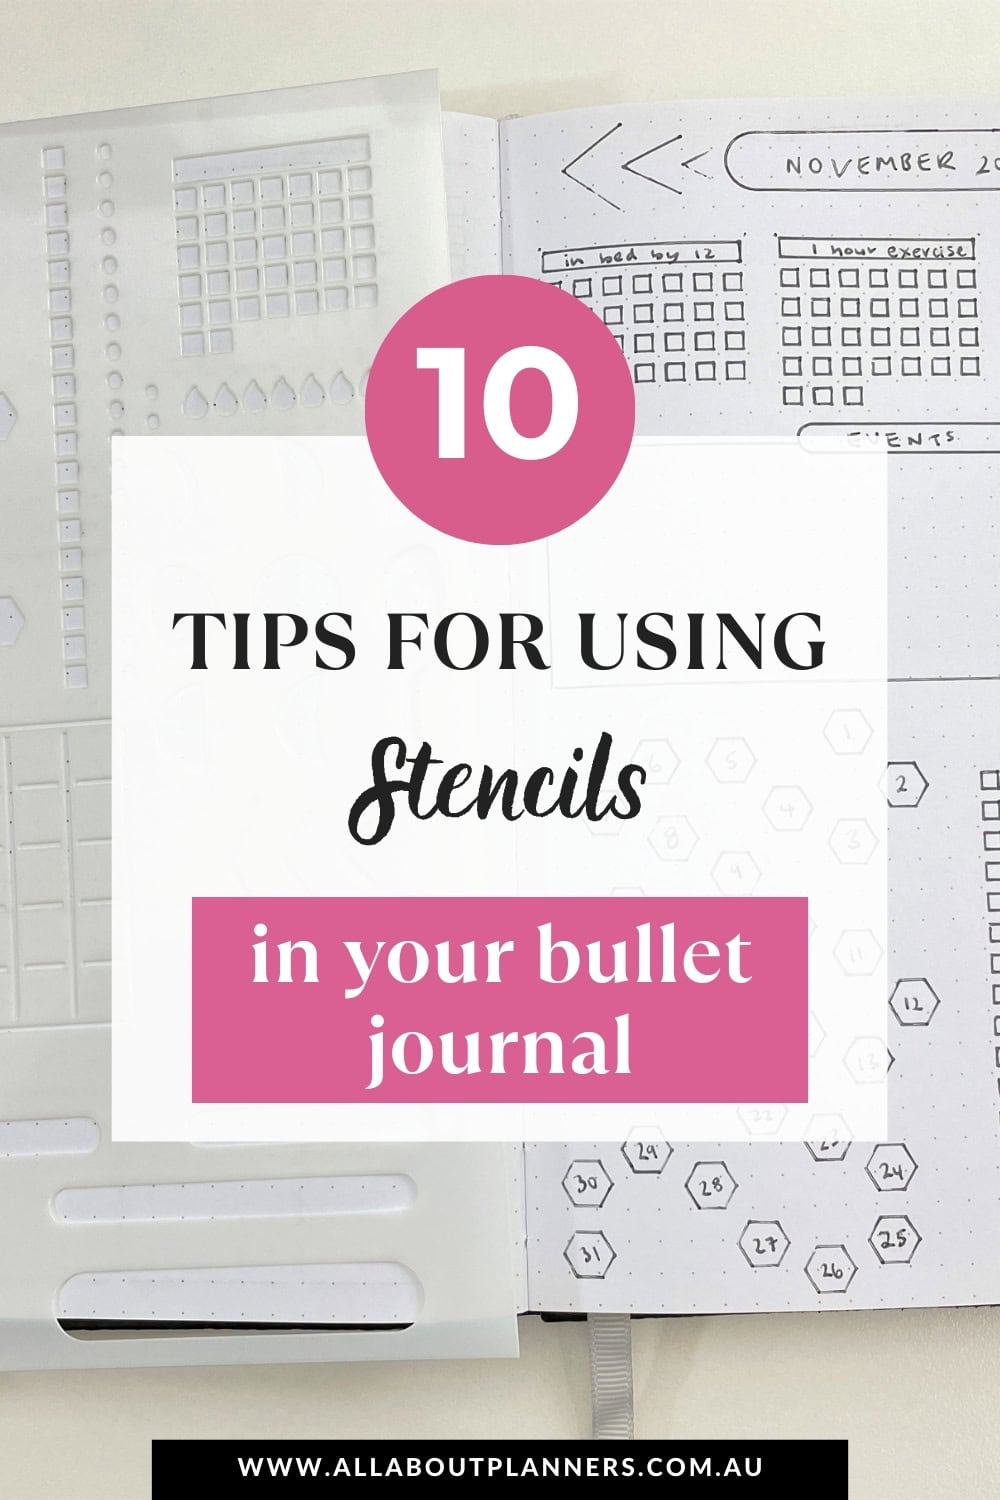
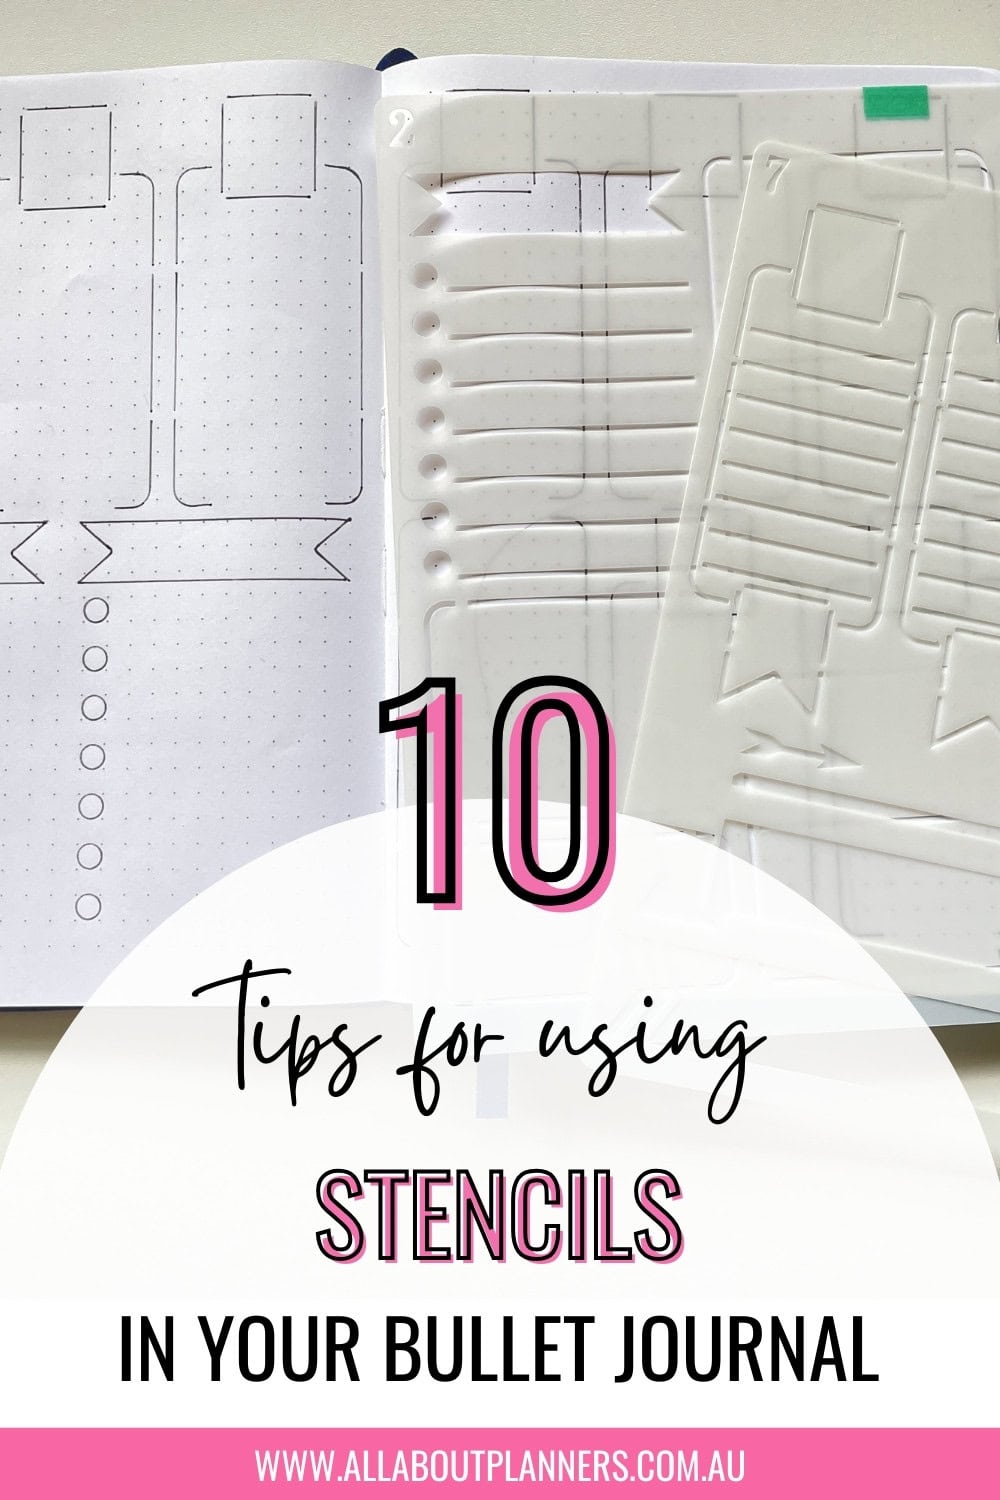
10 Tips for using stencils in your bullet journal
Stencils are an easy way to make neat and simple spreads in your bullet journal, especially when you’re stuck for inspiration. You can get sets of 10 stencils on Amazon for $10 USD or less, then reuse them over and over again. I think they’re the best value for money planner supply you can get.
Here are 10 tips for using stencils in your bullet journal or planner.
This post contains affiliate links. If you make a purchase after clicking one of these links I’ll receive a small commission in exchange for referring you (at no extra cost to you).
If you haven’t tried stencils for bullet journaling yet, see this post: Best stencils for bullet journal daily, weekly and monthly spreads
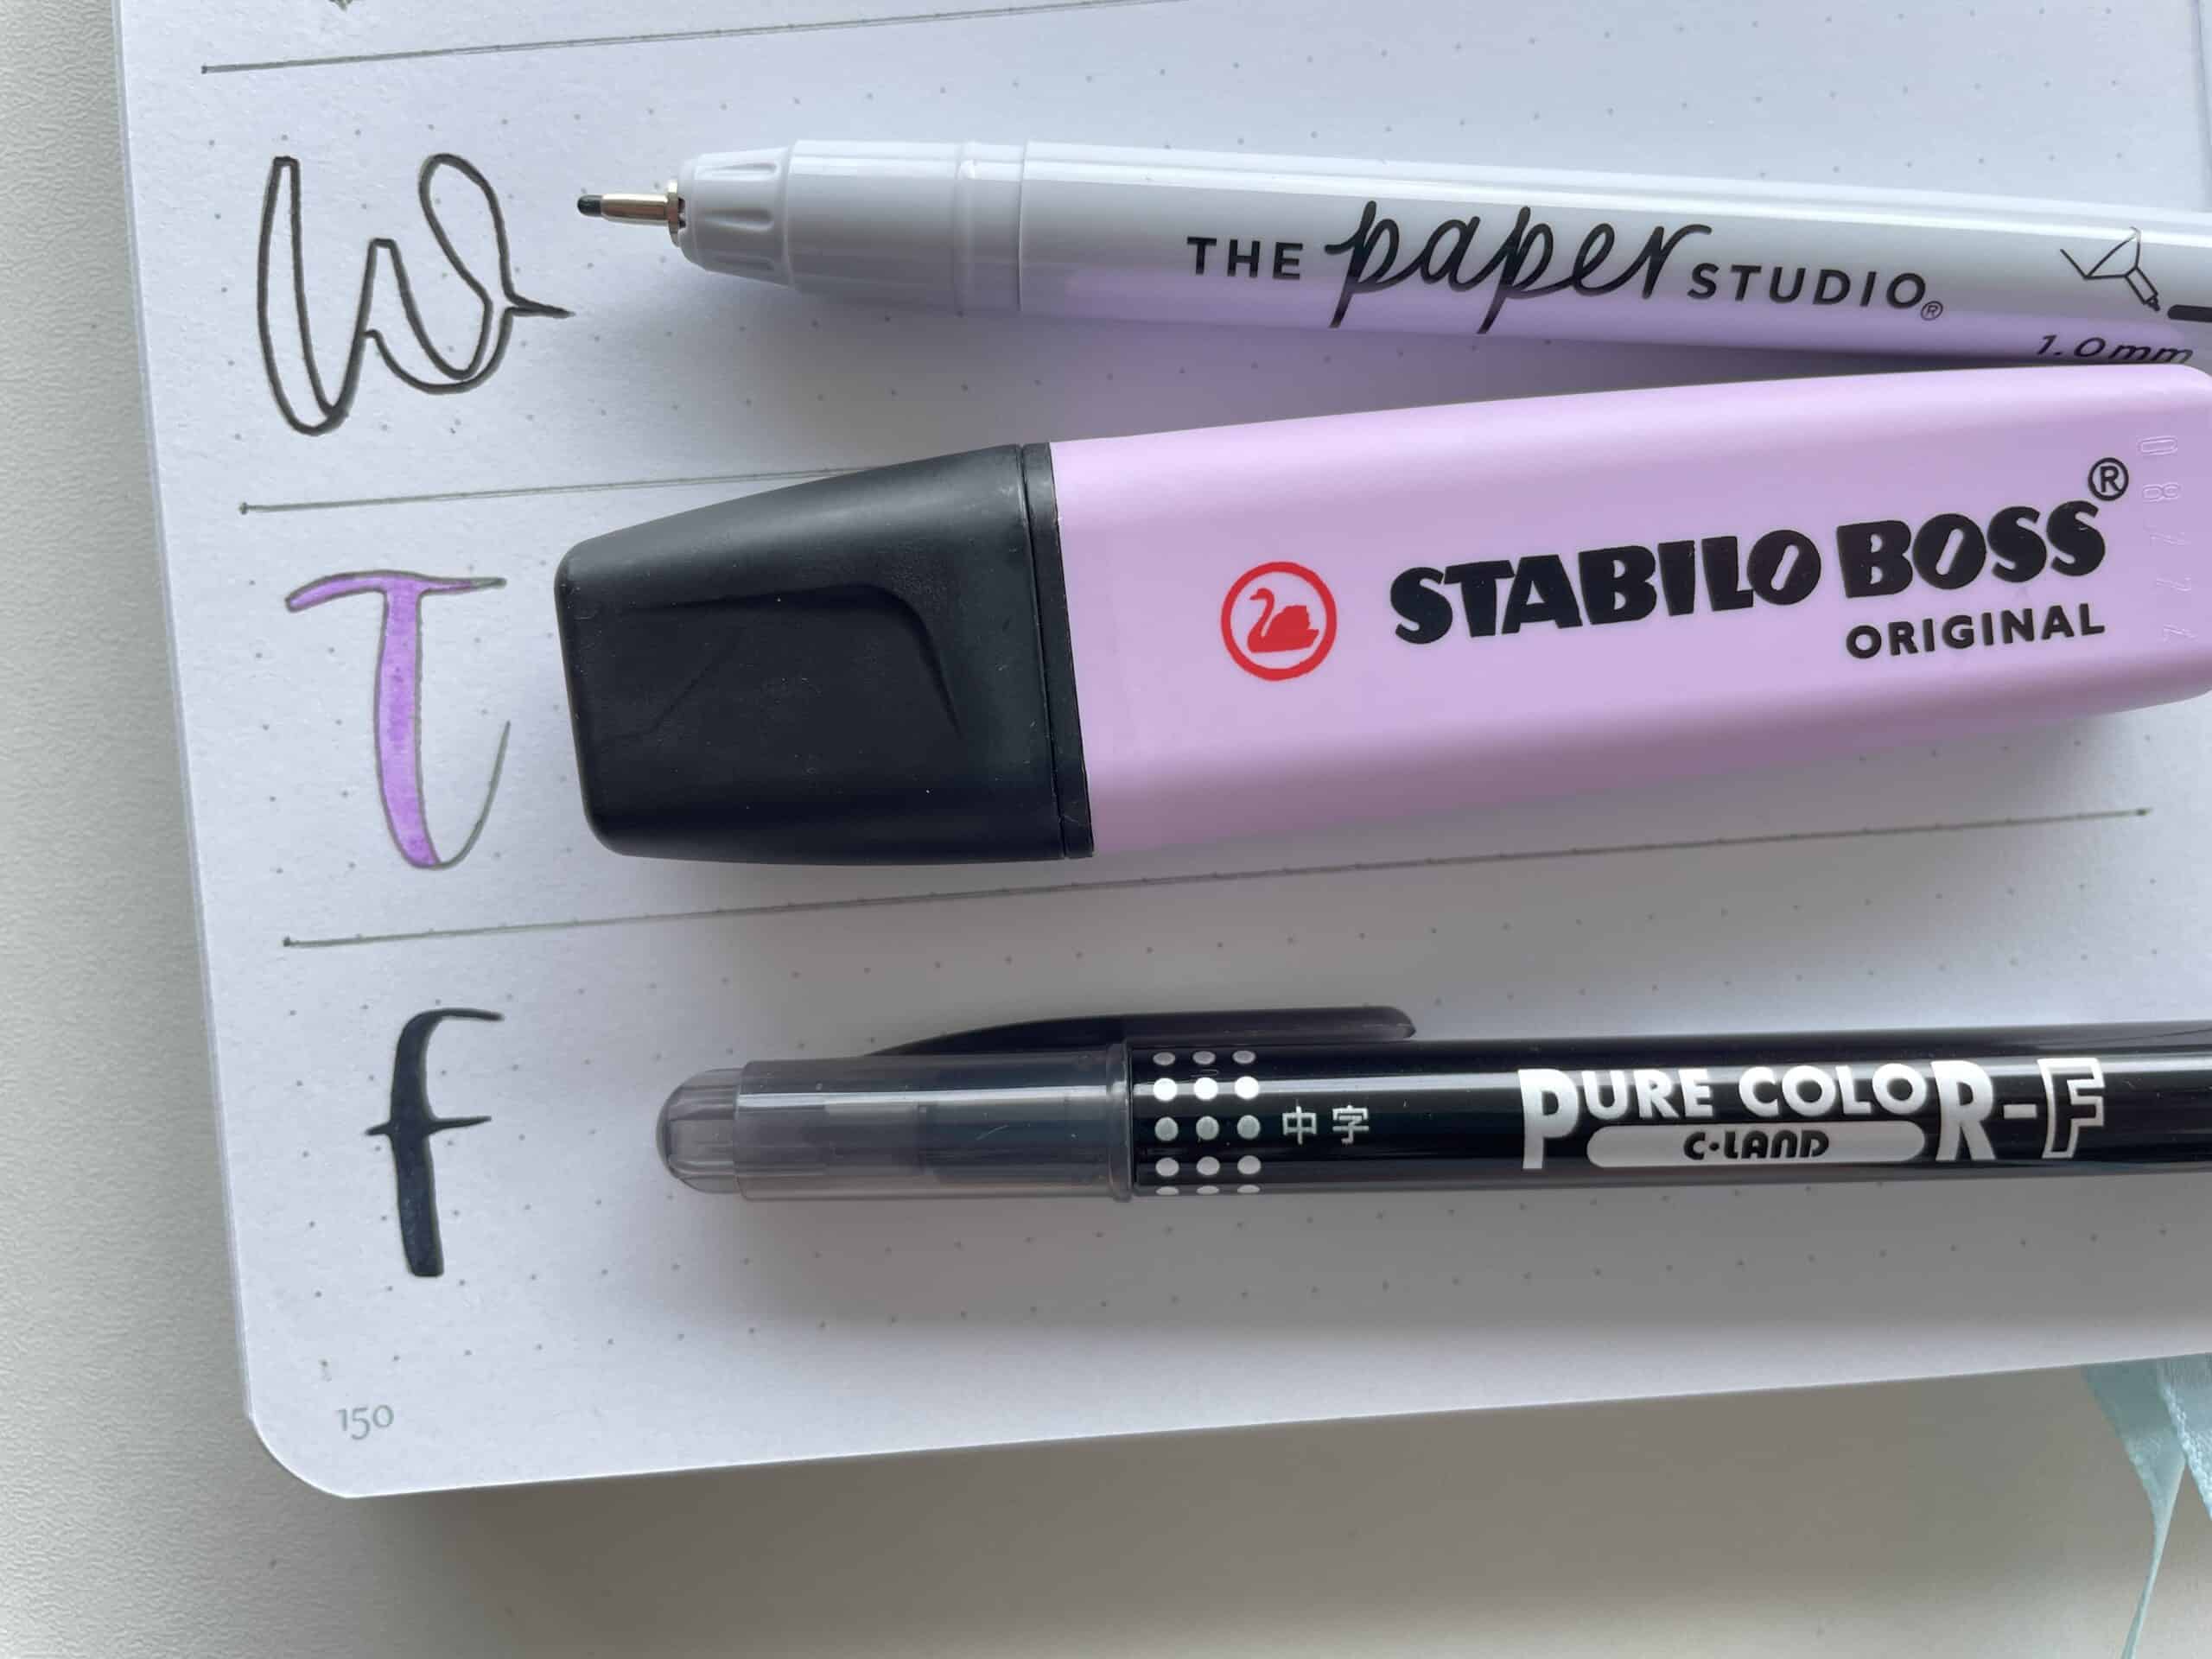
1. Use the right pens
I’ll be doing a separate post with pens I recommend (and types of pens I don’t recommend) using with bullet journal stencils.
Pen choice is super important if you’re using a stencil that has lots of small nooks and crannies like alphabet stencils and fiddly shapes (stars, flowers, hexagons etc.) I usually just avoid these tiny shapes altogether and use a stamp like the Frixion erasable instead.
In the photo below you can see I couldn’t get all 5 points of the star on the Archer and Olive Stencils perfect because of the tight fit and awkward angle. I tried it with both 0.7 Frixion pens and 0.38 Uniball Signo pens and neither turned out very good.
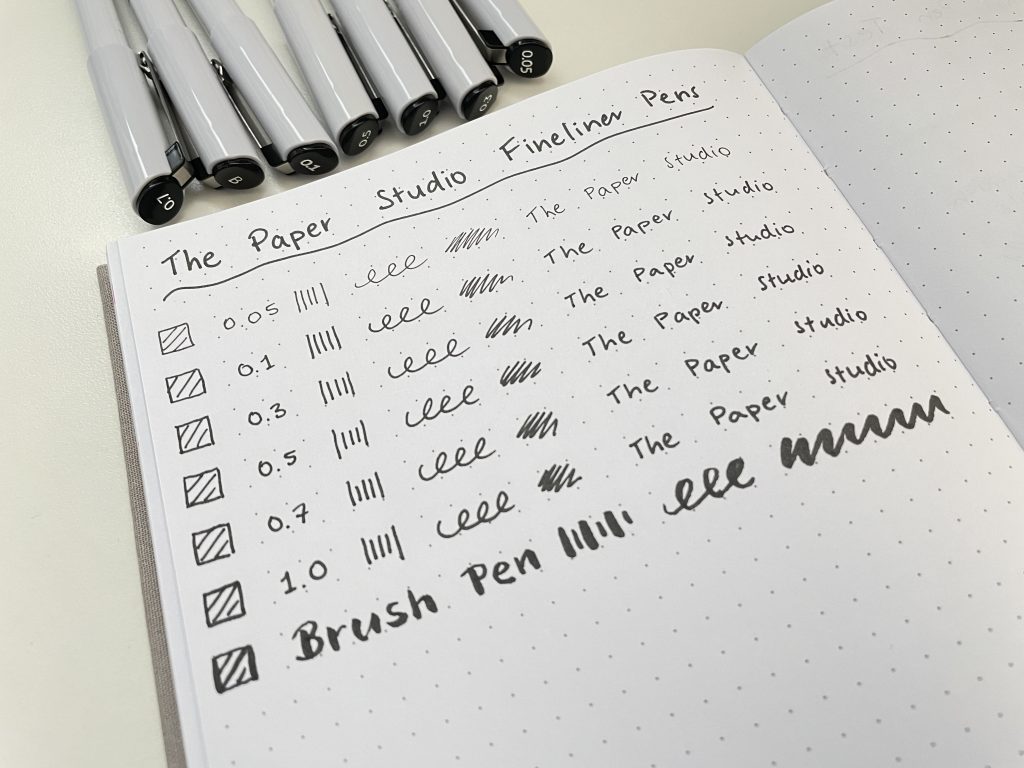
If you’re not sure what pens to use, now is a good time to get those finer tips out (0.5mm or smaller).

2. Color Code stencils that look similar
When stencils are layered on top of each other, it’s not easy to determine which stencil is which, without laying them all out. Yes you could store them in plastic sleeves in a binder, but that takes up more room. So instead I keep them in their original bundles (especially helpful when buying stencils off Amazon as a lot of them are similar), and use a strip of washi tape on the edge of the stencils to code them by brand.
If you wanted to take it one step further, you could add a second colored strip of washi tape (or use a pattern washi tape) to code them into
- Daily planner stencils
- Weekly planner stencils
- Monthly planner stencils
- Alphabet stencils
- Shapes
This is a good way to use up colors and / or designs in washi tape bulk packs that you don’t use very often or don’t like as much as your other washi tapes. I use 15mm so I can wrap the washi tape around both sides of the stencil (it stays in place better).
This is especially helpful for stencils that come in sets rather than individually packaged, because if they don’t have a cardstock backing it’s hard to see what the stencil design is.

I like to store my stencils in a basket on my IKEA raskog trolley. That way I can quickly flick through my collection to find the ones I want. I also store my sticker books the same way.
3. Use plastic stencils
I hate metal stencils. The gaps to put your pen in are too small. It damages the pen tip and I always end up with gaps where the pen didn’t fully hit the page. I avoid them altogether.
Acrylic stencils are ideal if you can find them, but they come with an expensive price tag.
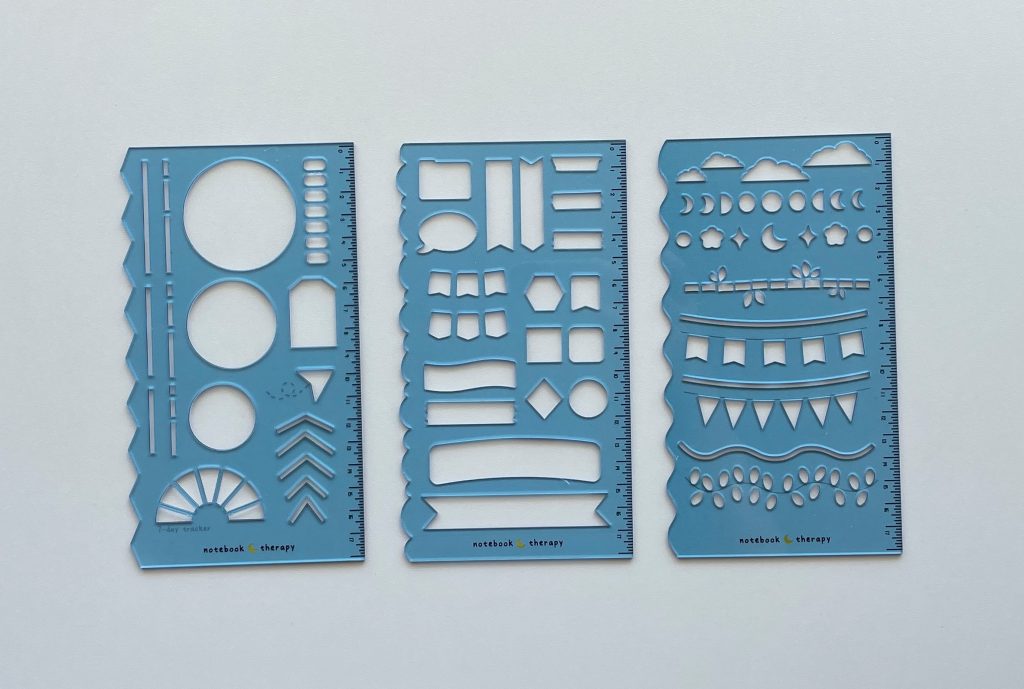
Plastic stencils are not only cheaper, they’re thinner so they’re more compact and easier to store. They can be a little flimsy though so…
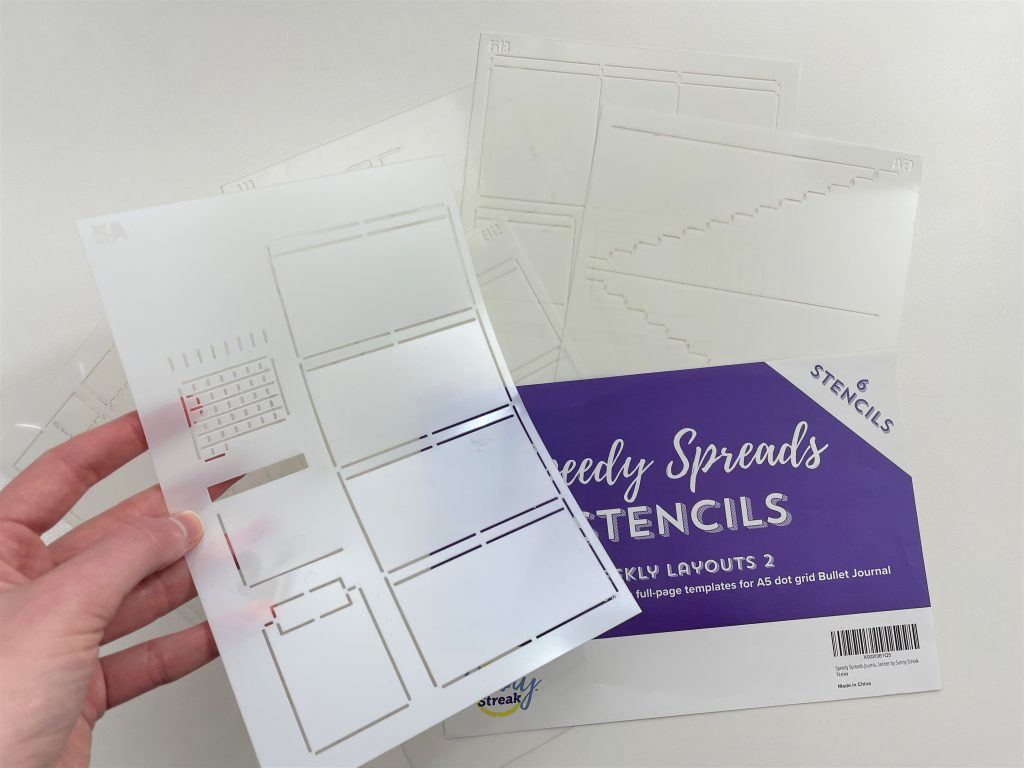
Related post: Review of the Speedy Stencils by Sunny Streak (plenty of weekly and monthly layout ideas)
4. Use washi tape to hold the stencil in place
A small piece of washi tape can be used to temporarily keep the stencil in place while you draw up your spread. You could just hold the stencil with your hands but there’s less chance of accidentally bumping it out of place if it’s stuck down with washi tape.
Great opportunity to use up colors in a washi tape pack you never use, or a way to use cheap washi tape that isn’t very sticky.
5. Use erasable pens
If you don’t use the washi tape tip I just mentioned, then you should definitely use erasable pens.
6. Consider outlining using a pencil
You may prefer to use a pencil with the stencil, then trace back over the top with another pen afterwards. I did try this for a while but some pens smudge easily if you come back and erase it later on. It’s faster to just use an erasable pen.
If you do want to use pencil, ballpoint pens are less likely to smudge than gel pens.
7. Manually touch up any gaps
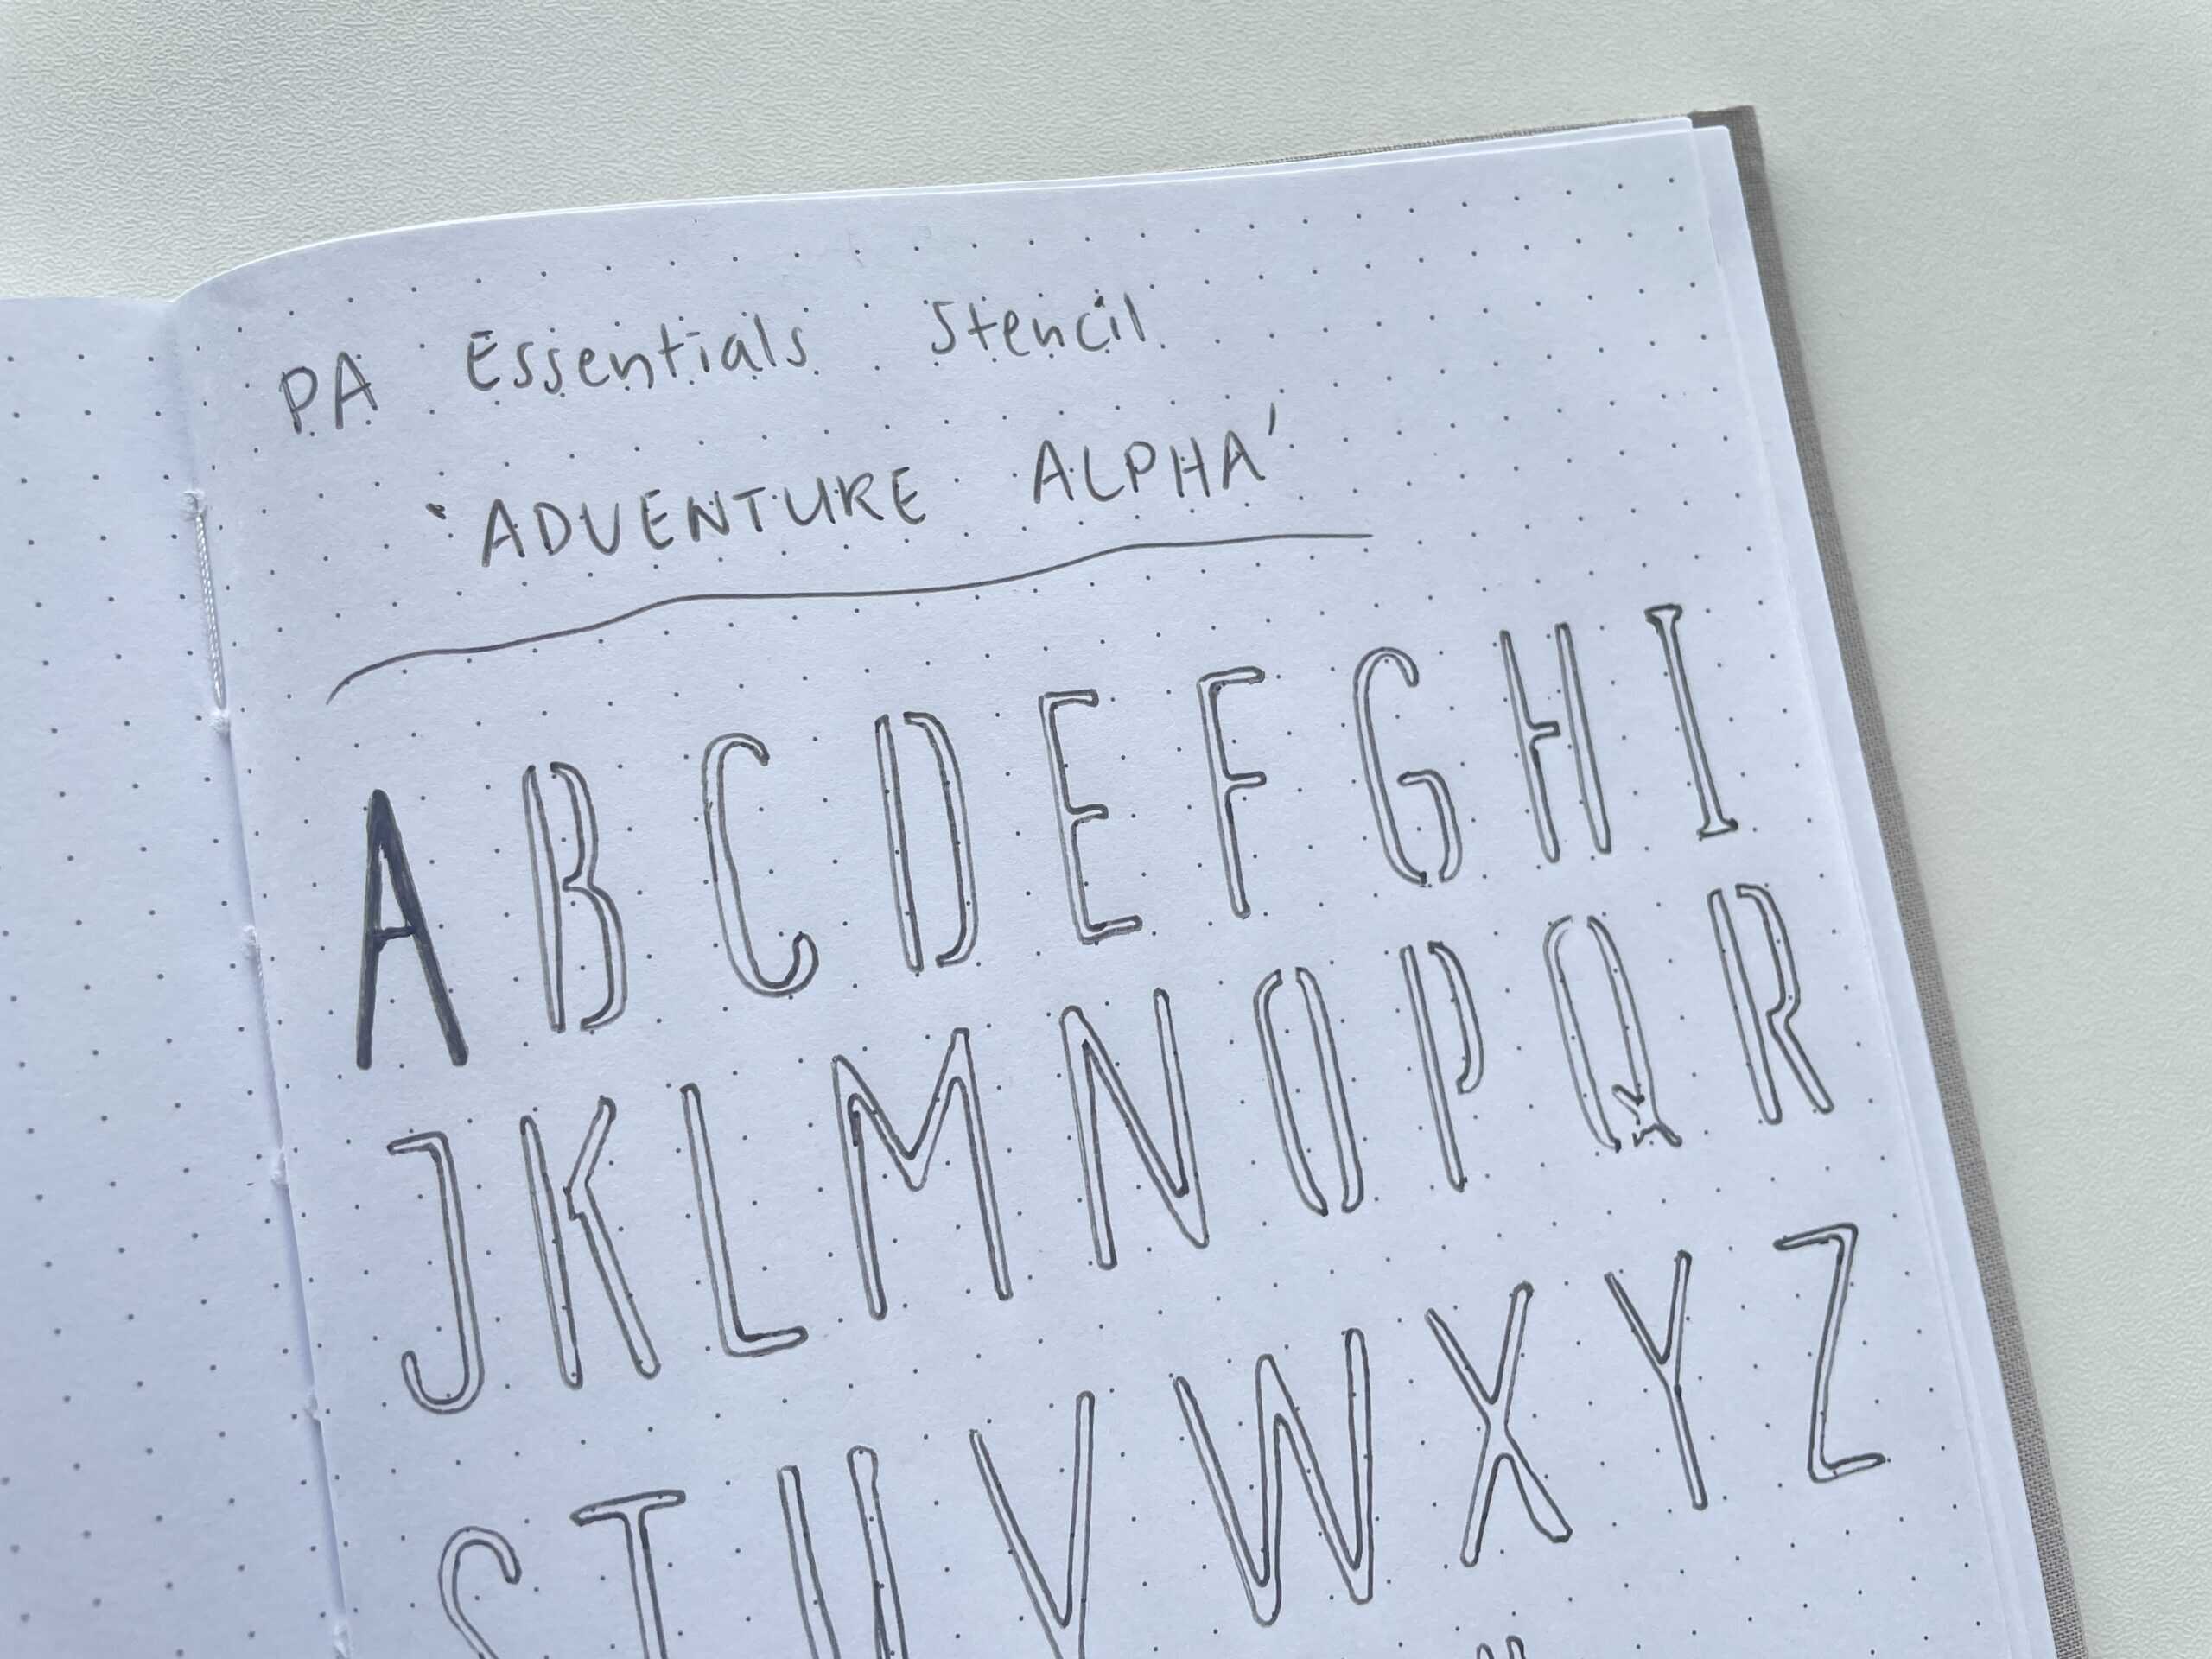
A lot of alphabet stencils have some gaps where there are cut outs for the letters e.g. the letter O. This means if you trace the stencil exactly there can be a gap at the top and bottom of the letter that you need to come back and manually touch up.
You could follow the stencil exactly but then you’ll have some weird looking letters that clearly show you used a stencil. That may be the look you’re going for but I prefer to ignore the joining parts of the stencil, come back and manually touch up instead.
Here’s an example of a spread I did where I used the PA alphabet stencils and followed the stencil exactly. See how the letters D and B in December have gaps in the middle of the letters? I don’t like this look anymore so I nowadays I always go back and fill in the gaps so the letters look more like I wrote it myself and less like I cheated and used a stencil.
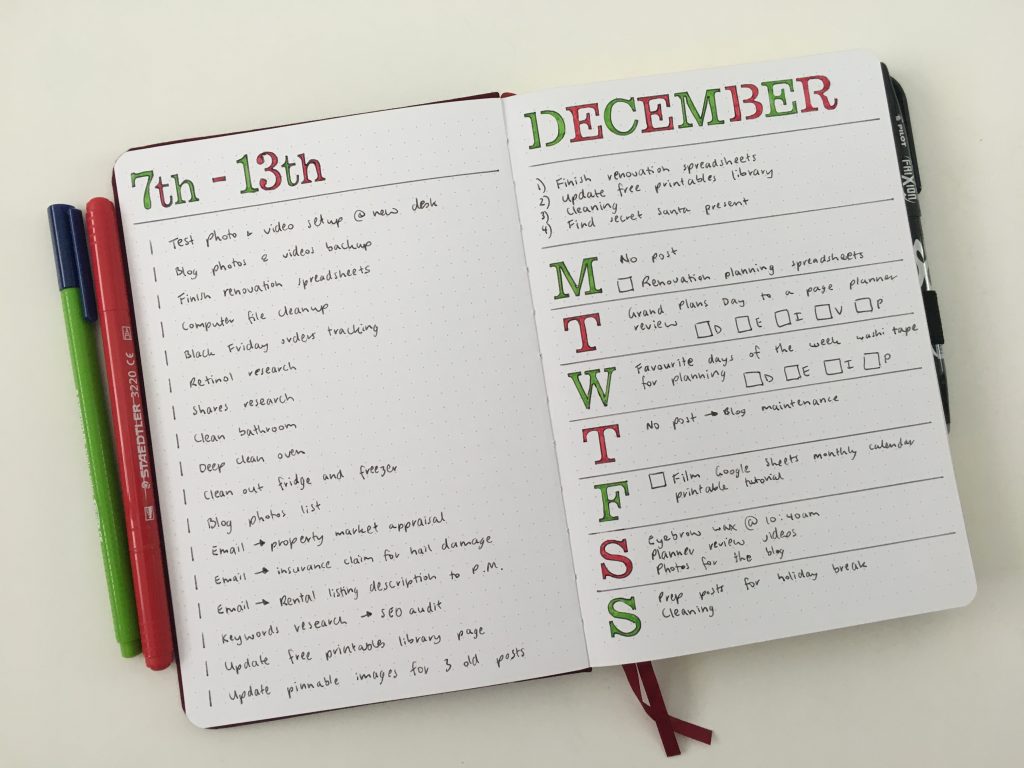
Bullet journal stencils weekly spread in the Archer and Olive Notebook
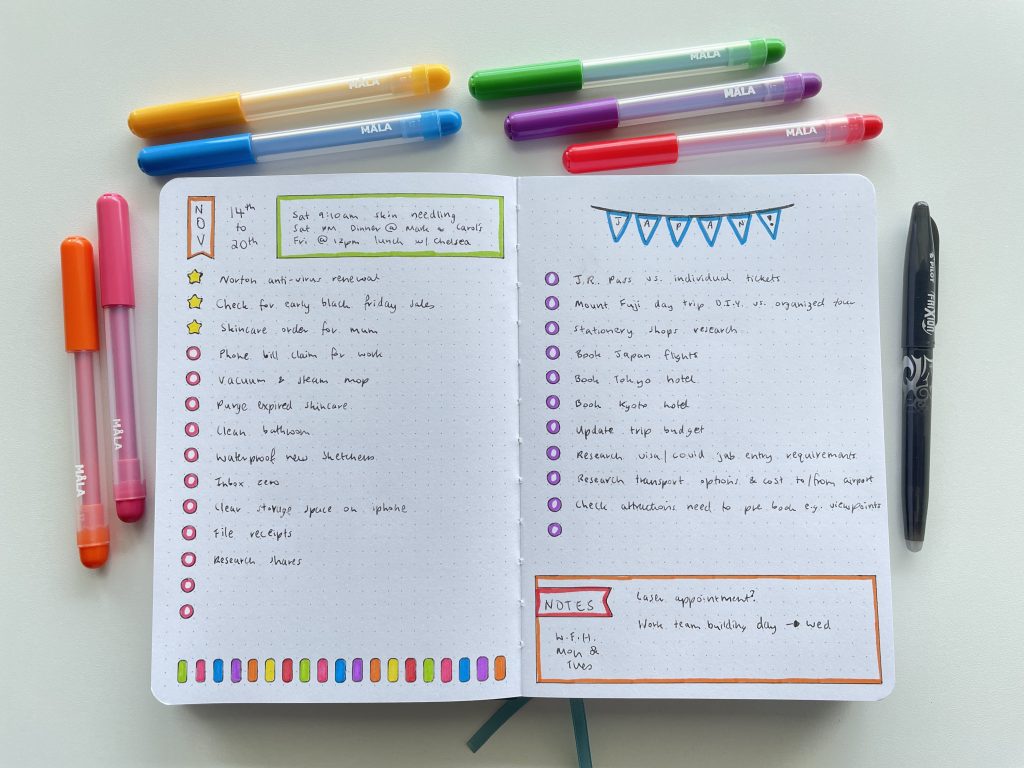
8. Measure up before using a stencil
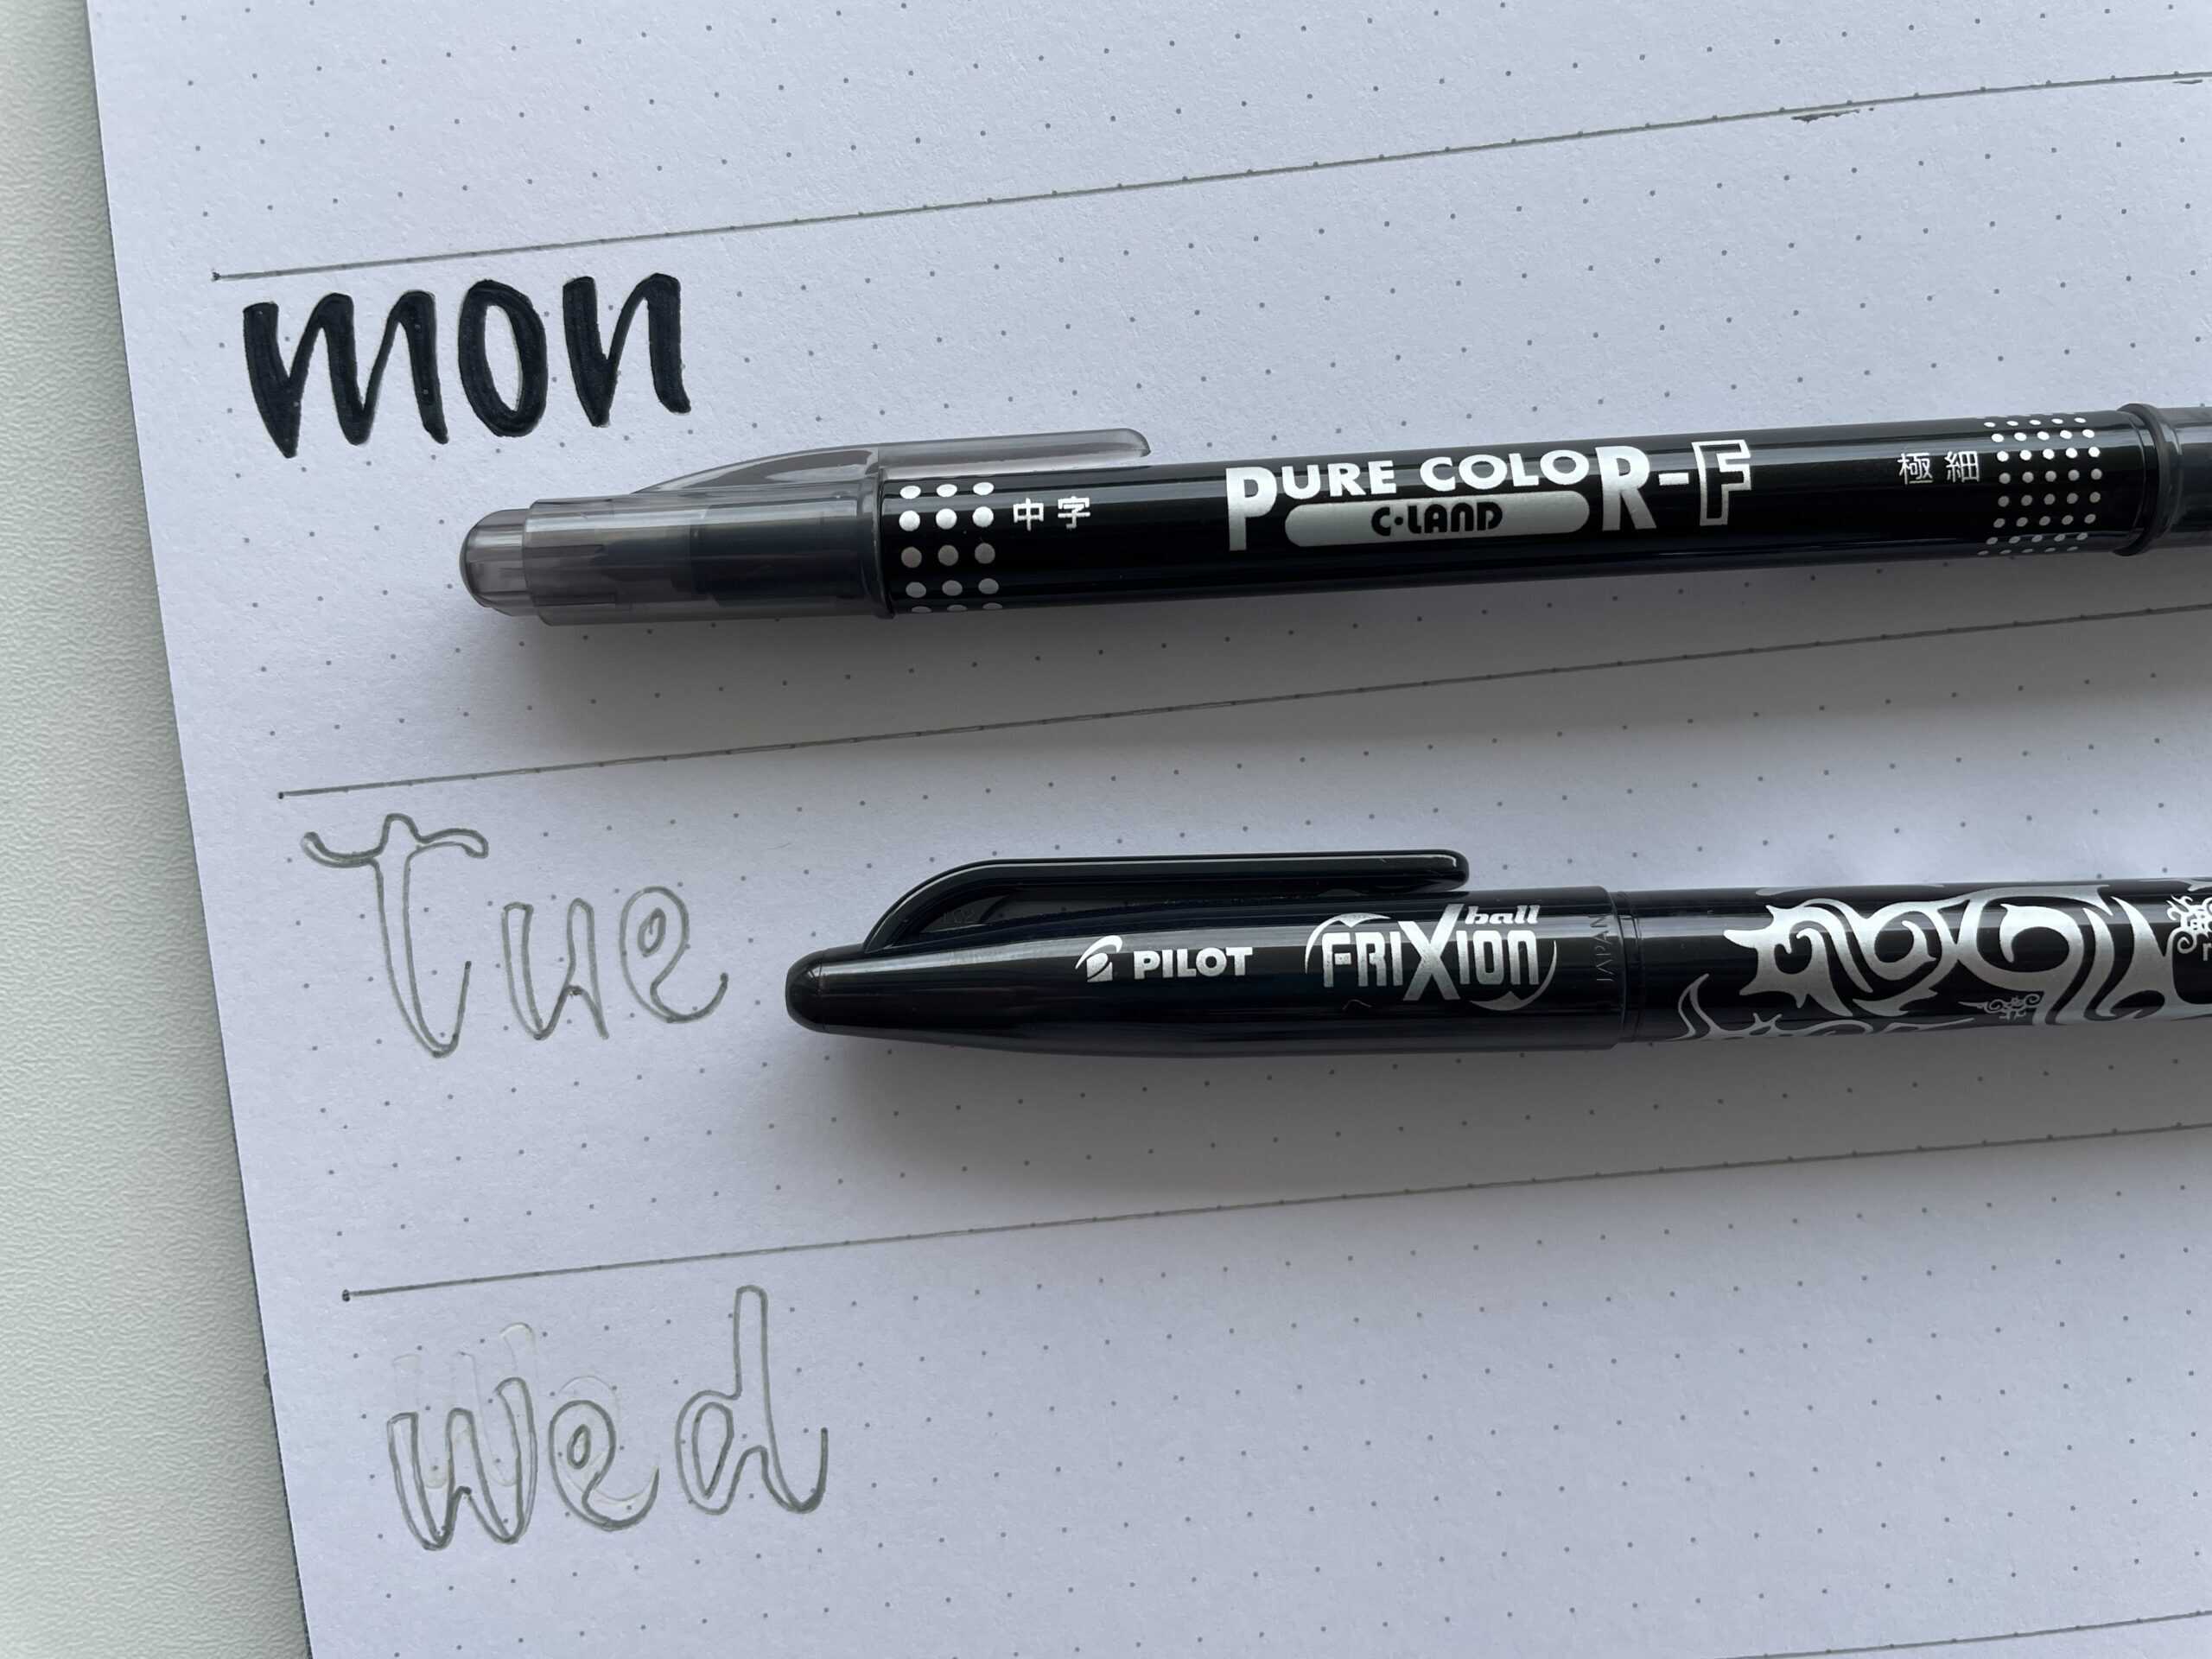
In particular, an alphabet stencil. If I’m tight on space instead of just guessing I’ll measure the width of the stencils to make sure the word I want to write will actually fit in the space. Most of the time I shorten months of the year to just the first 3 letters to save space (and time).
In the photo below you can see I didn’t measure the letters for Wednesday and you can see the outline where I erased where it went wonky.
9. To infill or not to infill?
If you aren’t sure if you want to fill in the letters or leave them hollow, I would outline the letters, lift the stencil off and see how it looks.
I never infill the letters while I have the stencil laid over the top of the page. I’m more likely to bump the stencil out of place as I’m filling in the letters if I leave it in place. I think it’s more accurate to get your pen or marker right to the edge of the letters if the stencil isn’t in the way.
The photo above is a good example of what letters look like when infilled or not. I personally prefer the filled in look (i.e. come back and shade the letters so they’re bold and stand out better), but it depends how much time you want to spend doing this.
10. Outline or not?
The below photo is a good example of outlining, infilling with color and infilling with black pen.
I prefer to come back and do an outline in black pen if I use color. I don’t think it stands out enough when I leave it how it looks in the photo below.
11. Don’t use too many stencils in the same spread
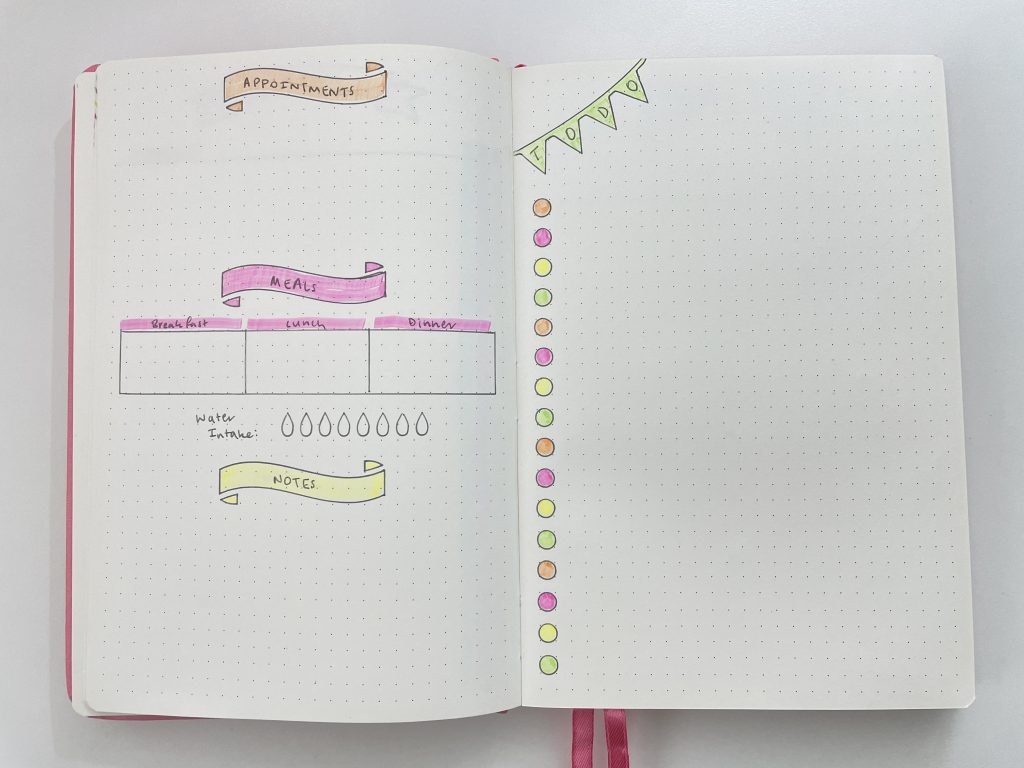
There are stencils for practically anything – days of the week, entire words that are commonly used for bullet journaling including phrases like ‘to do’, boxes for monthly calendars and various other shapes.
Shapes are good for
- Banners behind headings
- Small squares, circles and hexagons are good for dates and checklists
- Flag banners are ideal if you have short words such as ‘to do’ so you can use one letter per flag banner
- Random shapes you might not otherwise use could be added as accents if you have a blank corner of the page or lots of white space on a checklist page
- Use shapes to color code / as a key in your notebook. Add them to a corner of the page so when you flick through your planner you can find pages easier
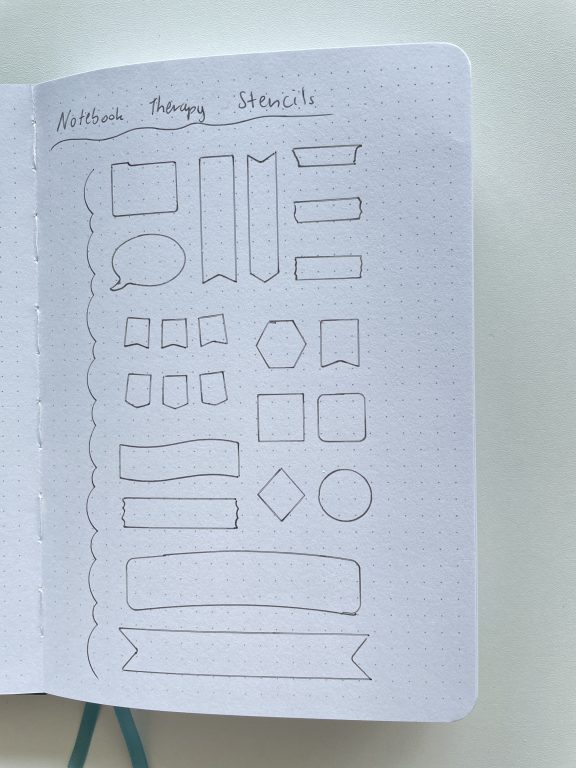
Bullet journal weekly spread using Notebook Therapy Stencils
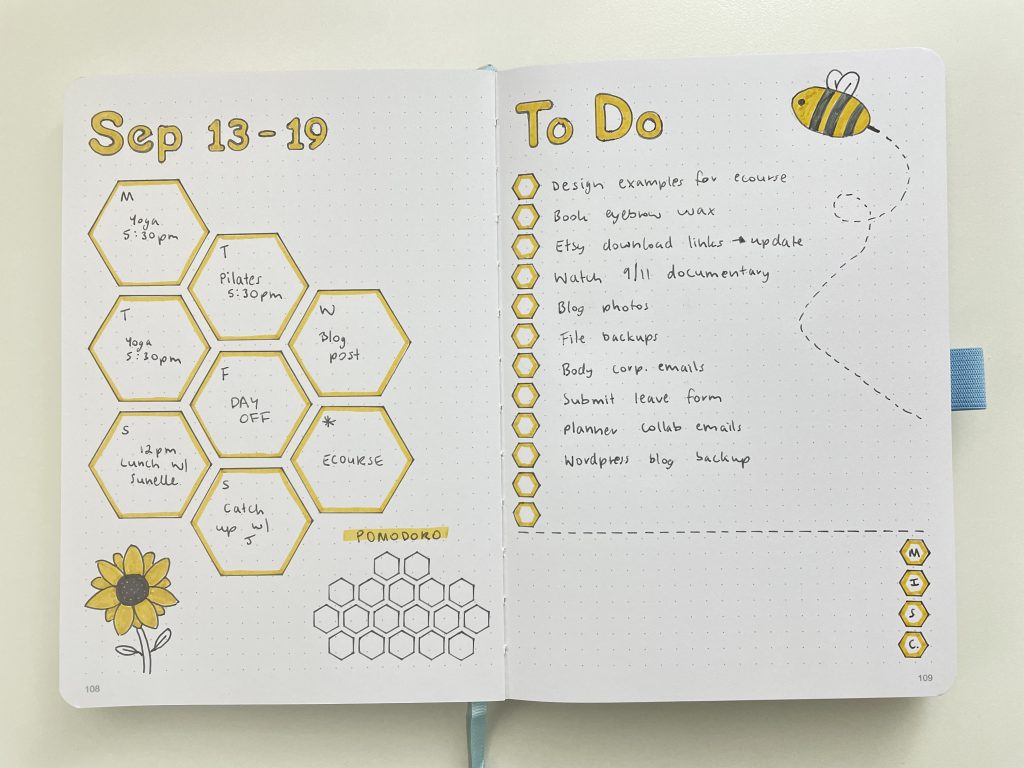
Bee themed weekly spread in the Esc. goods notebook
Some of my favorite stencils that come in simple, versatile shapes are:
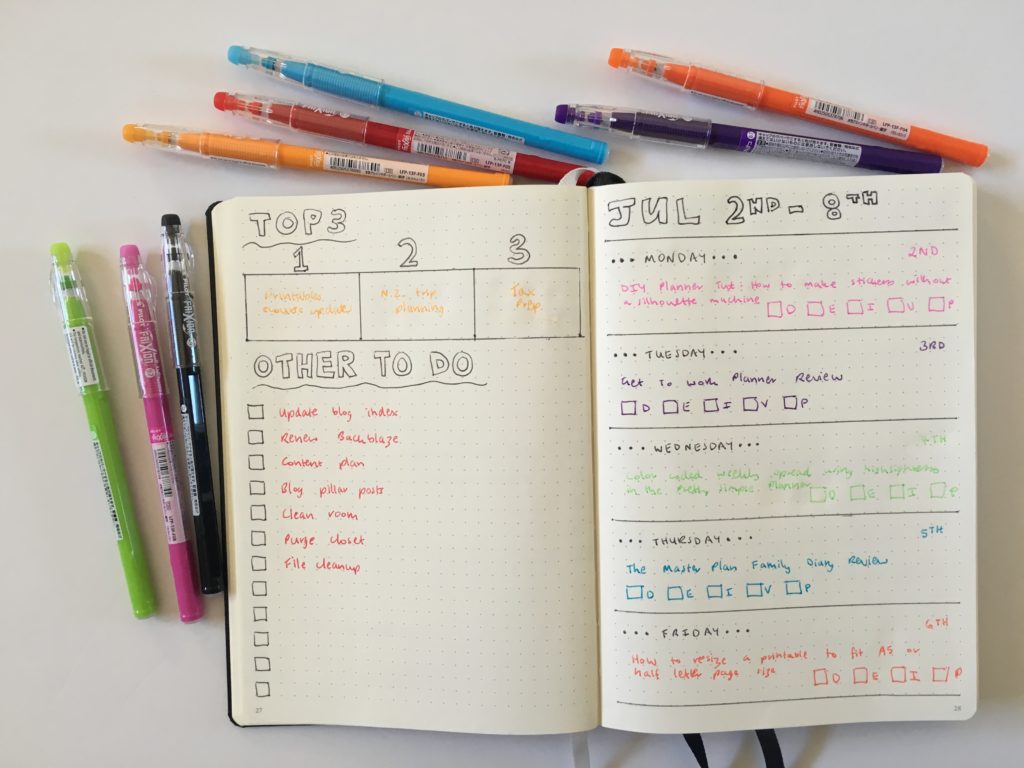
My exception to this, if you purchase stencils that have an entire ‘done for you’ weekly or monthly spread. Like the Speedy Stencils I used in this weekly spread.
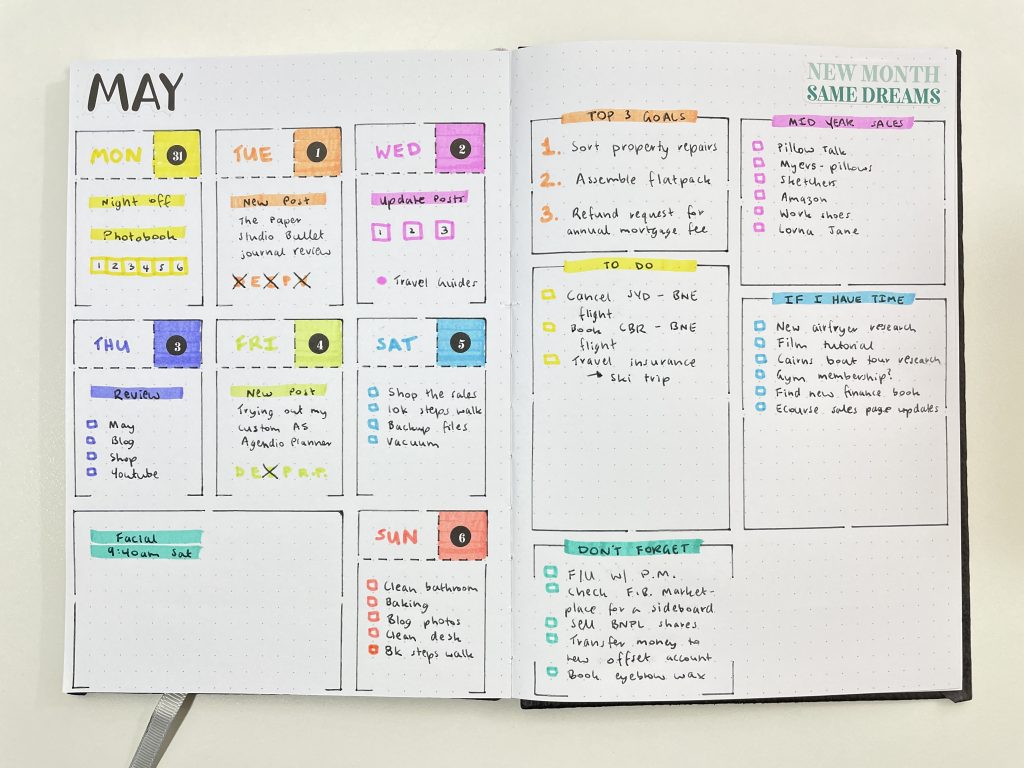
Rainbow weekly spread using the speedy stencils and Zebra Mildliners
If you want to try planning using stencils, here are some recommendations:
- Oops a Daisy has the widest range of alphabet stencils I’ve come across
- Row and column stencils (draw up your spreads fast) – I shared multiple brands I’ve tried and recommend in this post
- Best stencils for bullet journal daily, weekly and monthly spreads
More planning tips
- DIY Bullet journal alphabet stencil that costs practically nothing
- Oops a Daisy review (UK stationery brand) – bullet journal stencils, washi tape, stickers
- Bullet journal date marker ideas (minimalist and colourful)
Liked this post? Pin it!