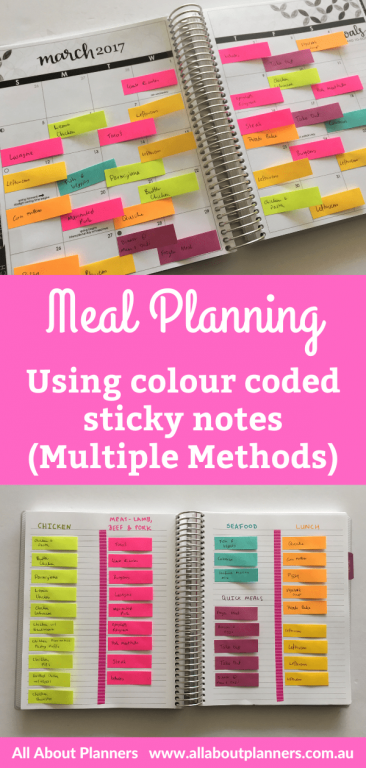
Quick and easy weekly meal planning using sticky notes
Sticky notes are fast becoming my favorite way to meal plan!
Why I use sticky notes for meal planning
- Sticky notes are re-usable so you can write the meal once, and then just peel and re-stick without having to re-write the same meals over and over again
- Flexible planning method – if plans change, just peel and re-stick, if you’re out of an ingredient, just swap the meal plans around
- Great for color coding – you can make sure you’re eating a variety of foods each week
- Cheap – you get a lot of sticky notes in a pack
Using sticky notes for weekly meal planning
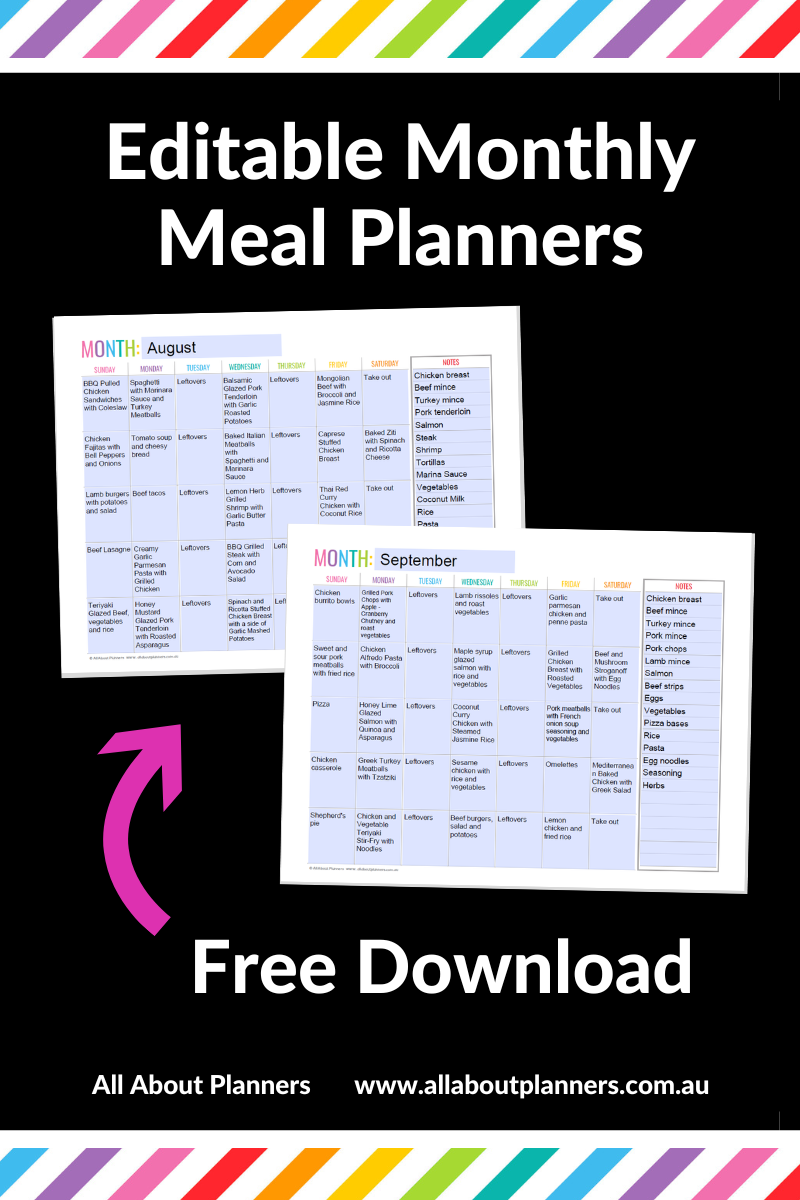
I’ve shared a couple of ways I’ve done monthly meal planning using sticky notes including…
Small sticky notes for monthly meal planning.
Using transparent sticky notes…
How to use ChatGPT for monthly meal planning
But if you prefer weekly meal planning, here’s another method.
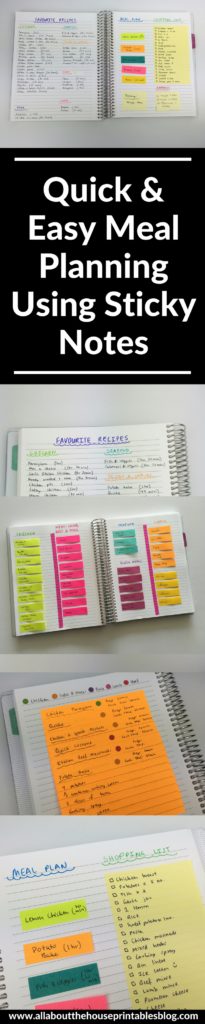
Weekly meal planning using sticky notes
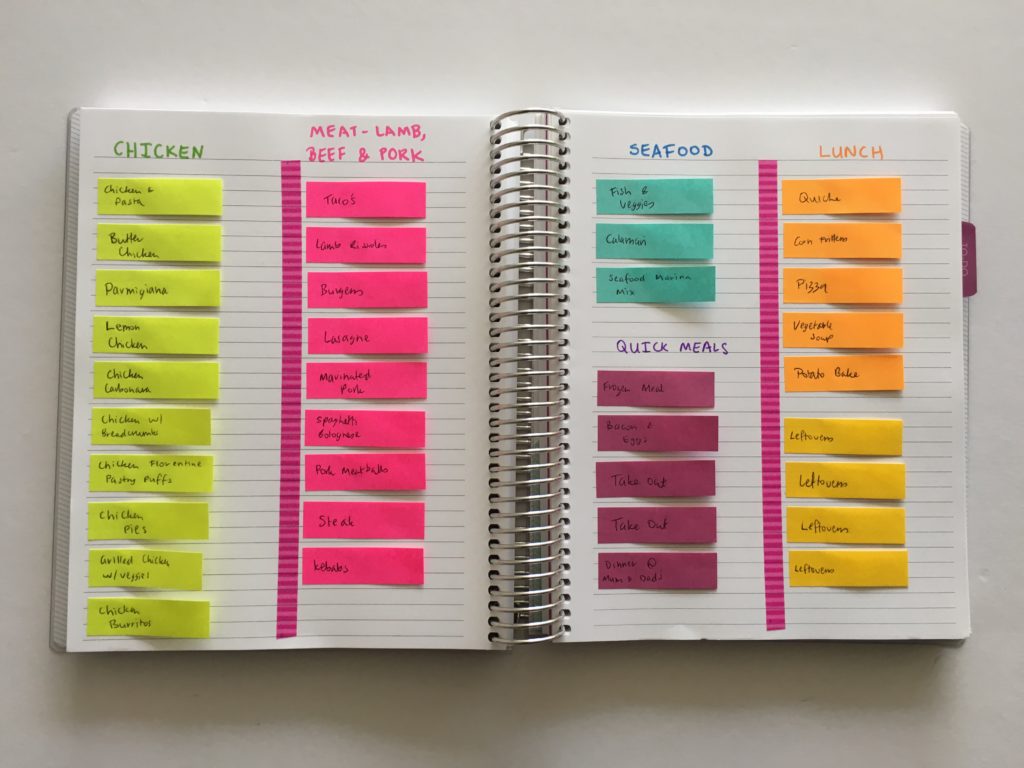
Go to the blank notes pages at the back of your planner (or a blank notebook) and write out a list of your favorite recipes. Make sure you organize the list into categories (I like to do mine by type of meat). You may choose to add other categories such as:
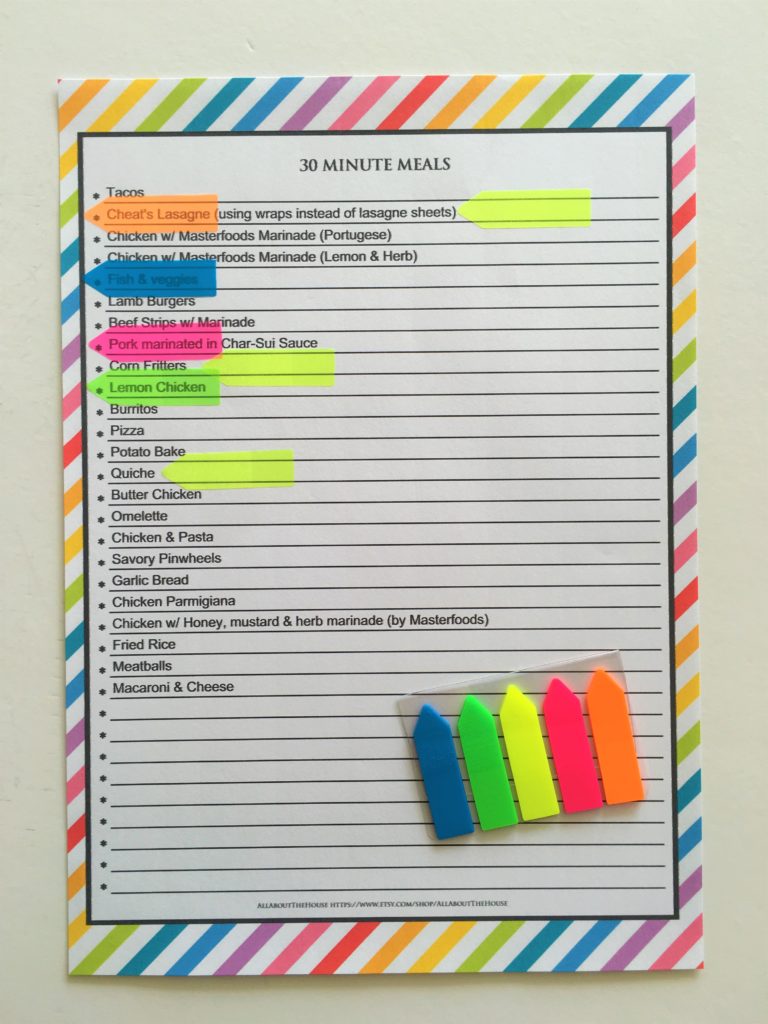
- 30 minute meals
- Recipes everyone in your family eats except for one person (because they don’t like it, or are allergic to an ingredient in it etc.)
- Recipes that can be made in bulk, ahead of time and frozen
- Seasonal recipes
- Etc.
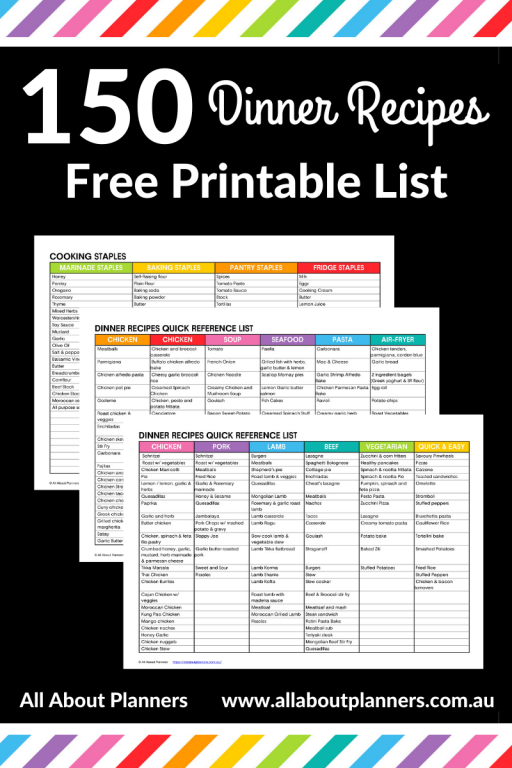
If you prefer, you can type up a list or use a printable like the method I shared above (it’s from this rainbow recipe binder set in my shop)
If you need some inspiration, I shared a list of 50 recipe websites here. I also shared a quick reference printable list of 150 dinner ideas here.
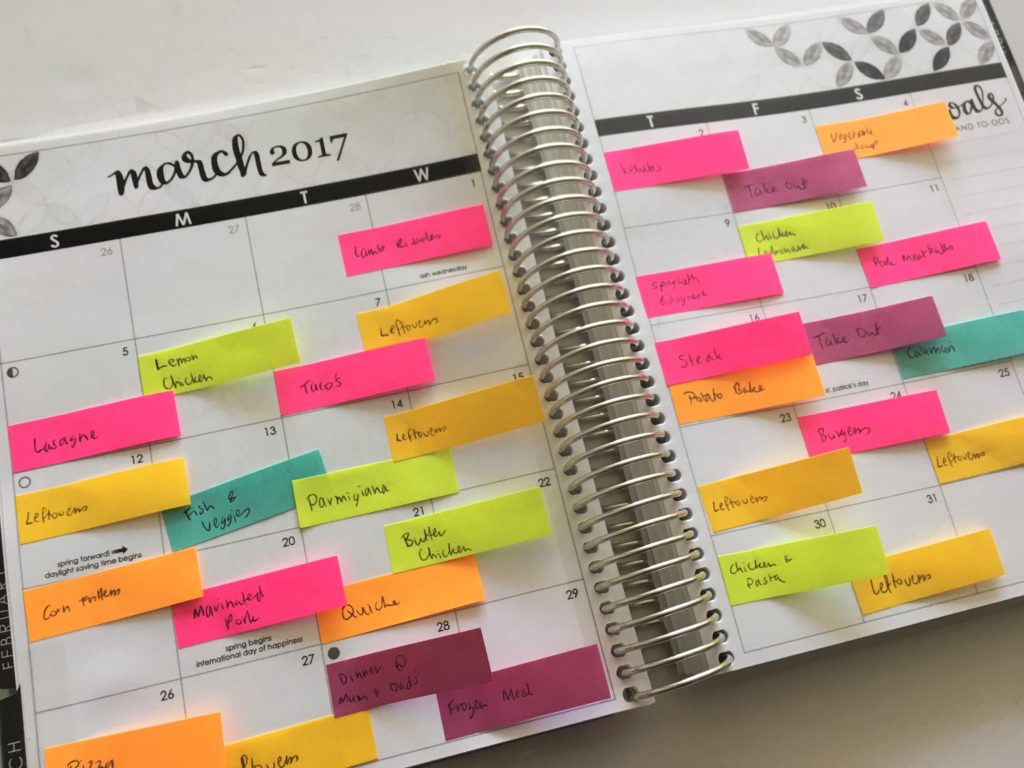
On the left page – keep a list of recipes, and on the right page – do your weekly meal planning
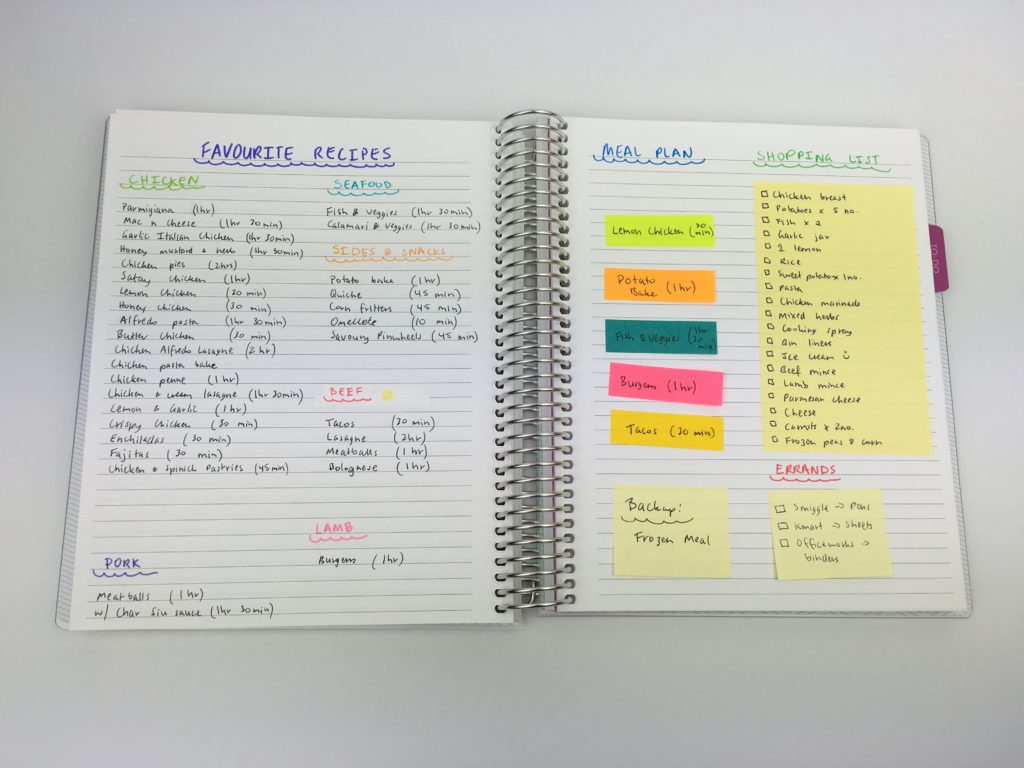
I should have written my recipes out on a couple of pages. Since I took the photo above I had to add more pages. I ended up splitting each page in 2 and using a separate column for each category, rather than trying to cram all the recipe categories on the one page.
I like to record how long it takes to make the meal as some nights I’ll only have 30 minutes spare to cook dinner so need to choose a recipe that fits this timeframe.
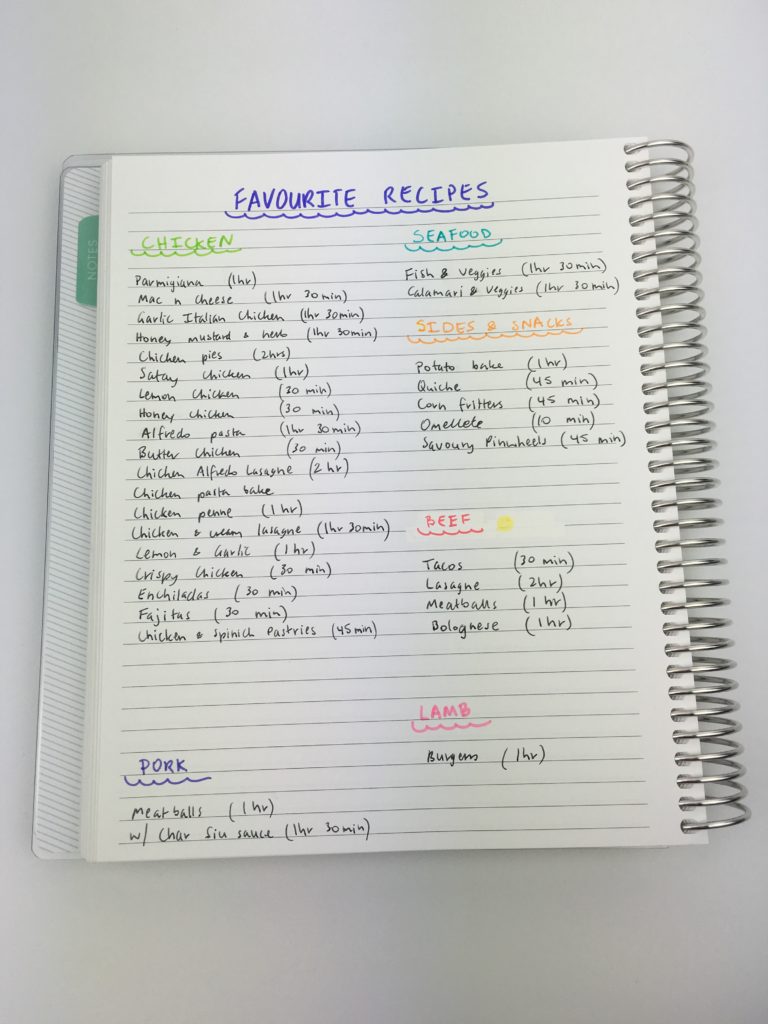
Because I couldn’t find red sticky notes I used yellow instead (hence the yellow dot beside ‘beef’)
If you choose to hand-write out your list I recommend using marker pens as the fatter tips will make the headings stand out more.
I used the Smiggle Twin Tip Markers.
Related: Favorite pens for writing headings in my planner
On the right page is where you meal plan.
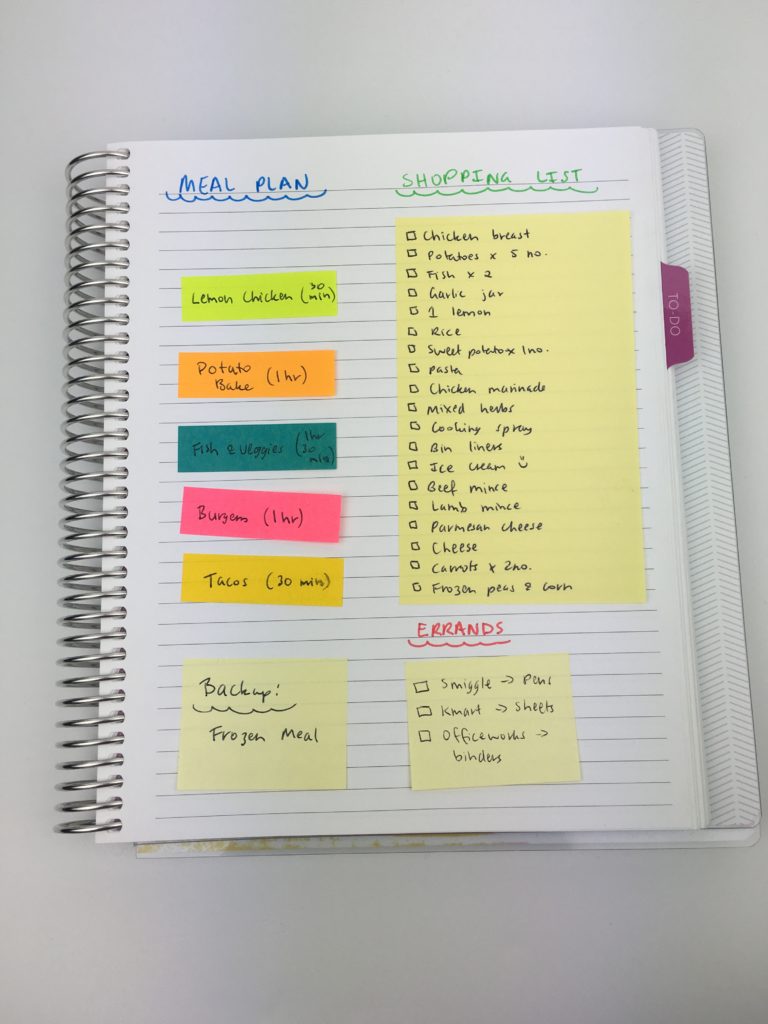
I tend to cook up to 4 main meals per week (depends what I make as some produce more leftovers than others, of if I’m going out to dinner 1 night that week) plus a side (e.g. veggies, potato bake etc.) I tend not to set a specific day to cook each meal, rather I cook what I feel like eating that day. I also don’t write the days of the week on the page as some weeks I make only cook twice a week.
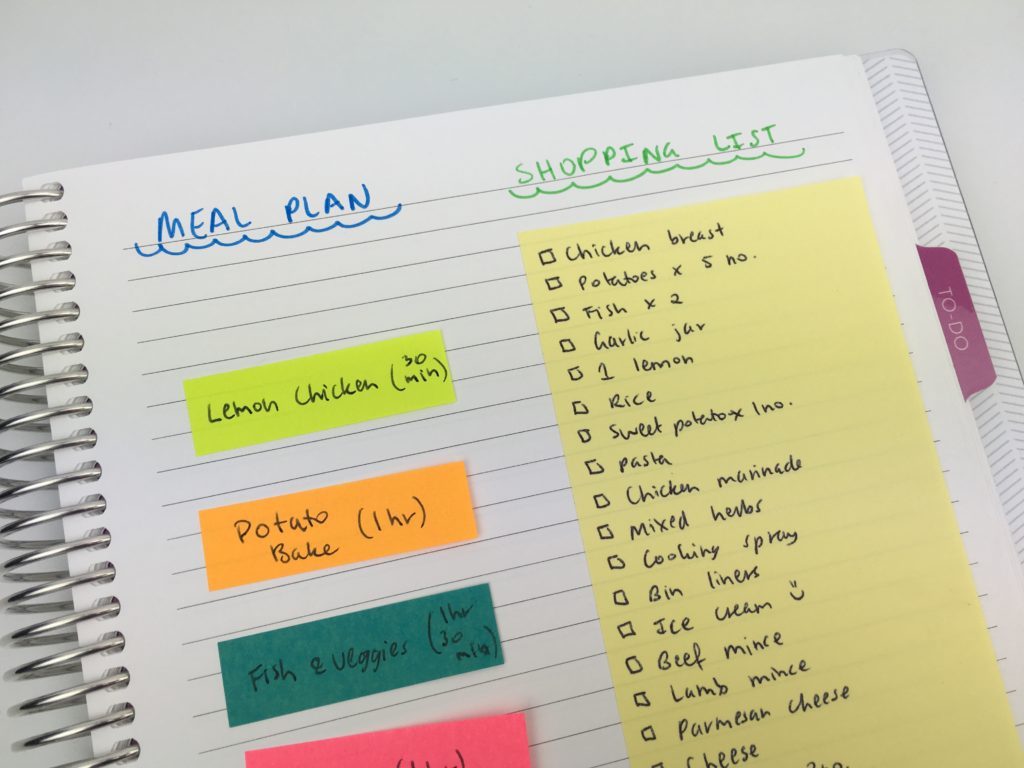
By using a sticky note for your grocery list meals you can just peel it off the page and take it with you – you don’t need to re-write the list. Or carry your notebook with you, or take a photo of it and be paranoid you’re going to drop your phone in the supermarket while juggling a heavy basket full of groceries (at least that’s the case for me).
Color coding
I love color coding! These are the colors I tend to stick to:
- Green = chicken
- Pink = Lamb
- Purple = Pork
- Blue = Seafood
- Yellow = Beef
- Orange = Sides
Read more: Color coding your planner, how to choose which colors to use
Sticky notes used:
- The small sticky notes are the Post it Note 3M
- The large one I used for the grocery list is Officeworks’ Keji Brand (they’re cheap but not as sticky as the Post It Note brand)
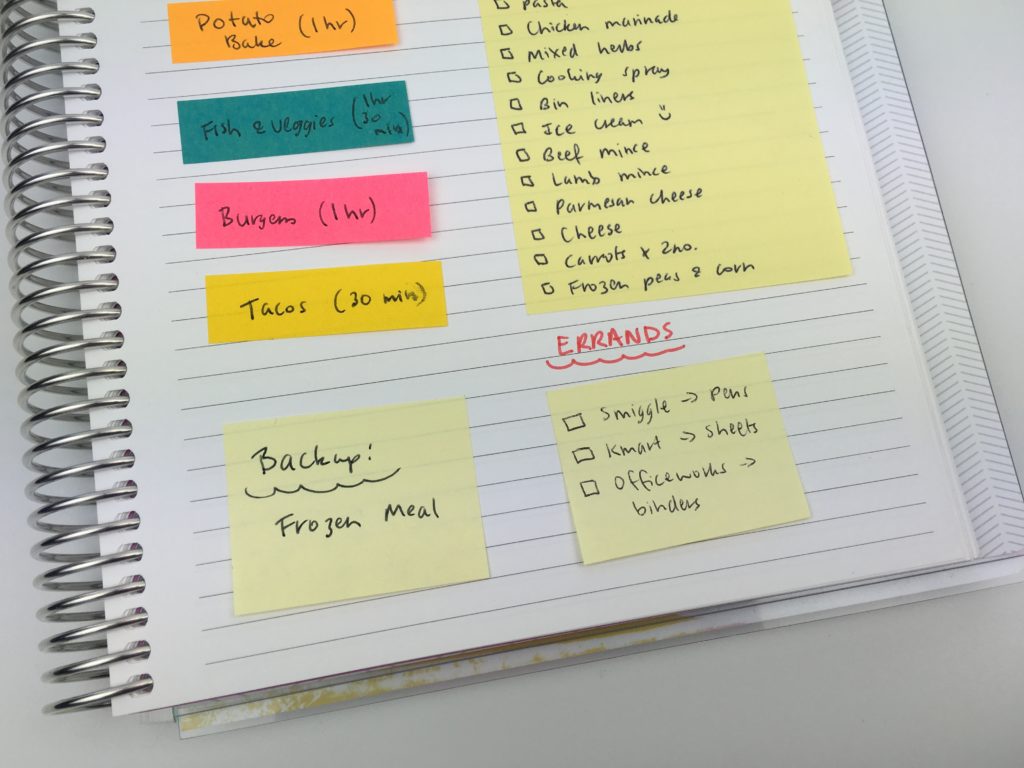
- The smaller sticky notes at the bottom of the page are 2″ wide x 1″ high and are the ‘Aspire’ brand (they’re very sticky!)
If you don’t have colored sticky notes you can use a colored pen to color code, or a colored dot sticker.
Also remember that you can cut sticky notes down to whatever size you like.
The small sticky notes on the bottom of the right page are ideal for errands and backup meal plans.
Related post: 7 Color coding mistakes to avoid in your planner or bullet journal
Related: How to organize recipes plus a free printable recipe binder
Keep track of what ingredients you need for each thing you make
To make writing out the grocery list less of a pain, use larger sticky notes (these are from Target) to jot down ingredients needed to cook each recipe.
I used 1 sticky note per recipe and then added colored dot stickers to color code the meals by category.
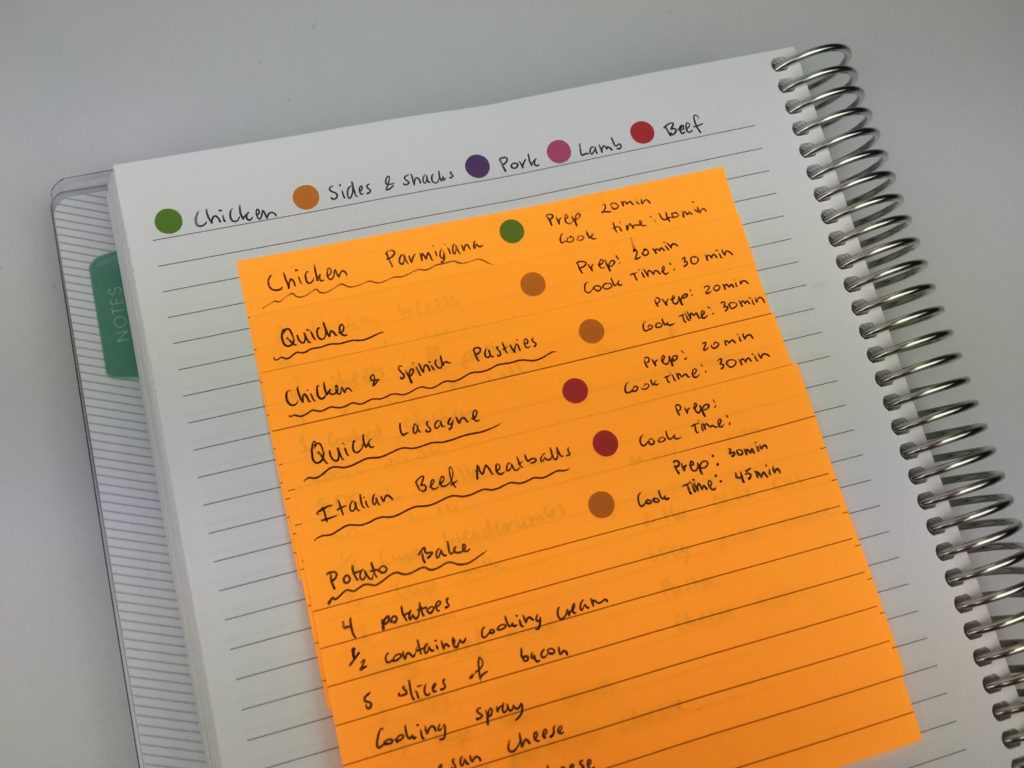
I could’ve used the same Keji brand sticky notes that I used for the grocery list in the image above, but I like the pre-lined sticky notes as my writing is quite messy and crooked unless I have lines to write on.
The colors of the dots are much clearer in person than the photo!
Keep a recipe bank
Keep a recipe bank with all of the sticky notes you’re currently not using. You could use this instead of the page with the meal ideas list if you prefer.
The washi tape I used is the Doodlebug brand (my favorite washi – comes in a big pack of rainbow colors and the tape is thinner than normal washi). My sister stocks it in her planner supplies shop.
Integrating Meal Planning into weekly planning
At the start of each week (on a Sunday), I do weekly planning. Meal planning is step 5 of my 6 step process that I shared in this post.
Related Posts:
- Favorite color coding planner supplies for less than $5
- Minimalist planning: simple decorating & divider ideas for your planner using pens
- Planning 101: Planner lingo (what does it all mean?)
- 7 Ways to make colors POP when printing using an Inkjet printer
Found this post helpful? Pin it!