I’ve done a few reviews of Agendio planners here on the blog (see here for all of them). For this planner I used one of their base layouts that I would’t normally choose – a vertical layout…
Quick facts
- Size: 8″ wide x 9.5″ high (pages are 7″ wide x 9″ high)
- Hardcover
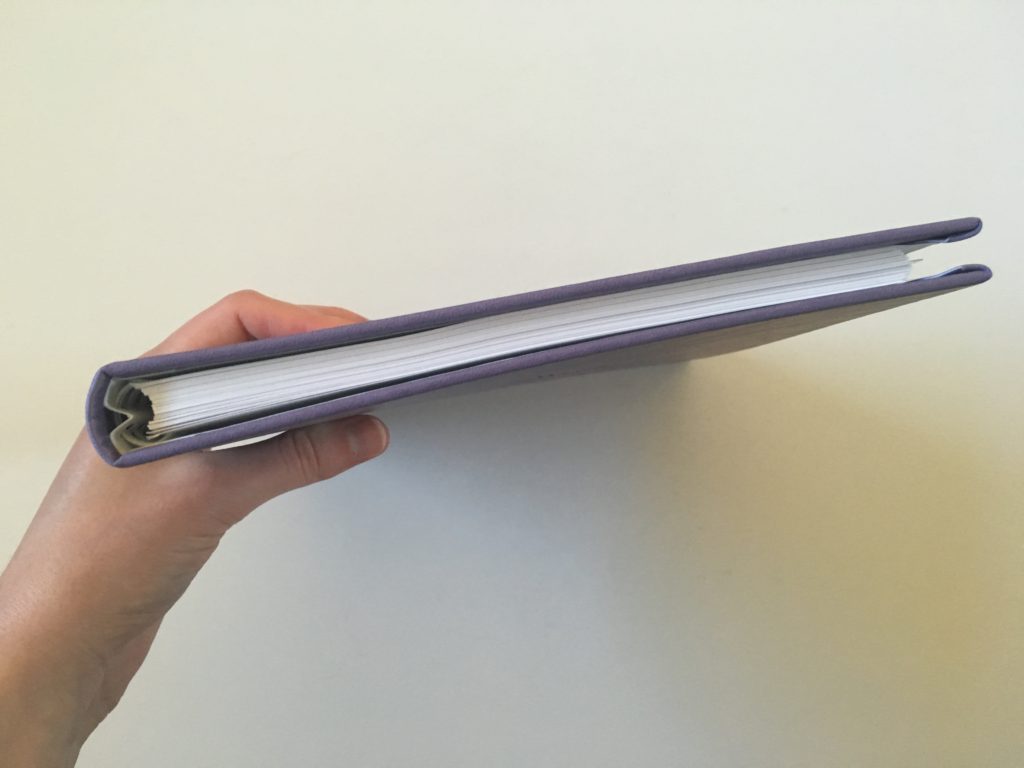
- Hidden wire binding
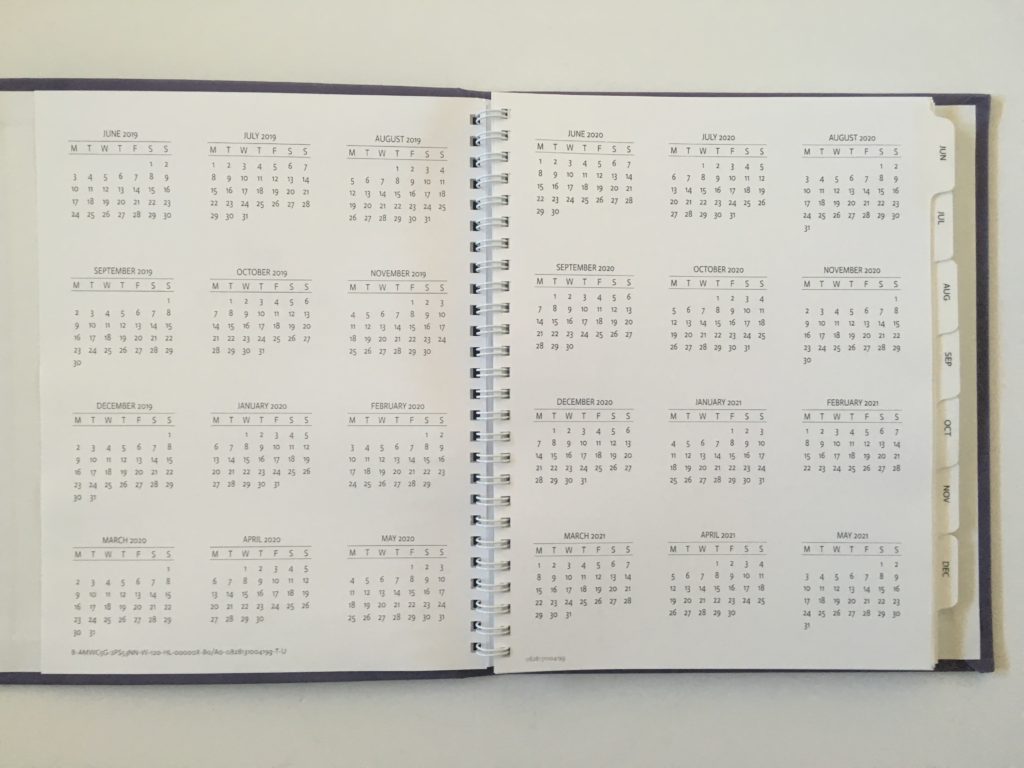
- Dates at a glance page
- 2 page Monthly calendar (starts on Sunday)
- 2 page weekly spread (starts on Monday)
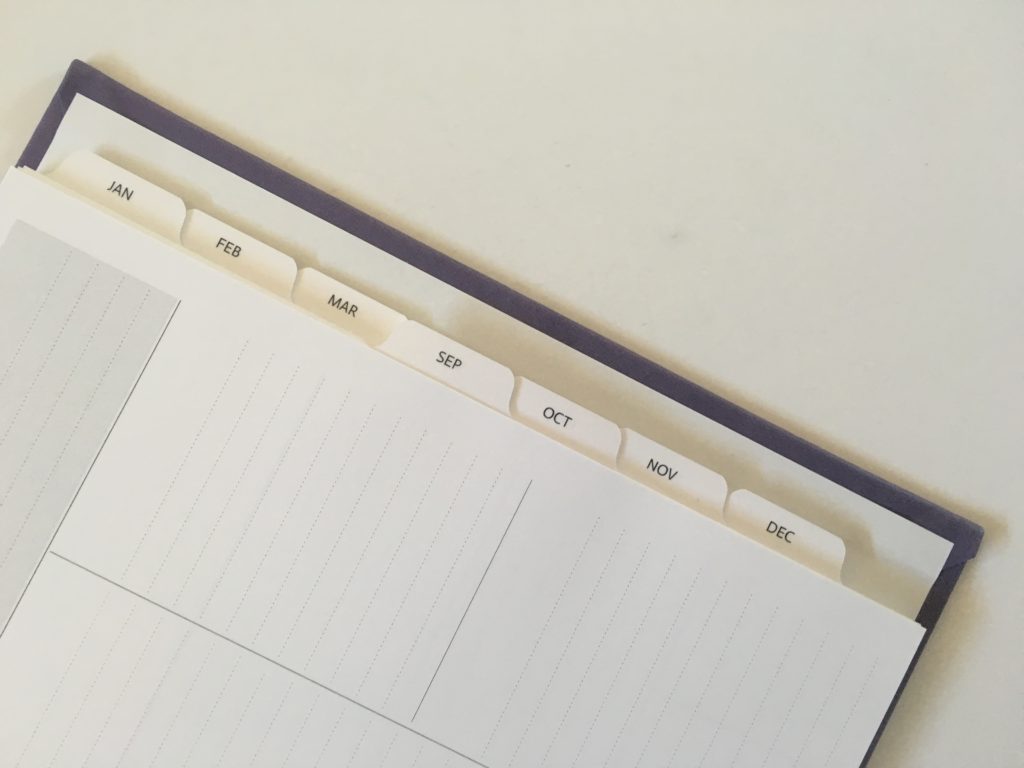
- Tabs
- Neutral or colorful inside pages
- 105 GSM paper
Detailed post on all the customisation options and how to order an Agendio is here.
This post contains affiliate links. If you purchase an Agendio planner using my referral link I’ll receive a small commission for referring you.
Let’s take a closer look!
To enlarge the screen of the video, click the square icon in the bottom right hand corner of the video (it will say ‘full screen’ when you hover your mouse over the icon).
Subscribe to my YouTube channel for more planner videos!
This planner is from my Agendio Planner haul.
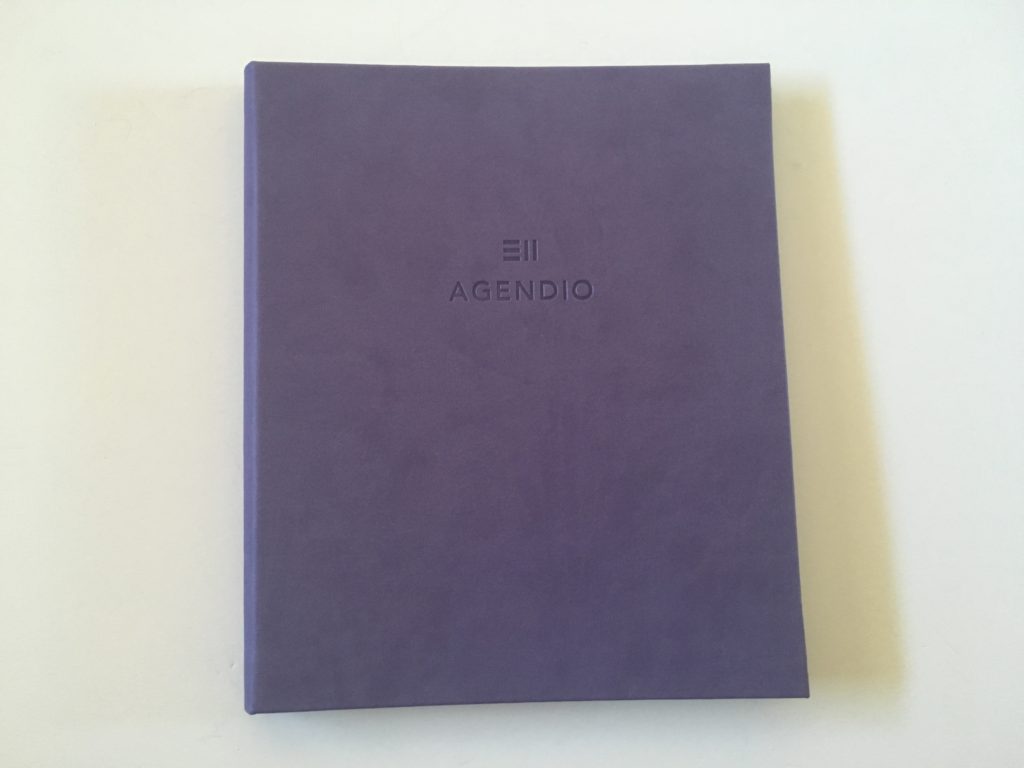
The Cover
If I had a choice between the cardstock with clear cover or Agendio’s hardcover (that I chose for this planner), I’d go with the cardstock with clear cover. I like how sturdy the hardcover is, as well as the hidden coil, but the pages don’t lay completely flat if you fold the notebook back to view only 1 page at a time. If you get the cardstock cover you can personalise it with your name too.
Approx 0.5″ thick
Monthly Calendar
I rarely use monthly calendars (tend to use lists, an important dates summary, monthly overview page or a project worksheet) so opted not to include a monthly calendar.
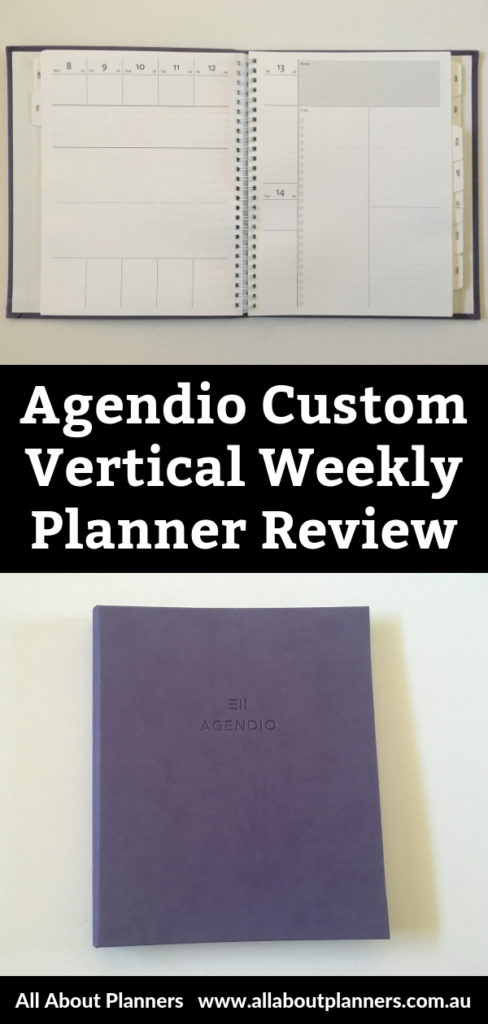
Weekly Planning
Quite the deviation from my usual horizontal spread, I wanted to try this layout for it’s spans.
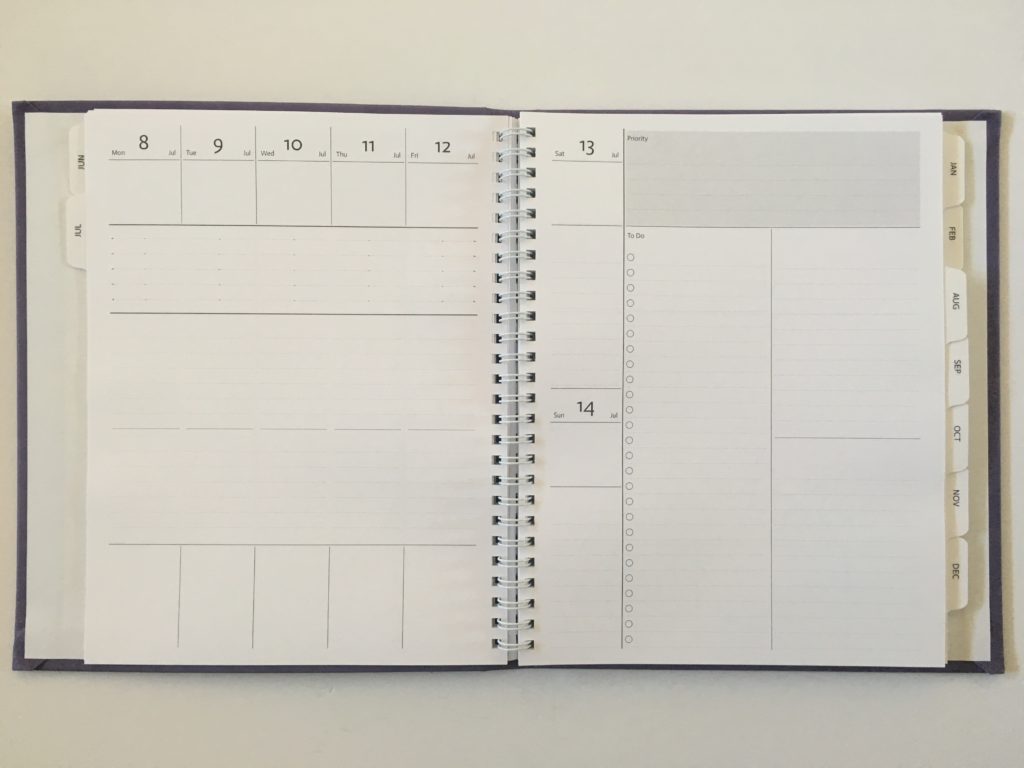
The idea is to use the second section (with the dashes) for forecasting when you’ll be working on projects. So if you were going to be working on a project for Tuesday and Wednesday you’d draw a line between the spans. Then you can see if you’re over-scheduling too much on certain days.
Here’s an example from the Agendio website that explains it better:
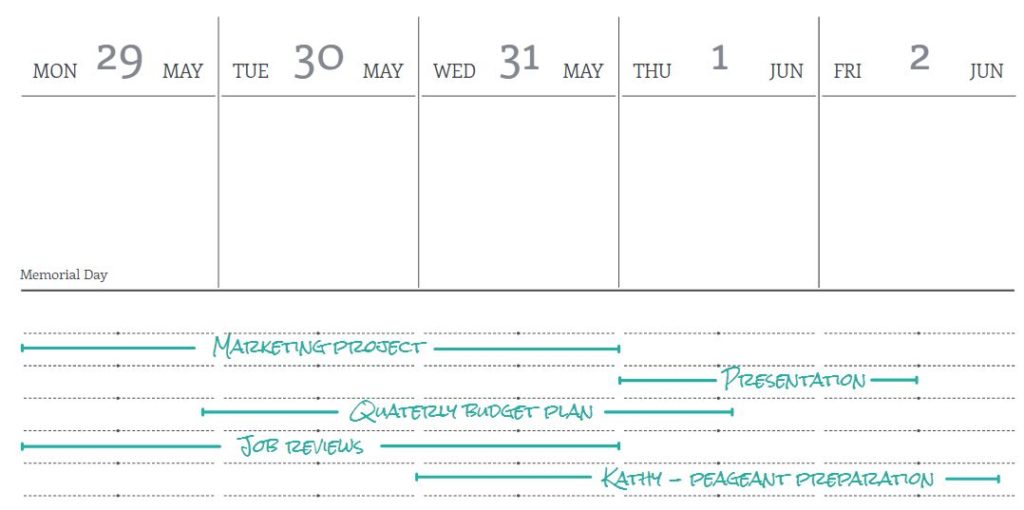
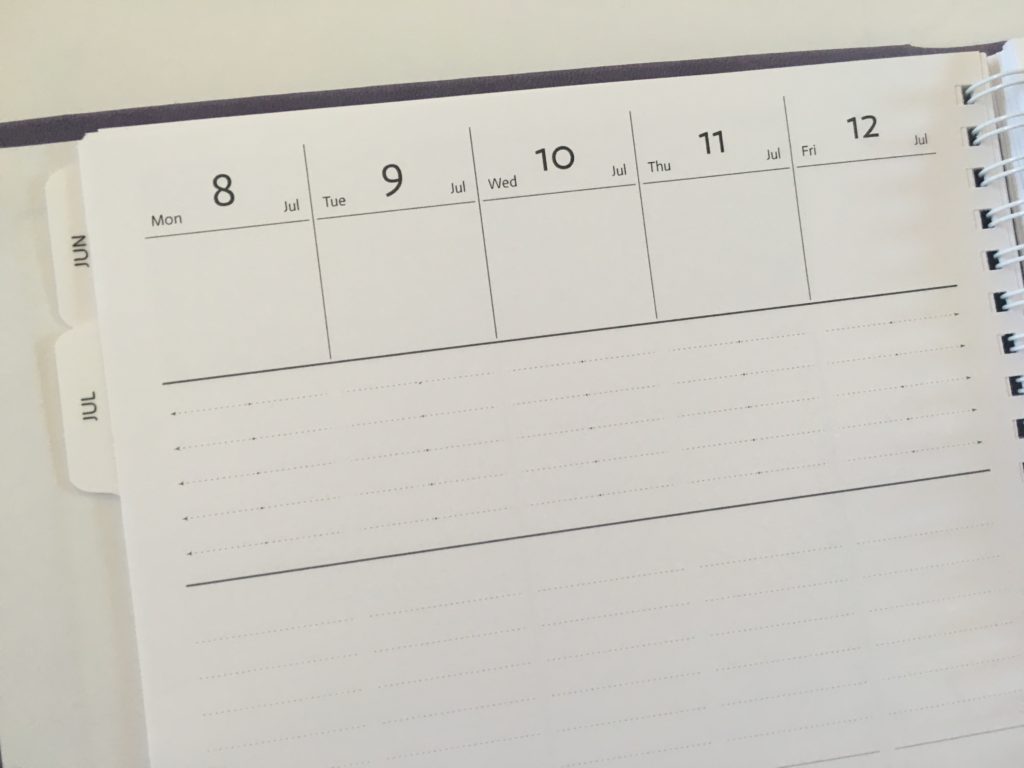
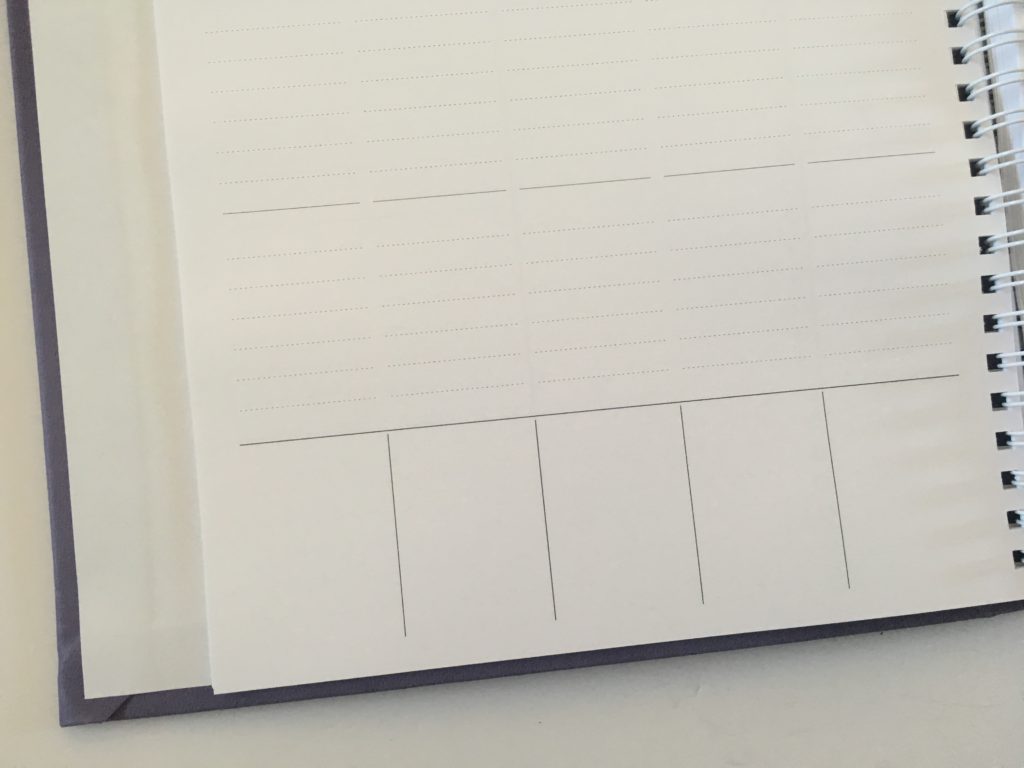
You can add labels to the bottom of each day but as I change up how I use planners so often, I opted to just leave them blank.
I’m thinking these boxes could be good for meal planning, cleaning tasks, separating work from personal, routine tasks, stickers, writing a quote etc. More ideas: 30 Purposes for Your Planner
You can choose between shaded boxes, checklist versus lined writing space, solid or dashed lines, the line spacing, section titles etc. (for details of everything you can customise, see this post).
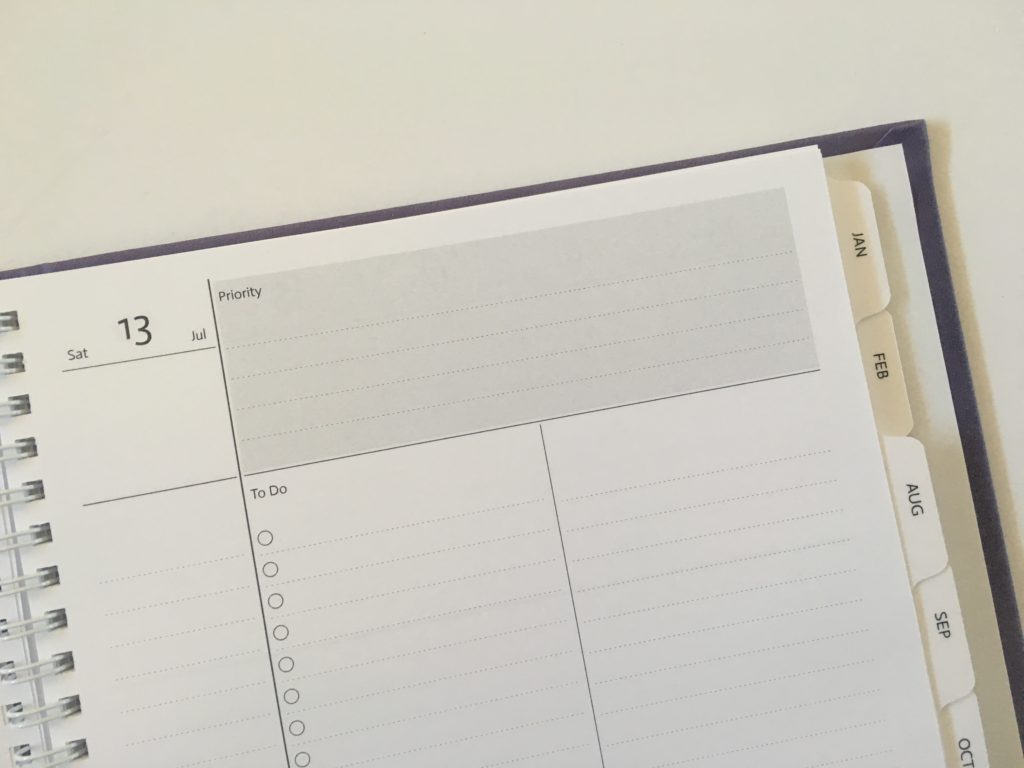
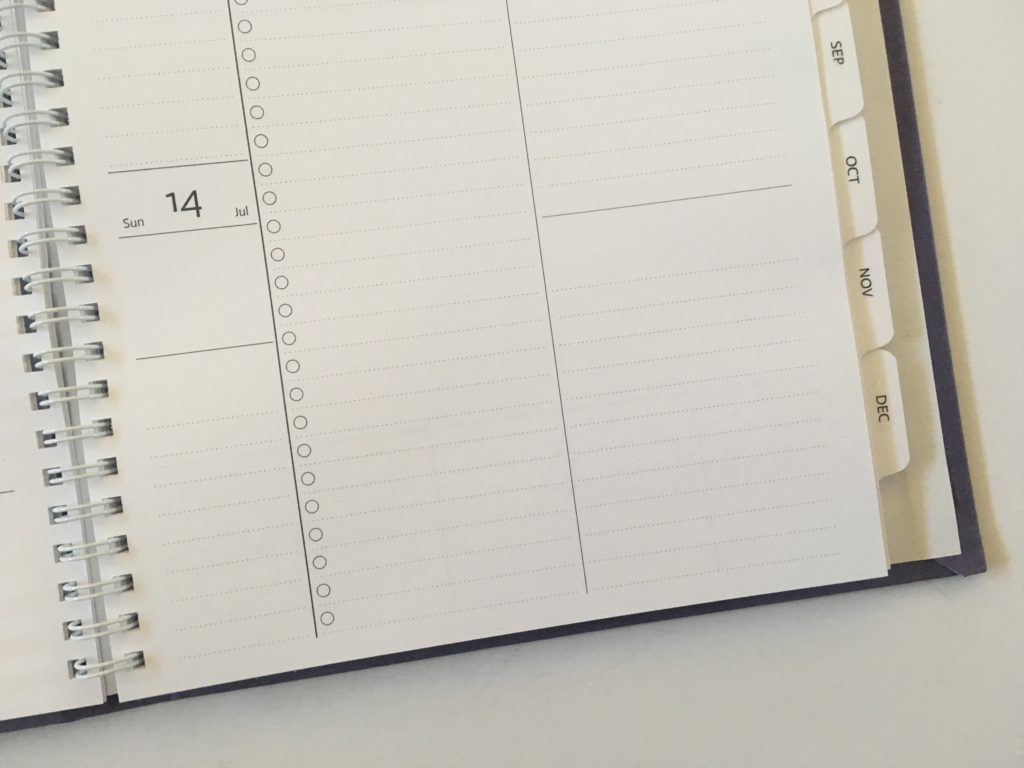
You’ll notice Saturday and Sunday share the same space as 1 weekday. Normally this is a turnoff for me as those are the days I’m not at work and have more time to do things. However there are 2 wide columns that I can use for overflow tasks.
Dates at a glance
Agendio include these pages with all dated planners.
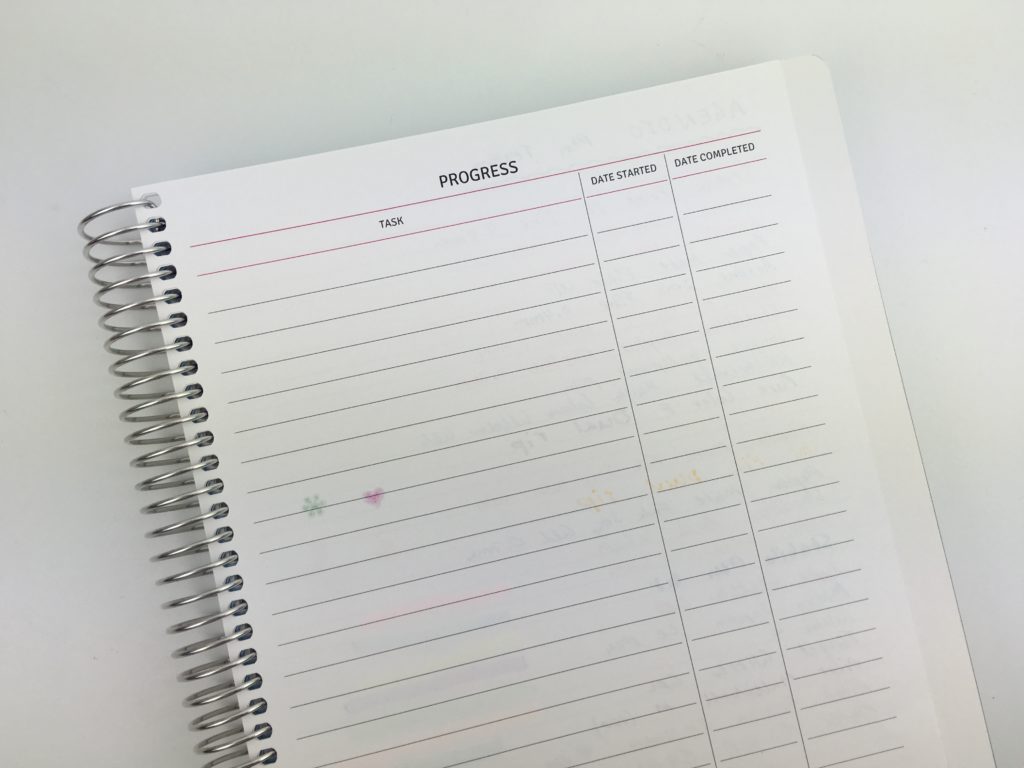
Extras pages
You can choose as many or as few extra pages as you like. As I purchased this planner as part of an Agendio haul, I opted not to include extra pages. Instead, I created a separate project book, notebook for blogging and various dot grid notebooks.
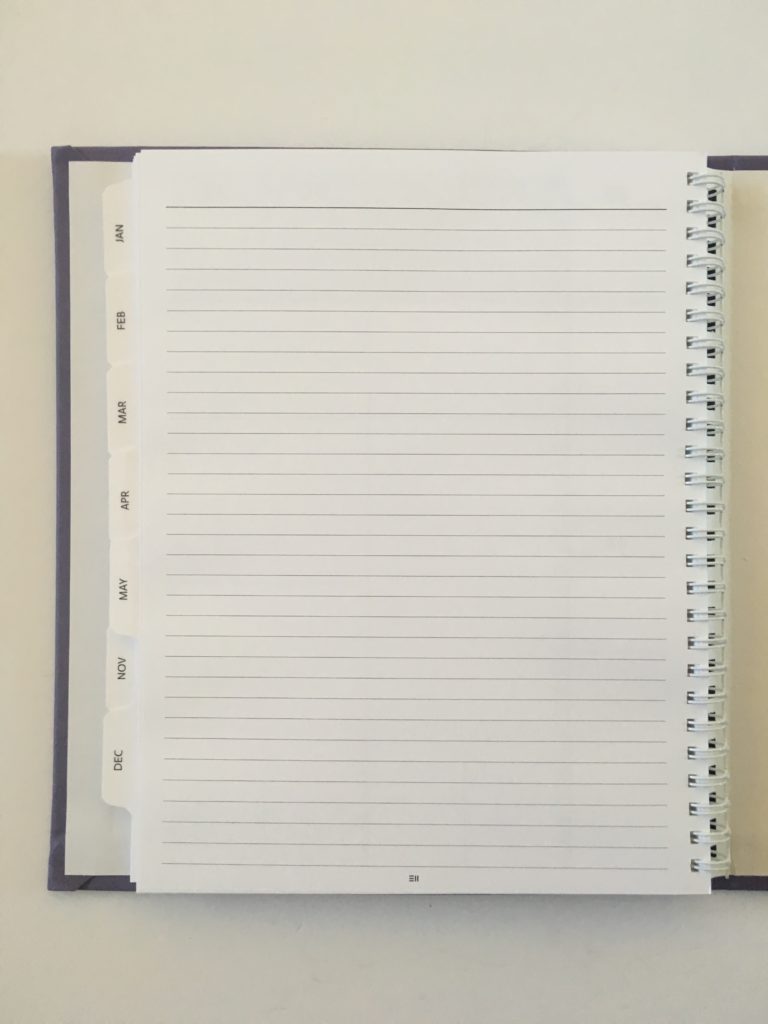
Tabs
If you’d like tabs, you’ll need to pay extra (currently $10). Is it worth it? Well tabs are certainly convenient… but I think I’d rather invest in some extra pages instead, and just add sticky notes to create tabs.
Pen Testing
I did a pen test of another Agendio I purchased in this post. Here are the results (since the paper is the same):
The paper of the planner is so smooth and nice to write on. I tried various balllpoint, gel, fine tip and marker tip pens – there was some ghosting on the back side of the page. I also did some highlighter and stamp swatches. The highlighters also had some ghosting and, as always, the MAMBI stamps bled through the page ?
Pros of the Planner
- Ideal page size – not too big but not too small
- Plenty of ways to use the layout
- Custom – you can create exactly what you want!
- Choose the page size you like
- Choose what add on pages you want
- You choose the type of cover
Cons of the Planner
- Expensive
- Tabs cost extra
- Takes a while to build your planner if you go through all of the customisation options
See the full details on ordering an Agendio planner in this post. I’ve done reviews for other Agendio planners I’ve made here:
- Agendio Review (custom, personalised weekly planner)
- Creating a custom, personalised planner with Agendio (tutorial if you’d like to order one)
- Agendio Planners Haul (Daily, Weekly, Monthly, Project Planner & Bullet Journals)
- Happy Notes Half Sheet Review + DIY Half Sheet Printable Inserts
- Agendio Daily Planner Review
- Agendio custom dot grid notebook
Would I use this planner?
Yes. I normally stick to the same sort of weekly layout so want to try something different. I normally steer clear of vertical layouts due to the narrow columns but this layout has a big checklist & notes section so I may be converted…
If you like this layout and want to order one for yourself, here’s the link to their website (referral link).
Planning Tips:
- Best Paper for Printing Printables
- Choosing a planner: Horizontal versus Vertical versus Hourly planners (which is right for you?)
- 50 Themes for your planner or bullet journal spreads
Found this post helpful? Pin it!
WHERE has this been all my life?!?!?!?!?!?! This is the exact layout I use for work – that I have to create myself. O. M. GEE. SOLD!!!