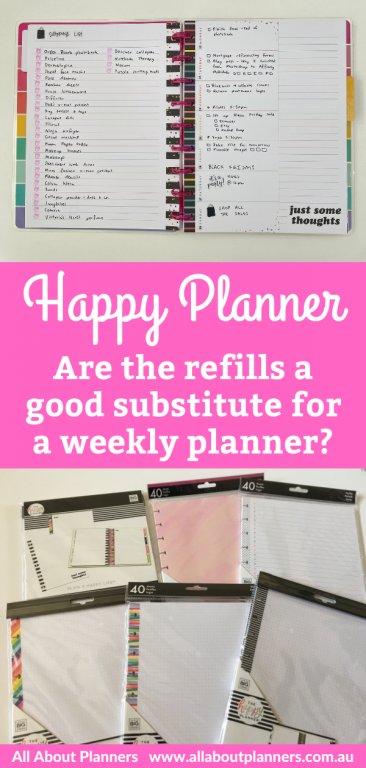
Is the Happy Planner Filler Paper a good substitute for a weekly planner?
If you can’t quite find the right planner for you, don’t want to continue ruling up simple layouts from scratch and want something pre-created, then it could be time for you to try the Happy Planner Inserts.
This post contains affiliate links. If you make a purchase after clicking one of these links I’ll receive a small commission in exchange for referring you (at no extra cost to you).
I’ve used the Happy Planner inserts a few times before here, here, here and here and like how quickly I can set up a weekly spread. In this post I have a detailed pros and cons list as well as a cost comparison of inserts versus a planner. I also have a list of instances where I think it’s better to use the inserts instead of a planner.
Pros of the Happy Planner filler paper
- Double sided
- Feels thick and while there is some show through from pens, it’s not enough that I would stop using it
- Most of the weekly refill packs have 60 sheet which will last more than a year, or if you need 2 weekly spreads (e.g. work and personal) it’ll last 6 months
- You can mix and match as many filler pages as you please
- Good margins – there is sufficient space on all sides
- Pre-punched
- Great quality color printing
- Variety of colors and styles
- Good line spacing – 7mm which is the same size as their planners
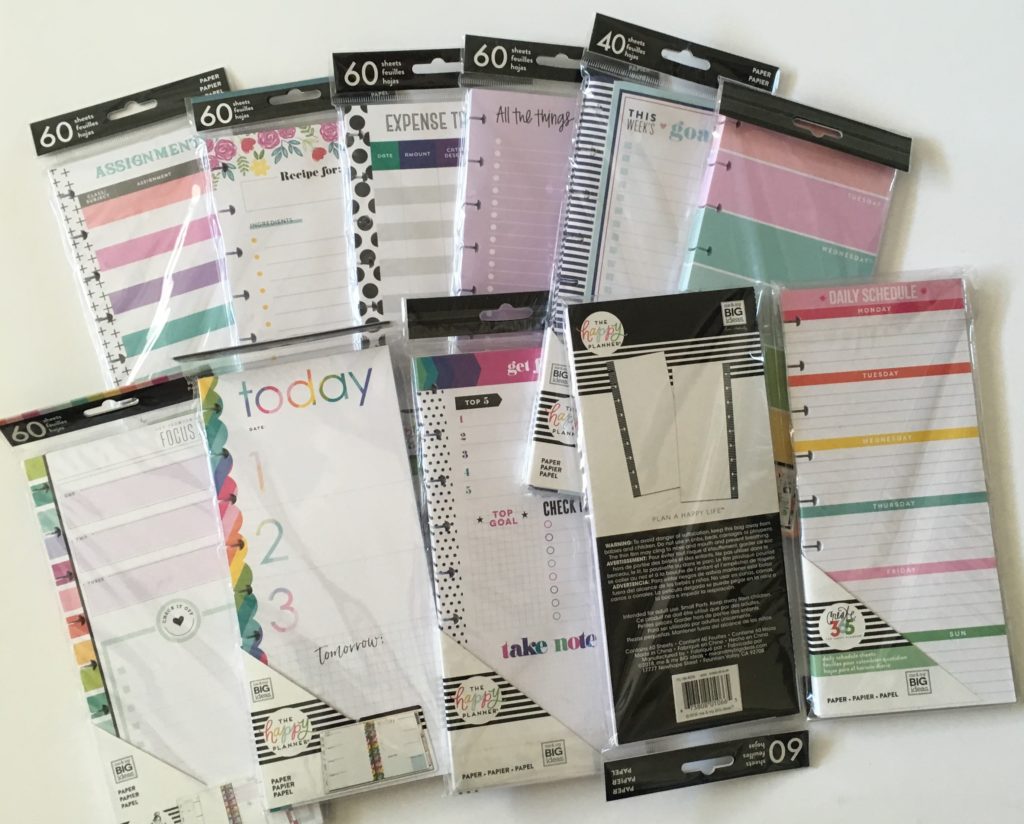
- Variety of layouts – daily, checklist, meal planning, weekly, budgeting, lined, dot grid, graph
There are plenty of MAMBI inserts to choose from but I prefer the simple, functional ones the best. I.e. checklists, dot grid and lined note paper. Read more: Favorite Happy Planner Refill Inserts 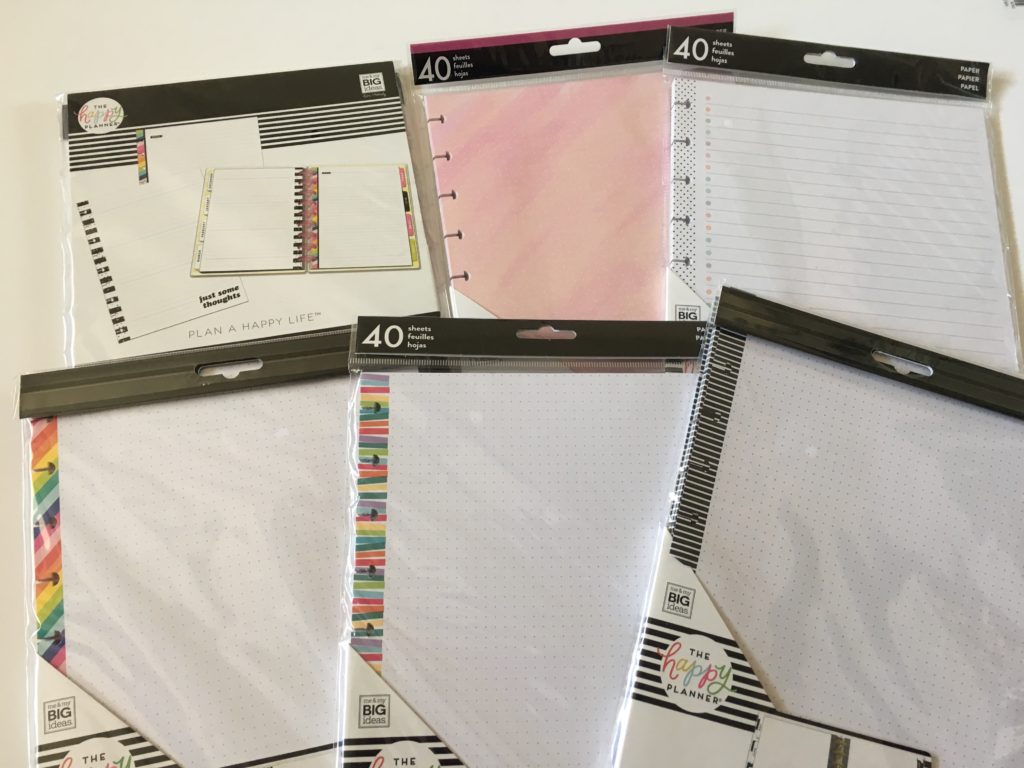
Cons of the Happy Planner filler paper
- No monthly calendar filler paper options on their own – you have to buy it in an extension pack with weekly spreads
- Some of the designs are printed on colored paper which is not ideal if you want to use colored pens and highlighters
- Some of them have large borders and quotes on the page taking up writing space
![]()
Cost comparison
The number of sheets varies depending on page size:
- Classic size have 40 sheets
- Classic size half sheet, mini half sheet and big filler paper have 60 sheets
The price varies depending on the style but ranges between $7 USD and $10 USD (regardless of page size). There are so many variables for the discs (plastic, metal, size of the discs, in a bulk pack with multiple colors or own their own) but a starting point is $7 USD. The filler paper comes pre-punched so you don’t need to buy the punch unless you’re adding your own inserts. Total cost to hack a planner using filler paper
- Filler paper – checklist $7
- Filler paper – weekly layout $7
- Discs – $7
- Create your own covers = $10
Total = $31 Note: There are no monthly layouts in the filler packs unless you buy an extension pack which is $12 USD. By comparison, an undated Happy Planner costs about:
- Mini = $24 USD
- Classic = $30 USD
- Big = $35 USD
So if you purchase all the items separately (including an extension pack) it will end up being more expensive than buying one of their pre-made planners. But the inserts are undated so there’s no ‘waste’ like there is in a dated planner (unless you use date dot stickers). There are only a handful of undated planner options and if you purchase a dated version, a lot of them have the year on the cover. So to me it’s worth it to pay a bit extra to customise your spread using inserts.
The Happy Planner is quite saturated at this point and they have sales all the time. So just wait for a sale and the inserts may end up being the same or cheaper than a planner.
Would I use the Happy Planner inserts?
I don’t like the Happy Planner’s latest planner cover designs – a lot of them are either floral, kiddish cartoon drawings, giant quotes covering the whole cover or random photos. So I’ve been using the Happy Notes (which usually have more pattern cover options) with inserts instead.
I wish the Happy Planner would come out with some more unique weekly spreads. There are so many possible layouts they could offer, and yet years after they first started doing the discbound planners, there’s only a handful of layouts which are repeated year after year. Since the Happy Planner also hasn’t come out with any new weekly layouts for a long time, I’d rather just make my own weekly spreads with my printables, the Happy Planner inserts or different styles like the Limelife spread I did here.
When I need something quick the inserts are good, but I would get bored of using them if I did a spread with them every week. They don’t need extras like washi tape and there’s already color on the inserts so I don’t need to add to it using highlighters or rainbow pens which is usually how I make my spreads look different.
Consider using Happy Planner inserts if:
- You want a weekly spread you can set up in 5 minutes
- You need extra list space and frequently make different lists. I use one page per list then I can easily rearrange the lists and take them out of the notebook when needed
- You want to mix and match different page sizes – you can pair a half sheet classic with classic)
- Your page size needs change e.g. some weeks the Happy Planner mini might be enough, and other weeks you might need the classic size
- Want a different aesthetic – there’s a variety of patterns and colors on the inserts
- Need some extra pages in your planner for goal planning, a weekly or monthly review (as planners always seem to skimp on these pages)
- Half sheet inserts when you need just a bit more space but not an entire page
- Recurring task lists e.g. cleaning routine list that you can move from week to week or month to month
- Grocery lists – plan everything in the one notebook, then remove the grocery list when needed
- If you use a planner off and on so won’t get value for money buying a dated planner
As you can see in the photos below, there aren’t a lot of options to customise the inserts. Some of them have colored paper already, so if you use colored highlighters it’s not going to stand out. There is already color on the page so I don’t feel the need to add washi tape to create sections and the only way I was. 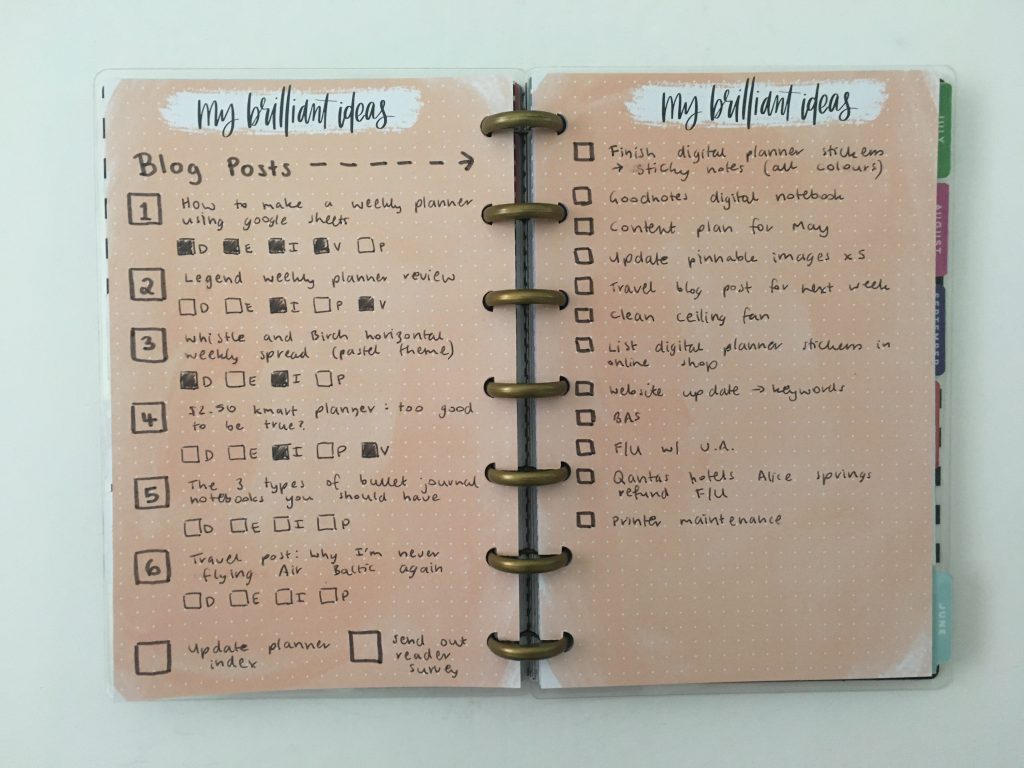 So long story short, I recommend the Happy Planner inserts if you need a quick layout, don’t mind using an undated planner, or aren’t interested in planner decorating.
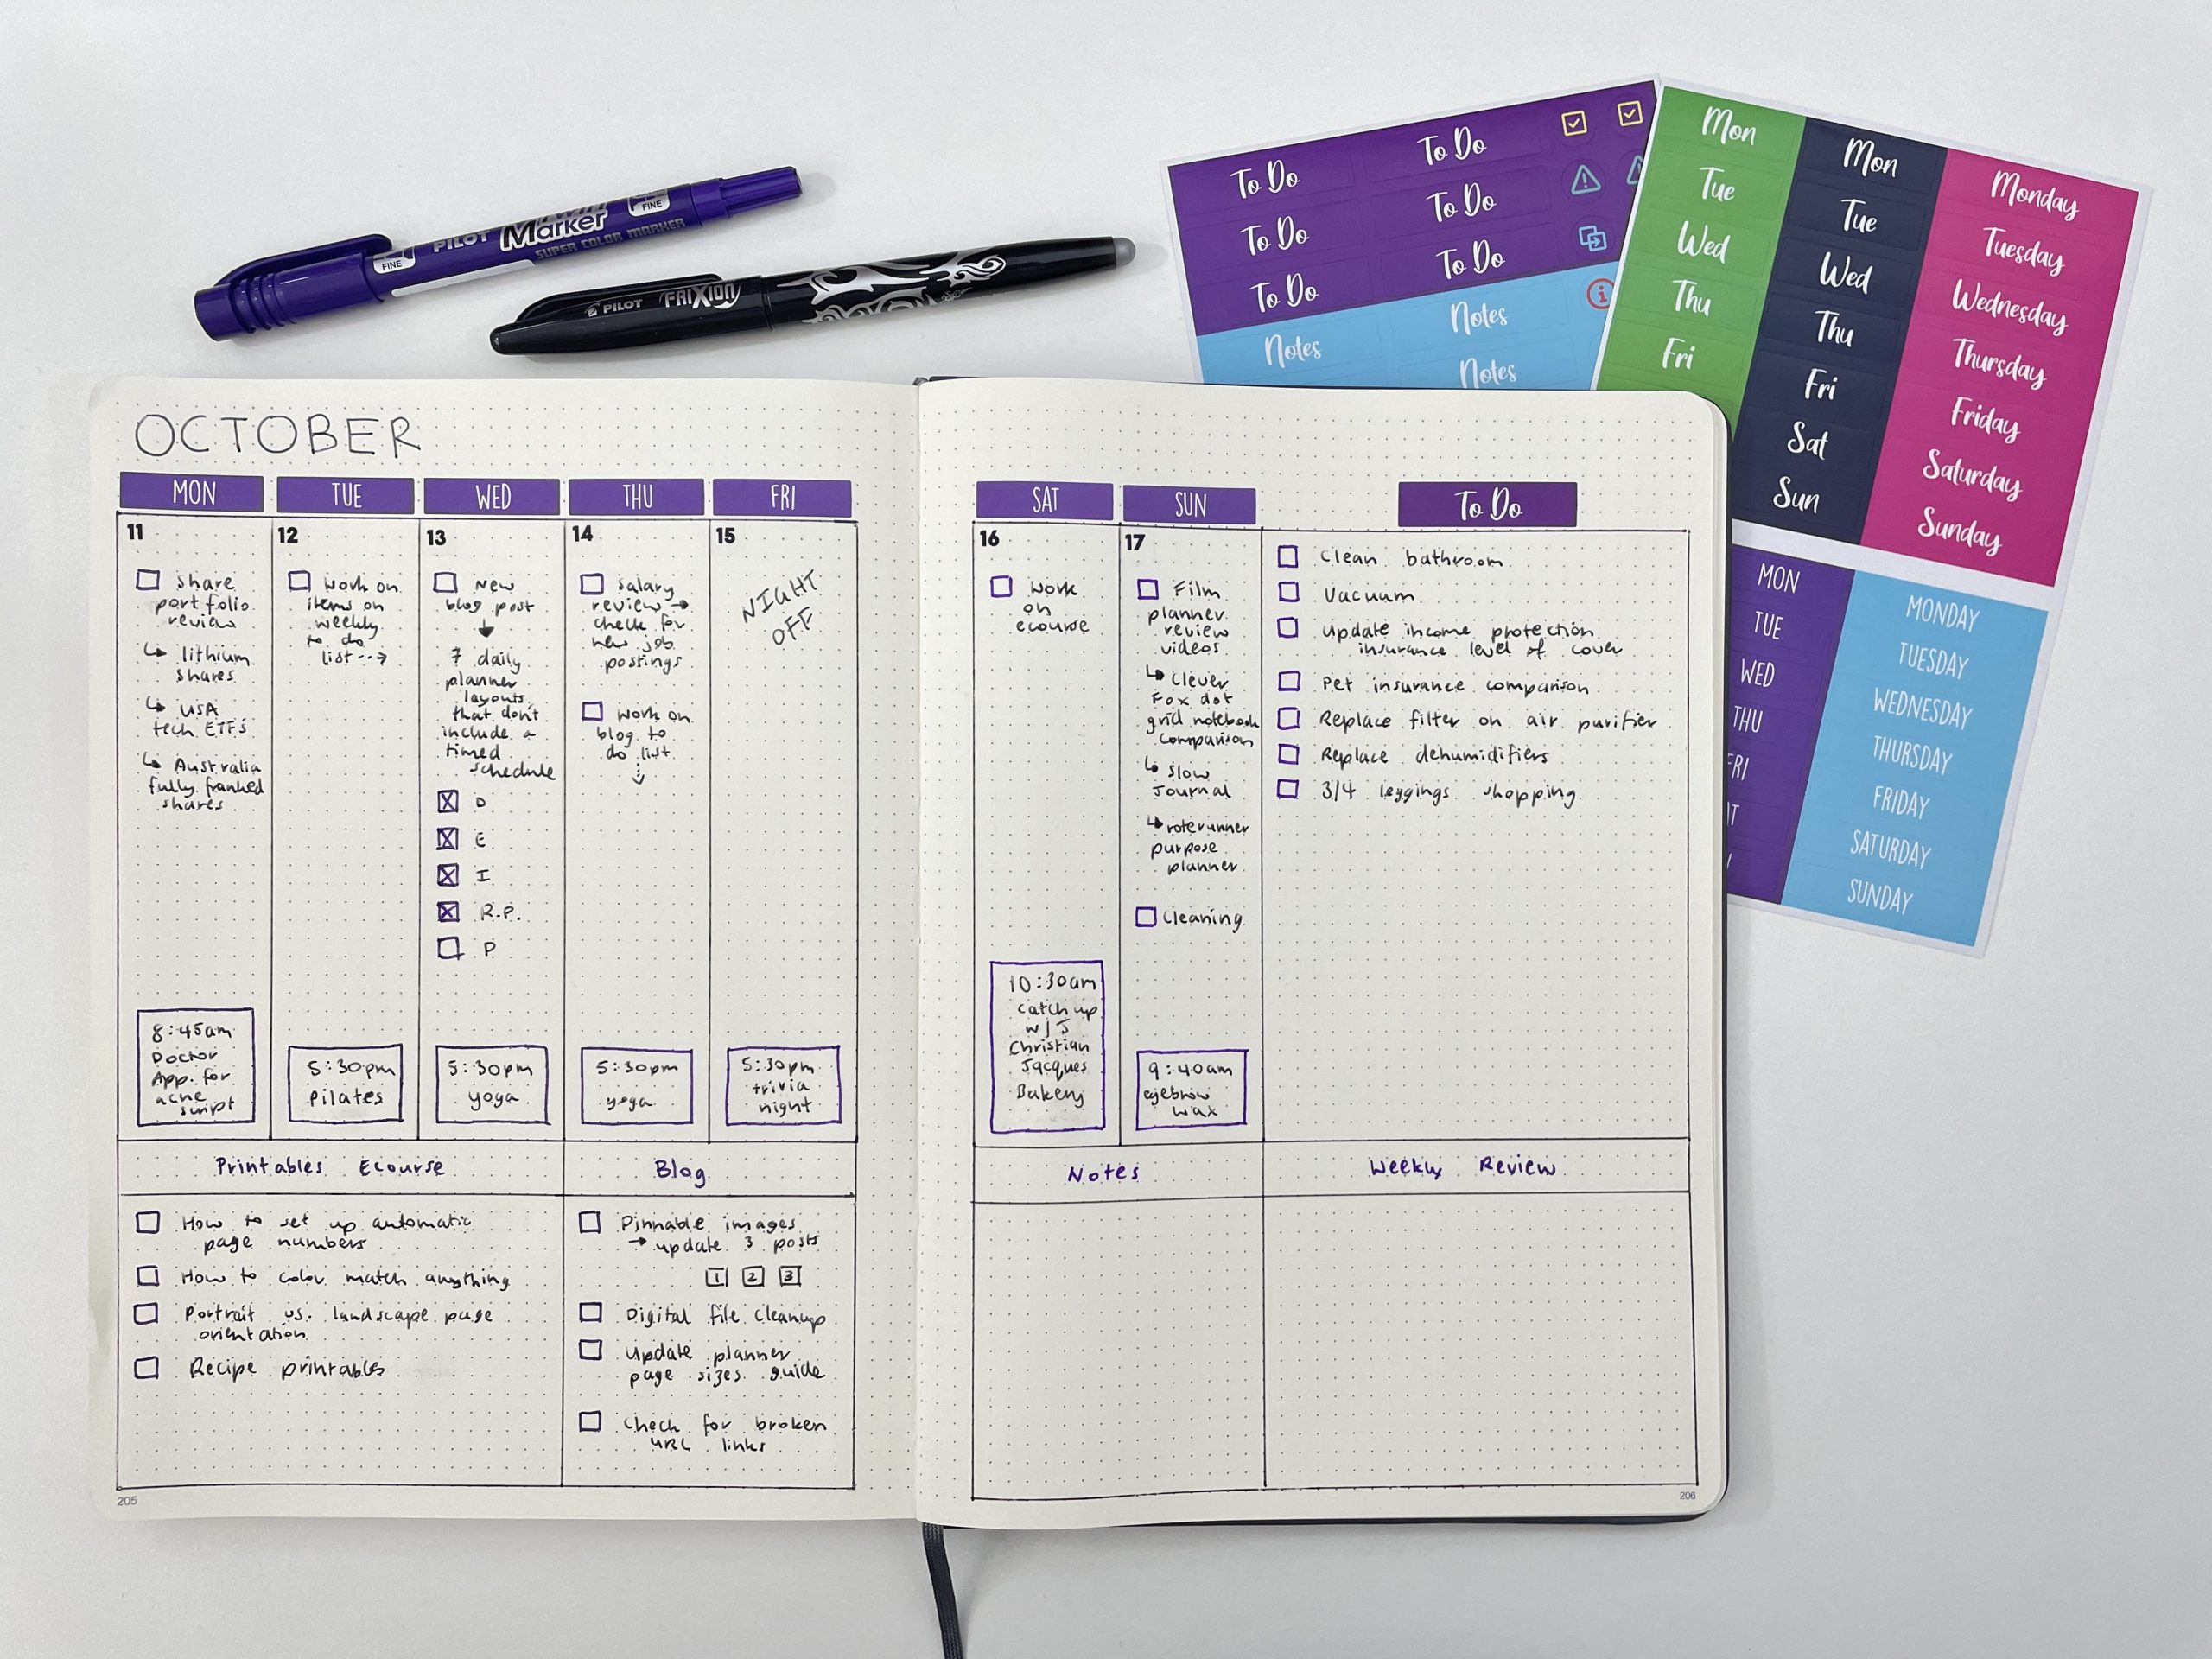
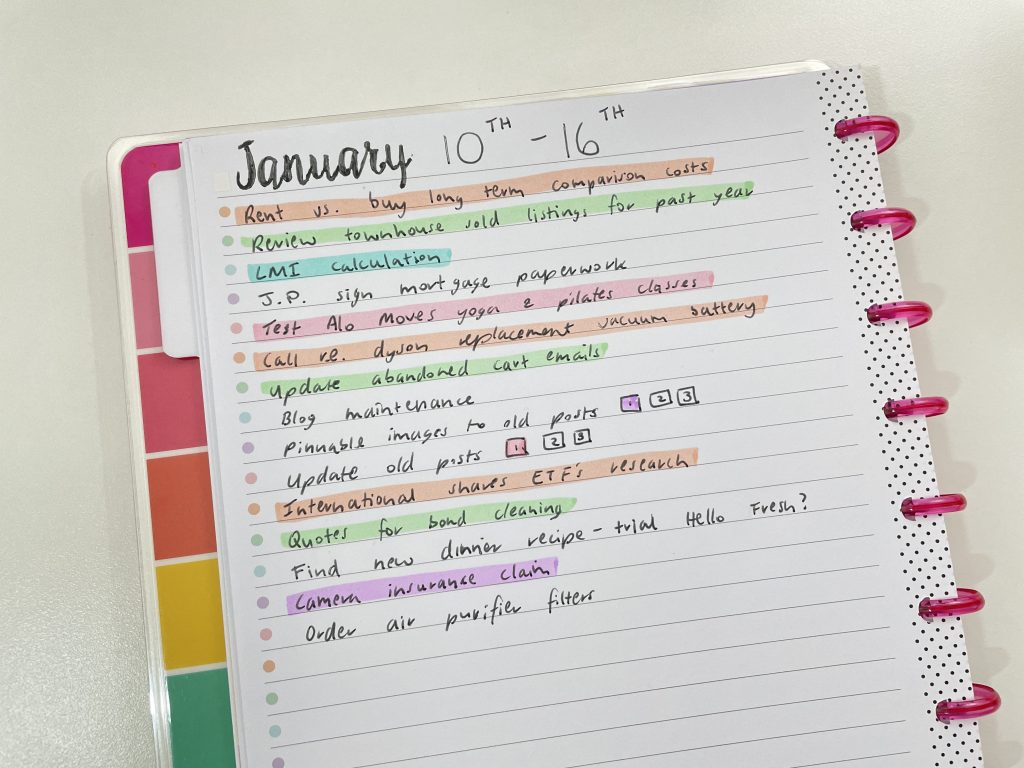
Happy Planner Inserts Spread
I did this spread for Black Friday week but never got around to posting it, so if you need another idea for using the Happy Planner inserts, here’s a suggestion: 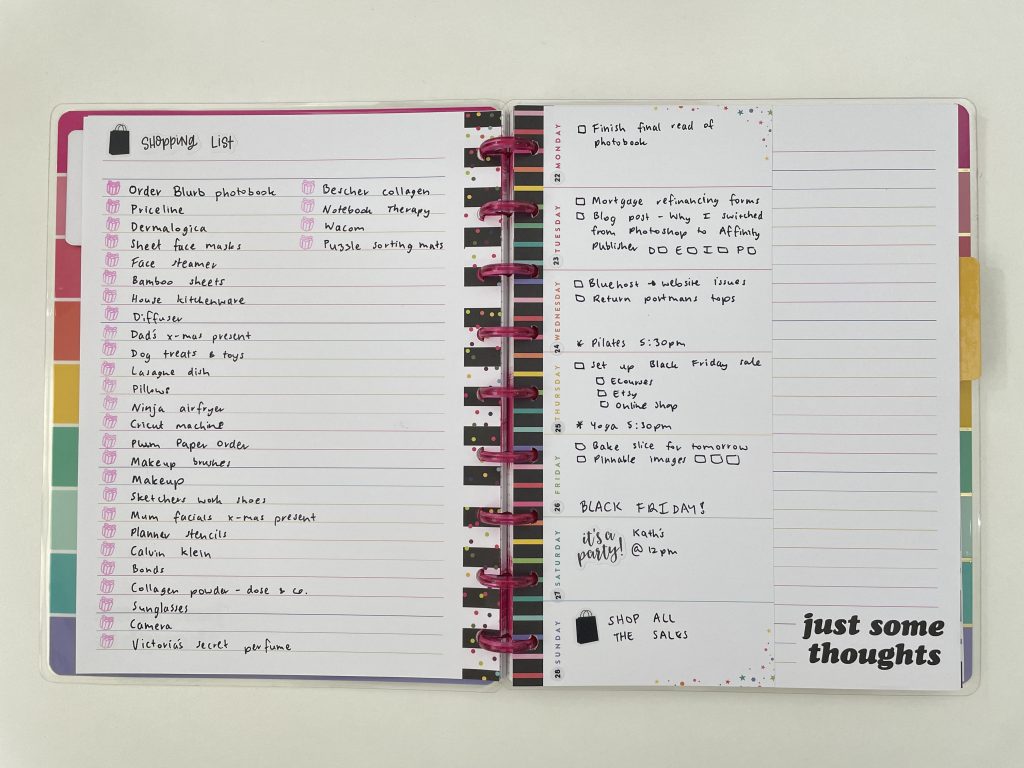 For this spread, I contemplated using different colored pens to match the colors on the page but I’ve done that in the past and it’s ended up having too much color. So I stuck to black only this time. I used the Maped Graph’Peps extra fine 0.4 needle tip pen. This was my first time trying out this pen and to be honest, I don’t like it. It’s far too inky for my liking – it comes out thicker, like a 0.7mm fine tip pen. There was a bit of ghosting on the back side of the pages as well. I used the Frixion erasable present stamp instead of a checklist stamp as Black Friday shopping is basically me buying presents for myself!
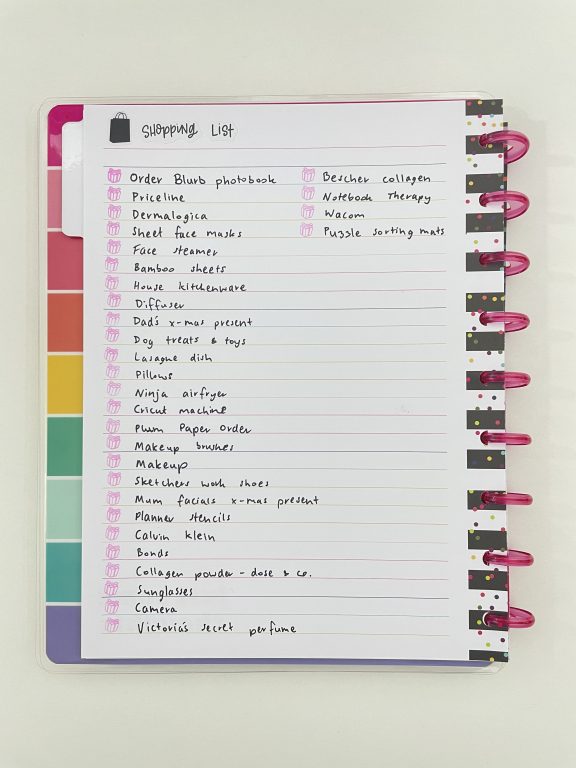
 Related post: Favorite Happy Planner Refill Inserts
Supplies Used
- Maped Graph’Peps extra fine 0.4 needle tip pen
- Shopping bag sticker is from the Paper Studio Agenda 52 Home Life set
- Frixion erasable present stamp
- Happy Planner rainbow list classic size insert
- Happy Planner weekly rainbow half sheet classic size insert
- Happy Notes classic size with rainbow stripe cover (discontinued)
- Shopping list text stickers are from the Happy Planner Handwritten Plans sticker book
- ‘It’s a Party!’ sticker is from the Carpe Diem Calendar sticker book
More planning tips
- Favorite planning supplies from Amazon (gift guide)
- Hardbound versus coil bound planners (pros and cons)
- Testing Buke Stationery’s 180 GSM thick paper with a Highlighter Heavy Weekly Spread
- Maggie Holmes versus the Happy Planner
Found this post helpful? Pin it!