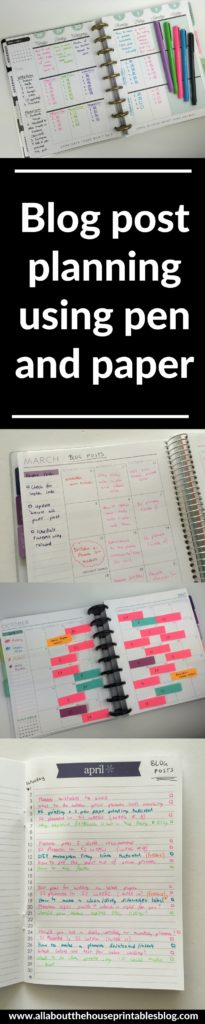
12 Different ways to plan blog posts using pen and paper
I love trying different layouts for weekly planning! These are my 12 favorite blogging planner spreads – I hope they spark some new ideas for you to try! 🙂
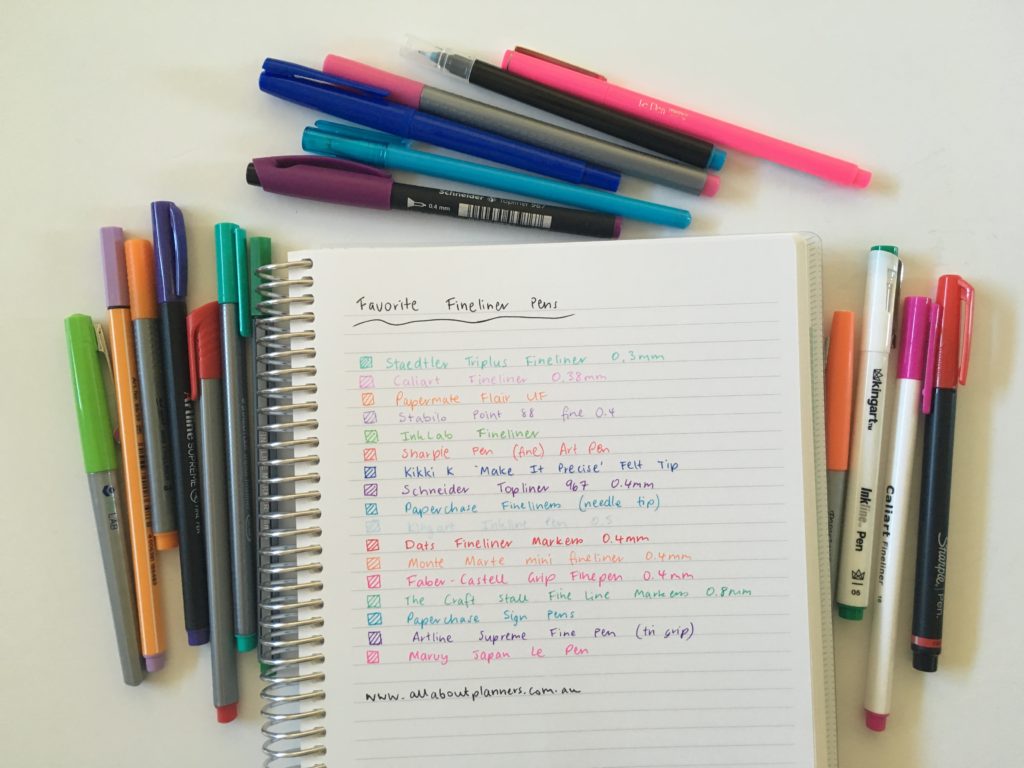
1. Lined note paper & colored pens
One of the simplest ways to keep track of blog posts – lined note paper and colored pens! This paper is the Arc refill paper. I set it up to have the posts for each week, workflow tracker and I wrote the ‘P’ when I’ve pinned the post to Pinterest – quick and easy!
Related: Planner Organization: Why I use the Arc Planner instead of binders
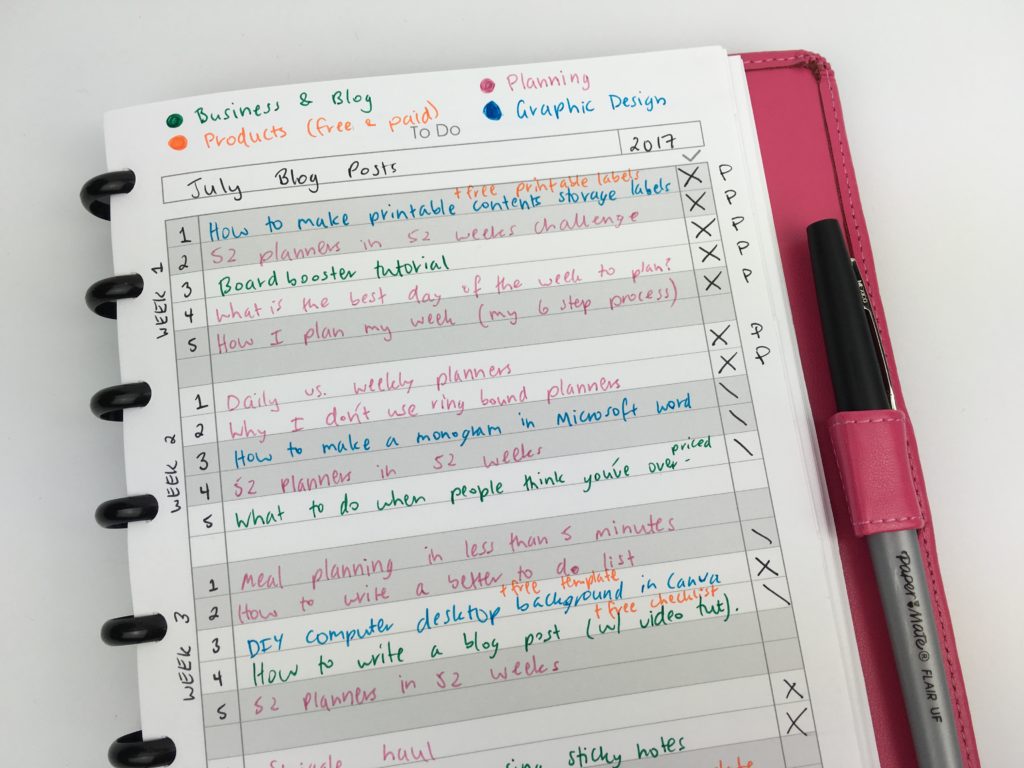
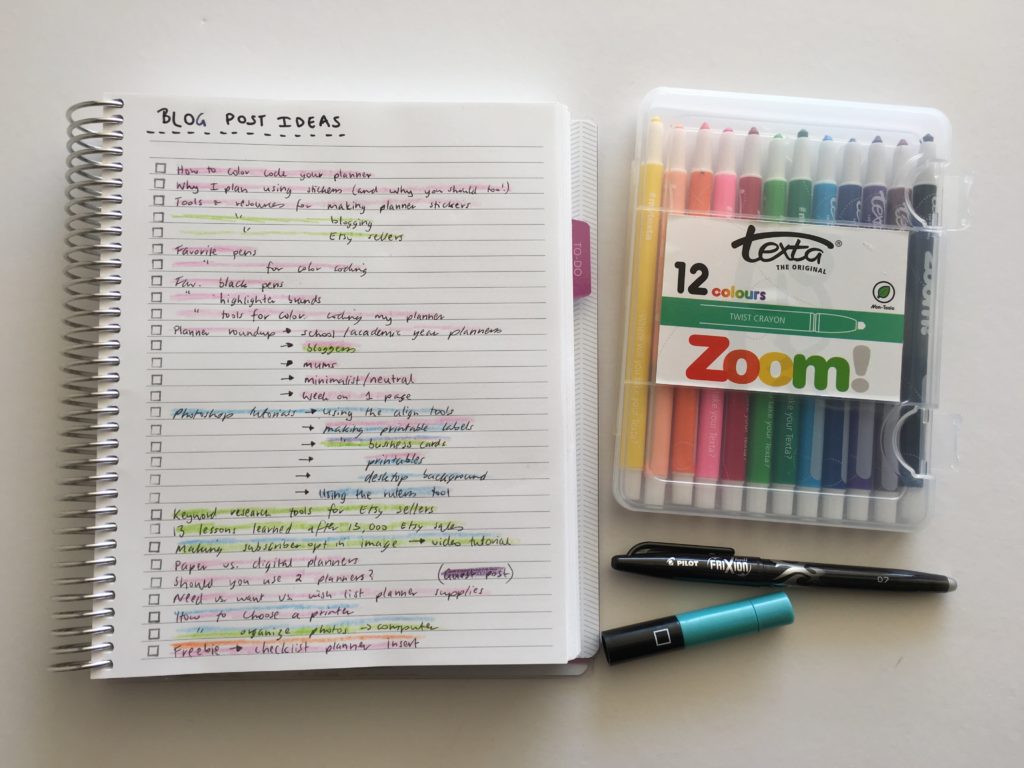
If you want a cheaper alternative to highlighters and need a lot of different colors then twistable crayons (known as ‘zooms’ here in Australia) are a great option.
My favorite brands of twistable crayons are Crayola and Staedtler.
Related: Simple method for organized brain dumping of blog post ideas using a notebook and zooms
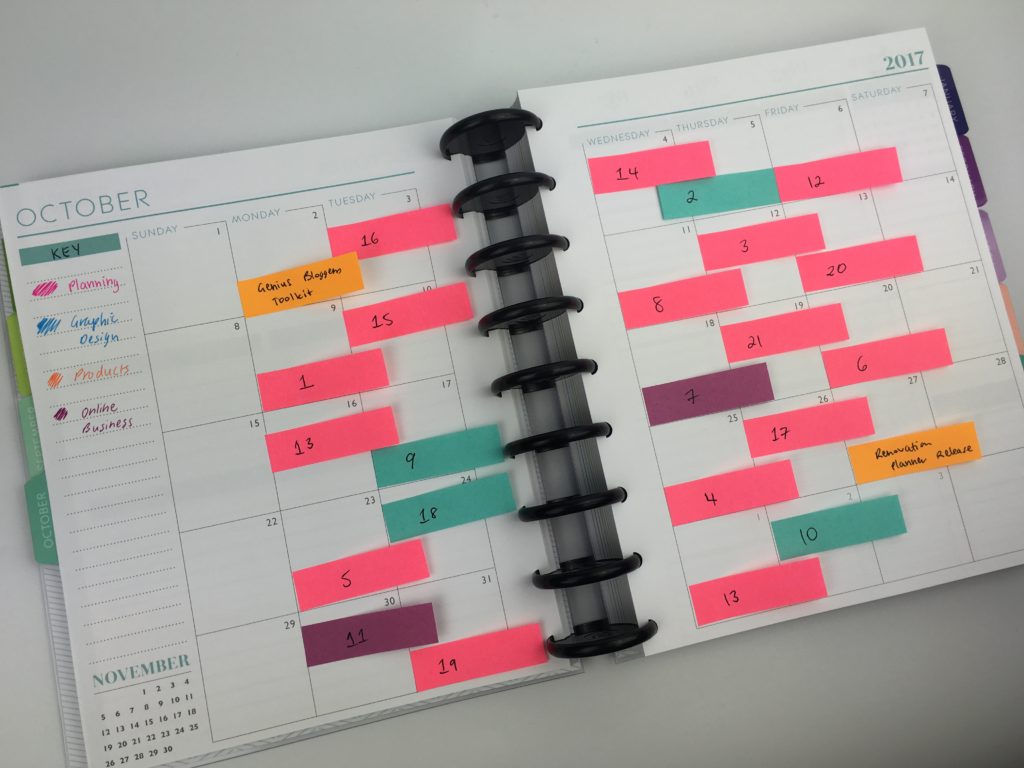
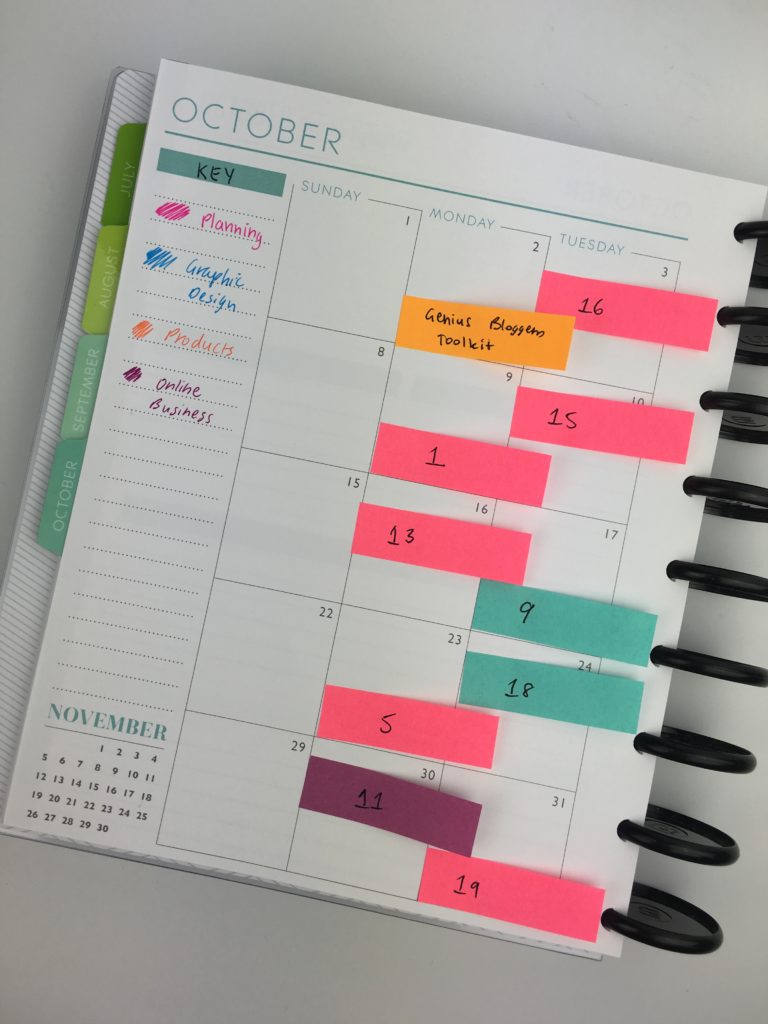
2. Small sticky notes on a monthly calendar
You could also do this on the weekly spread if space is limited in your planner, or if you prefer to have a flexible system and plan the blog post workflow in a separate notebook or using printables.
This method works best if you have tons of notebooks filled with blog post ideas. Give each blog post a number and then add it to a sticky note when you’re ready to schedule it. You could also use washi tape but the ink tends to smudge on washi. If you’re concerned about the cost of sticky notes try the frixion erasable pens, or cut larger sticky notes into smaller pieces to create more sticky notes.
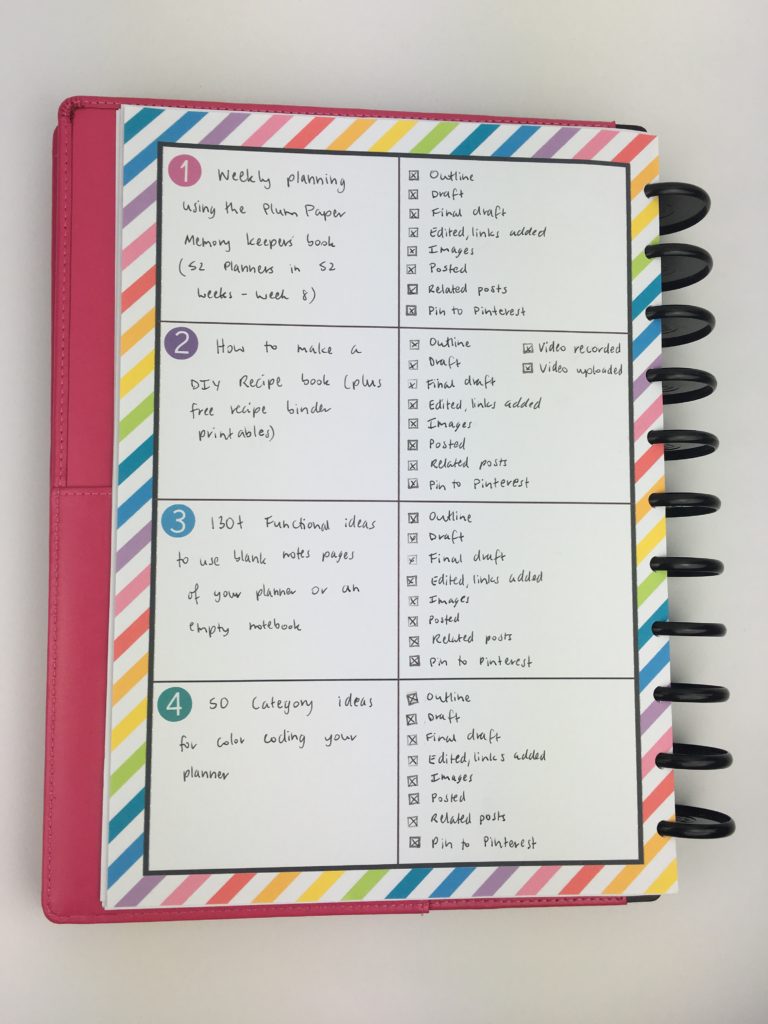
3. Sticky notes with workflow
I <3 sticky notes – so many uses for them! These are 2 x 2″ size – I recommend the Post it Note 3M brand as they’re super sticky so you can move them around lots of times as they’ll still stick (which never happens with the cheap sticky notes). Sticky notes are one stationery supply I definitely don’t skimp on.
Related: 5 Planner supplies you should never skimp on
![]()
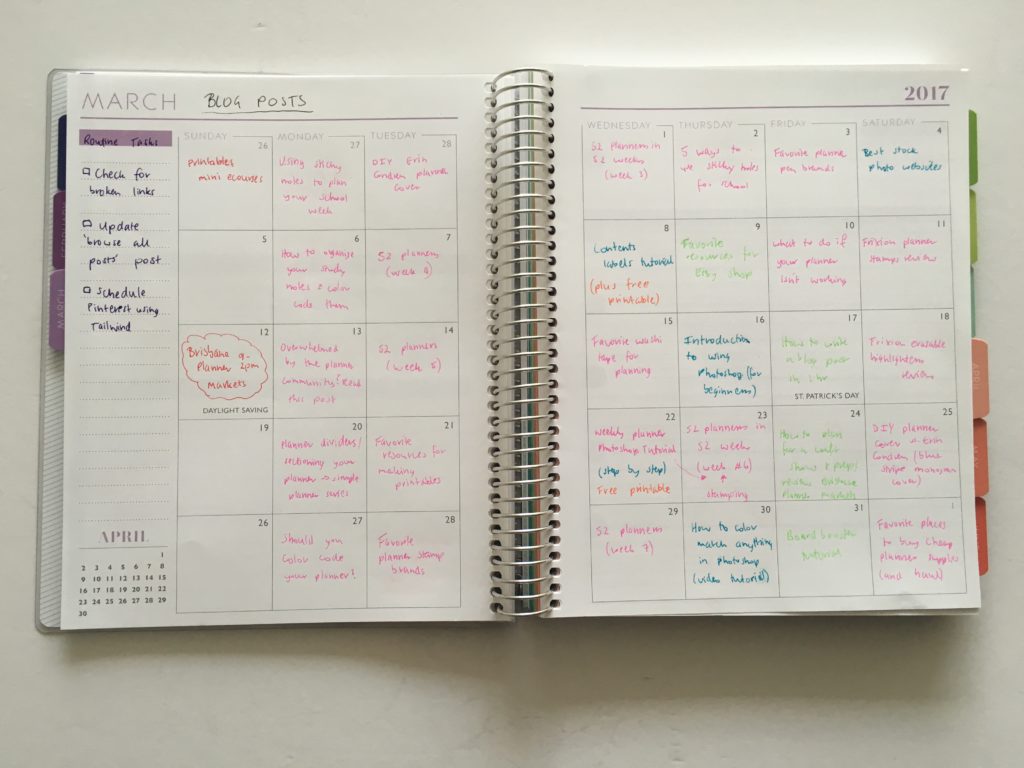
4. Monthly Calendar
Simple and easy to set up: blog post planning using colored pens and a monthly calendar.
This is one of my (many!) Plum Paper planners. I used the Frixion erasable pens so I could add and rearrange blog posts as things changed throughout the month, and to make sure I’m posting a variety of content.
I kept backup blog post ideas in the sidebar.
If I used this layout again I’d add a workflow tracker i.e. boxes with numbers beside them in each box so:
1. Draft the post
2. Edit the post
etc.
That way it’s easy to see where you’re up to. Some checklist washi tape or a stamp (e.g. MAMBI) would work well for this too!
Related:
5. Erin Condren Perpetual Notebook
Wondering what to do with that free monthly calendar notebook that comes with the Erin Condren planner? Use it for blog post planning!

Related: 7 Planner supplies I don’t regret splurging on
5. Happy Planner Vertical
The Erin Condren and Plum Paper vertical planners are similar but they aren’t discbound like the Happy Planner. Because of the discs you can add and move around pages as often as you please which makes it much easier if you’re blogging schedule tends to change. You can also remove the monthly tabs or go over the top of them with washi to create new labels to cluster blog posts together by category that you blog about.
MAMBI (and retailers that sell MAMBI planners such as Michaels) regularly do discounts on their planners. Snagging a dated planner when it’s on sale and then just ignoring the dates (or use date dot stickers or purchasing an undated planner) is ideal for creating a blog planner.
Related: Honest review of the Happy Planner by Me and my Big Ideas (MAMBI)
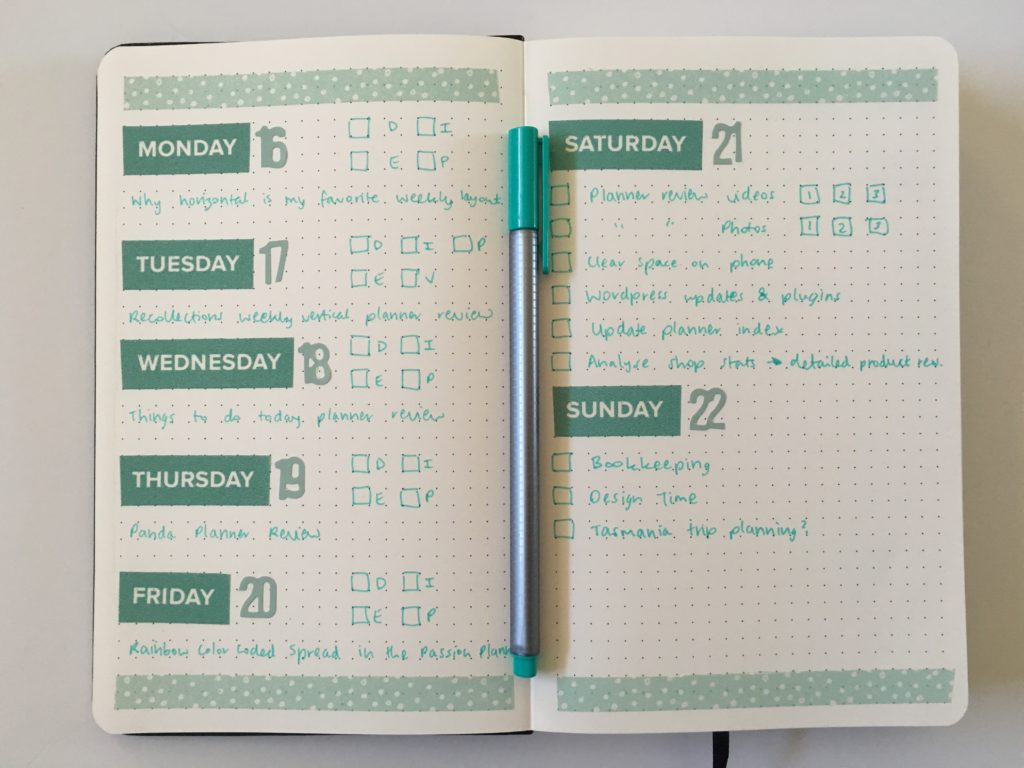
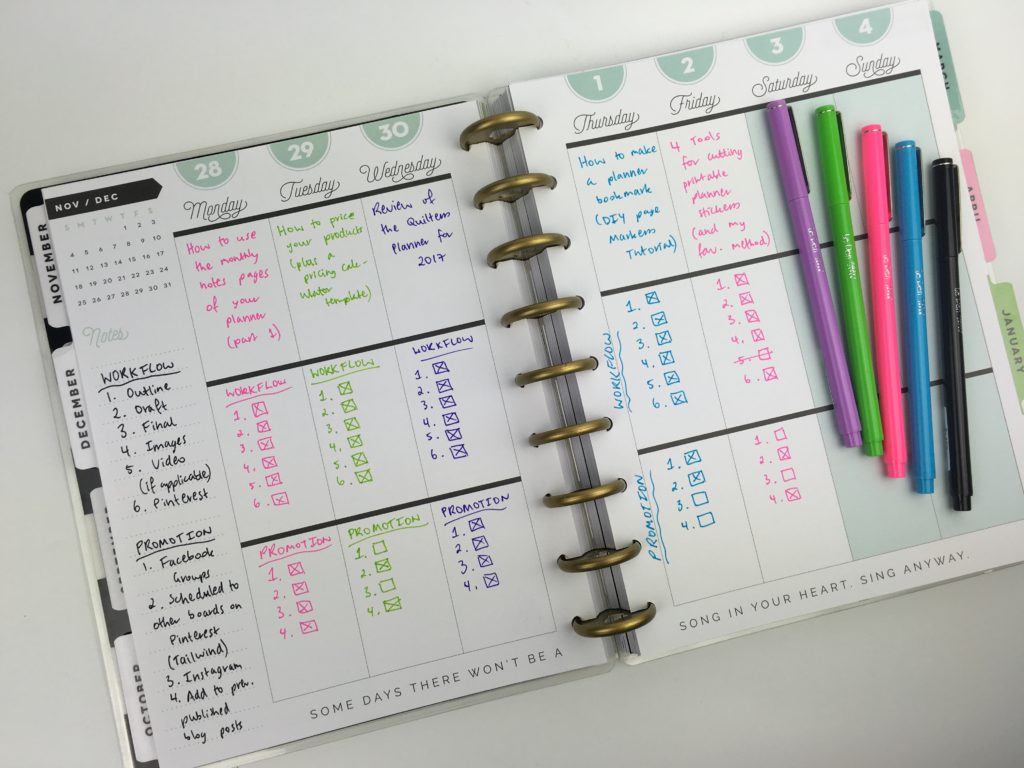
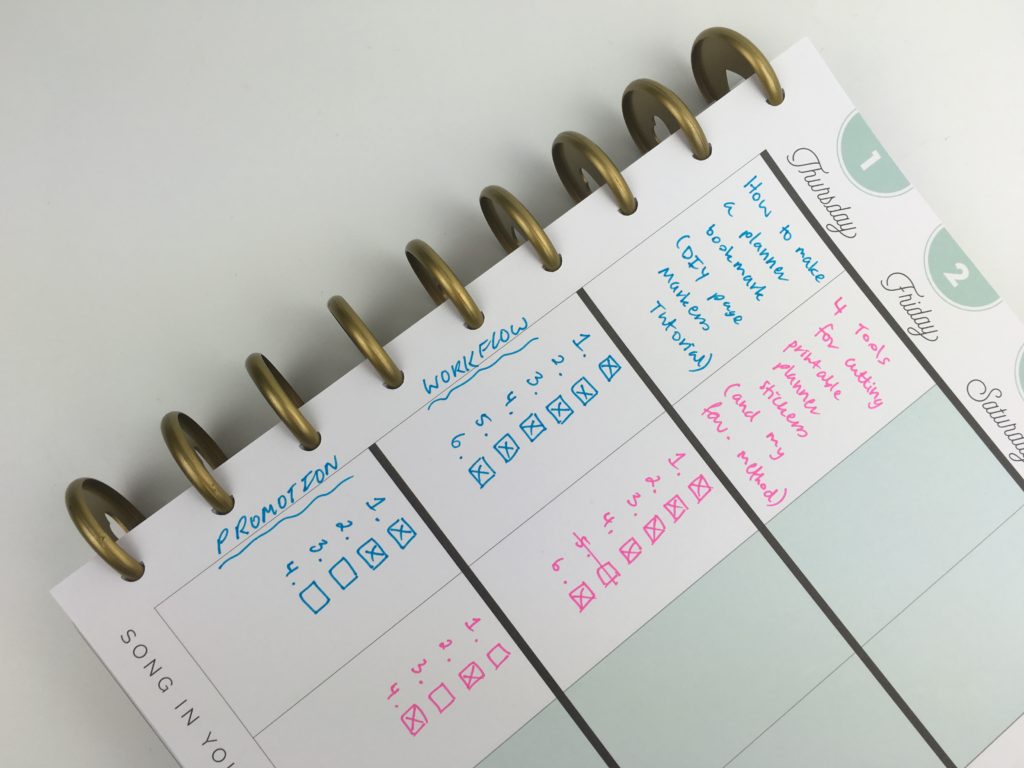
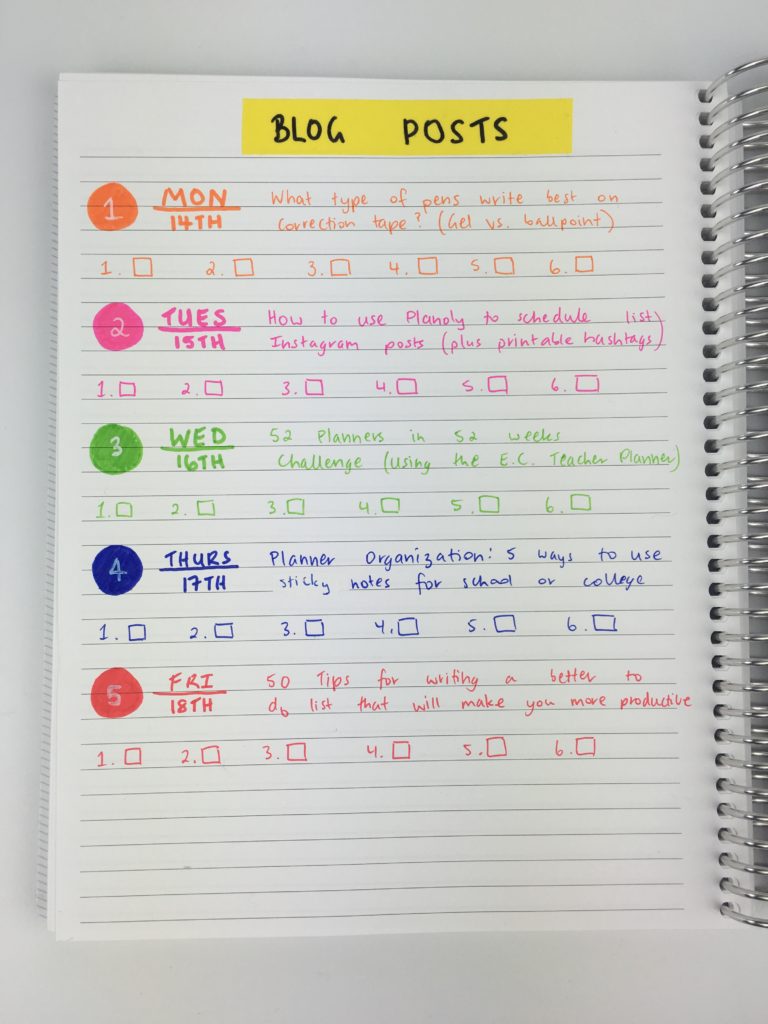
6. Bullet journal inspired
If you like bullet journalling. Add a pop of color using marker pens and washi tape!
This was a very simple, quick and easy setup – I just noted the blog post and then numbered the tasks.
The 6 tasks I have on my workflow are:
- Outline
- Draft
- Edit
- Images
- Video
By using a page in this format you can easily add more workflow tasks if you have them. Horizontal planners are my favorite layout for blogging as you can fit the entire blog post titles without having to abbreviate to fit the space as tends to be the case in vertical planners.
You don’t have to use a different color like I did – you could color code or just use black if you prefer – I just like a bit of color 🙂
Related: Colorful Bullet Journal Inspired Weekly Spread (Week 33 of the 52 Planners in 52 Weeks Challenge)
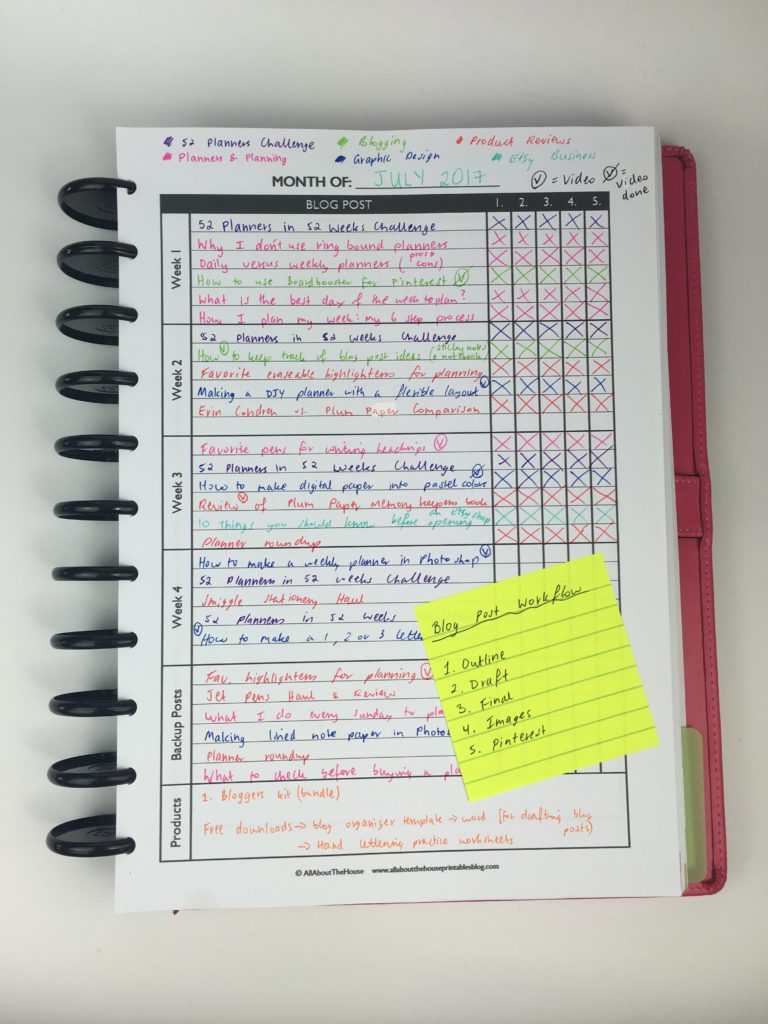
3. Habit trackers
Habit trackers are ideal for planning your posting schedule – they provide a really good visual. If you blog about multiple topics, assign a different color to each – after you start shading the boxes it’ll be easier to see when you should post each to make sure there’s a balance between the topics, and so that you keep a consistent blogging schedule.
Download a free printable habit tracker from the library here!
![]()
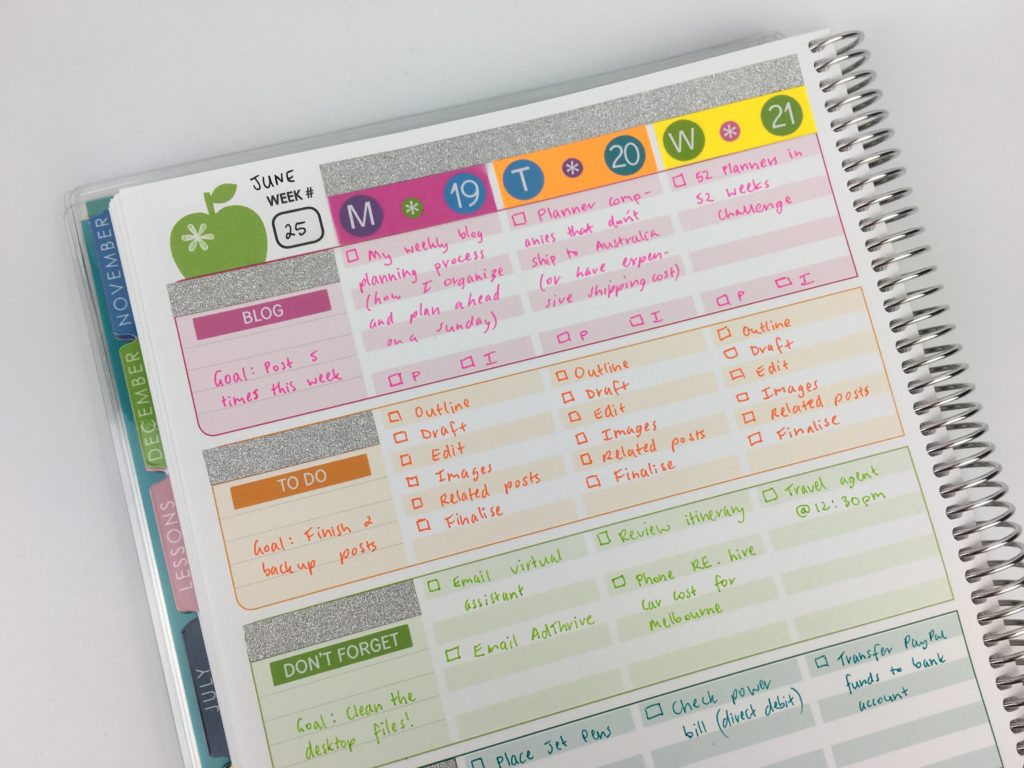
7. Erin Condren Teacher Planner
Just because a planner is ‘designed’ for one use, doesn’t mean it can’t be used to plan something else entirely. With a bit of washi tape I covered up any reference to lesson planning / school and created a custom spread in the Erin Condren Teacher Planner.
Related: Using the Erin Condren Teacher Planner for weekly planner
8. Plum Paper Planner (‘Me’ Planner Layout)
Categorised planners like this are really great for blogging because you can separate everything that needs to be done to make it clearer to see where you’re up to. I also love planners that are lined because it keeps the spread nice and neat!
Related: Review of the Plum Paper Me Planner and Week 29: Plum Paper Me Planner
9. Simple planners
Sometimes… simple is best. I made this simple 8 section planner and recorded the blog post on the left and the workflow on the right. I shared the tutorial on how to make it (along with a ton of other info & how to’s for making printables) in my free email course. Click here to enrol!
Related: Week 18: Making a DIY printable planner with a flexible layout
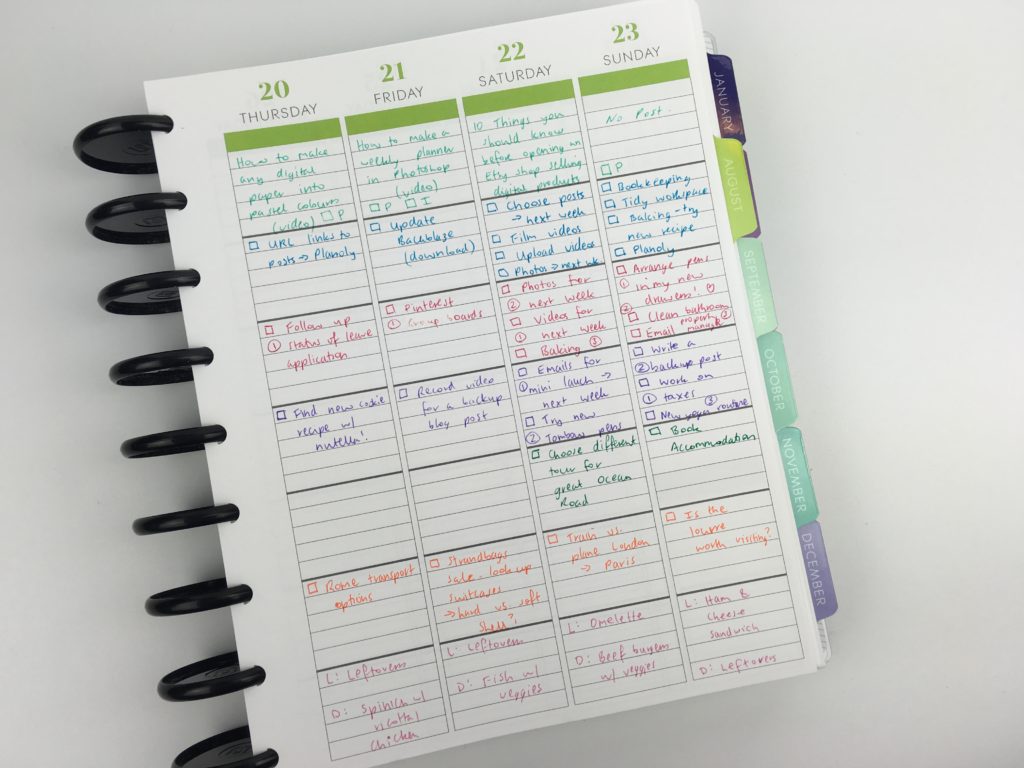
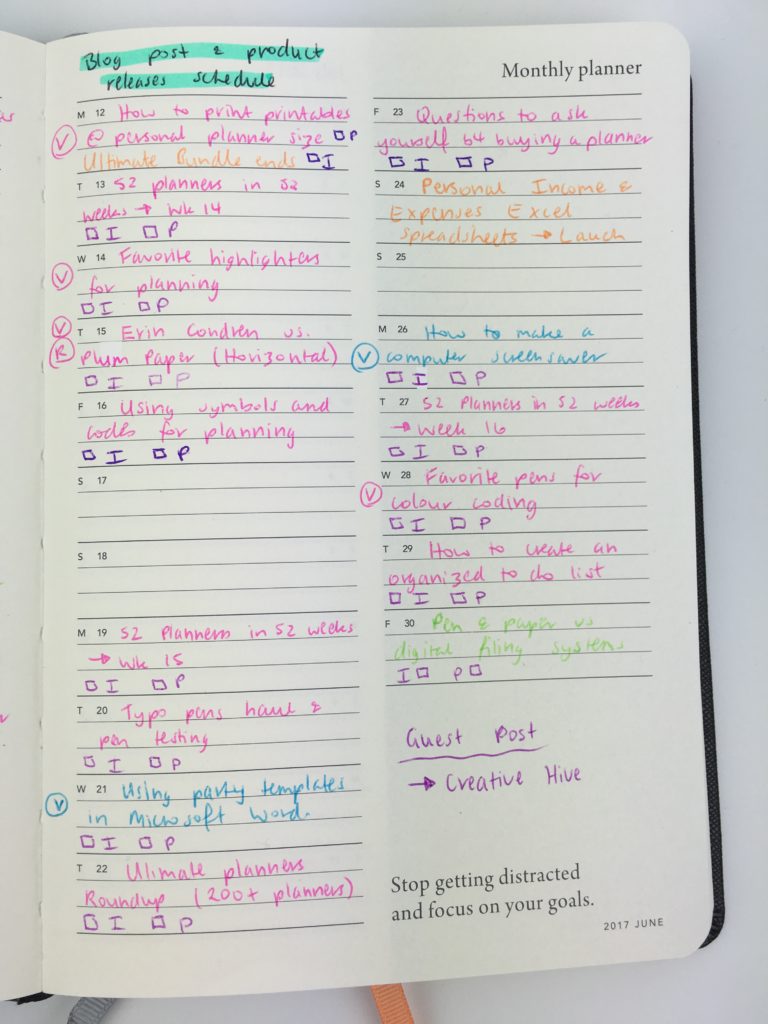
9. Mi Goals
If you prefer to plan blog posts by month instead of week, my top pick is the Mi Goals Planner. I really love the non-traditional calendar layout of having 3 lines for each day rather than a box. I find myself avoiding trafitional monthly calendars with the boxes for each day more and more, as they’re always too small to plan anything than just one thing (and even then it’s usually a tight fit!)
Related: Using the Mi Goals planner for monthly blog post content planning
Notepads are ideal if you want to keep blogging separate, and if you’re always blogging at your desk and tend to keep your planner open. Notepads tend to get damaged in your handbag but they’re a good option if you only blog at your desk so you can have it right in front of you. They tend to take up less space than a planner and don’t have spiral binding that can get in the way when writing.
I recommend the Studio Stationery notepad that I used in week 39 of the 52 Planners in 52 Weeks Challenge
![]()
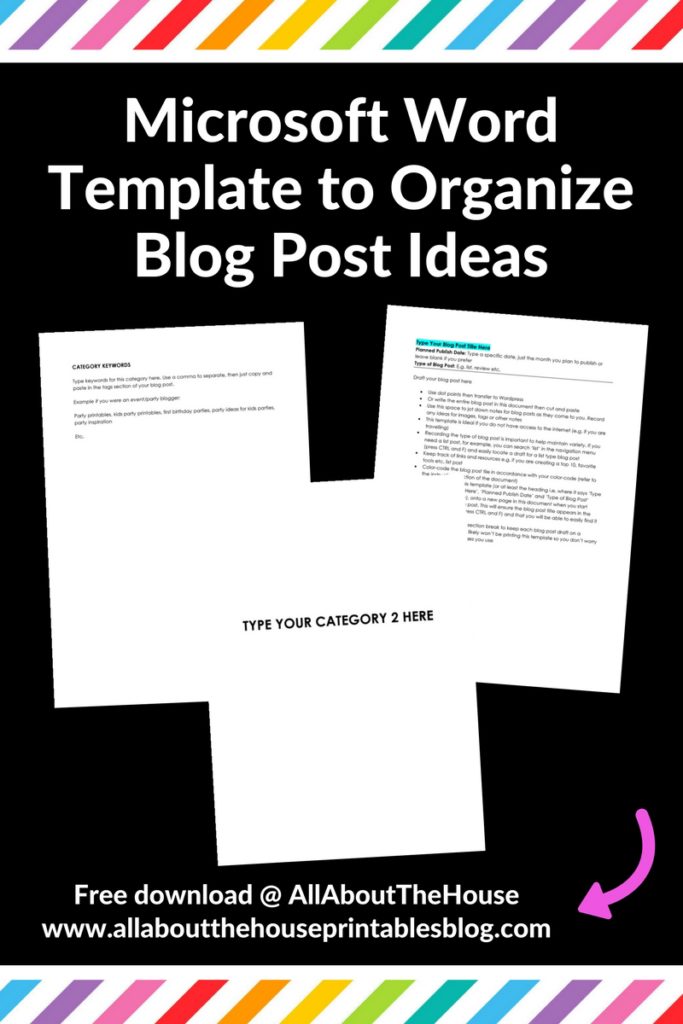
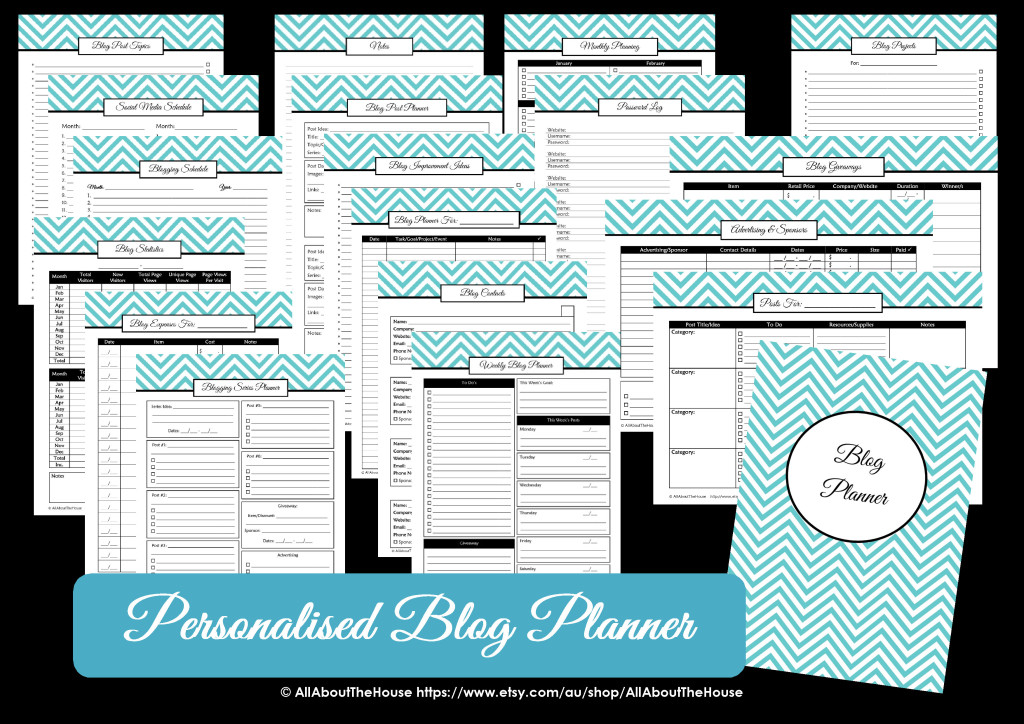
10. Blog Planner Printables
This is one of the printables from my blog planner – it’s the days of the month in list format so there’s plenty of space to write things for each day. I originally designed this page to be for the dates you want to publish blog posts.
But nowadays, I’ve switched up how I use it. I do a brain dump of the quantity of posts I want to publish that month, then add the date beside it. I use the Frixion erasable pens so I can erase the days and move things around if need be.
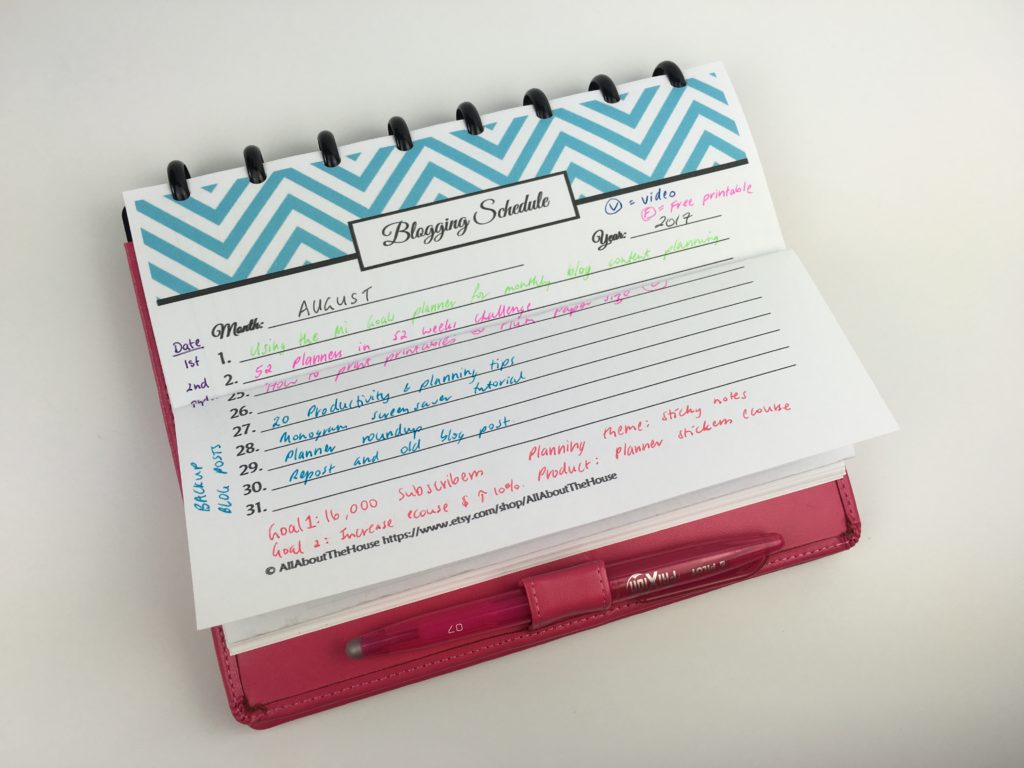
It’s just the right amount of length for listing blog posts, unlike most other planners where I have to abbreviate the blog post title 🙁
The page is full page size but can be used in a half page size notebook (this is the A5 Arc notebook) by folding in half and punching the top of the page rather than the side, then just folder to slip it in the planner!
Want more printables to organize your blog? Click here to download my printable blog planner!
 Related Posts: