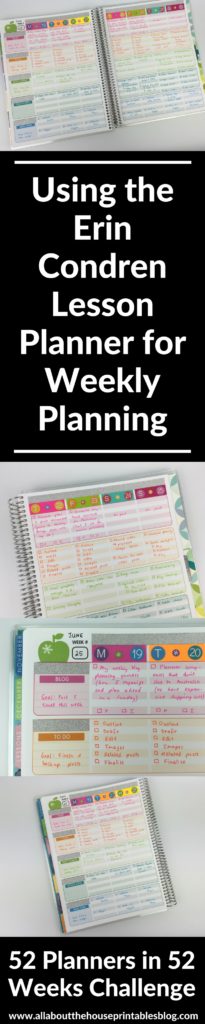
Using the Erin Condren Teacher Planner for weekly planner (52 Planners in 52 Weeks – Week 25)
For week 25 of the 52 Planners in 52 Weeks challenge I opted to use the Erin Condren Teacher Planner. I’m not a teacher but I was drawn to the layout of the lesson planning pages. With a couple of modifications it turned it into of my favorite weekly spreads to date!
Setting up the week
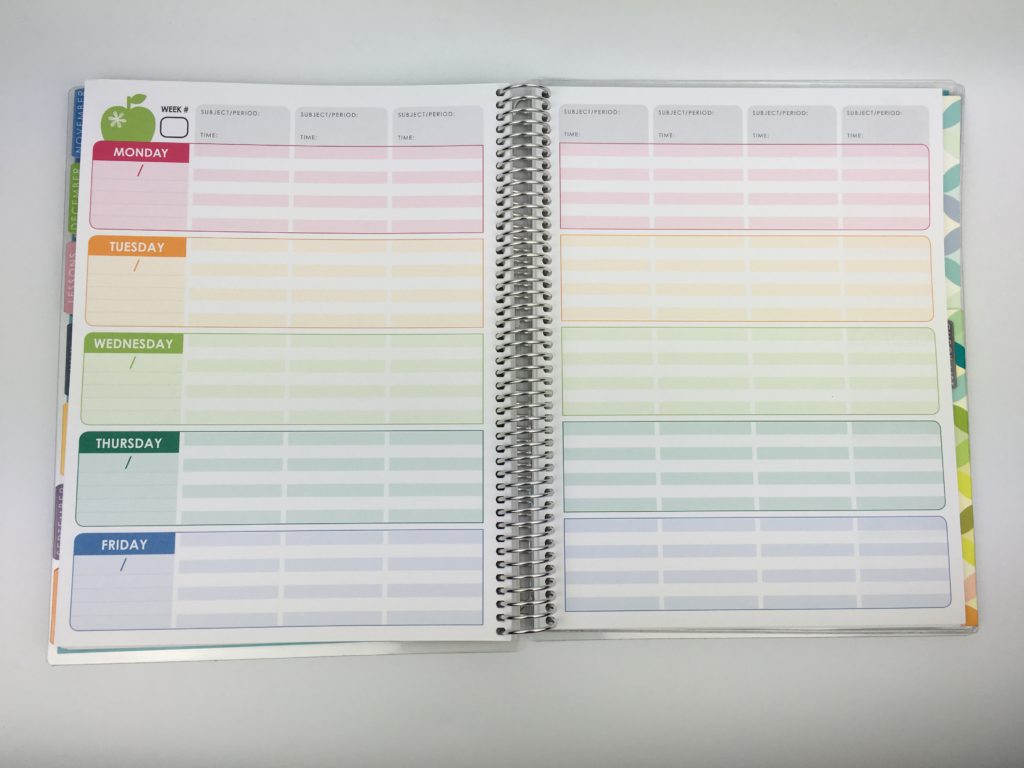
This is the layout of the teacher planner
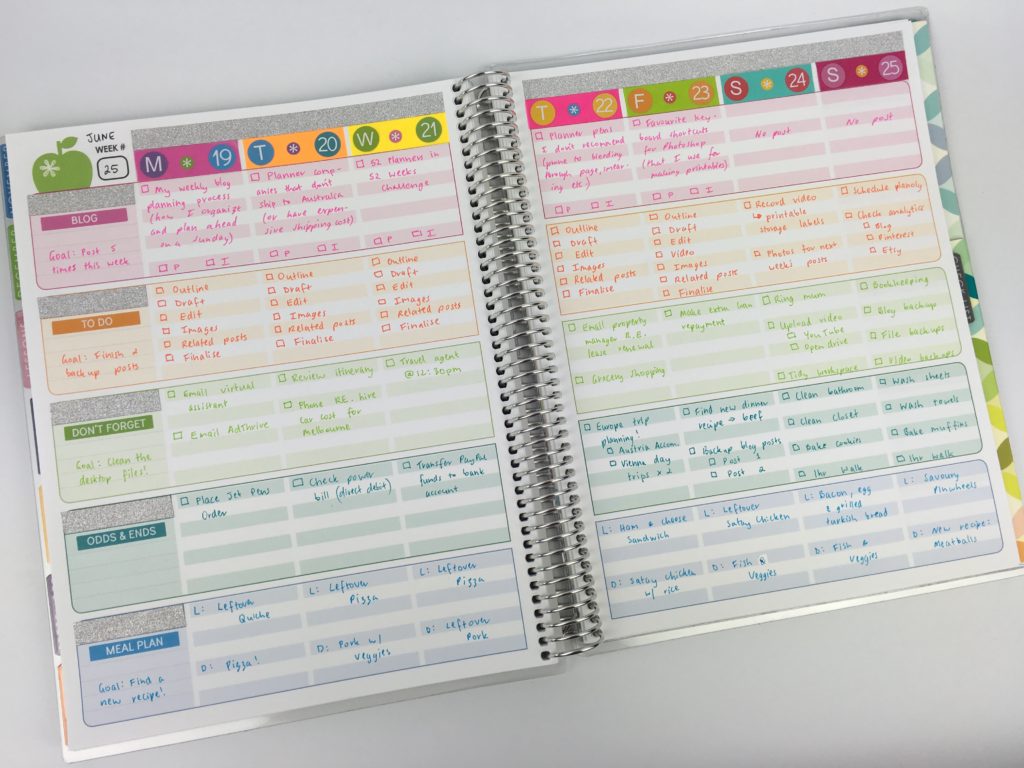
Without any modifications, the spread looks like this with the days of the week on the left and then space for subject planning along the top.
How I modified the lesson planner for weekly planning
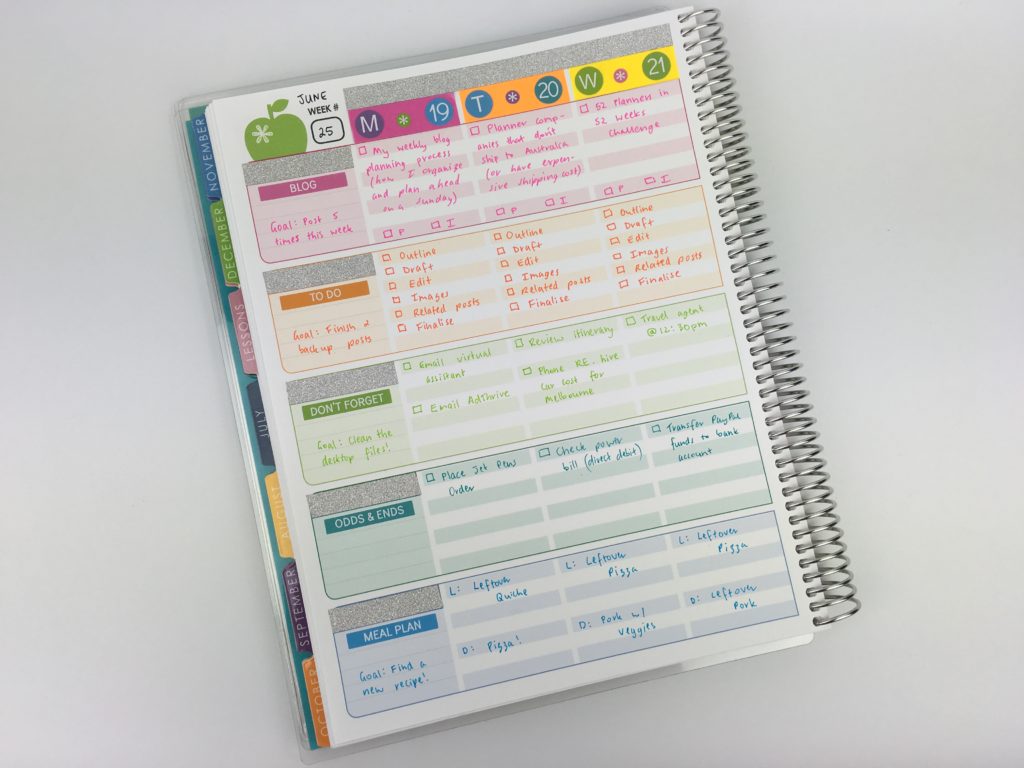
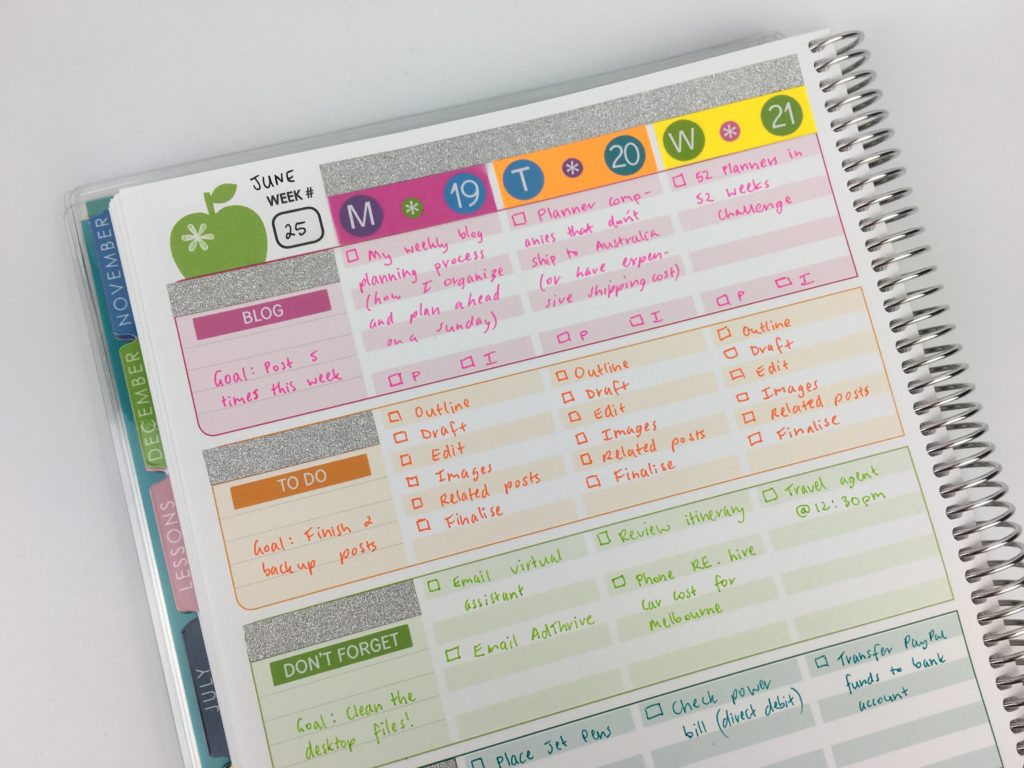
First, I needed 7 sections – 1 for each day of the week. So I reversed it and put the days of the week at the top of the page and my categories on the left.
I covered up the days of the week using glitter washi tape from my sister’s shop which was just the right height (it was meant to me!). I covered up the time bars with Erin Condren vertical life planner size header / title stickers. The colors of the planner were almost an exact match for my stickers <3

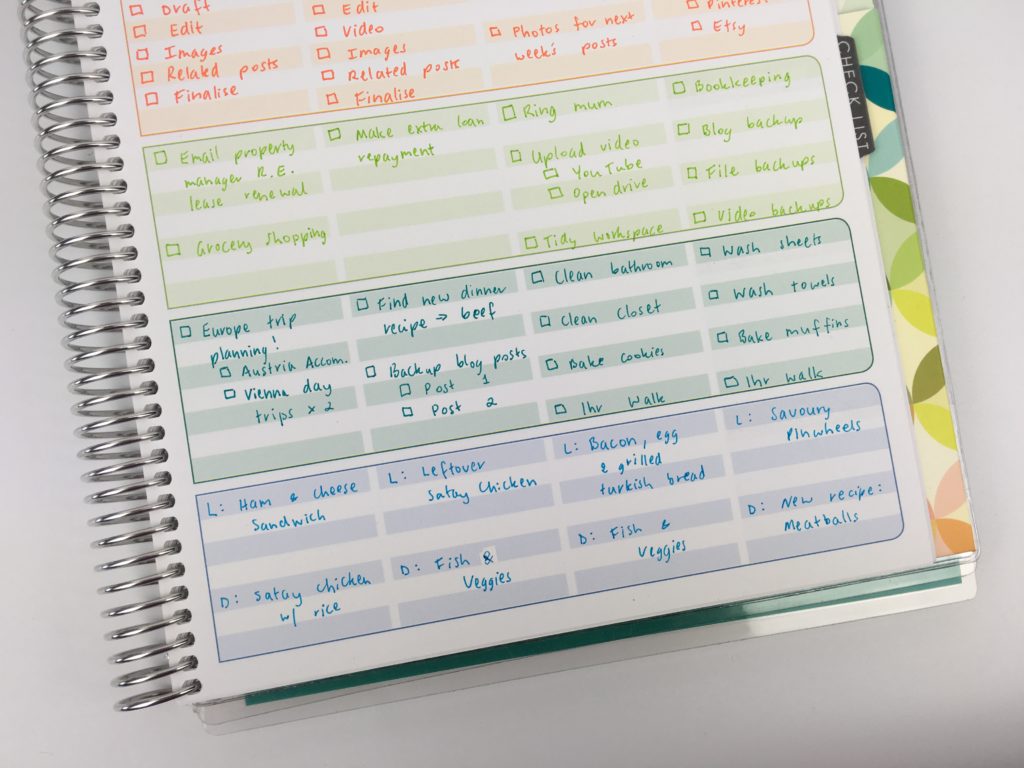
I used the space in the left column to note a goal / focus /most important task for each category – I really liked this!
I decided to color code using the colors of the planner:
- Pink = blog posts
- Orange = Blog Related to do list
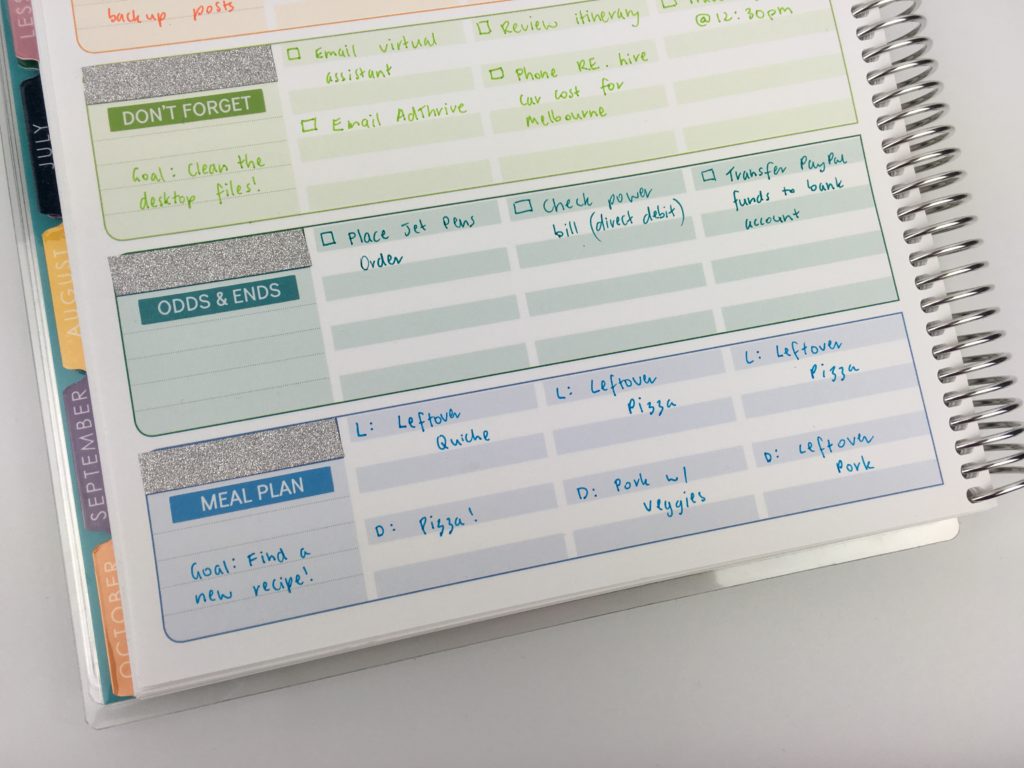
- Green = Don’t forget
- Teal = Odds & Ends
- Blue = Meal Planning
I thought using colored pens on an already colorful planner page would be a bit much but it turned out to be one of my favorite spreads to date!
Related: 50 Category Ideas for Color Coding Your Planner
I bought the 8.5 x 11″ size and opted to upload one of the binder covers I’d made to create a custom cover. The cover ended up being a bit blurry 🙁 Read more about in this post: Custom Erin Condren Planner Cover versus DIY planner cover: which is better?
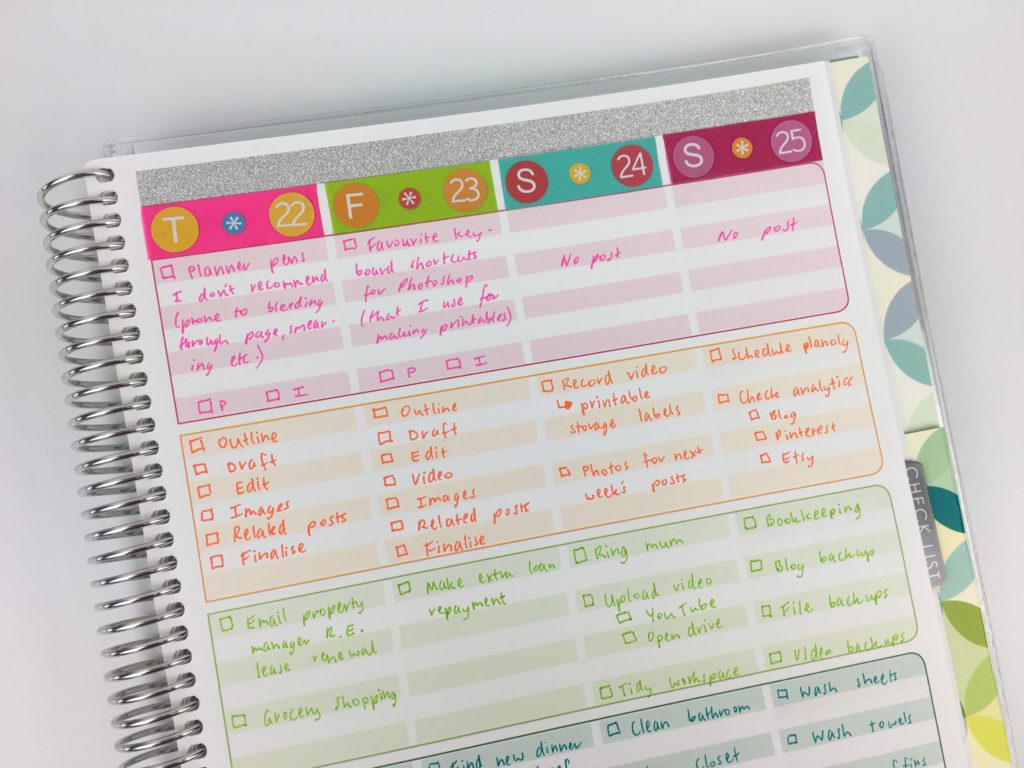
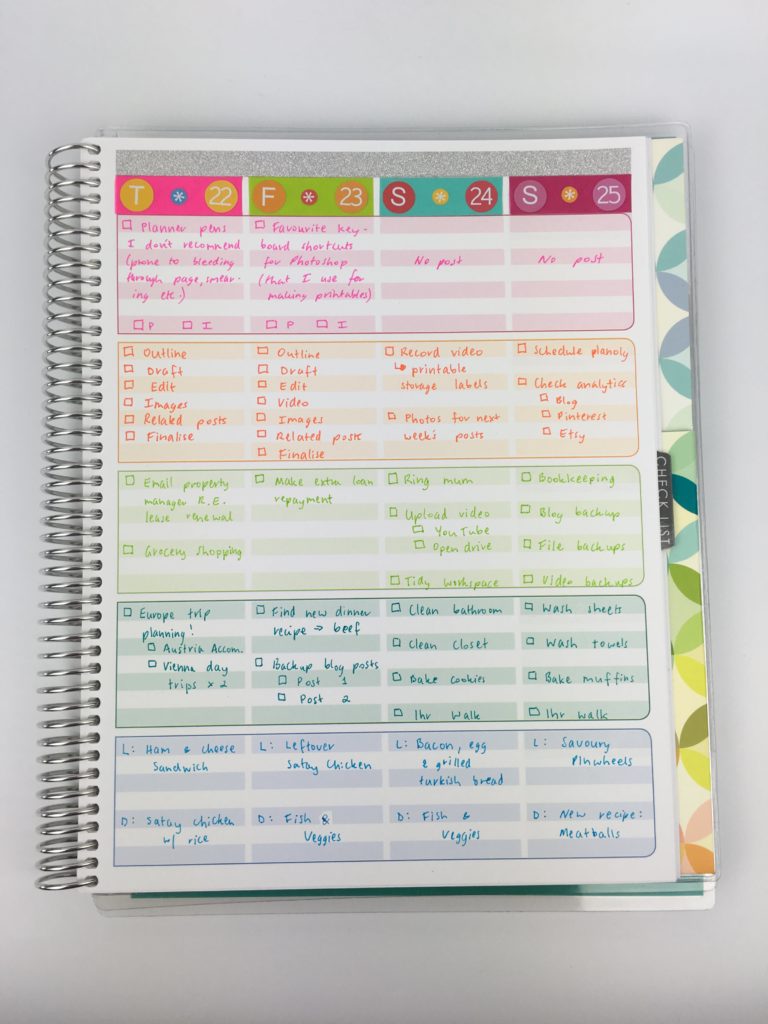
I actually really liked not having a sidebar. Although if I used the spread again I’d make a habit tracker sticker and put it over the top of the Saturday and Sunday blog post planning space as I tend to post 5 days a week, so this space ended up being dead space.
Pens Used
I used Marvy Le Pen pen’s this week – the colors coordinated so nice with the colors of the planner. The pens also write really nicely as well 🙂
Note that these pens don’t write that great over correction tape so be careful not to make any spelling mistakes!
Related: Ultimate list of the best planner pen brands and how to choose colors for color coding
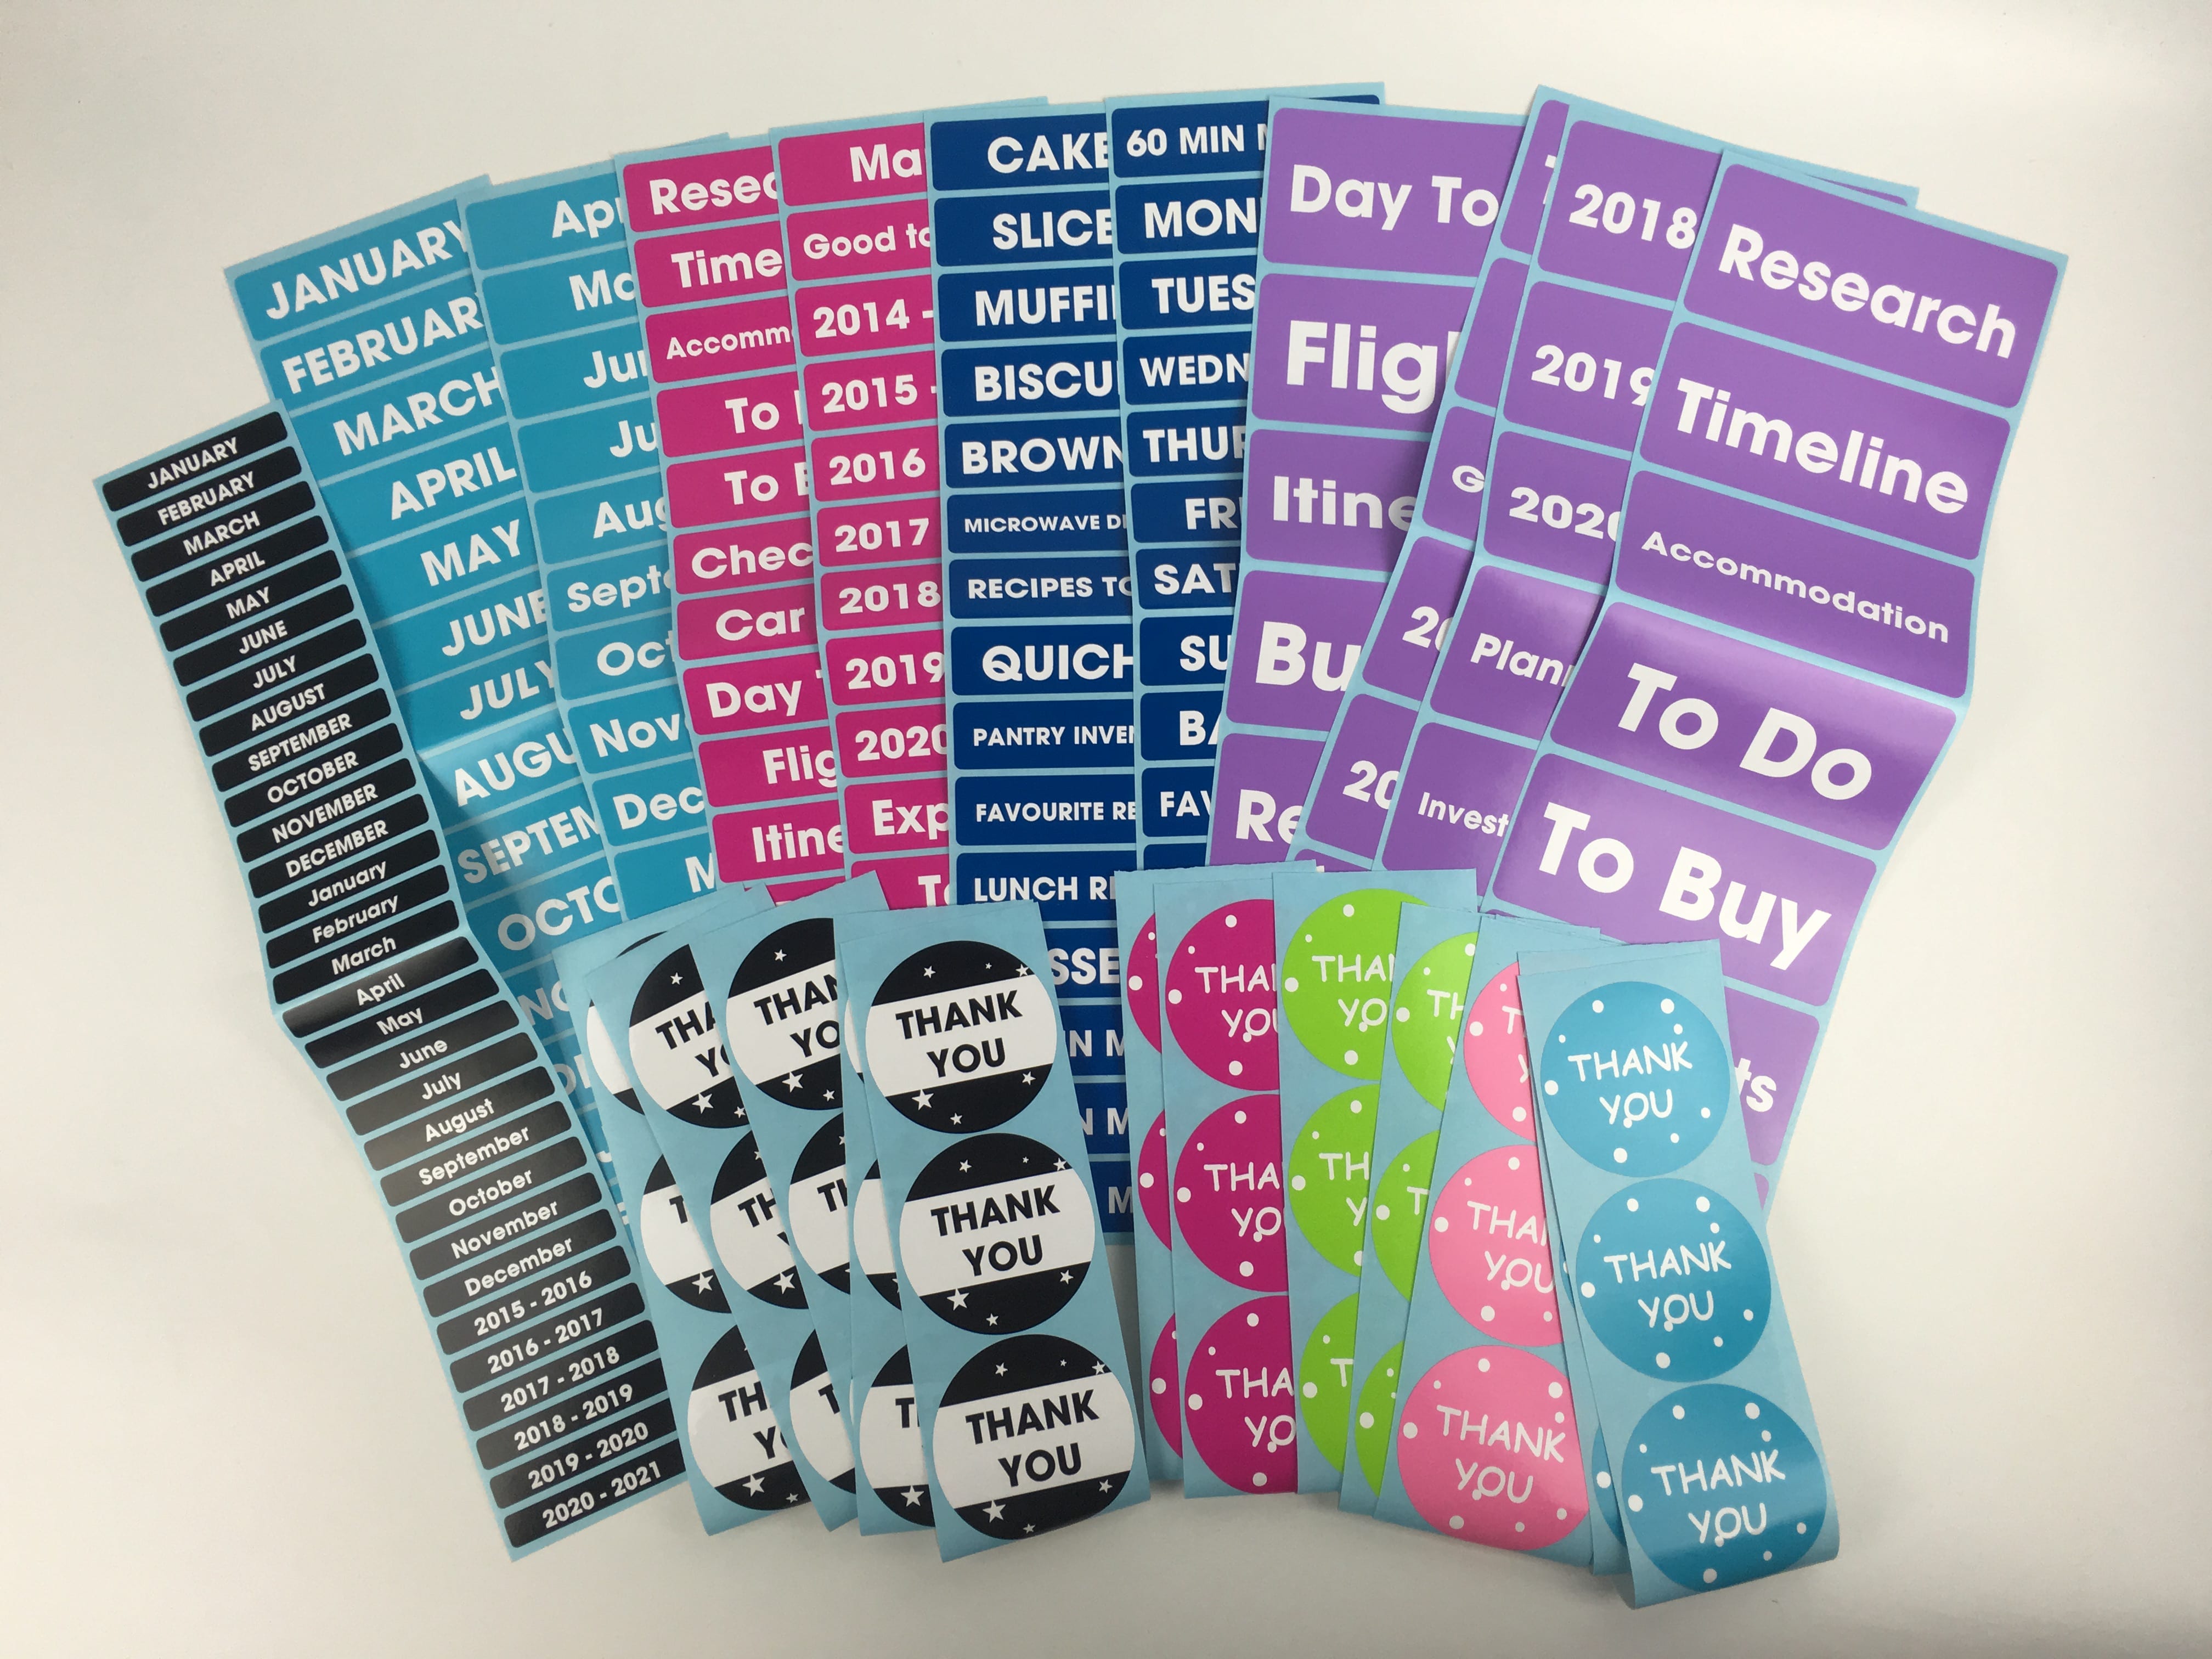
Stickers Used
The stickers were made by me and are printed, cut and sold via my sisters’ planner supplies shop.
- Countdown stickers (0.5″ diameter), there’s also a mini 0.25″ diameter version
- Header stickers – don’t forget
- Header stickers – odd & ends
- Header stickers – meal plan
- Header stickers – blog
- Asterisk stickers (0.25″)
- Days of the week stickers (0.5″ diameter)
Washi tape Used
The glitter washi tape is from my sister’s shop – it also comes in gold and hot pink! (also comes in more colors in a thinner 6mm wide size) The solid color washi tape is also from my sister’s shop.
Related: Favorite washi tape for planning, planner decorating & color coding
Pros of this week’s spread
- The colors!
- Just the right amount of space to plan
- The paper feels thicker than normal paper and there was no pen bleed through
- This spread was a great cross between a vertical and a horizontal planner
- I used some planner stickers but not so many that the spread felt ‘overdone’ or cluttered’
- The coils of the planner aren’t so fat that it makes it hard to write
Cons of this week’s spread
- Expensive – as with anything from Erin Condren this planner is quite expensive, especially if you use it for weekly planning like I did, as it comes with a lot of teacher specific pages (although to be fair it is a teacher planner)
- 8.5 x 11″ is a large page size – it is a bit bulky to plan with and not very portable if you like to take your planner with you
- No habit tracker
Would I use this planner again?
I really liked this week’s spread – definitely one of my favorites to date! So functional, so colorful and just the right amount of planning space!
If I used the spread again I’d make a printable so I don’t have to do the modifications again (adding the washi and stickers etc.) and so I could add in the habit tracker and pre-fill the blog post workflow tasks.
Erin Condren have since released an updated version of the Teacher Planner. I’m not a fan of it – they’ve removed the shaded lines / boxes for each day which were great for keeping my writing straight and adding a subtle pop of color to the planner, and have replaced them with just white writing space.
Catch up on past week’s of the challenge:
- Week 9: Customising the Erin Condren hourly planner for task based planning
- Week 6: Planning using the Horizontal Erin Condren Life Planner
- Week 18: Making a DIY printable planner with a flexible layout
- Week 17: Using the Plum Paper Vertical Weekly Planner
Related Posts:
- Ultimate planner page size guide (with printable reference cheat sheet)
- Planner pen testing in the Erin Condren Life Planner, Plum Paper, Happy Planner by MAMBI and Limelife Planner
- How to choose a binding system for your planner (comparison and which one I like the most)
If you’re tired of drawing up weekly spreads, this printable bundle of 52 different 1 page weekly planners (you can mix and match to create 2 page spreads if you prefer), is available in my Etsy shop and online store.

Found this post helpful? Pin it!