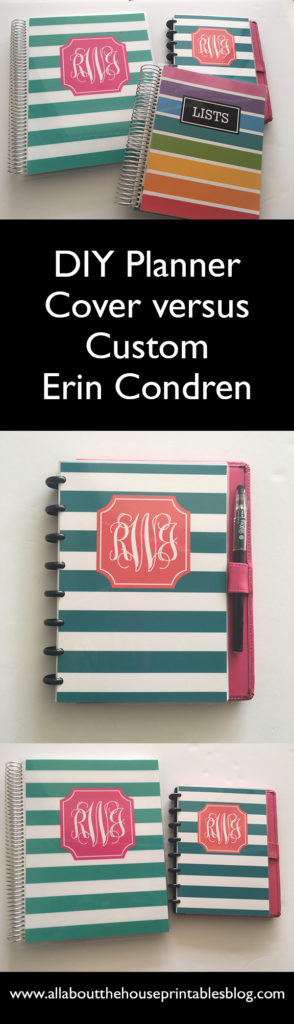
Custom Erin Condren Planner Cover versus DIY planner cover: which is better?
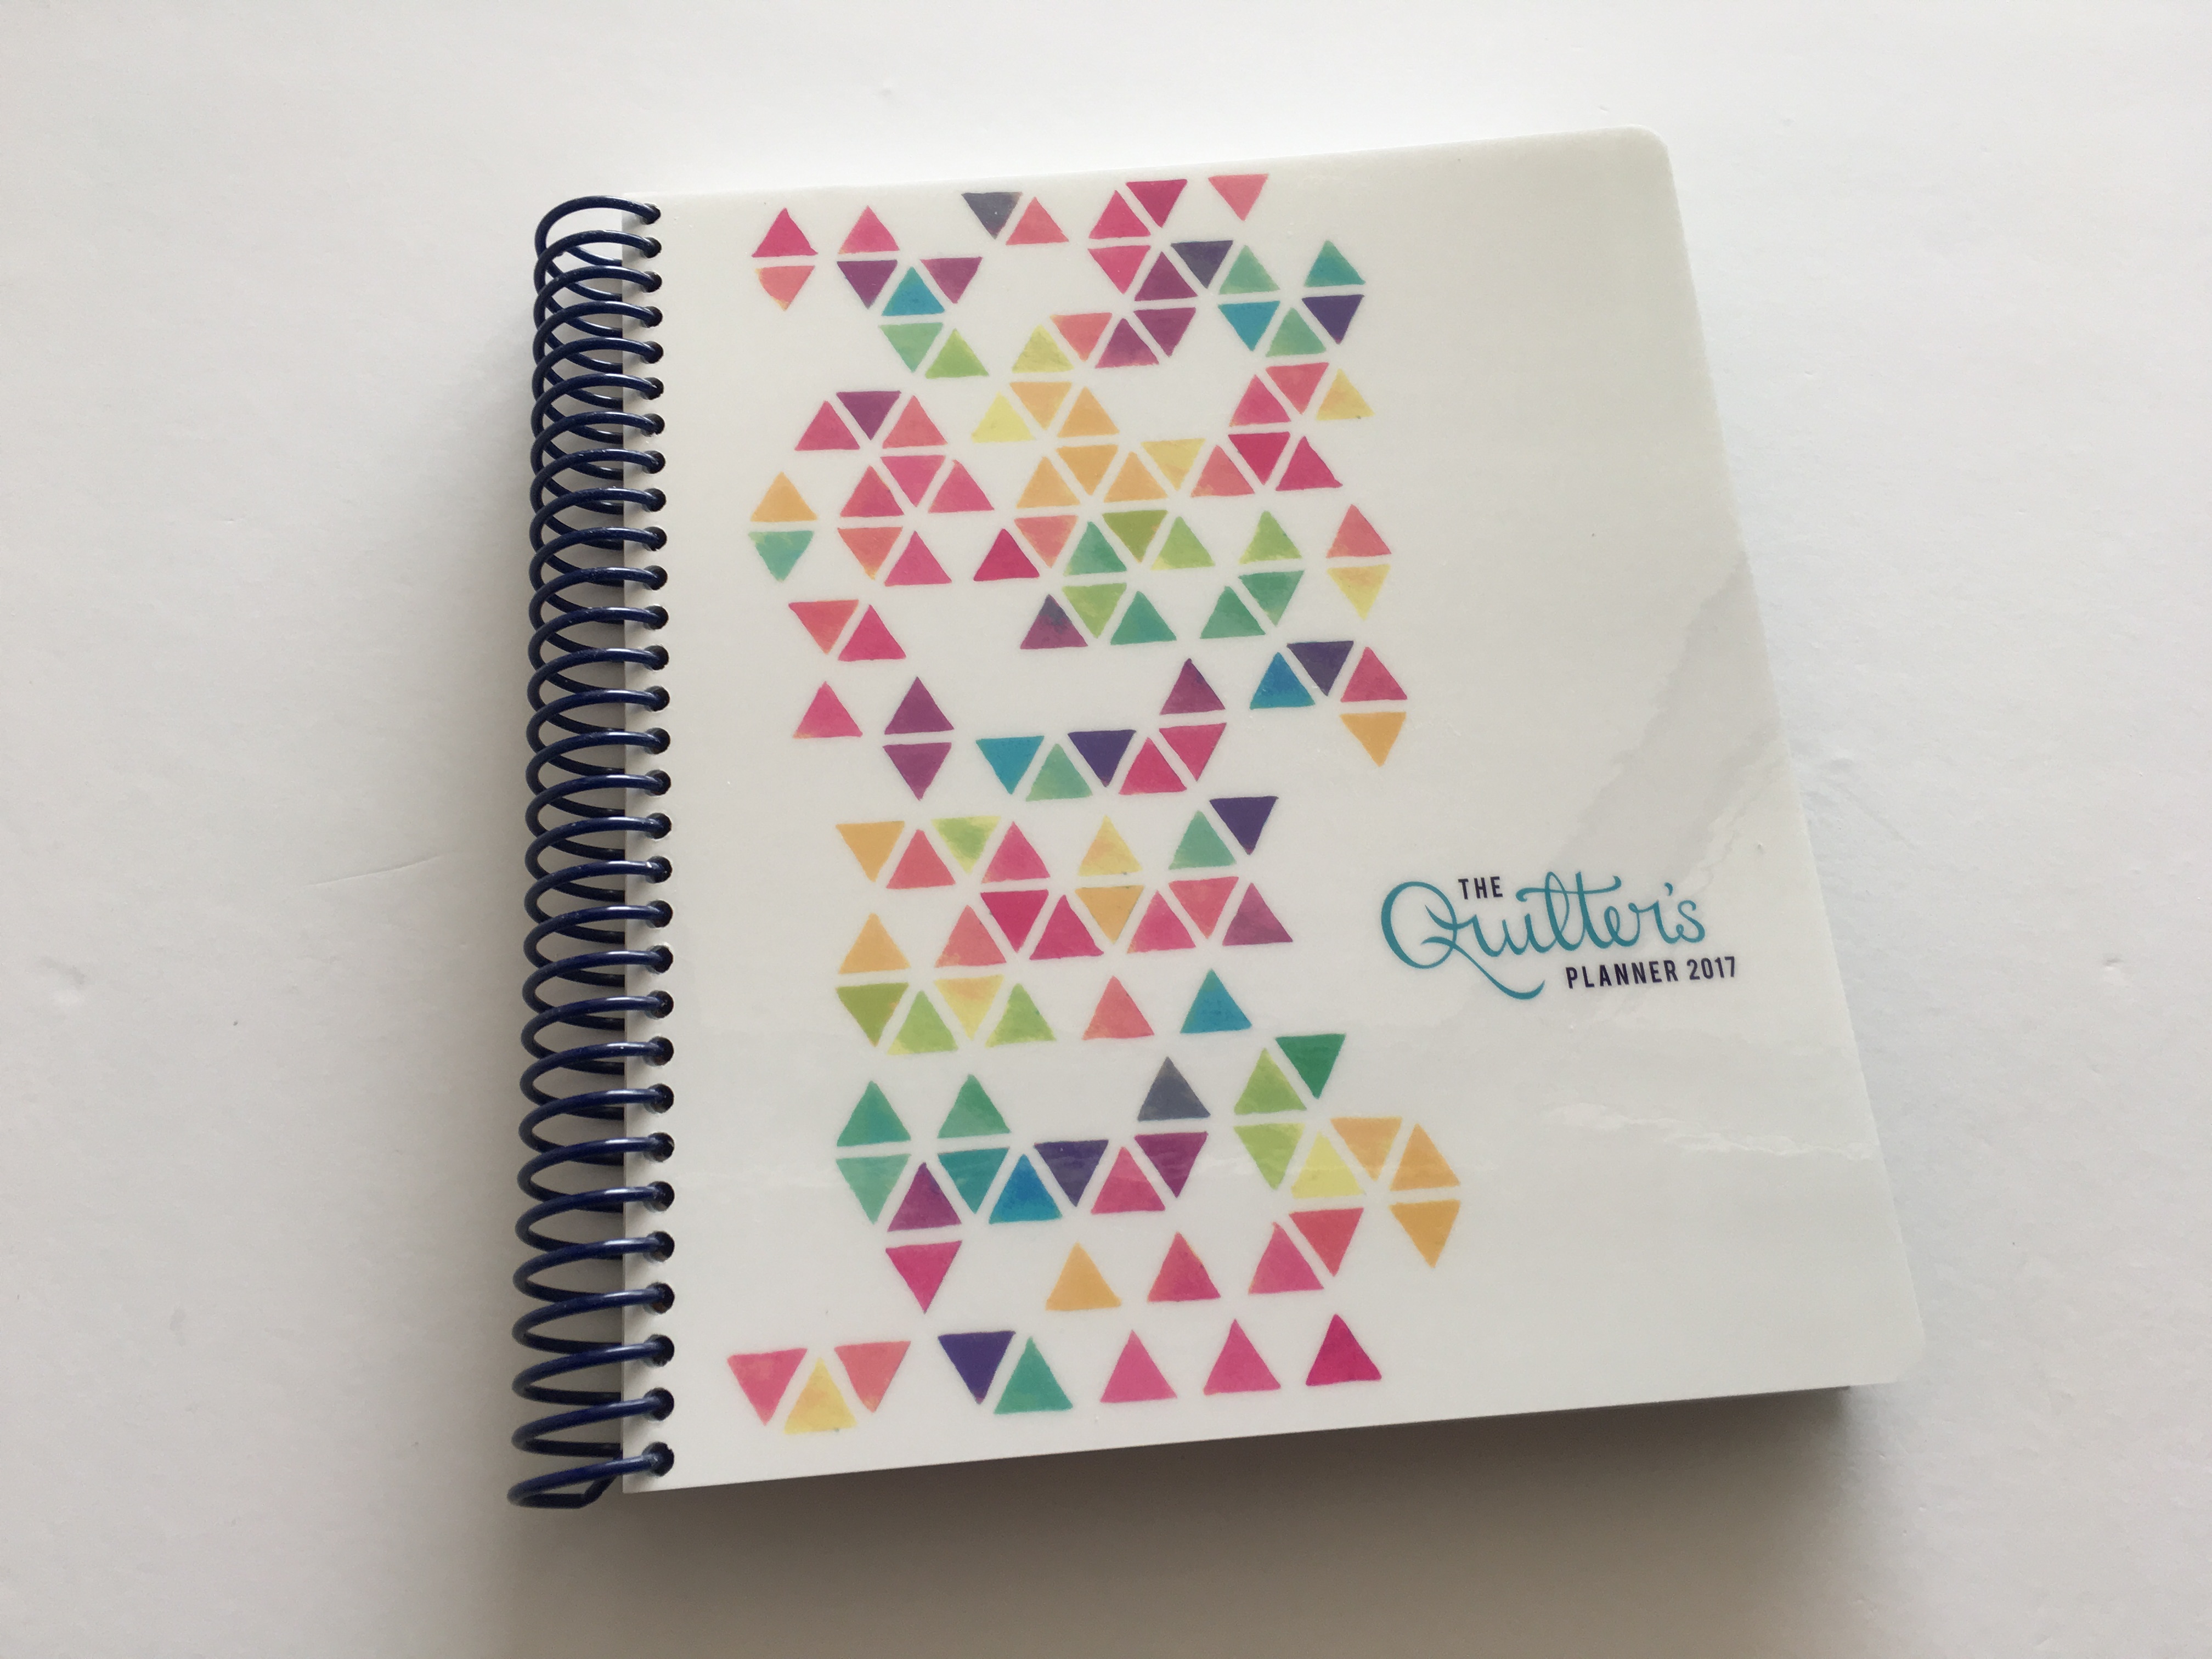
A while back I did an Erin Condren haul which included a planner with a custom cover.
I designed the cover in Photoshop (similar covers are available in my Etsy shop), uploaded it to their website (I shared a video walk through on how to do that in this post) then had them print and ship it to me.
But when it arrived I was disappointed. The image was blurry (even though I made it at 300DPI which is a high resolution) and the colors didn’t print like they should have on screen – the stripes were more of a mint colour than teal! 🙁
So I decided to make my own.
I shared a tutorial on how to make a DIY planner cover (including some free printable planner covers you can download).
To enlarge the screen of the video, click the square icon in the bottom right hand corner of the video (it will say ‘full screen’ when you hover your mouse over the icon).

Subscribe to my YouTube channel for more planner related videos!
List making insert mentioned in the video

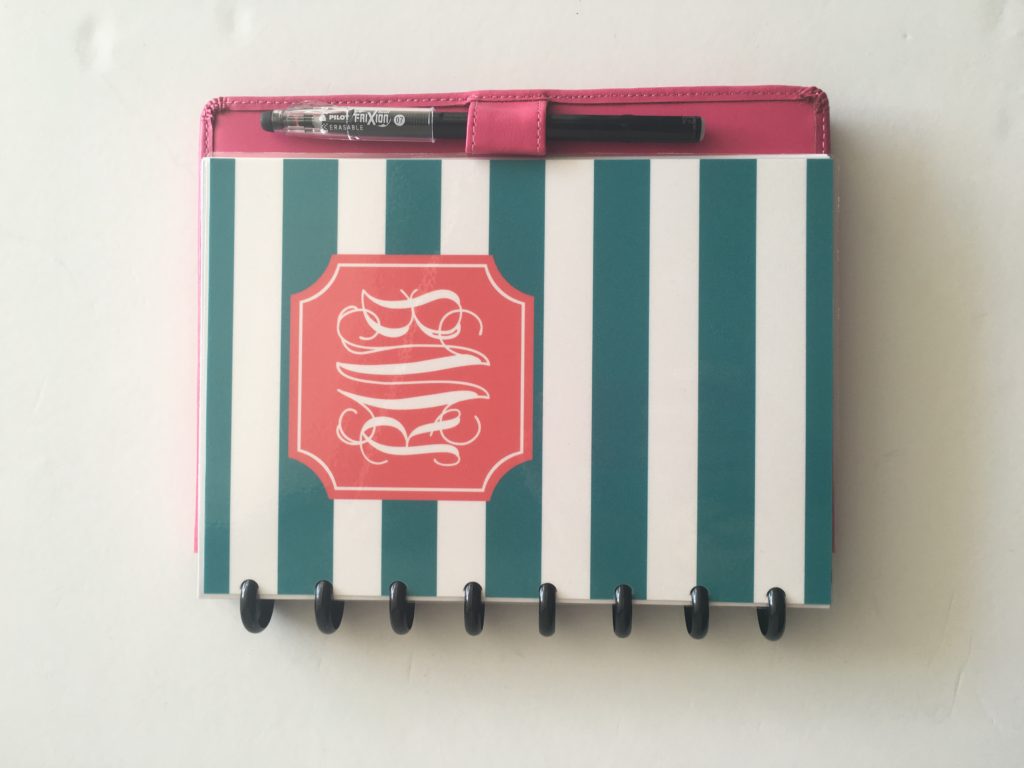
I laminated the cover for extra durability:
I then decided to make new covers for more of my planners – a tad obsessive? Yes 🙂
Related Post: How to Choose a Printer (Including the best printer for printing printables and planner stickers)
Here’s a side by side comparison:
The cover from Erin Condren is on the left, and the DIY cover I made is on the right, along with the DIY rainbow cover I made (which you can download for free).
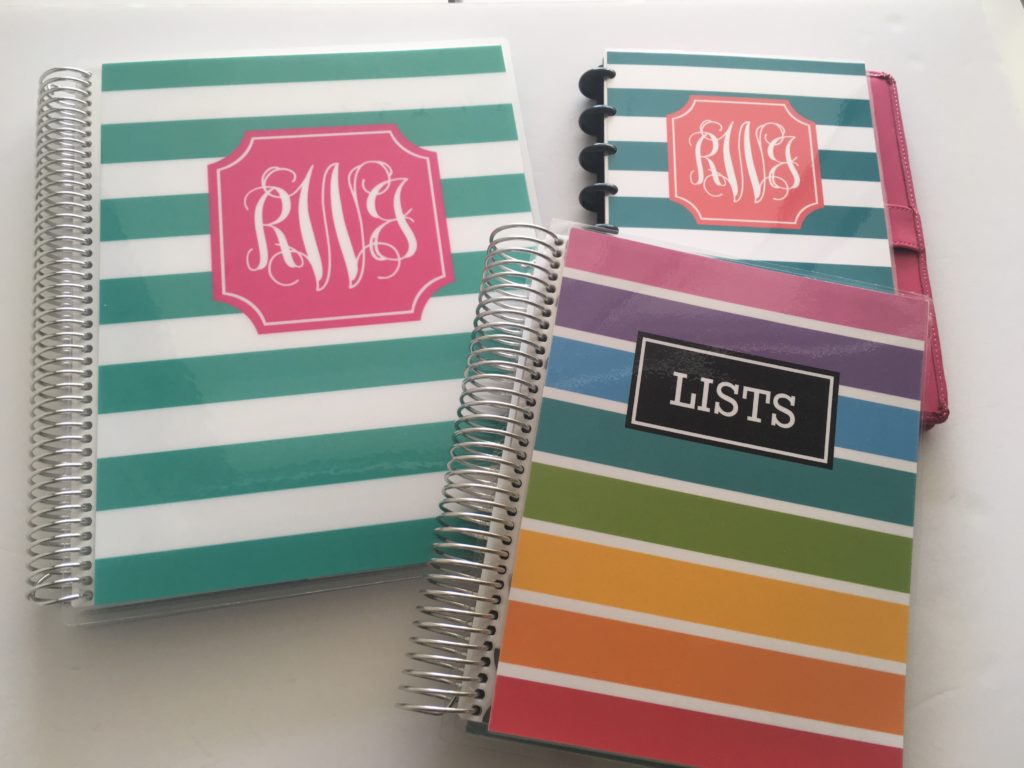
I printed the DIY cover smaller than the cover I had made via Erin Condren (A5 versus 8.5 x 11″), I shared a tutorial on how to resize printables.
I used the exact same image file for both covers. The colours printed lighter on the professionally printed Erin Condren cover. The colors printed darker from my home printer than they appeared on screen.
I recommend printing covers onto glossy full sheet label paper or cardstock for a crisp image. Laminating the cover will make it more durable. Only run the cover through your laminating machine once. I thought it would be a good idea to laminate the cover twice to make sure it was secure with no air bubbles, but all it did was jam my laminator (I was freaking out that I’d have to throw the whole thing out!) I was able to coax (i.e. pull with quite a bit of force) the cover out of the laminating machine – lesson learned!
Related Post: 7 Ways to make colors POP when printing using an Inkjet printer
Would I get a custom cover made via Erin Condren again?
Probably not. The colors and quality of the pre-made cover designs on their website that you can choose and then just add your name or other text to personalise printed out really nicely – I was really happy with them. It was just the custom cover that was a bit disappointing.
If you do get a custom cover printed via Erin Condren, I’d recommend making the colours slightly darker, as they’ll probably print out lighter than they appear on screen. You can get $10 off your first order by using my referral link!
So if you’ve been thinking about ordering a custom planner cover from Erin Condren (or any planner company that allows you to make a personalised cover), keep that in mind, or try making a DIY cover instead!
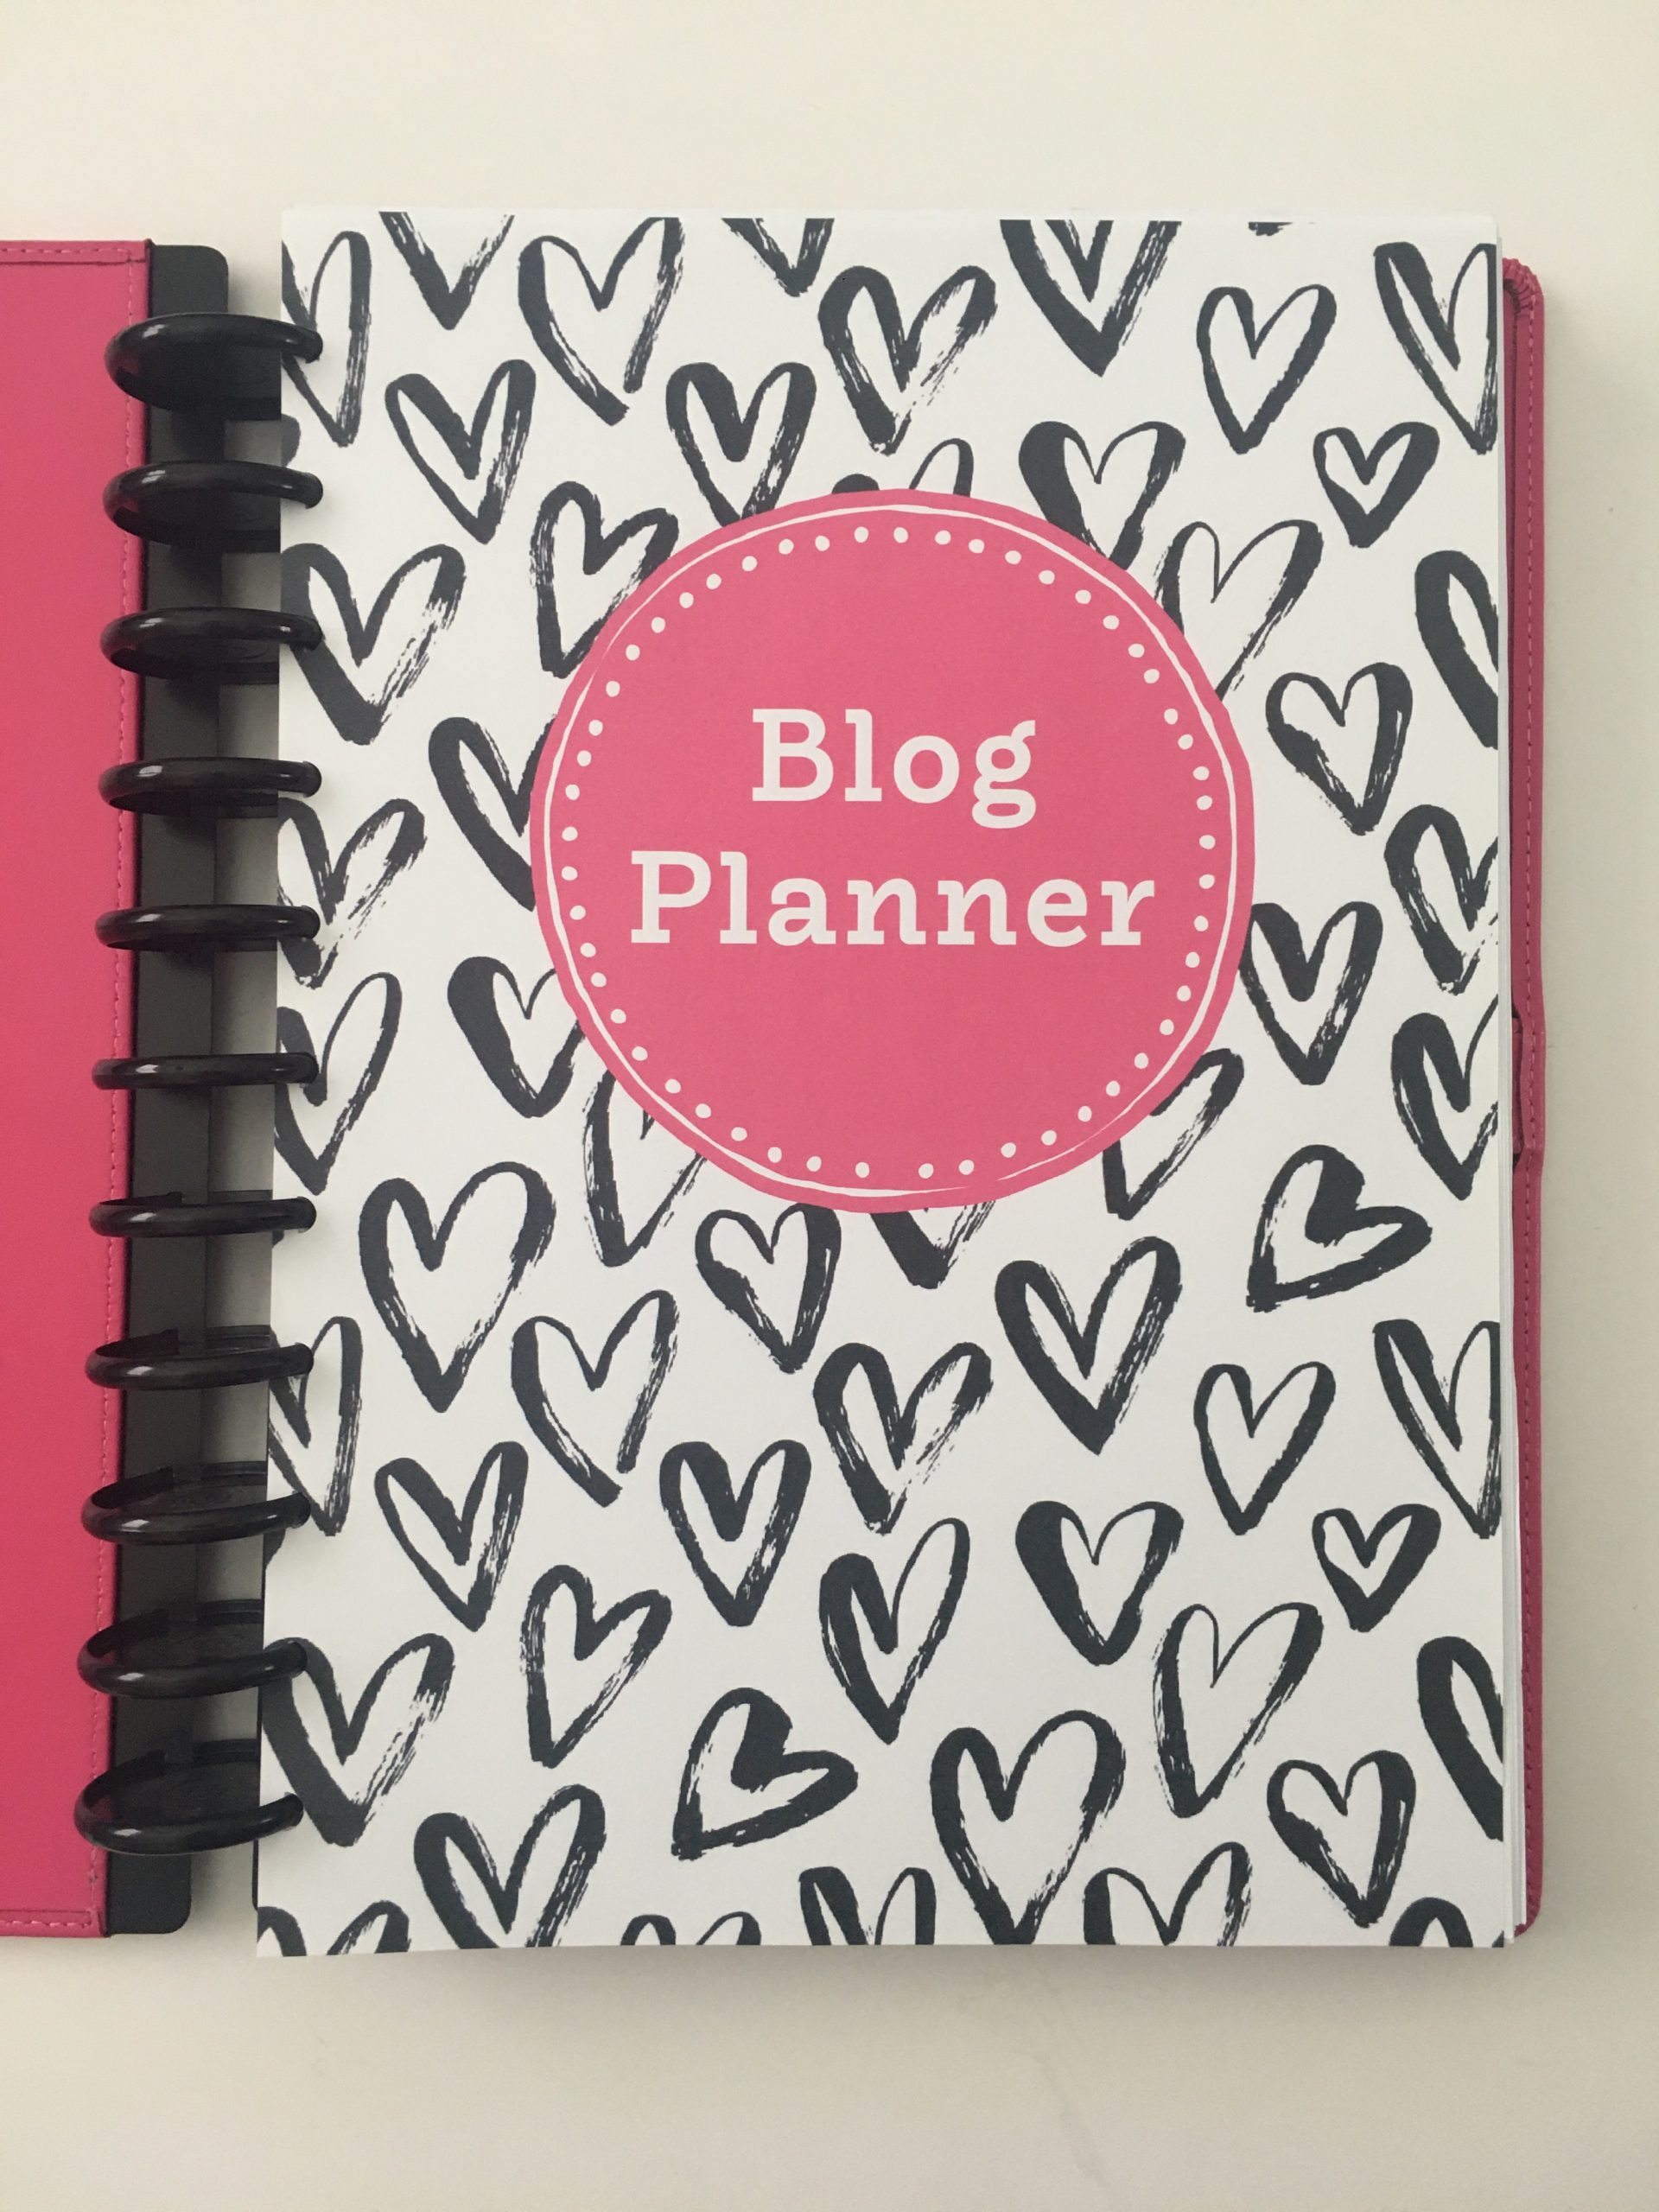
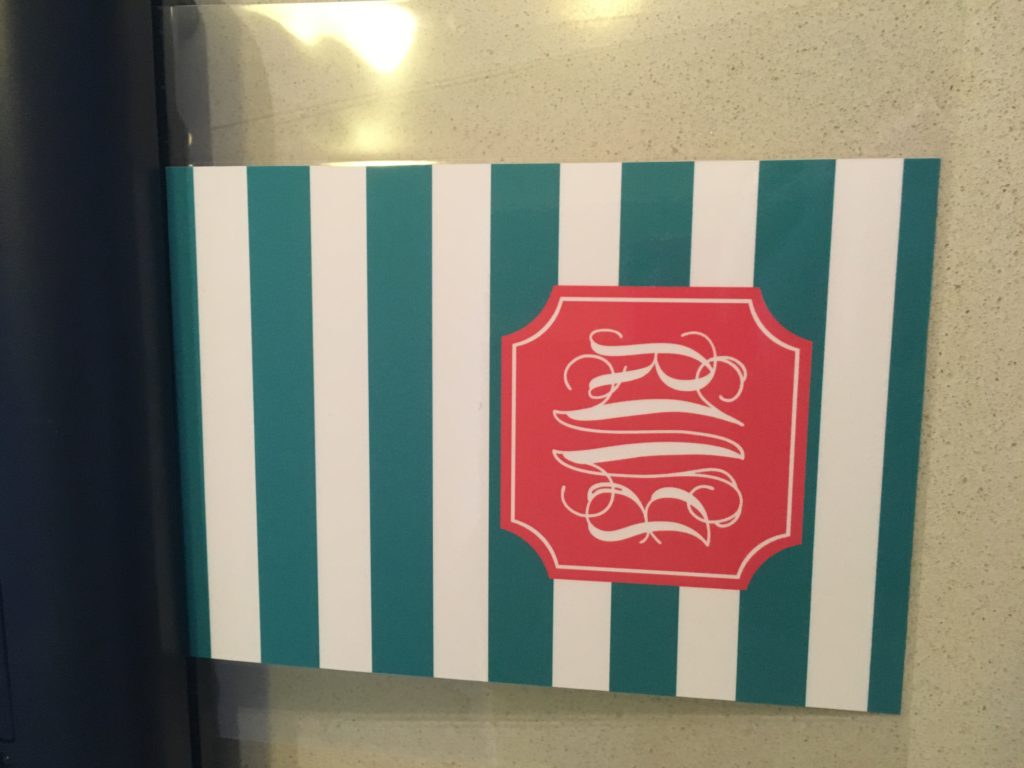
If you want to add a custom monogram cover to your planner, I shared a free printable in this post:

Related posts:
- Which is Cheaper: DIY Printable Planners or Pre-Printed & Assembled Planners?
- 7 Ways to make colors POP when printing using an Inkjet printer
- How to make a personalised Erin Condren planner cover
Liked this post? Pin It!
Disclaimer: I purchased the planner with my own money and all opinions are my own. If you choose to place an order using my referral link, I will receive a small commission (as no extra cost to you) in exchange.