
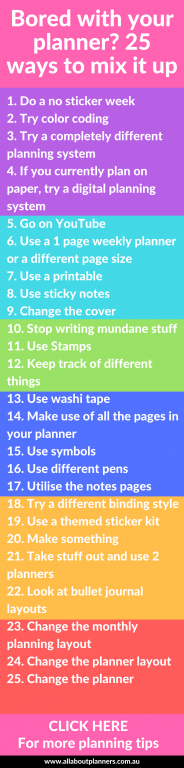
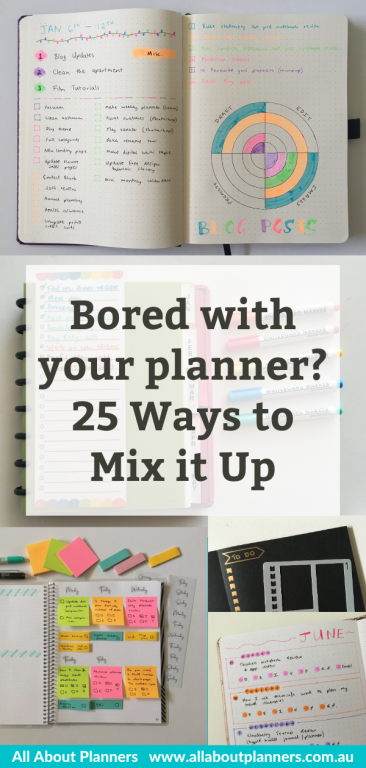
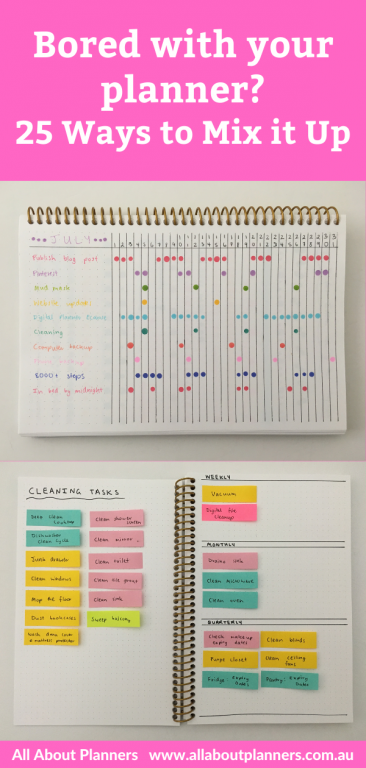
Bored with your planner? 25 ways to mix it up
So you’ve been using your planner for a while and it’s getting, well, a little boring. Your spreads look basically the same week to week, you tend to use the same colors and types of stickers and planning has become a bit mundane and boring. If any of these sound familiar, here are 25 ways to mix up your planner!
25 Ways to mix up your planner
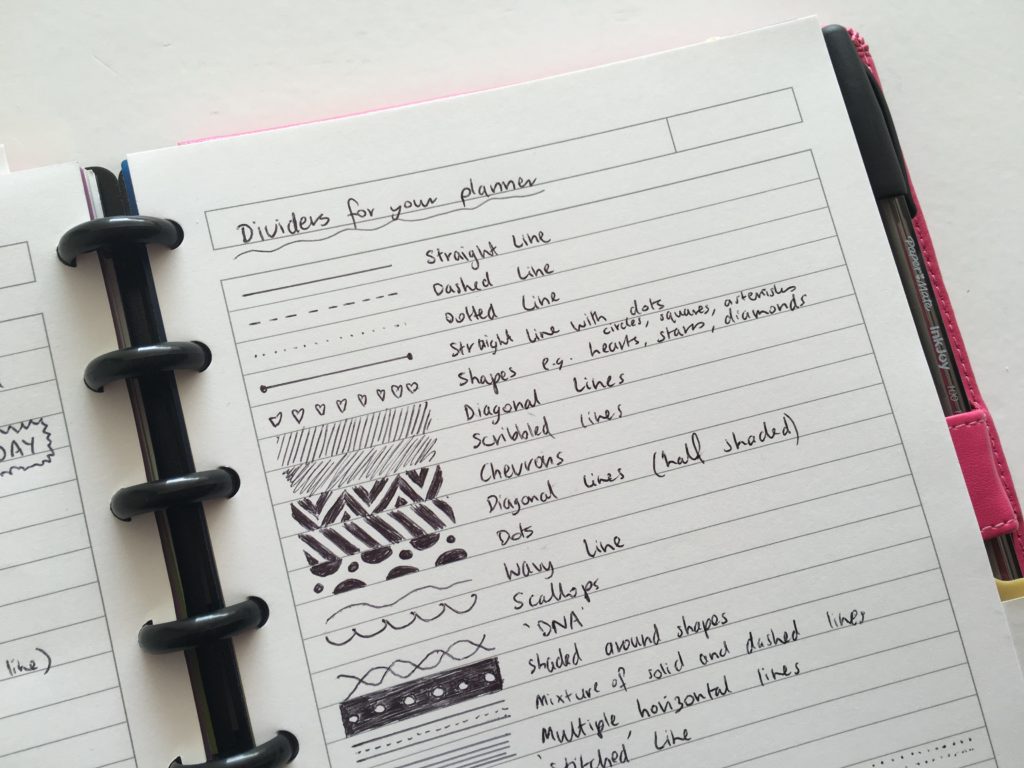
1. Do a no sticker week
You can still decorate your planner without using stickers. Some alternatives are the obvious: washi tape, highlighters and colored pens.
However, don’t underestimate what you can do with just a black pen such as different types of divider lines:
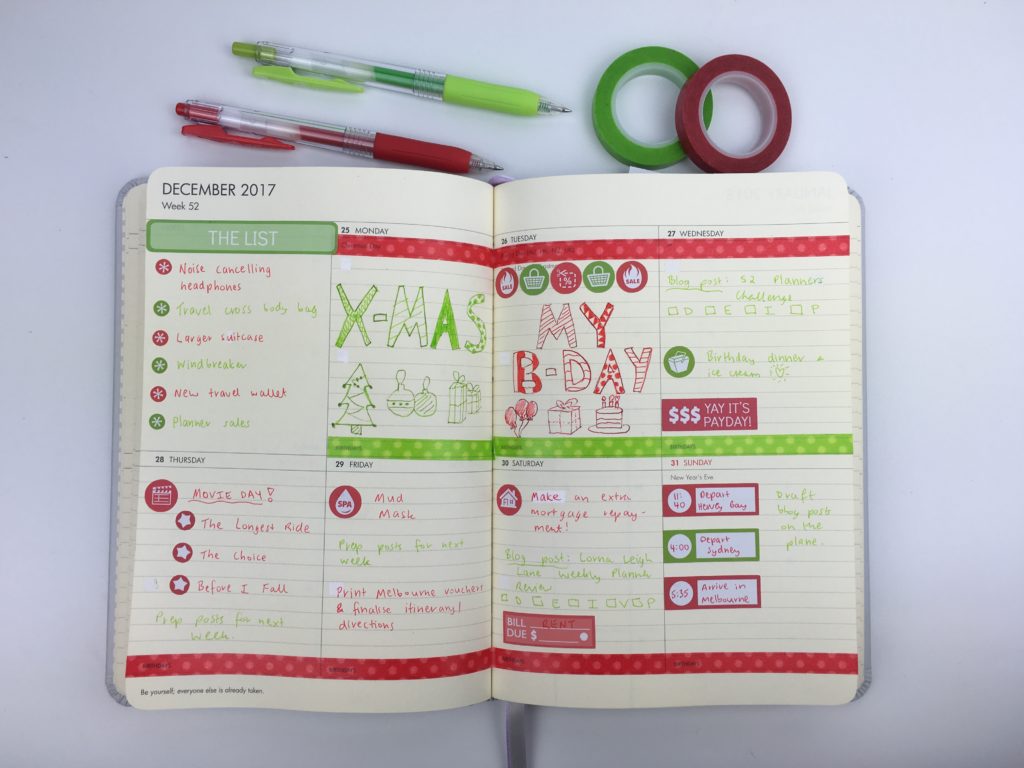
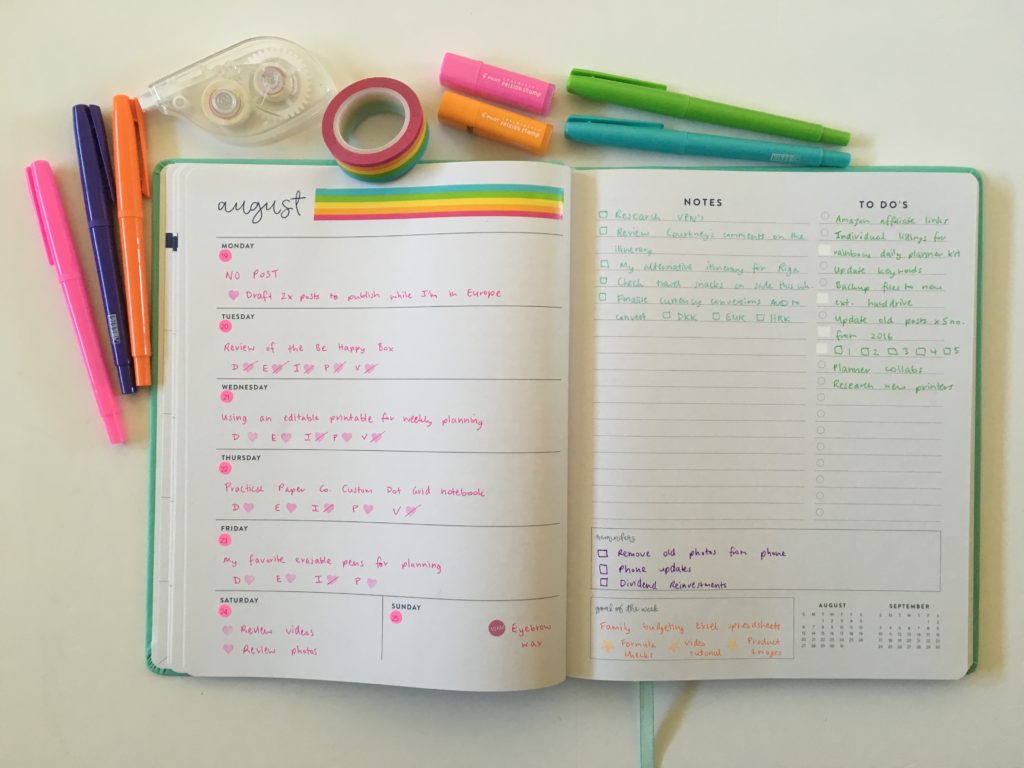
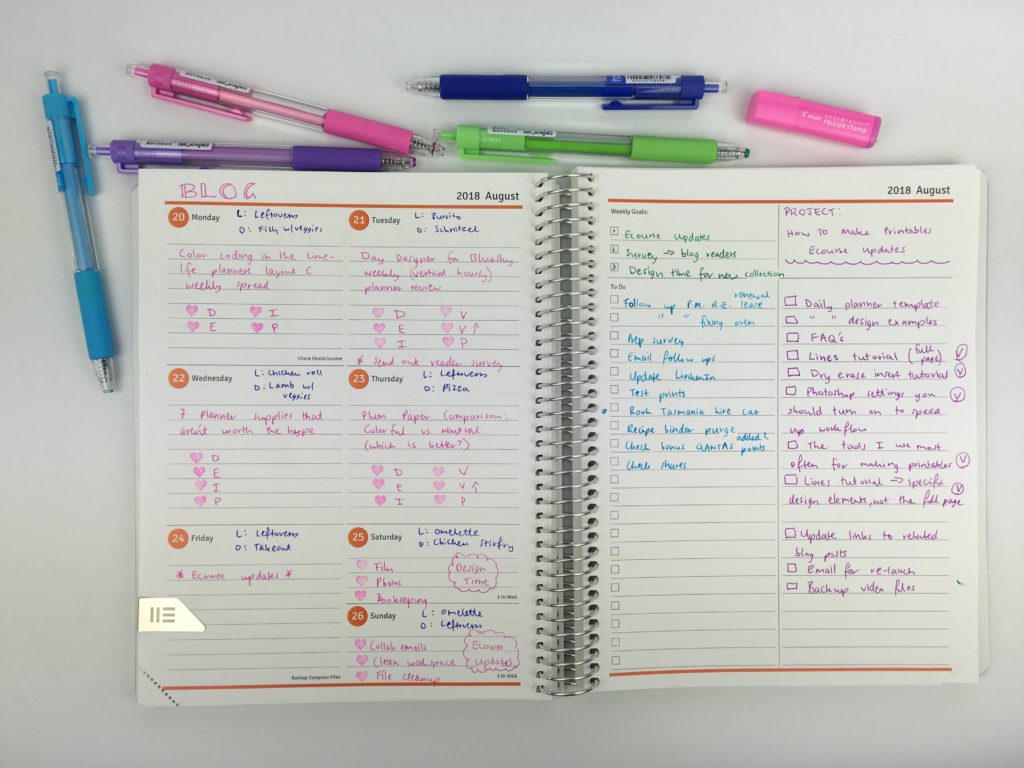
2. Try Color Coding
A long, long time ago I didn’t color code my planner. And it was a jumbled mess. Color coding is a must do for me – once you get in the habit, it’s hard to stop!
Related:
- Planner Organization: How to color-code your planner (so you’ll actually use it effectively)
- Favorite color coding planner supplies for less than $5
- Ultimate list of the best planner pen brands and how to choose colors for color coding
- 50 Category Ideas for Color Coding Your Planner
- How to organize and color code your notes for school, college or university
Tips for color coding
- If planning by category, don’t choose too many colors. I recommend 3 – 5
- Choose colors that are readily available in the office supplies you want to use. E.g. while pens come in red, sticky notes and highlighters often don’t
- You don’t have to color code by category, you could also color code by day of the week and priority / importance
Related: Using the Sarah Pinto Weekly Planner
3. Try a completely different planning system
Such as:
- Reminders app on your phone (or any of the plenty of productivity apps that are available)
- Bullet journaling
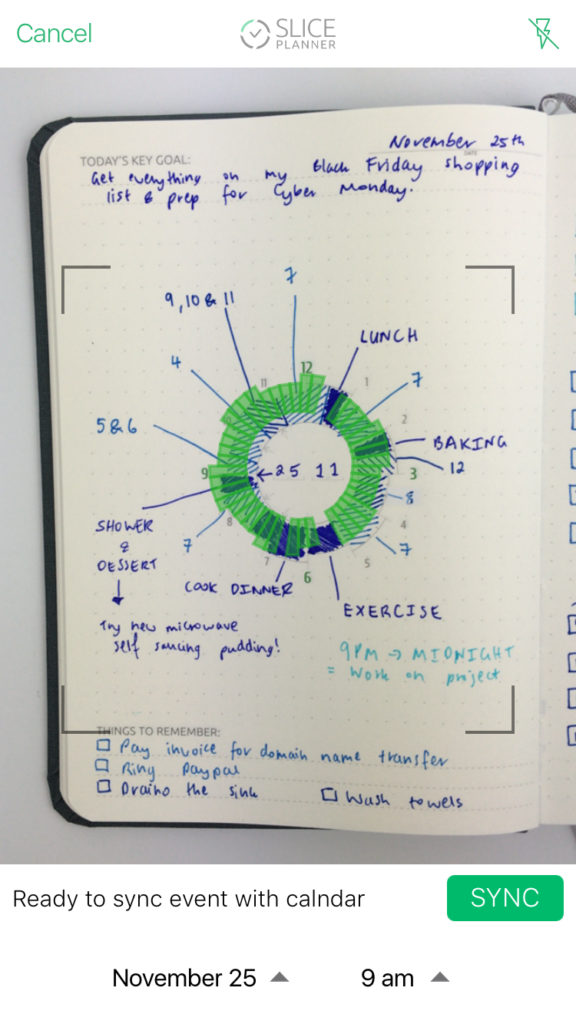
- If you like daily planning, the Slice planner integrates paper & digital planning
- A monthly calendar and a to do list (maybe you don’t even need a weekly planner)
4. If you currently plan on paper, try a digital planning system
Some ideas:
- Use the reminders or notes apps on your iPhone (they’re free!)
- Try Trello
- Wanderlust
- Microsoft Word (see how I did here)
- Microsoft Excel (see how I did here)
- Etc.
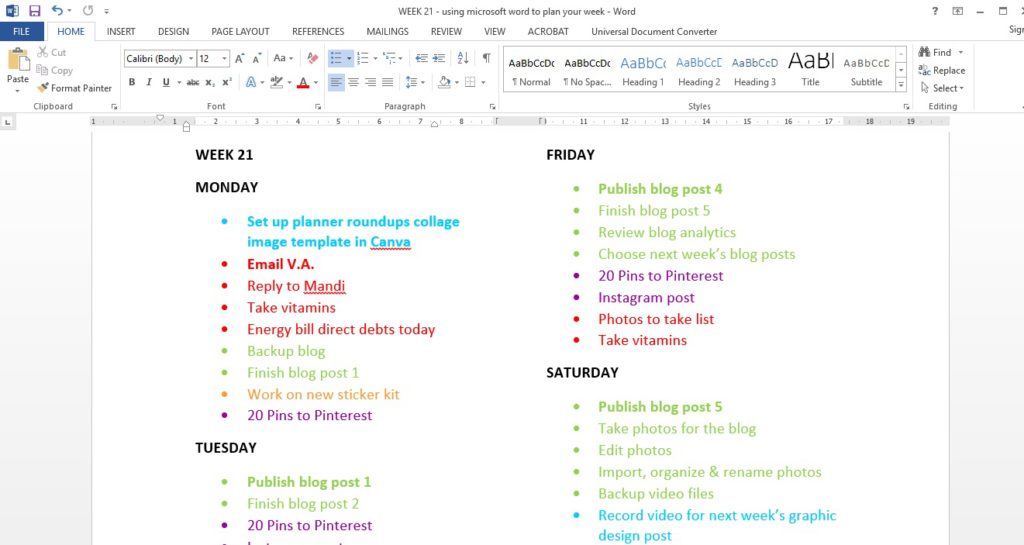
Using Microsoft Word to plan your week
5. Go on YouTube
There are numerous plan with me videos on YouTube. I also like watching planner review videos (if you’re bored with your planner it may be time to buy a new one!). Anything and everything from planner reviews, to sticker hauls, pen reviews, DIY ideas to videos with time management tips.
I also have some planning videos on my YouTube channel – make sure you subscribe to my channel if you haven’t already!
6. Use a 1 page weekly planner or a different page size
If you’re bored with your planner because you always have a lot of white space you never know what to do with, a 1 page planner may be a better fit for you. Similarly, if your planner ends up being a jumbled mess of writing with no space to decorate, a 2 page spread may be a better fit for you.
Related: Week 39: Weekly Planning using Studio Stationery notepad
![]()
Try a bigger page size that allows more room for decorating or doodling in the margins.
Related: Finding planner peace: how to choose the right planner page size for you
7. Use a printable
You can find plenty of printable online these days. I also have some in my printables Etsy shop 🙂
Because it’s much cheaper to print a printable you can experiment with a ton of different layouts.
One of the reasons why I love printables is that you create a design once and can continue tweaking it as your needs change. If you need more, just print more. You don’t have to go buy another planner which might have pages you don’t even need.
If you buy a printable rather than make your own, they’re only a few dollars so if the layout doesn’t work for you, you’ve haven’t ‘lost’ much money. And if you do like the printable, you can print multiple copies or take them to your local office supply store to have them bound into a custom planner.
If your planner is set up in sync with the way you think and pages you’ll actually use then you’re more likely to use it.
I prefer to use the ARC discbound system with printables as I can add and remove pages as often as I please!
![]()
Week 35: Planning with a functional minimalist DIY weekly planner printable
Helpful links:
- How to make planner printables (advice from a planner addict that’s made over 4000 printables)
- Best Paper for Printing Printables
- How to clean your printer (prevent smudging, streaks and make the colors POP!)
8. Use sticky notes
Sticky notes allow more flexibility with planning. One of the reasons you may be bored with your planner is because you’re having to re-write a lot of the same routine tasks over an over again. With sticky notes you can write it once and move it from week to week. I recommend the Post it note 3M brand – they’re super sticky and usually last a couple of week before I have to re-write the tasks out again.
![]()
Another option for a more permanent solution is to use a list insert such as this free printable I shared in this post.
Free printable planner insert (for to do lists, grocery lists, weekly routine tasks etc.)
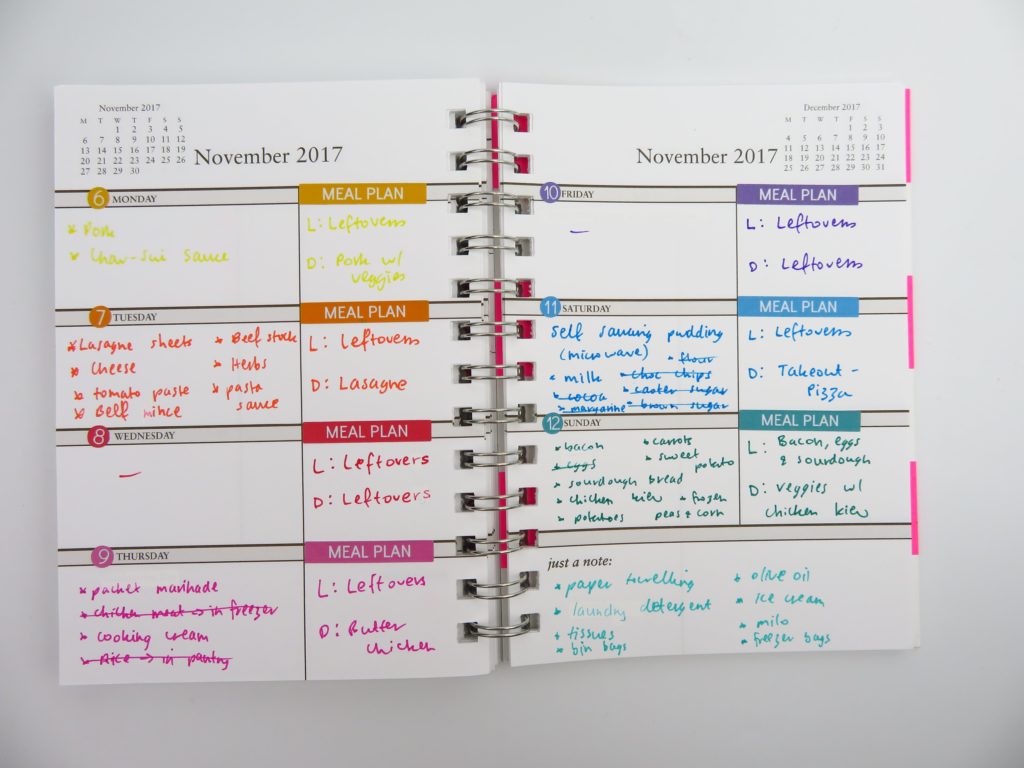
Sticky notes are also great for meal planning – especially if you rotate cooking the same meals:
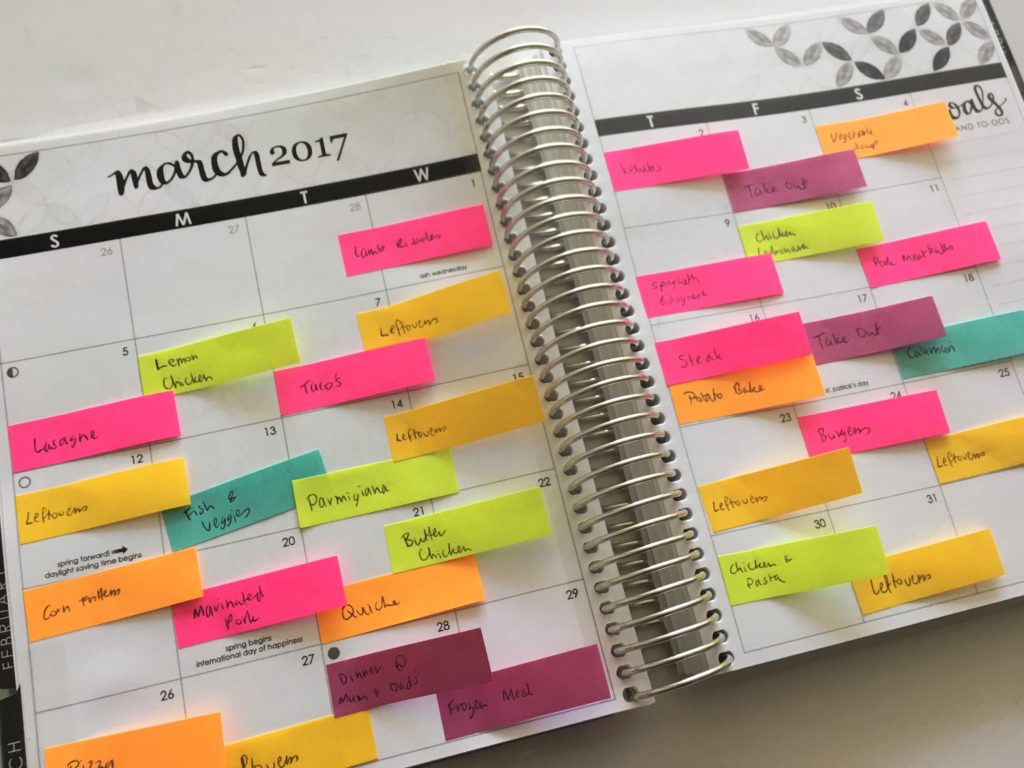
Related: Color coded monthly meal planning using sticky notes
9. Change the cover
Free printable and tutorial on how to add a DIY cover to a spiral bound planner in this post.
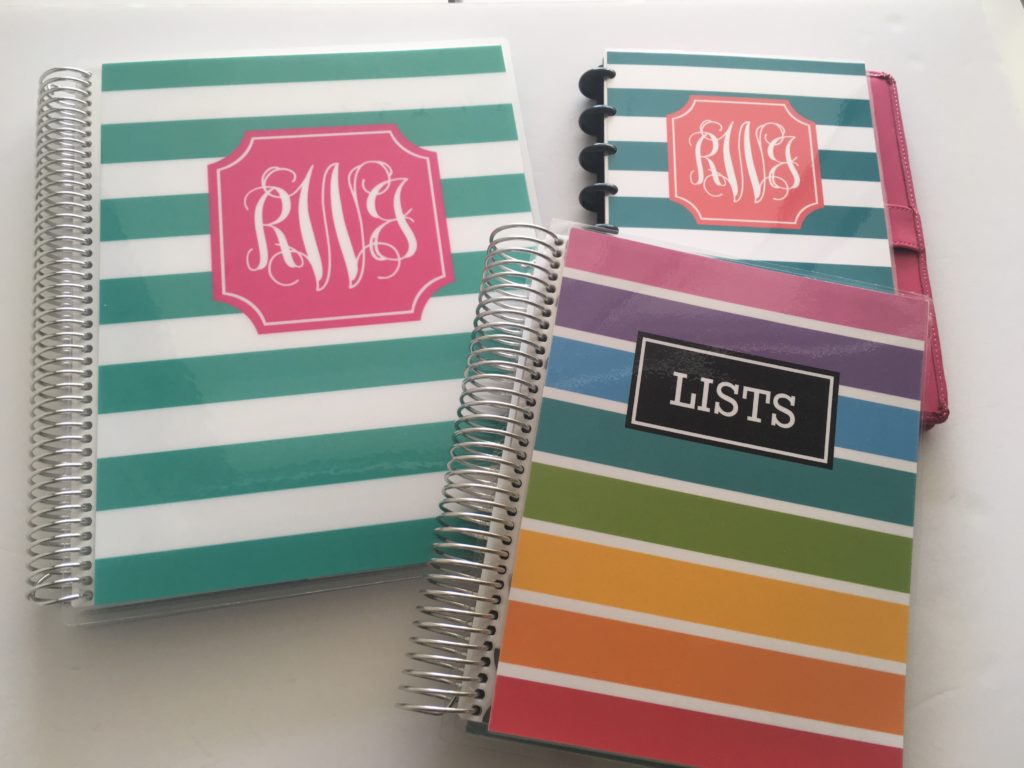
How to make a DIY Erin Condren Planner Cover for less than $2 (plus free printable cover)
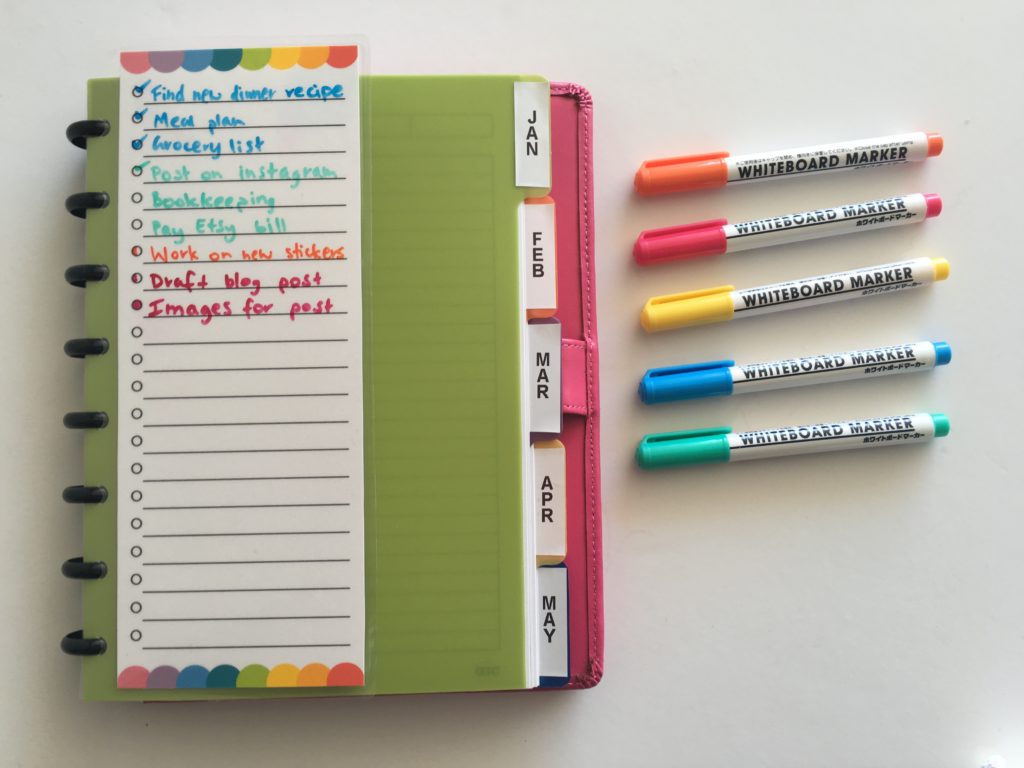
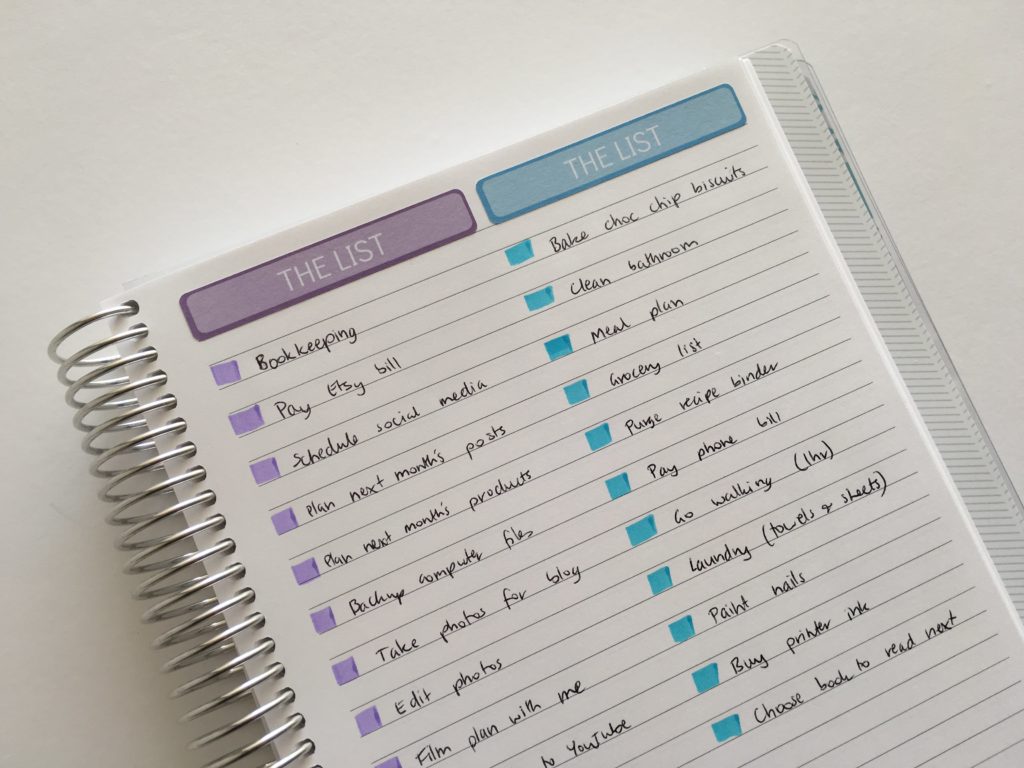
10. Stop writing mundane stuff
If you’re bored of re-writing the same tasks, use an insert (like this one).
Laminate a checklist printable (such as a cleaning checklist with the tasks pre-filled) then tick off with a whiteboard marker.
This hack works best with discbound systems: punch a clear binding cover, place over the top of your list and use a whiteboard marker:
Habit trackers are my all time favorite time saver (download the one below from the free printables library here).
![]()
11. Use Stamps
Stamping isn’t for everyone (as I found out). However, there’s so many cute stamps to choose from – it’s fun if you have the time.

Week 44: Planning the week using stamps (MAMBI, Carpe Diem & Creative Devotion)
The only stamps I currently are self-inking such as the Pilot Frixion erasable (my all time fav) and Happy Planner stamps.
Frixion erasable stamps review
12. Keep track of different things
There are so many things you can track in your planner from exercise, vitamins, fruit and vege intake, cleaning routines, spending etc.
Try adding a journaling section, favorite memory, milestone, inspirational quote or something fun to motivate you to want to keep using it.
These habit tracker stickers are from my shop. Similar weekly habit stickers here.
![]()
13. Use washi tape
Whether it’s within the spreads or using a weekly spread, washi tape can save time writing out things that run over multiple days (e.g. vacations) – just use a strip of washi tape instead.
or add a washi border
14. Make use of all the pages in your planner
How many times have you purchased a planner and it included a bunch of pages you’ll never use? For me it’s always the contacts pages. I’m not really sure why some planner companies continue to include this since most people just plug this straight into their phone…
If you have pages like this, re-purpose them for something else like a password tracker, to do list or just extra notes pages, otherwise, rip them out to make way for pages you’ll actually use.
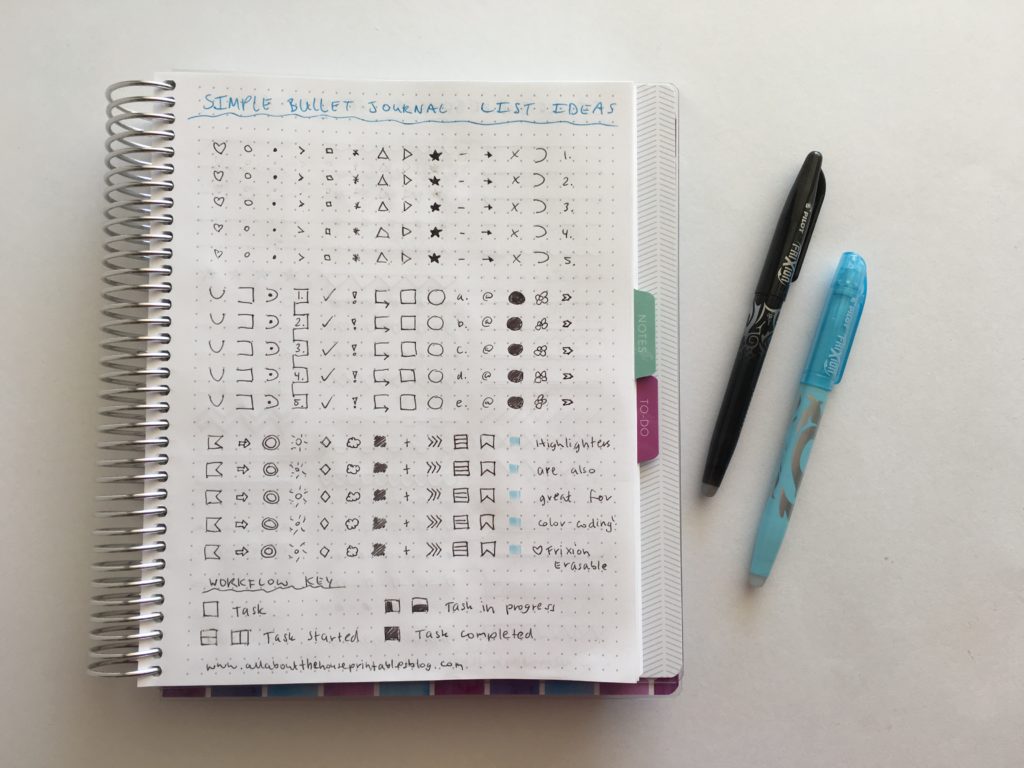
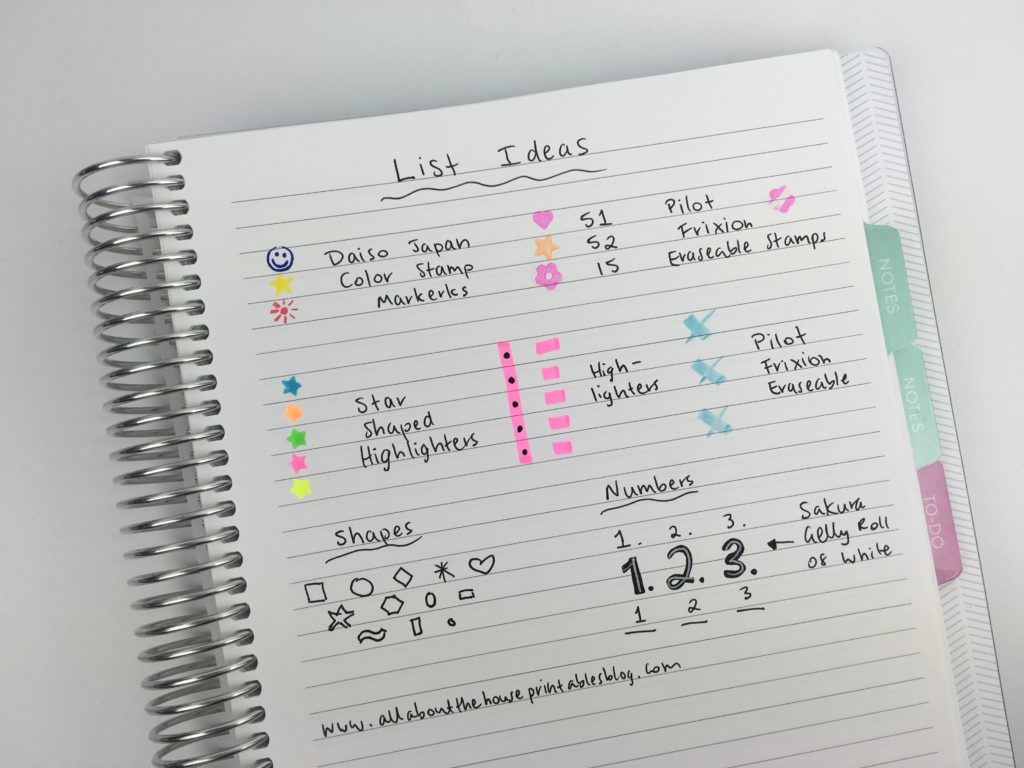
15. Use symbols
Some ideas:
16. Use different pens
As you may have picked up by now, I have a slight pen addiction… Much like I can’t stay loyal to one planner, I frequently switch between pens.
My all time favorite are the Frixion erasable, closely followed by the PaperMate Inkjoy Gel. Closely followed by at least a dozen other pen brands!

- How to choose the right planner pens: what to look for when buying planner pens
- Ultimate list of the best planner pen brands and how to choose colors for color coding
- Best pens for writing on washi tape
- Planner pen testing in the Erin Condren Life Planner, Plum Paper, Happy Planner by MAMBI and Limelife Planner
17. Utilise the notes pages
The notes pages are an empty canvas!
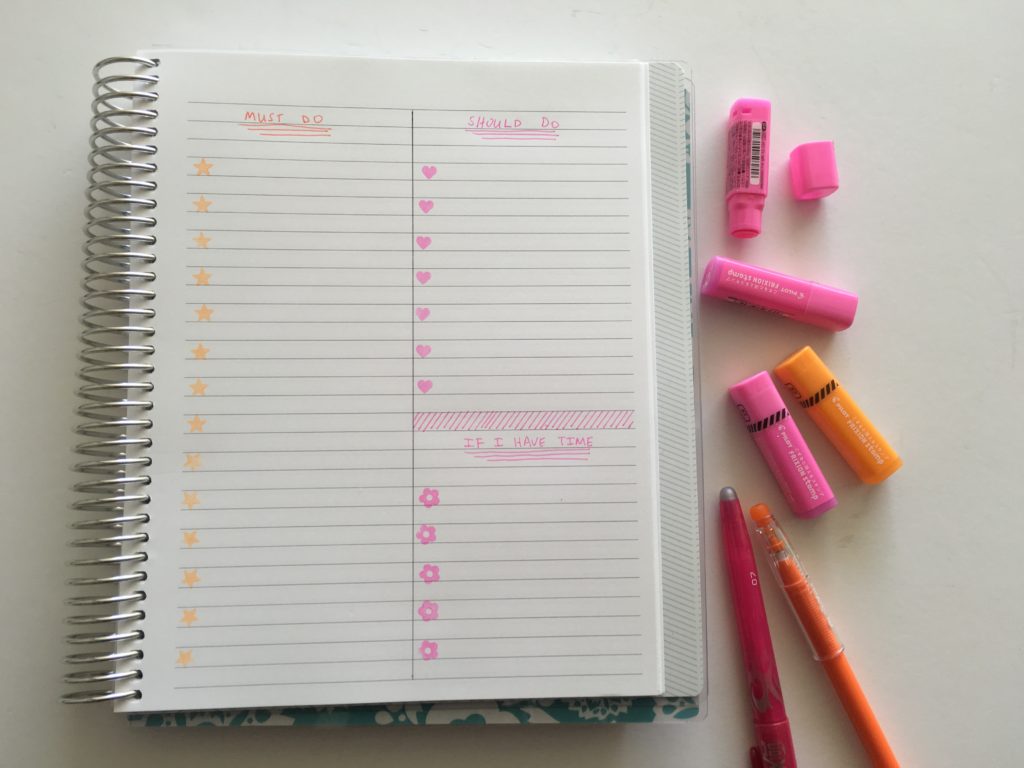
Rule some lines and create a custom layout with columns for spending tracking, split the page in 2 for list making, jot down movies you want to see etc.
Title stickers and these stickers make better use of the pages and add a pop of color!
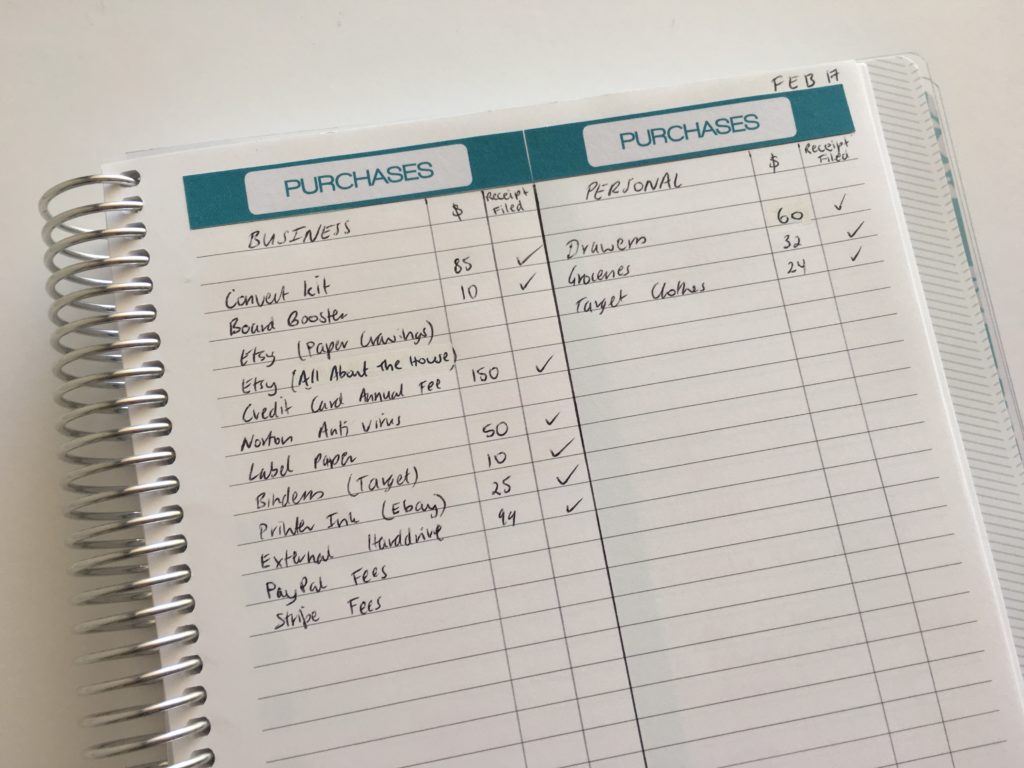
Related: How to keep track of spending using stickers and blank notes pages of your planner
Related: 130+ functional ideas to use blank notes pages of your planner or an empty notebook
18. Try a different binding style
I personally hate ring bound planners. But I only found that out when I tried planning use one.
If you’re someone that typically uses a coil bound planner, try a Filofax and see if you prefer to pick pages out rather than keep them bound and flicking back and forth.
Plum Paper (and I’m sure a few other companies these days) will leave the planner pages unpunched if you request this when placing your order. I opted to ARC my Plum Paper instead:
Arcing my Plum Paper Planner – everything you need to know if you’d like to try it yourself!
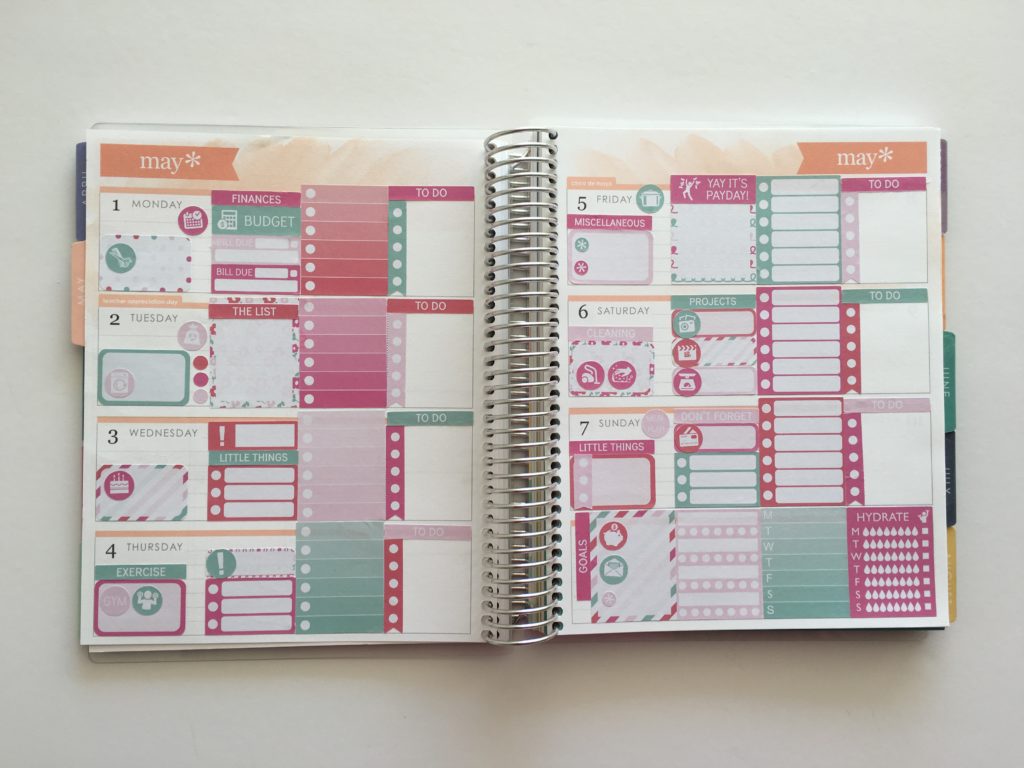
19. Use a themed sticker kit
Themed sticker kits make planning quick and easy. With all the stickers you need on just a couple of sheets, it means less mess and quicker planning.
Week 22: Using Erin Condren size planner stickers in the Mini Happy Planner
20. Make something
I find that if I DIY something I’m more excited to use it.
Related: How to make a DIY Erin Condren Planner Cover for less than $2 (plus free printable cover)
21. Take stuff out and use 2 planners
Maybe you’re bored with your planner because it’s cluttered and you can never find anything. There are more and more planners these days with 1 page weekly layouts and notes pages (my favorite type of planner). This layout is ideal for overflow tasks, brain dumping and if you want to include things like budgeting and cleaning with your planner rather than keeping a separate household binder.
Related: Choosing sections for your planner: what to keep in your weekly planner versus a household binder
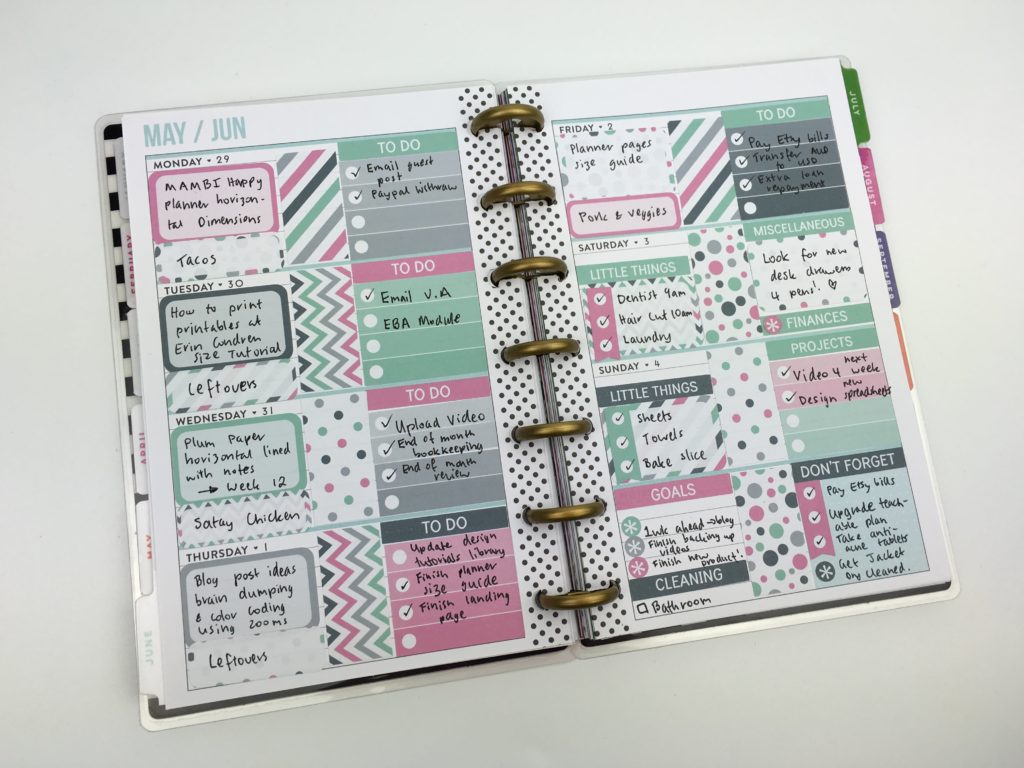
The Plum Paper Horizontal Lined with notes is my favorite weekly + notes planner (that I use for pre-planning the week)
22. Look at bullet journal layouts
See these posts for plenty of ideas:
- 12 Monthly planning bullet journal spreads (you can do in 5 minutes or less)
- Bullet Journal Ideas: 26 Weekly Spread Layouts to Try
- 7 Bullet Journal Weekly Planner Spreads you probably haven’t thought of
- 20 Bullet Journal Weekly Spread Ideas (One Page Layouts)
- 10 Quick and Simple Bullet Journal Daily Layouts
- 26 Non-typical 2 page weekly spreads to try
- Bullet Journal Layouts: 26 Non-typical 2 page weekly spreads to try
- 30 Minimalist Bullet Journal Weekly Spreads (set up the week in 10 minutes or less)
- 10 Bullet Journal weekly layouts if you want to keep work and personal in the same spread
- 10 Bullet Journal Landscape Page Orientation Weekly Spreads
- 15 Quick and Simple Vertical Bullet Journal Weekly Spreads
- 10 Quick horizontal bullet journal 2 page weekly spreads
- 25 Ideas for your Bullet Journal To Do List Spreads
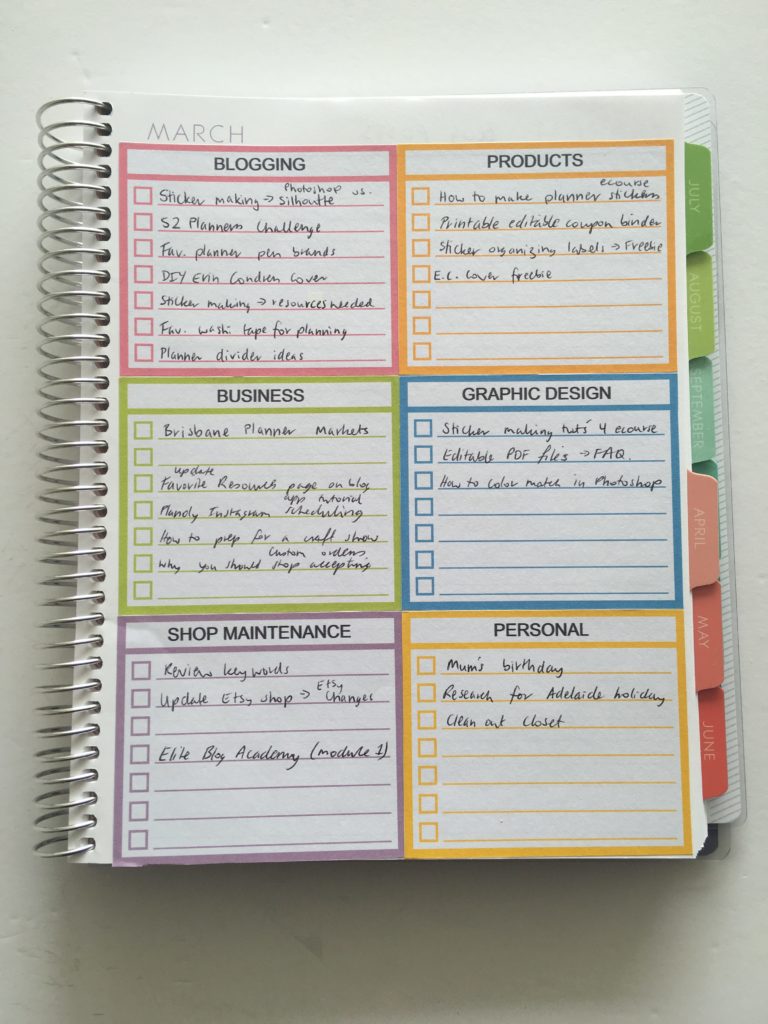
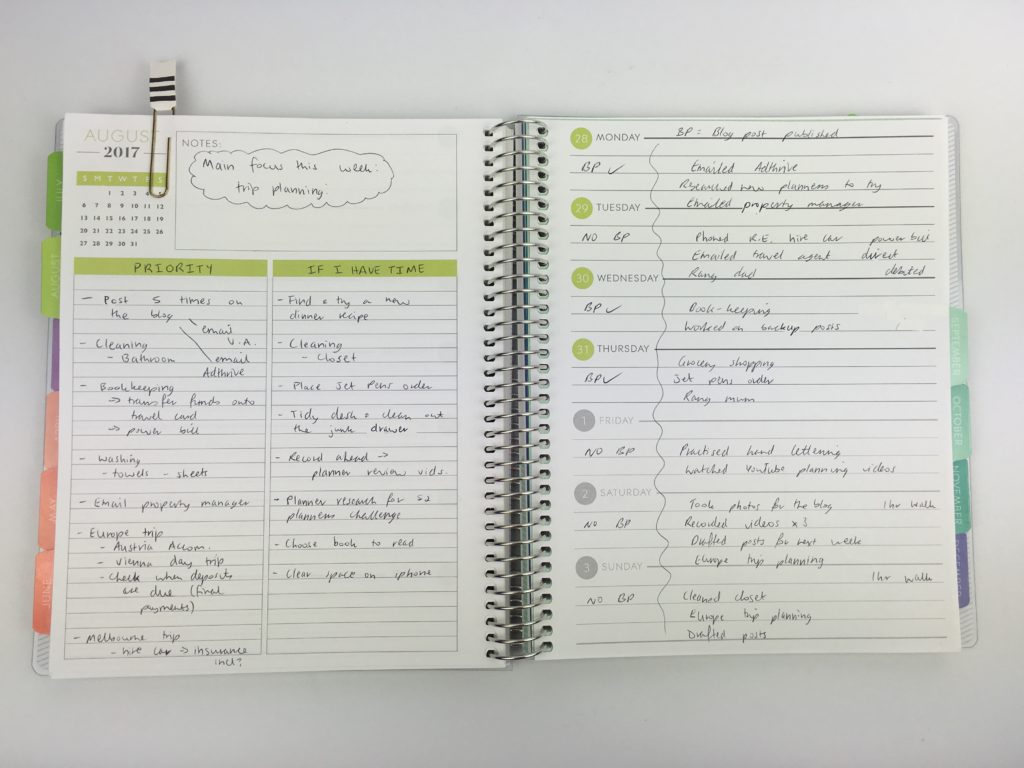
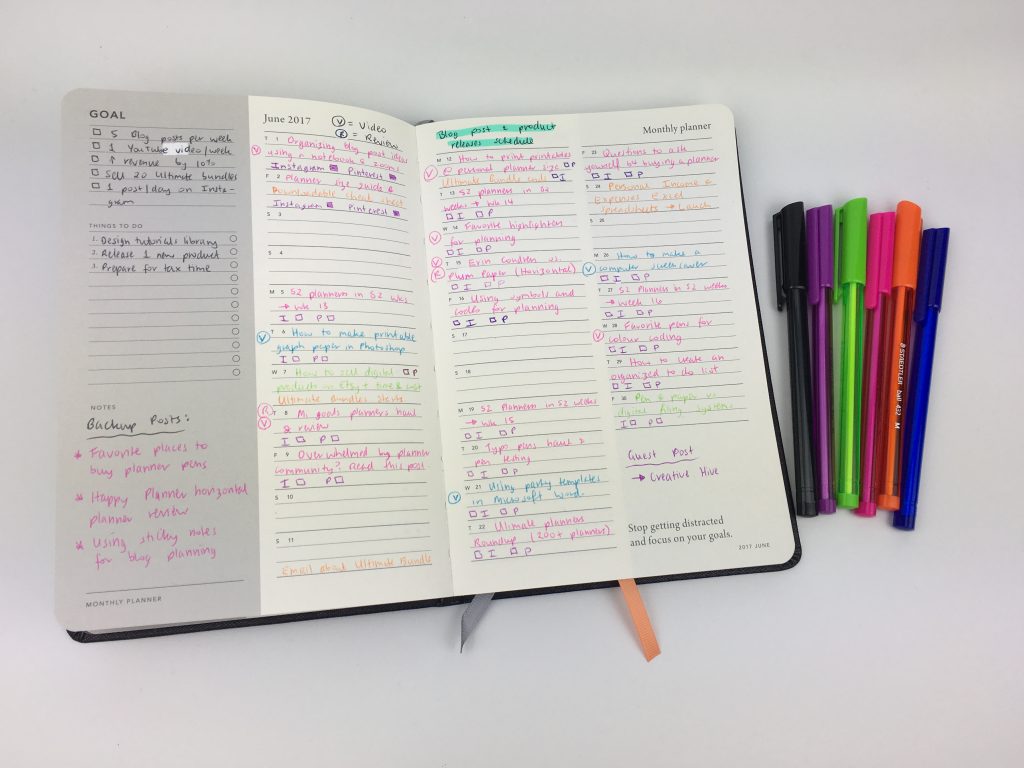
23. Change the monthly planning layout
I rarely use a traditional monthly calendar anymore, I prefer a list style format with the dates running down the page. I’m a list maker and I like the extra space for each day.
Related: 12 Different ways to plan blog posts using pen and paper
A few ways to plan the month:
- A traditional calendar (with the square boxes for each day that most planners have)
- A list style format
- A monthly planning page
- A simple list!
The Mi Goals Planner has one of my favorite monthly planning layouts:
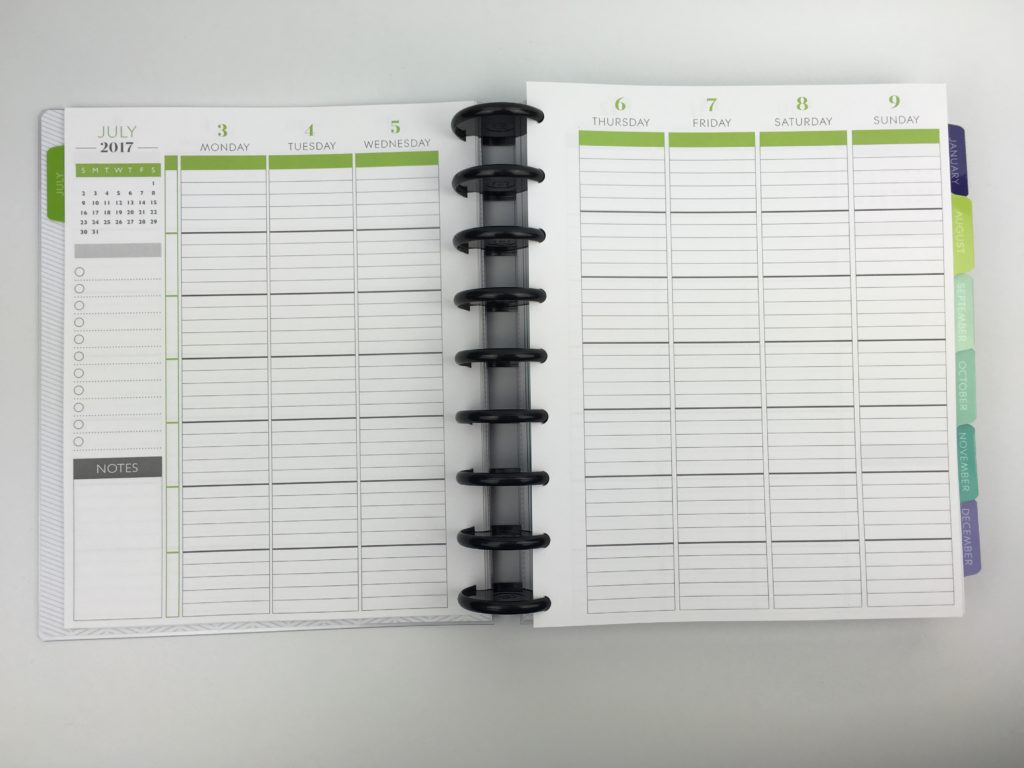
24. Change the planner layout
If you currently use a day to a page planner, try using a weekly planner. If you currently use a 2 pages per week spread, try using 1 page per week (you can always add a list insert if you need a bit of extra room).
Instead of using a vertical planner, try a horizontal planner (or vise versa).
For each planner layout there are multiple ways you can plan:
- Divide a horizontal planner into 2 sections per day
- Split half of a daily planning space into an hourly section and a checklist
- Take out things you’d normally plan in the weekly view and put them in the monthly view (such as meal planning)
- For vertical planners, divide up the box into multiple sections for each of your planning categories e.g. cleaning, meal planning, project etc.
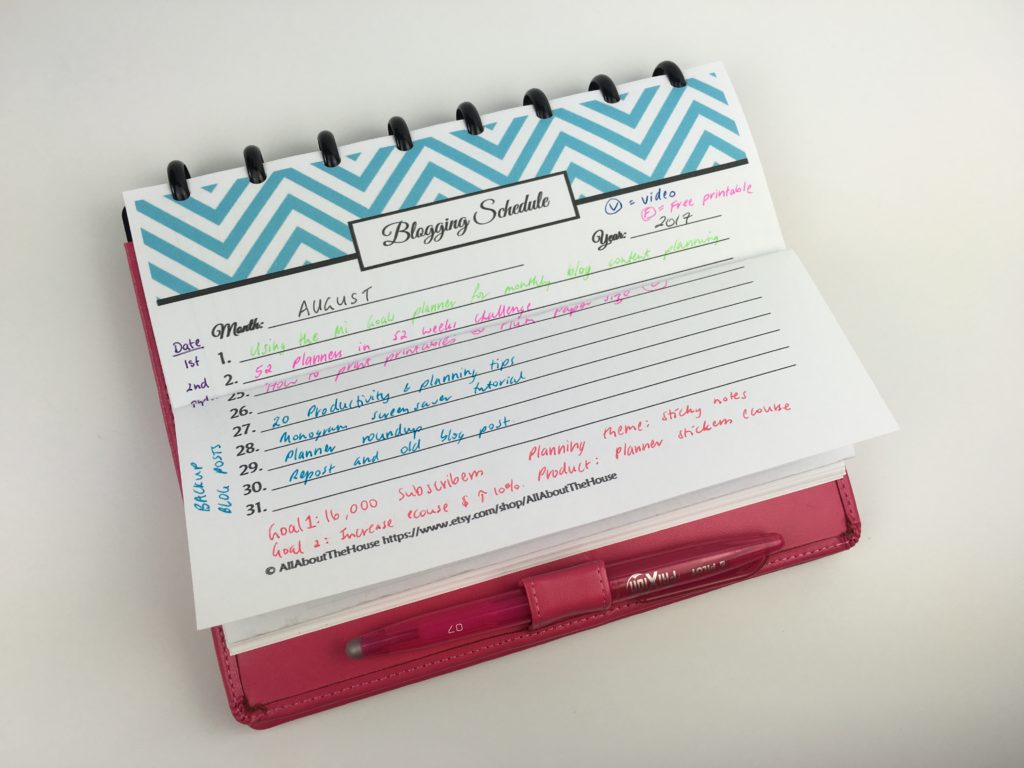
25. Stop using a planner
Maybe you don’t need a planner at all – maybe you just need a notepad where you jot down the things to get done each week.
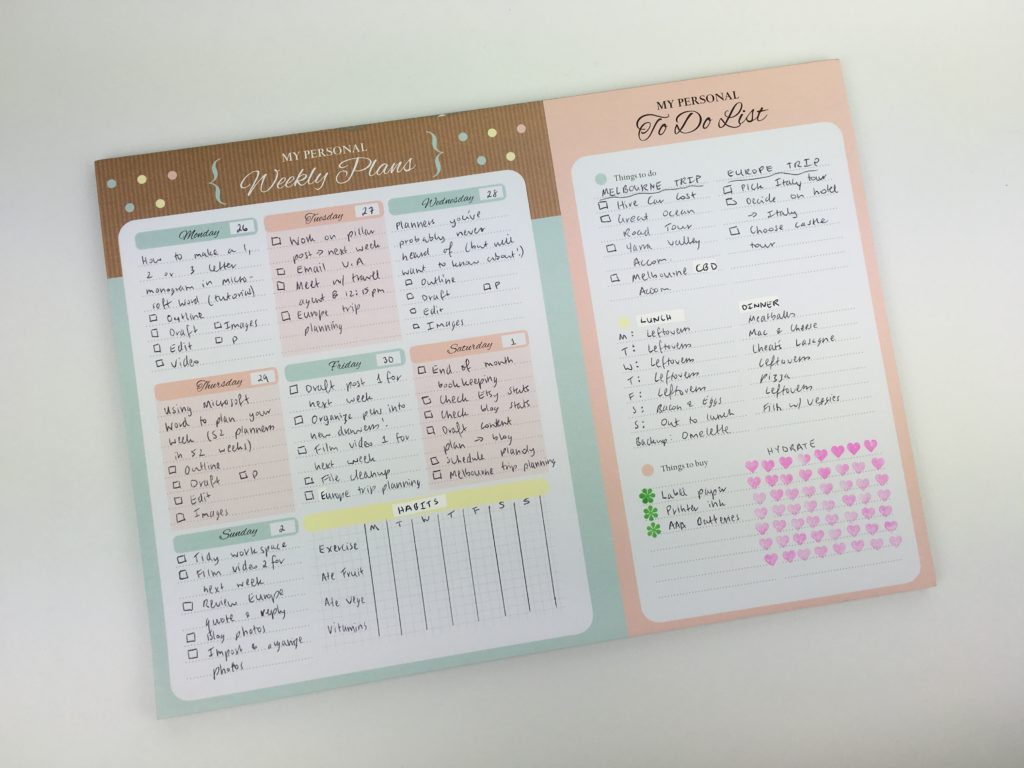
Week 26: Using a weekly planner notepad to plan the week
26. Change the planner
Try a different planner (or planners). That’s why I did the 52 planners in 52 weeks challenge (and am continuing to use different planners throughout this year). You don’t need to use a different planner every week but alternating between a few will keep things fresh.
Need some ideas? Here are some of my past planner layouts:
- Week 1: Using a daily habit/routine tracker to plan your week
- Week 2: Planning using daily checklists
- Week 3: Plum Paper Vertical Planner – Better than the Erin Condren?
- Week 4: Minimalist planning: how to plan your week using a blank notes page and stickers
- Week 5: Planning by category and task, rather than by day
- Week 6: Planning using the Horizontal Erin Condren Life Planner
- Week 7: Pros and cons of using a 1 Page Weekly Planner
- Week 8: Weekly Planning using the Plum Paper Memory Keeper Book (52 Planners in 52 Weeks: Week 8)
- Week 9: Cutomising the Erin Condren hourly planner for task based planning
Found this post helpful? Pin it!

I LOVE ALL THE ADVICE THAT YOU GIVE . IT IS REALLY HELPFUL.
.
I design a new weekly schedule almost every week (maybe every two weeks) so i never bored 🙂
Hi, I love all of your creative ideas. I use a happy planner & a digital one.
Have you ever checked out http://www.Cozi.com? It is the ultimate digital planner. Its ideal for busy couples/families/singles/friends. 🙂 Even has a meal planning tool. I’ve had the paid plan, but now I use the free one. I’ve had it for years.
Cheers!