Minimalist 1 page planning using washi tape (52 Planners in 52 Weeks – Week 10)
For week 10 of the 52 Planners challenge I kept it really simple. I was using my printable craft show planner to prepare for the Brisbane Planner Markets (read my review about it here), so didn’t need a ton of planning space.
Setting up the week
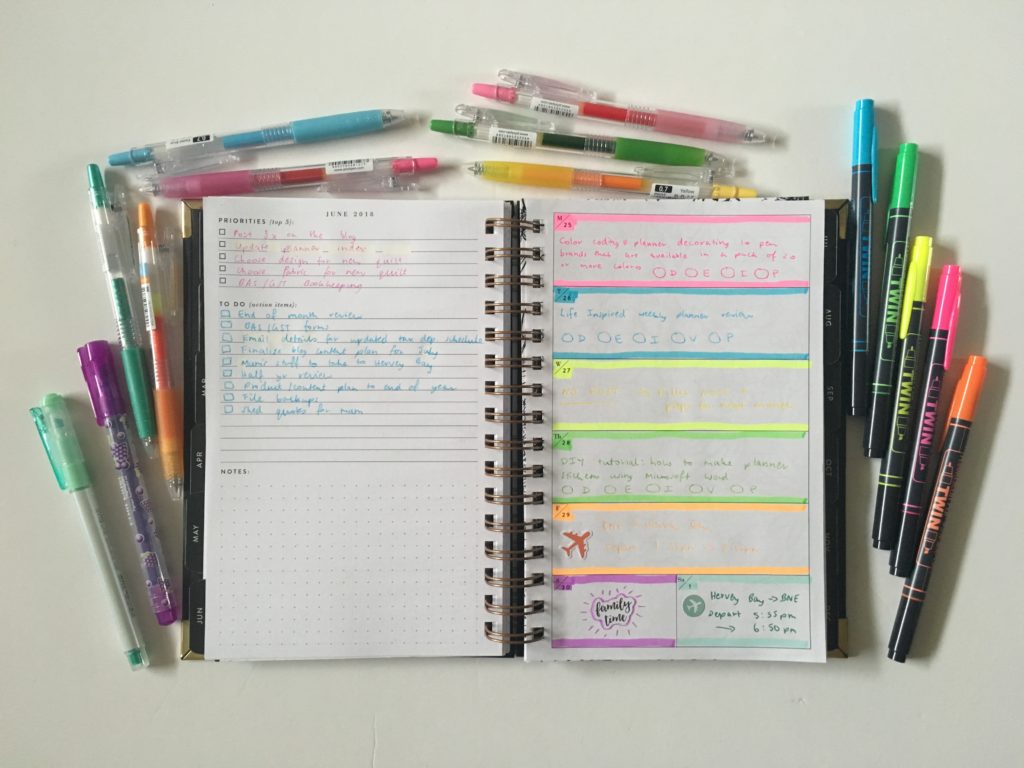
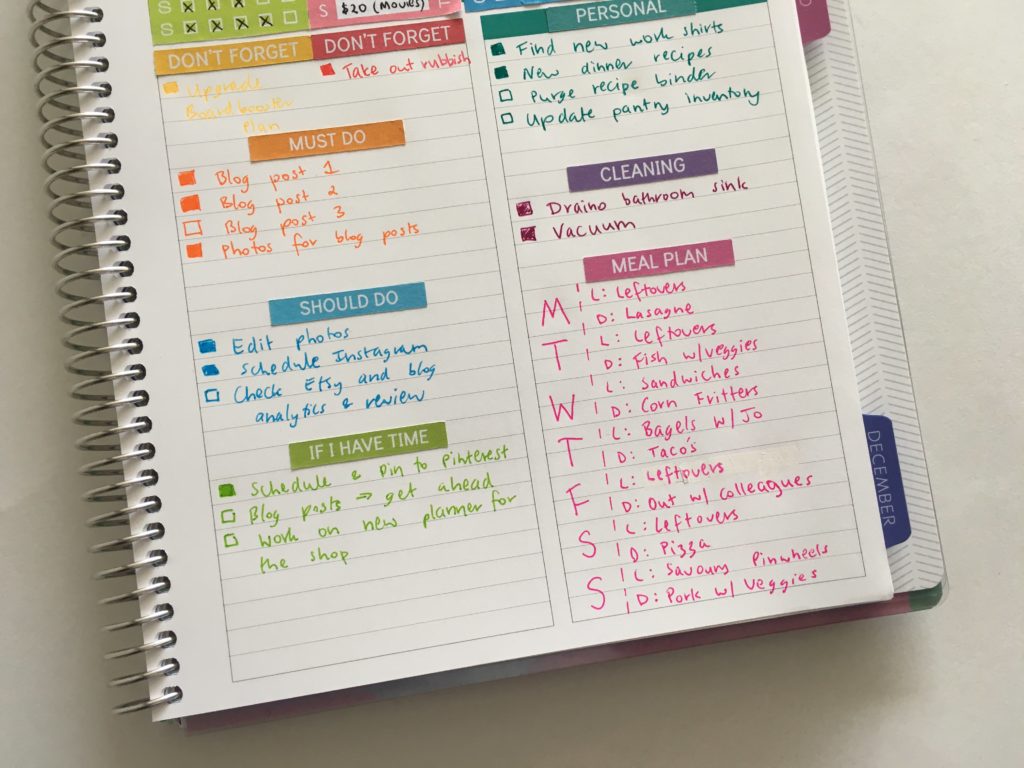
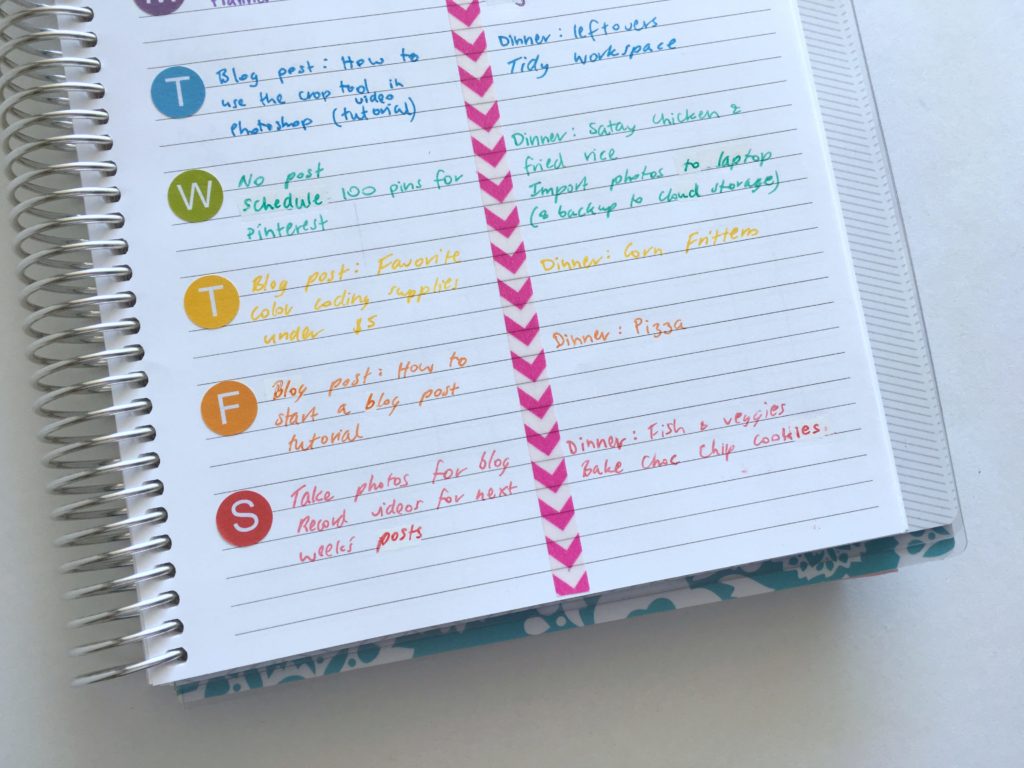
I grabbed one of my Plum Paper Planner notebooks, some Doodlebug washi tape and split the page in 2.
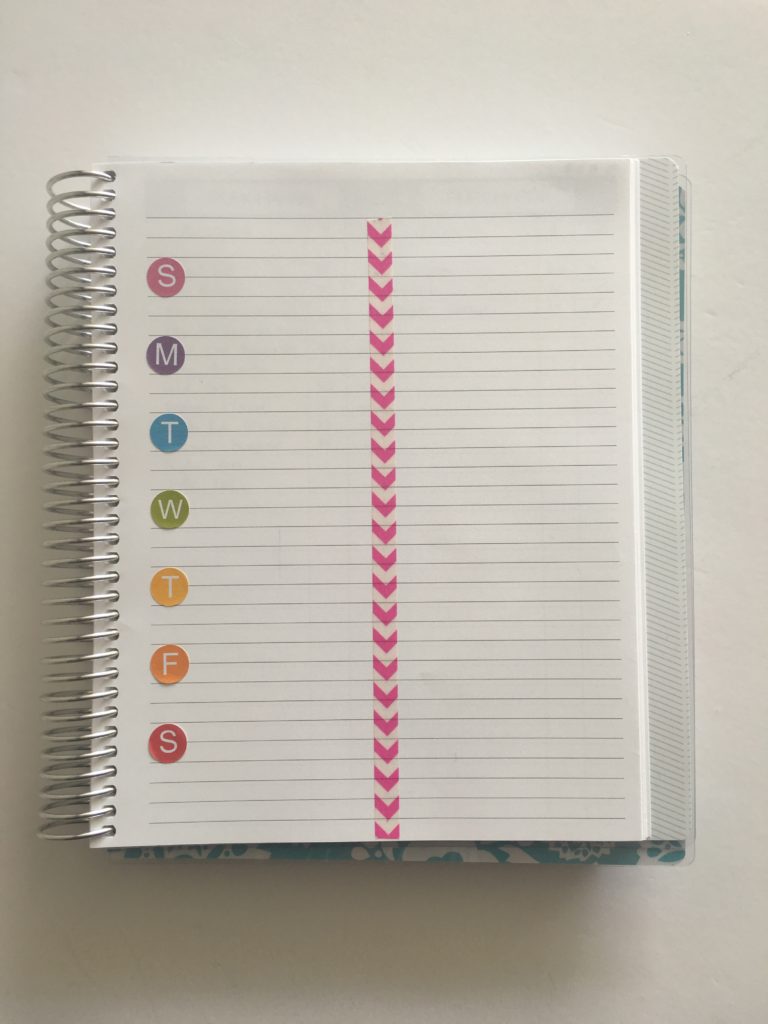
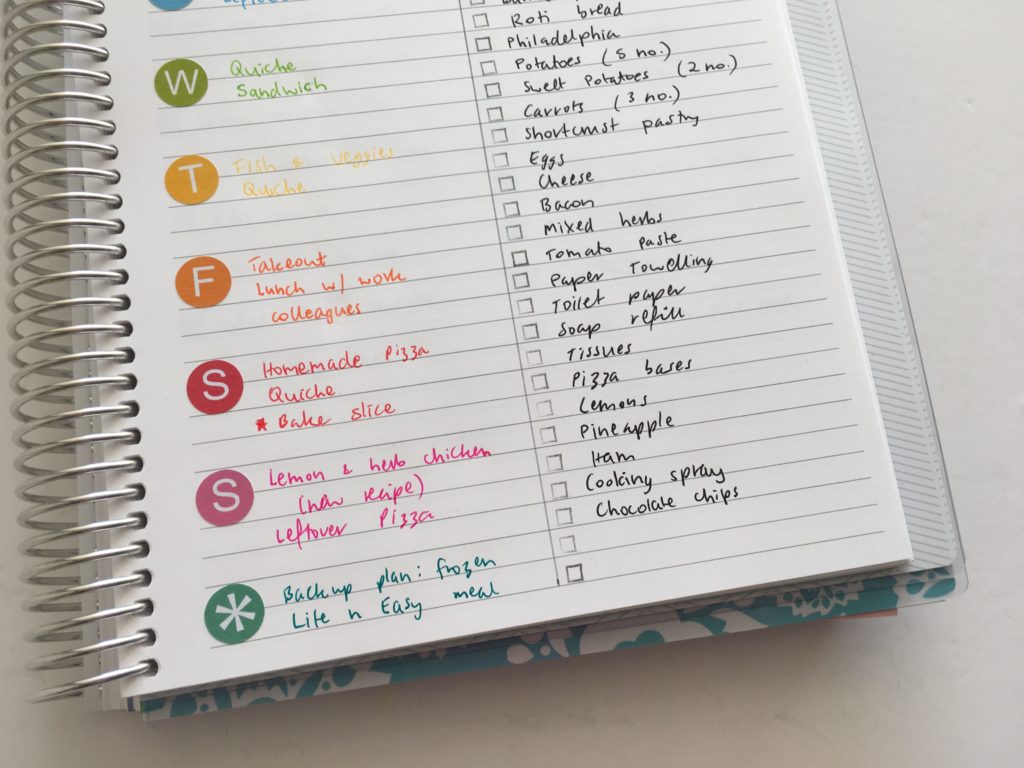
I was originally planning to keep the right side of the page entirely for meal planning but needed a bit more space for planning so called it ‘personal and miscellaneous’ instead.
Next, I used some days of the week stickers I made (they’re available in my sisters’ planner supplies shop), to create the daily planning space. Yes I could’ve just written the days of the week straight onto the page but I did this in week 8 of the challenge when I did meal planning (see image below) and it ended up being a bit cluttered with a lot of text on that section of the page.
Related: Week 8: Weekly Planning using the Plum Paper Memory Keeper Book (52 Planners in 52 Weeks: Week 8)
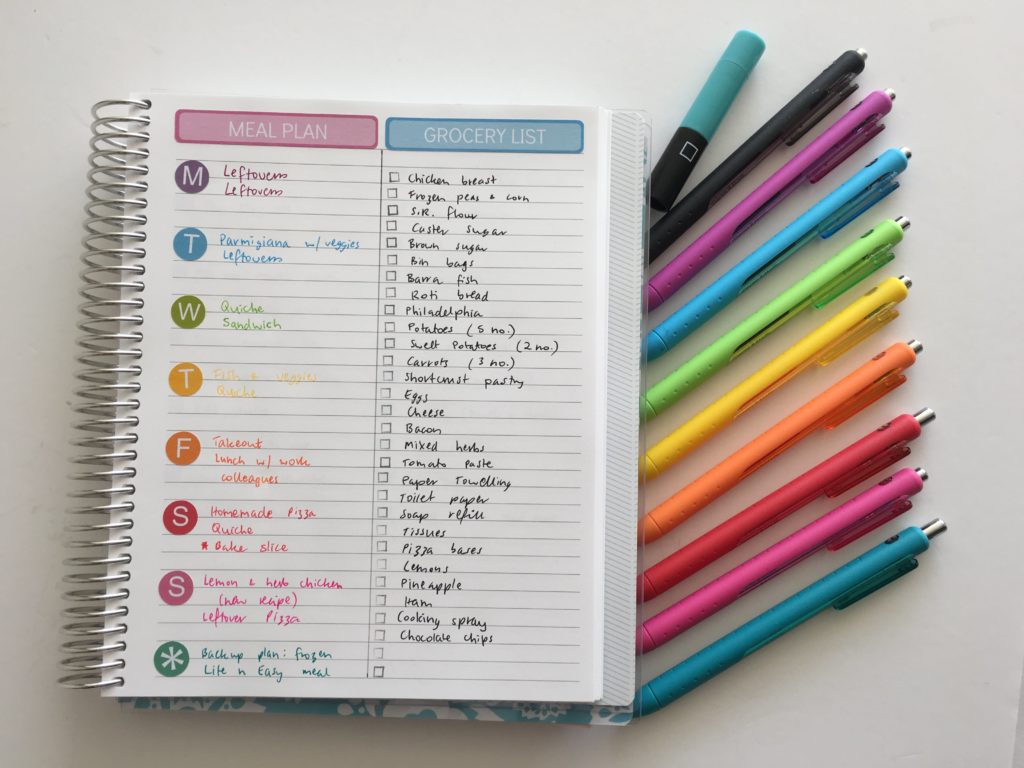
Pens Used
Papermate Inkjoy Gel 0.7mm – just can’t get enough of these pens!
My pros and cons for this layout are much the same as week 7 of the challenge when I also tried a 1 page weekly spread.
Related: Week 7: Pros and cons of using a 1 Page Weekly Planner
Pros
- Having just one page was handy with everything right there in front of me – I didn’t have to flick back and forth through multiple pages of plans
- Loved the rainbow colors of this spread (I just love rainbow color and planner stuff in general) ?
- The page was really quick and easy to set up – just stuck some washi and stickers and I was ready to plan – I didn’t have to ‘think’ about where I was going to put stickers to create a rainbow effect or have colors coordinating (I can be a little OCD when it come to creating rainbow planner spreads with stickers :p
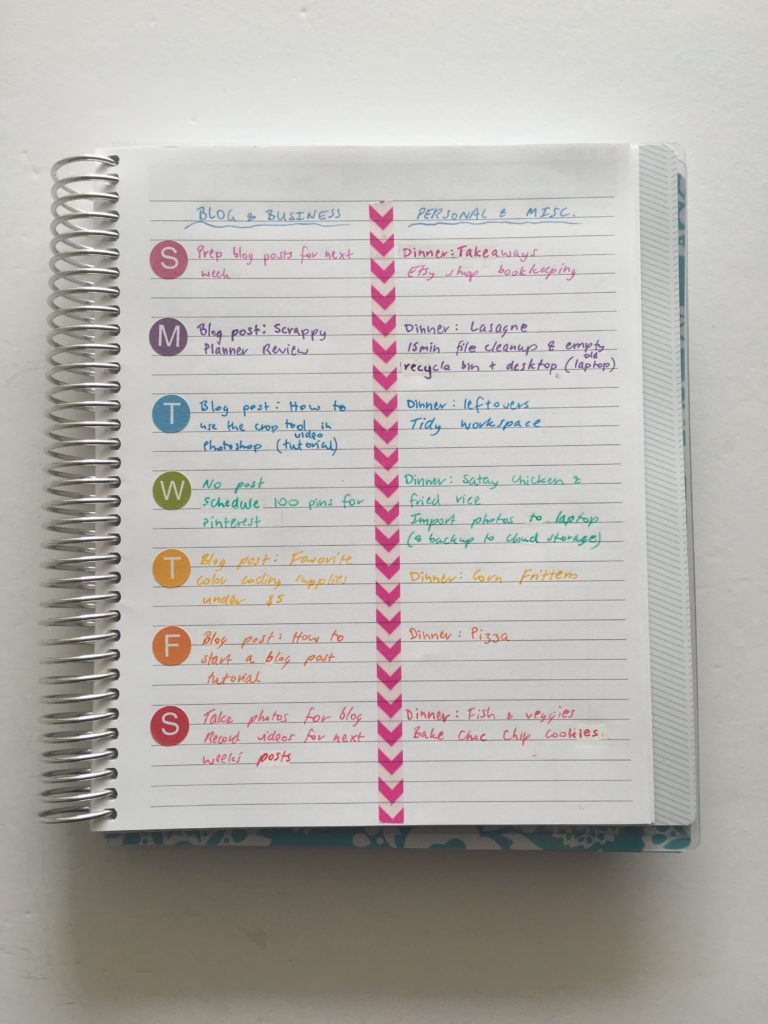
- I liked have the 2 separate columns for work and personal life so I could simply look either to the left or the right of the page, not here there and everywhere trying to find the next task I needed to get done
Cons
- While a one page weekly layout was compact, if it was a really busy week, I’d need more space to plan
- No checkboxes for the tasks 🙁 I could’ve highlighted or lined through tasks as I completed them but I try and avoid doing this as I don’t like how it makes the page look messy
- I tend to color code by category (e.g. blogging, meal planning, shop stuff etc.) – last week I tried a spread with no color coding (which I never do) and it actually turned out alright!) So this week I tried color coding by day. I’ve come to the conclusion that I much prefer color coding by category (especially since I’ve been coding that way for quite a while that it’s become a habit). I find it so much clearer and easier to see how much I’ve planned for each category which helps to try and plan a balance, and also to see what needs to get done next. For example, usually I can just at the pink text in my planner to see what posts I have planned for the week.
Related: Week 9: Customising the Erin Condren hourly planner for task based planning
Would I use this layout again?
It was very quick and easy to set up the week and I liked the simplicity, but this layout would only be ideal if you didn’t have a lot of things to plan.
This layout would be good if you are prone to over-scheduling because you have minimal space to write.
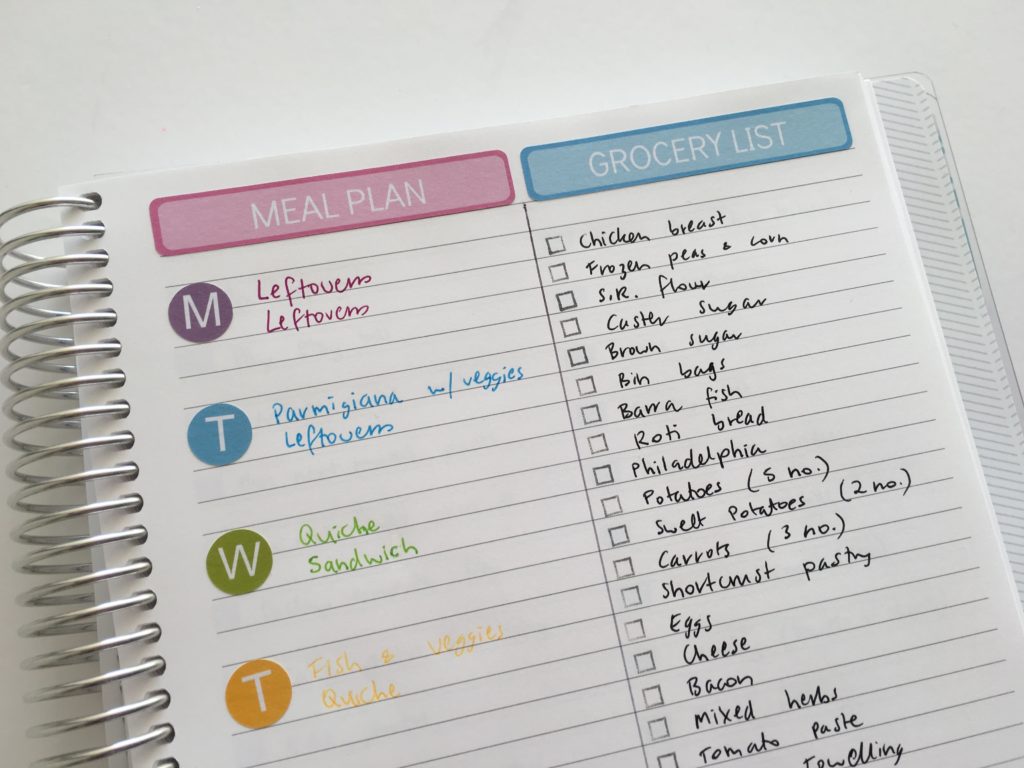
I liked the separation of business and personal life for each day, but if I was going to use this layout again I’d take out meal planning and put it on a separate page. I did this one other week using similar stickers:
The stamps in this spread are by MAMBI – they’re self inking so there’s no mess and they’re quick and easy to use! The pens are the Papermate Inkjoy Gel 0.7mm
Or like I did in Week 4 using sticky notes:

Related: Week 4: Minimalist planning: how to plan your week using a blank notes page and stickers
Catch up on past week’s of the challenge:
- Week 1: Using a daily habit/routine tracker to plan your week
- Week 2: Planning using daily checklists
- Week 3: Plum Paper Vertical Planner – Better than the Erin Condren?
- Week 4: Minimalist planning: how to plan your week using a blank notes page and stickers
- Week 5: Planning by category and task, rather than by day
- Week 6: Planning using the Horizontal Erin Condren Life Planner
- Week 7: Pros and cons of using a 1 Page Weekly Planner
- Week 8: Weekly Planning using the Plum Paper Memory Keeper Book (52 Planners in 52 Weeks: Week 8)
- Week 9: Customising the Erin Condren hourly planner for task based planning
If you want to try your own version of the 52 planners in 52 weeks challenge, this printable bundle of 52 different 1 page weekly planners (you can mix and match to create 2 page spreads if you prefer), is available in my Etsy shop and online store. It comes in US letter size and Happy Planner classic page size.

Liked this post? Pin it!